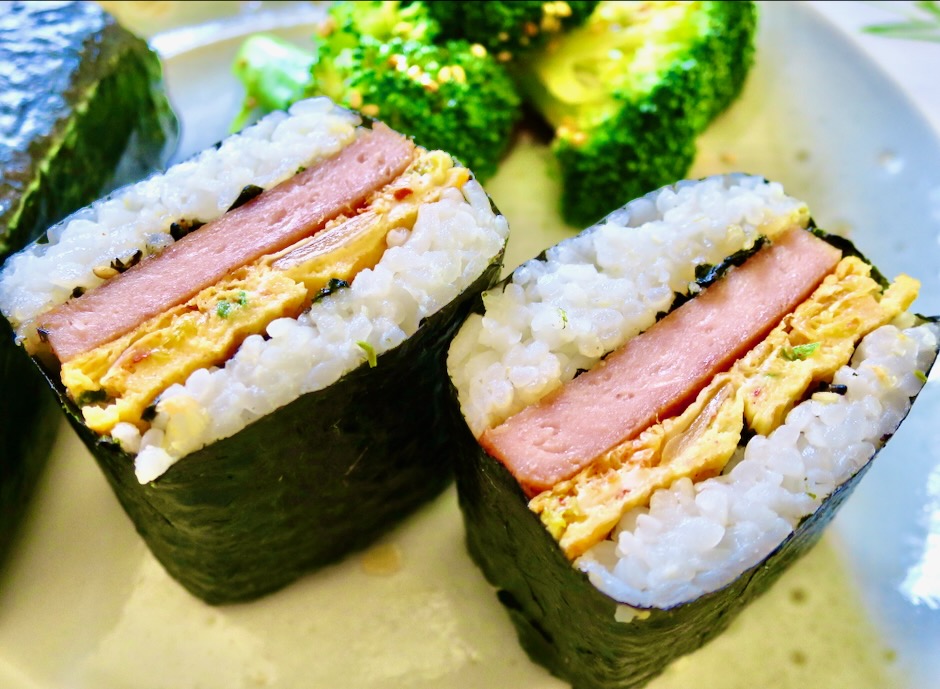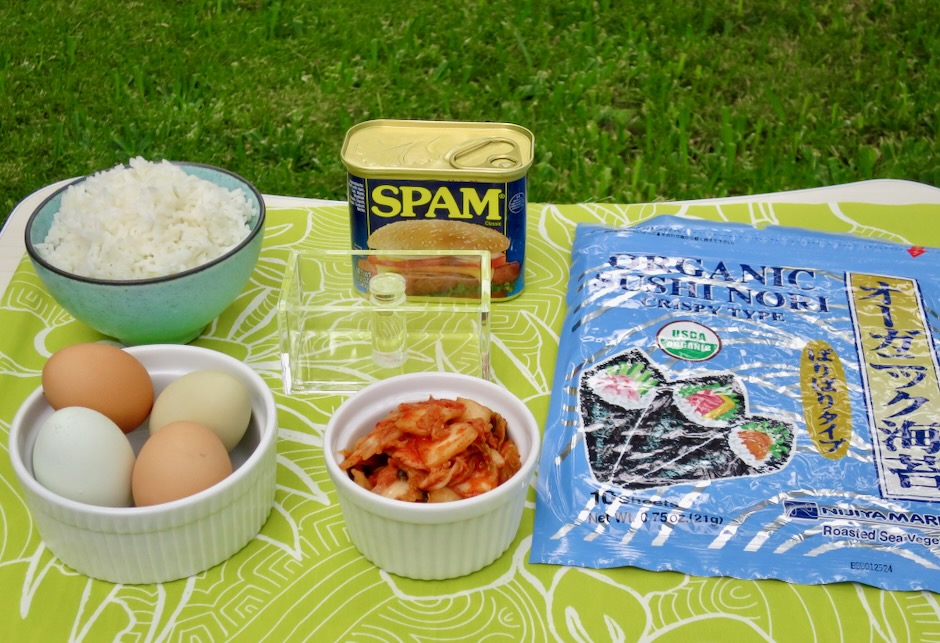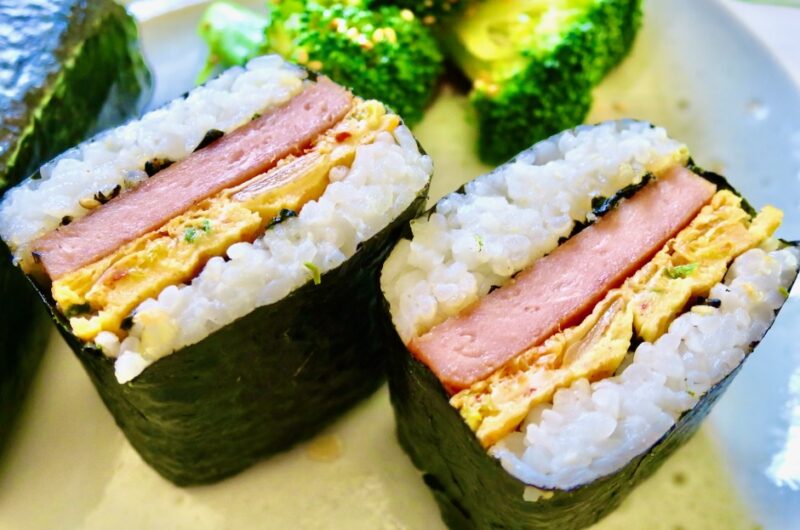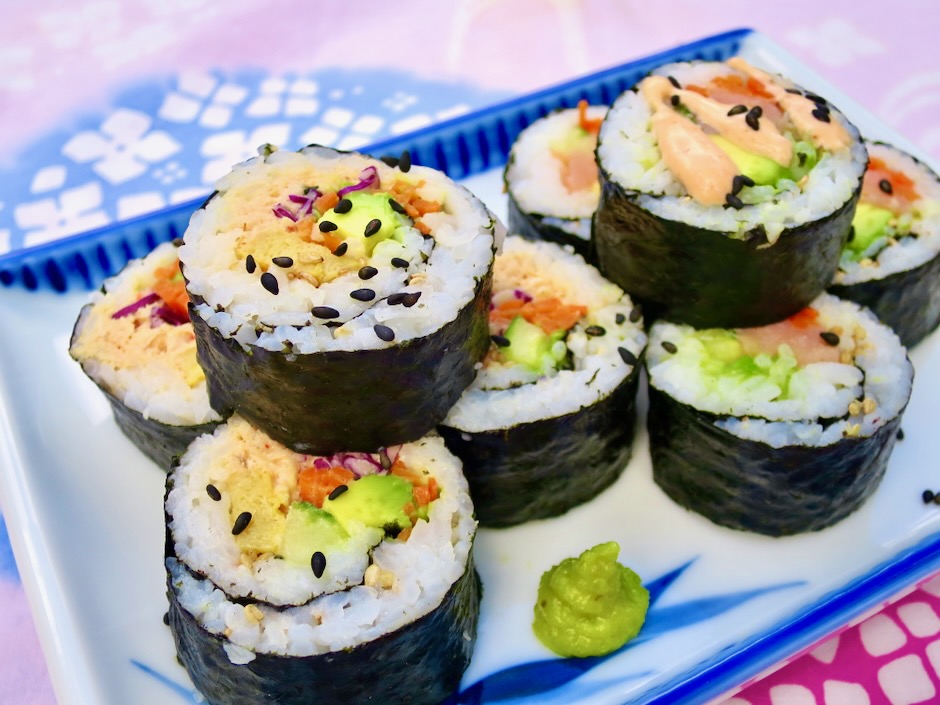
Fresh homemade sushi is hard to beat and not as difficult to make as you might think. It’s pretty cool to be able to customize your rolls by using your favorite ingredients. Once your sushi ingredients are ready to go, the rolling happens quickly. Before you know it, you’ll have tasty maki sushi rolls ready for lunch or dinner.
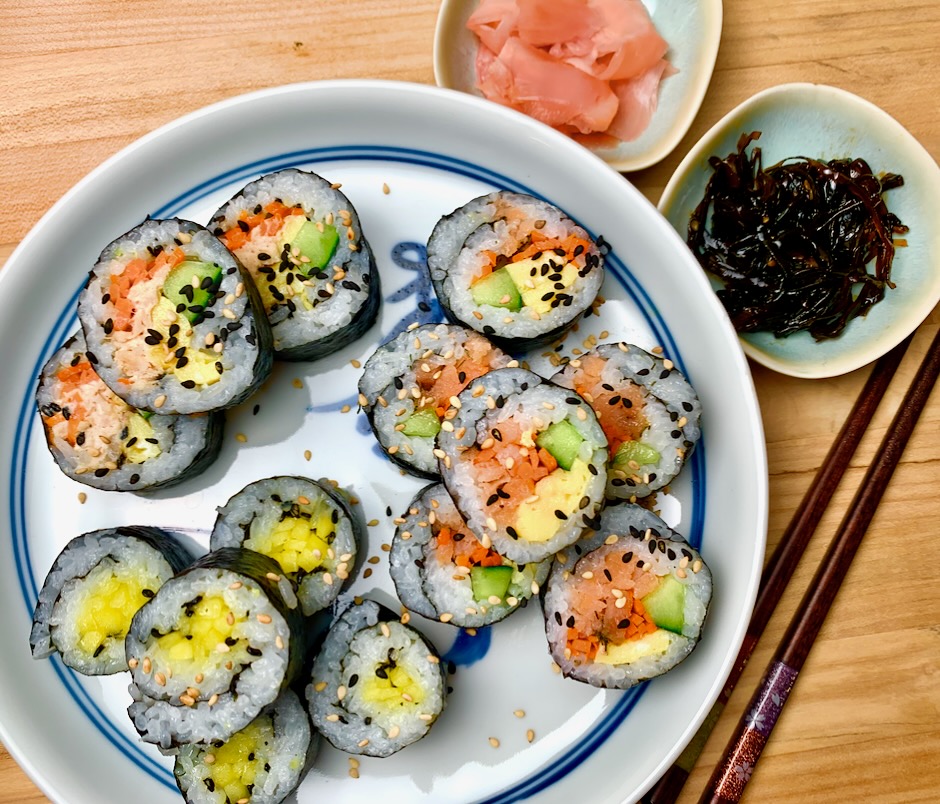
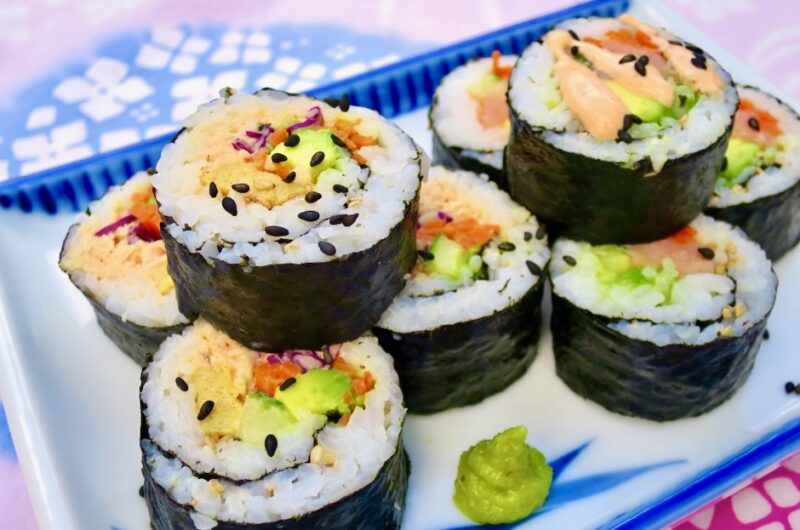
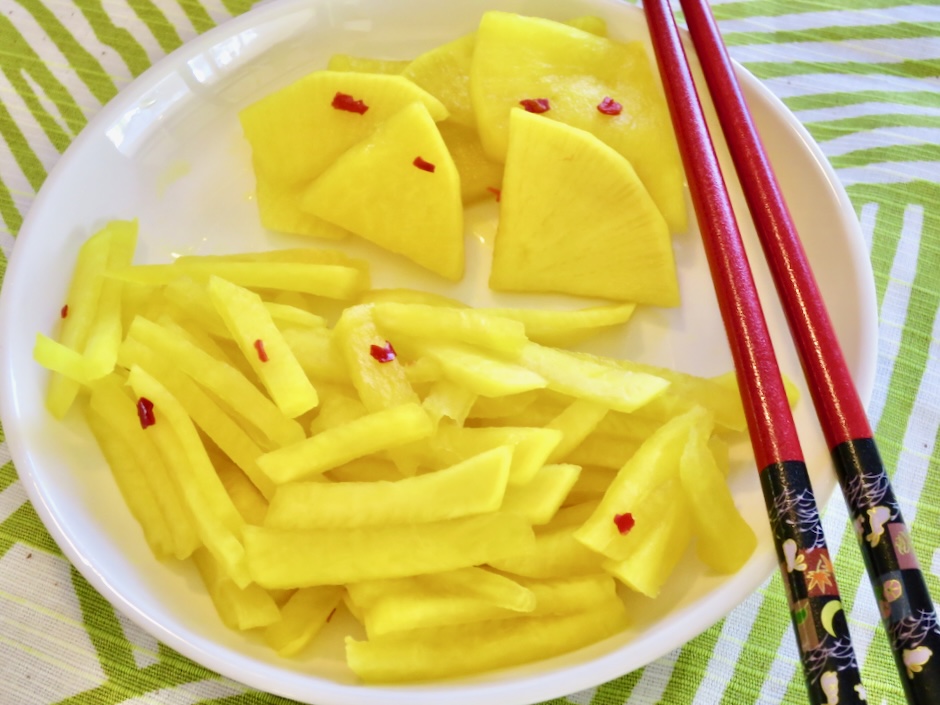
There’s really no rule when it comes to the ingredients you can use in Maui-style maki sushi. Common ones include spicy tuna (canned), avocado, cucumber, sushi grade tuna, crab, salmon, tamago (egg) and other vegetables such as watercress, carrots, takuan (pickled radish). Shown above are tuna, smoked salmon, and takuan hosomaki (thinner rolls).
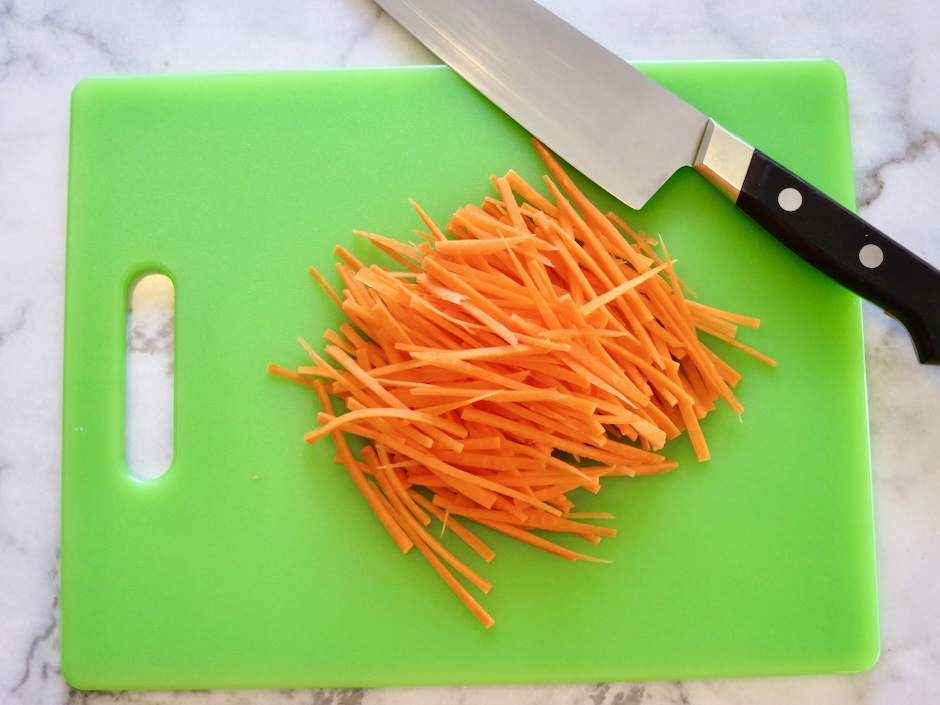
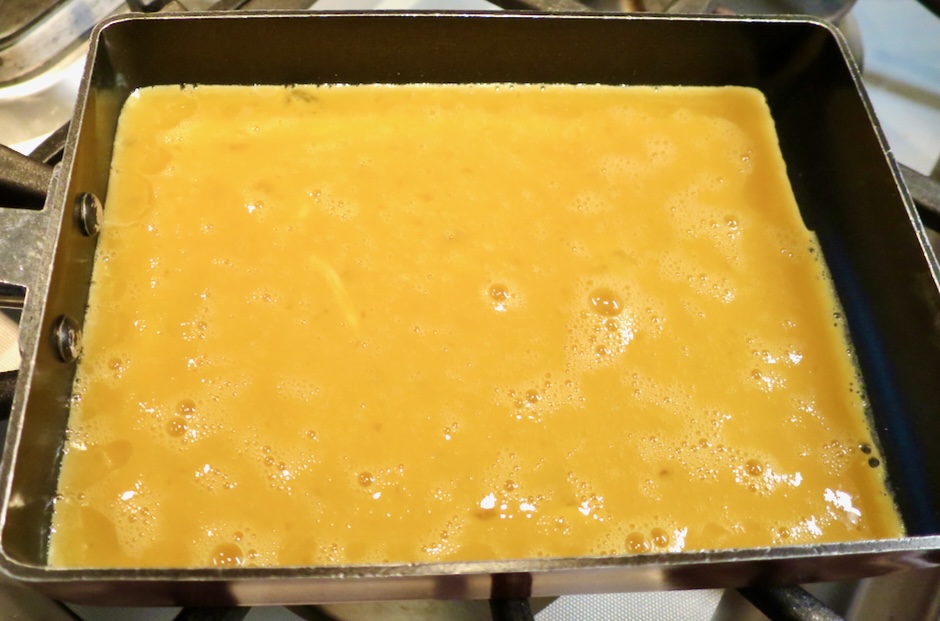
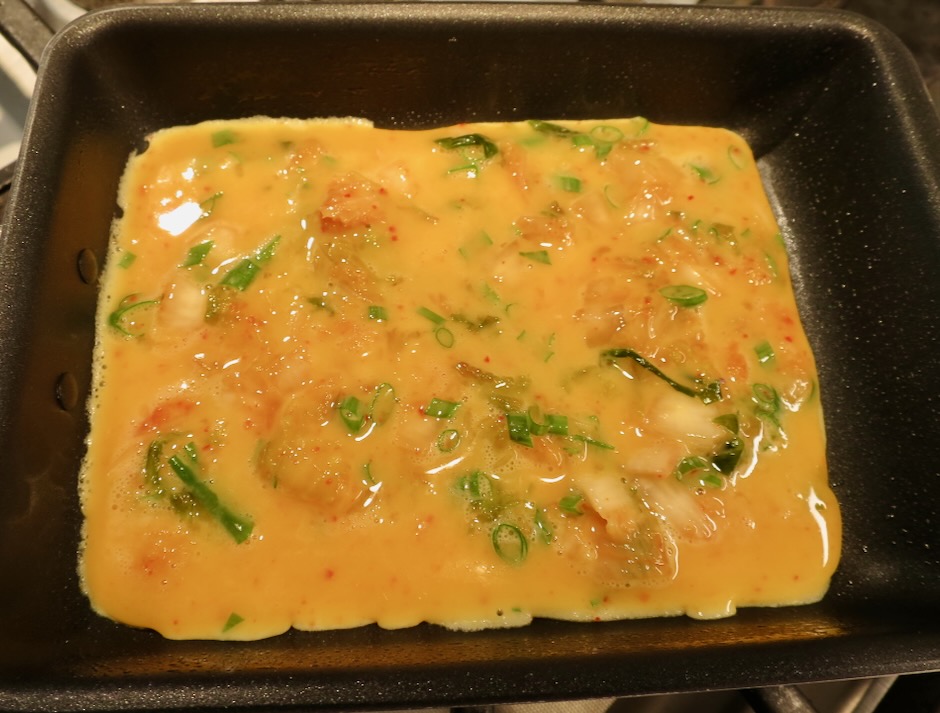
If you don’t have a tamagoyaki pan like the one above, use a small non-stick fry pan to cook the eggs.
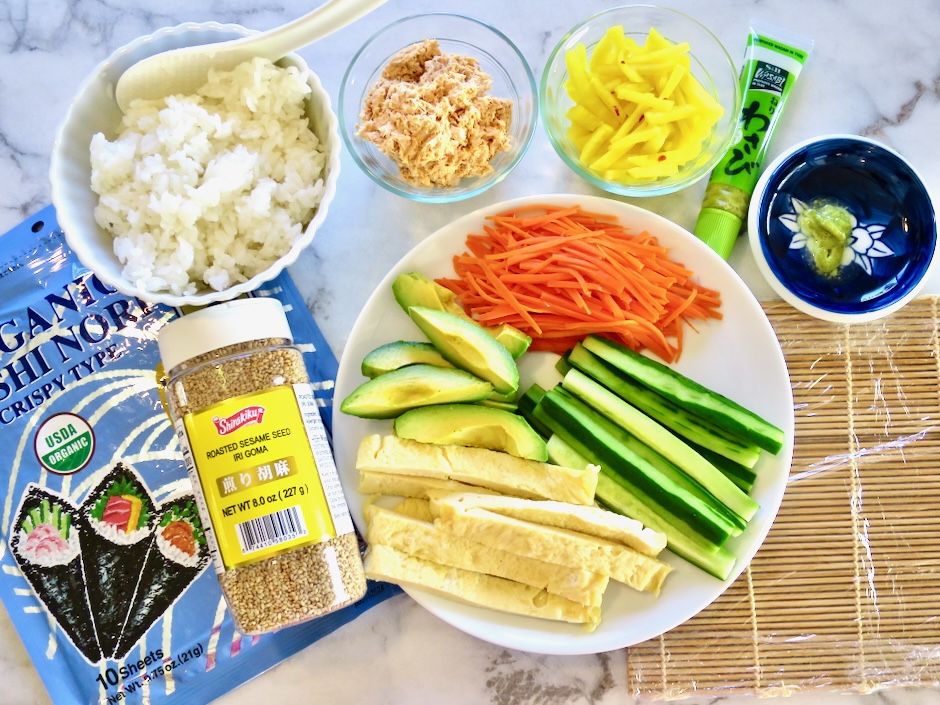
Prepare the fillings for the sushi while the rice is cooking then refrigerate until ready to use. Wrap your sushi mat in plastic wrap. The mat will stay clean and won’t pick up any scents or oil from the sushi ingredients.
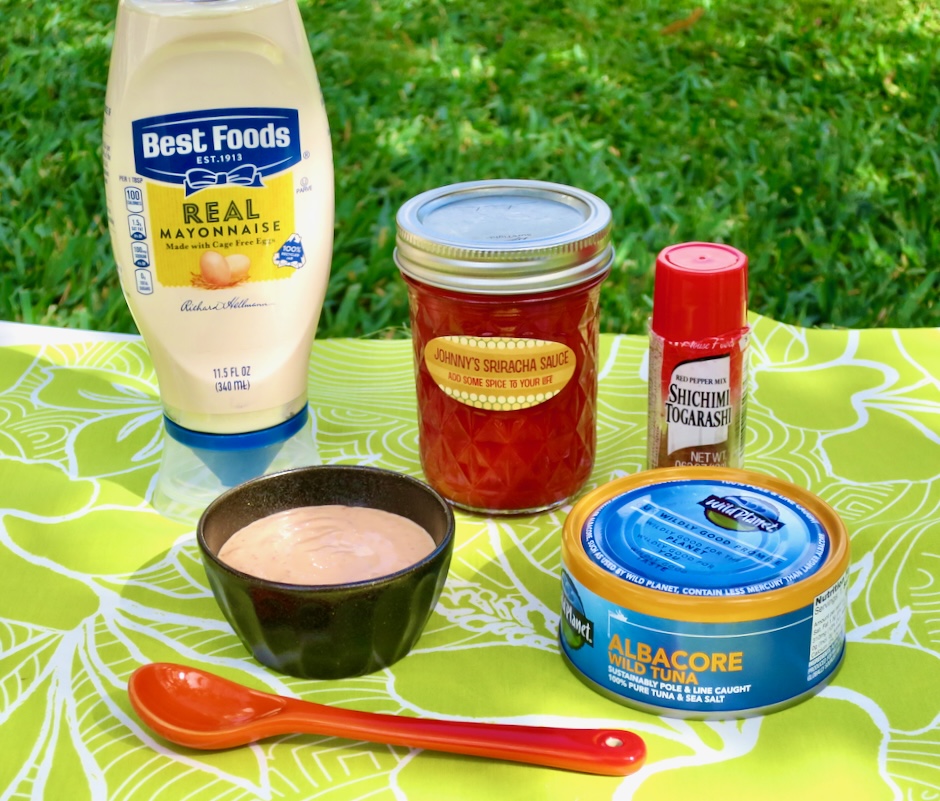
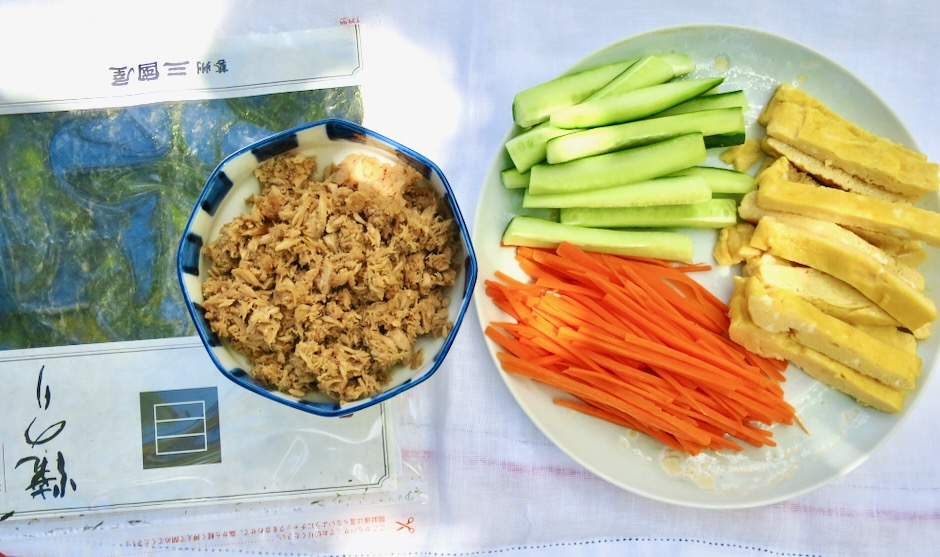
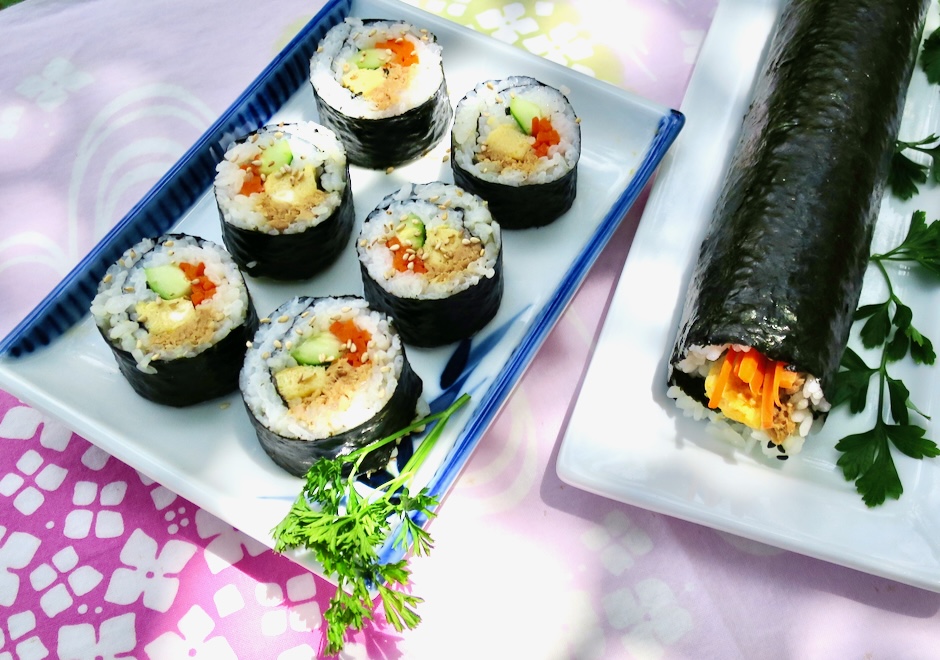
On most occasions I make spicy tuna but sometimes I make a sweet/salty version with soy sauce. This is the type you might find at local okazuya and bento stores. Besides adding flavor, crispy cucumbers, carrots and tamago add color and texture.
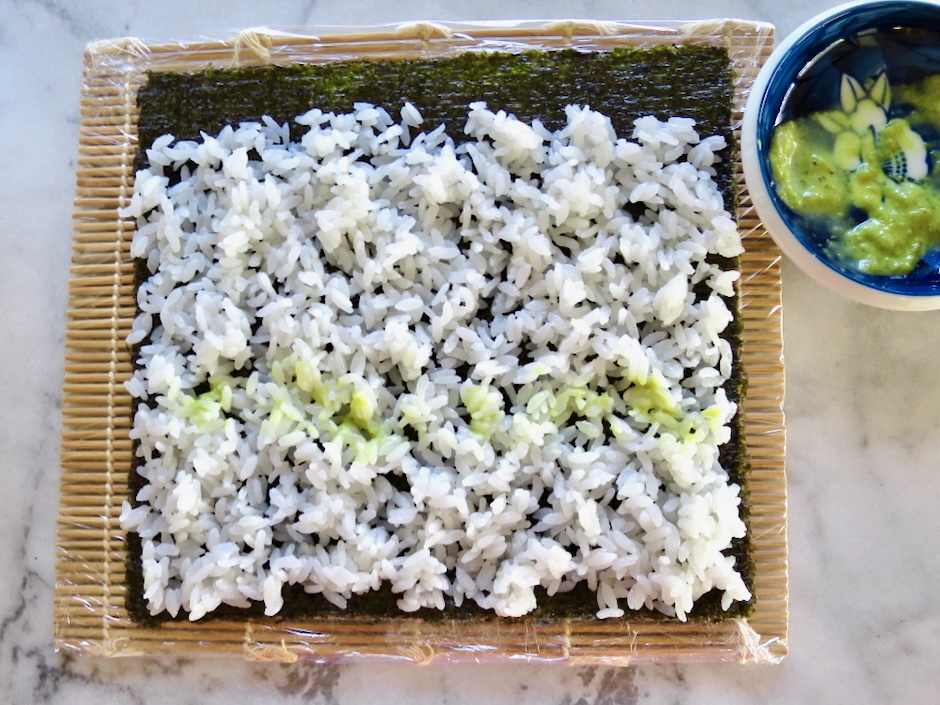
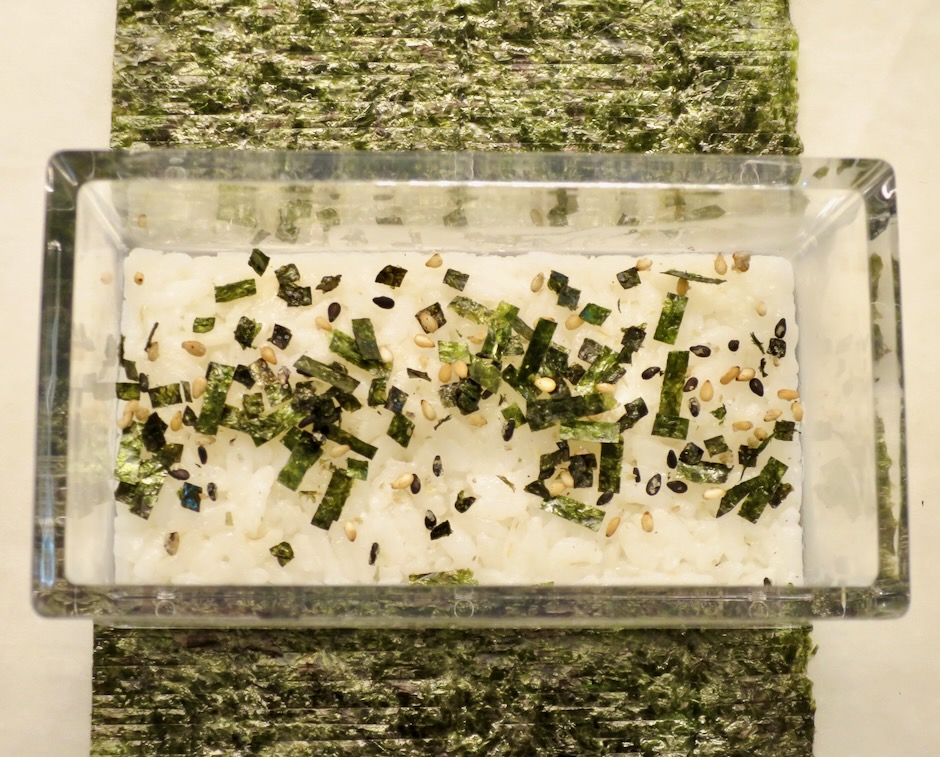
The first step is to place a sheet of nori shiny side down on your sushi mat. Spread rice over the nori leaving a 1-inch border free of rice. The amount of rice you use will determine the size of your roll and the amount of rolls you can make with the 2 cups of rice that you cook. My rolls are medium-sized since I don’t use too much rice. I usually end up with 3 medium rolls and 2 thinner (hosomaki) rolls. If you’re using wasabi paste dab it on the rice before adding the other ingredients.
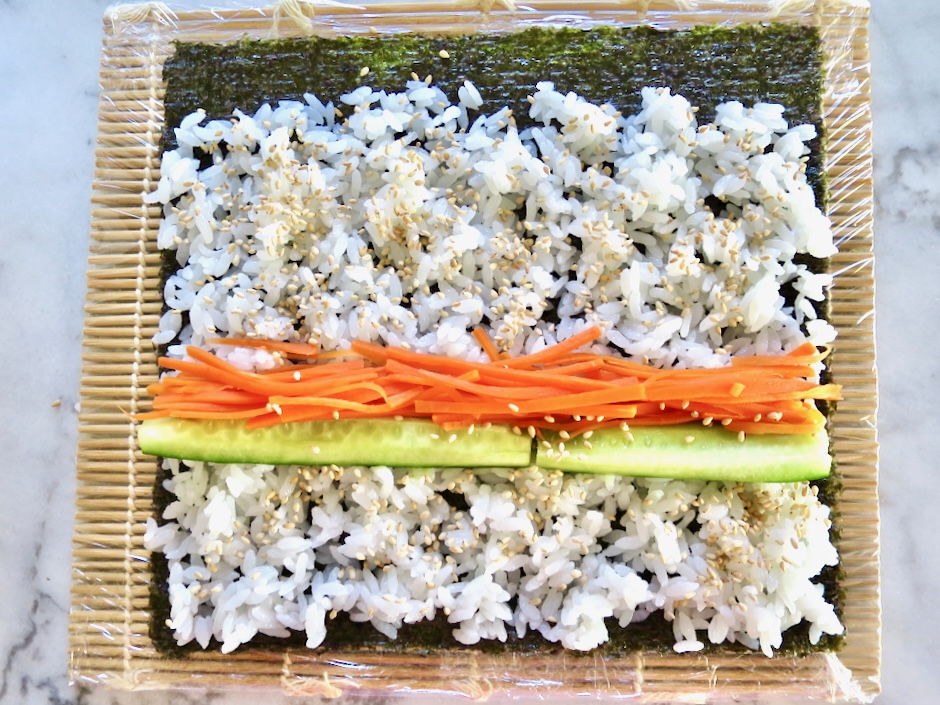
Shaping the rolls will take a little practice but you’ll get the hang of it after your first roll. And it won’t matter much if the first few rolls don’t turn out perfectly. They will still be delicious.
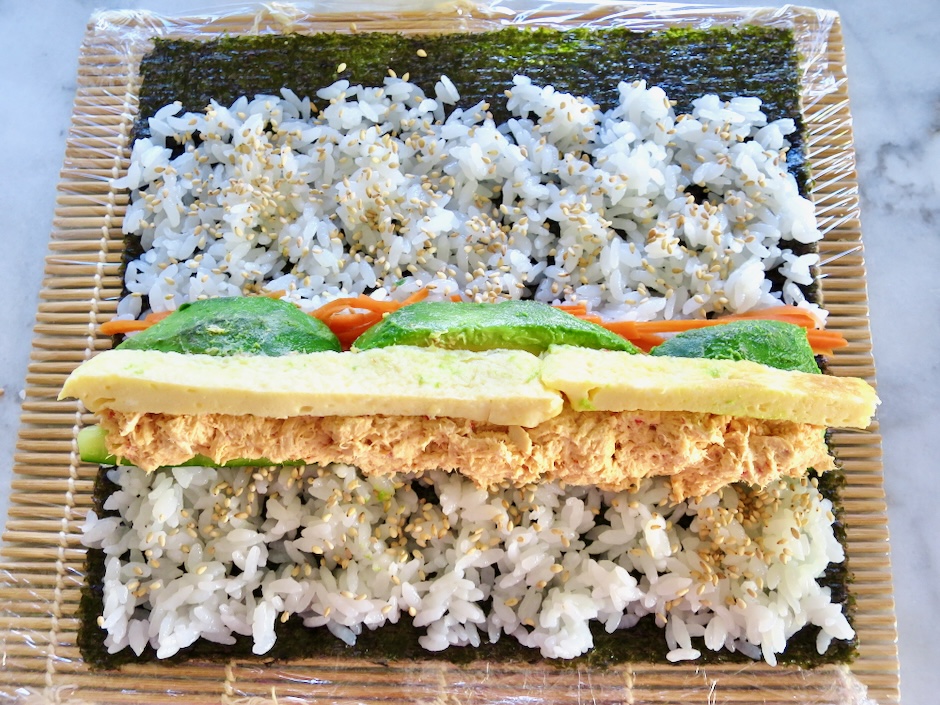
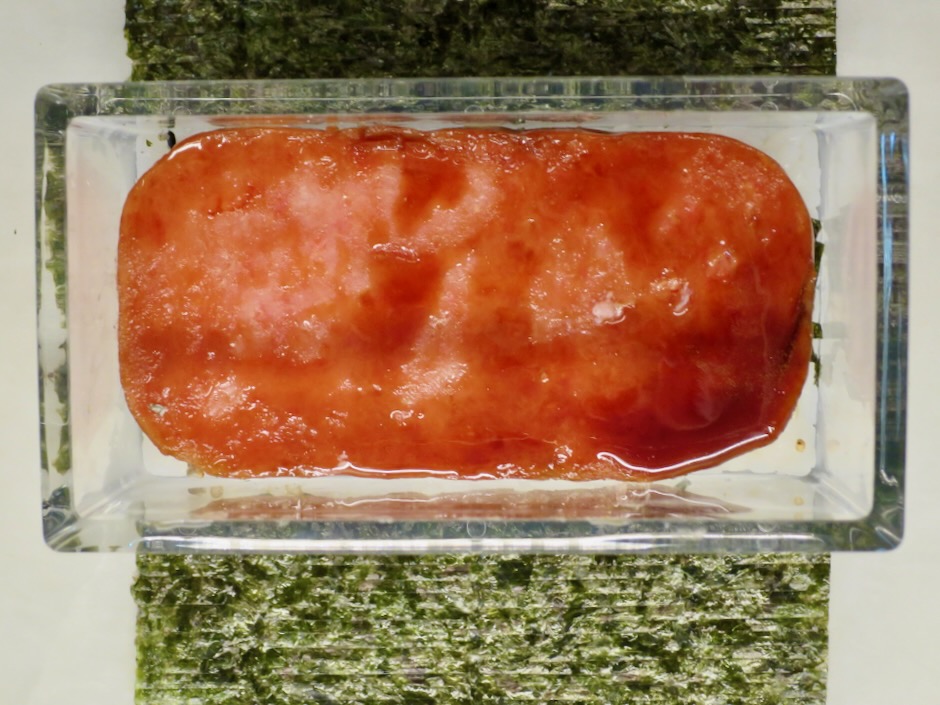
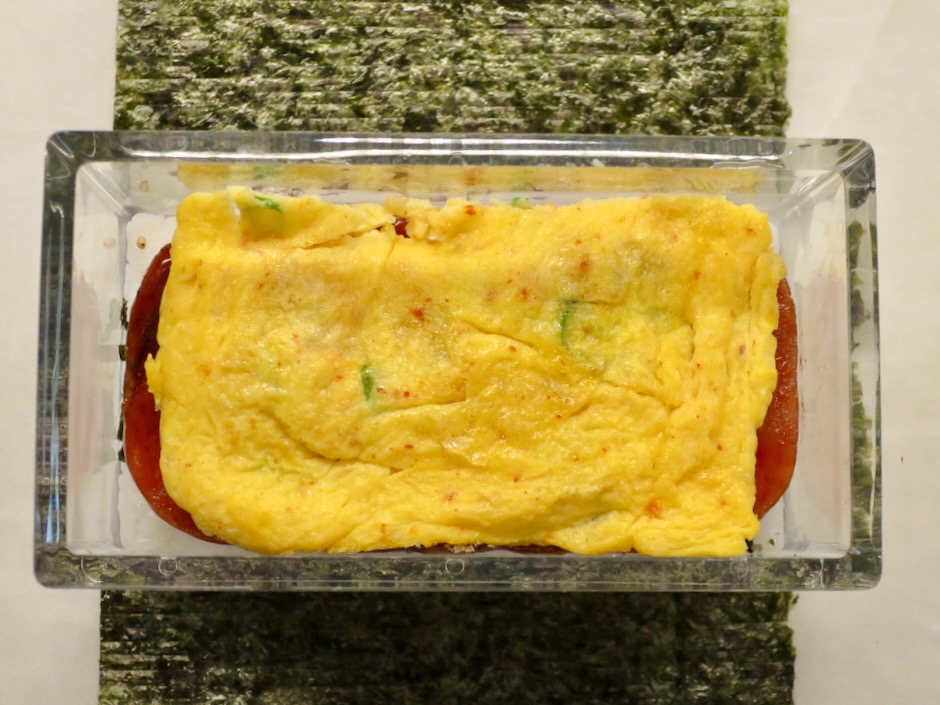
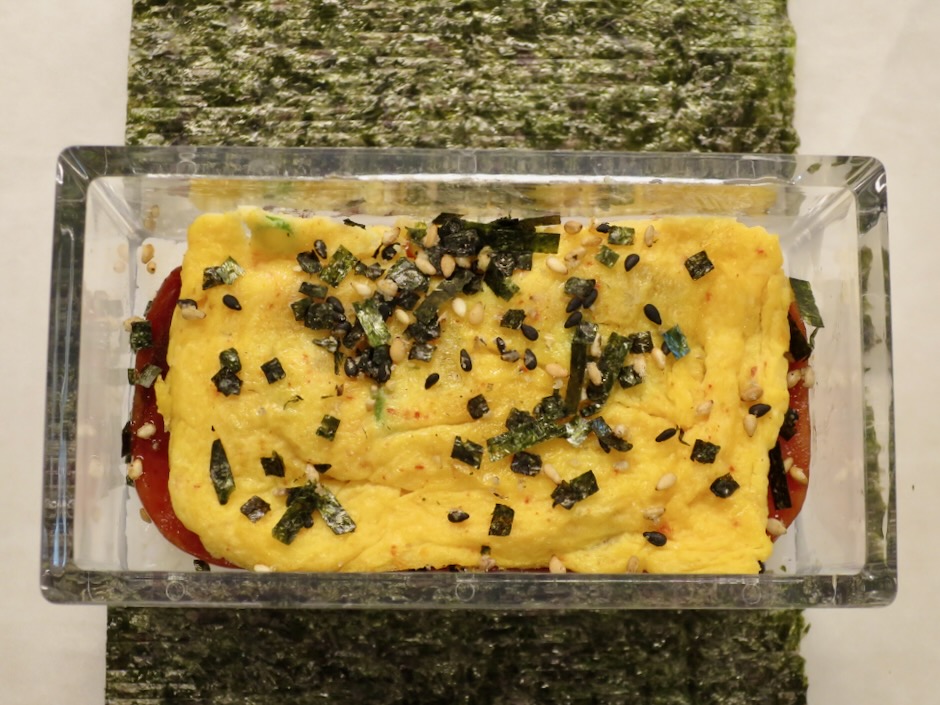
Layer on your ingredients then begin rolling them up. You can choose your own fillings and make vegetarian rolls if you prefer.
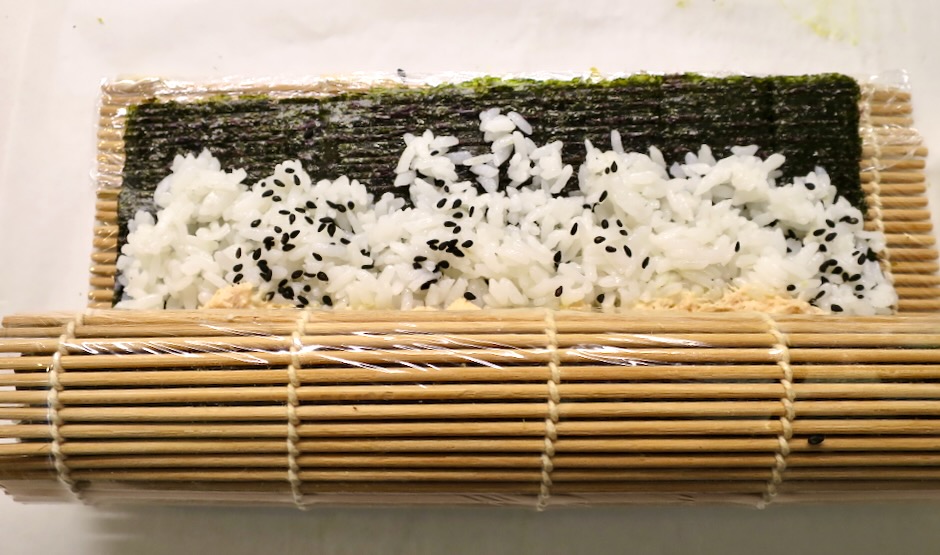
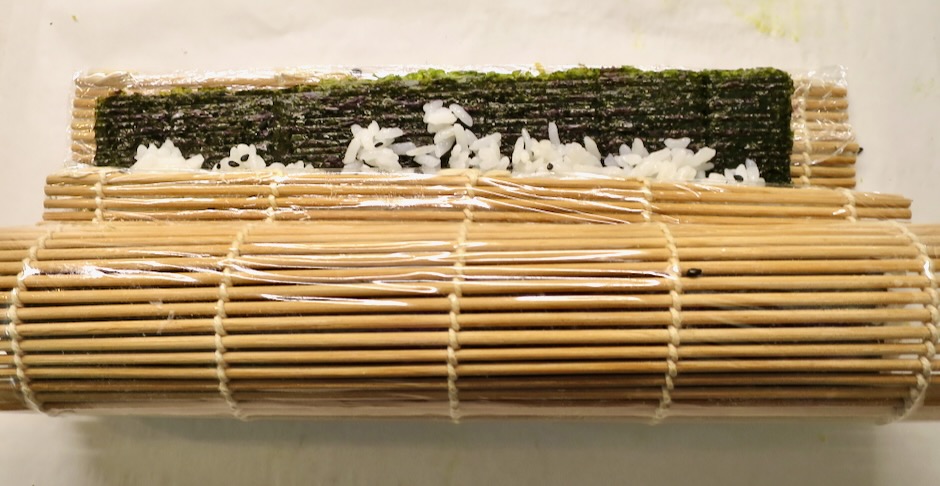
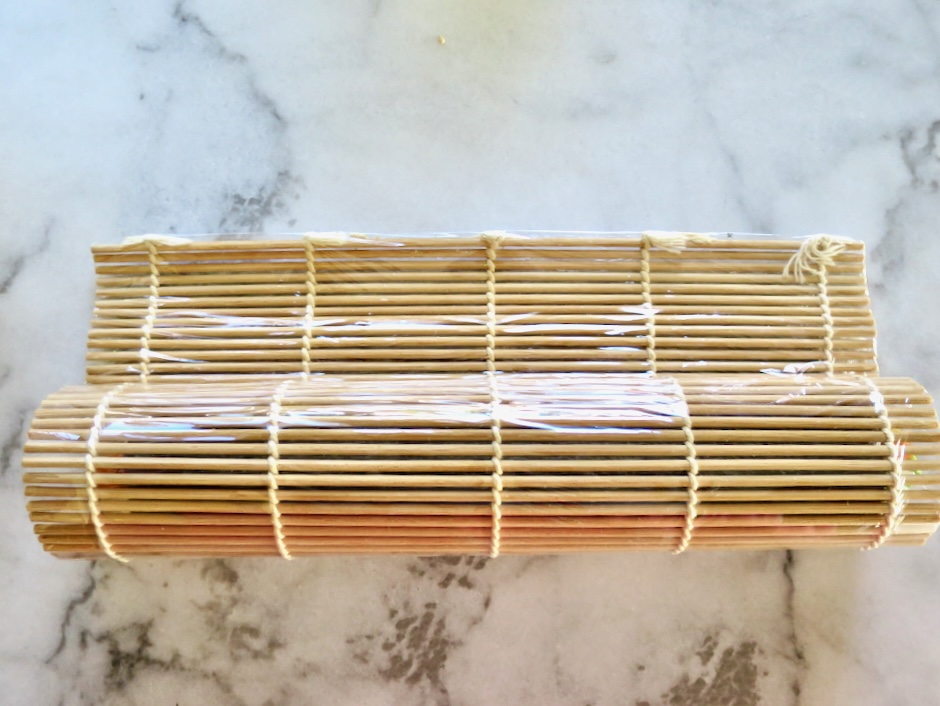
Once you have the ingredients tucked into the roll, continue to roll while lifting the top portion of the mat up as you roll.
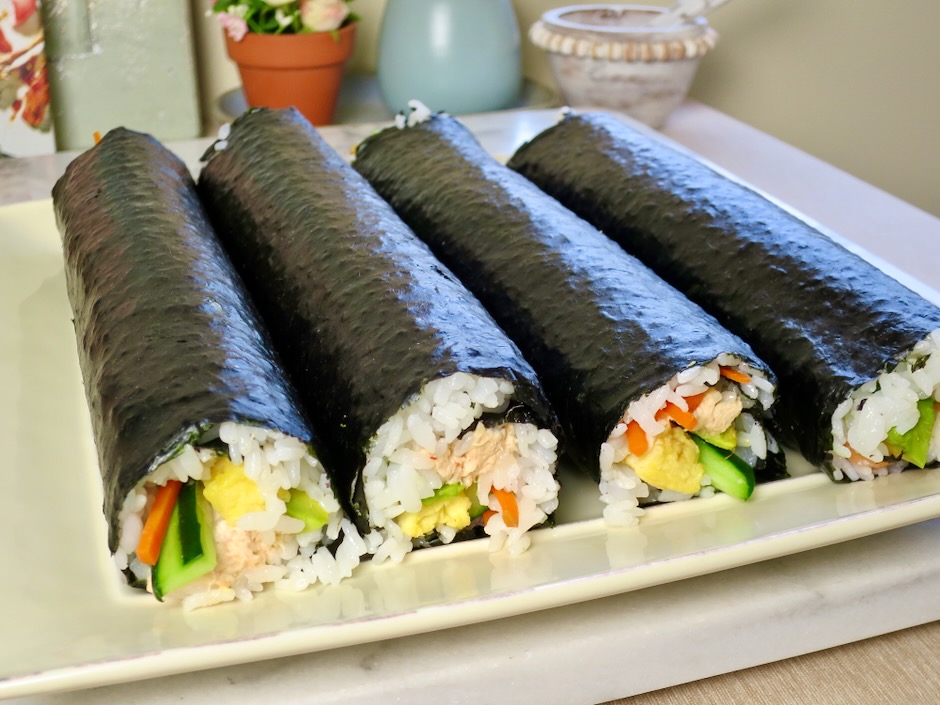
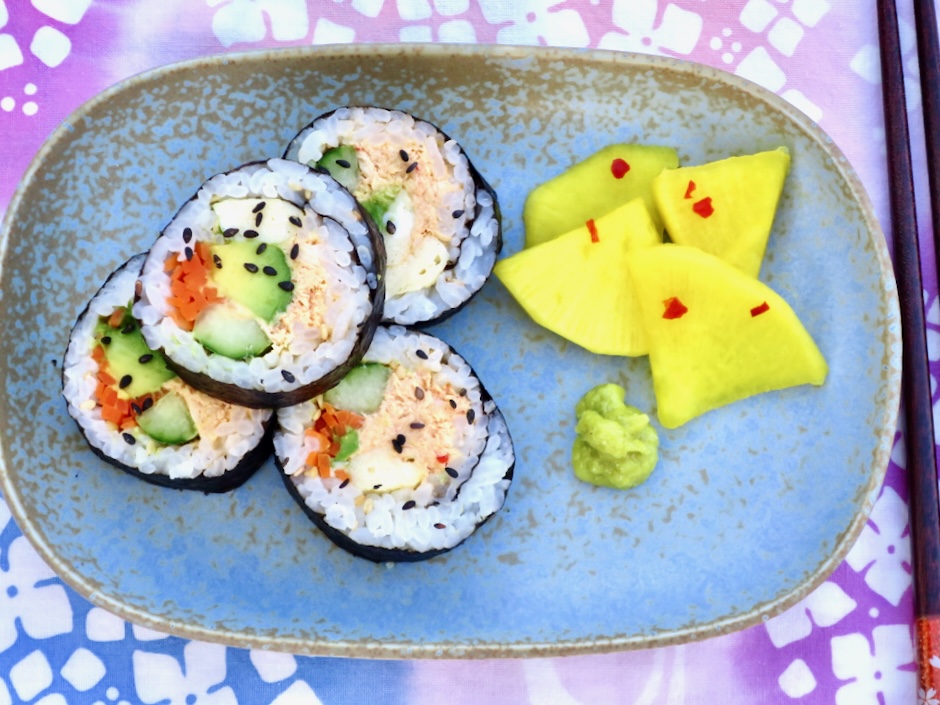
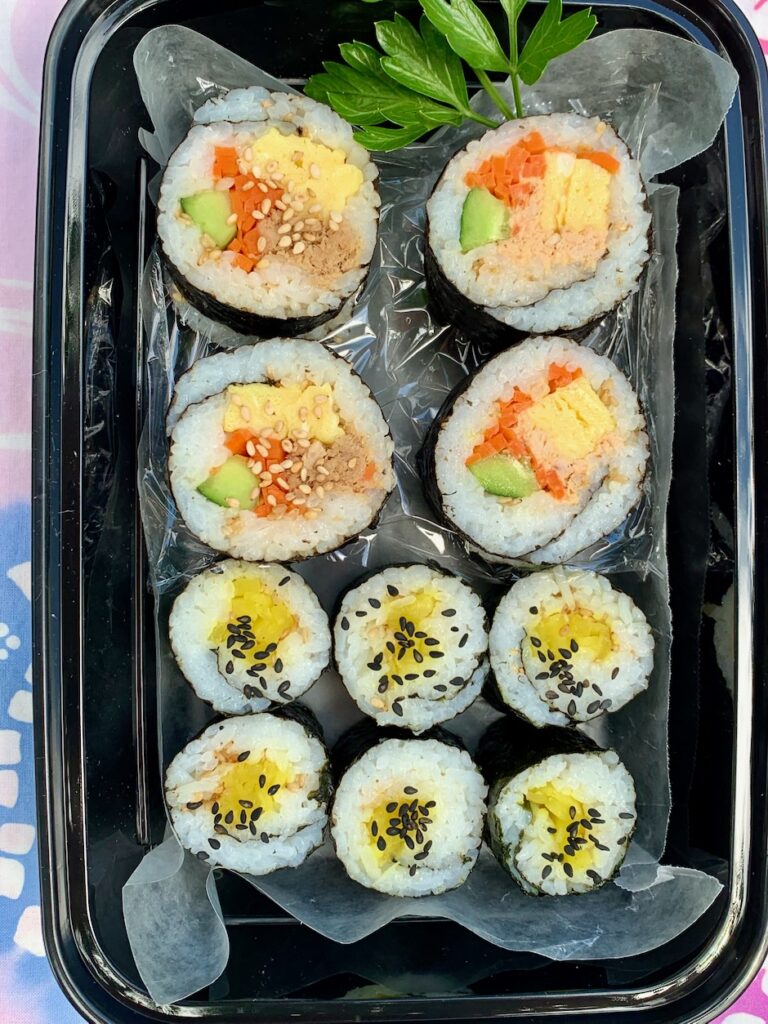
I packed a sushi bento for a friend and delivered it to his work place for a surprise snack.
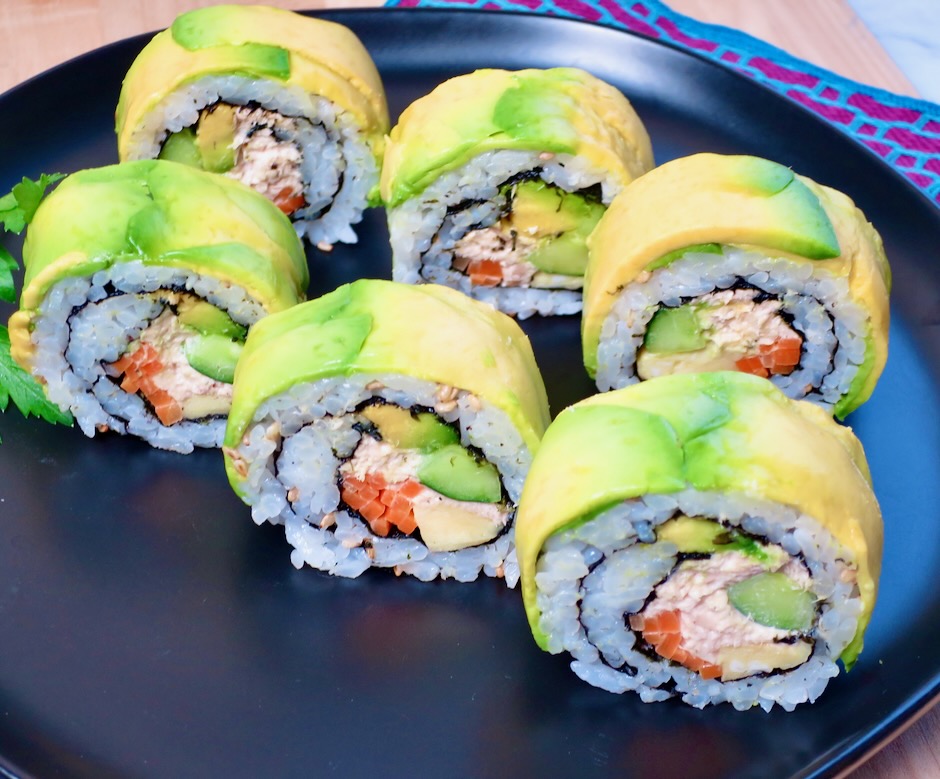
I thought I would try an inside-out roll with avocado. To my surprise I didn’t botch the roll! We have lots of avocados now so I’ll give this another go very soon.
Depending on the amount of rice you use in each roll, this recipe will make 3 medium and 2 small rolls (hosomaki) or 4 medium rolls
Ingredients
- Sushi Rice
2 rice cooker cups short grain white rice
1/4 cup unseasoned rice vinegar
2 1/2 tablespoons granulated sugar
1 1/2 teaspoons fine sea salt
- Filling Ingredients
1 small carrot, julienned (blanch 1 minute in 1 cup water mixed with 2 teaspoons sugar, 1 teaspoon mirin, and 1/2 teaspoon salt)
1 small Japanese cucumber, cut into wide strips (remove any seeds with your knife)
1 avocado, sliced
1 (5 ounce) can tuna in water, drained (mixed with 3 tablespoons mayonnaise and 1 1/2 tablespoons sriracha + 1/4 teaspoon of shichimi togarashi, optional)
3 eggs, whisked (mixed with 1 teaspoon sugar, 1 teaspoon mirin, 1/2 teaspoon light soy sauce) cooked over medium-low heat in a small pan to form a thick layer and sliced into 1/2-inch wide strips
3/4 cup takuan (pickled radish) thinly sliced
wasabi paste
roasted sesame seeds
5 sheets sushi nori
Directions
- Cook rice according to rice cooker directions for sushi rice. While rice is cooking, combine rice vinegar, sugar and salt in a 1-cup glass measuring cup and give it a stir. Microwave for 20-25 seconds. Remove and stir until the mixture turns clear, about 2 minutes. Set aside until ready to use.
- Place hot rice in a large shallow bowl or dish, such as a 9×13 glass baking dish. Immediately drizzle the prepared sushi vinegar over the warm rice and fold in gently to evenly season the rice. Using swift cutting motions gently break up the rice while fanning as you go (do not stir the rice or it will become clumpy and mushy). Fanning the rice helps to remove excess moisture and also gives the rice a shiny appearance. Cover rice with a damp kitchen towel or plastic wrap and allow to come to room temperature before using, about 1 hour. (Rice should not be left out for more than 2 hours for food safety reasons. Refrigerate sushi rolls if not eating within 2 hours).
- Cover sushi mat with plastic wrap. Place a piece of nori shiny side down on the mat. Distribute rice evenly over the nori leaving 1-inch free of rice at the bottom portion. Begin placing your fillings onto the rice (upper third area). Lift the bottom edge (closest to you) of the sushi mat while also holding the fillings in place with your fingers and quickly fold over securing them in the first fold tucking in any ingredients that may have fallen out. Continue rolling the sushi away from you gently squeezing the mat to form a uniform sushi roll while lifting and moving the mat forward until the entire sheet of nori is rolled up. Slice and serve rolls with wasabi and soy sauce.
Notes
- Though the rice may not be quite as soft, leftover sushi rolls can be refrigerated and eaten the following day. Double wrap them in plastic wrap then place in a freezer zip top bag. Remove from the refrigerator 1 hour prior to slicing and serving.

