Browsing Tag

Maldon Salt

Dinner, Recipes, Salad, Side Dishes, Summertime Meal, Vegetarian

Charley Bird’s Farro Salad

November 5, 2023

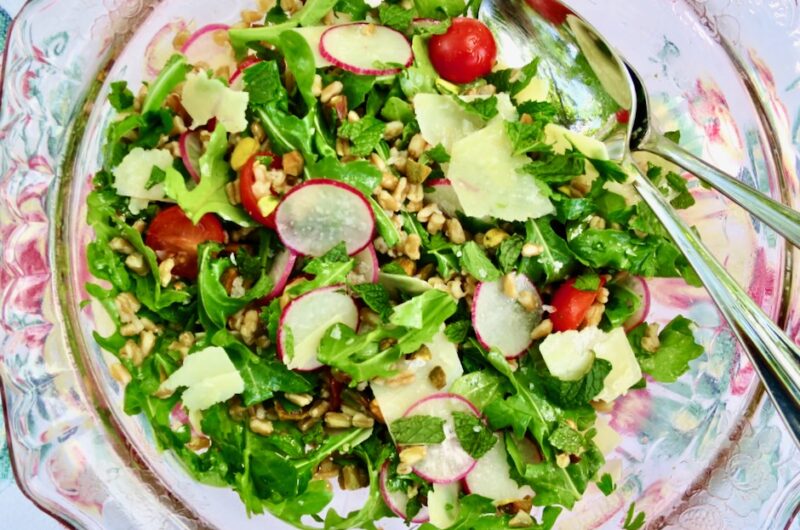
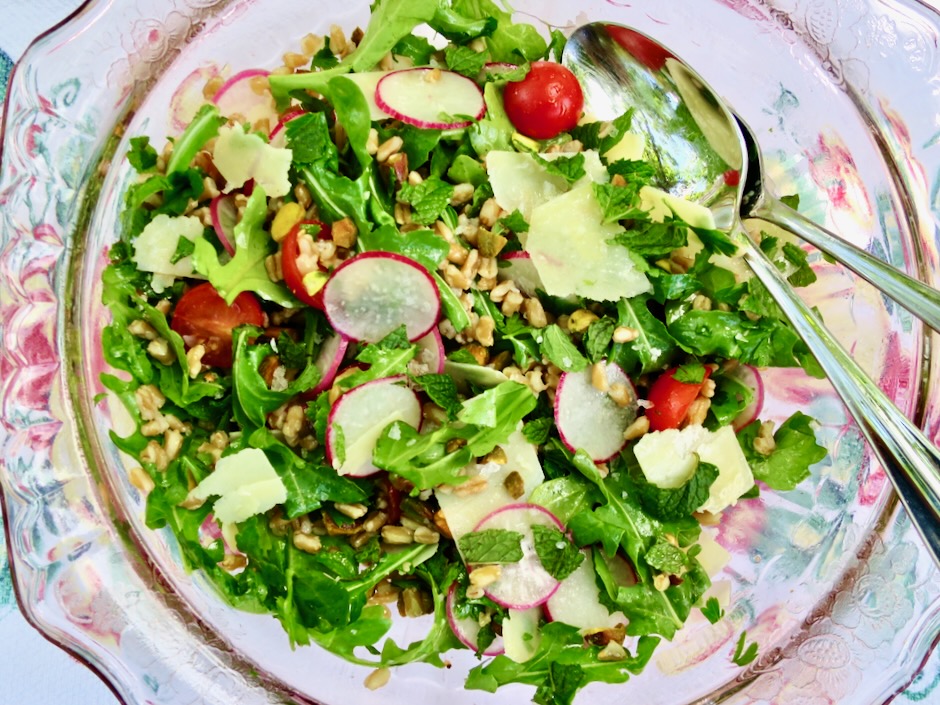
If a perfect salad exists, it has to be this farro salad from restaurant Charlie Bird in SoHo. All of the ingredients compliment one another in unexpected ways. The dressing is kept simple so as not to distract from the other flavorful ingredients. It all works together wonderfully.
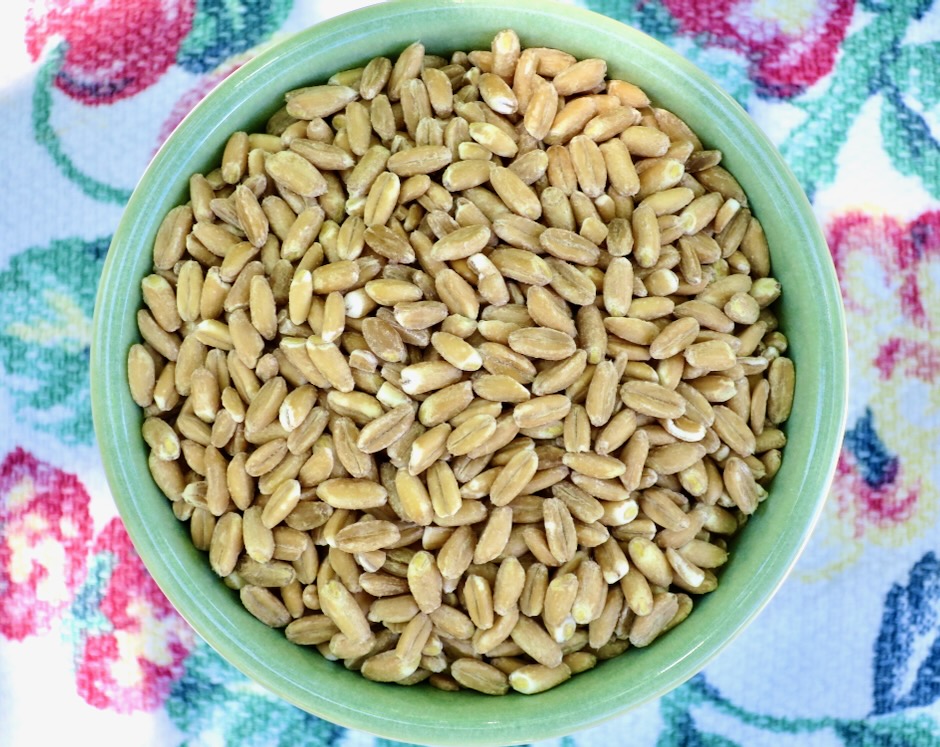
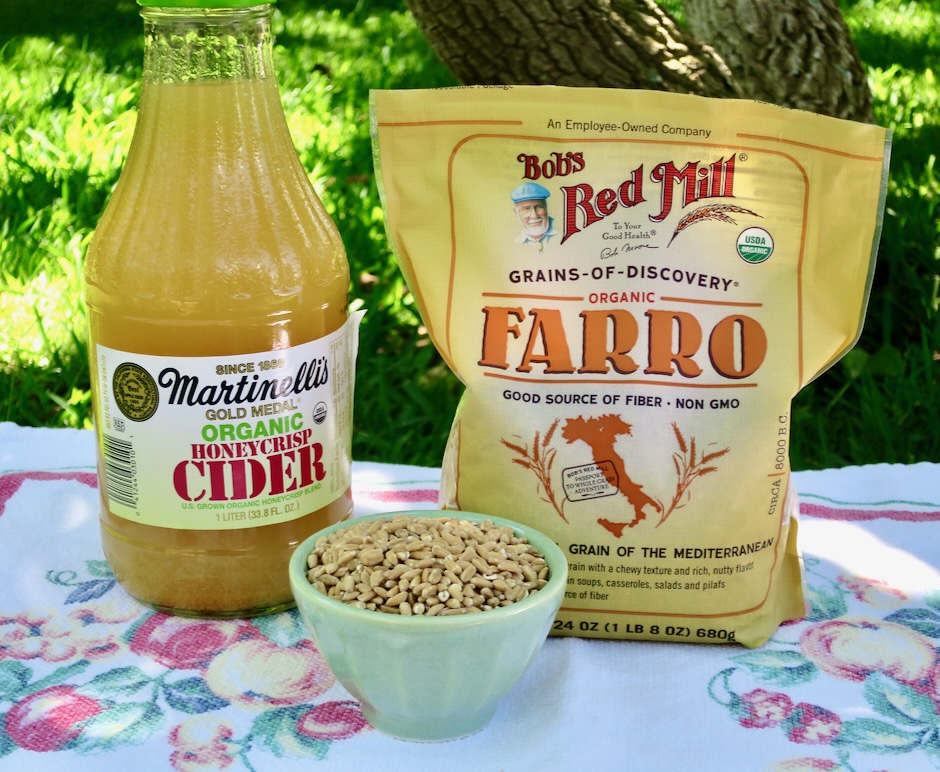
To ensure the farro is flavorful when adding it to the salad, it is cooked in apple cider along with water and salt. The original recipe calls for cooking the farro until the liquid has evaporated. It can be a bit tricky to get the exact ratio even when measuring the liquid. I found that adding additional liquid to the saucepan then draining the farro and drying it on a sheet pan turned out nicely textured grains that weren’t overly wet or sticky.
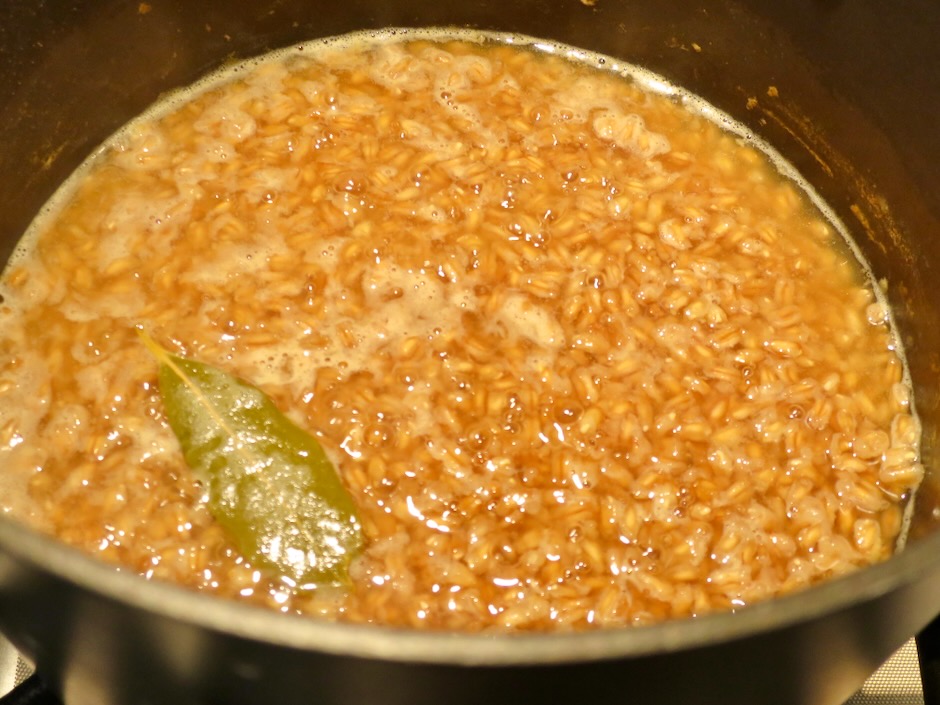
Keep in mind that cooking times vary depending on the type of farro you purchase. Pearled farro cooks quickly, usually within 15-20 minutes. Semi-pearled which is what I used, cooks in 25-30 minutes and whole farro usually requires a soaking overnight before being cooked.
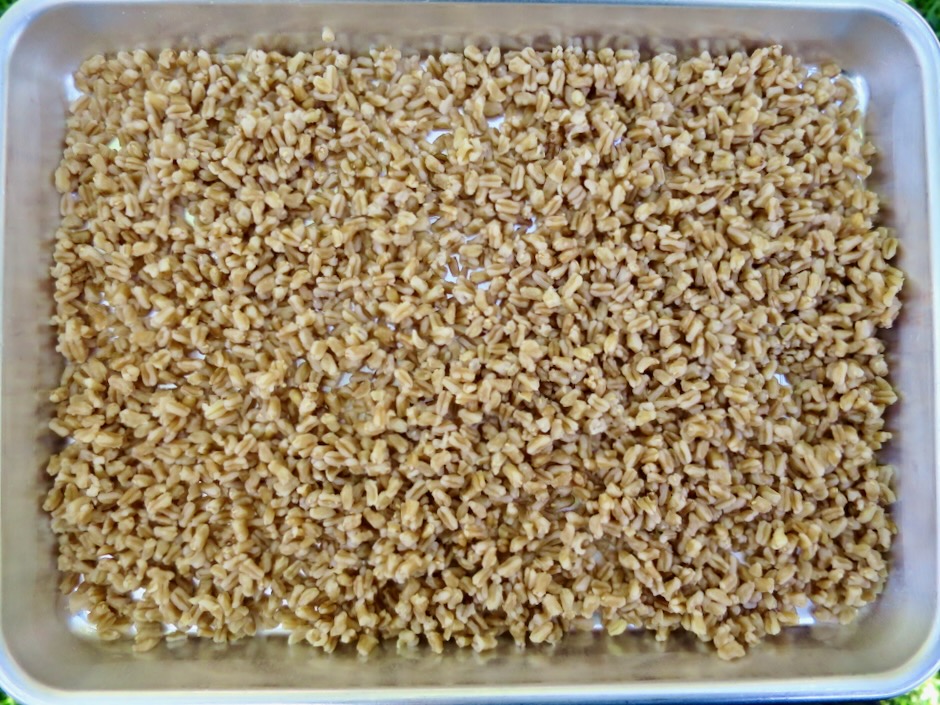
Allowing the farro to cool and dry on a sheet pan for 15 minutes before adding to the salad ensures the farro is not too wet and it will stand up to the dressing much better.
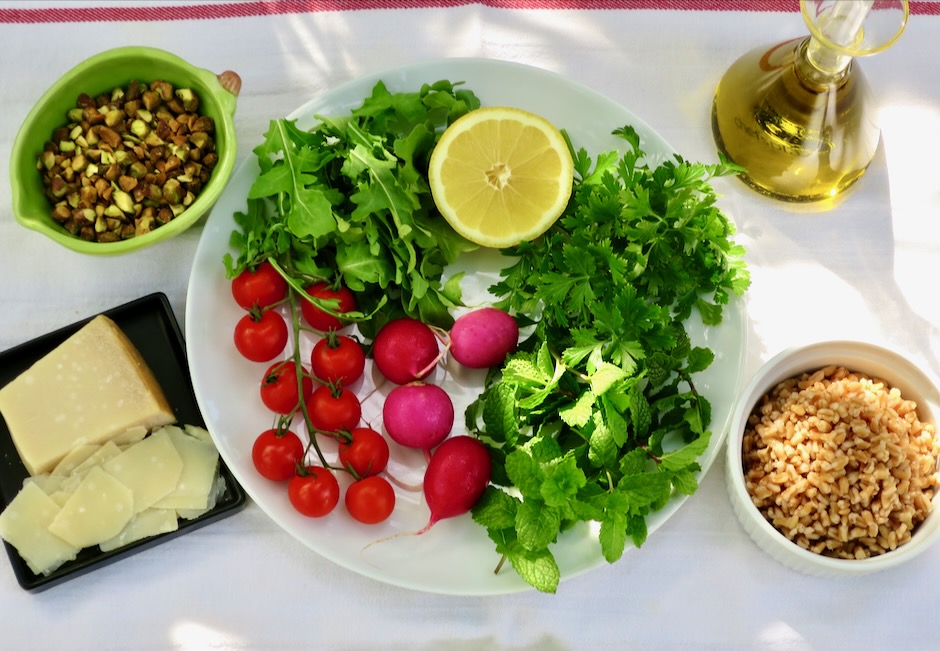
Peppery arugula, fresh mint and parsley, juicy tomatoes, crunchy radishes, salty parmesan and pistachios for texture along with flavorful farro makes the perfect salad.
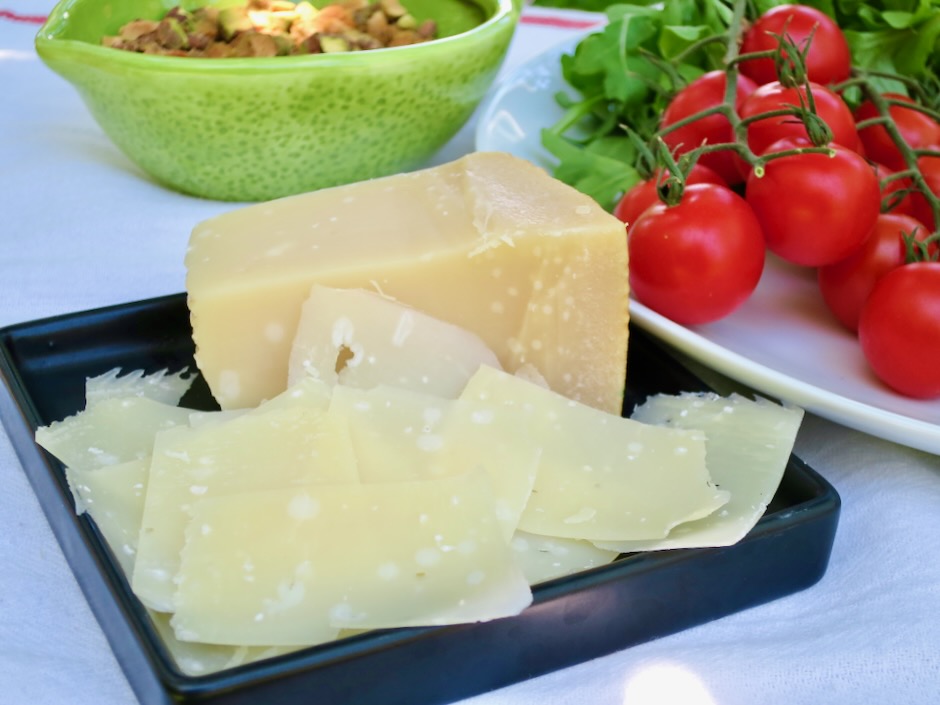
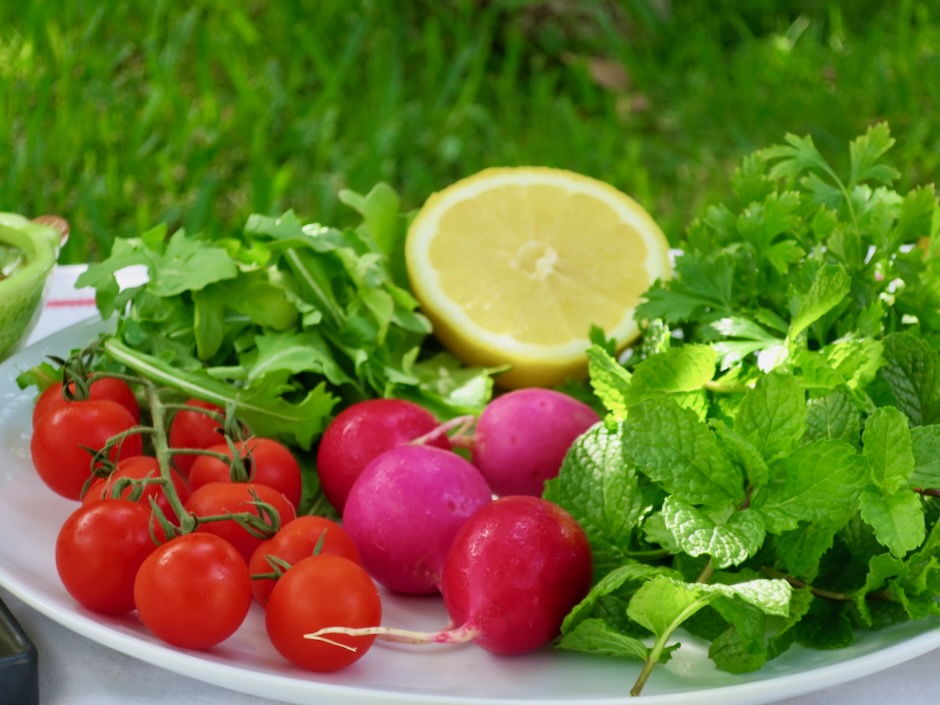
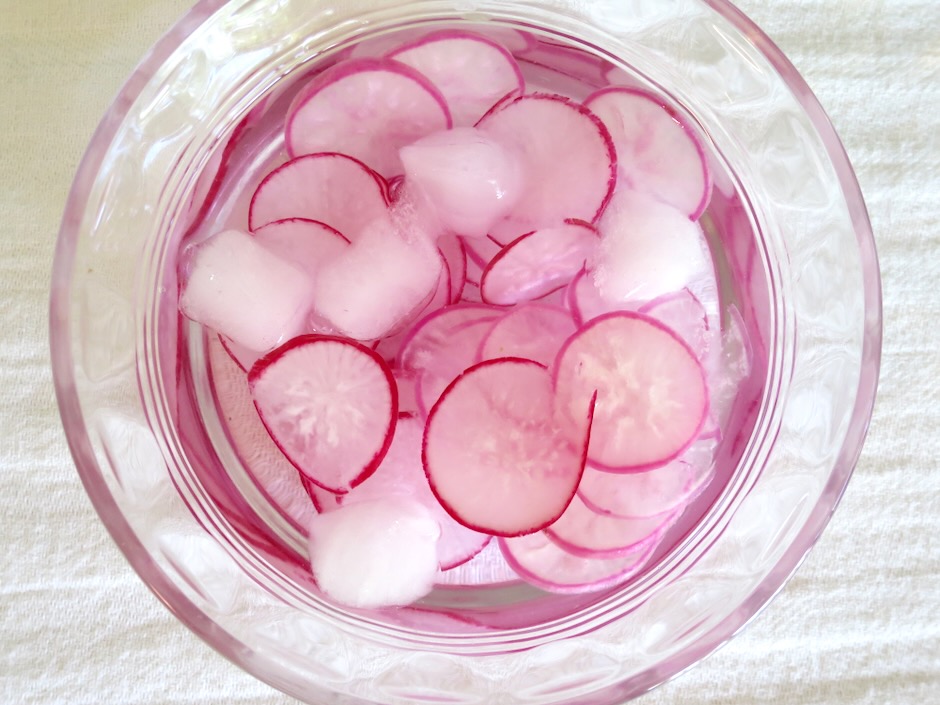
Once the radishes are sliced I soak them in an ice bath for 10 minutes then drain and pat dry before adding to the salad. This little step produces delightfully crispy radish slices.
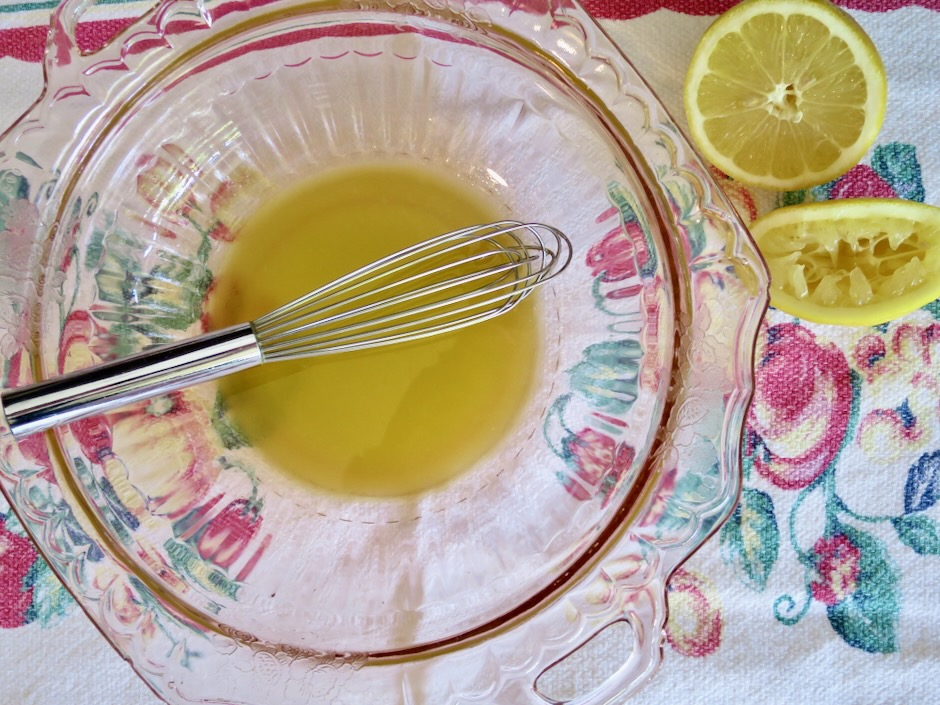
The dressing is simple. Good olive oil, fresh lemon juice, and salt.
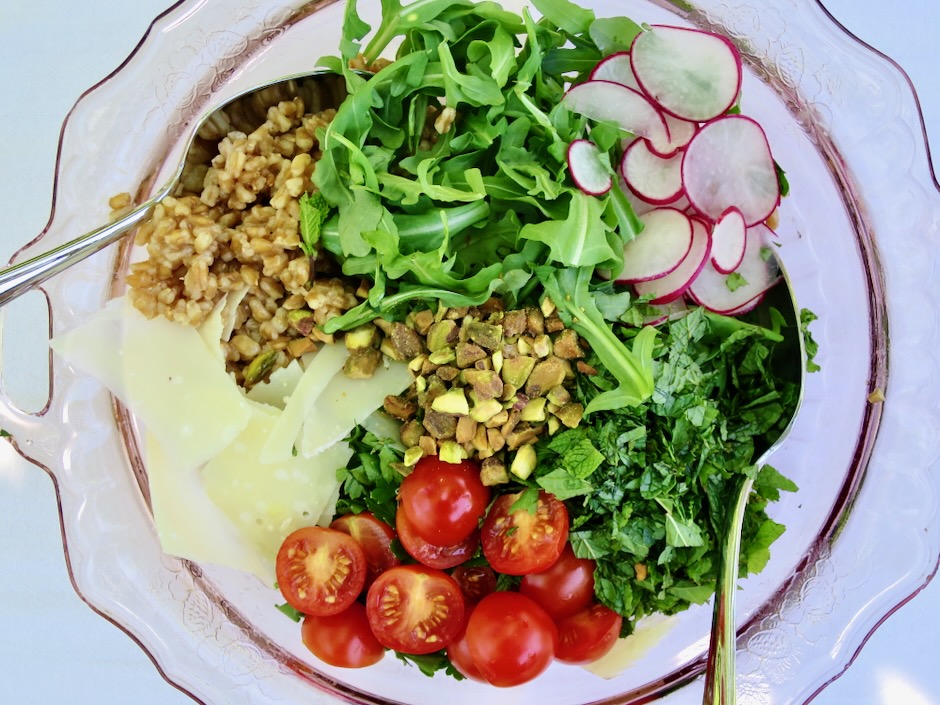
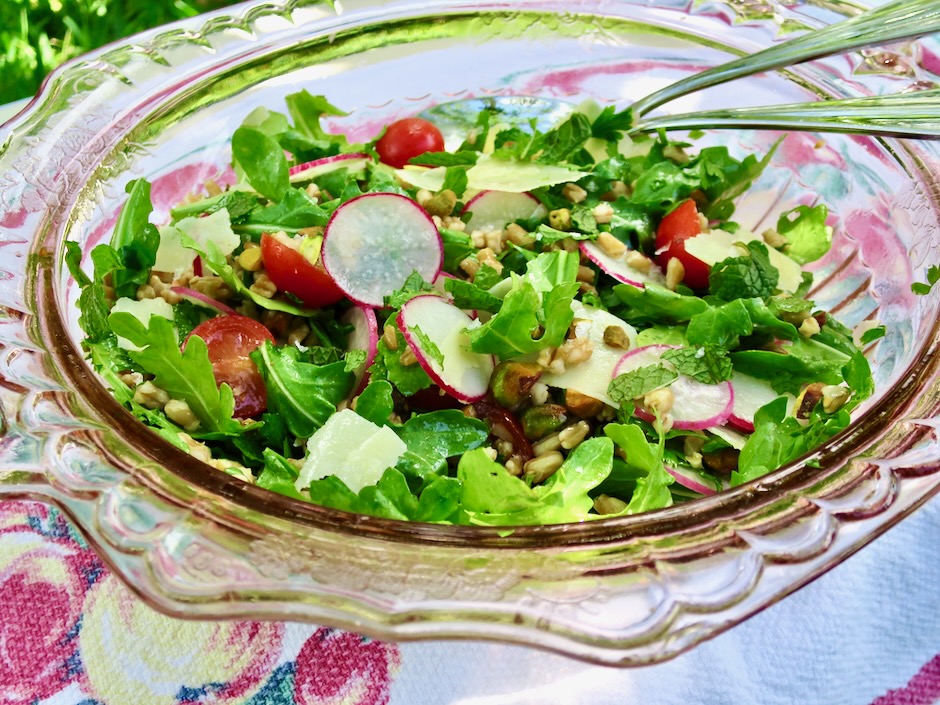
Serve the salad with good sourdough bread or focaccia and you’ll have the perfect meal.
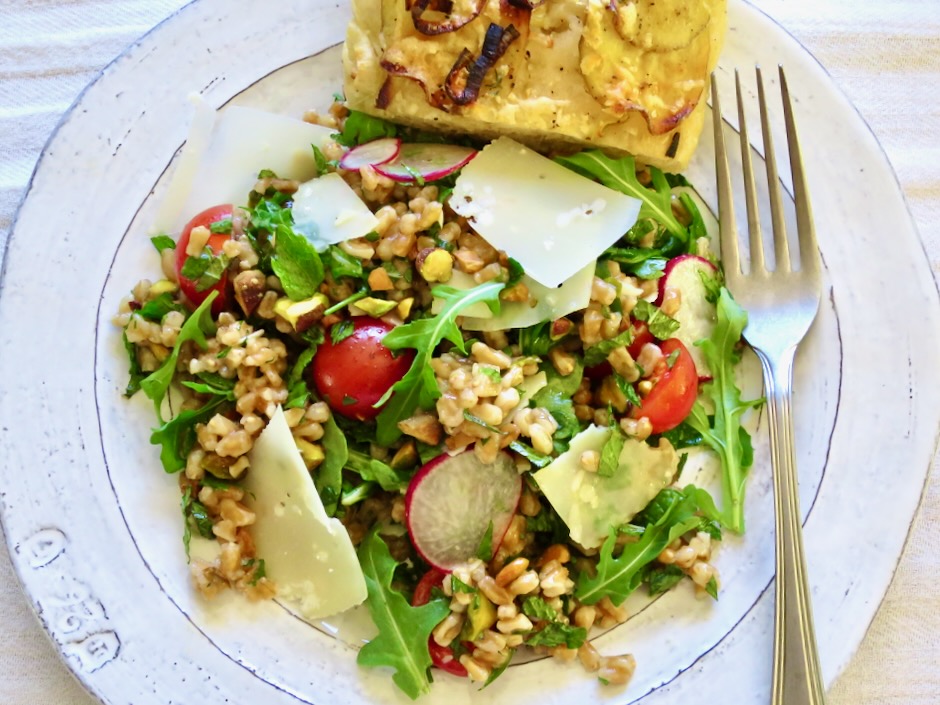
Charley Bird’s Farro Salad

Recipe by Kiyo
Servings

6

servings

Recipe adapted from NYT Cooking

Ingredients

  • 1 cup farro (I used semi-pearled)

  • 2 cups apple cider

  • 2 teaspoons kosher salt

  • 1 bay leaf

  • 5 tablespoons extra virgin olive oil

  • 2 tablespoons fresh lemon juice

  • 1/2 cup Parmigiano-Reggiano cheese, shaved with a vegetable peeler

  • 1/2 cup chopped pistachio nuts (I used roasted & salted)

  • 2 cups arugula

  • 1 cup flat leaf parsley, roughly chopped (can substitute with basil)

  • 1 cup mint leaves

  • 3/4 cup halved cherry or grape tomatoes

  • 1/3 cup thinly sliced radish (soak in ice bath for extra crispy slices)

  • Maldon or other flaky sea salt

Directions

  • In a medium saucepan, bring farro, 2 cups apple cider, 4 cups water, salt and bay leaf to a boil. Turn heat down (vigorous simmer) and cook farro until tender, about 25-30 minutes if using semi-pearled farro. See notes below for varieties of farro. Drain farro in a sieve, discard bay leaf. Spread farro out on a sheet pan to dry for 15 minutes. Farro can be cooked up to 4 days in advance or frozen for up to 3 months.
  • In a salad bowl, whisk together olive oil, lemon juice and a pinch of salt. Add farro, cheese, pistachio nuts, arugula, herbs, tomatoes, and radish. Gently toss together. Season with flaky sea salt before serving.

Notes

  • Cooking time will vary depending upon the type of farro you purchase (pearled, semi-pearled, whole). Follow cooking instructions noted on the package.
Bread, Breakfast, Lactose Free, Sandwiches, Vegan, Vegetarian

Homemade Almost Everything Bagels

December 1, 2020

Homemade Almost Everything Bagels

A few years ago I tried my hand at making bagels.  I experimented with several different recipes but none stood out enough to make again.  They were often beautiful bagels and we ate them all but I found some to be generally too chewy.  So I put bagel making aside until a few months ago when I took up the challenge again.  Good bagels are in a class of their own but they are hard to come by in the Islands.  Since there is nothing better than homemade bread which we make with considerable success, why not homemade bagels?

Overnight Bagel Dough

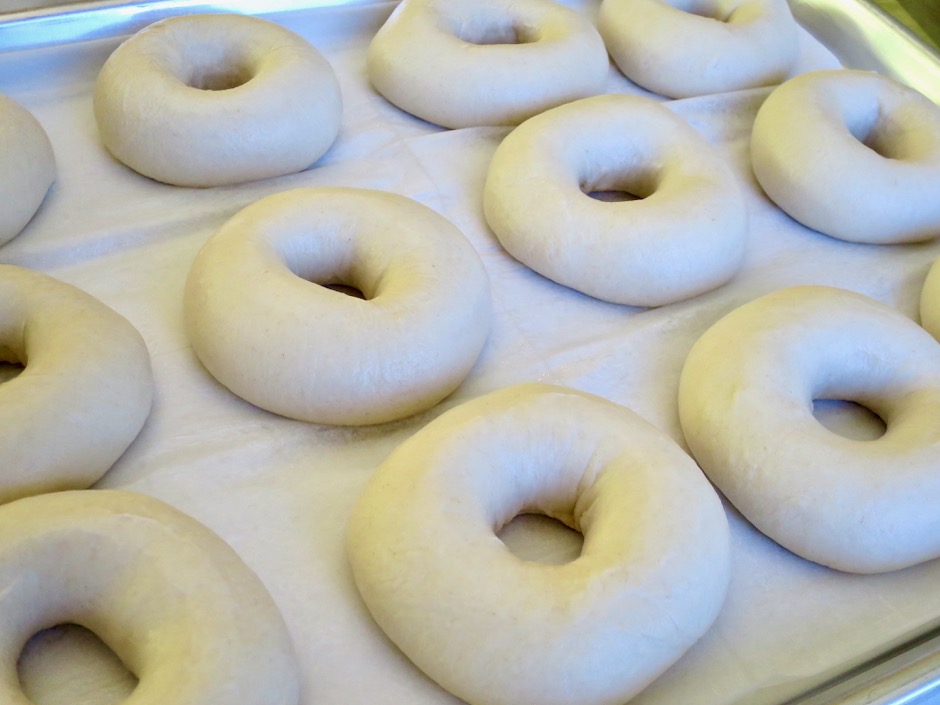
Making the dough is actually quite simple. Bagel dough is very stiff so a heavy duty stand mixer is a must for this recipe.  After shaping the bagels, they go into the refrigerator to proof overnight then are boiled and baked the following day.

Boiling Bagels

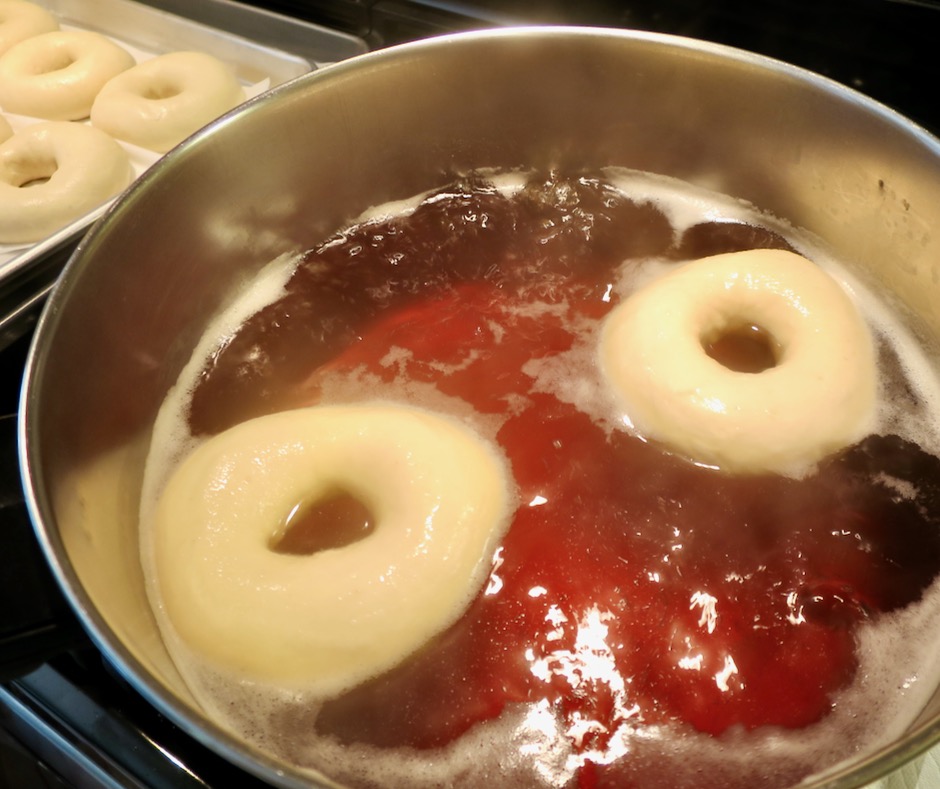
After testing different methods for boiling the bagels I found that the longer you boil them, the chewier they become once they have finished baking.  Many recipes call for boiling bagels for a minute on each side. My preference is to boil bagels for 10-15 seconds per side.  They puff up nicely and you’ll end up with bagels that have a perfectly soft yet chewy texture.

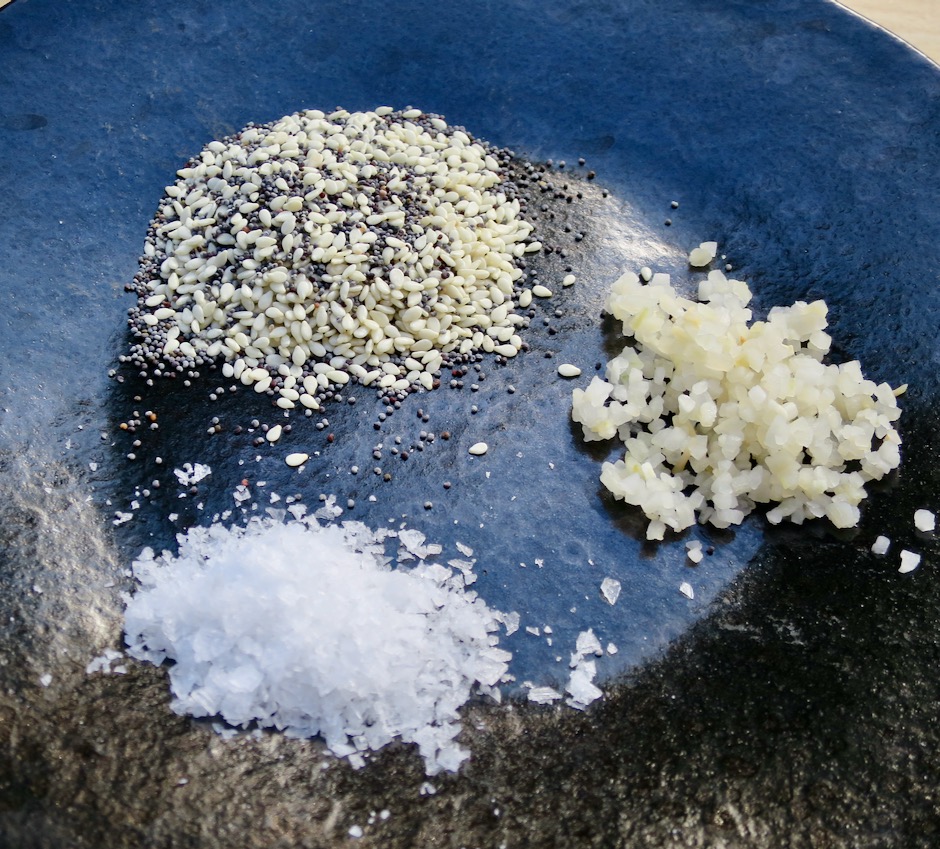
Toppings: Sesame Seeds, Poppy Seeds, Rehydrated Onions, Maldon Sea Salt

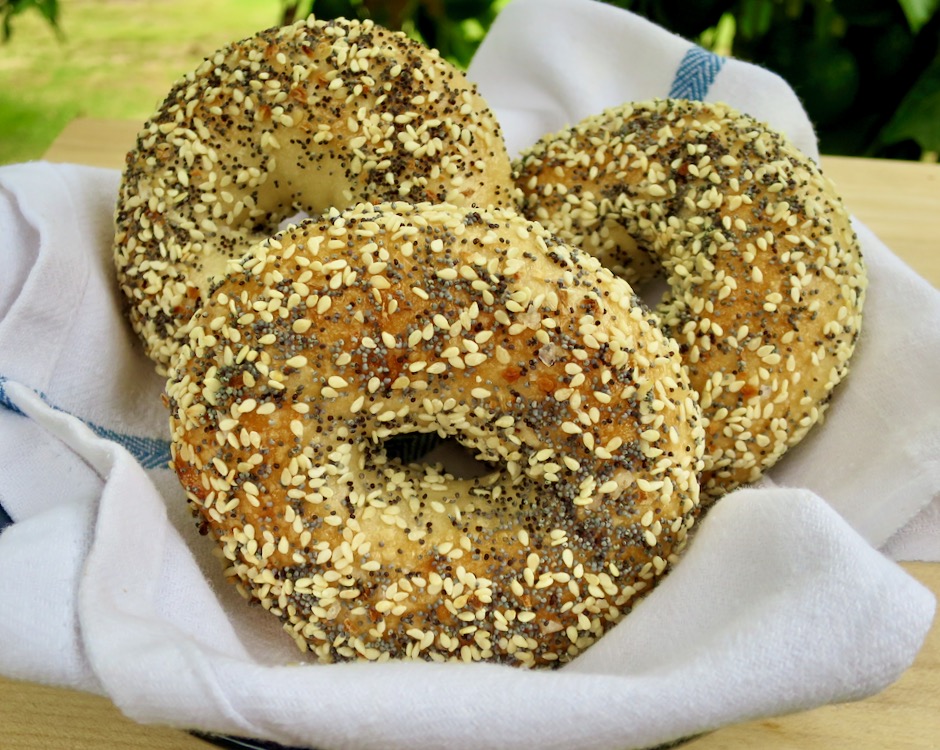
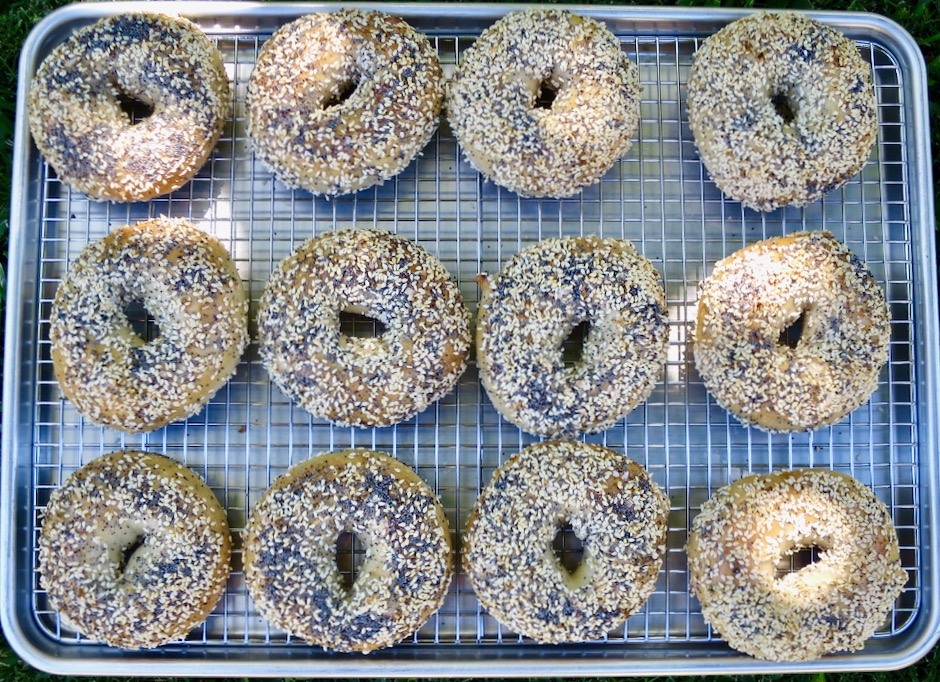
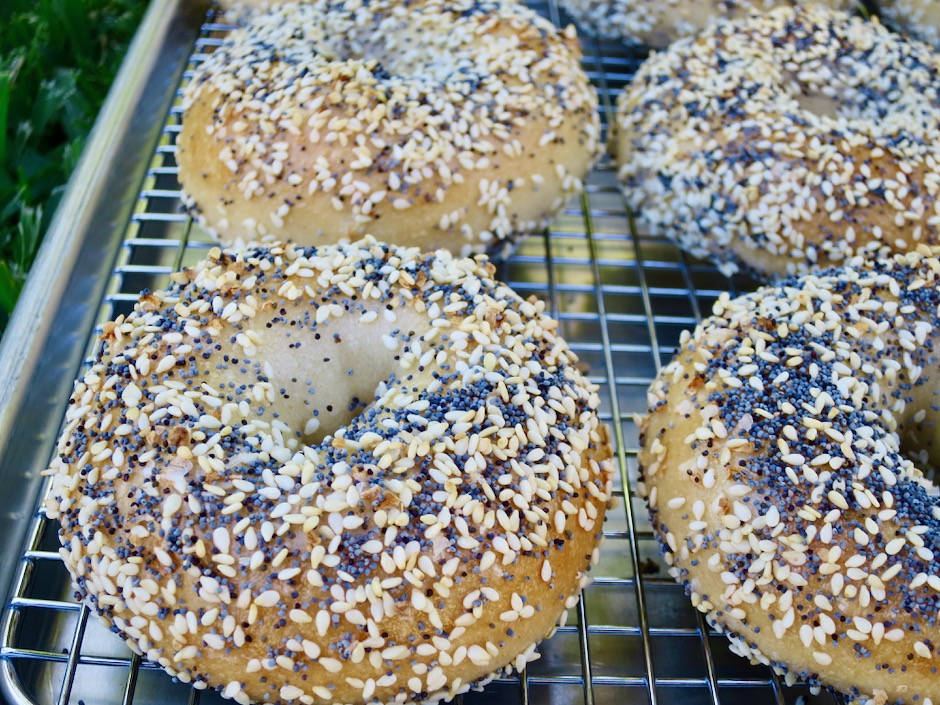
My “almost everything bagels” are generously coated on both sides with rehydrated dried minced onion, poppy seeds, sesame seeds and flaky Maldon salt.  Rehydrating the onions in hot water for a half hour keeps the onions from burning when the bagels are baking.

Homemade Almost Everything Bagels

Be generous with your toppings because inevitably, a few of the seeds will fall off when you slice the bagels.

Homemade Almost Everything Bagels

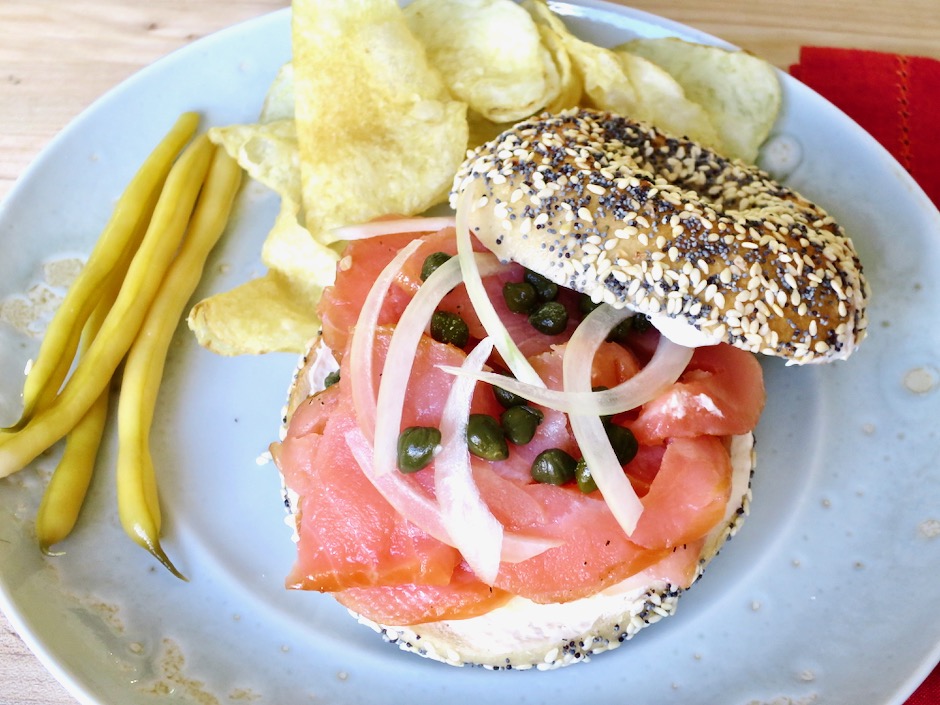
Homemade Almost Everything Bagel with Smoked Salmon

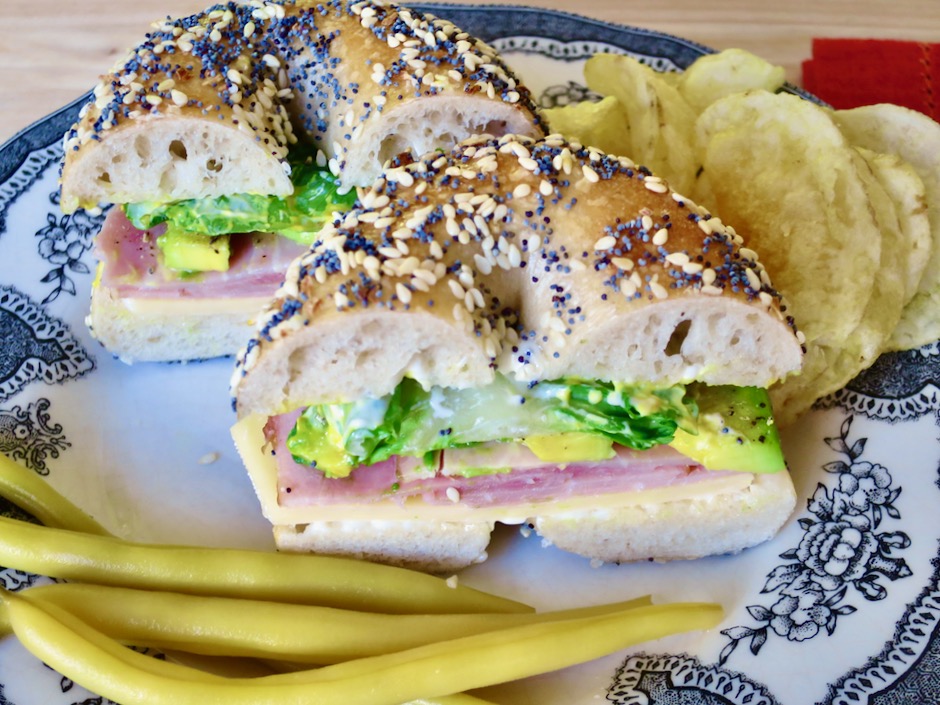
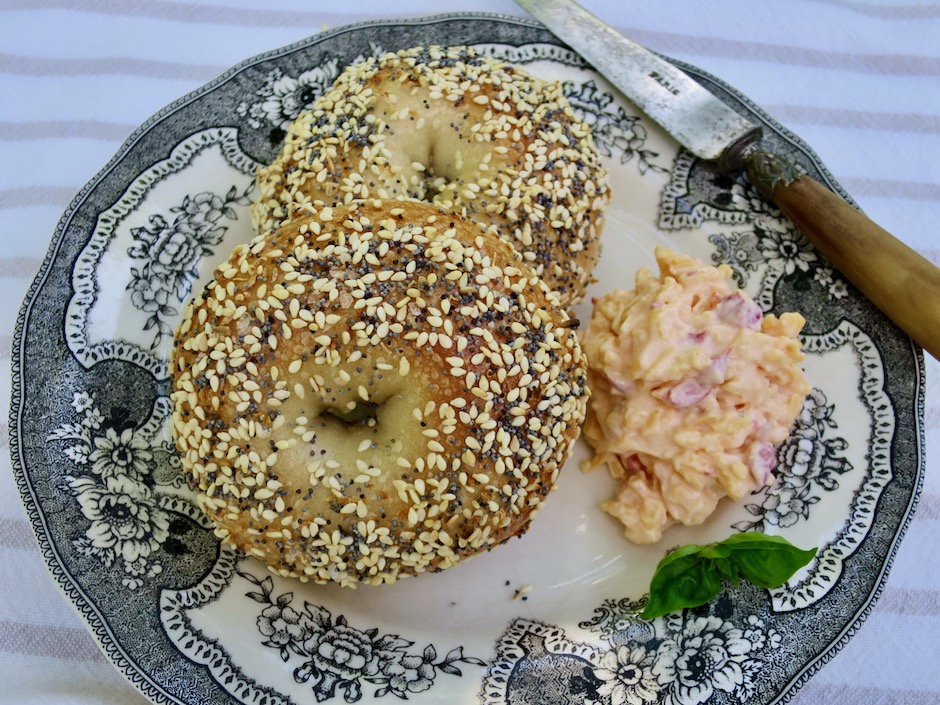
Bagels are superb served with smoked salmon, ham and cheese, avocado, pimento cheese or just butter.  According to bagel purists, toasting a bagel is verboten and that bagels should be eaten warm as they come out of the oven.  They are best eaten the day they are made.  So in my case, I freeze most of the bagels since there’s no way I can eat a dozen in a day.  When I am ready to have one, I take it out of the freezer to defrost, slice, and toast my bagel.  Then it’s ready for whatever toppings I want to add.  Sometimes just a few pats of butter does the trick.

Homemade Almost Everything Bagel with Cheddar, Ham & Avocado

Homemade Almost Everything Bagel with Pimento Cheese

Homemade Bagels
 
Author:
Serves: 1 dozen
Ingredients
  • 4 cups (623g, 22 ounces) King Arthur bread flour
  • 1½ teaspoons instant yeast (recommend SAF Red Instant Yeast, proofing is not necessary)
  • 1 tablespoon granulated sugar
  • 2 teaspoons fine sea salt
  • 2 teaspoons diastatic malt powder (available from Amazon)
  • 1½ cups (12 ounces) water
  • 1 tablespoon barley malt syrup (available from Amazon or local health food stores)
  • 1 tablespoon baking soda
  • egg white wash whisked until frothy
  • toppings of your choice
Preparation
  1. Special equipment: Heavy duty stand mixer, kitchen scale, parchment paper, 2 large sheet pans, diastatic malt powder, barley malt syrup, wide flat slotted spoon, kitchen timer, small pastry brush (silicone works great)
  2. Note: I use a half sheet pan and a quarter sheet pan to bake all 12 bagels at the same time on the center rack. If you use 2 large sheet pans, boil and bake 6 bagels at a time. Then continue with the second batch after the first 6 bagels have baked. It is a good idea to leave space between the bagels and not crowd them so they bake up nice and brown on all sides.
  3. Whisk flour, yeast, sugar, salt, and barley malt powder in the bowl of a stand mixer. Pour in water. With mixer on low speed (#2 on my KitchenAid), mix until dough starts to come together, about 4-5 minutes. Use a spatula to scrape down the sides to ensure all of the flour gets mixed in well. Bagel dough is very stiff, however, if the dough seems too dry, add a teaspoon of water.
  4. Increase the speed (#3 on my KitchenAid) and set a timer for 5 minutes and knead dough until it is cohesive and smooth. Remove dough and weigh it. Then divide it into 12 equal portions for small bagels, 10 for larger bagels. As you work, cover the dough pieces with plastic wrap or a clean kitchen towel to prevent drying. Working with 1 piece at a time, shape the dough into a smooth ball. Pinch the dough together on the bottom of the ball. Again, cover with plastic wrap to prevent drying and continue with the rest of the dough. Let the dough balls rest for 5 minutes, covered.
  5. To shape the dough, place dough round on the counter, push your index finger into the center of each dough round so that it goes all the way through. Twirl the dough between your two index fingers to create a hole about 1½-inches wide. Place shaped bagels on a baking sheet lined with parchment paper that has been lightly oiled. Cover with plastic wrap and refrigerate overnight.
  6. Preheat oven to 500 degrees with rack in center.
  7. Have ready: A thick layer of paper towels on the counter to place the boiled bagels on and a large piece of parchment paper for transferring bagels once dry (they will stick on paper towels if left too long). Have a second sheet pan lined with parchment paper ready and all of your toppings (if using) plus egg wash. Remove bagels from the refrigerator.
  8. Fill a large wide pot or Dutch oven with at least 6-inches of water. Bring water to a boil. Add barley malt syrup and baking soda. Give it a quick stir, skim off most of the foam. Working with 2-3 bagels at a time, gently place bagels in boiling water and set timer for 20 seconds. After 10 seconds have passed, gently flip bagels over for another 10 seconds. Immediately transfer bagels to paper towels using a wide, flat slotted spoon. Then transfer to parchment paper. Continue with the rest of the bagels.
  9. If you are adding toppings to your bagels, brush bottom side of bagel first with egg wash. Sprinkle toppings over the dough, flip bagel and repeat the process. Transfer to the parchment lined baking sheet. Continue with the rest of the bagels. You may choose to leave some of the bagels plain or simply coat with sesame seeds or other toppings of your choice. Place bagels in oven and reduce heat to 450 degrees. Bake bagels (rotate pan halfway through) for about 14 minutes or until bagels are nicely browned. Let bagels cool a bit before slicing.


Bread, Dinner, Italian, Lactose Free, Recipes

Fresh Herbs & Onion Focaccia

April 9, 2020

Fresh Herbs & Onion Focaccia

I saved this focaccia recipe from a 1996 Food & Wine magazine (yes 24 years ago!).  Over that period, I  have made it quite a few times, but not for several years.  So with extra time on my hands (and a nudge from John) I decided to bake this beautiful focaccia last weekend. The dough rises quickly and smells divine even before it is formed and baked. This recipe has been fool-proof, turning out perfectly time after time.

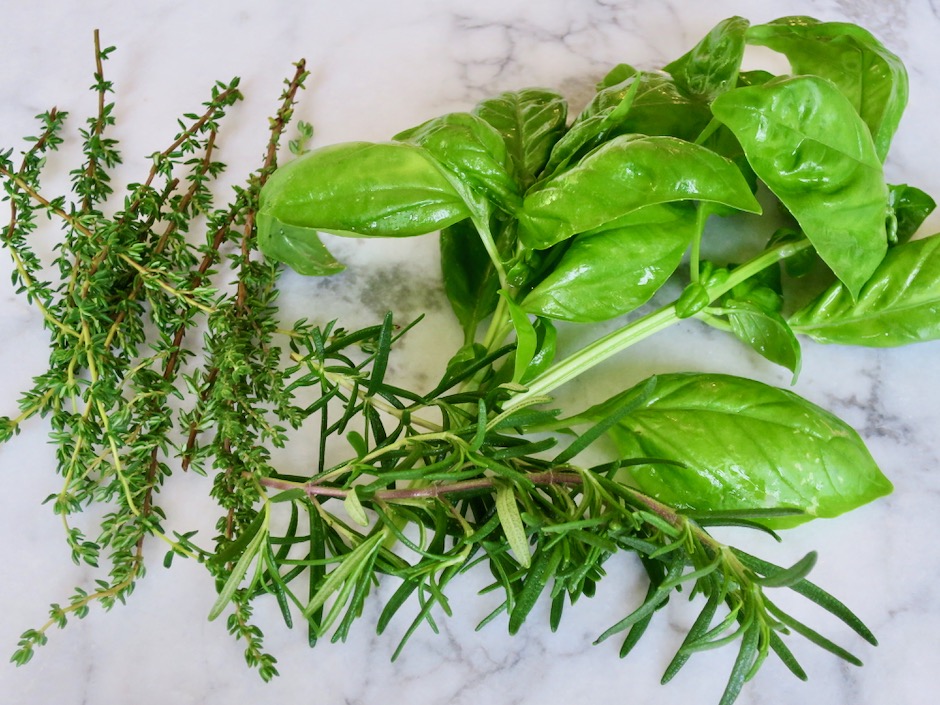
Fresh Thyme, Rosemary & Basil

Luckily if you don’t grow your own herbs, you can find them easily in any market.

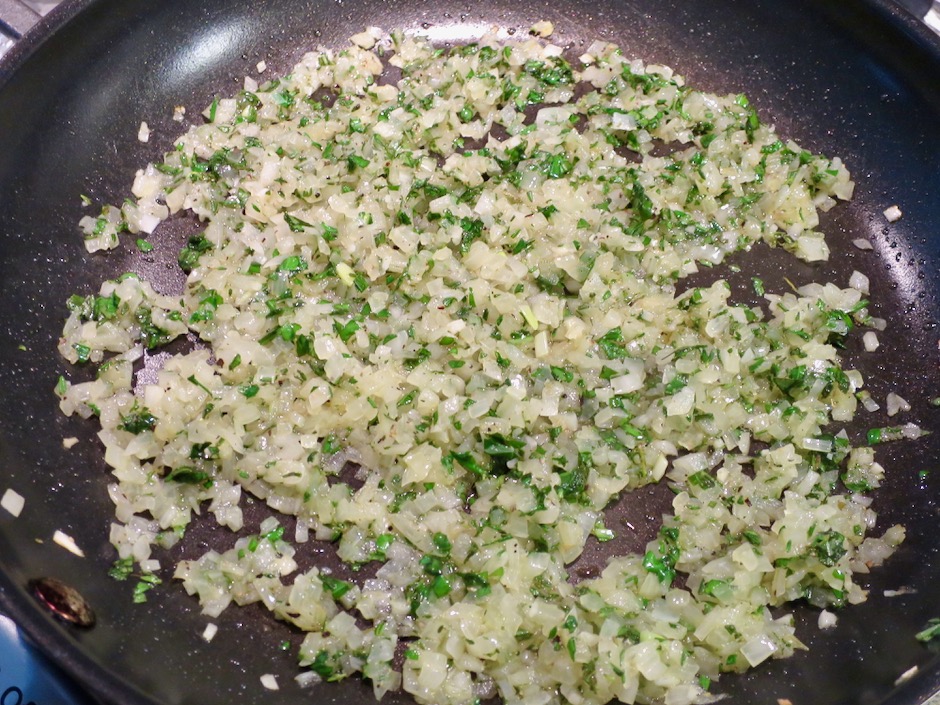
Onion, Garlic, Fresh Thyme, Rosemary & Basil

A cup of minced onion is cooked in a bit of olive oil and the fresh herbs are added to the onions before being mixed into the dough.  Don’t skip this step.  The few minutes it takes to mince the onion and herbs and sauté until slightly softened will be well worth your time.

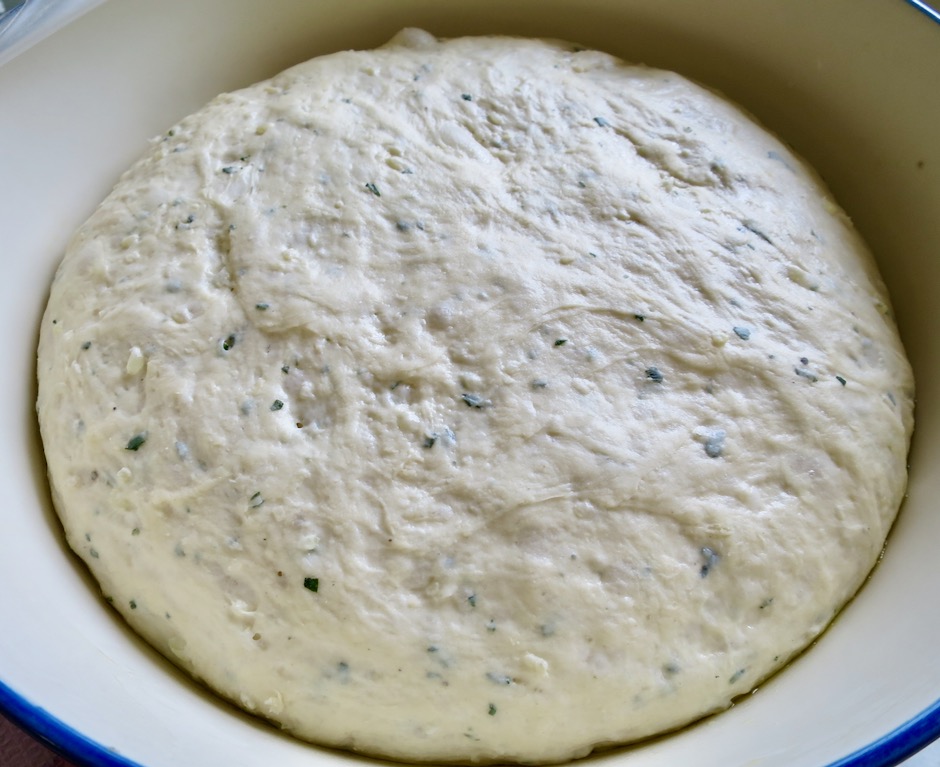
Billowy Fresh Herbs & Onion Focaccia Dough Rising

I used rapid rise (bread machine) yeast so the dough doubled quickly, in about an hour.  If you use regular active dry yeast, the rising time could take up to 2 hours. Either of these is fine.

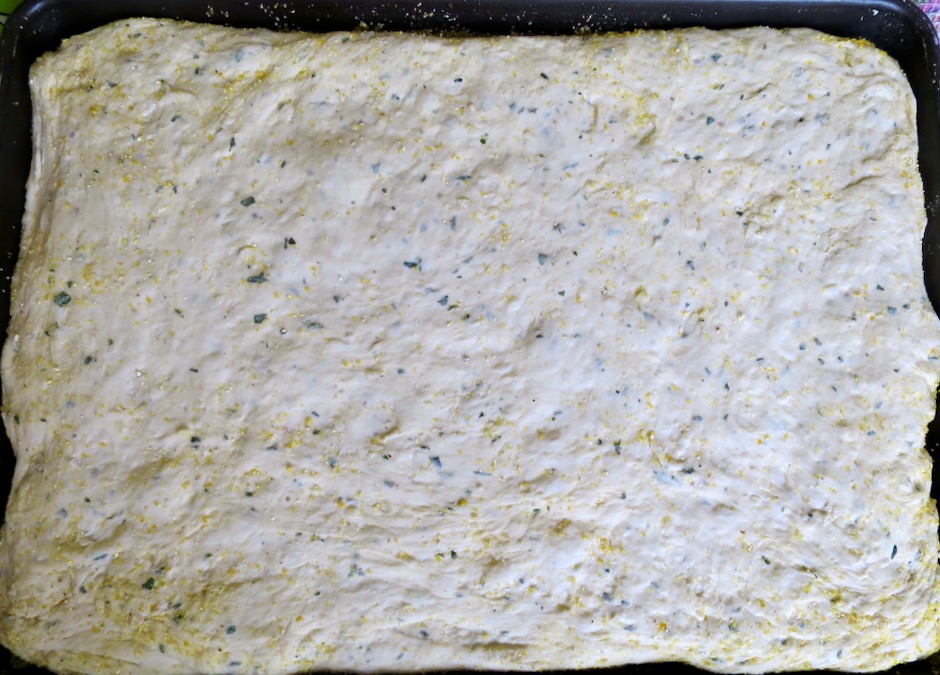
Fresh Herbs & Onion Focaccia Dough in Baking Pan

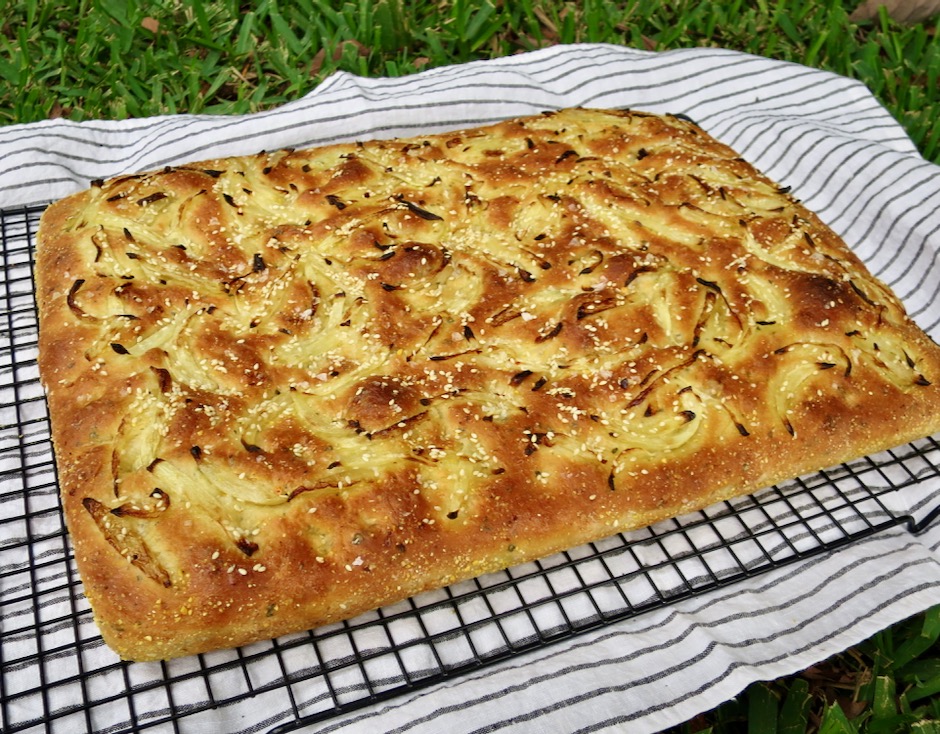
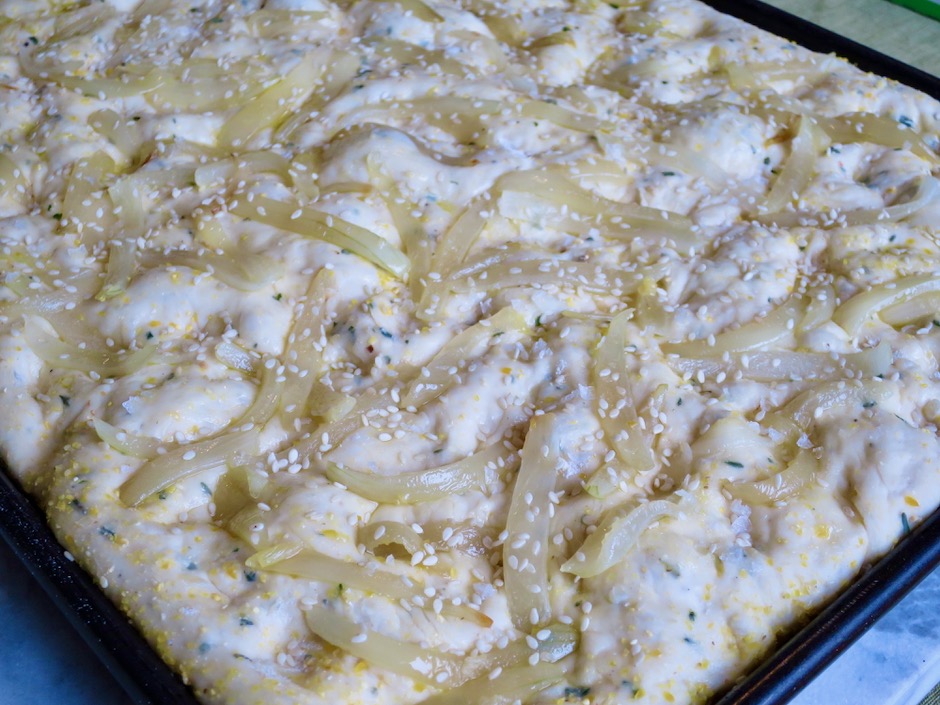
The dough rises until it has doubled in bulk.  You will then punch down the dough and let it rise again for another 45 minutes or so.  Now it is ready to be shaped and placed in your pan.  Along with the onion that is incorporated in the dough, extra slivers of softened onion are added on top with raw sesame seeds and Maldon salt.  Chili flakes, poppy seeds, more fresh herbs, and olives are other options.   Or leave it plain with just a sprinkling of coarse salt.

Fresh Herbs & Onion Focaccia Dough in Baking Pan with Sautéed Onion Topping

The dough is billowy and soft, and flecked with herbs.

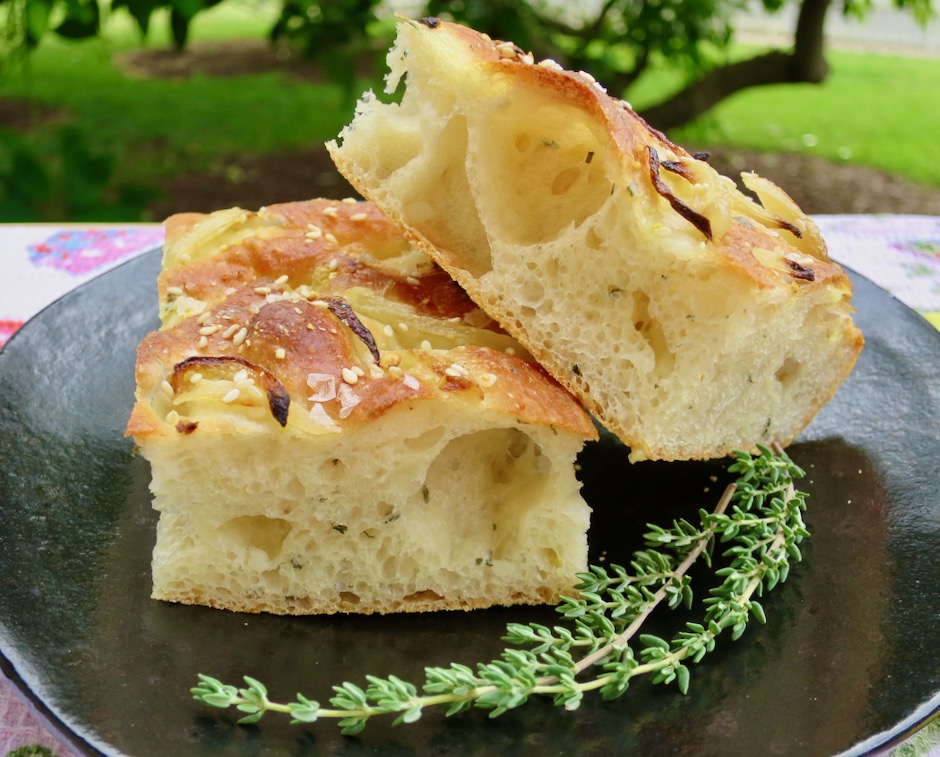
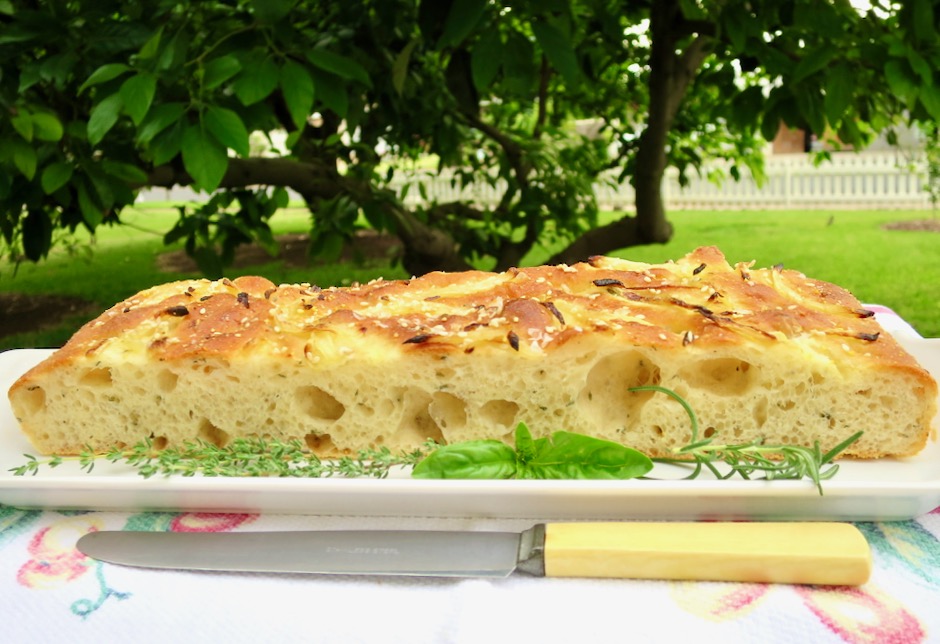
Fresh Herbs & Onion Focaccia

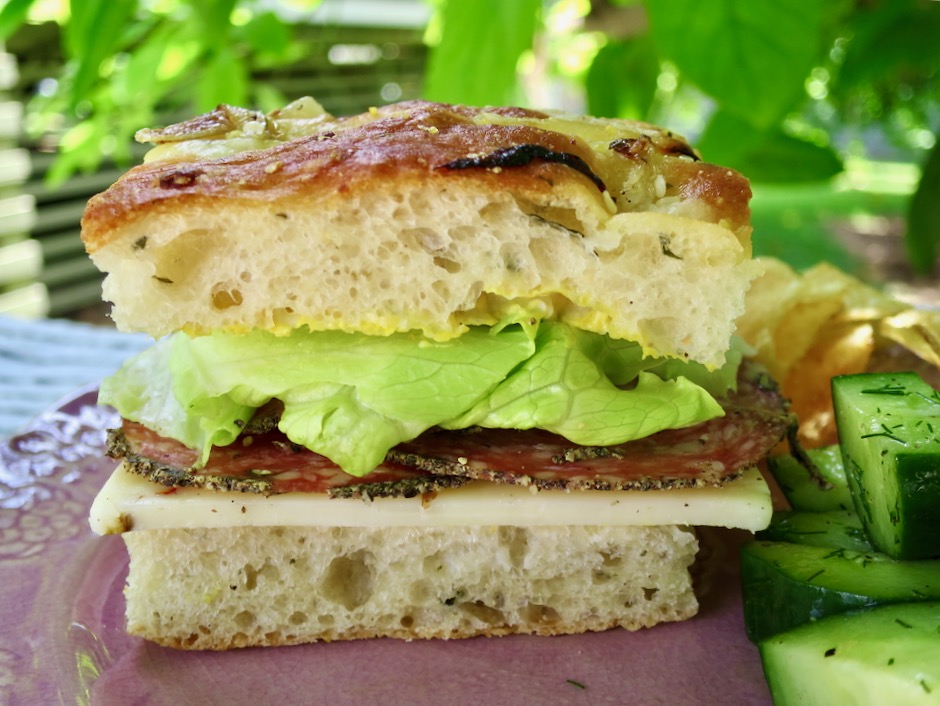
Beautiful focaccia with a light open crumb makes for a tender bread that is perfect with your favorite Italian meal or split and used for salami and cheese sandwiches.  This is the reason I saved my old favorite.

Peppered Salami & Pepper Jack Cheese on Focaccia Bread

Fresh Herbs & Onion Focaccia

Fresh Herbs & Onion Focaccia
 
Adapted from Food & Wine Magazine
Author:
Serves: 17x13-inch focaccia
Ingredients
  • Fresh Herbs & Onion:
  • 3 tablespoons extra virgin olive oil, plus more for brushing
  • 1 cup (packed) minced yellow onion
  • 1 medium garlic clove, minced
  • ¼ cup finely chopped fresh basil
  • 1 tablespoon minced fresh thyme
  • 2 teaspoons minced fresh rosemary
  • freshly ground black pepper
  • Dough:
  • 1½ cups lukewarm water (105-115 degrees)
  • 1 cup lukewarm 2% lactose free or regular milk (105-115 degrees)
  • 1 scant tablespoon table salt
  • 2 teaspoons sugar
  • (1) ¼ ounce envelope rapid rise yeast (also known as bread machine or instant yeast - 2¼ teaspoons)
  • 6½ cups bread flour (spoon & level measuring method)
  • cornmeal for dusting
  • Topping:
  • 1 large onion, sliced into thin wedges and separated into strips
  • Raw sesame seeds
  • Maldon sea salt for sprinkling
  • olive oil
Preparation
  1. For the herbs & onion mixture: Heat olive oil in a medium skillet over moderate heat. Stir in the onion and garlic, reduce the heat to low and cook until softened, about 4 minutes. Add the herbs and a generous amount of pepper and cook for 1 minute. Transfer to a large bowl. Stir in the water, milk, salt and sugar.
  2. Measure bread flour into a medium bowl, add yeast and whisk together.
  3. Stir flour 1 cup at a time into the herb-liquid mixture until the dough becomes too stiff to stir. Turn out the dough onto a lightly floured work surface. Knead the dough until smooth, supple and elastic, about 5 minutes, kneading in only as much flour as necessary to keep the dough from sticking.
  4. Generously grease a large bowl with olive oil. The dough is very lively and will double in size so use the largest bowl you have. Transfer the dough to the bowl and turn to coat with the olive oil. Cover the bowl with plastic wrap and a kitchen towel. Set aside in a warm draft-free spot until doubled in bulk, about 1 to 1½ hours.
  5. While the dough is rising, sauté the onion slices for the topping in a bit of olive oil on medium-low heat until just softened, about 4 minutes or so. Don't let them brown or soften too much as they will cook again in the oven.
  6. Once doubled in bulk, punch down the dough. Re-cover the bowl and let rise again until doubled, about 45 minutes to 1 hour.
  7. Brush olive oil over the bottom and sides of a 17-by-13-by1-inch dark heavy aluminum baking sheet (I use my jelly roll pan). Sprinkle cornmeal on the pan and tap out excess.
  8. Punch down the dough and turn it onto a cornmeal-dusted work surface. Turn the dough over and over to coat lightly with cornmeal and shape into a large, rough rectangle. Lift the dough and place in the prepared pan. Don't worry if it loses its shape in the transfer, it is very forgiving. Gently pull, push and pat the dough so it fills the baking sheet. Let the dough rise uncovered in a draft-free spot until billowy, 45 minutes to 1 hour.
  9. While dough is rising, preheat oven to 450 degrees with the rack positioned in the bottom third. If using a baking stone, place on the rack and heat for at least 30 minutes.
  10. Scatter the sautéed onions evenly over the top of the dough. Dip your fingers in olive oil and make many deep indentations in the dough, pressing sautéed onion strips into the dough gently. Brush lightly with olive oil. Sprinkle with sesame seeds and Maldon sea salt.
  11. Place the baking sheet in the oven (on the baking stone if using) and bake for about 20 minutes until the edges are crisp and the focaccia is a deep golden color. Remove from the oven and brush extra virgin olive oil (optional) over the top. Using a large metal spatula, slide focaccia onto a large rack to cool.
  12. Let cool before cutting into pieces with a bread knife. Leftover focaccia can be frozen in Ziploc freezer bags.


Follow

Get every new post delivered to your Inbox

Join other followers: