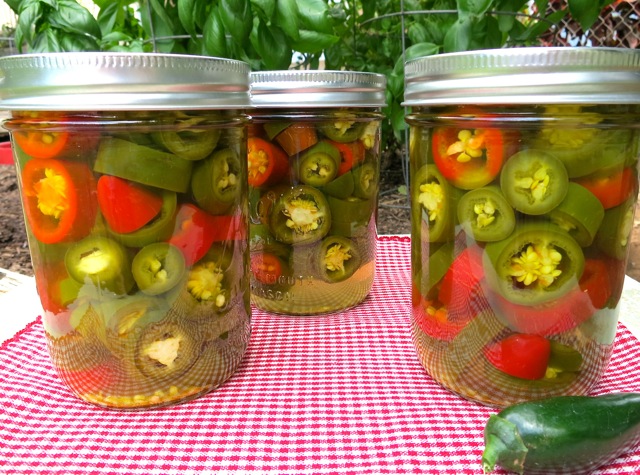
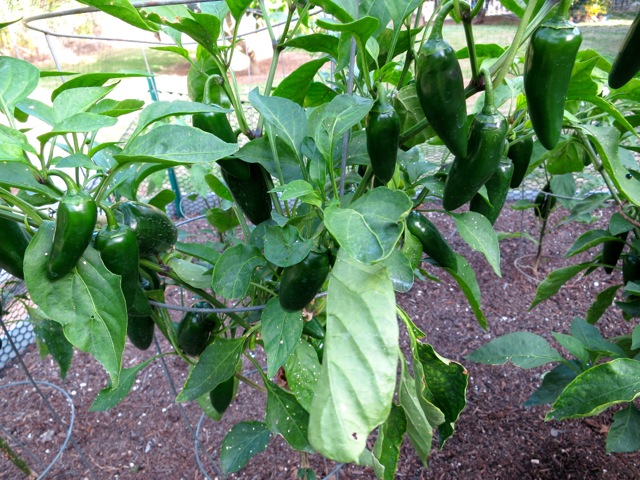
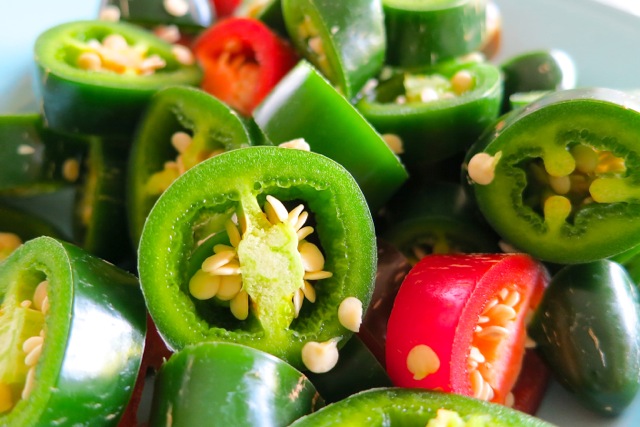
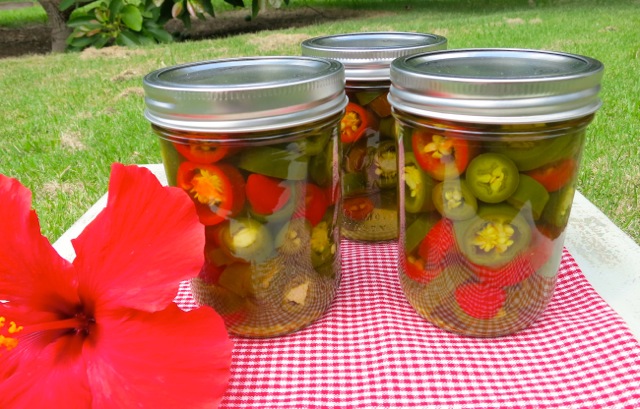
 We love jalapeños. They seem to thrive in the Maui heat. Apparently hot climates produce hot peppers! The red peppers are the fully mature stage of the jalapeño and add beautiful color mixed with the younger green jalapeños.
 We now have 10 jalapeño plants in the garden. We make both pickled nacho rings and jalapeño hot sauce .
Pickled Jalapeños
Makes 4 pint jars
Ingredients
2 pounds fresh jalapeño peppers
2 1/2 cups white vinegar
2 1/2 cups water (distilled or filtered)
5 teaspoons pickling salt
1/4 teaspoon turmeric
1 1/4 teaspoons calcium chloride (Ball brand Pickle Crisp)
4 2-inch sprigs fresh Mexican oregano (optional)
Preparation
Wash jalapeños and slice into 1/4 to 1/3 inch rings. It’s a good idea to wear disposable gloves when cutting peppers. Divide sliced peppers into 4 equal portions.
Wash jars and place them in boiling-water canner. Fill the jars and canner with water to the top of the jars. Cover and bring water to a simmer over medium heat, do not boil. Prepare the two-piece closures. Wash lids and place in a small saucepan and cover with water. Heat to just a simmer but do not boil. Do not heat screw bands.
In a medium-sized saucepan add remaining ingredients except oregano sprigs. Bring to a boil, then simmer for 5 minutes on low heat.
Lift the canner jar rack and fix into place on the rim of the canner. Remove one jar at a time and empty hot water back into the canner. Place jar on a cutting board. Place a canning funnel in the jar. Add 1 oregano sprig to the jar, pack jar with portioned jalapeño rings. Ladle hot brine into jar leaving 1/2-inch head space. Remove air bubbles (with a chopstick or similar utensil) and adjust head space, if necessary, by adding more brine. Wipe jar rim. Using a magnetic utensil, lift hot lid from water, center it on the jar and place screw band on jar. Tighten screw band evenly and firmly just until resistance is met. Then increase to fingertip tight. Do not over tighten. Return jar to canner rack. Continue filling jars individually until all jars are filled, lower rack into canner and ensure that all jars are covered by 1 inch of water. Cover canner and bring water to a full boil over high heat. Process for 10 minutes, starting timer only when water reaches a full boil. Turn off the heat, let jars sit in pot for 5 minutes.
Remove jars from water, and let stand, undisturbed, at room temperature 24 hours. To check seals, remove the bands, and press down on the center of each lid. If the lid doesn’t move, the jar is sealed. If the lid depresses and pops up again, the jar is not sealed. In the event that a jar does not seal, simply refrigerate it. Store properly sealed jars in a cool, dark place up to 1 year (date your jars on the bottom with a Sharpie pen) Refrigerate after opening.


