Browsing Tag

Homemade Nacho Rings

Dinner, Grill, Mexican, Recipes, Salad, Side Dishes

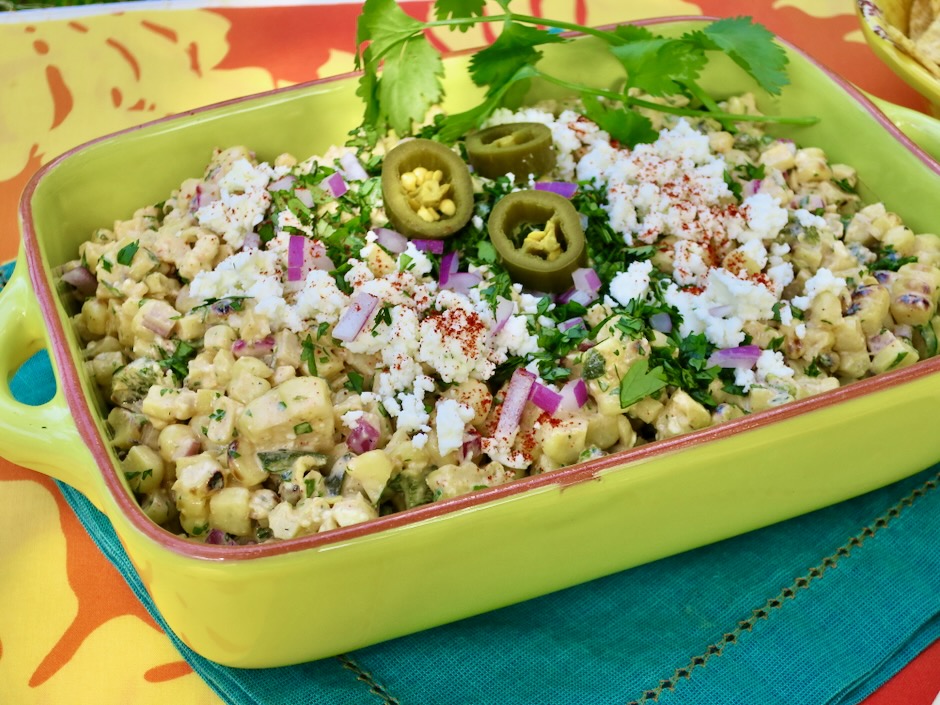
Mexican Corn Salad

November 16, 2022

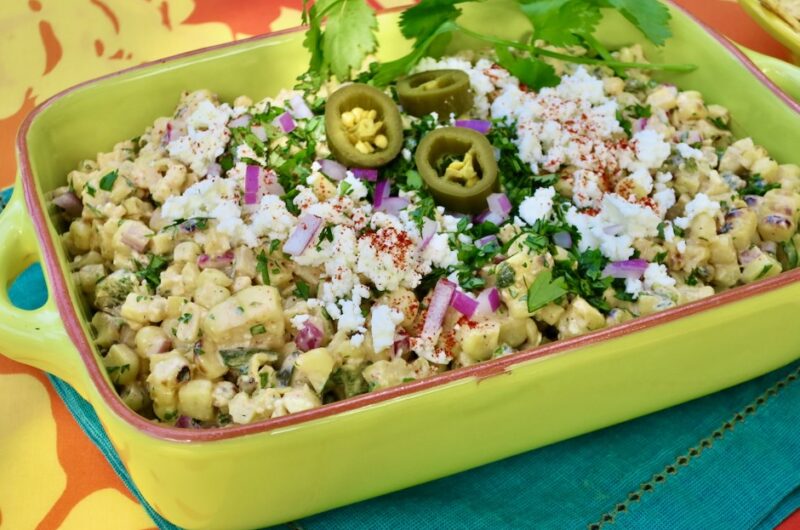
Mexican corn salad, also known as Esquites (Mexican street food snack using corn kernels as the main ingredient) is ideal for serving alongside burritos, quesadillas, tacos, grilled chicken, avocado and tomato sandwiches or simply as a meal in itself. The combination of flavors and textures make this a standout side dish and a lively addition to any meal. Crisp charred corn, creamy dressing, tangy feta cheese, a bit of heat from the peppers. Pure deliciousness.
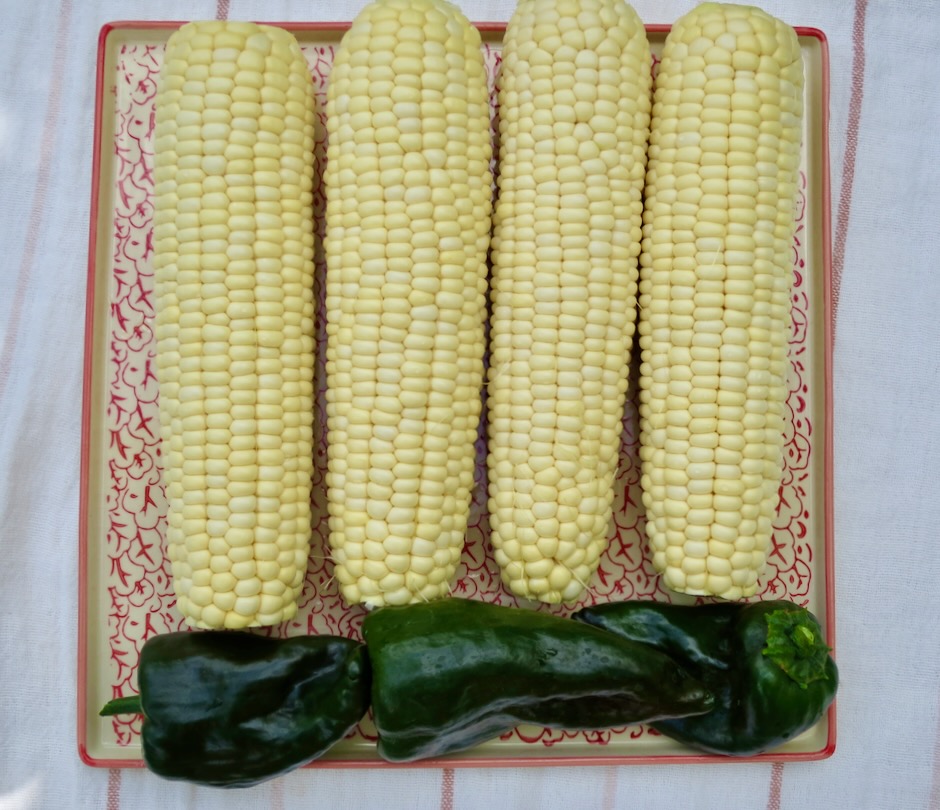
When I see fresh corn at the market with nice green husks and no sign of deterioration, I usually buy a few ears to grill and eat right away as corn loses sweetness when stored in the refrigerator for too long. On this occasion, I bought 4 ears with the intent of making this delicious salad which keeps well for several days and is perfect to pack up for a picnic.
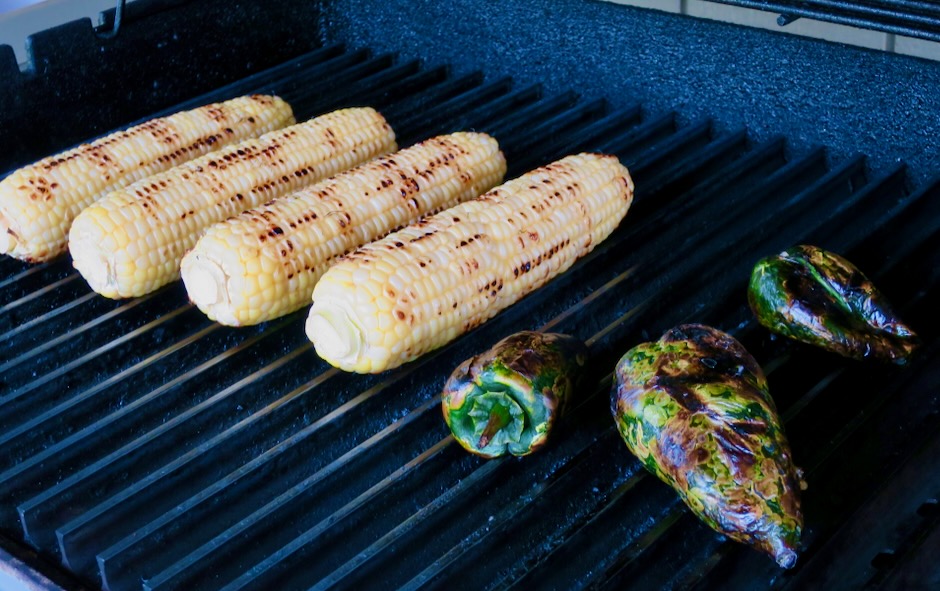
Grilling the corn and peppers adds another dimension of flavor to the salad. Those smoky, charred bits of corn kernels and peppers are hard to resist. If you don’t have a grill, you can use a stovetop grill pan instead.
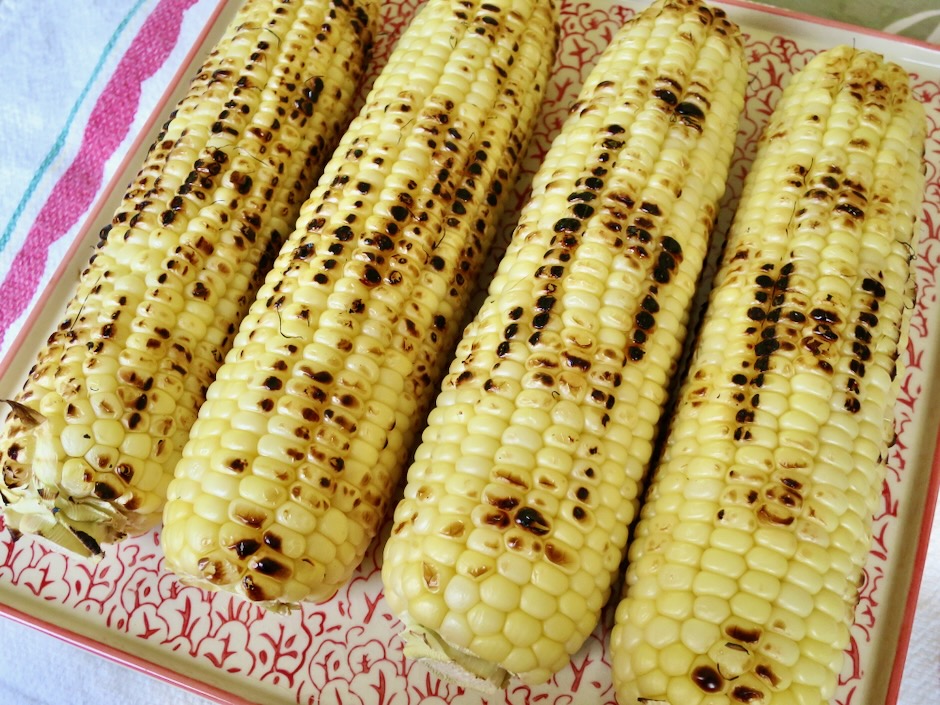
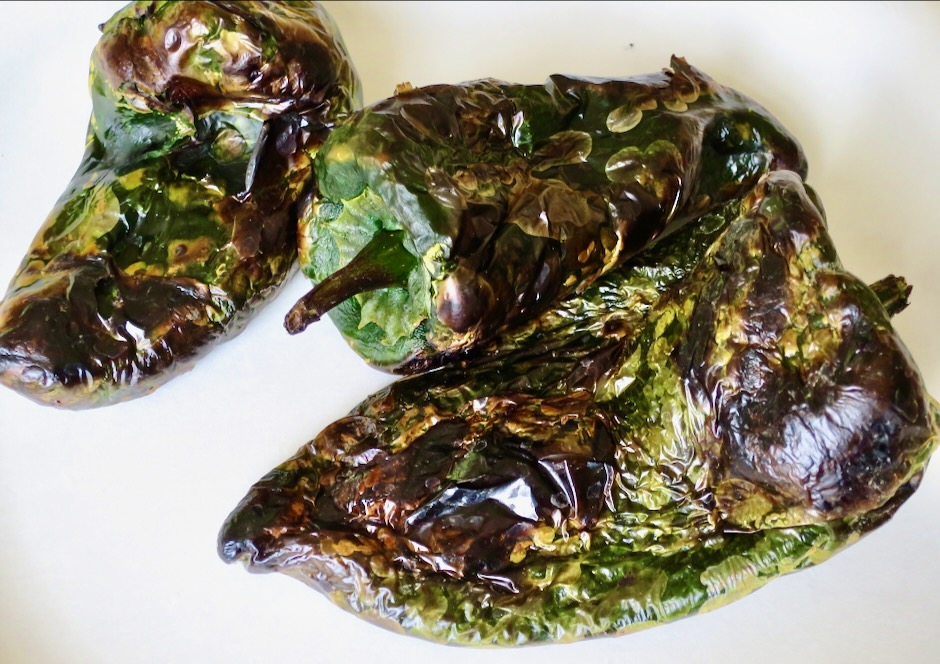
I picked a few small poblano peppers from the garden and grilled them with the corn. The charred peppers smell divine and add a mild heat to the salad.
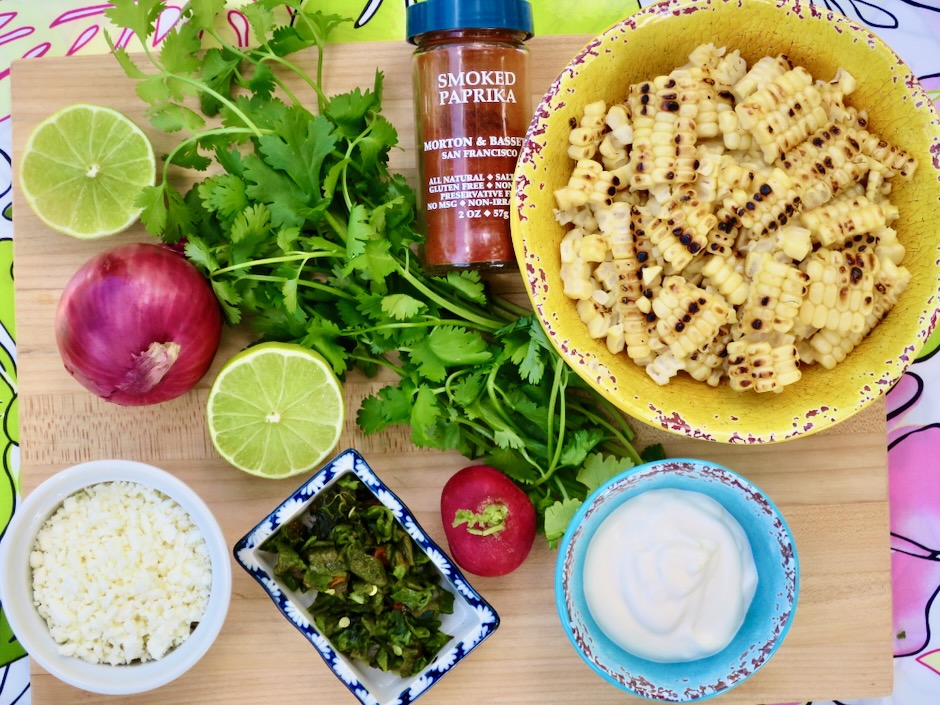
Mt. Vikos feta is a favorite of mine but feel free to use cotija cheese. The radish is optional but adds color and crunch to the salad. All of the ingredients are easily found at your local market. I always keep a jar of smoked paprika on hand. It perks up every dish you add it to.
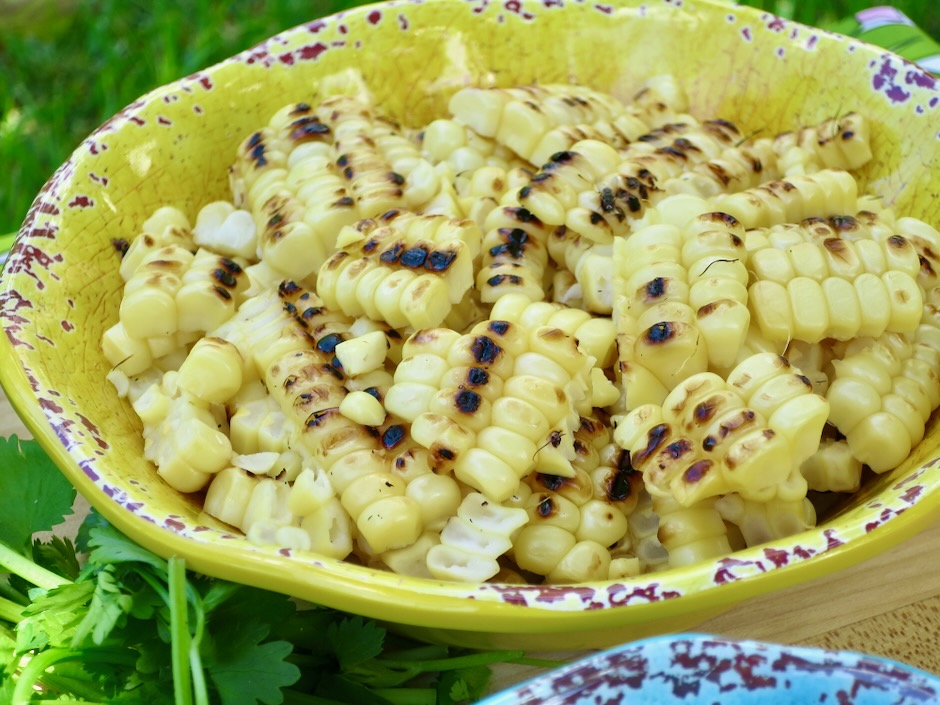
The charred corn kernels are so tasty….
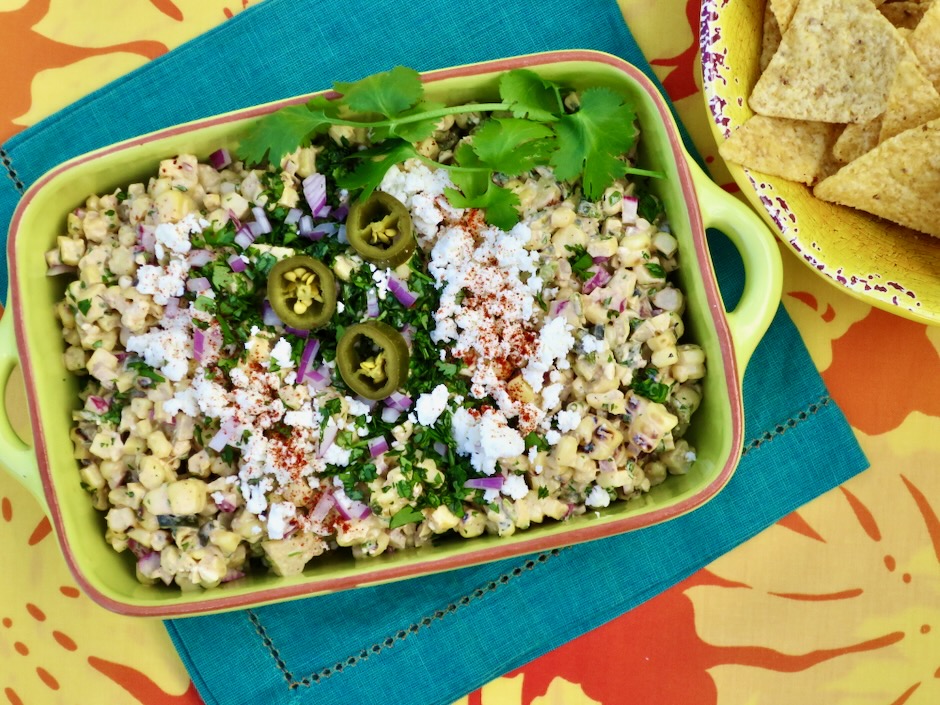
Mexican Corn Salad

Recipe by KiyoCourse: Recipes
Servings

4

servings

Ingredients

  • 4 ears fresh corn, husks and silk removed

  • 1 medium poblano pepper

  • 2 tablespoons + 2 teaspoons red onion, chopped

  • 1 red radish, chopped (optional)

  • 1/3 cup finely chopped cilantro (reserve 1 tablespoon for serving)

  • 2 ounces Mt. Vikos feta, crumbled or substitute with cotija cheese

  • 2 tablespoons mayonnaise

  • 3 tablespoons sour cream

  • 3 tablespoons fresh lime juice

  • 1/2 teaspoon smoked paprika

  • 1/4 teaspoon mild chile powder

  • 1/2 – 3/4 teaspoon kosher salt

  • sweet paprika or smoked paprika for topping

  • pickled jalapeños for garnish (optional)

Directions

  • Grill corn and poblano pepper over high heat, turning occasionally for even cooking. Remove poblano pepper once it is fully charred. Remove corn when there are patches of charred kernels. Set aside.
  • Meanwhile, mix mayonnaise, sour cream, lime juice, smoked paprika, chile powder, and salt in a small bowl.
  • Once corn has cooled, slice off kernels and place in a medium bowl. Remove skin from poblano, chop into small pieces and add to corn. Poblanos can vary in heat but are typically on the mild side. Add as much as you want according to your taste. Add 2 tablespoons red onion, chopped radish if using, and cilantro (reserve 1 tablespoon cilantro for serving). Stir in the dressing making sure to evenly coat the vegetables. Taste, adding more salt if needed.
  • Transfer salad to a shallow serving dish. Distribute feta over the top. Add reserved red onion and cilantro and sprinkle paprika over the feta cheese. Top with pickled jalapeño rings.

Notes

  • Salad can be made a day in advance. Add cilantro topping just before serving. Salad will keep well for up to 3 days stored in the refrigerator.
Canning, Mexican, Pickles, Recipes, Veggies

Jalapeño Nacho Rings

June 7, 2014

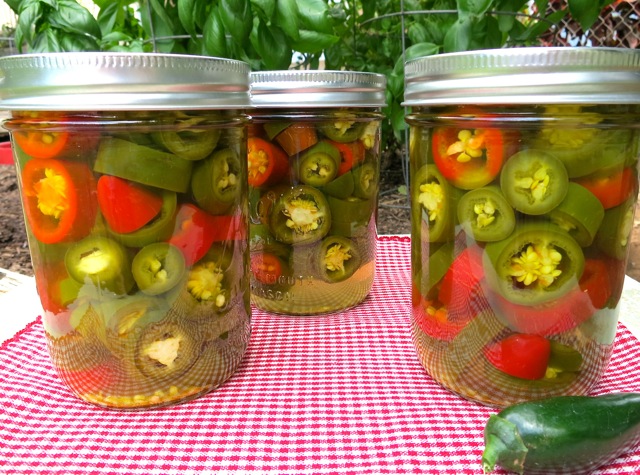
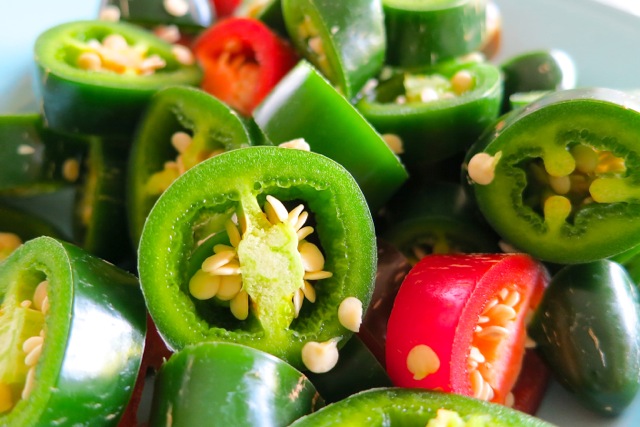
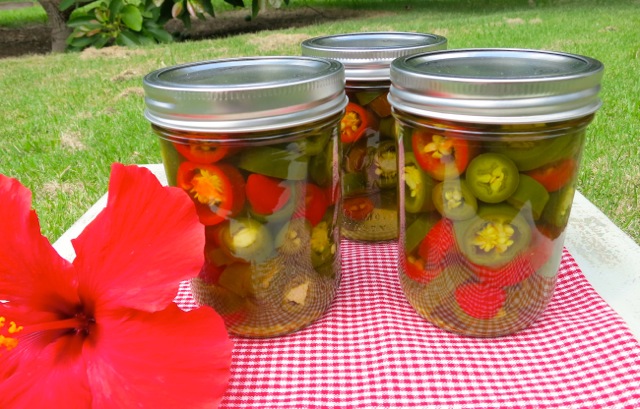
Jalapeño Nacho RingsWe love jalapeños.  They seem to thrive in the Maui heat.  Apparently hot climates produce hot peppers!  The red peppers are the fully mature stage of the jalapeño and add beautiful color mixed with the younger green jalapeños.

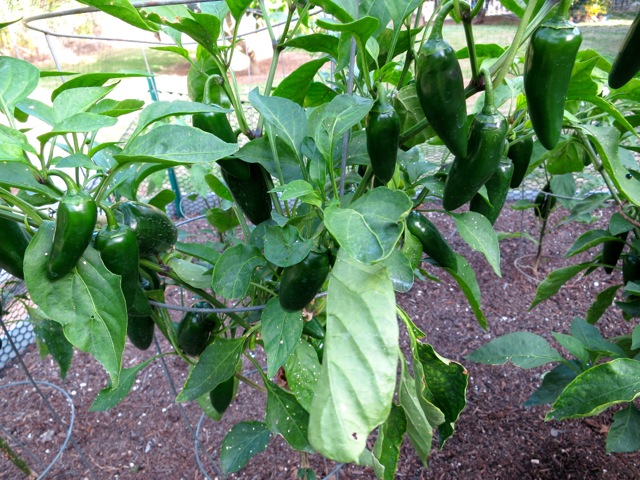
Jalapeño Plants  We now have 10 jalapeño plants in the garden.  We make both pickled nacho rings and jalapeño hot sauce .

Jalapeño Nacho Rings

Pickled Jalapeños

Makes 4 pint jars

Ingredients

2 pounds fresh jalapeño peppers

2 1/2 cups white vinegar

2 1/2 cups water (distilled or filtered)

5 teaspoons pickling salt

1/4 teaspoon turmeric

1 1/4 teaspoons calcium chloride (Ball brand Pickle Crisp)

4  2-inch sprigs fresh Mexican oregano (optional)

Preparation

Wash jalapeños and slice into 1/4 to 1/3 inch rings. It’s a good idea to wear disposable gloves when cutting peppers. Divide sliced peppers into 4 equal portions.

Wash jars and place them in boiling-water canner.  Fill the jars and canner with water to the top of the jars.  Cover and bring water to a simmer over medium heat, do not boil.  Prepare the two-piece closures.  Wash lids and place in a small saucepan and cover with water.  Heat to just a simmer but do not boil.  Do not heat screw bands.

In a medium-sized saucepan add remaining ingredients except oregano sprigs.  Bring to a boil, then simmer for 5 minutes on low heat.

Lift the canner jar rack and fix into place on the rim of the canner. Remove one jar at a time and empty hot water back into the canner. Place jar on a cutting board. Place a canning funnel in the jar.  Add 1 oregano sprig to the jar, pack jar with portioned jalapeño rings. Ladle hot brine into jar leaving 1/2-inch head space.  Remove air bubbles (with a chopstick or similar utensil) and adjust head space, if necessary, by adding more brine.  Wipe jar rim. Using a magnetic utensil, lift hot lid from water, center it on the  jar and place screw band on jar.  Tighten screw band evenly and firmly just until resistance is met.  Then increase to fingertip tight.  Do not over tighten.  Return jar to canner rack.  Continue filling jars individually until all jars are filled, lower rack into canner and ensure that all jars are covered by 1 inch of water.  Cover canner and bring water to a full boil over high heat.  Process for 10 minutes, starting timer only when water reaches a full boil. Turn off the heat, let jars sit in pot for 5 minutes.

Remove jars from water, and let stand,  undisturbed, at room temperature 24 hours.  To check seals, remove the bands, and press down on the center of each lid.  If the lid doesn’t move, the jar is sealed.  If the lid depresses and pops up again, the jar is not sealed.  In the event that a jar does not seal, simply refrigerate it. Store properly sealed jars in a cool, dark place up to 1 year (date your jars on the bottom with a Sharpie pen)  Refrigerate after opening.


Follow

Get every new post delivered to your Inbox

Join other followers: