Browsing Tag

Green Onions

Appetizers, Dinner, Japanese, Lactose Free, Pork, Recipes

Smash Gyoza

October 17, 2024

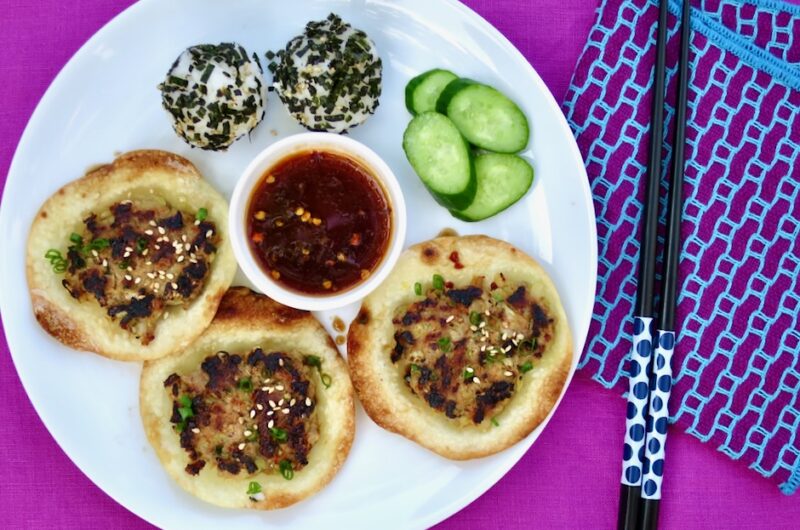
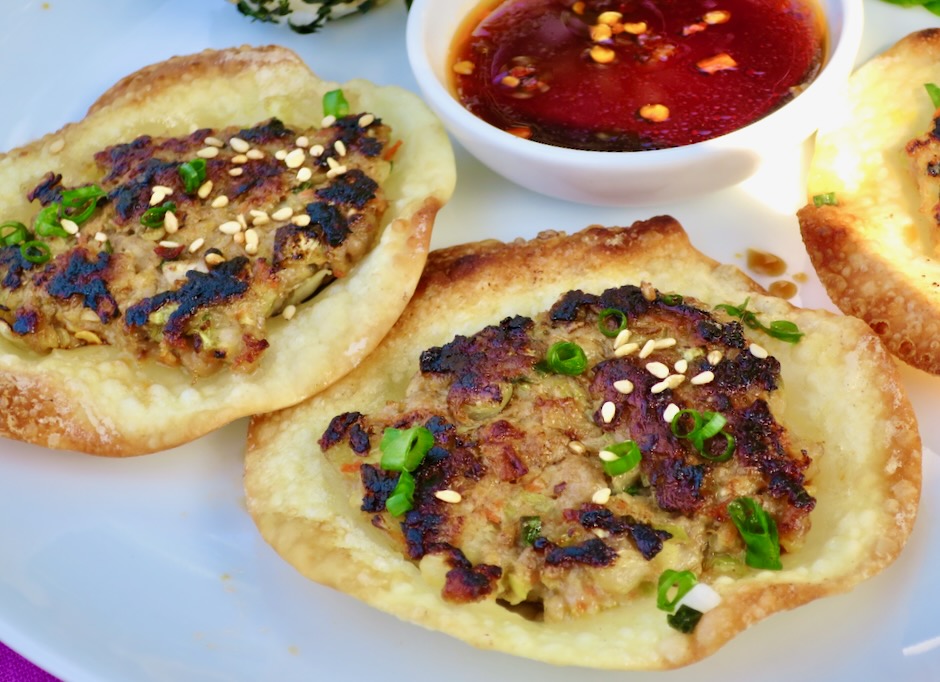
These open-faced gyozas are ingenious as well as delicious. The dumpling wraps become crispy around the edges and the filling has a superb savory flavor. They are reminiscent of mini tostadas and can be served with a drizzle of sauce or with additional toppings such as chopped kimchi, green onions and sesame seeds.
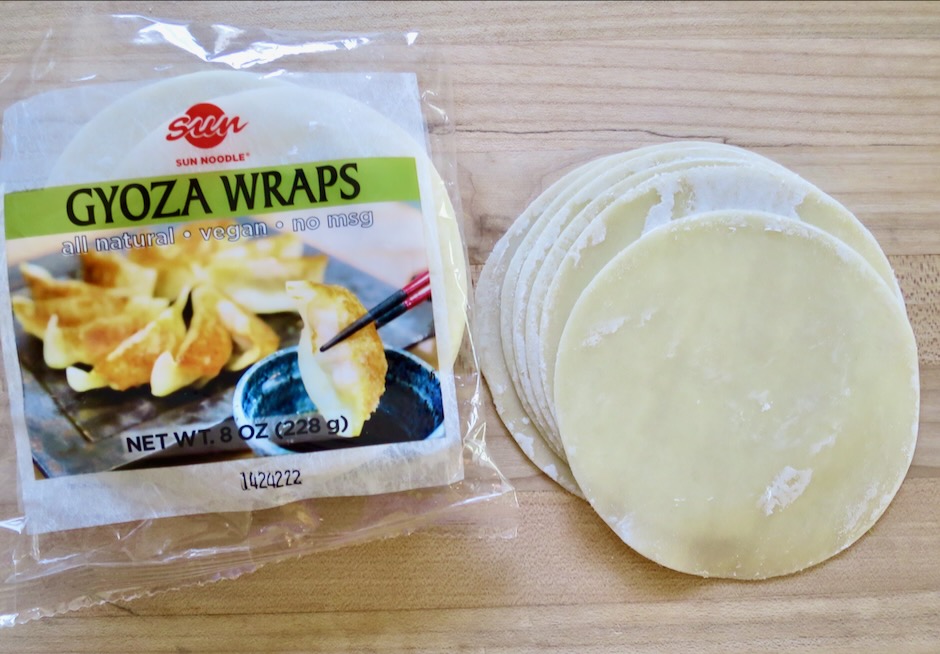
Gyoza wraps are readily available at most markets either in the frozen or chilled foods section. If you don’t use them all, freeze the leftover wraps for your next round of smash gyoza. They will keep well for several months.
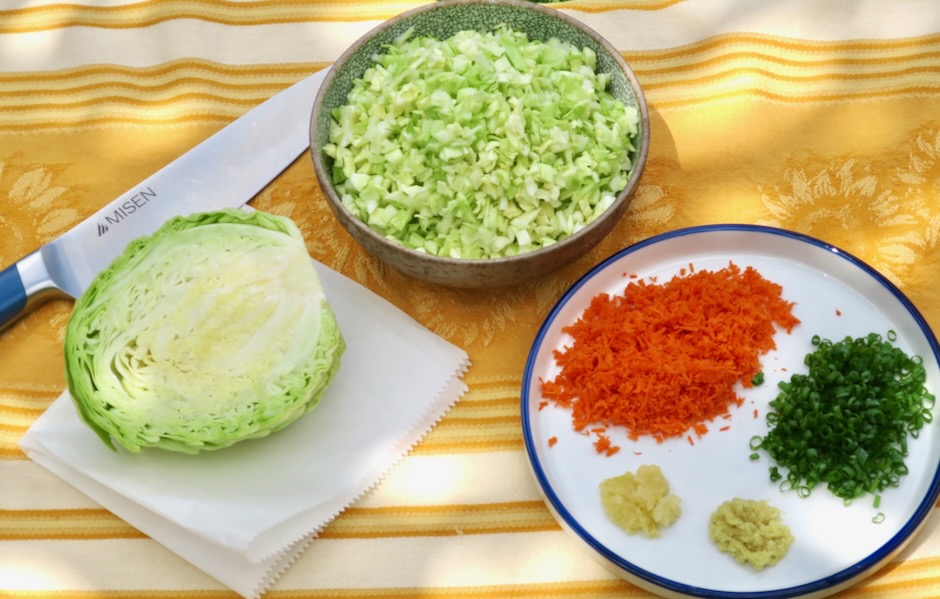
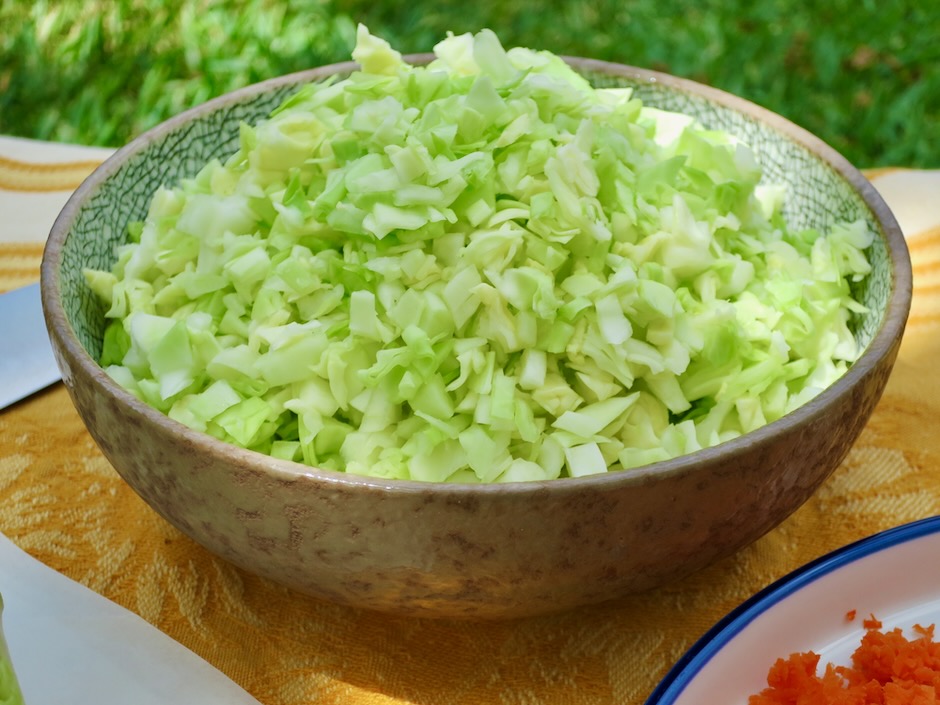
I used green cabbage in my gyoza but you can certainly used Napa cabbage. I love how green cabbage retains its crunchy texture even after being salted and drained.
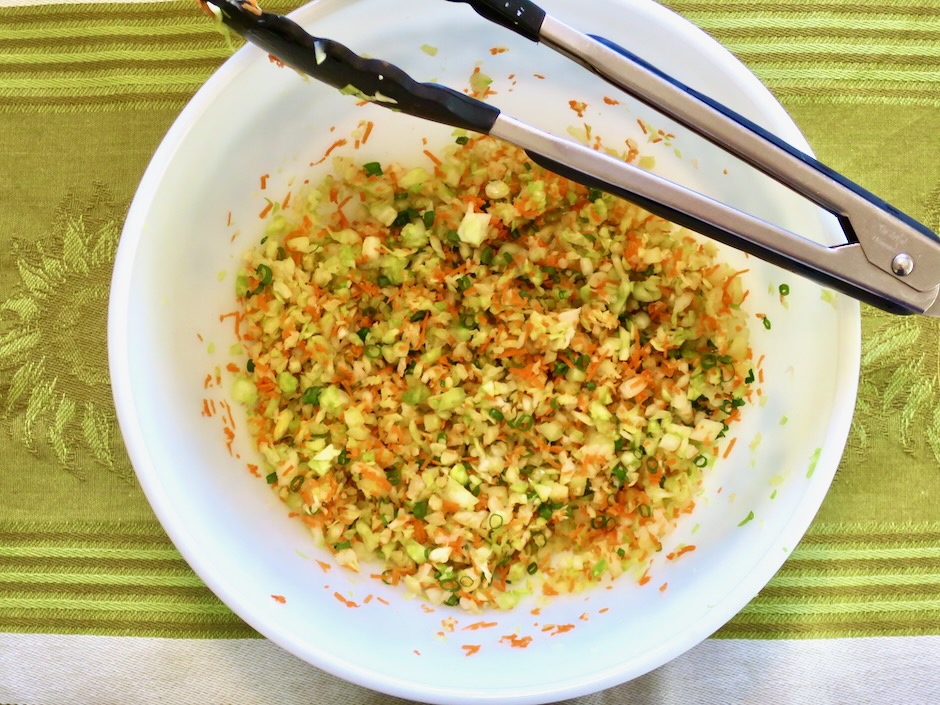
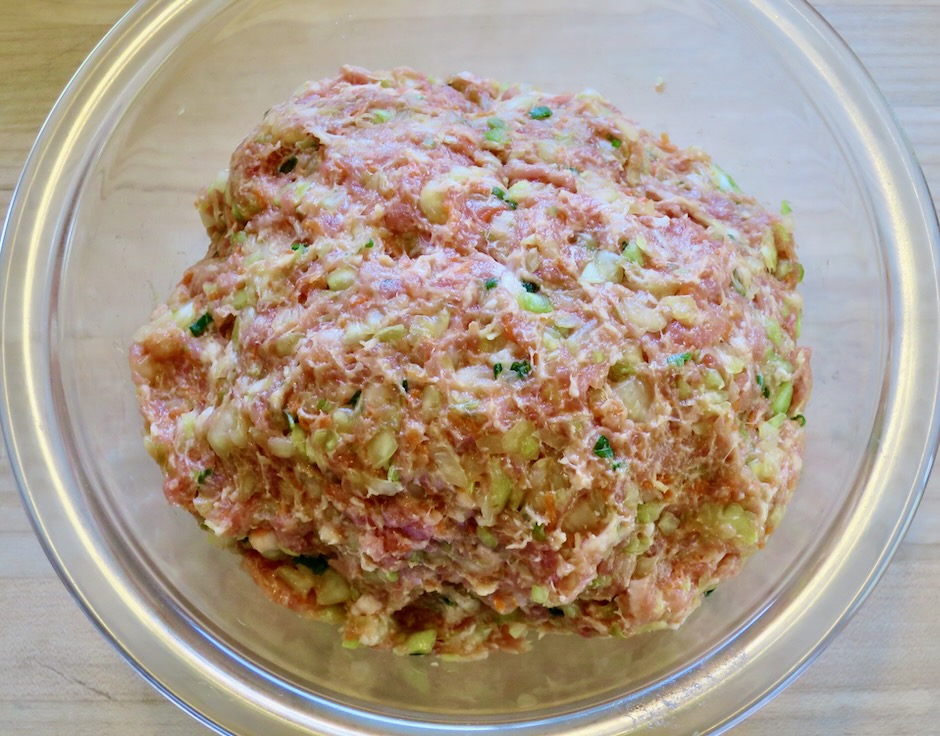
Ground pork is typically used when making gyoza. If pork is not your thing, use ground chicken (dark meat or a combination of dark and light) or pressed and crumbled extra firm tofu.
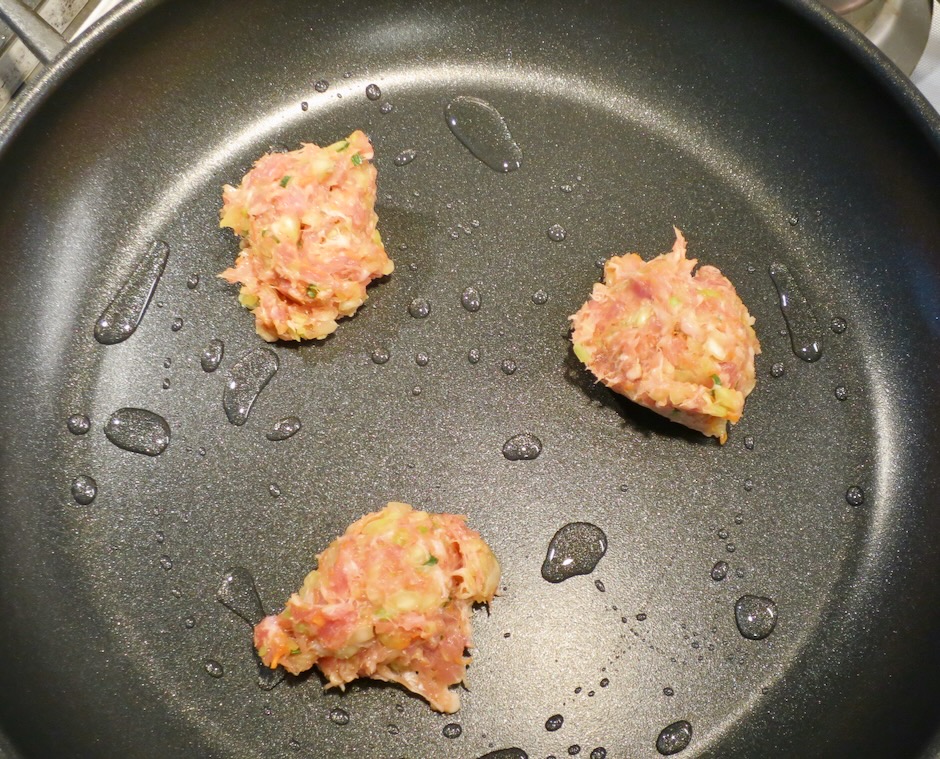
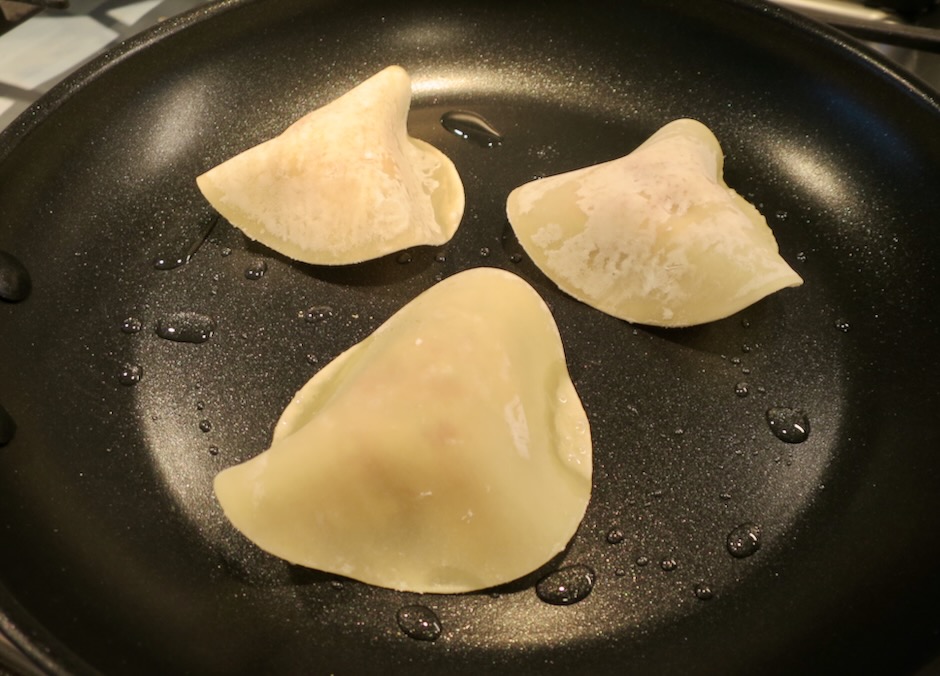
Little scoops of pork are placed in a skillet then topped with a gyoza wrapper and smashed gently with the bottom of a small bowl (I use a Pyrex bowl) or firm spatula.
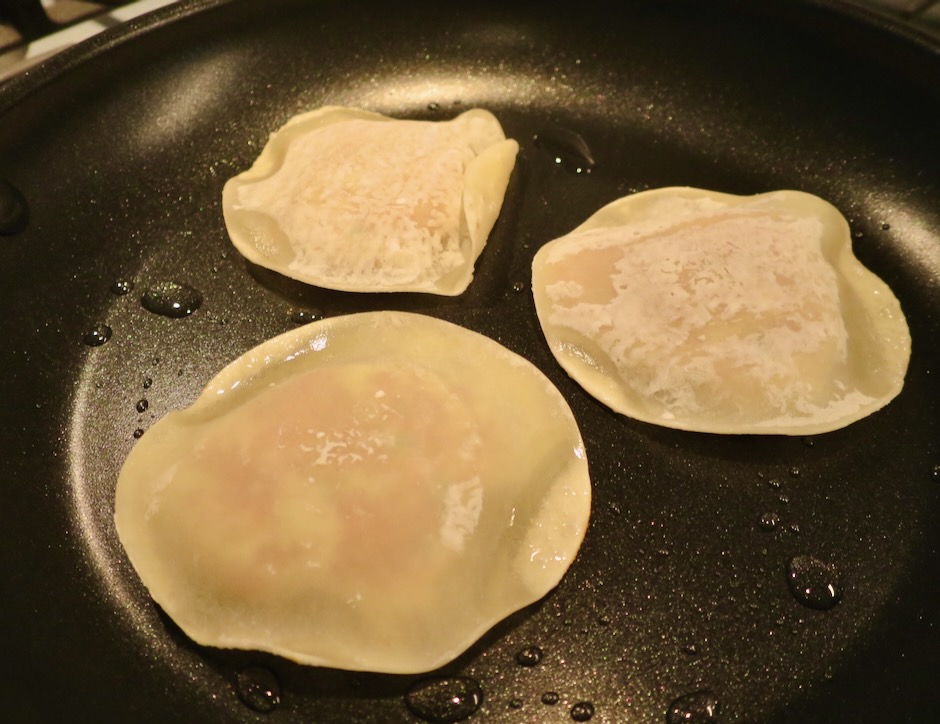
The gyoza are flipped once during the cooking time which crisps up the wrapper. I like to get a little color on the filling because it adds a lot of flavor making the gyoza extra tasty.

If you are making the gyoza as a main dish, serve it with crunchy sliced cucumbers, kimchi and onigiri (Japanese rice balls) dusted in furikake.
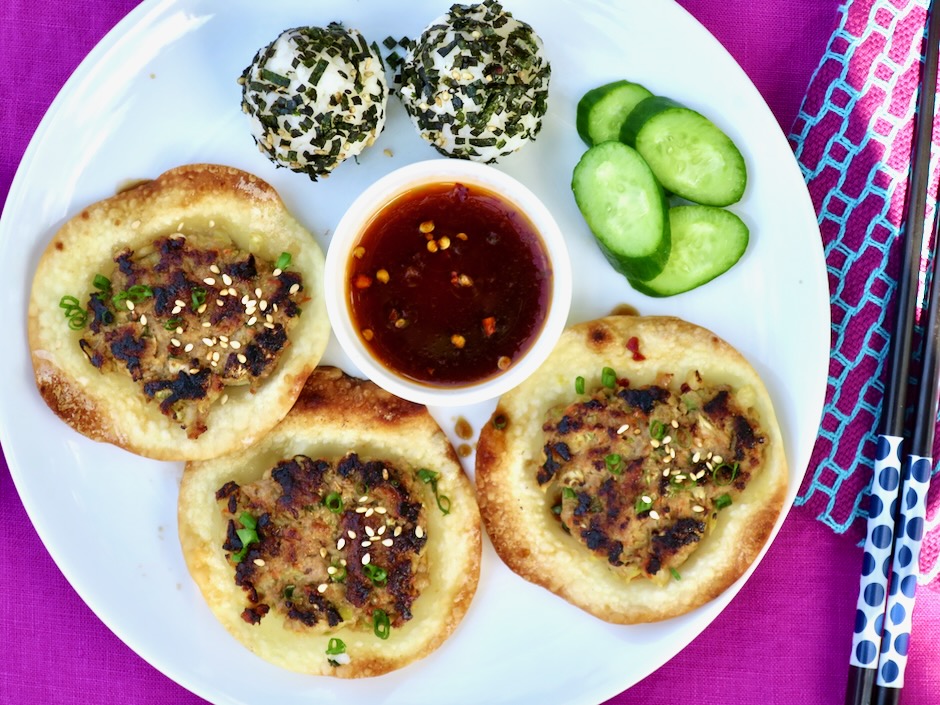
Smash Gyoza

Recipe by Kiyo
Servings

4-6

servings

Delicious crispy smash gyoza makes the best appetizer or dinner!

Ingredients

  • 1/2 pound green cabbage, finely chopped (about 2 cups) or 1 pound Napa cabbage (about 4 cups)

  • 2 teaspoons kosher salt, divided

  • 1/3 cup finely grated carrot, chopped into short pieces

  • 1/4 cup green onions, finely chopped (reserve 2 teaspoons for serving)

  • 1 teaspoon finely minced or grated garlic

  • 1 teaspoon finely minced or grated ginger

  • 1 pound ground pork (or substitute with ground chicken)

  • 1 tablespoon soy sauce

  • 1 teaspoon roasted sesame oil

  • 1 teaspoon sugar

  • 1/2 teaspoon pepper (white if available)

  • 22-26 gyoza wrappers

  • vegetable oil for frying

  • Serve with: roasted sesame seeds, kimchi, onigiri, sliced cucumbers (optional)

  • Dipping Sauce
  • 2 tablespoons light soy sauce (such as Kikkoman)

  • 2 tablespoons unseasoned rice vinegar

  • 1/2 teaspoon sugar

  • 1 teaspoon sriracha or chili oil (add more to increase spice level)

Directions

  • Combine dipping sauce ingredients in a small bowl. Set aside until ready to use, or refrigerate if making well in advance.
  • Toss finely chopped green cabbage with 1 1/2 teaspoons kosher salt. Let drain in a colander for 15 minutes. Squeeze out moisture then transfer to a clean kitchen towel and wring out additional liquid so the cabbage is quite dry.
  • In a large bowl, combine cabbage with carrots, green onions, garlic, ginger and pork. Add soy sauce, sesame oil, sugar, 1/2 teaspoon pepper and reserved 1/2 teaspoon kosher salt. Knead the mixture until thoroughly combined and smooth.
  • Heat 1 tablespoon of vegetable oil in a large nonstick skillet over medium heat until shimmering. Add tablespoon sized mounds of pork filling in the skillet, leaving space between each for the gyoza wrappers. Place gyoza wrapper on top of each mound of filling and gently smash (not completely flat) with the bottom of a small glass bowl (I use a Pyrex bowl) or firm spatula. Cover with a lid and cook for 2 minutes or until nicely browned and the meat is cooked through (160 degrees). Flip gyoza and cook uncovered for another minute or so, until the gyoza wrapper is a little crispy around the edges. Remove to a plate and repeat with remaining filling, adding extra oil as needed.
  • To serve, sprinkle reserved green onions and roasted sesame seeds over the gyoza and drizzle with dipping sauce.
Appetizers, Breakfast, Cheese, Dinner, Recipes, Side Dishes, Summertime Meal, Vegetarian, Veggies

Easy One-Bowl Corn Fritters

January 30, 2024

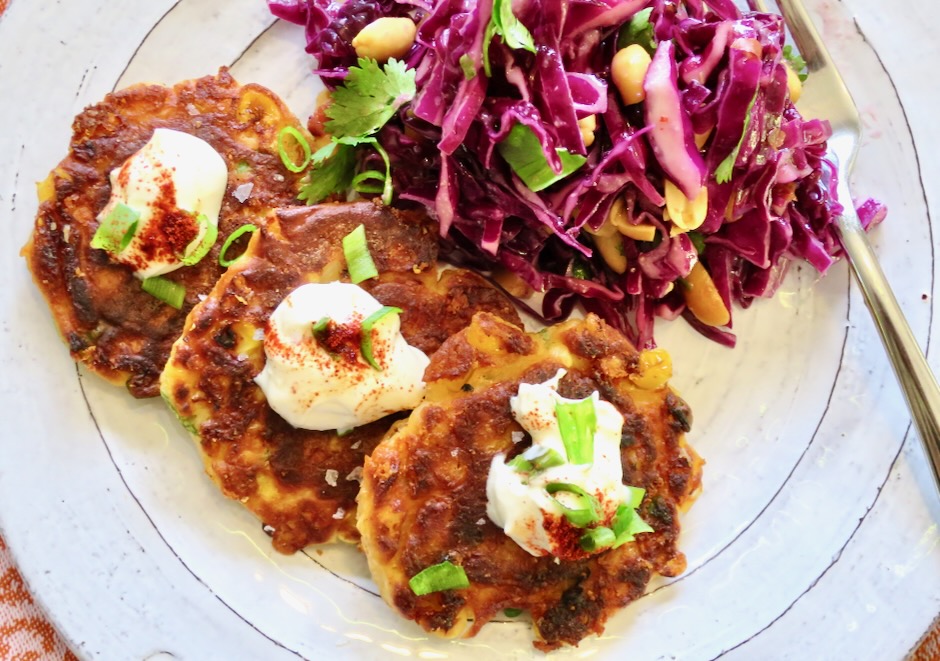
These easy one-bowl corn fritters are quick to make with simple pantry staples. Pan-fried until golden brown and crispy, the fritters pair nicely with many other dishes. Serve them as an appetizer or a side-dish at your next barbecue, and for breakfast with fried eggs and bacon.

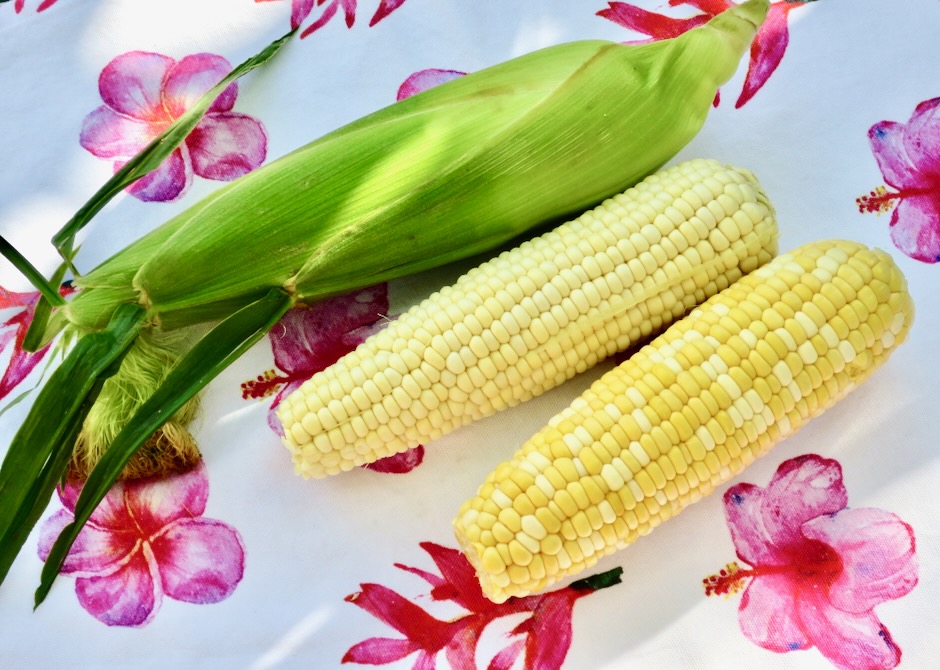
For best results use fresh sweet corn. Frozen or canned corn will make an acceptable substitution as fresh corn is not always in season. Be sure to drain the corn well before adding it to the batter.

I have made the corn fritters with all flour and half flour and half cornmeal. As a whole grain, cornmeal adds a little extra nutritional value. If you have it, go ahead and use it. Otherwise using all flour is perfectly fine.

The batter is easy to work with. Drop spoonfuls into your frying pan and let the fritters cook until browned on both sides. They are best eaten immediately while they retain their crispy texture.

On most occasions I serve the fritters with a dollop of sour cream and a sprinkle of smoked paprika along with a crispy salad to complete the meal. I’ve had success freezing leftovers in a plastic container and reheating them in a pan with a bit of oil. They are the perfect snack for those lazy days when we don’t have the energy to cook and clean up the kitchen.

Corn Fritters

Recipe by Kiyo
Servings

4

servings

Adapted from NYT Cooking – Makes 16 fritters

Ingredients

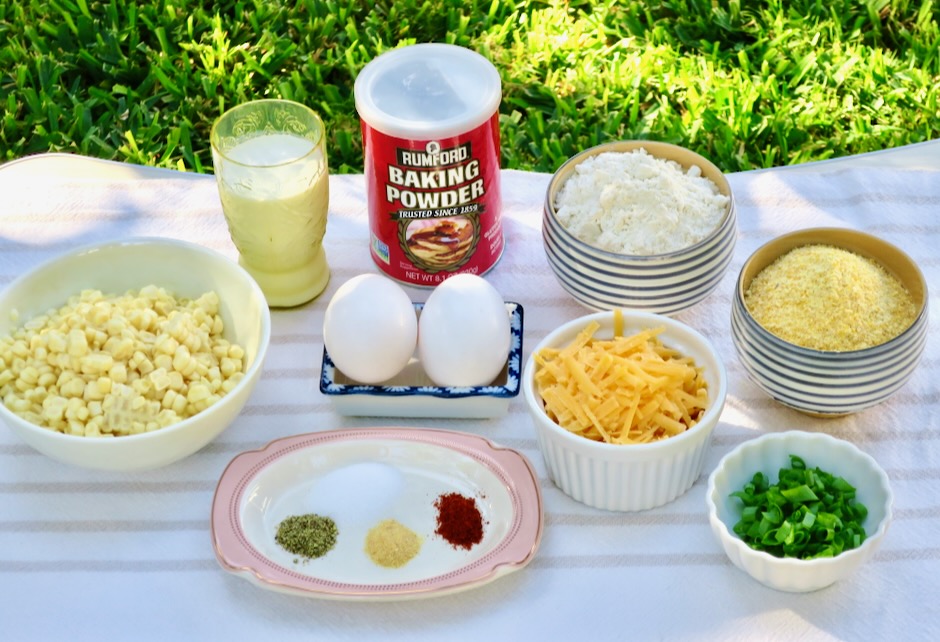
  • 2 large eggs

  • 2/3 cup (162g) lactose free whole milk, or regular whole milk

  • 1 teaspoon fine sea salt

  • 1/2 teaspoon garlic powder

  • 1/2 teaspoon freshly ground black pepper

  • 1/4 teaspoon ground cayenne (or up to 1/2 teaspoon)

  • 1/2 cup (60g) all-purpose flour (use 1 cup, 120g of flour if not using cornmeal)

  • 1/2 cup (75g) cornmeal, such as Bob’s Red Mill medium grind

  • 2 teaspoons baking powder

  • 3 cups (430g) fresh corn kernels (can substitute with frozen corn thawed and patted dry or canned, drained)

  • 1/4 cup chopped green onions

  • 1 cup (114g) sharp cheddar cheese, shredded

  • vegetable or canola oil for frying

Directions

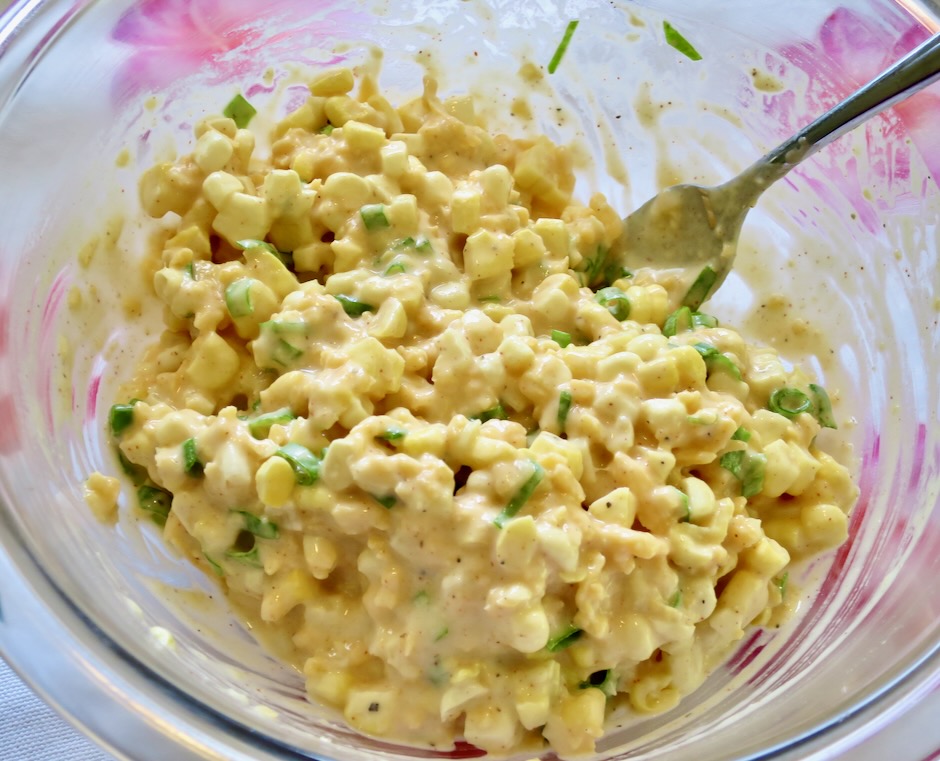
  • In a large bowl, whisk together the eggs, milk, salt, garlic powder, black pepper, and cayenne pepper. Stir in the flour, corn meal if using and baking powder just until combined. Stir in the corn, green onions and cheddar cheese.
  • Heat a non-stick skillet over medium heat with enough oil to generous cover the bottom of the pan. You may use a cast iron skillet if you have one (heat over medium-low).
  • Once the oil is shimmering hot, add heaping tablespoons of batter to the pan. Use the back of a spoon to flatten into a round patties (do not crowd pan). Fry for 2 minutes then flip and fry for another 2 minutes then cook for an additional 2 minutes adding more oil as needed.
  • Remove fritters to a paper towel-lined baking sheet. Repeat until all fritters are fried. Serve with a dollop of sour cream and a sprinkle of smoked paprika.

Notes

  • Leftover fritters can be frozen in a plastic freezer container. Thaw and reheat in a skillet with a bit of oil over medium-low heat to warm and crisp up.
Dinner, Japanese, Lactose Free, Ramen, Recipes

Dry Mein with Crunchy Bean Sprouts & Chili Crisp

January 13, 2024

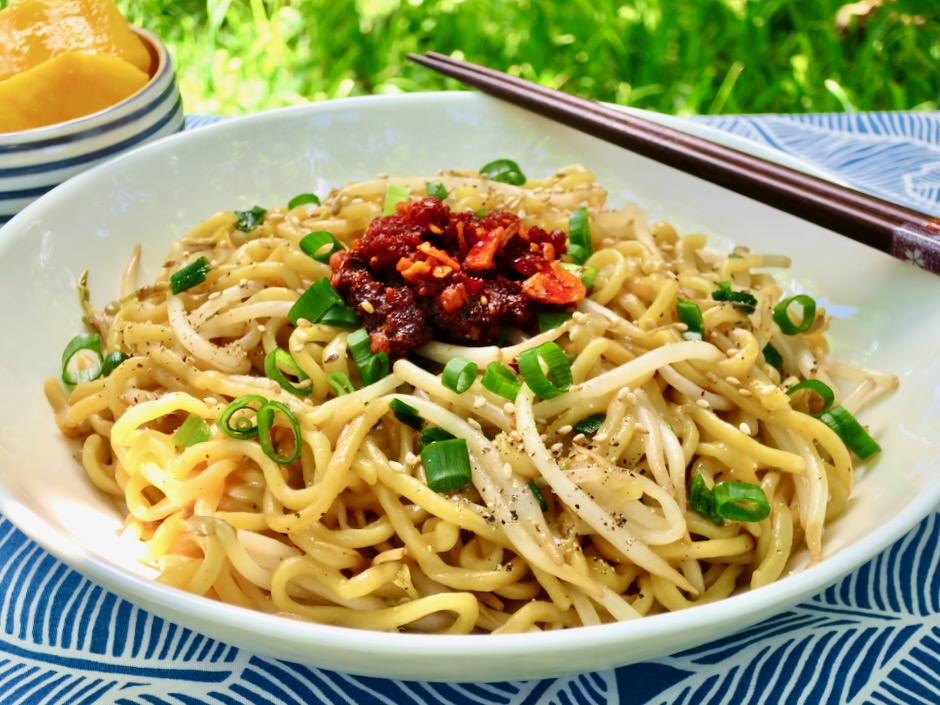
Here on Maui (and beyond), Sam Sato’s is known for their wide variety of local-style menu items (plate lunches). But they are most famous for their dry mein noodles. A bowl of well seasoned thick noodles is particularly delicious when dressed with hot mustard. While dining in at Sam Sato’s is the ideal way to enjoy this unique dish, it’s not always convenient when you have a craving. So with just a few basic ingredients why not whip up a bowl of dry mein at home?

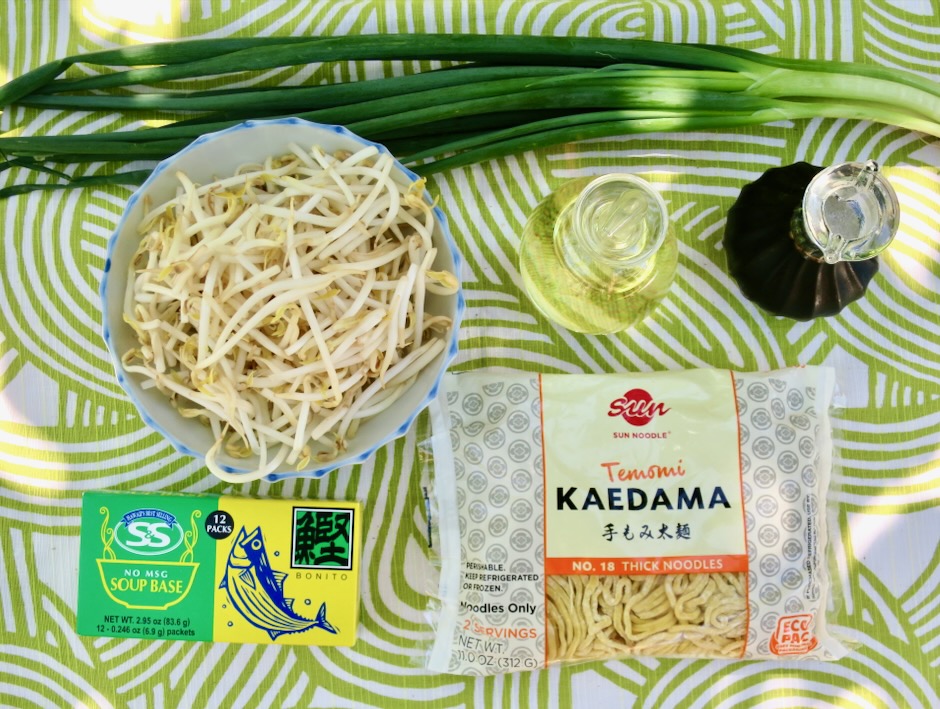
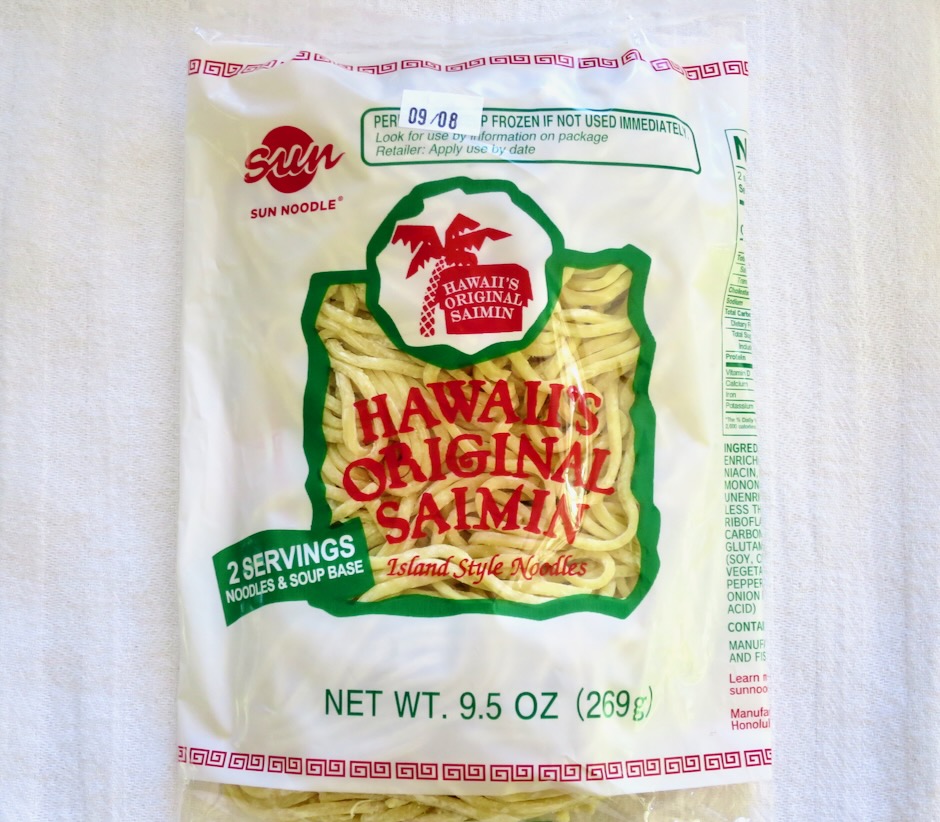
When I’m on Oahu I make a stop at Nijiya, a Japanese market conveniently located at Ala Moana Center. Their shelves are stocked with all kinds of goodies. They sell Sun Noodle’s Kaedama #18 thick noodles so I usually bring a few packages back home with me. I haven’t seen them on Maui, but a good substitute would be Sun Noodle’s saimin noodles which are sold in many markets here in Hawaii (Foodland, Safeway, Times, Island Grocery) or any other fresh, thick ramen.

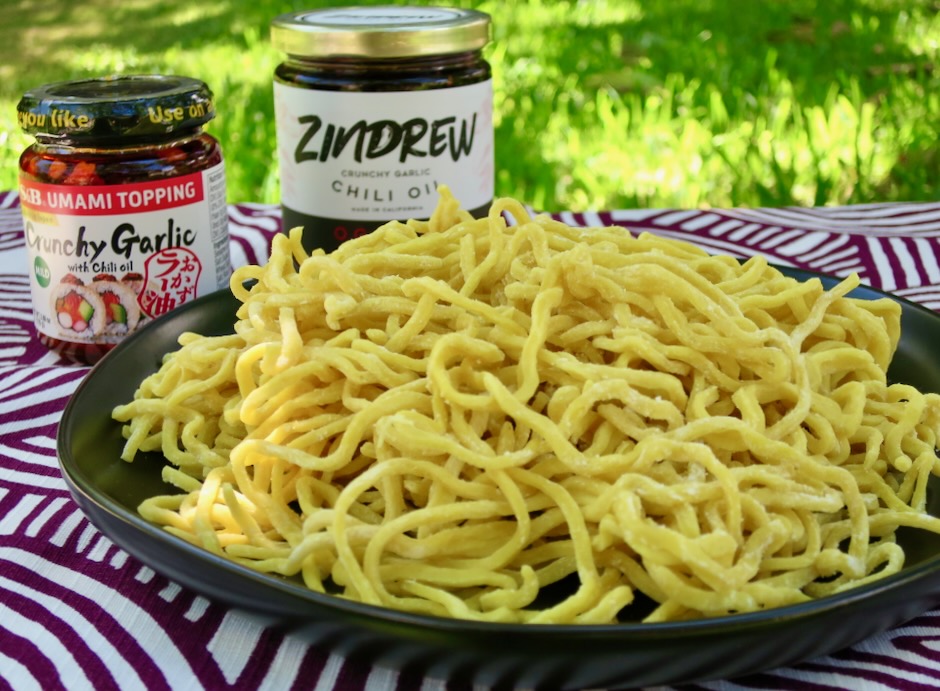
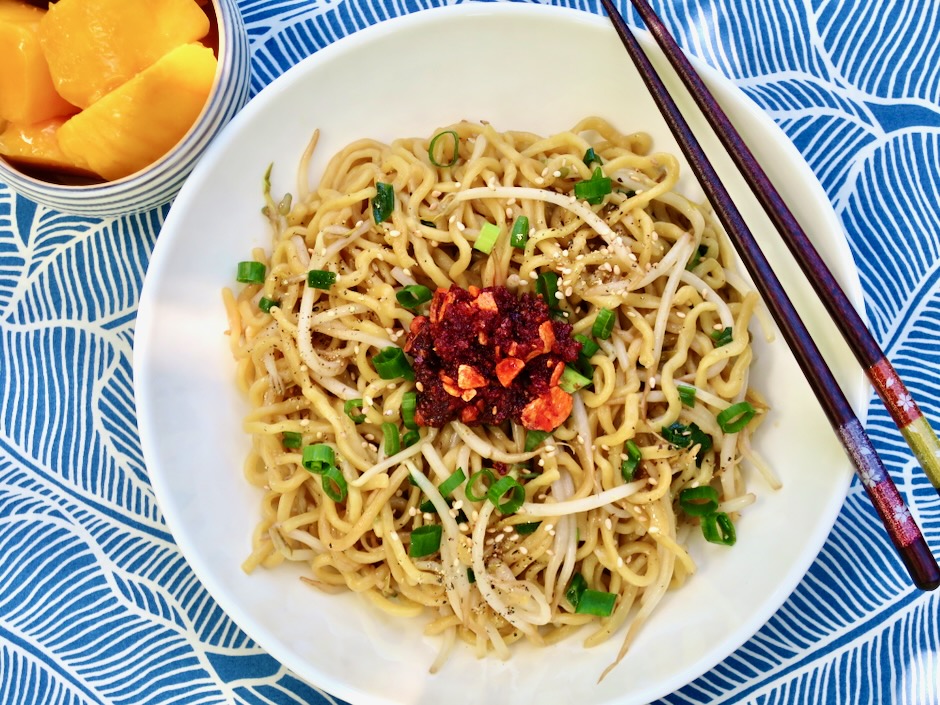
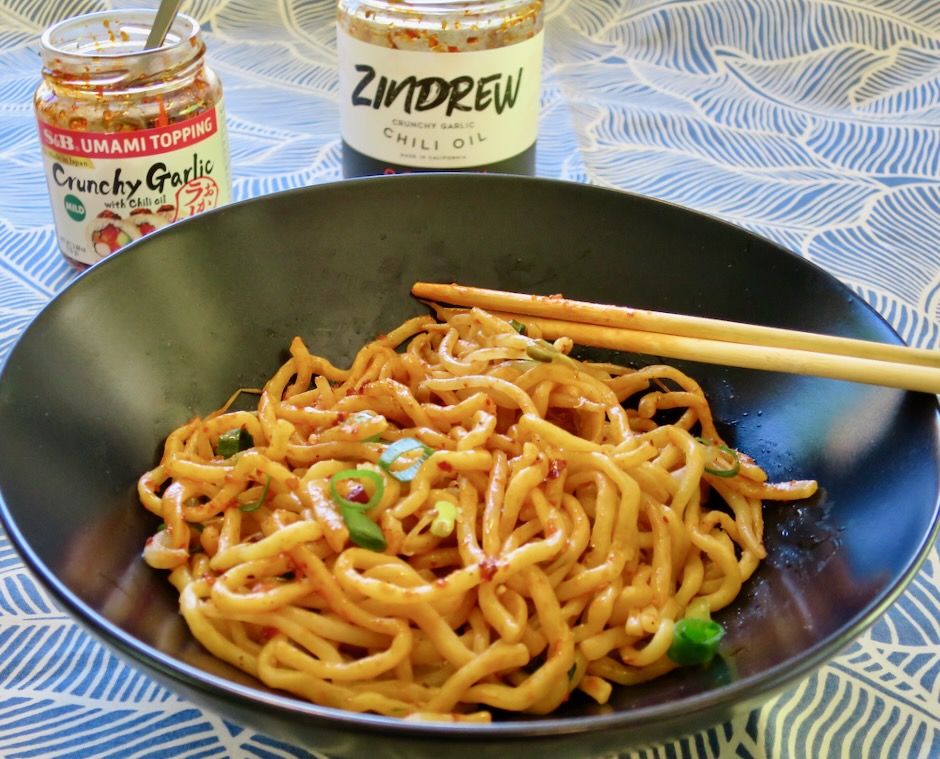
I love a spicy kick when I eat ramen. So adding a dollop of chili crunch on my noodles is a must. My favorite at the moment is Zindrew Crunchy Garlic Chili Oil (O.G. Batch jar). It has the perfect heat level for my taste and the jar has lots of crunchy garlic pieces. Very yummy. They also offer a spicier version (X Batch jar) if that’s your thing. Another option for those who prefer less heat is S&B Crunchy Garlic in Chili Oil. This is a mild chili oil with large pieces of very crispy garlic. As they say on the label, Umami Topping! It is easily found here in Hawaii at Longs, Safeway, Foodland and Times. If you are unable to find it at your local market, it is available online. Other times I use hot mustard powder mixed with a bit of water and soy sauce. This is the typical accompaniment offered at Sam Sato’s.
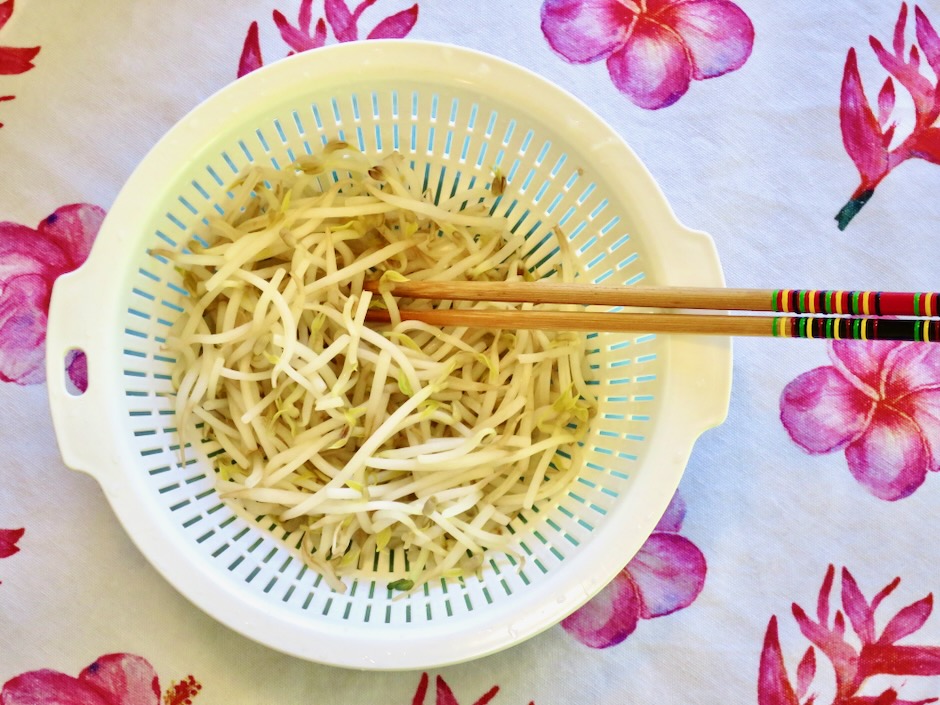
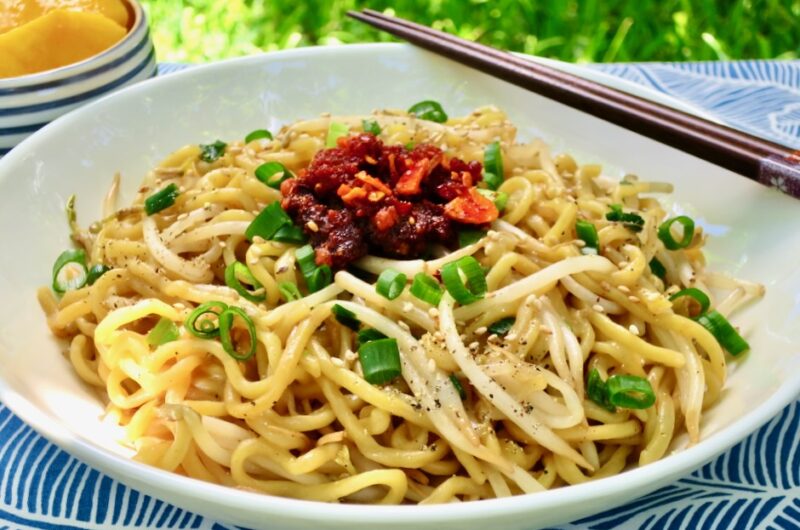
I use a good amount of bean sprouts (6 ounces) in this dish. They add a welcoming crispy texture when mixed in with the fresh ramen.

Making your own dry mein at home allows you to control the amount of oil and salt you use.

If you can’t make up your mind about which chili crunch to use, go ahead and use both as I sometimes do. A little heat and lots of crunchy garlic = noodle bliss.

Dry Mein with Crunchy Bean Sprouts & Chili Crisp

Recipe by Kiyo
Servings

2

servings

Ingredients

  • 9 – 11 ounces fresh thick ramen noodles

  • 6 ounces (about 3 cups) bean sprouts, rinsed

  • 1/3 cup finely chopped green onions (reserve 2 tablespoons for serving)

  • 1/2 teaspoon instant soup base (such as S&S)

  • 2 1/2 teaspoons soy sauce

  • salt and pepper

  • 2-3 teaspoons canola or vegetable oil

  • hot mustard, chili crisp and/or crunchy garlic chili oil for serving (optional but recommend)

Directions

  • In a 1-cup measuring cup, combine 1/2 teaspoon instant soup base such as S&S with 1/4 cup warm water. Stir in 2 1/2 teaspoons soy sauce. Set aside.
  • Bring a large pot of water to a boil. Add bean sprouts and blanch for 1 minute. Using a spider strainer or large slotted spoon, transfer bean sprouts to a colander to drain then to a bowl. Reserve pot with water for ramen.
  • Bring water back to a boil over high heat. Add ramen and cook to al dente, 60 seconds less than package directions. Drain in colander under cool running water to stop the cooking and to remove excess starch. Set aside.
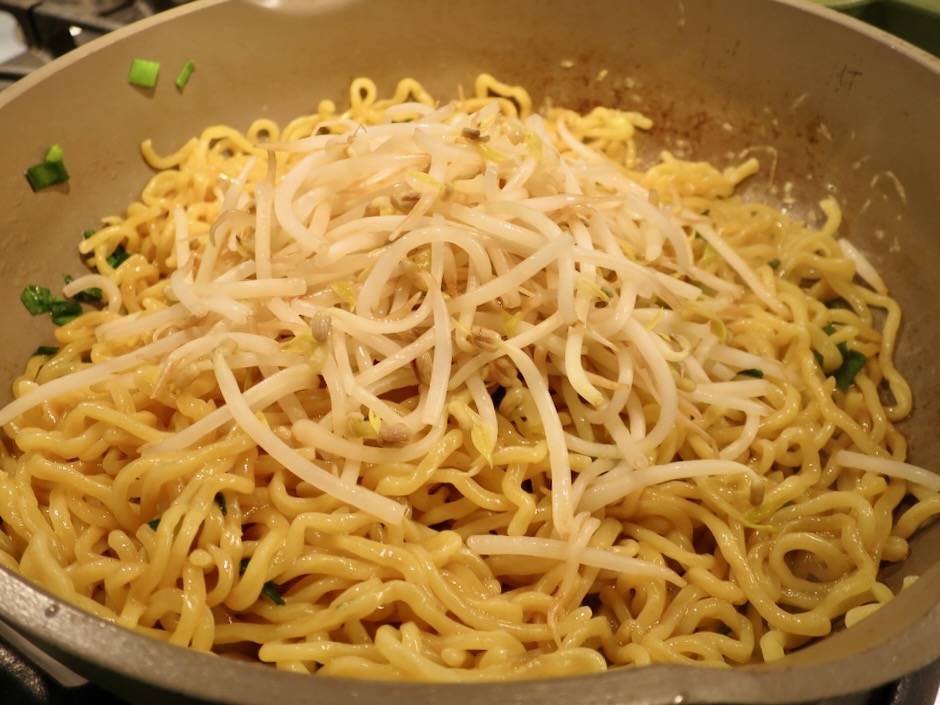
  • In large skillet, preferably one with 2-inch sides, heat 2-3 teaspoons oil (depending on the amount of noodles you use). Add green onions, reserving 2 tablespoons for serving. Toss in oil for 20 seconds. Add ramen to the pan and toss with the oil and green onions. Add 3 tablespoons of the soy sauce seasoning, tossing to coat the noodles (use 2 1/2 tablespoons if using less than 11 ounces of ramen). The noodles should be well coated but not saucy (you will not need all of the sauce). Stir in bean sprouts. Allow sauce to evaporate for 30 seconds. Season with salt and pepper to taste. Divide noodles between two bowls. Top with reserved green onions. Serve with hot mustard mixed with soy sauce, chili crisp and/or crunchy garlic in chili oil.
Dinner, Fish, Japanese, Korean, Lactose Free, Recipes, Rice Dishes

Tuna, Rice & Nori Lunch

December 11, 2023

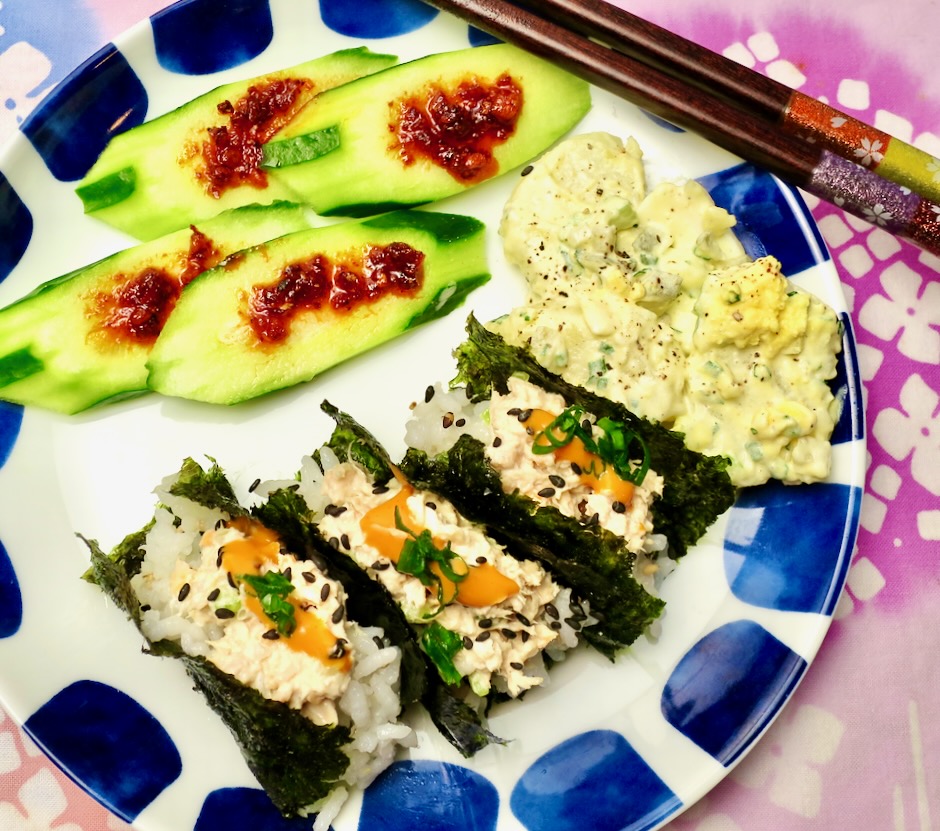
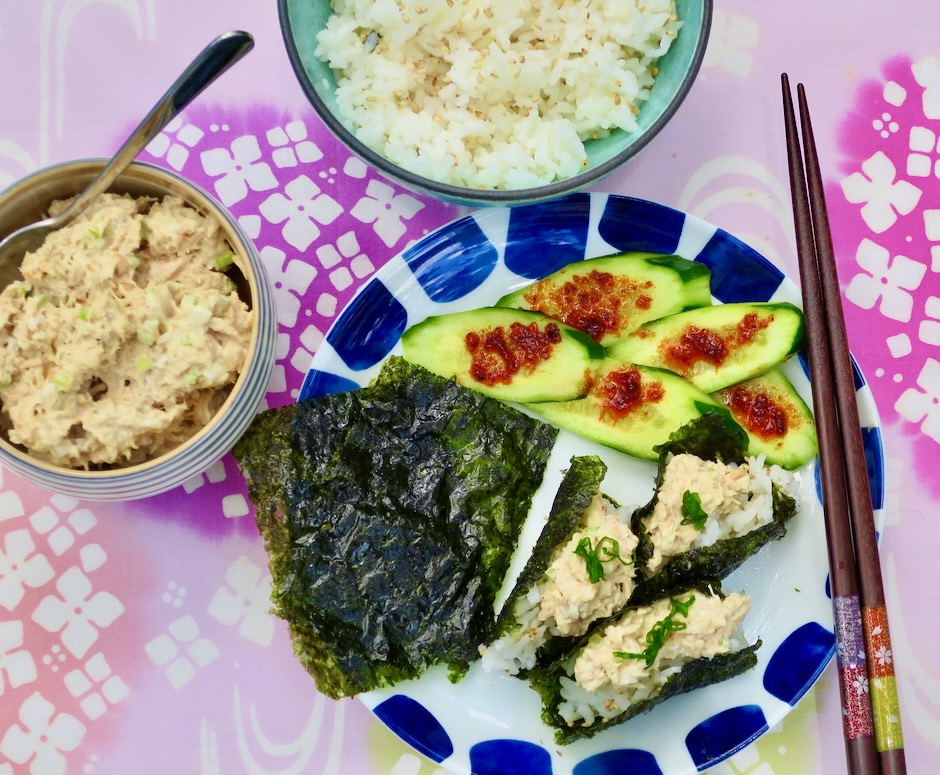
Tuna and rice wrapped in crispy and savory nori is one of my favorite combos to make for lunch. It doesn’t sound like anything special but once you try it you’ll understand why I love it so much. Think of it as an improvised hand roll. It couldn’t be simpler to whip up on short notice. When I was working, I would share it with a small group of friends at lunchtime. We all sat around the table and oohed and aahed as we ate our little tuna nori wraps.

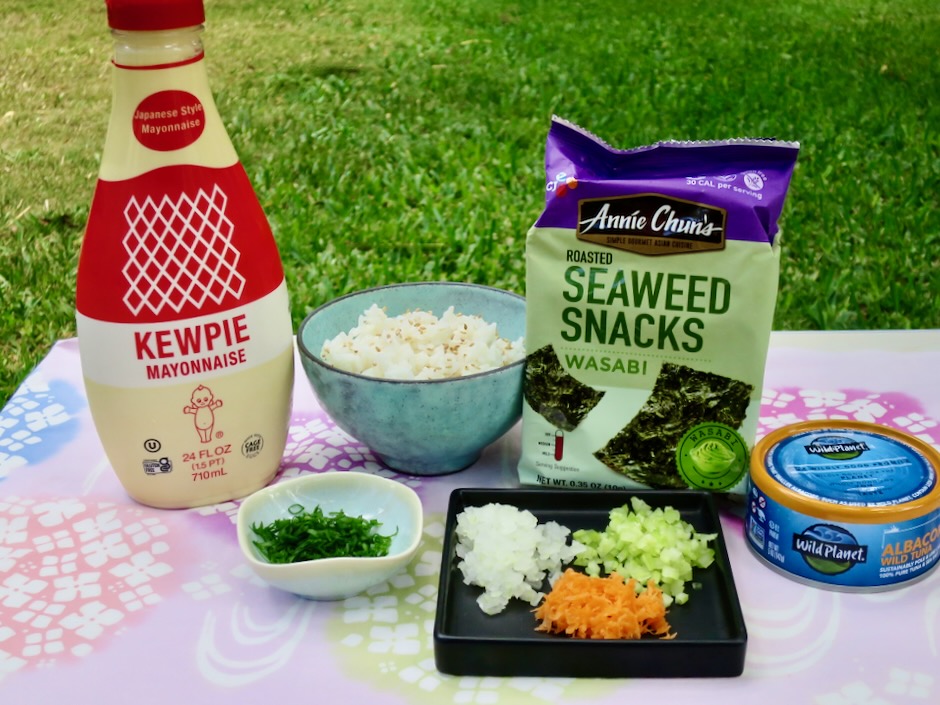
Savory and tangy Kewpie mayonnaise replaces the usual Best Foods mayonnaise I use for tuna sandwiches. The velvety texture and rich flavor is perfect for this recipe.

With a plethora of canned tuna available these days it’s easy to find a good brand. Wild Planet does not have added water or broth which means it’s not going to be a mushy mess when you open the can.

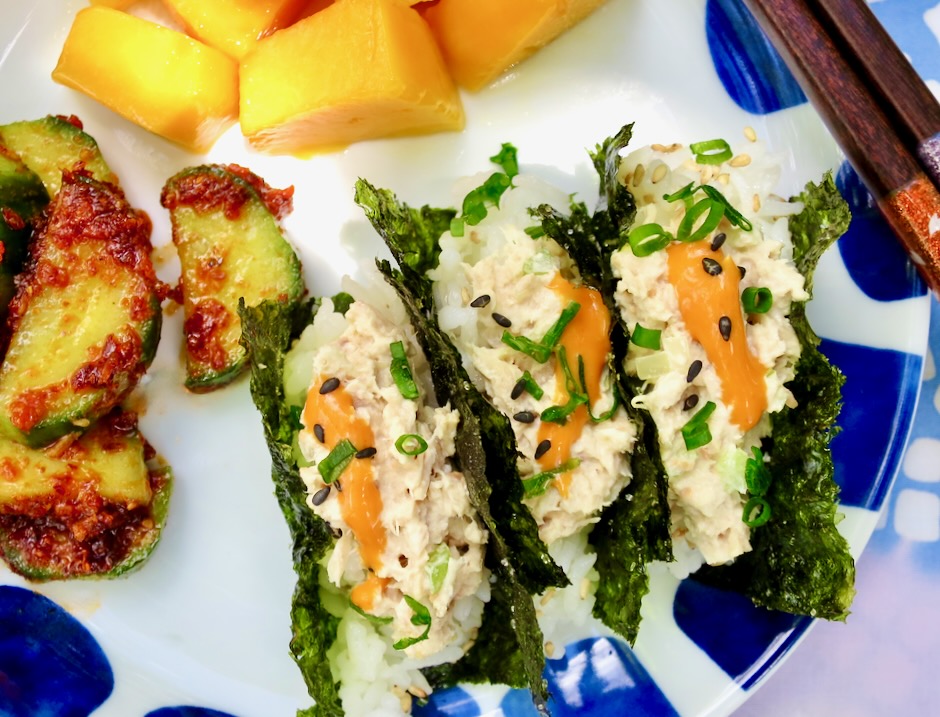
A side of crispy cucumbers with chili crisp, kimchi or takuan and fresh fruit are the perfect pairing to complete your lunch. A drizzle of sriracha mayo over the tuna adds a nice kick to the nori wraps.

Tuna, Rice & Nori Lunch

Recipe by Kiyo
Servings

2

servings

Easy and delicious nori wraps are quick to prepare!

Ingredients

  • 1 rice cooker cup short or medium grain rice, cooked according to manufacturer’s instructions

  • 1 (5 ounce) can tuna in sea salt, such as Wild Planet)

  • Kewpie mayonnaise

  • 2-3 teaspoons finely chopped celery

  • 2 teaspoons finely chopped sweet onion

  • 2 teaspoons finely grated carrot

  • 2 teaspoons thinly sliced green onion

  • 1 teaspoon roasted sesame seeds

  • 1-2 packets Korean-style seaweed snacks, depending on size

Directions

  • Once rice has cooked, transfer to a bowl and gently mix in roasted sesame seeds. Cover with plastic wrap and set aside allowing rice to cool to room temperature.
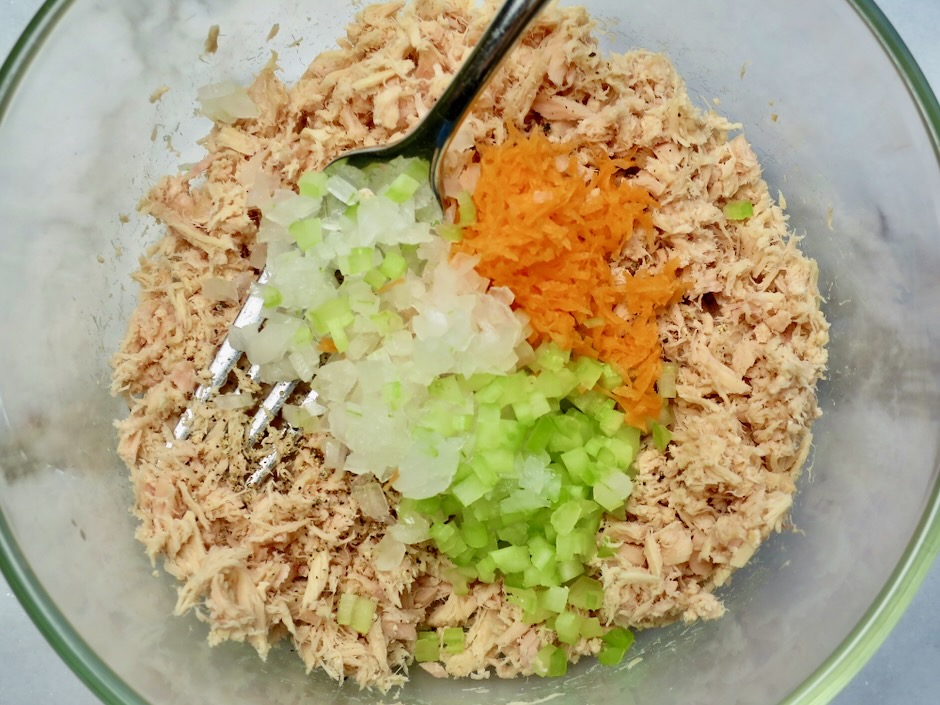
  • In a medium bowl, flake the tuna with a fork. Mix in Kewpie mayonnaise (enough to moisten tuna generously, tuna should not look dry), celery, onion, and carrot. Transfer to a smaller bowl for serving.
  • Set out nori (just before serving to keep crisp), tuna salad, and rice. Make mini nori wraps by placing a small amount of rice on the nori, followed by tuna. Top with sriracha mayonnaise if using, and green onions. It’s best to make the nori wraps as you eat them so the nori stays crispy. Serve with your favorite side dishes such as potato salad, fresh fruit, kimchi and takuan pickles.
Beef, Dinner, Grill, Korean, Lactose Free, Recipes

Kalbi Ribeye

December 23, 2021

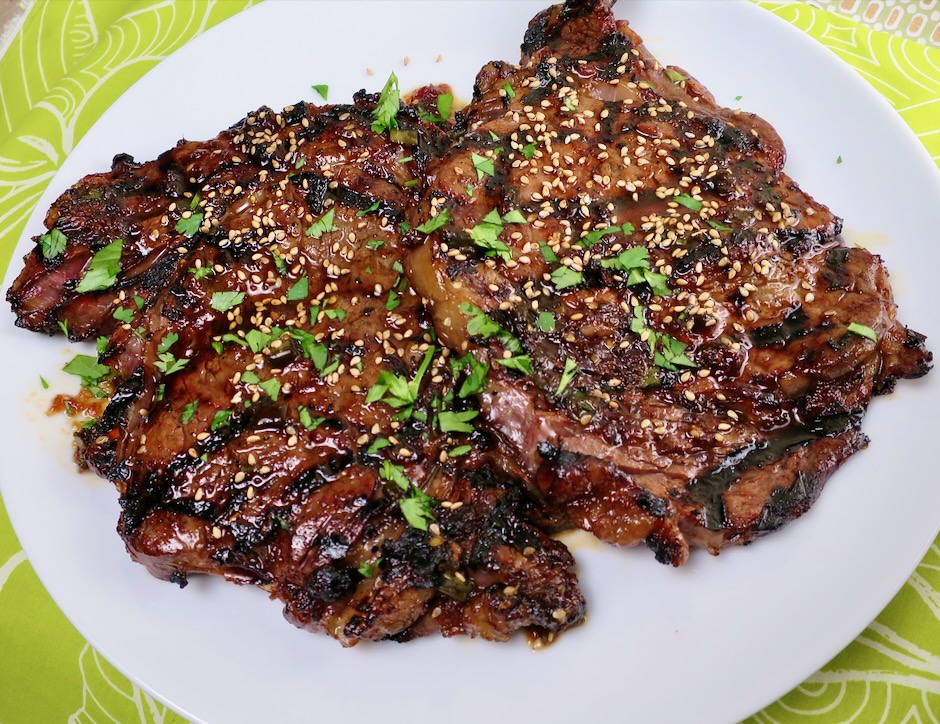
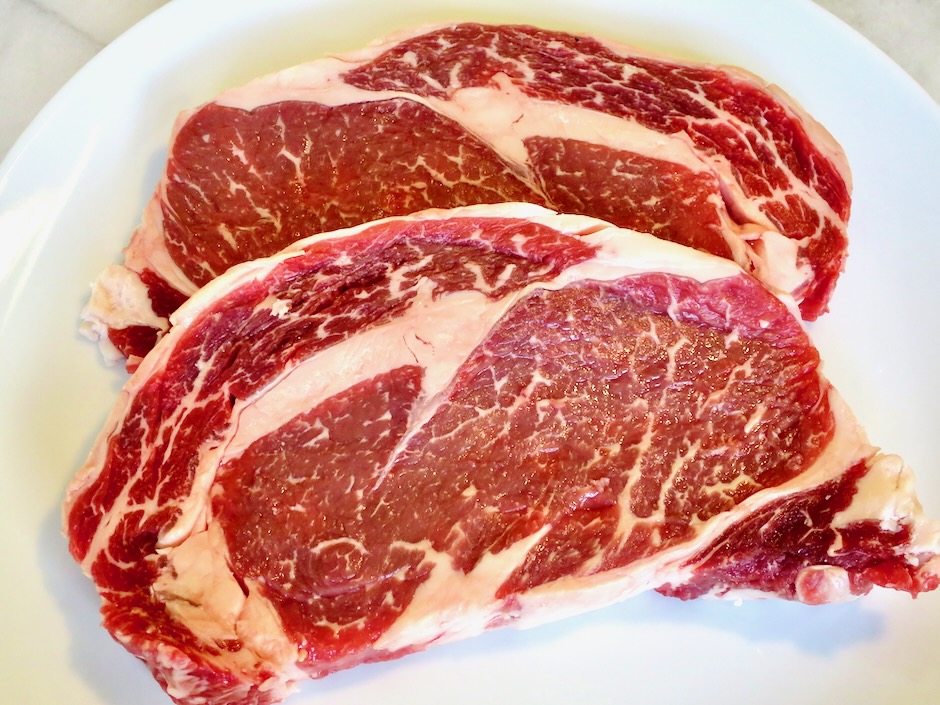
Korean kalbi ribs are a local island favorite in Hawaii.  It is most common to use flanken-style short ribs for this recipe. It is sometimes difficult to find this cut of meat, however, your butcher should be able to accommodate your request. Though this is the most common cut of meat used for kalbi, I found that using a boneless ribeye is superb.  The ribeye is tender and so flavorful.

Ribeye Steaks

I bought a thick cut ribeye from Whole Foods and asked the butcher to slice it into two thinner pieces. It worked out perfectly for kalbi.

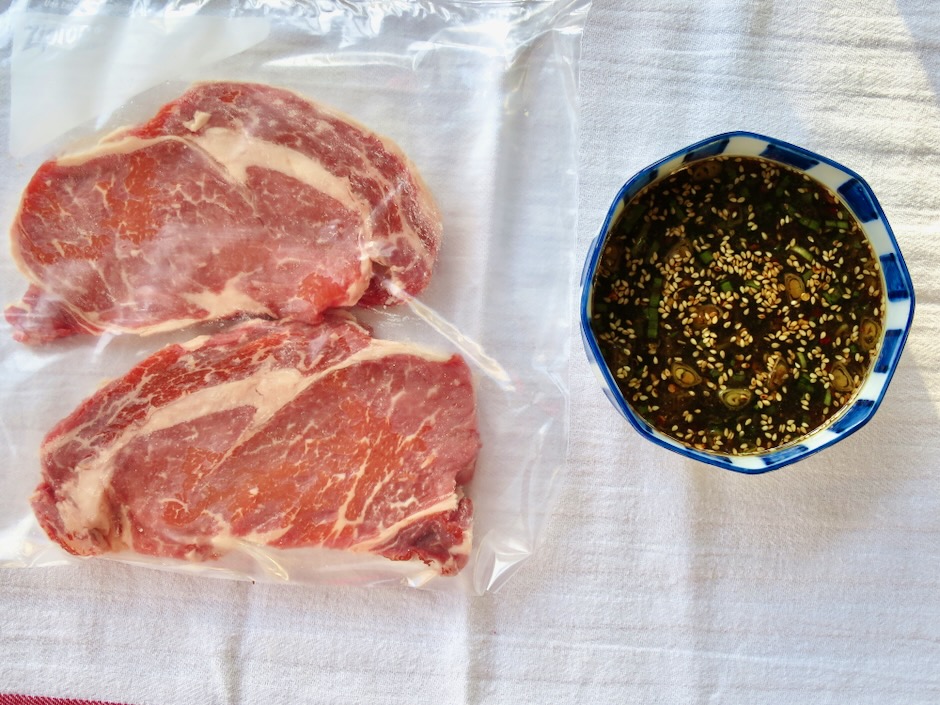
Ribeye Steaks & Marinade

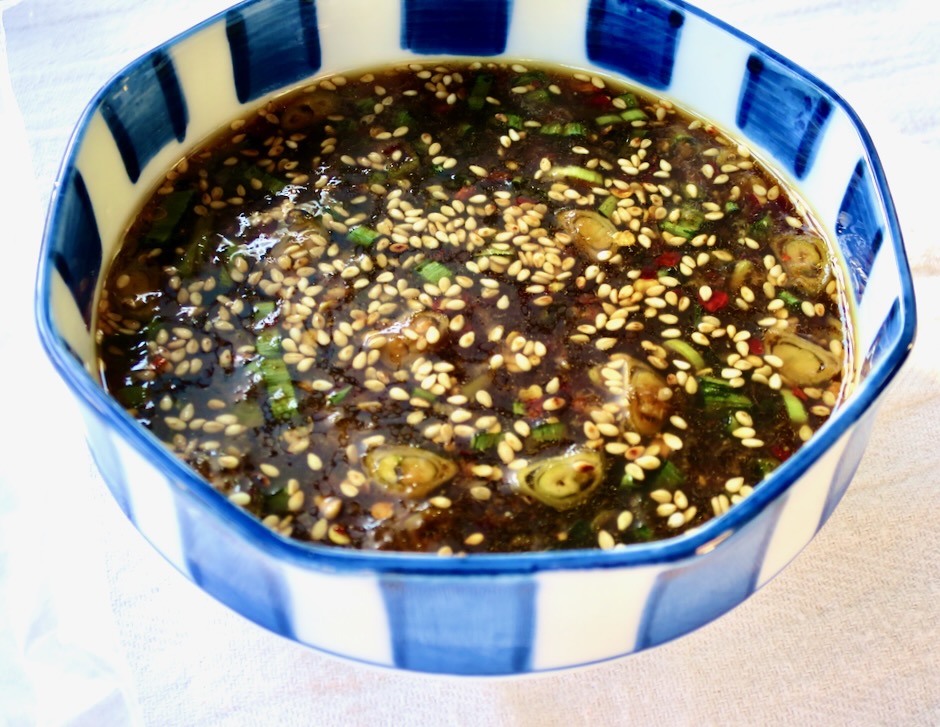
Kalbi Marinade

The marinade is easy to prepare with ingredients you most likely have on hand.

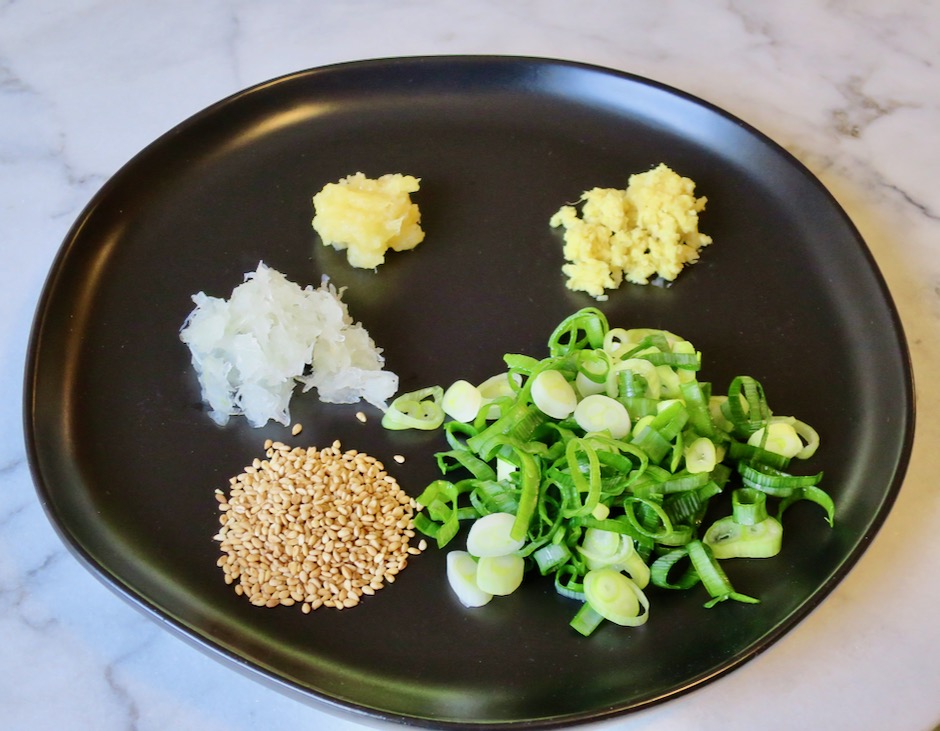
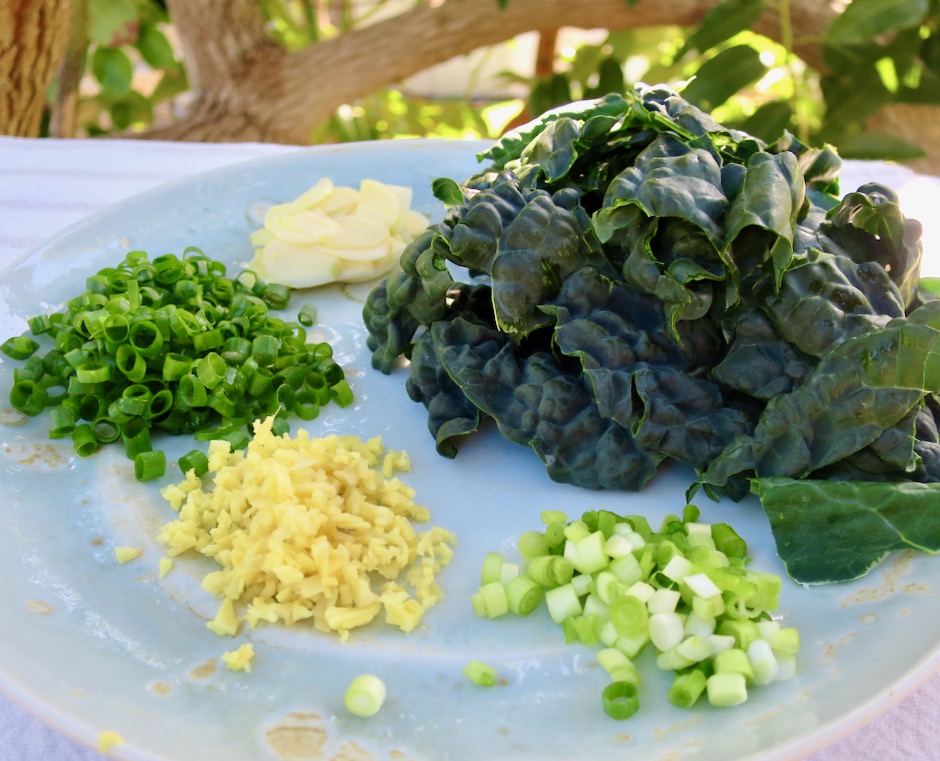
Garlic, Ginger, Green Onions, Sesame Seeds, Onion

The main ingredients for the marinade are garlic, ginger, green onion, sesame seeds and onion.  Though it may seem very ordinary, these common ingredients come together to make the best marinade.

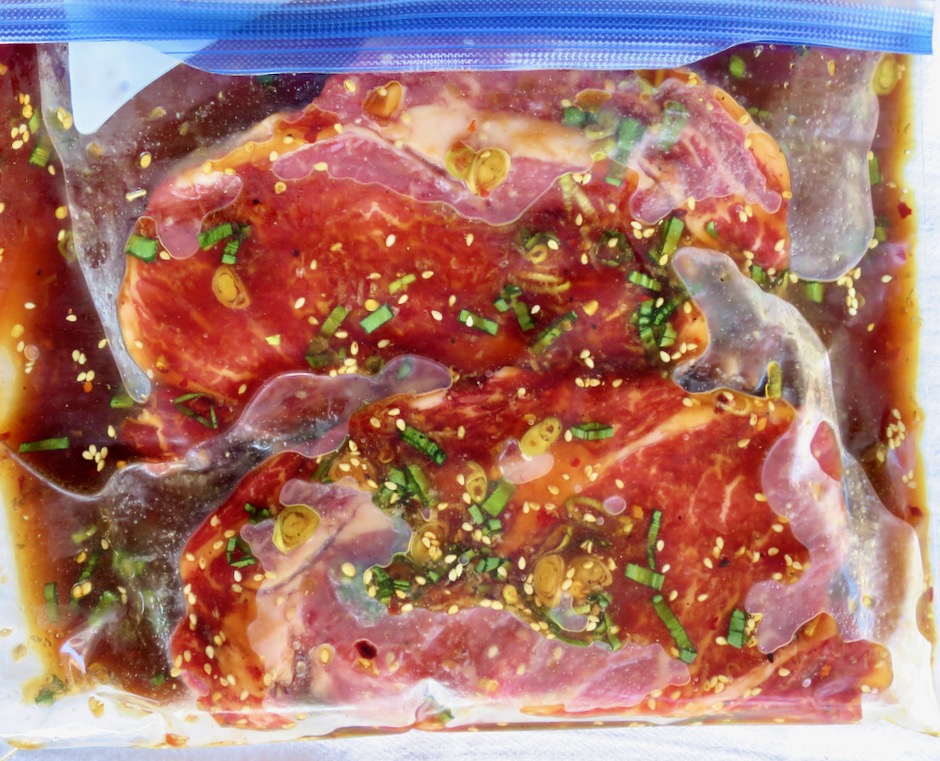
Marinating Kalbi Steaks

I mix up the marinade early in the morning and let the steaks soak up the tasty sauce for about 10 hours.

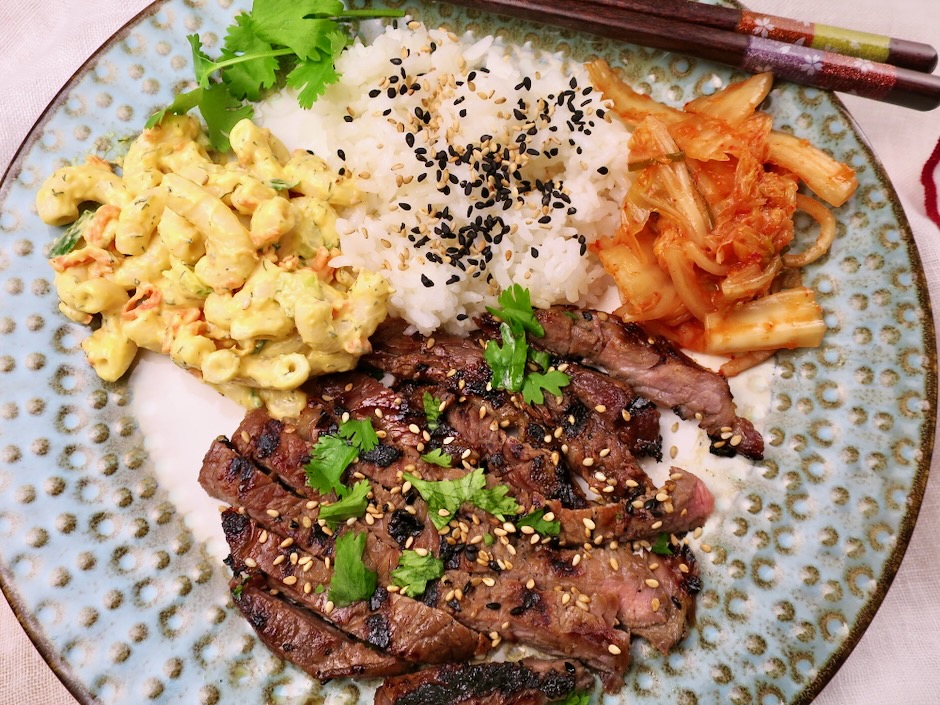
Kalbi Steak, Mac Salad, Rice & Homemade Kimchi

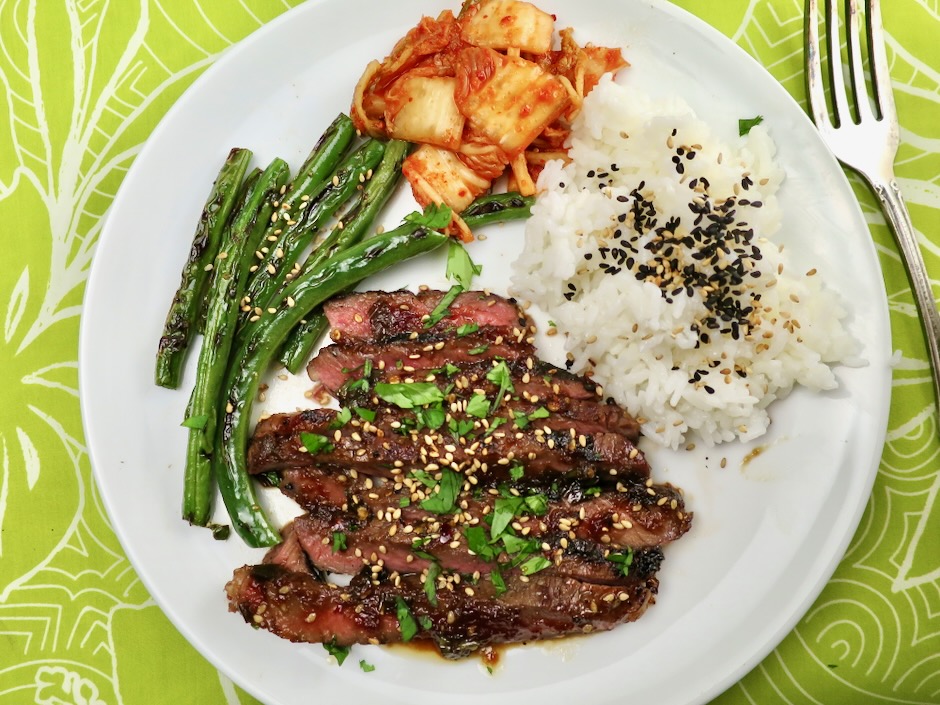
The end result is a delicious kalbi-style ribeye steak that is perfectly seasoned and grilled to perfection.  Sometimes we serve the kalbi with mac salad and homemade kimchi, other times with charred green beans.  Rice is always a part of the meal.

Kalbi Steak, Charred Green Beans, Homemade Kimchi &  Rice

Kalbi Ribeye
 
Author:
Serves: 2
Ingredients
  • 1 thick cut ribeye steak (about 1 pound, cut into two ¾-inch thick each pieces)
  • Marinade:
  • ¼ cup soy sauce
  • ¼ cup mirin
  • ¼ cup sesame oil
  • ¼ cup packed dark or light brown sugar
  • 2 tablespoons water
  • 1 tablespoon finely grated onion
  • 1 tablespoon finely grated garlic (A Microplane works great for the garlic and ginger)
  • 2 teaspoons finely grated ginger
  • 5 green onions finely sliced
  • ¾ teaspoon red pepper flakes
  • 2 teaspoons roasted sesame seeds
  • freshly ground black pepper
Preparation
  1. Whisk together the marinade ingredients in 2-cup glass measuring cup or medium sized bowl. Reserve ¼ cup of marinade.
  2. Place the steaks in a single layer in a ziplock bag. Pour marinade over top and bottom of steaks making sure each steak is coated well. Place bag in the refrigerator for 8 - 10 hours, turning the bag occasionally.
  3. For gas grill: Turn all burners to high, cover and heat grill until very hot, about 15 minutes. Clean and oil grates liberally once grill is hot. Grill steaks for about 5 minutes total, brushing reserved marinade over the steaks and turning several times for an even char. Check temperature with Thermapen or other digital thermometer. Remove when internal temperature reaches 140 degrees.
  4. ***The steaks can also be cooked over a hot charcoal grill.


Breakfast, Dinner, Eggs, Lactose Free, Recipes, Rice Dishes, Side Dishes, Veggies

Kale Fried Rice

March 8, 2021

Kale Fried Rice

There are countless versions of fried rice.  It can be a stand-alone meal or a splendid side dish. Some of my favorites are ramen fried rice and kimchi and Spam fried rice.  Quick and inexpensive, this particular version couldn’t be easier to make.  Leftover brown rice with wilted kale makes for a healthy meal.  I make it regularly and I don’t think I’ll ever tire of it.

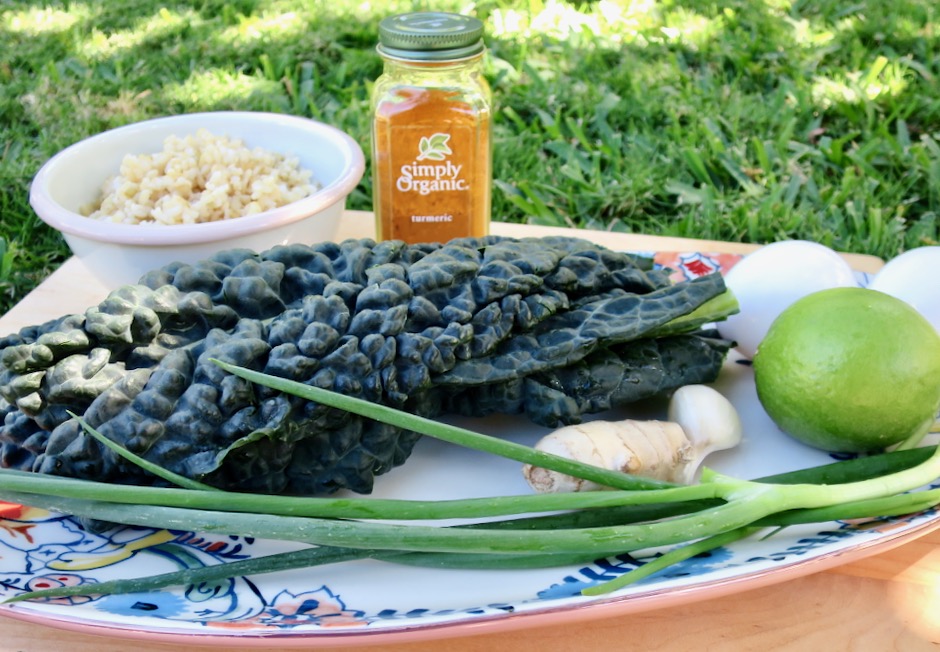
Kale, Brown Rice, Turmeric, Eggs, Lime, Garlic, Ginger, Green Onions

Don’t skip the turmeric.  It’s what gives this dish a slightly earthy flavor and a gorgeous color.

Sliced Garlic, Kale, Light Green Onions, Ginger, Green Onions

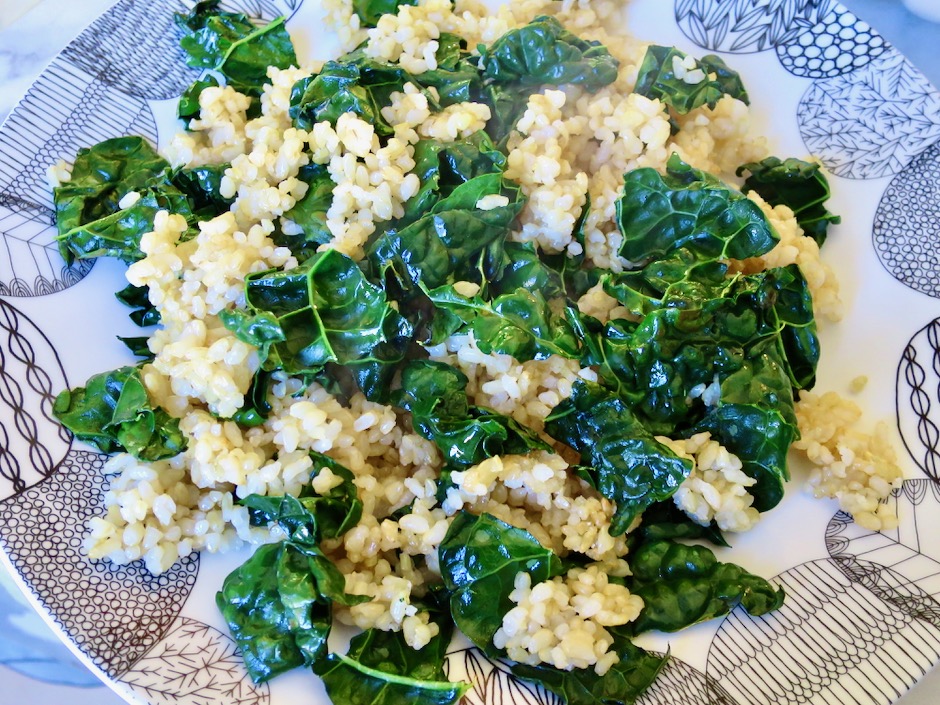
Once the rice is warmed and crisped, handfuls of kale get tossed into the pan until wilted.  If your pan is hot enough, some of the kale will get a bit charred.  This adds another level of flavor to the fried rice.

Garlic, Green Onions, Ginger

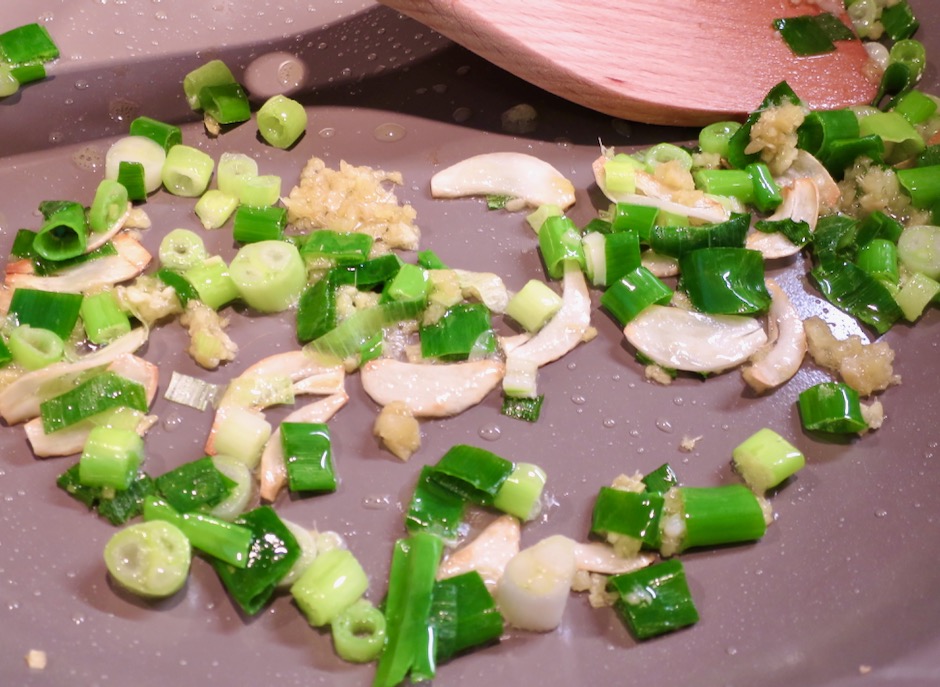
The garlic is cut into thin slices then lightly browned until the edges are crisp.  Fresh ginger and green onions are stir-fried with the garlic before adding the turmeric and eggs.

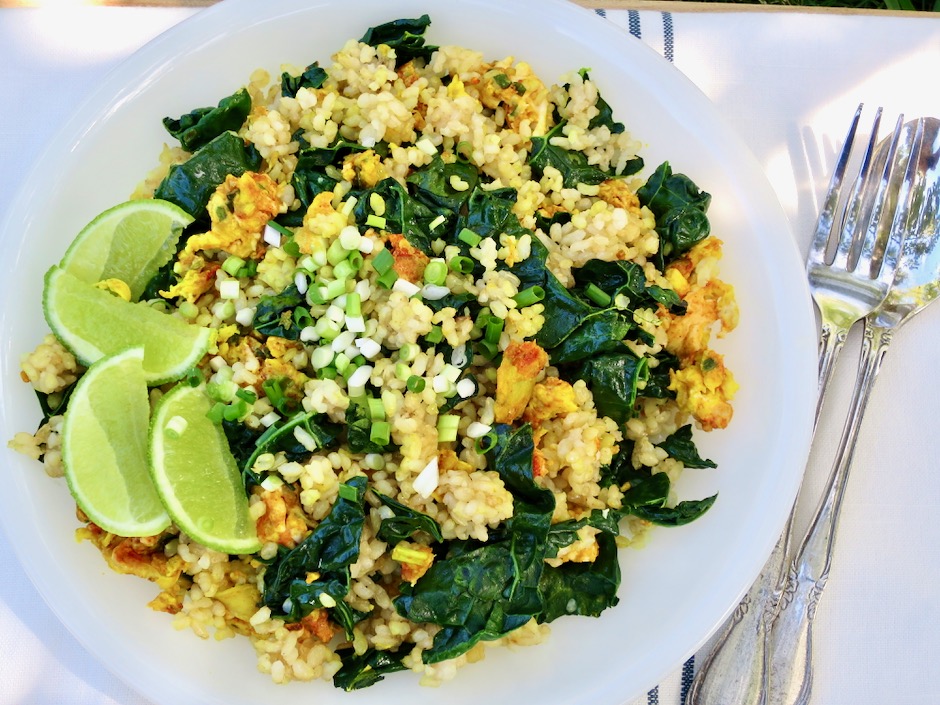
Kale Fried Rice

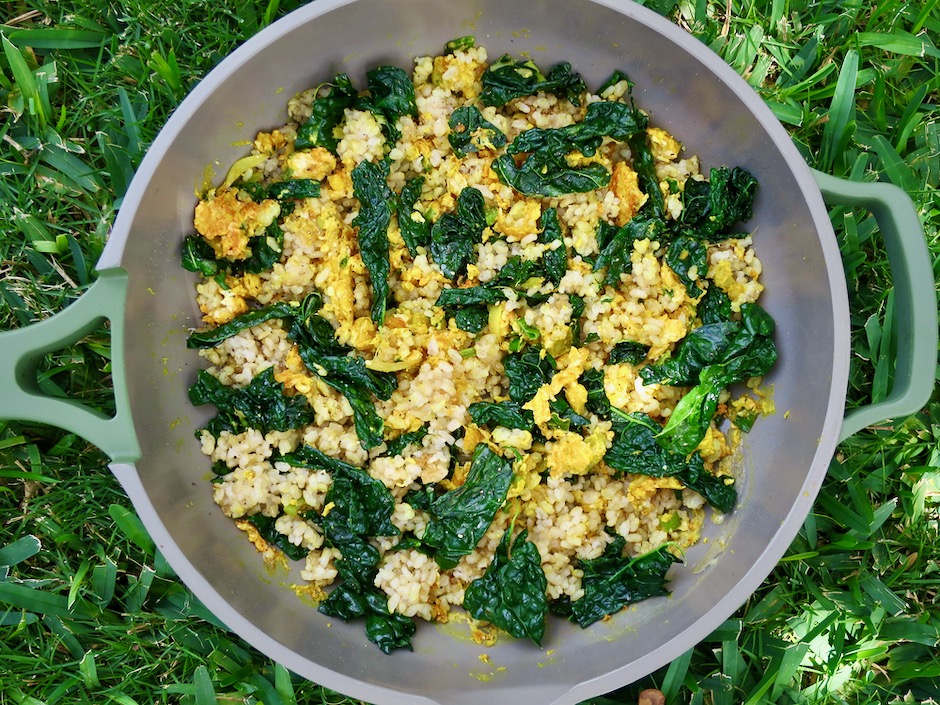
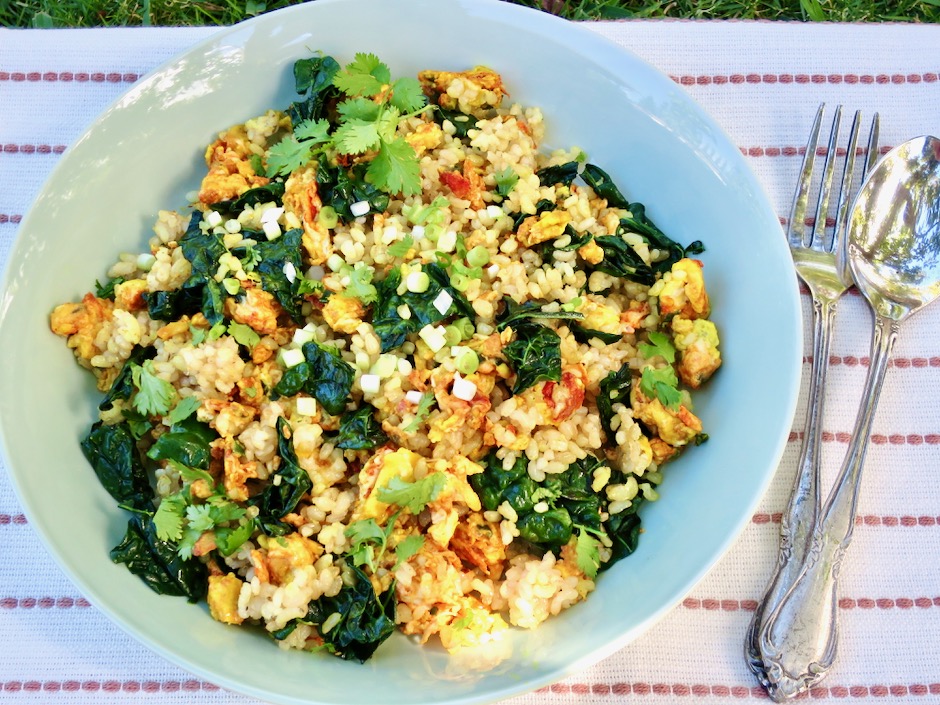
You’ll end up with a gorgeous pan of fried rice that is healthy and delicious.  

Kale Fried Rice

Kale Fried Rice

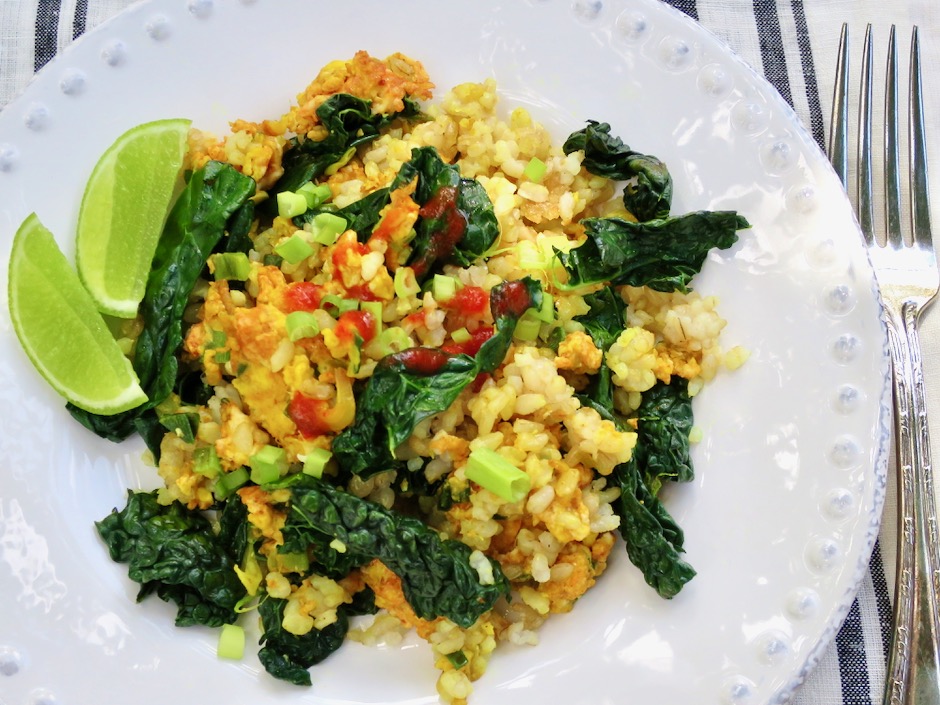
I like to serve the fried rice with sriracha sauce which adds the perfect kick to this meal.  Sprinkle sliced green onions and squeeze fresh lime juice over the rice just before serving.

Kale Fried Rice
 
Adapted from Bon Appetit
Author:
Serves: 2
Ingredients
  • 6 green onions, thinly sliced (set aside a tablespoon for serving)
  • 2 tablespoons grapeseed oil, divided (or another mild flavored oil such as canola)
  • 2 cups cooked short grain brown rice (day old is best)
  • 1 small bunch Tuscan kale, ribs and stems removed, leaves torn (about 2-3 ounces)
  • 2 small garlic cloves, thinly sliced
  • 1 tablespoon finely chopped peeled ginger
  • ¾ teaspoon ground turmeric
  • 2 large eggs
  • lime wedges for serving
Preparation
  1. Heat 1 tablespoon of oil in a large nonstick skillet over medium heat. Add rice, breaking up any lumps. Pat down into an even layer and cook, undisturbed until beginning to crisp, about 3 minutes. Toss and continue to cook, adding kale by the handfuls and letting wilt slightly before adding more. Toss occasionally, until rice is heated through and all the kale is wilted, about 3 minutes. Season with salt and transfer to a plate.
  2. Heat remaining 1 tablespoon oil in same skillet over medium-low heat. Add garlic, ginger, and green onions, stirring often until garlic is lightly browned (careful not to burn) around the edges, about 1-2 minutes. Turn heat up to medium sprinkle turmeric over, then stir in eggs. Using a pair of chopsticks or a heatproof spatula, blend whites and yolks with garlic, ginger, and green onions until the eggs are barely set. Return rice and kale to the skillet, tossing occasionally until hot, adjusting heat as necessary. Divide fried rice between two plates and top with reserved green onions. Serve with sriracha sauce.


Follow

Get every new post delivered to your Inbox

Join other followers: