Browsing Tag

Earth Balance Buttery Sticks

Dinner, Eggs, Japanese, Lactose Free, Pasta, Recipes, Vegetarian

Life Changing Udon

July 10, 2021

Life-Changing Udon with Soft Boiled Egg and Fresno Pepper

In the May issue of Food & Wine magazine, Hetty McKinnon (cookbook and food writer) tells the story of her visit to Tokyo and how a simple bowl of udon became life-changing.  The noodles were toothsome, served with a perfectly cooked jammy egg, green onions and a bit of flavorful broth.  It was served with a generous amount of freshly ground black pepper scattered over the top which paired perfectly with the udon.  After reading the article, I was determined to prepare this noodle dish.  Now, more than a month has gone by and I’ve made it at least three times, and every bowl has been as delightful as the last.  

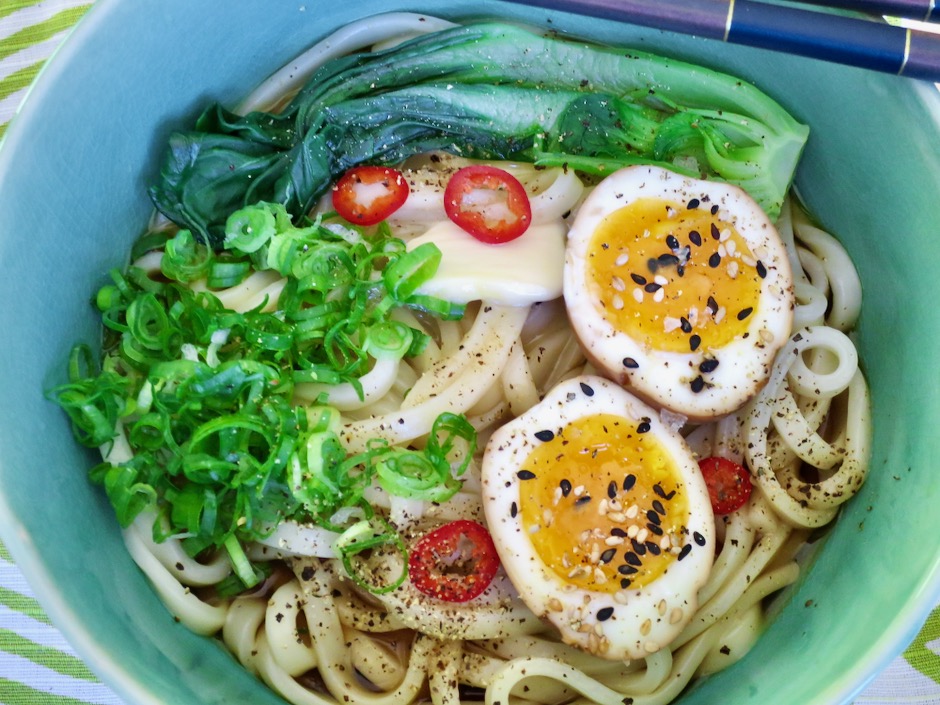
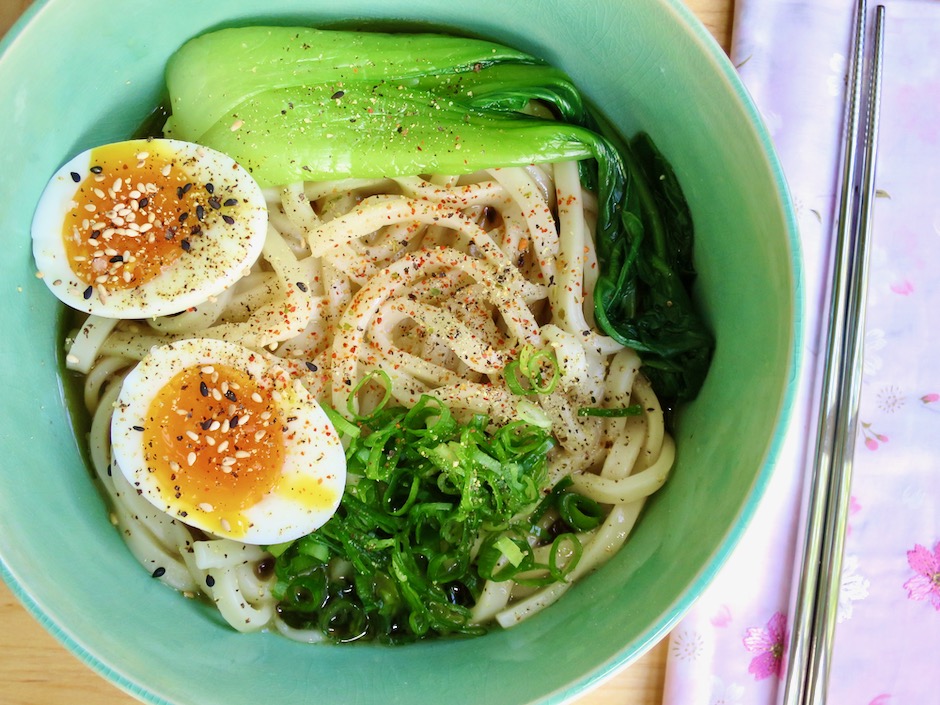
Life-Changing Udon with Soft Boiled Egg

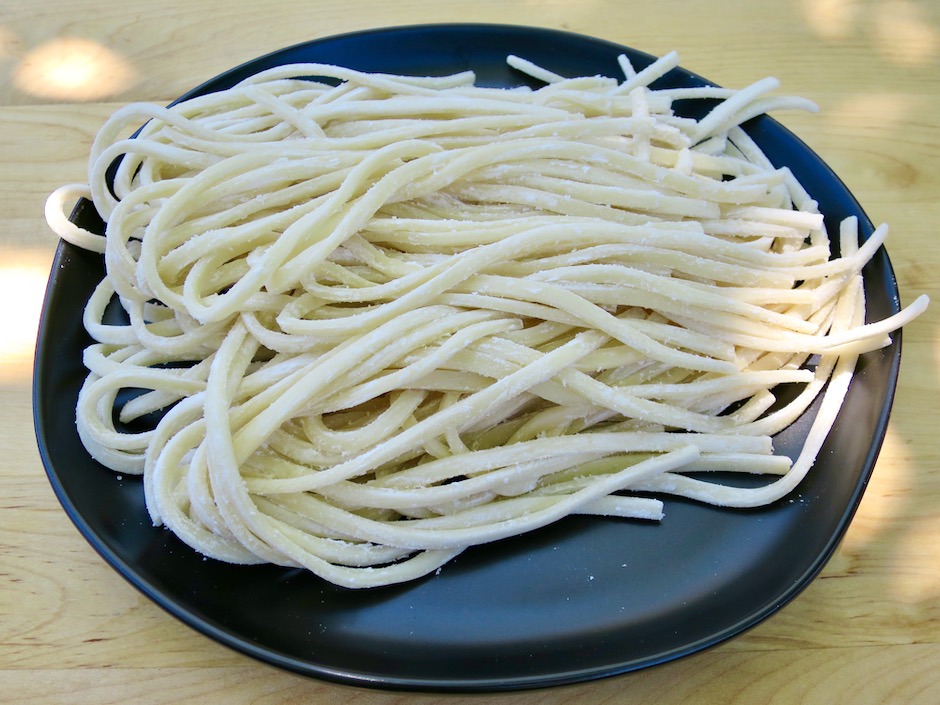
Fresh Udon

Sun Noodle sells fresh udon at Island Grocery market in Kahului.  I will go out of my way to pick up a package of their excellent udon and ramen even if they are the only items I’ll buy that day.

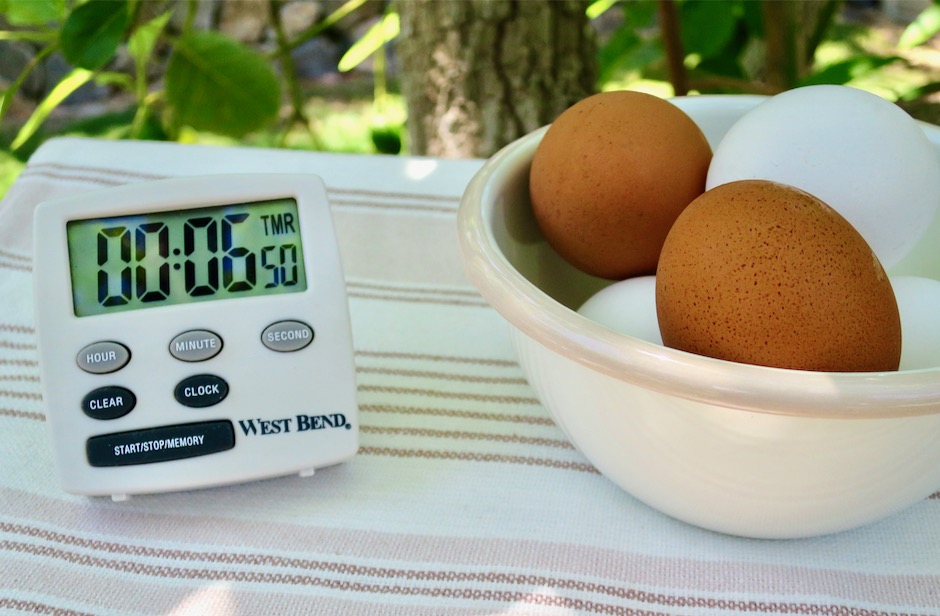
Fresh Eggs

I just love eggs, especially ones with soft yolks.  The eggs I made for this dish are boiled for exactly six minutes and 50 seconds.  They are quickly transferred to an ice bath to stop the cooking.  You can use them as is, or make soy sauce eggs if you have extra time. Either way, the egg turns out perfectly with jammy centers and fully cooked whites.

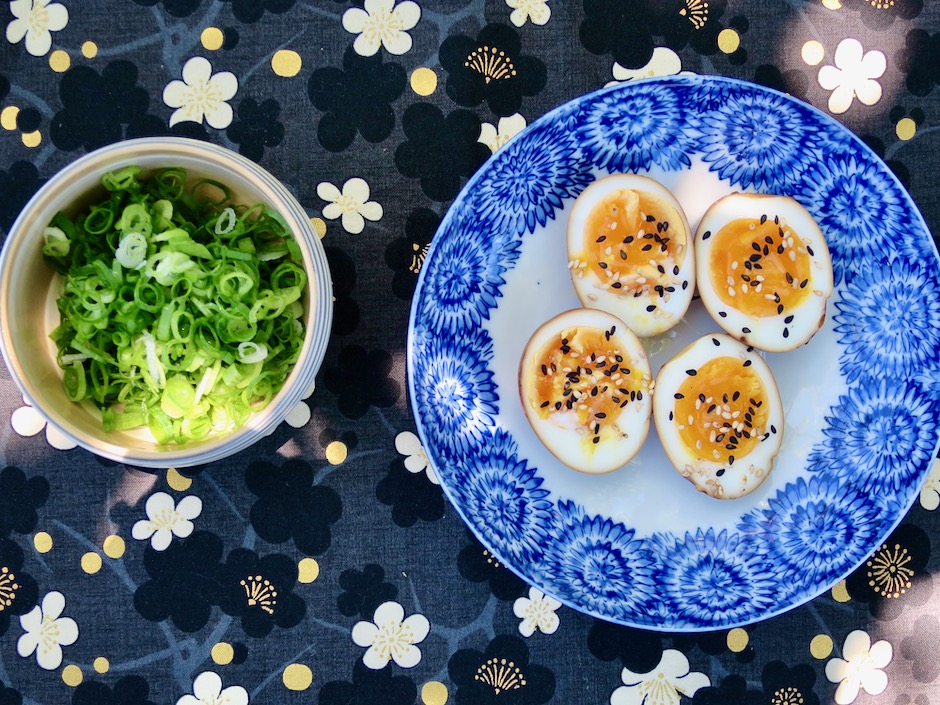
Green Onions & Soy Sauce Eggs

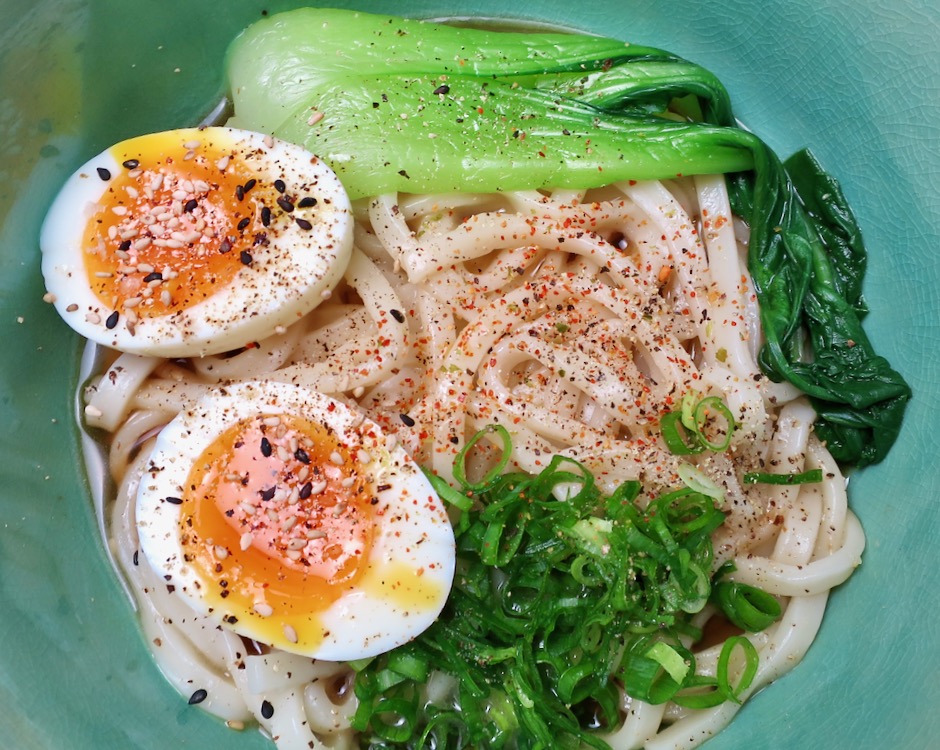
It’s such a simple recipe with easy to find ingredients.  The baby bok choy adds color and crunch, but it is optional.  Don’t skip the green onions, egg, and pepper. Sometimes I will sprinkle shichimi togarashi pepper over the noodles to add a bit of spice to the dish.  This recipe does not have a lot of broth.  If you prefer more, increase that part of the recipe. However, I find that there is just enough to keep the udon hot, and the soup gets slurped up when the bowl is empty of noodles.  

Life-Changing Udon with Soft Boiled Eggs

Life Changing Udon
 
Adapted from Hetty McKinnon's recipe
Author:
Serves: 4
Ingredients
  • 4 large eggs
  • 2 cups vegetable stock
  • 3 tablespoons less sodium soy sauce
  • 2 teaspoons mirin
  • 1½ pounds (24 ounces) fresh udon noodles
  • 4 tablespoons Buttery Sticks, divided (or regular unsalted butter)
  • ½ cup finely sliced green onions, green and white tender stems
  • freshly ground black pepper
  • 1 tablespoon sesame oil
  • flaky sea salt for the eggs
  • shichimi togarashi Japanese pepper, optional
Preparation
  1. Fill a small saucepan with water; bring to a boil over high heat. Gently lower eggs into boiling water. Set timer for 6 minutes and 50 seconds. Once water returns to boiling, lower the heat slightly to maintain a gentle boil. Meanwhile, fill a medium bowl with ice water. Once the eggs have cooked, transfer to the ice water bath immediately. Let cool for a few minutes before peeling.
  2. Bring a large saucepan of water to a boil over high heat. Meanwhile, stir together the vegetable stock, soy sauce, and mirin in a small saucepan. Cook over low, stirring occasionally, until hot, about 6 minutes. Add noodles to boiling water and cook according to package directions for al dente. Drain noodles, and divide evenly among 4 bowls.
  3. Pour hot soy sauce broth over each bowl of noodles. Add a tablespoon of butter to each bowl and allow to melt into the noodles and broth. Halve the eggs and top each bowl with 2 egg halves. Sprinkle a bit of flaky sea salt and black pepper over the eggs. Add the green onions and scatter a generous amount of freshly ground black pepper over the noodles. Finish with a drizzle of sesame oil before serving. Serve with shichimi togarashi pepper (optional).


Cookies, Japanese, Lactose Free, Recipes, Vegan, Vegetarian

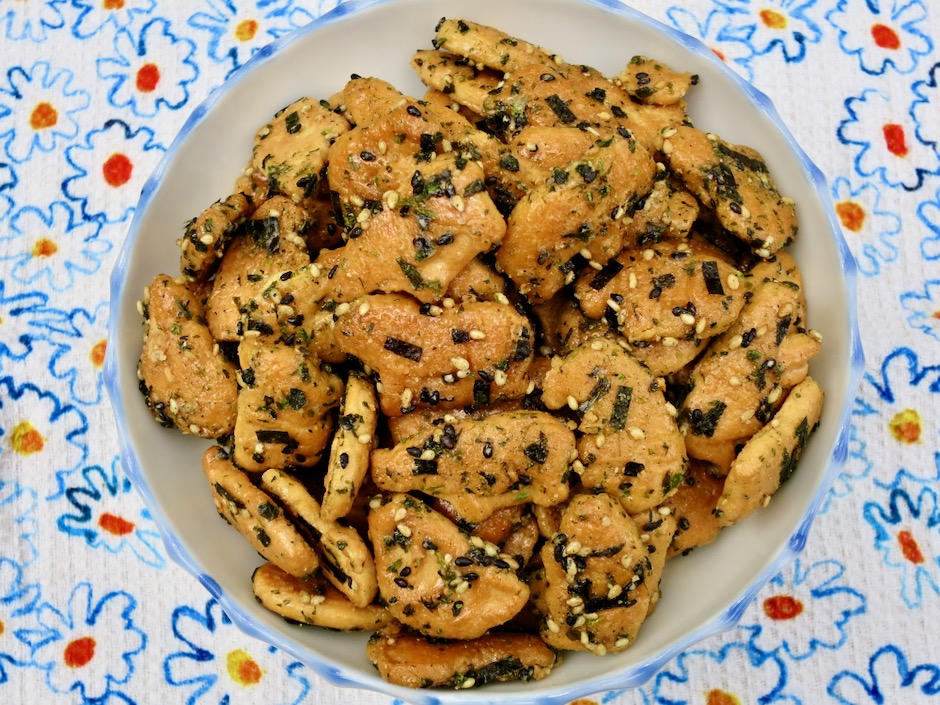
Furikake Animal Crackers

April 26, 2021

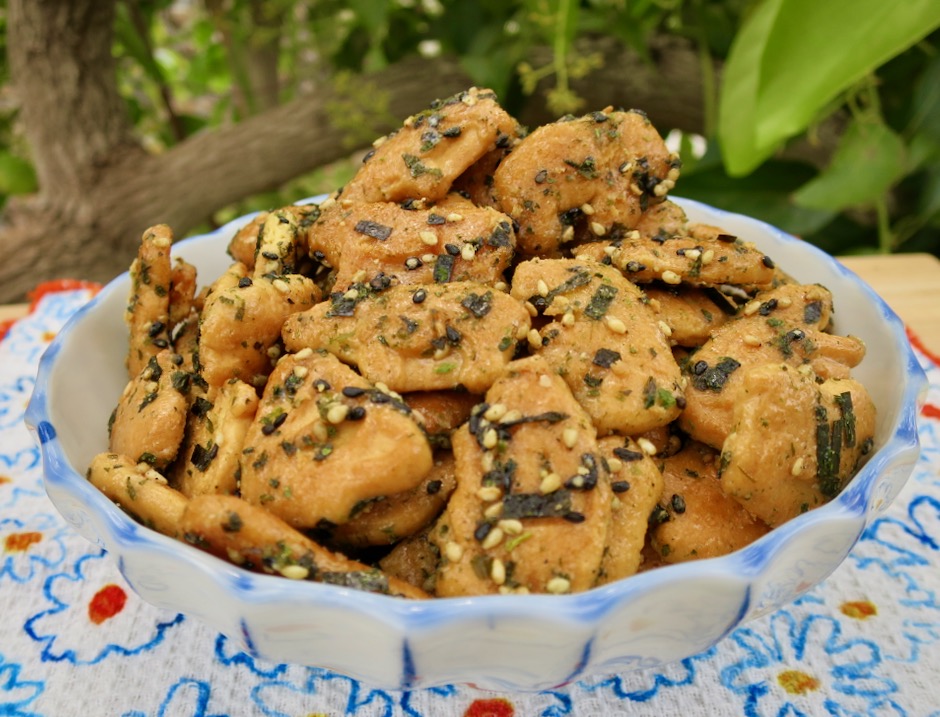
Furikake Animal Crackers

My friend Michelle’s mom, Tomoe, always has a treat for me when I stop by to deliver produce from our garden.  Like me, she is always busy making goodies to give away.  Pickled mango, takuan, and mango bread are just a few of the delightful treats she makes. On a recent visit, Tomoe gave me a container of furikake animal crackers.  I shared them with my co-workers and they all raved about how tasty they were.  So here’s another recipe from Tomoe, who by the way is in her 90’s and still having fun in the kitchen.

Animal Crackers

The original recipe calls for 2 pounds of animal crackers (Target sells giant tubs in the cookie aisle).  I cut the recipe in half and used 1 pound of crackers and made my own version (lactose free).

Furikake

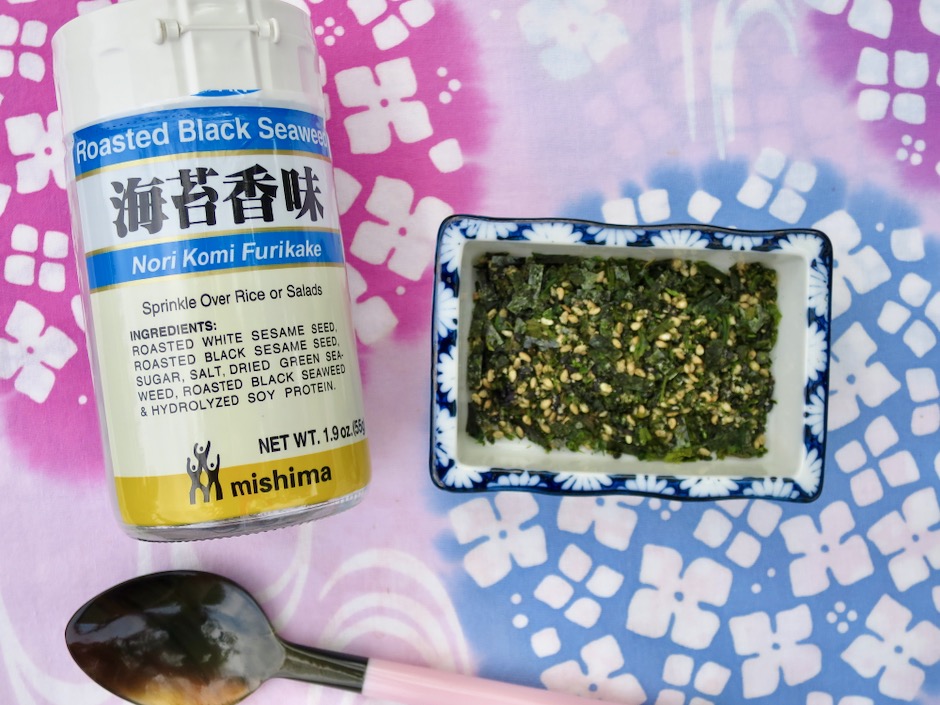
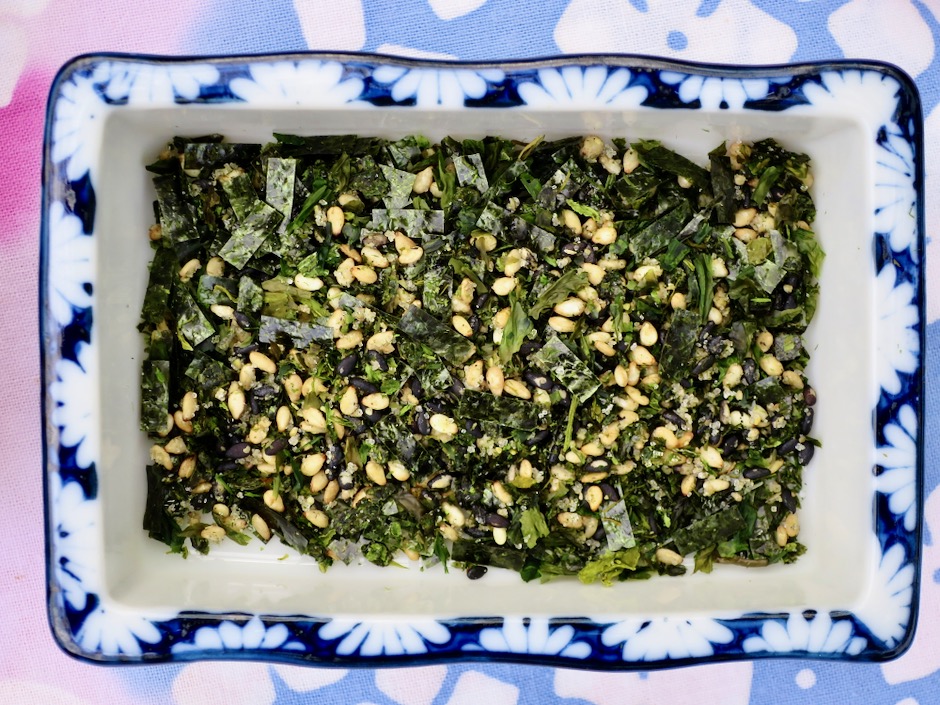
There are many variations of furikake available. For this recipe, it’s best to use one that has simple ingredients such as sesame seeds and nori (seaweed).

Furikake

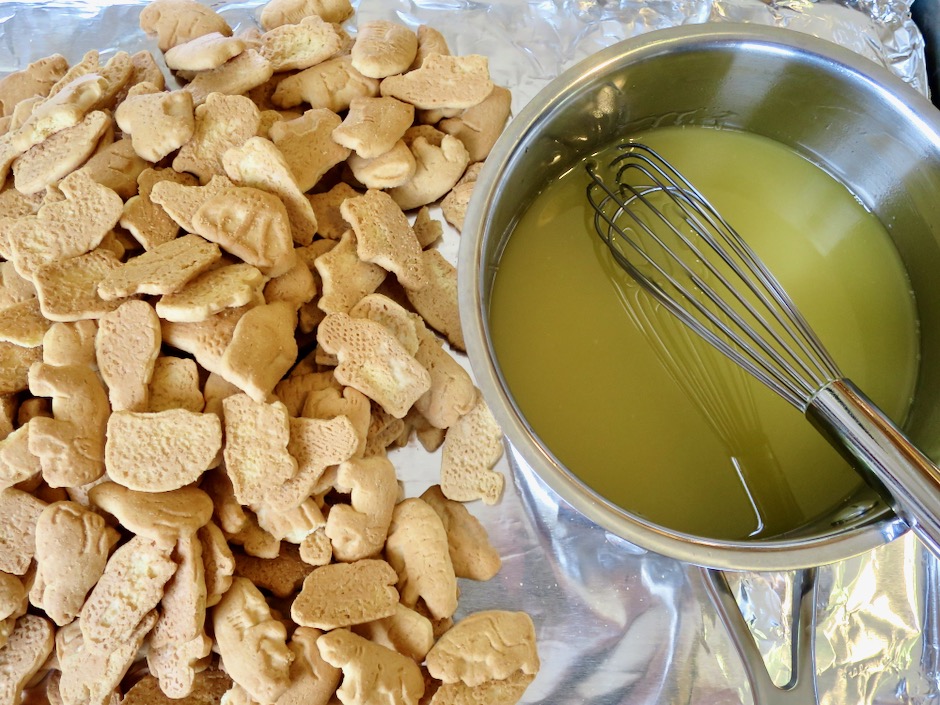
Animal Crackers & Glaze

These couldn’t be simpler to make.  Prepare the sauce, mix it up with the crackers, sprinkle with furikake, toss and bake.
Furikake Animal Crackers

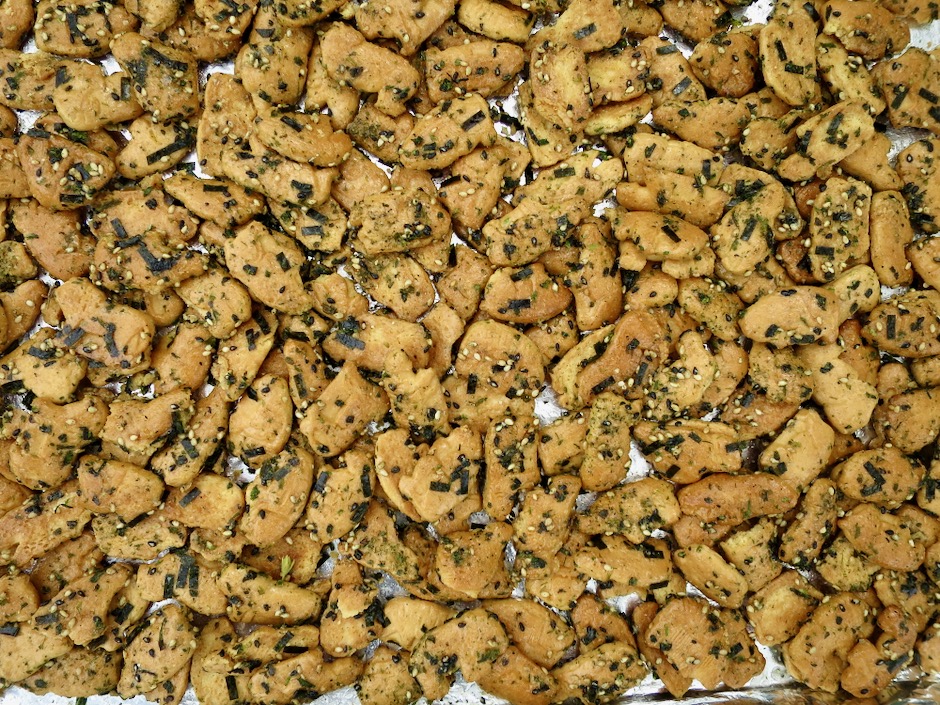
These crackers bake low and slow for about an hour.  You will need to toss them every 15 minutes to ensure they crisp up evenly.  I found that after the 1 hour baking time was up, some of the animal crackers were stuck together.  Just split them apart with a thin spatula before you set them aside to cool.

Furikake Animal Crackers

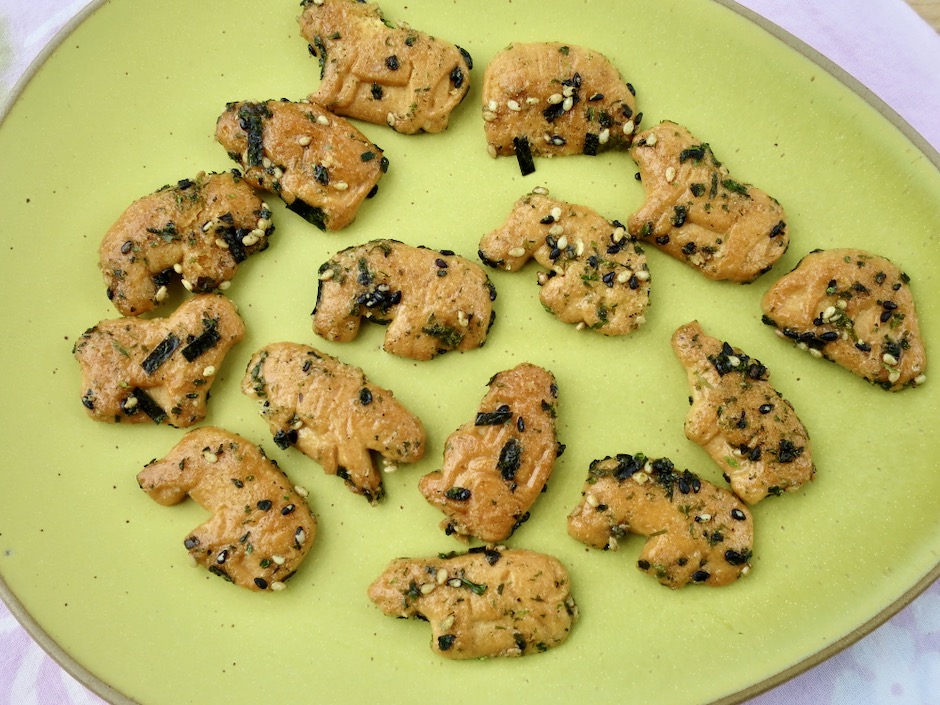
Nicely glazed with bits of sesame seeds and nori on each cookie, these are a tasty treat.

Furikake Animal Crackers

Furikake Animal Crackers

Furikake Animal Crackers
 
Adapted from Tomoe's recipe
Author:
Serves: 1 pound
Ingredients
  • 1 pound animal crackers
  • ⅓ cup furikake
  • ½ stick (2 ounces) vegan Buttery Sticks (or regular butter)
  • 2 tablespoons + 2 teaspoons granulated sugar
  • 1 scant teaspoon kosher salt
  • 2 tablespoons + 2 teaspoons light corn syrup
  • 2 tablespoons + 2 teaspoons canola oil
Preparation
  1. Heat oven to 250 degrees. Line a rimmed half sheet pan (jelly roll pan) with heavy duty foil.
  2. Pile animal crackers on the foil lined baking sheet. Set aside.
  3. Melt Buttery Stick in a small saucepan over medium-low heat. Add sugar and salt and stir until dissolved. Remove from heat. Add corn syrup and oil. Whisk to combine. Pour syrup over animal crackers. Using disposable gloves, toss crackers with syrup until evenly coated. Sprinkle furikake over crackers and toss again. Bake for 1 hour, stirring every 15 minutes so the crackers bake evenly. Remove pan from oven to cool. If you notice any crackers stuck to one another, split them before they cool completely. The syrup will harden as the crackers cool. Store crackers in tightly sealed containers. I keep mine in the refrigerator.


Breakfast, Dessert, Fruit, Lactose Free, Recipes, Vegetarian, Veggies

Mango Galette

February 14, 2021

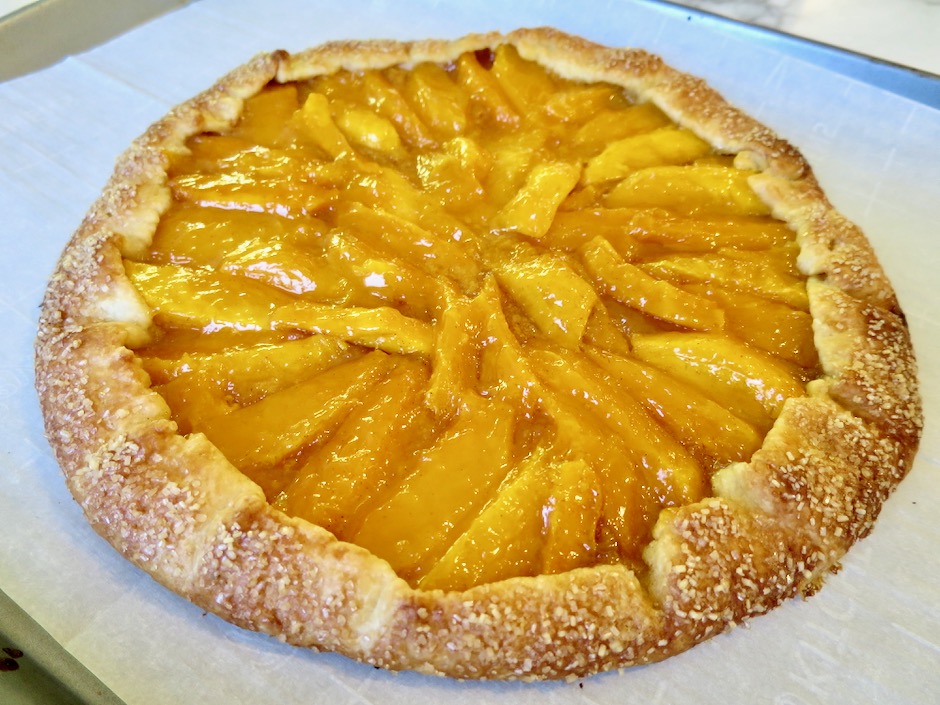
Fresh Mango Galette

I had every intention of posting this in August when mangos were abundant, yet here it is, February….  It looks as though it will be a good mango season this year.  All the trees in the neighborhood are full of flowers and keiki fruits right now. So when the time comes and you have a few pounds of mangos and want an easy to assemble dessert, this mango galette is the perfect choice.  It is a beautiful dessert to bring to the table after dinner or to serve with your morning coffee.

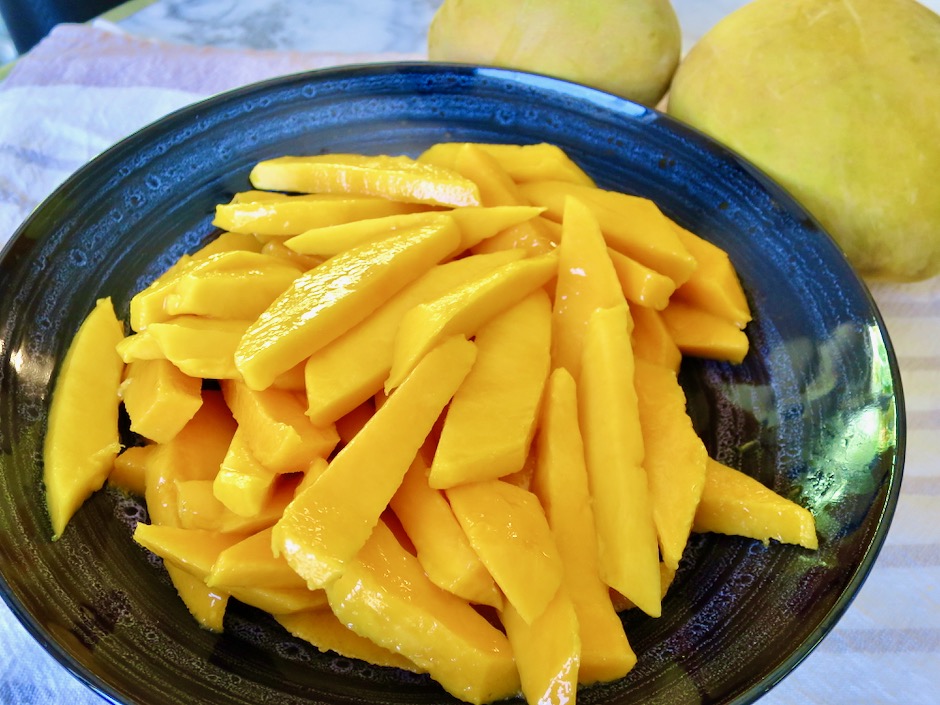
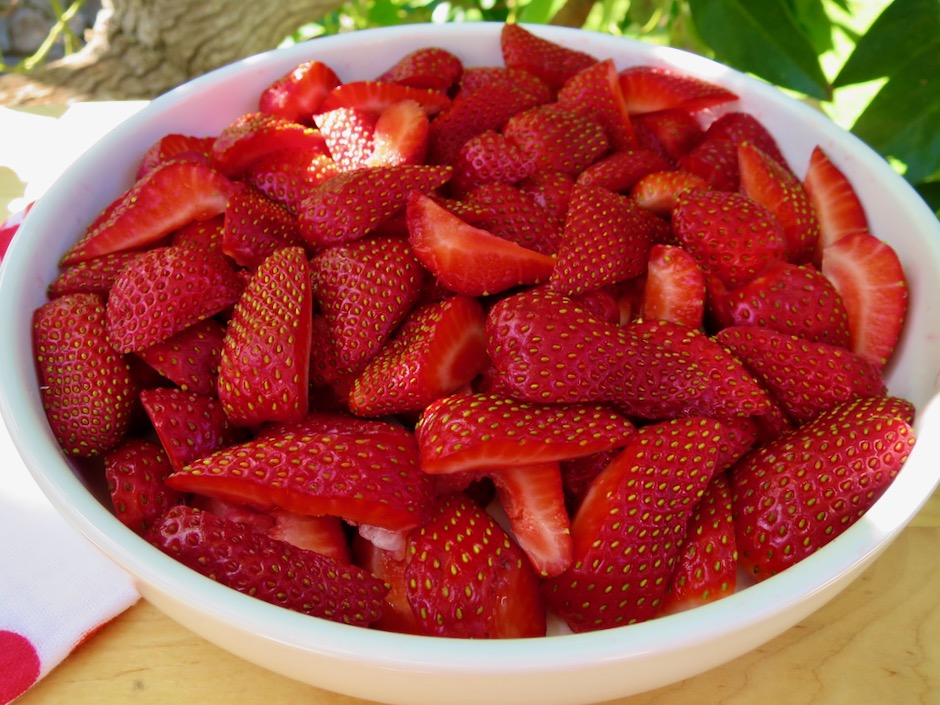
Pirie Mango Slices

Between the two types of mango trees we have, the White Pirie is the one I use most often for making jams and preserves as well as for baking.  With its sweet, intense, mango flavor and relatively firm texture, it holds up well when chopped or sliced for recipes such as mango bread, cake, streusel muffins, and this galette.

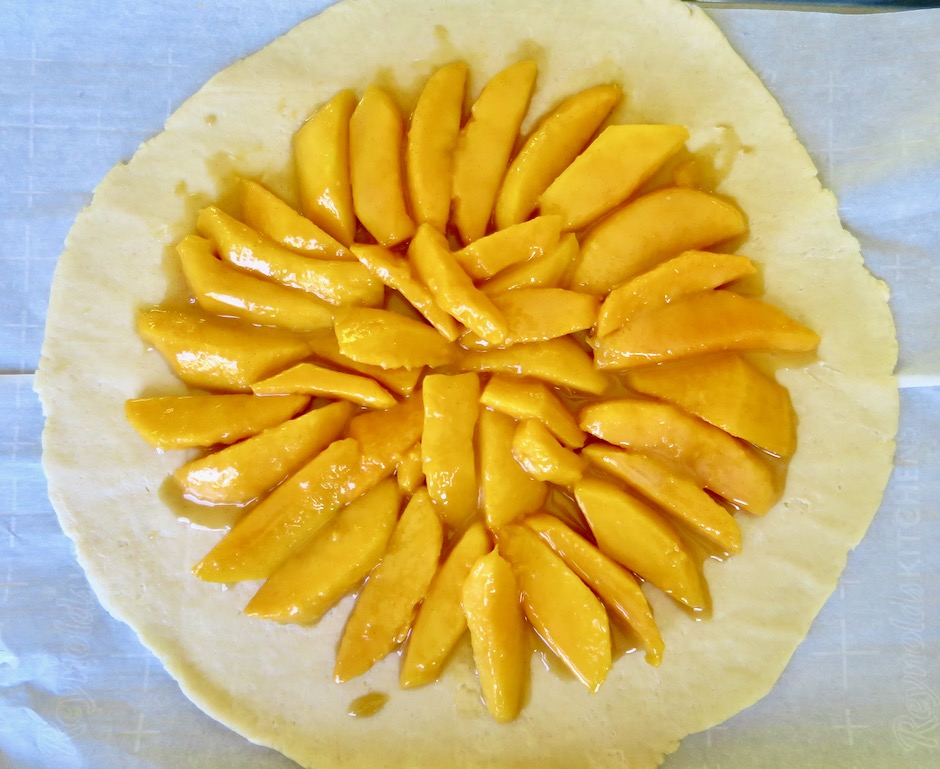
Arranging Mangos on Galette Dough

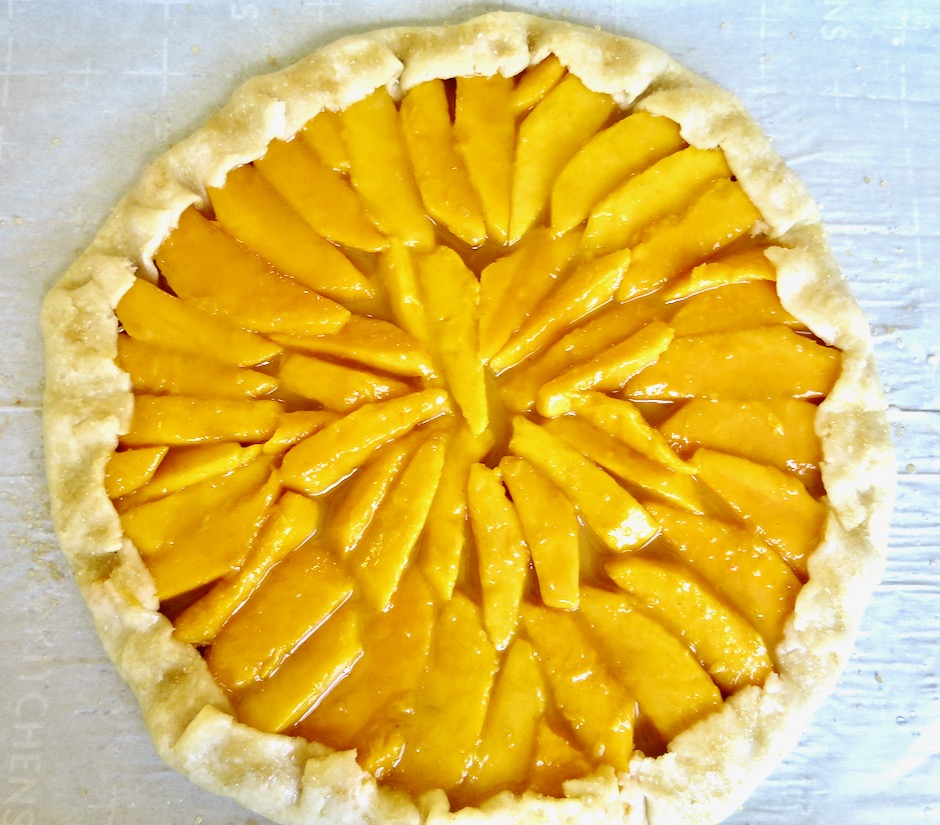
Mango Galette Ready to Bake

The wonderful thing about a galette is its free-form shape.  Roll it out, add your ingredients then tuck up the sides.  You will use the entire piece of pie dough since there’s no need to trim the edges of the crust.

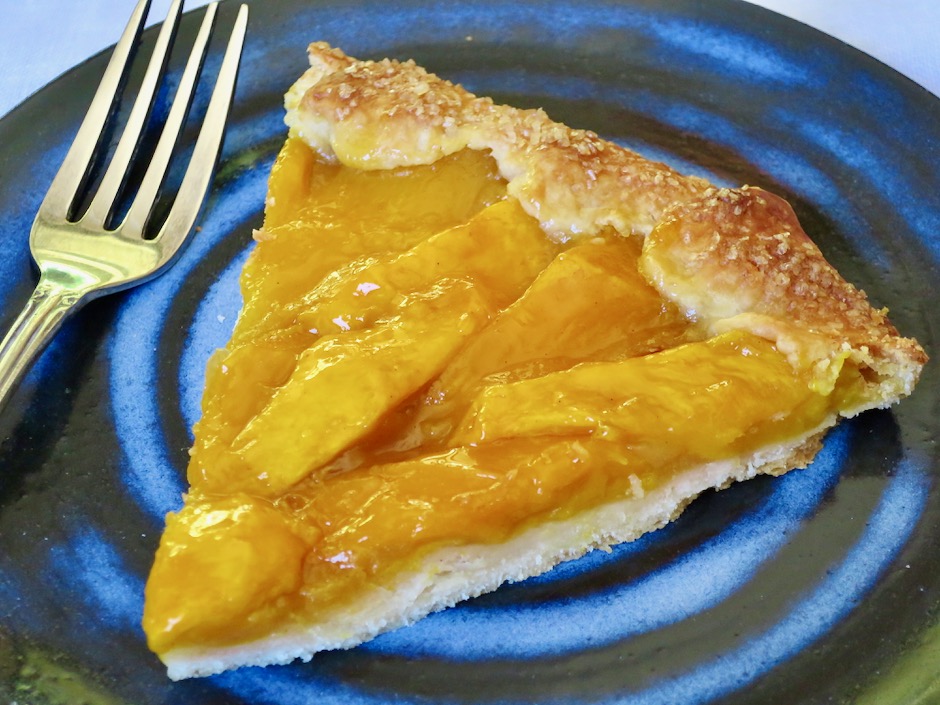
Fresh Mango Galette

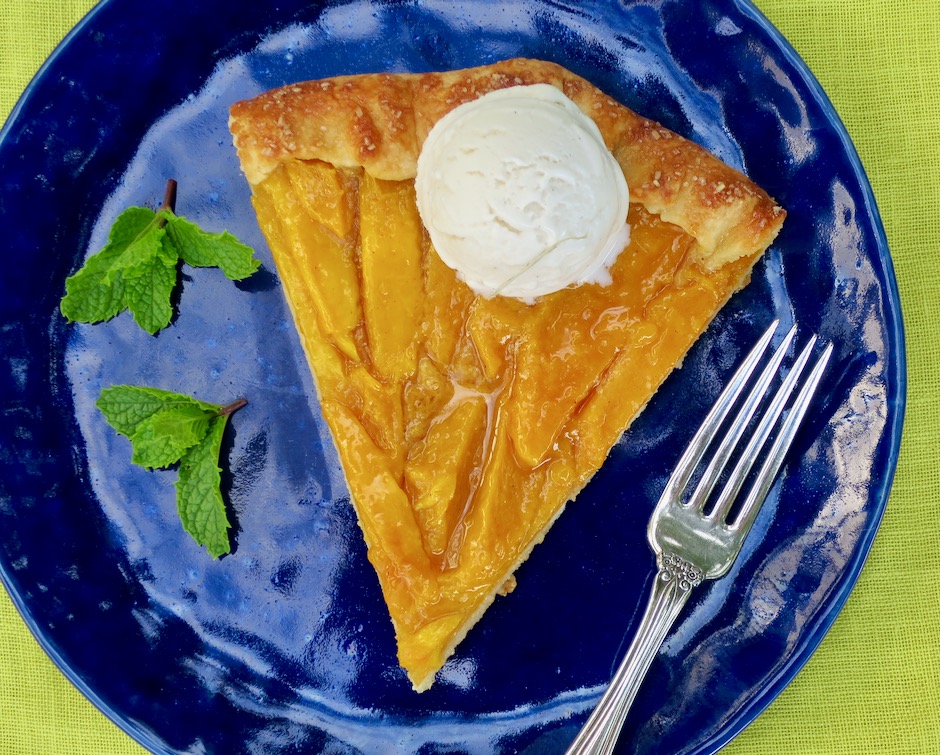
Serve a slice all by itself, or top it with a scoop of vanilla ice cream or a dollop of whipped cream.

Fresh Mango Galette with Vanilla Ice Cream

Mango Galette
 
Pastry adapted from Dorie Greenspan
Author:
Serves: 8
Ingredients
  • Crust:
  • 1½ cups (204g) all-purpose flour
  • 2 tablespoons sugar
  • ¼ teaspoon fine sea salt
  • 1 stick (8 tablespoons, 4 ounces, 113g) frozen Earth Balance Buttery Sticks cut into about 16 pieces (if using regular unsalted butter increase salt to ½ teaspoon)
  • ¼ cup ice water
  • Filling:
  • ⅓ cup (heaping) granulated sugar
  • 2 tablespoons corn starch
  • ¼ teaspoon ground cinnamon
  • 3 cups (about 2½ pounds) mangos, peeled, seeded, and cut into ⅓-1/2-inch-thick slices
  • mango jam for glaze (can substitute with apricot jam)
Preparation
  1. Dough: Put the flour, sugar and salt in a food processor and pulse a few times to blend. Scatter the pieces of butter over the dry ingredients and pulse until the butter is cut into the flour. The mixture will look like coarse meal. Continue to pulse until you get small flake-size pieces and some larger pea-size pieces. Add a little of the ice water and pulse, add some more, pulse and continue until all of the water is in. Now work in longer pulses, stopping to scrape the sides and bottom of the bowl if needed, until you have a dough that forms nice bumpy curds that hold together when you pinch them. Heads up. Just before you reach this clumpy stage, the sound of the machine working the dough will change.
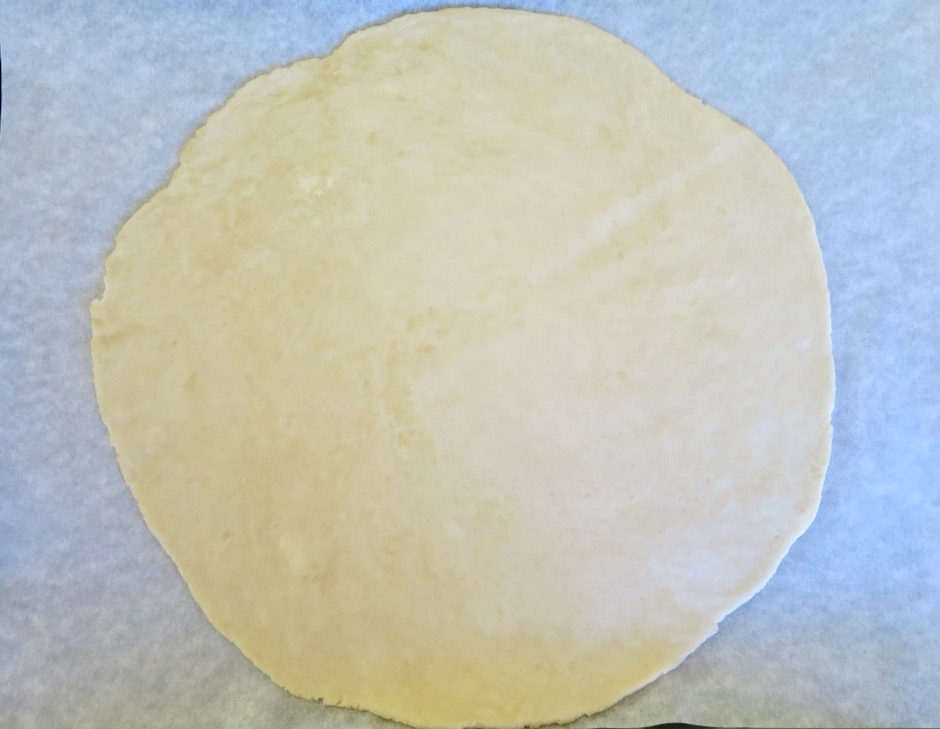
  2. Gather the dough into a ball, flatten it into a disk and put it between two large pieces of parchment paper. Roll the dough into a circle about 12 inches in diameter. Don’t worry about getting the exact size or about having the edges be perfect.
  3. Slide the rolled-out dough, still between the parchment papers onto a baking sheet and freeze for about 15 minutes or refrigerate for 2 hours.
  4. Preheat oven to 375 degrees. Remove chilled dough from freezer or refrigerator while you prepare the fruit. The dough should still be cold but pliable and not prone to cracking.
  5. Filling: Place sliced mangos in a large, wide bowl. Combine sugar, corn starch, and cinnamon in a small bowl. Sprinkle sugar mixture over mangos and toss gently with a wide spatula.
  6. Remove top layer of parchment paper from dough round. Starting 1½ to 2-inches from the edge of the round, arrange the mangoes in a single layer in concentric circles, creating overlapping folds as you work around the perimeter. If your mangos are extra juicy, leave the extra juice in the bowl so the filling does note overflow in the oven. Gently lift the border of the dough up and around the filling, making pleats as you go. Brush the border with half & half or milk. Sprinkle with turbinado or coarse sparkling sugar. This is optional but makes for an attractive and crispy crust.
  7. Bake on the parchment lined baking sheet for 45 - 50 minutes, or until the crust is golden and the filling is bubbling. Remove the galette from the oven and brush the fruit with warmed mango jam. Let cool on the baking sheet on a wire rack. Cut into wedges and serve warm or at room temperature.


Appetizers, Dinner, French, Fruit, Gardening, Recipes, Side Dishes, Veggies

Tomato Galette

October 11, 2020

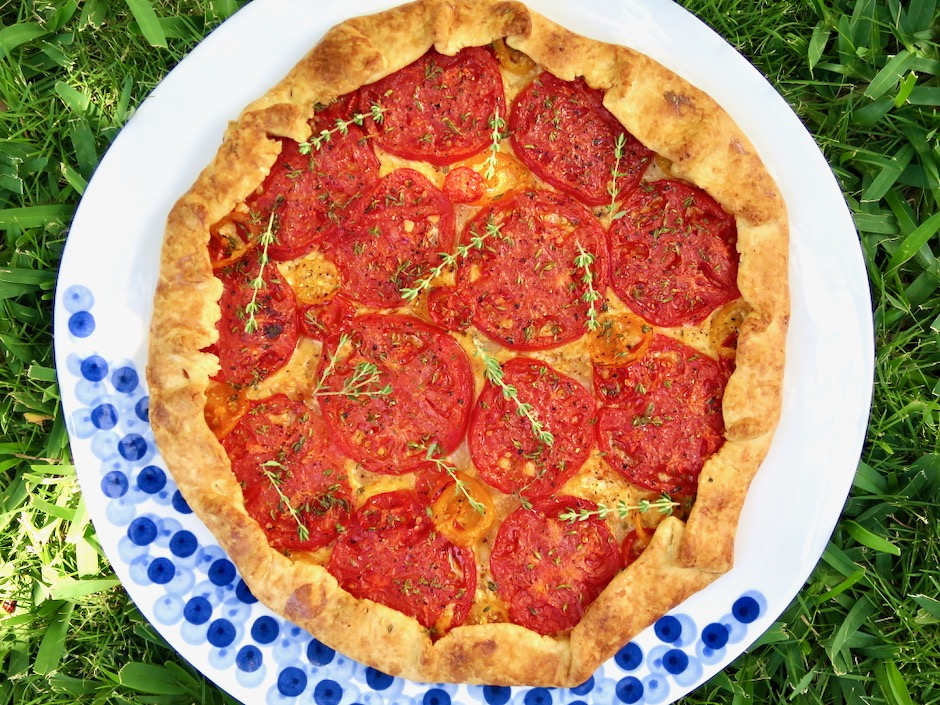
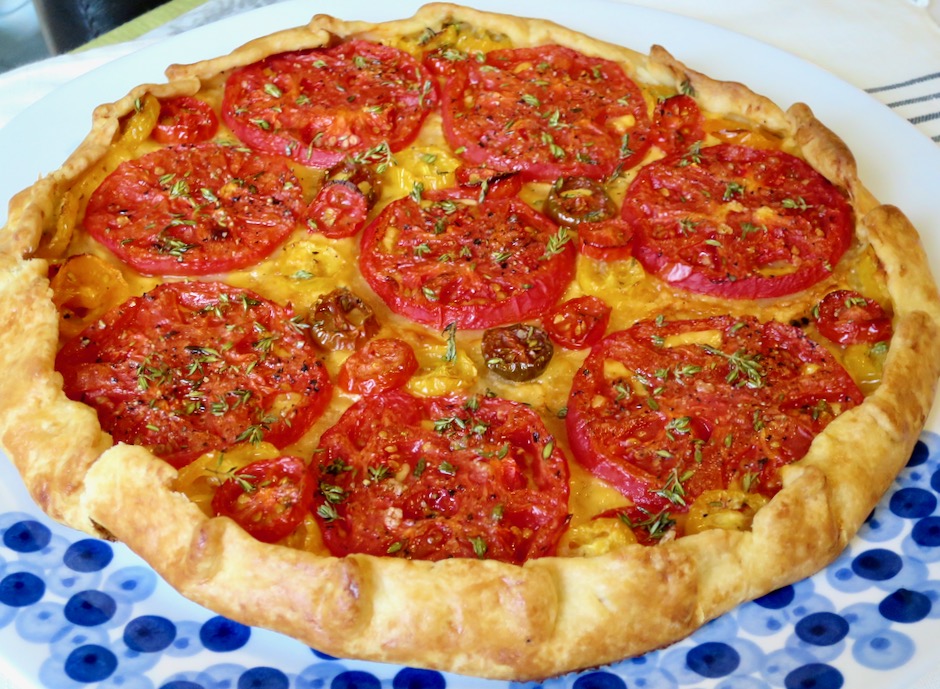
Tomato Galette with Thyme

One of the delights of a galette is its free-form crust.  The dough doesn’t require any trimming after being rolled out.  In fact, the ragged edges of the crust are what gives a galette its beautiful, rustic appearance.  Whether you are making a savory or sweet filling, a galette is a gorgeous dish to bring to the table.

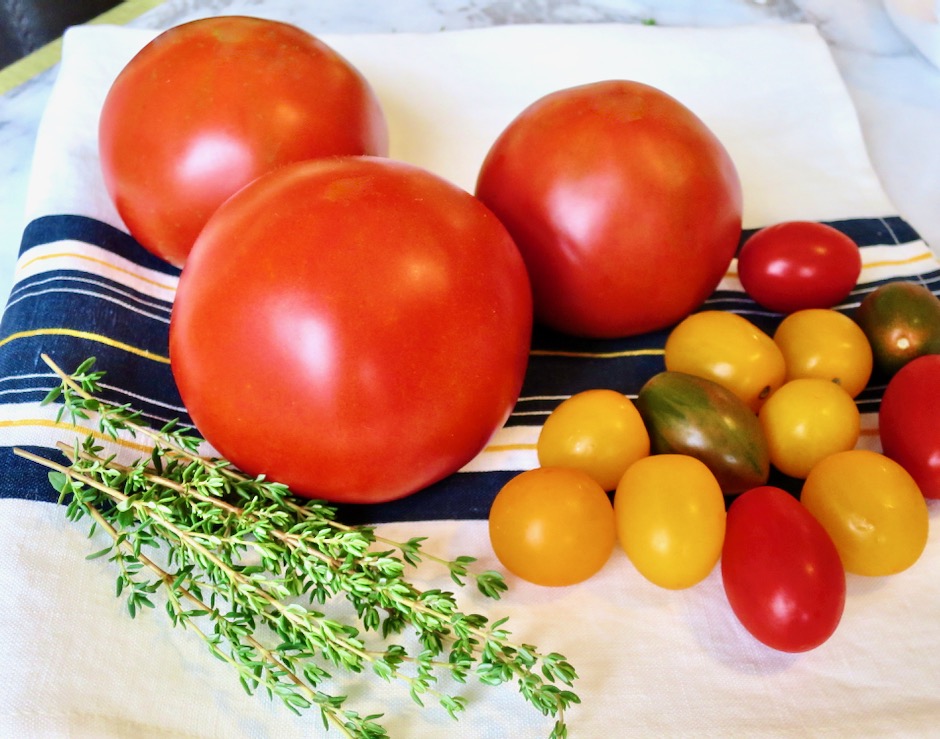
Tomatoes & Thyme

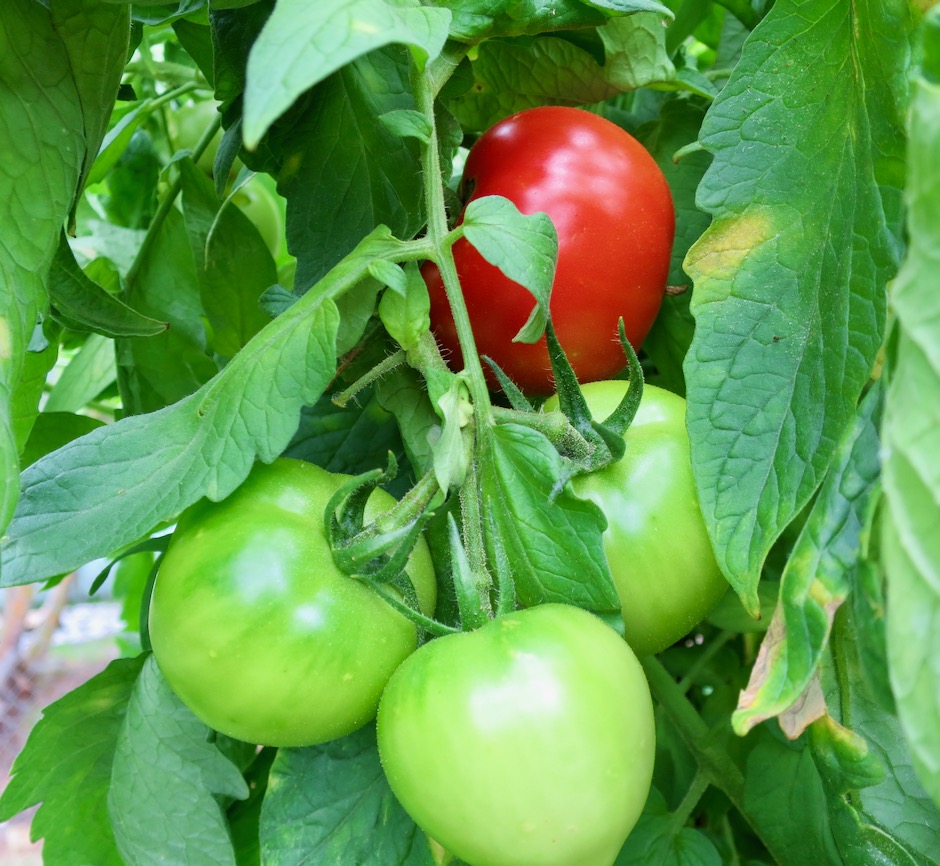
This year we grew Katana beefsteak tomatoes (Kitazawa Seed Co.) which turned out to be our new favorite.  They are meaty, juicy, and so flavorful with a gorgeous deep red color.  They are the perfect tomato for this galette and on a side note, they make for an exceptional BLT sandwich.

Katana Beefsteak Tomatoes in the Garden

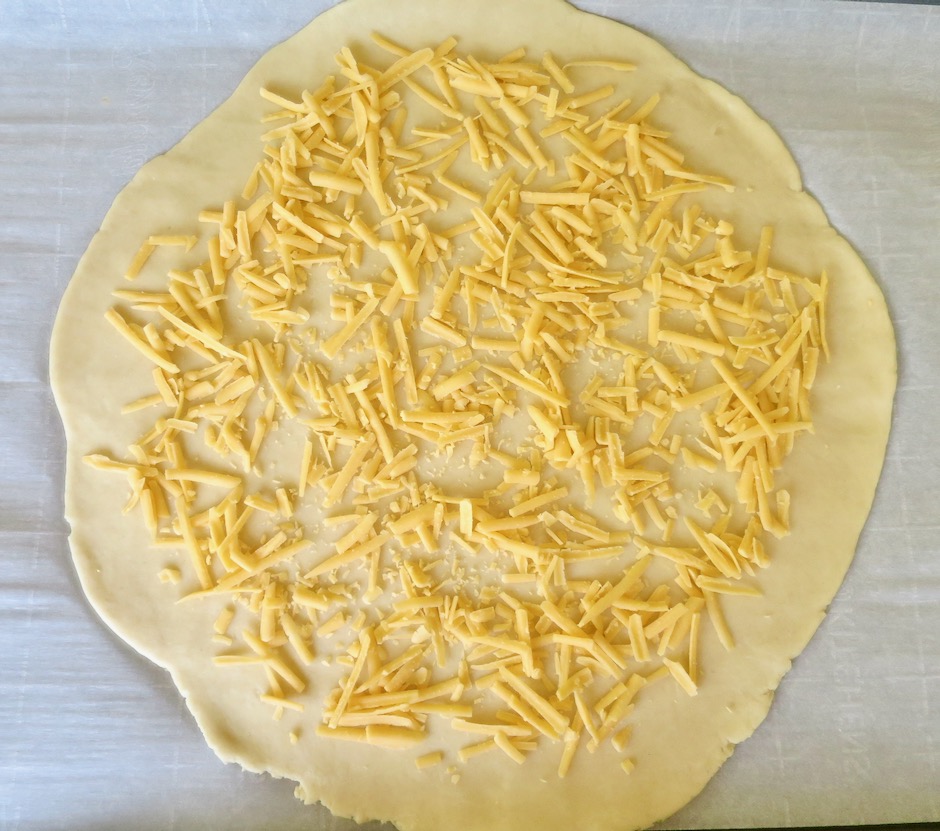
Sharp Cheddar Sprinkled Over Galette Dough

A sprinkling of sharp cheddar cheese is all you’ll need.  The small amount of cheese is just enough to add a bit of richness allowing the tomatoes to really shine.

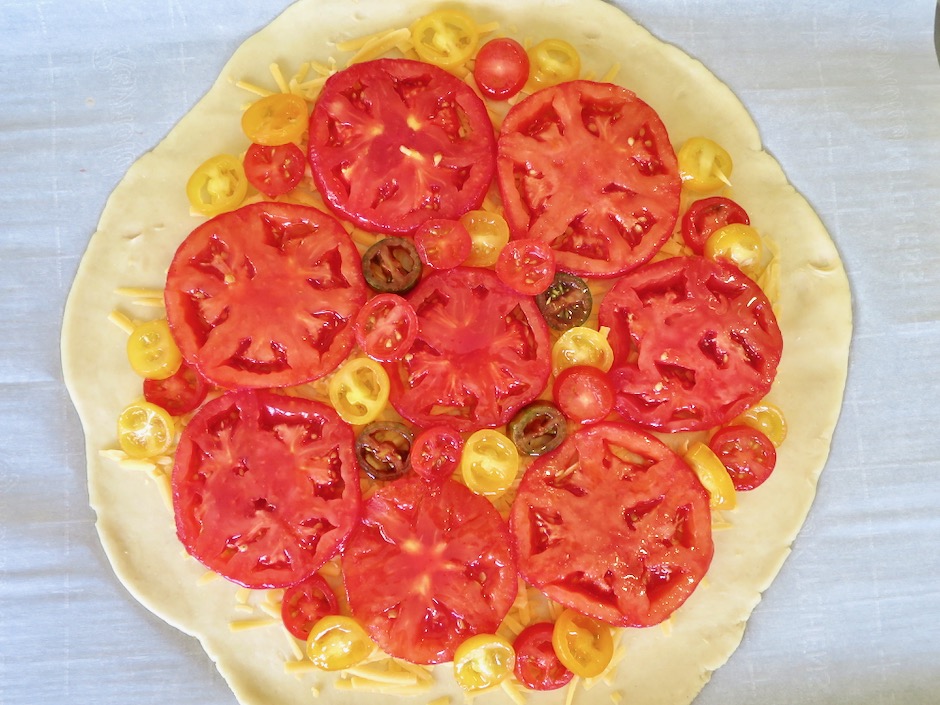
Preparing Tomato Galette with Thyme

Choose tomatoes that are meaty and hold up well to slicing.  I prefer to peel the tomatoes (except for the mini ones) because the skin has a different texture than the tomato flesh and it is especially noticeable once tomatoes have been cooked.

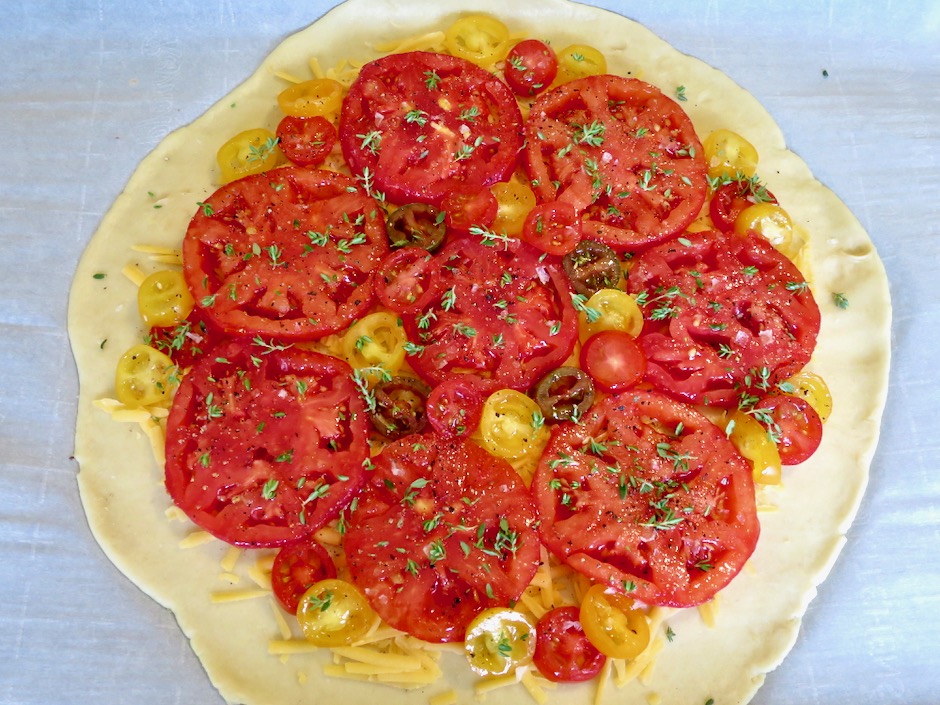
Preparing Tomato Galette with Thyme

Fresh thyme and tomatoes are a perfect match.  I included a handful of colorful sweet cherry tomatoes that added a nice contrast with the red beefsteaks.

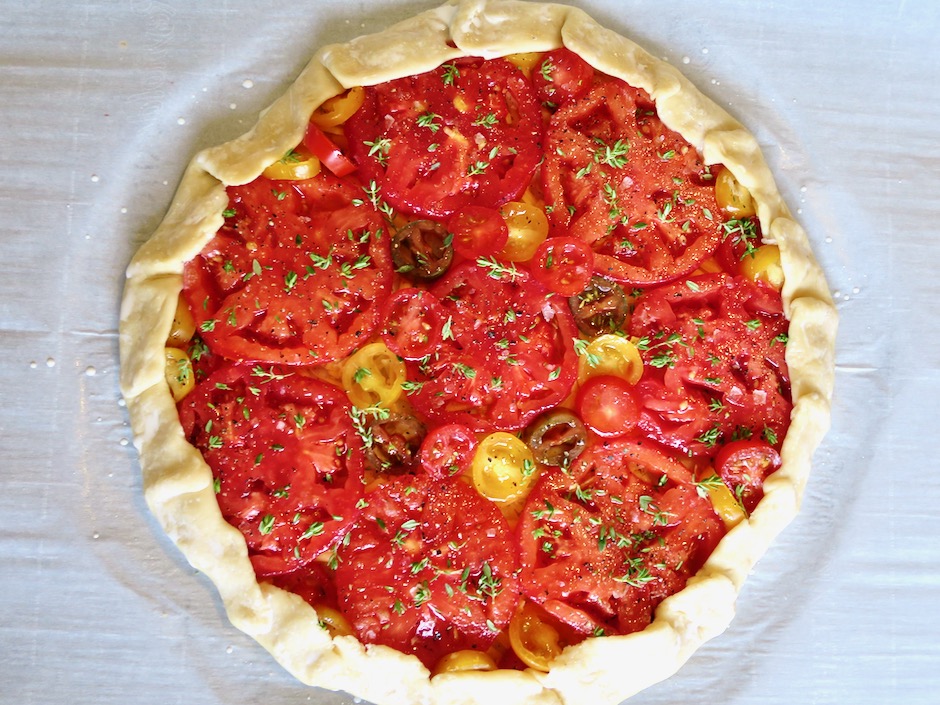
Tomato Galette with Thyme Ready to Bake

The edges of the dough are folded over the tomatoes to make a rustic crust that will bake up beautifully.

Tomato Galette with Thyme

Tomato Tart
 
Galette dough adapted from Dorie Greenspan's recipe
Author:
Serves: 4
Ingredients
  • For the dough:
  • 1½ cups (204g) all-purpose flour
  • ½ teaspoon sugar
  • ½ teaspoon kosher salt (1/2 teaspoon fine sea salt if using unsalted butter)
  • 1 Earth Balance Buttery Stick (8 tablespoons, 4 ounces, 113g), frozen for 30 minutes, then cut into small cubes
  • ¼ cup ice water
  • 1 tablespoon milk or cream for brushing the crust (optional)
  • For the tomato galette:
  • 1 cup coarsely grated sharp cheddar cheese, not packed
  • 1 pound meaty ripe tomatoes, peeled and sliced into ⅓-inch rounds
  • handful of assorted cherry tomatoes sliced (optional)
  • olive oil for brushing
  • Maldon sea salt or other flaky salt
  • freshly ground black pepper
  • a few fresh thyme sprigs
  • julienned basil (optional)
Preparation
  1. Place flour, sugar and salt in a food processor. Pulse a few times to blend. Add cubes of cold Buttery Sticks and pulse until mixture resembles coarse meal. Add some of the ice water and pulse. Continue to add more water, pulsing each time (about 3 additions). Use longer pulses until dough holds together when you pinch it (dough will not be formed into a ball). Transfer dough to a clean work surface and use the heel of your hand to smear small pieces of dough, which will help to incorporate the Buttery Sticks. Gather the dough and form into a flat disk. Place between 2 sheets of parchment paper. Roll out dough into a 12-inch circle. Place dough with parchment papers onto a sheet pan. Refrigerate for at least 2 hours. Keep refrigerated until you have all other ingredients ready to go.
  2. Preheat oven to 400 degrees ½ hour before you bake the galette. Meanwhile, place sliced tomatoes on paper towels if very juicy. This will help to avoid a soggy crust. Strip thyme leaves from stems and set aside.
  3. Remove galette dough from the refrigerator. Discard top layer of parchment paper. Sprinkle cheese over the dough leaving a 1½-inch border. Place tomatoes over the cheese in a single layer. Brush tomatoes with olive oil. Sprinkle Maldon or other flaky salt over the tomatoes along with a few grinds of black pepper. Sprinkle fresh thyme leaves over the top. Gently fold the pastry over the tomatoes, making pleats as you go. Brush edges with cream or milk (optional). Bake galette for about 35 minutes or until the crust is golden brown. Let galette cool for a few minutes before cutting into wedges. It is best served just warm or at room temperature. Sprinkle with julienned basil if using. The galette makes for a terrific meal served with a crispy green salad.
 

Breakfast, Dessert, Lactose Free, Recipes

Farmhouse Buttermilk Cake

August 29, 2020

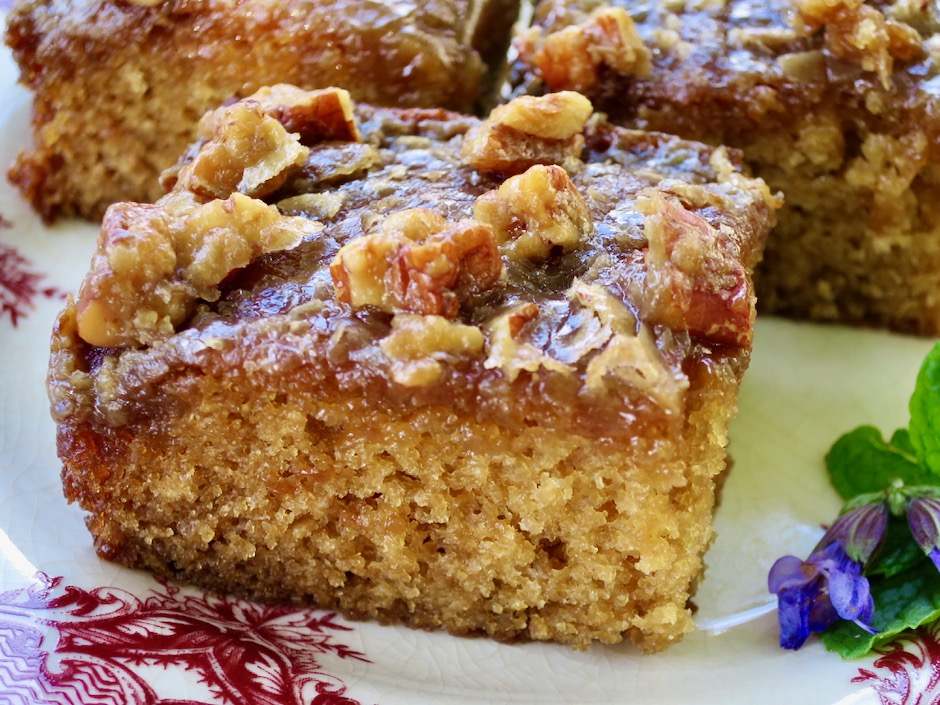
Farmhouse Buttermilk Cake

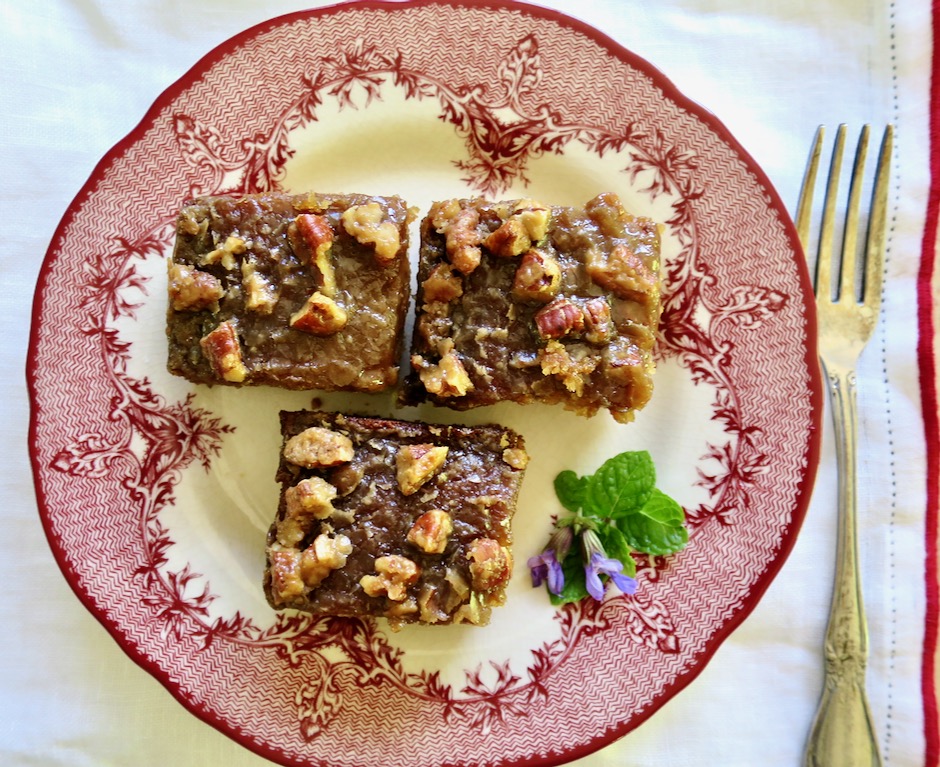
This sweet and moist cake recipe comes from King Arthur Baking Company.  The topping seeps down into the cake which makes it extra moist, and the rich, buttery pecans are truly delightful.  I wanted a smaller cake so I cut the recipe in half and used an 8×8-inch baking pan.

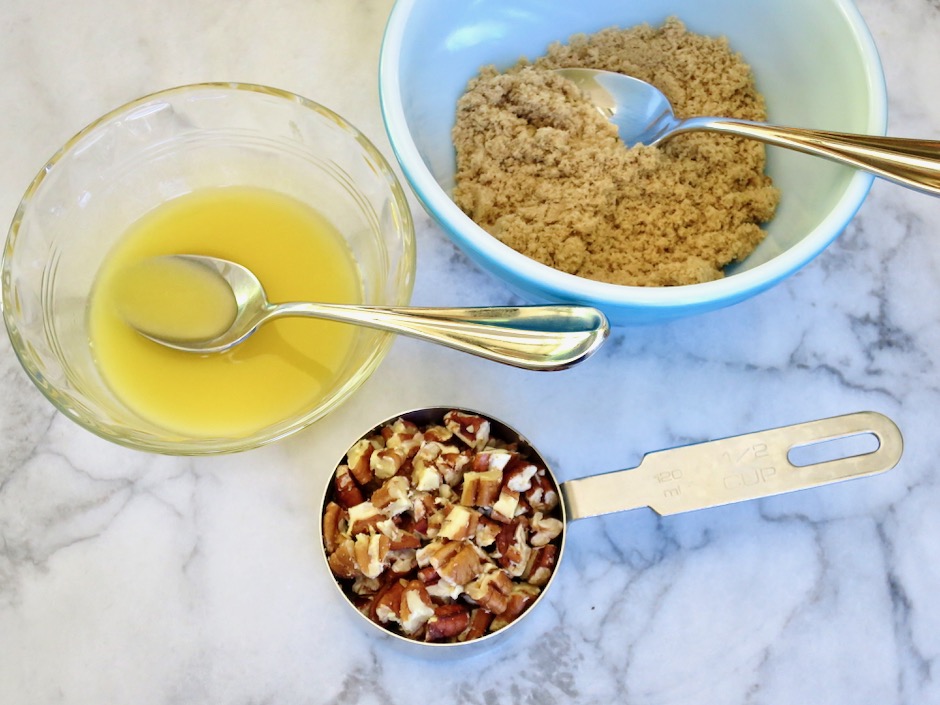
Melted Earth Balance Buttery Sticks, Brown Sugar, Pecans

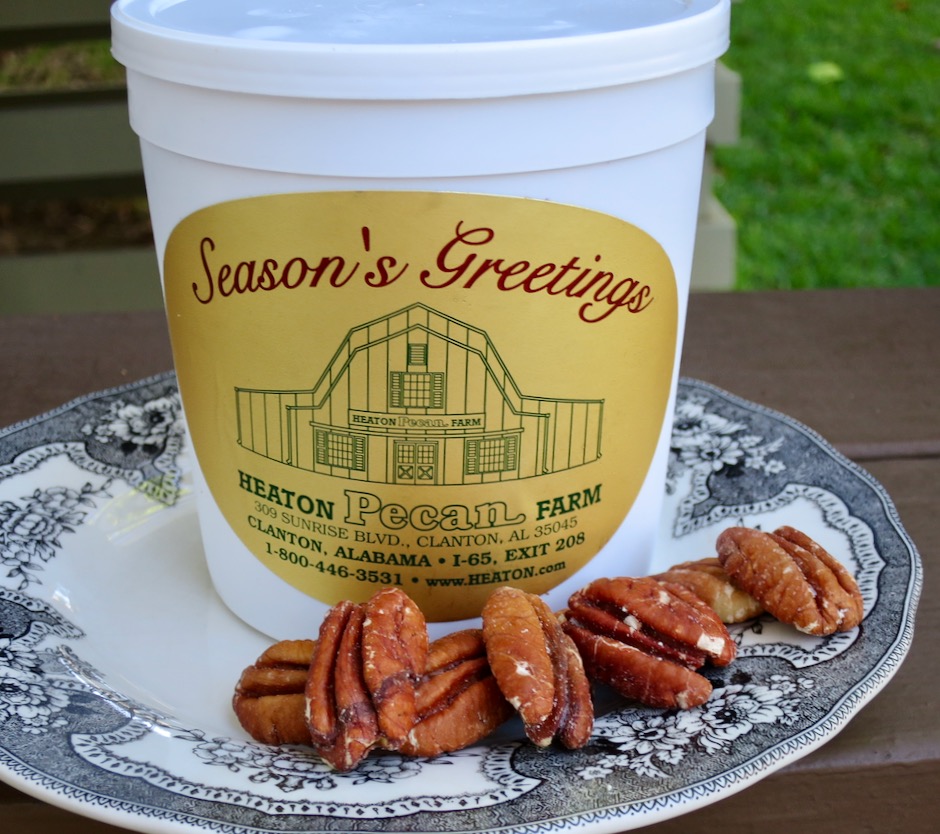
Heaton Farm Pecans

A guest who visited my workplace last Christmas brought me a container of pecans from his hometown. I’ve kept them in my refrigerator so they stay nice and fresh.  I was able to put these excellent pecans to good use with this recipe.
Farmhouse Buttermilk Cake

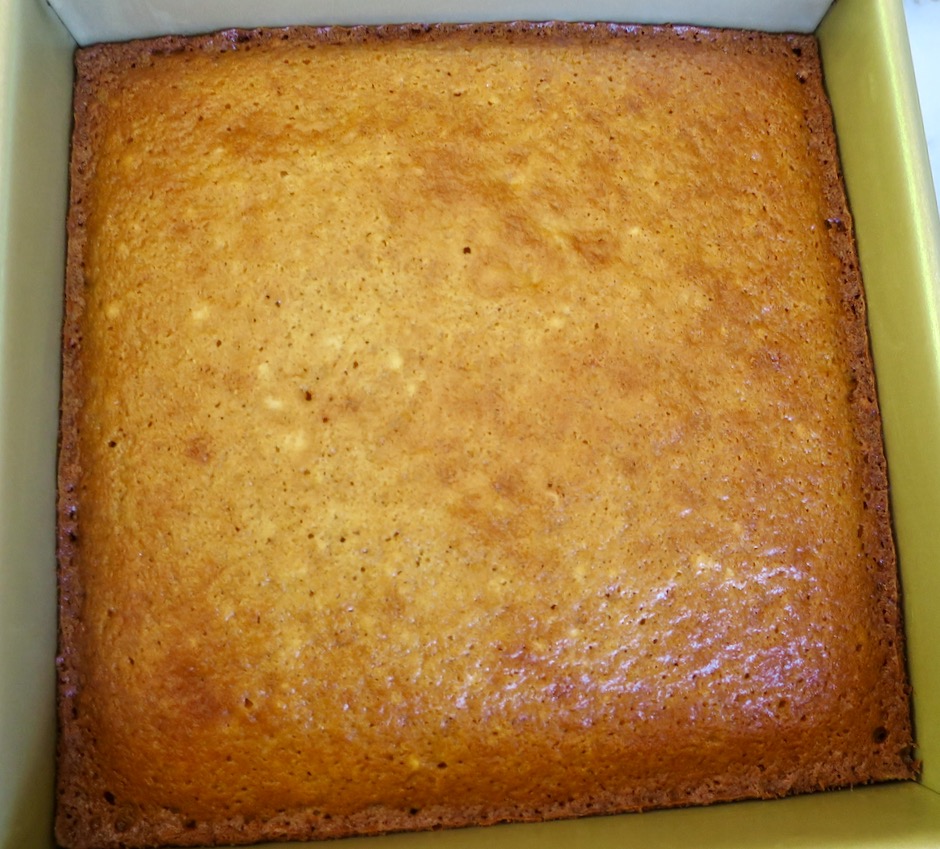
The cake itself is pretty straight forward.  Butter, brown sugar, eggs and buttermilk all play a part in making this moist cake.  It may look like any other cake, that is, until you add the topping to it.  The cake then goes back in the oven for another 10 minutes and the topping warms up becoming a gorgeous glaze.
Farmhouse Buttermilk Cake

Farmhouse Buttermilk Cake

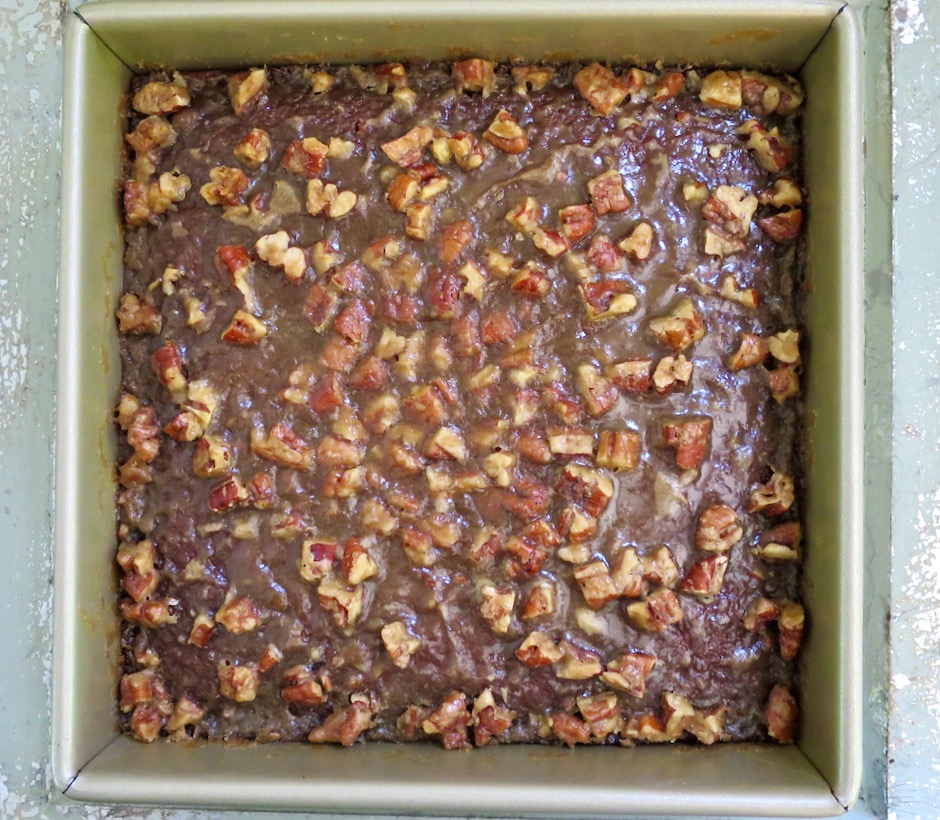
The thick topping has now become a beautiful glaze.  You can serve it right away at this point, but I like to let the cake cool for an hour or two until the glaze has set.

Farmhouse Buttermilk Cake

Farmhouse Buttermilk Cake
 
Adapted from King Arthur Flour
Author:
Serves: 1 8x8 cake
Ingredients
  • Cake:
  • ¼ cup (57g) Earth Balance Buttery Sticks (or unsalted butter) at room temperature
  • 1 cup (213g) light brown sugar, firmly packed
  • 1 large egg, at room temperature
  • 1 cup (227g) lactose free buttermilk at room temperature (add 1 tablespoon white vinegar to a 1-cup measuring cup, add lactose free milk to measure 1 cup total, let sit 10 minutes to thicken)
  • 1 teaspoon vanilla extract
  • 1 teaspoon baking soda
  • ½ teaspoon kosher salt
  • 1½ cups (180g) unbleached all-purpose flour (King Arthur recommended)
  • Topping:
  • 3 tablespoons (43g) melted Earth Balance Buttery Sticks
  • ½ cup (107g) light brown sugar, firmly packed
  • ⅛ c (29g) milk
  • ½ cup (57g) diced pecans
  • *add ⅛ teaspoon fine sea salt if using unsalted butter
Preparation
  1. Preheat oven to 350 degrees. Line the bottom of an 8x8-inch cake pan with parchment paper. Lightly grease the pan.
  2. Beat the butter and brown sugar until smooth. Add the egg and beat until smooth. Stir in the buttermilk and vanilla extract. Add baking soda, salt, and flour to the wet ingredients, beating until thoroughly combined. Pour batter into the prepared pan. Bake the cake for 30 minutes.
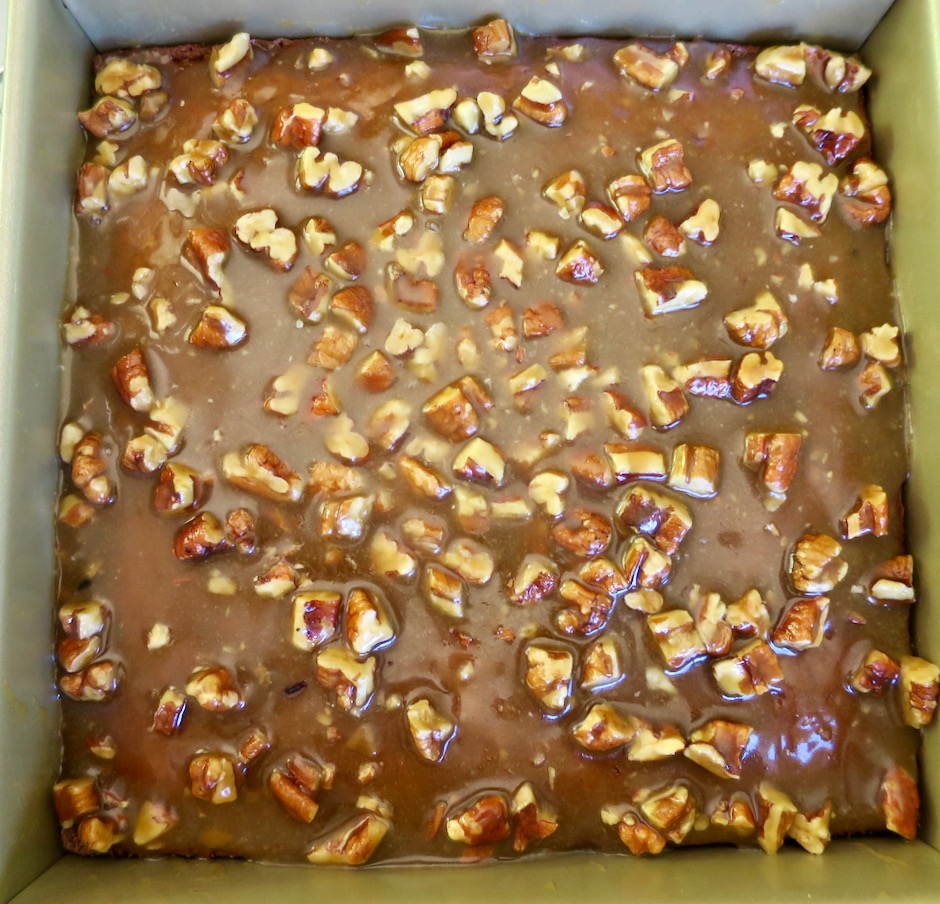
  3. Towards the end of the baking time, prepare the topping by stirring the butter and sugar together. Add the milk and pecans. The glaze will be thick but pourable.
  4. Pour the topping over the baked cake making sure to spread it evenly (corners too). Return the cake to the oven for another 10 minutes.
  5. Remove the cake from the oven. The topping will look very runny. Letting the cake sit at room temperature for a few hours will allow the glaze to set. The cake can be frozen for a couple of months.


Dessert, Fruit, Lactose Free, Recipes, Vegan, Vegetarian

Buttery Pineapple Crumble Bars

August 6, 2020


Baked Buttery Pineapple Crumble Bars

I received a gorgeous, ripe pineapple recently.  I thought about making more mango-pineapple jam but our mangos were not quite ready.  I found this recipe from Southern Living and thought it would be the perfect way to use up the entire pineapple.  The recipe turned out to be a real delight.  The pineapple really shines with its fresh sweet and tart flavor.

Buttery Pineapple Crumble Bars

A crisp crust is layered with fresh chopped pineapple and crumb topping that includes sliced almonds.

Perfectly Ripe Pineapple

A gorgeous pineapple perfectly ripe and ready to eat.

Fresh Pineapple

Buttery Pineapple Crumble Bar Crust

The crust is baked and cooled before the pineapple and crumb topping are added.  I used almost the entire pineapple as the recipe calls for 4 cups of chopped fruit.

Buttery Pineapple Crumble Bar Crust Topped with Fresh Pineapple

The pineapple mixture is spooned over the baked crust and the crumb topping sprinkled over it.

Buttery Pineapple Crumble Bar Crust Topped with Fresh Pineapple & Crumble Topping

Once in the oven, the pineapple crumble will bake for 45-55 minutes.  The scent of fresh pineapple fills the air as it bakes.

Baked Buttery Pineapple Crumble Bars

Baked Buttery Pineapple Crumble Bars

Buttery Pineapple Crumble Bars
 
Adapted from Southern Living
Author:
Serves: 16
Ingredients
  • 2 cups (254g) all-purpose flour
  • ¾ cup Earth Balance Buttery Sticks, softened
  • ½ teaspoon vanilla extract
  • 1⅓ cups (200g & 66g) sugar, divided
  • ¼ teaspoon kosher salt
  • 4 cups (20 ounces or 570g) chopped fresh pineapple
  • ¼ cup (30g) corn starch
  • 1½ tablespoons fresh lemon juice
  • ¼ heaping cup (30g) slivered almonds
Preparation
  1. Preheat oven to 375 degrees. Line bottom of a 9-inch square baking pan with parchment paper. Lightly spray pan with cooking spray.
  2. Beat flour, butter, vanilla, 1 cup of sugar, and a pinch of kosher salt in a stand mixer fitted with a paddle attachment on medium speed until mixture resembles coarse crumbs, about 1 minute. Reserve 1 cup of the crumb mixture in a small bowl for the topping. Press the remaining crumb mixture evenly into bottom of prepared pan.
  3. Bake crust until golden brown, about 18 minutes. Transfer pan to a wire rack, and cool completely, about 45 minutes (preheat oven again to 375 degrees after 30 minutes cooling time)
  4. Meanwhile, gently stir together chopped pineapple, cornstarch, lemon juice, remaining ⅓ cup sugar, and ¼ teaspoon salt in a bowl until thoroughly combined. Spread pineapple mixture over cooled crust.
  5. Stir together the almonds and reserved crumb mixture in a small bowl. Sprinkle mixture evenly over pineapple mixture on crust. Bake at 375 degrees until the topping is lightly browned, about 45-55 minutes. Transfer to a wire rack. Cool completely, about 1 hour. Cut into 16 squares. Leftovers may be frozen. Separate layers with waxed paper.


Follow

Get every new post delivered to your Inbox

Join other followers: