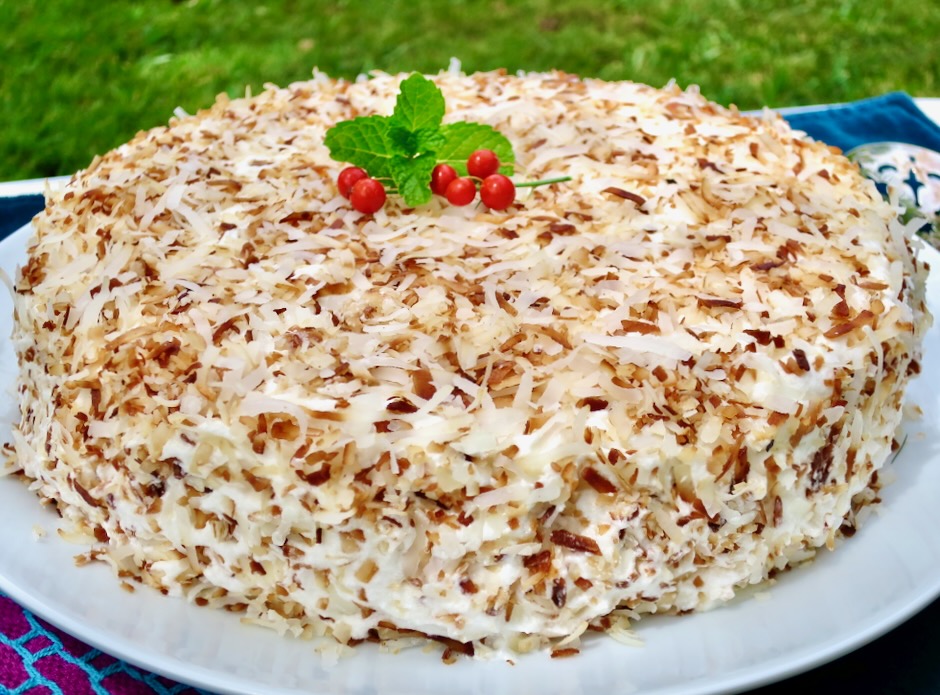
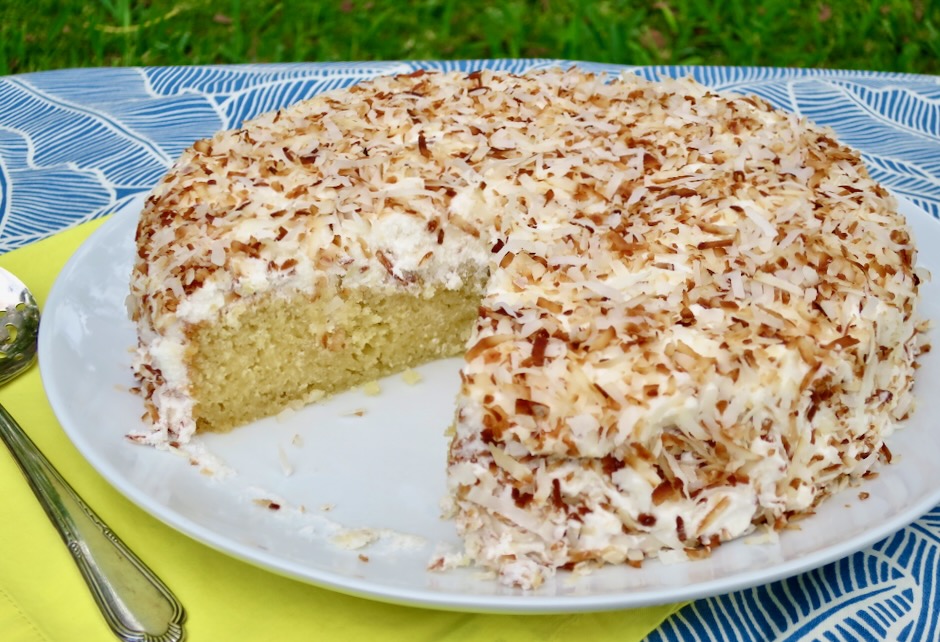
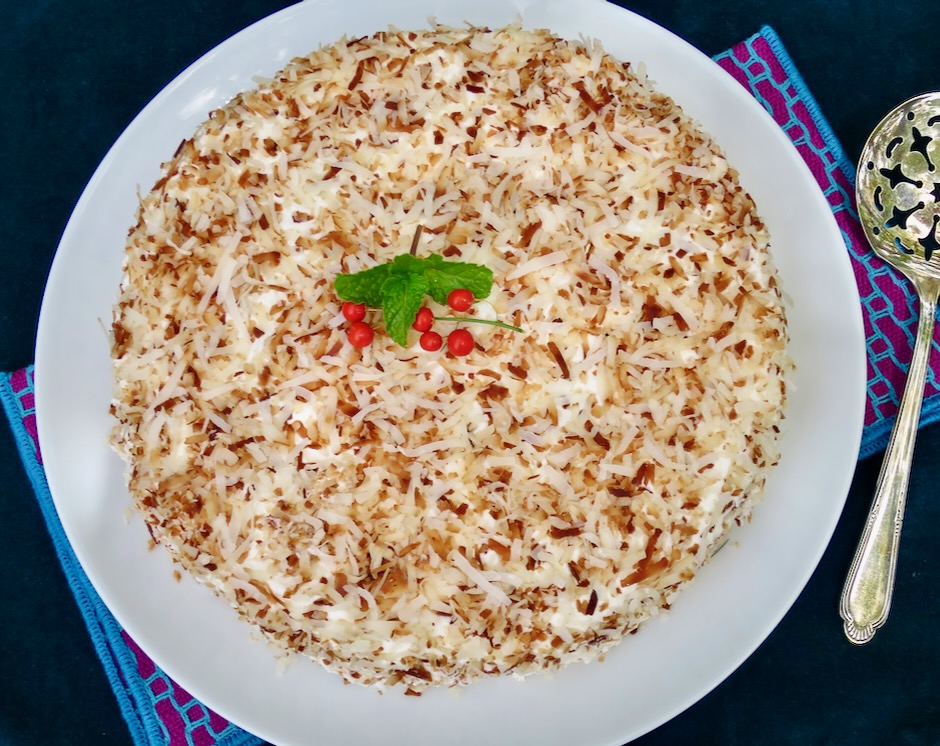
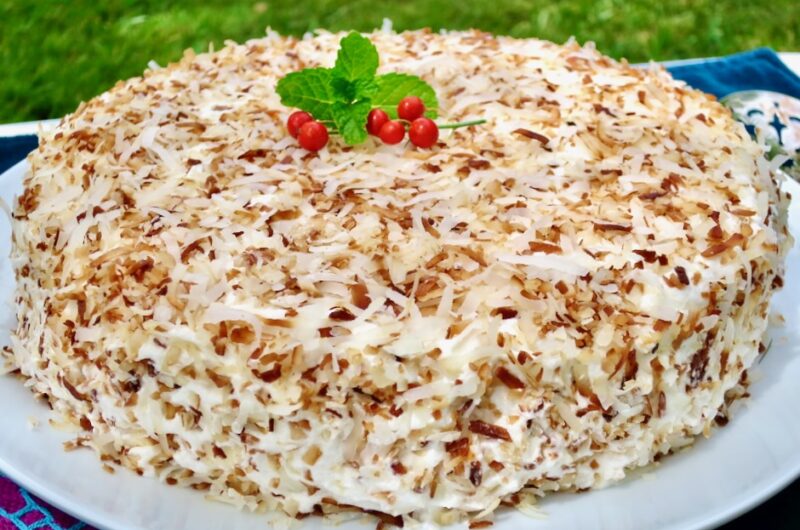
The irresistible flavor of toasted coconut is not only delicious but makes a beautiful topping on this cardamom scented cake. A simple yellow cake that pairs well with the rich, buttery frosting (yes you should lick the bowl) checks all the dessert boxes. I can’t imagine a better cake.
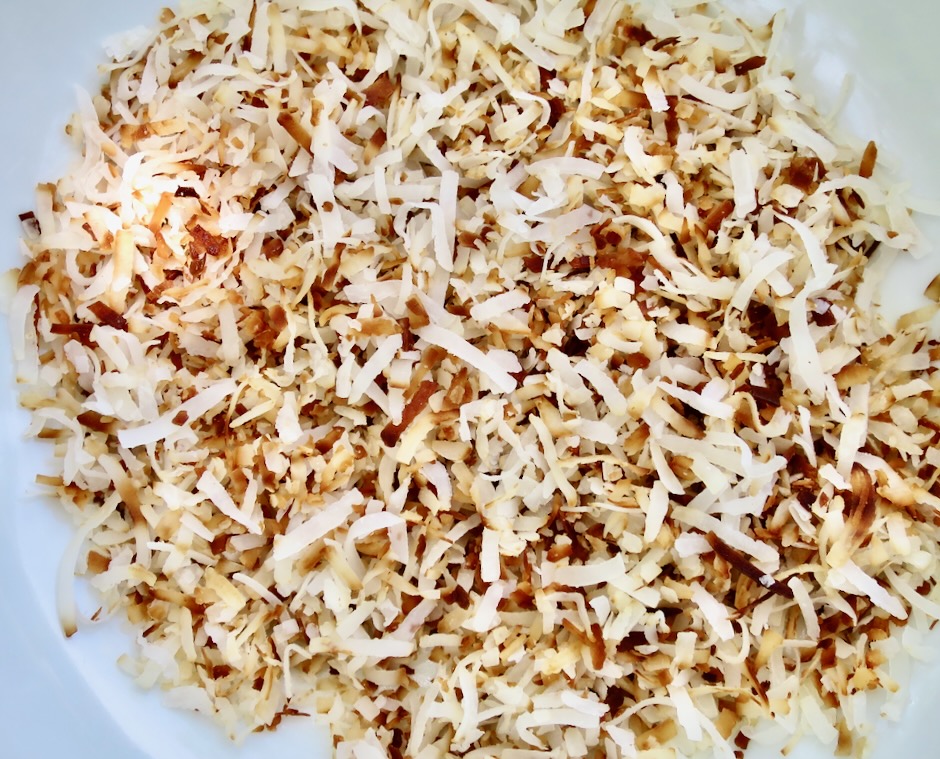
It takes just 5-7 minutes to toast shredded coconut. This step is important as it intensifies the coconut flavor and adds a little crunch and color to the cake. Make a little extra to snack on while you are frosting the cake.
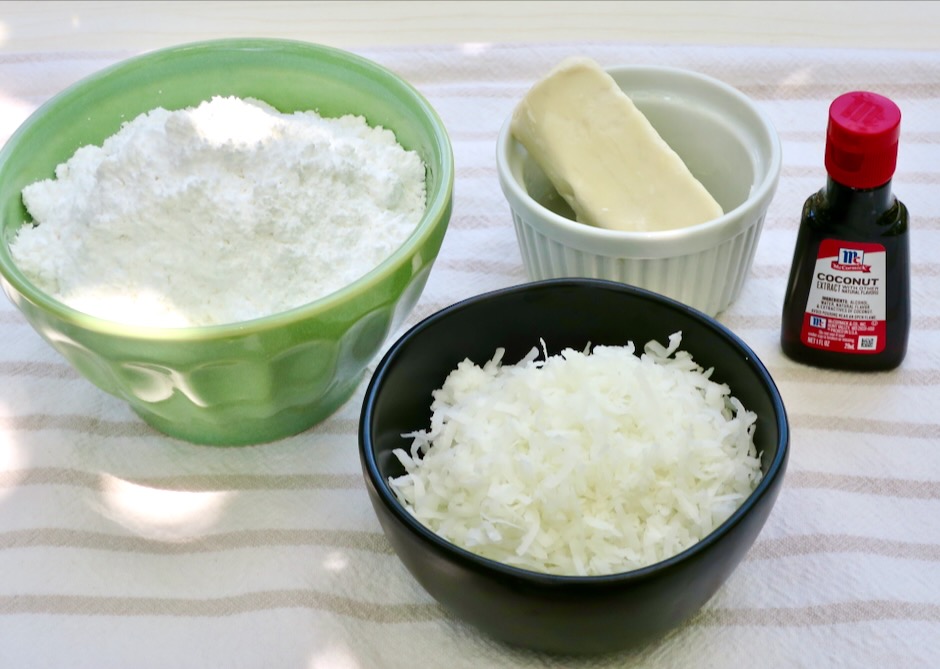
The frosting consists of powdered sugar, butter, a bit of half and half or cream, coconut extract, a dash of salt and toasted coconut.
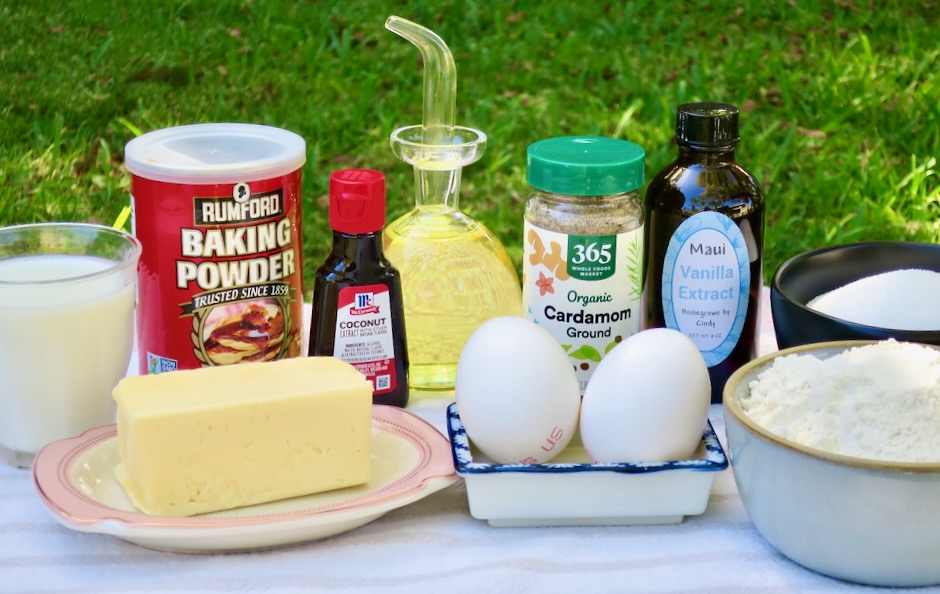
Most of the cake ingredients will be in your pantry. I made a quick trip to the market to purchase coconut extract and cardamom.
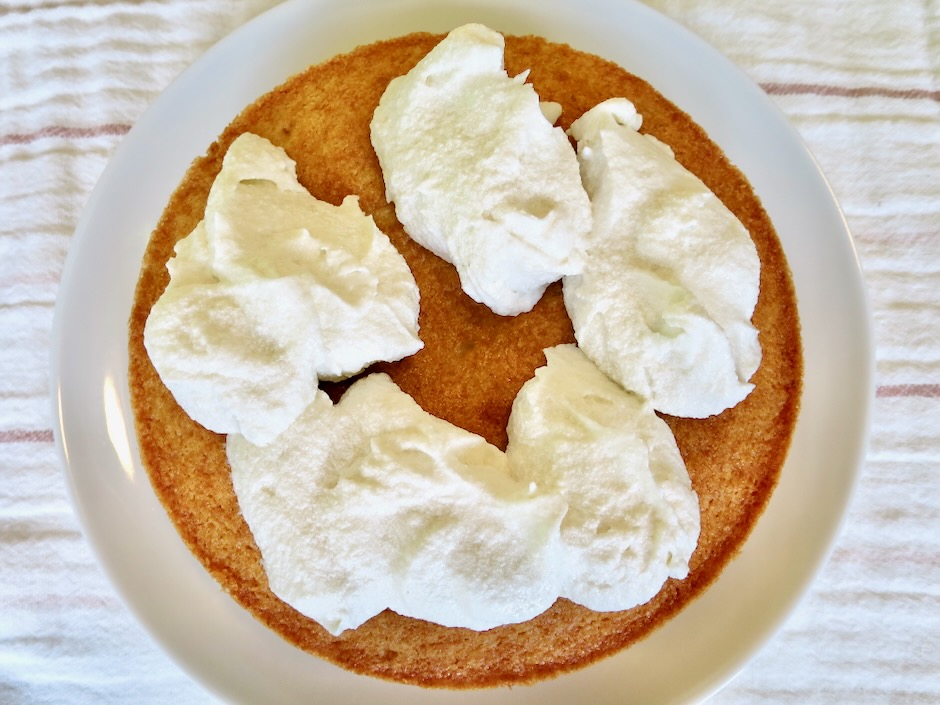
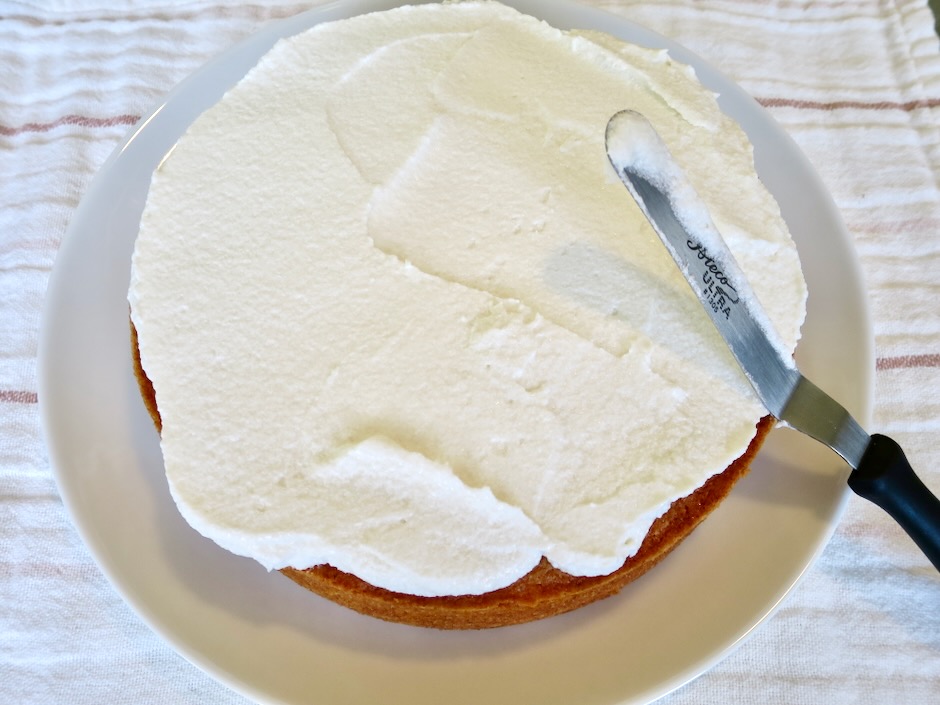
Dollop spoonfuls of the frosting over the top of the cake then using an offset cake spatula smooth over the sides.
It can be a little tricky applying the coconut to the sides of the cake. Just do your best to gently pat small handfuls on the sides then tidy up later.
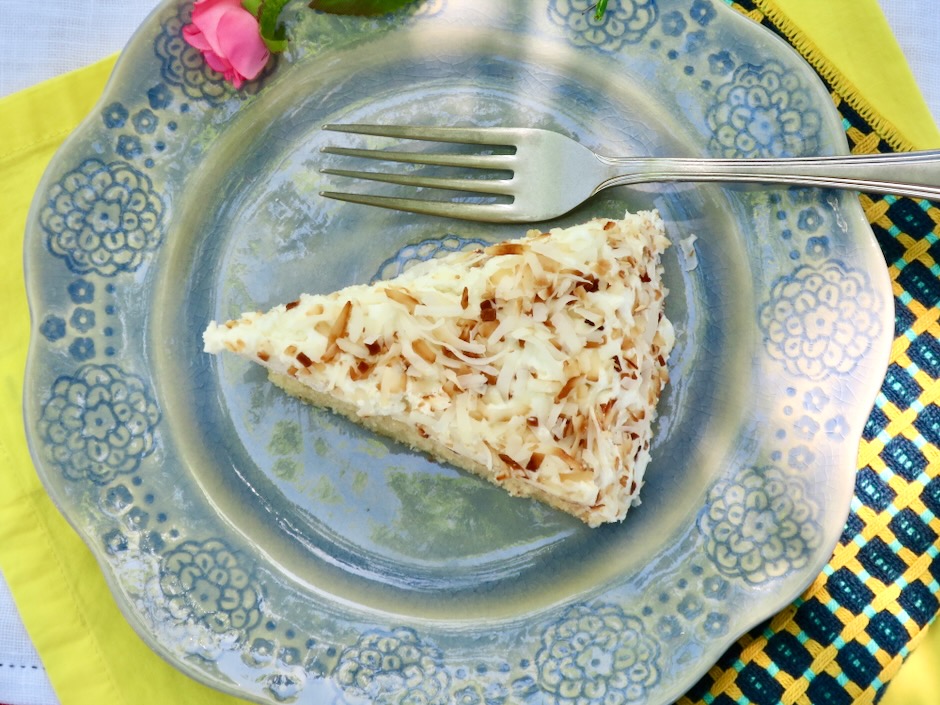
This is a gorgeous coconut cake that can be served alone or with a small scoop of vanilla ice cream. The flavor of the cake with that hint of cardamom and coconut is intoxicating.
Adapted from Bon Appetit magazine
Ingredients
- Cake
1/2 cup (1 stick, 113g) Earth Balance Buttery Sticks or unsalted butter, room temperature, plus more for the pan
1 1/3 cups (167g) all-purpose flour
1 1/4 teaspoons baking powder
3/4 teaspoon Diamond Crystal or 1/4 + 1/8 teaspoon Morton kosher salt if using Earth Balance Buttery Sticks (increase to 1 teaspoon Diamond Crystal or 1/2 teaspoon Morton if using unsalted butter)
1/2 teaspoon ground cardamom
1 cup (200g) granulated sugar
2 large eggs
2 tablespoons vegetable or canola oil
1 teaspoon vanilla extract
1/2 teaspoon coconut extract
1/2 cup lactose free or regular whole milk
- Frosting
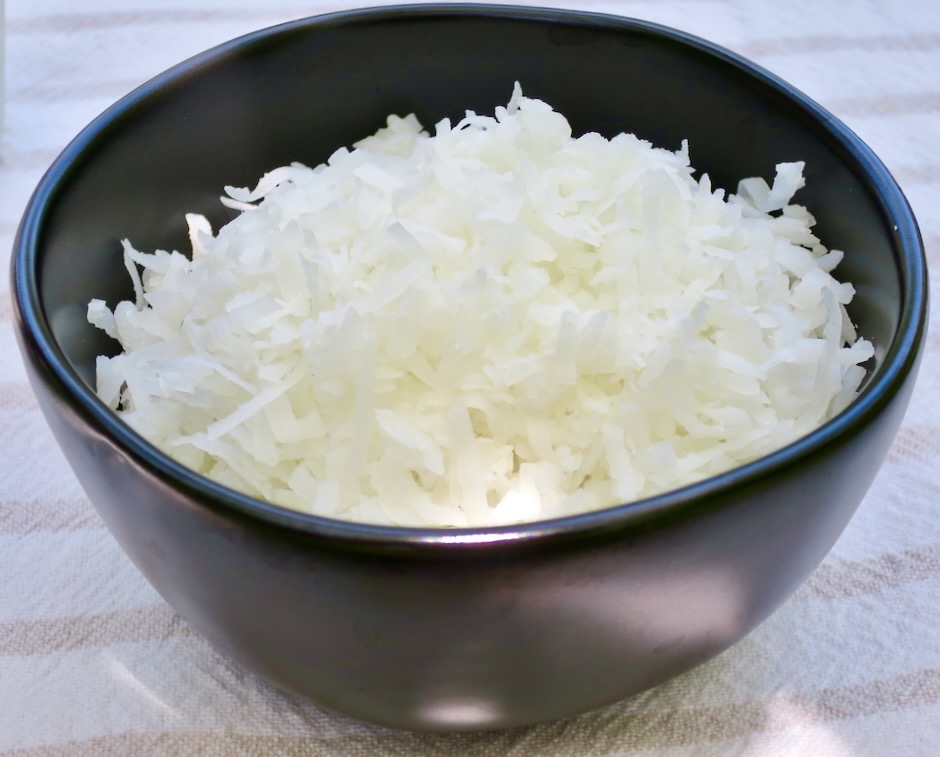
1 cup (85g) sweetened shredded coconut
1/2 cup (113g) Miyoko’s Hint of Salt vegan butter or unsalted butter, room temperature
2 cups (220g) powdered sugar
1/2 scant teaspoon Diamond Crystal or 1/4 + 1/8 teaspoon Morton kosher salt if using Miyoko’s vegan butter (increase to 3/4 teaspoon Diamond Crystal or 1/2 teaspoon Morton kosher salt if using unsalted butter)
1/4 teaspoon coconut extract
1/4 cup lactose free half and half or regular heavy cream or half and half
Directions
- Cake
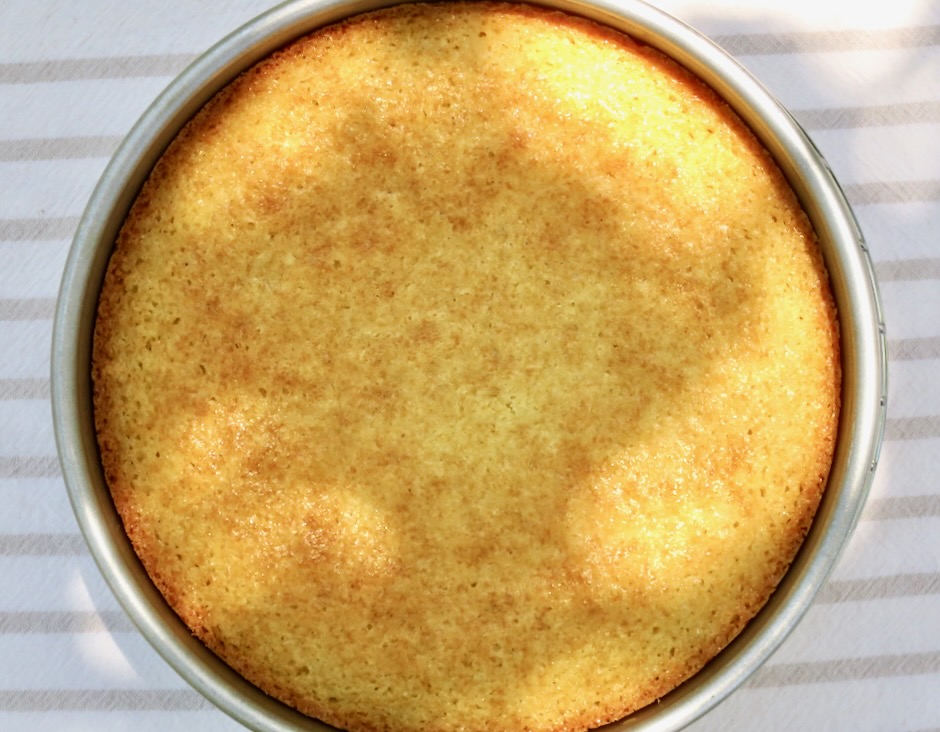
- Place a rack in middle of oven and preheat to 325 degrees. Butter an 8″ round cake pan and line the bottom with a parchment paper round.
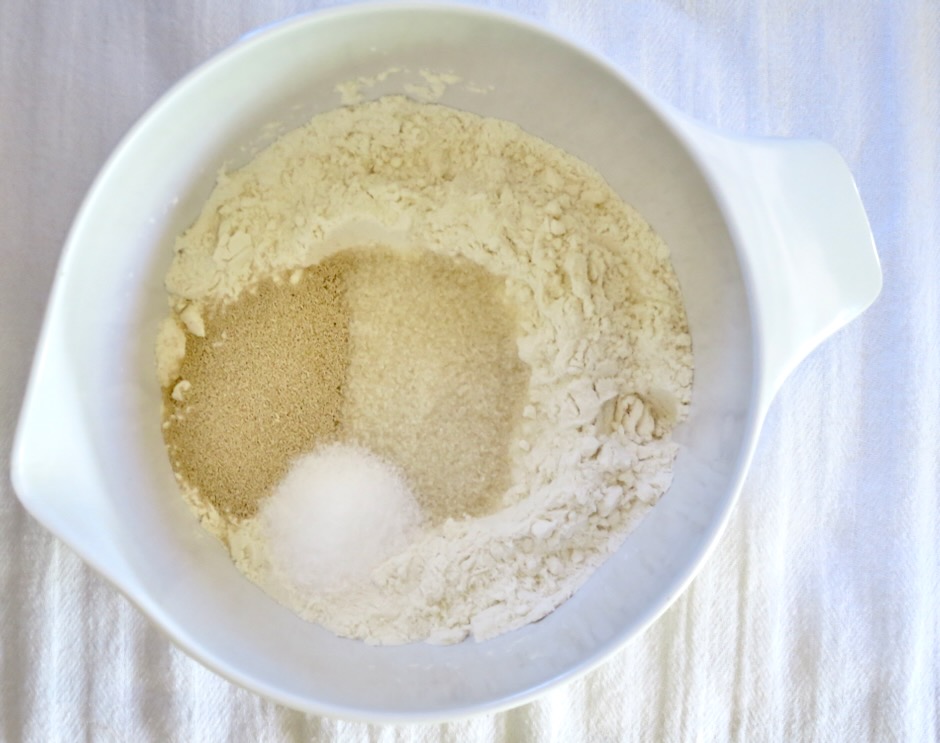
- Whisk flour, baking powder, salt, and cardamom in a medium bowl to combine.
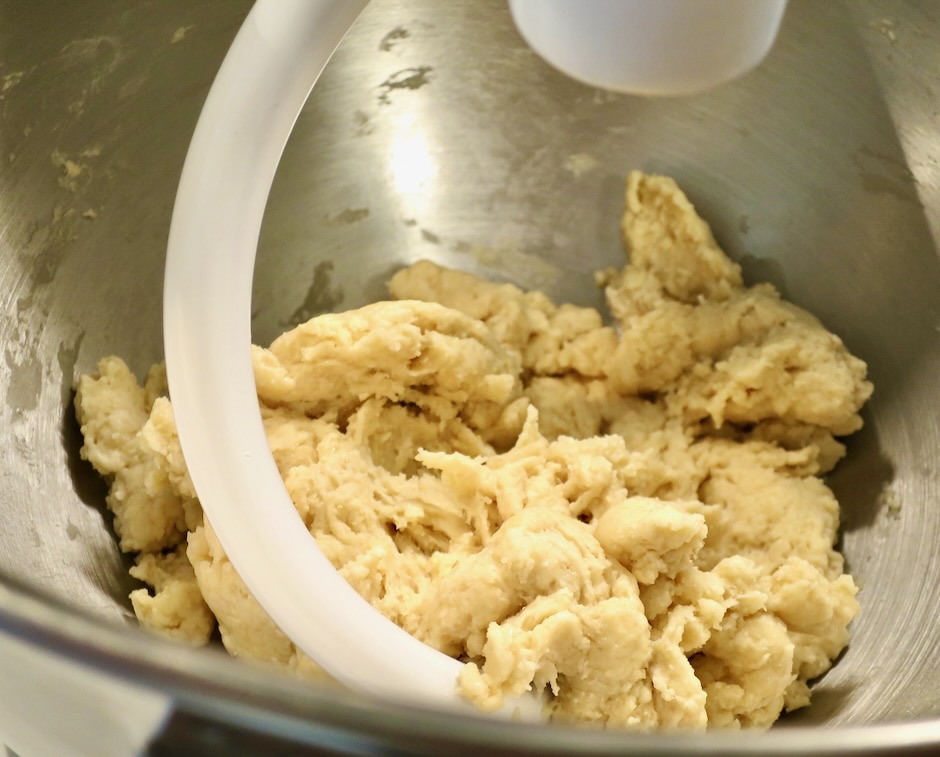
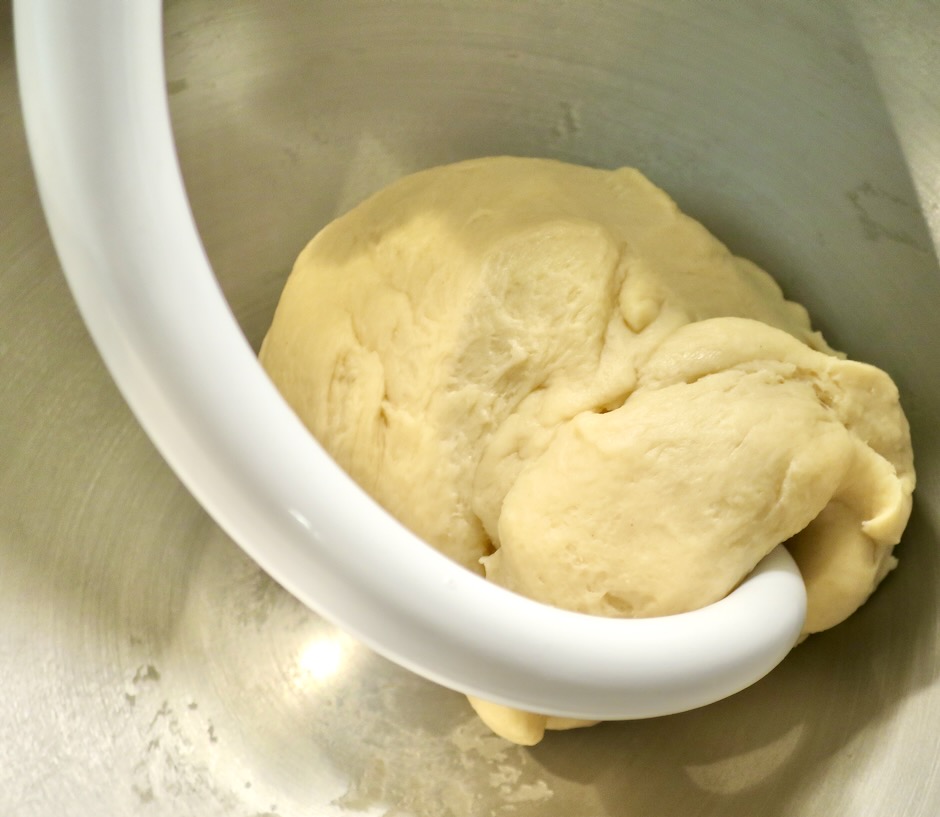
- Beat granulated sugar and 1/2 cup Buttery Sticks or unsalted butter in a large bowl using a hand mixer on medium speed until light and fluffy, about 3 minutes. You may also use a stand mixer (medium speed) with a paddle attachment. Add eggs one at a time, beating until incorporated after each addition. Add oil, vanilla extract, and coconut extract beating until combined. Reduce speed to low and gradually pour in milk; beat until incorporated. Scrape down sides of bowl and mix to combine. Add dry ingredients and gently fold in with spatula just until no dry spots remain.
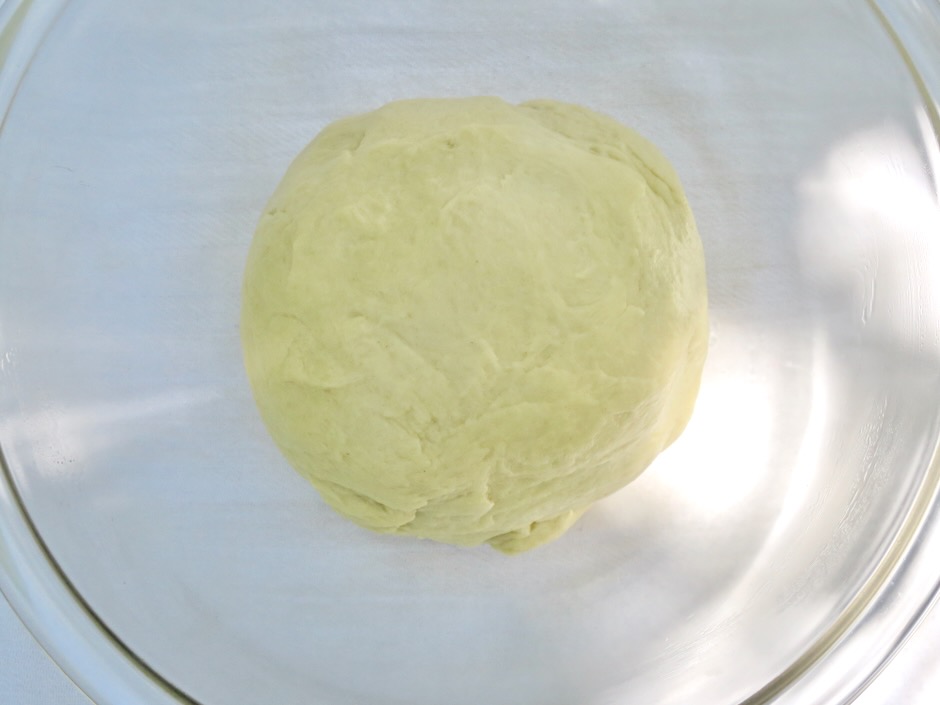
- Scrape batter into prepared pan, smooth surface. Bake cake until a tester inserted in the center comes out clean, about 45 minutes. Transfer pan to a wire rack and let cake cool for 1 hour then invert onto a small cooling rack. Remove parchment paper then invert cake onto another cooling rack so it is right side up. Allow to cool completely before frosting (1 more hour or so).
- Frosting and assembly
- While the cake is cooling, heat a medium skillet (9-inch works well) over medium-low heat. Toast shredded coconut, stirring often, until mostly golden brown, 5-7 minutes. Immediately transfer to a shallow bowl and let cool (coconut will continue to darken slightly as it cools).
- Using a hand mixer on medium speed, beat Miyoko’s vegan butter or unsalted butter in a medium bowl until light and fluffy, about 3 minutes. Add powdered sugar in 2 additions, beating until combined after each addition. Add salt and coconut extract and beat until incorporated. Reduce speed to medium-low and beat, scraping down sides of bowl as needed, until mixture is very light and fluffy, about 5 minutes. Add half and half or cream and beat until frosting is smooth. Frosting should be thick but spreadable; if it’s too thick beat in more cream 1 tablespoon at a time.
- Transfer cake to a serving platter. Using an offset spatula, spread frosting evenly over top and sides of cake. Sprinkle shredded coconut over top and sides, pressing gently to adhere. You may chill the cake (covered) for 15 minutes before serving. This will allow the frosting to set up a bit (especially for those of us who live in a warmer climate).
Notes
- The cake can be baked 1 day in advance of serving. Store in a plastic cake container or cover with plastic wrap once the frosting has set. Remove from the refrigerator 1 hour prior to serving. The cake can also be frozen for up to 1 month. Defrost overnight in the refrigerator before serving.