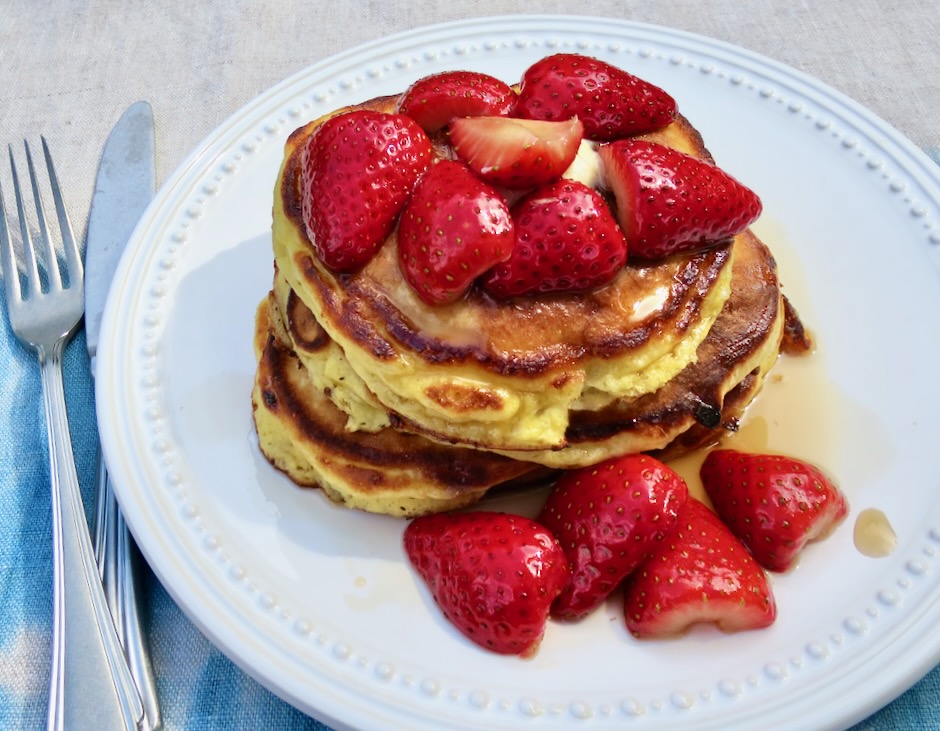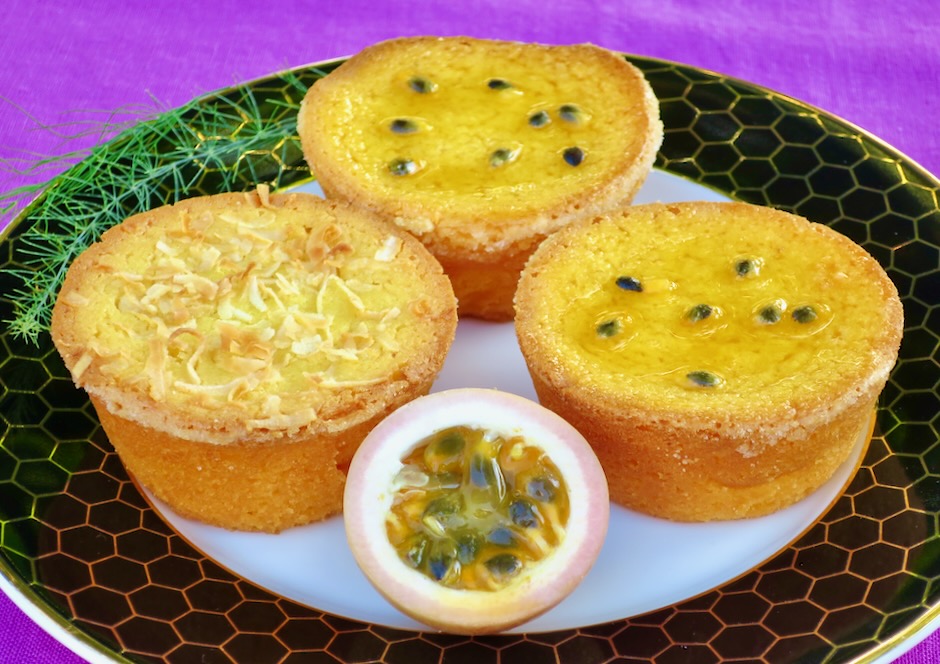
These lilikoi mochi cakes have soft interiors and delightfully crispy and chewy edges. The perfect combination of texture and tropical flavor makes these little cakes absolutely divine.
If you have not yet tried lilikoi (passion fruit) do taste one if you happen to come across any at your local market. These unassuming fruits are fragrant, tart, sweet and juicy all at once. When you slice into the fruit, the most exotic scent perfumes the house. There’s nothing quite like it.
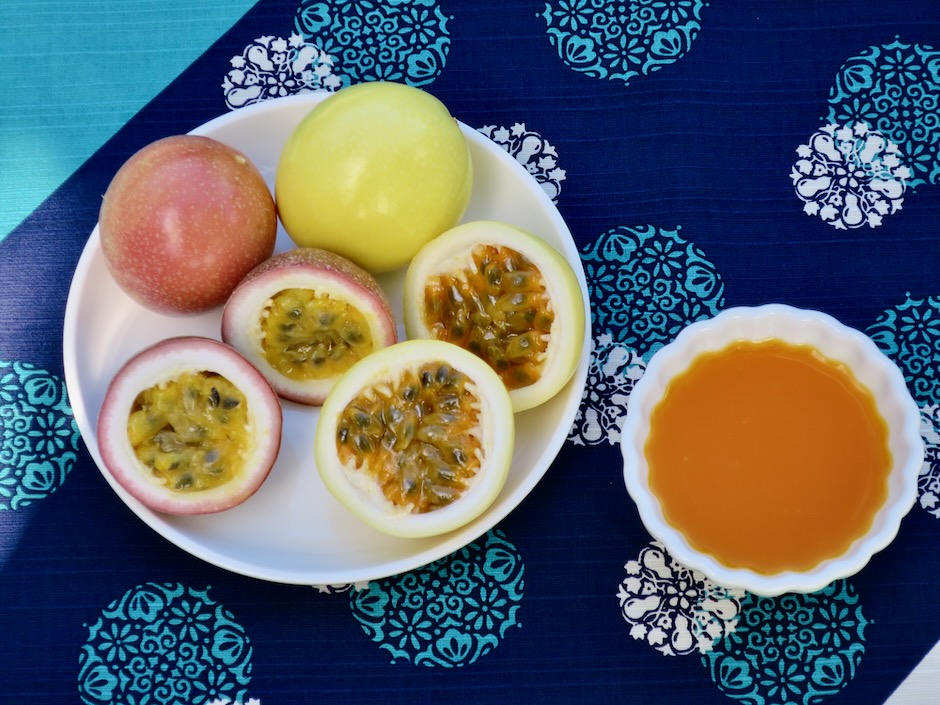
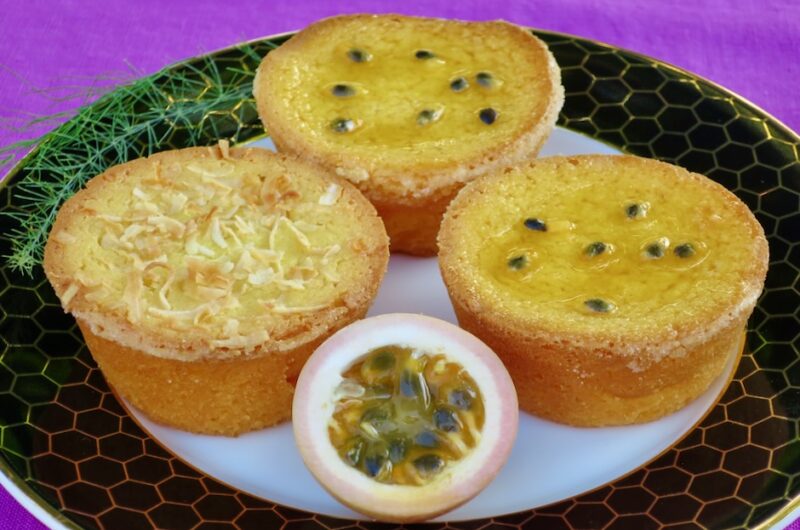
Lilikoi has numerous seeds (which are edible). Cut a lilikoi in half, scoop out the pulp and eat it with a spoon seeds and all. It’s delicious served over chilled papaya or mixed with plain yogurt.
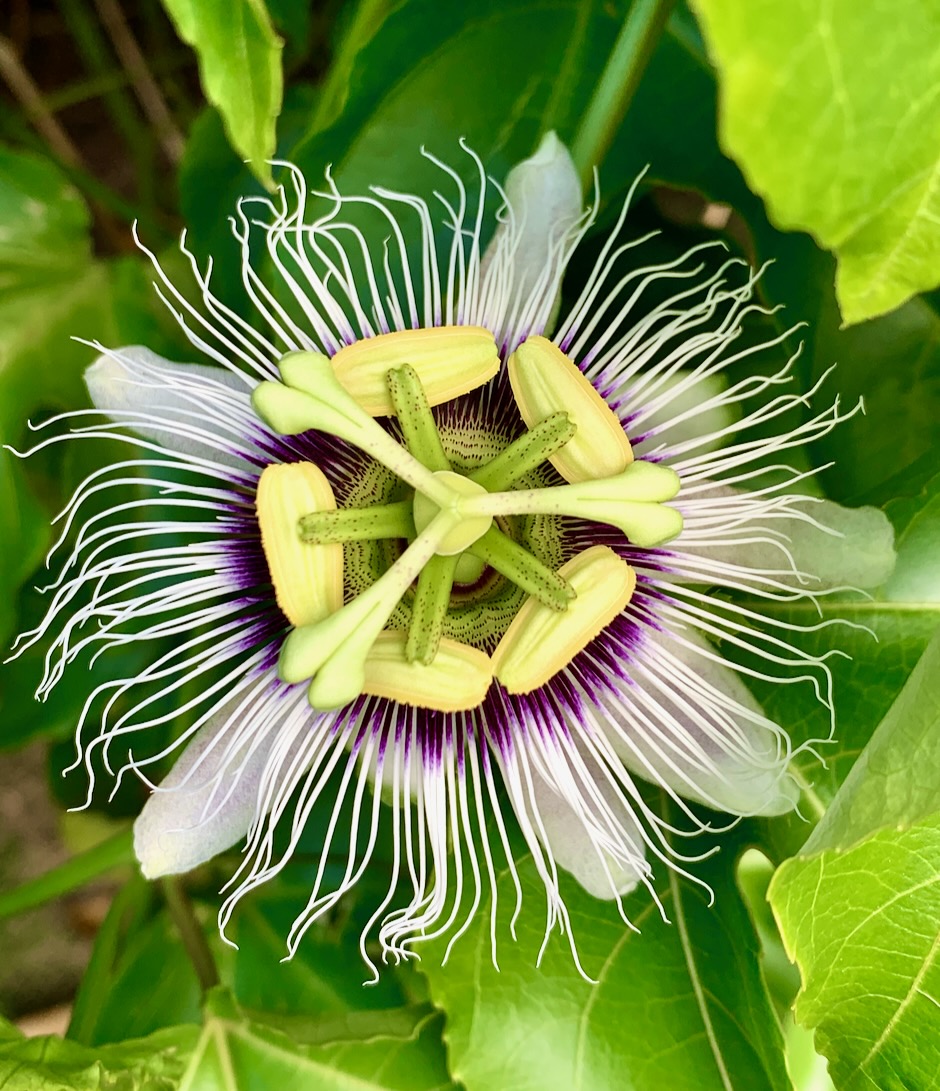
The passion flower has to be one of the most exquisite flowers in the world.
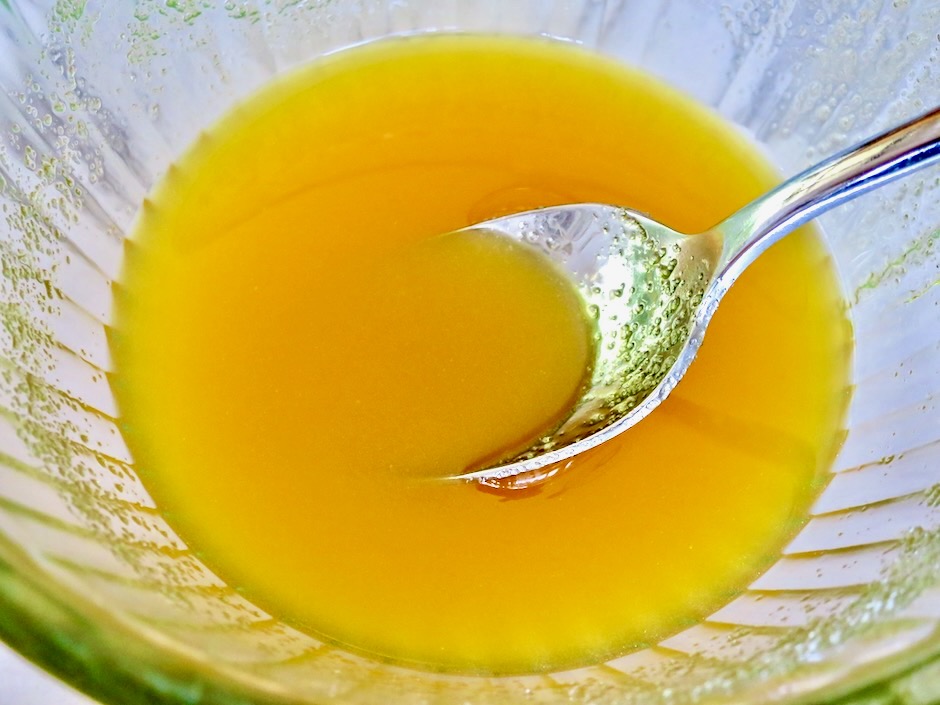
The seeds are removed from the pulp to make a smooth puree for these cakes.
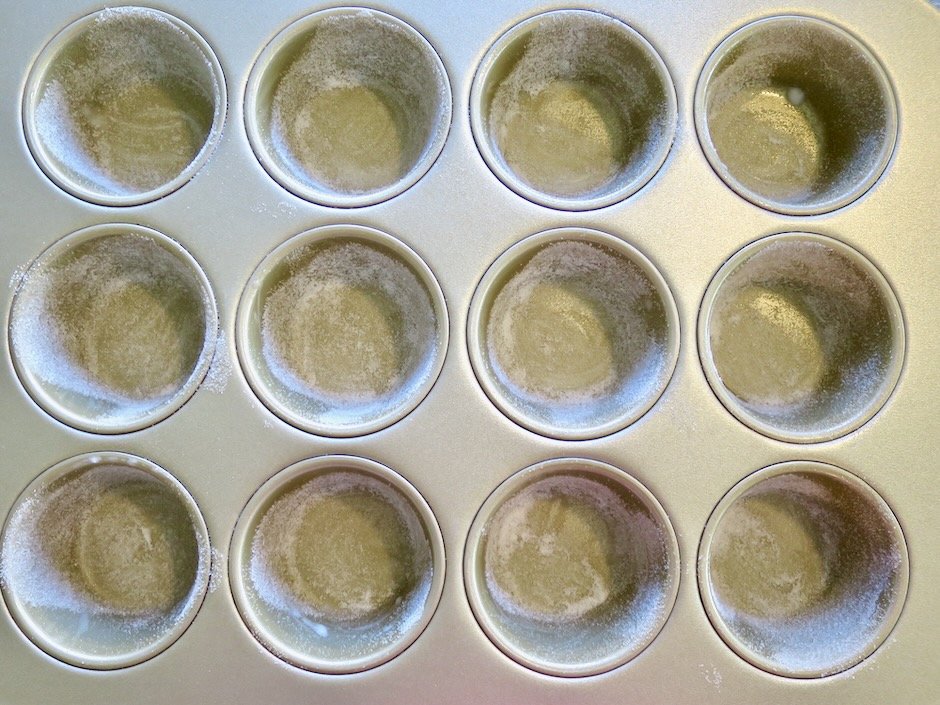
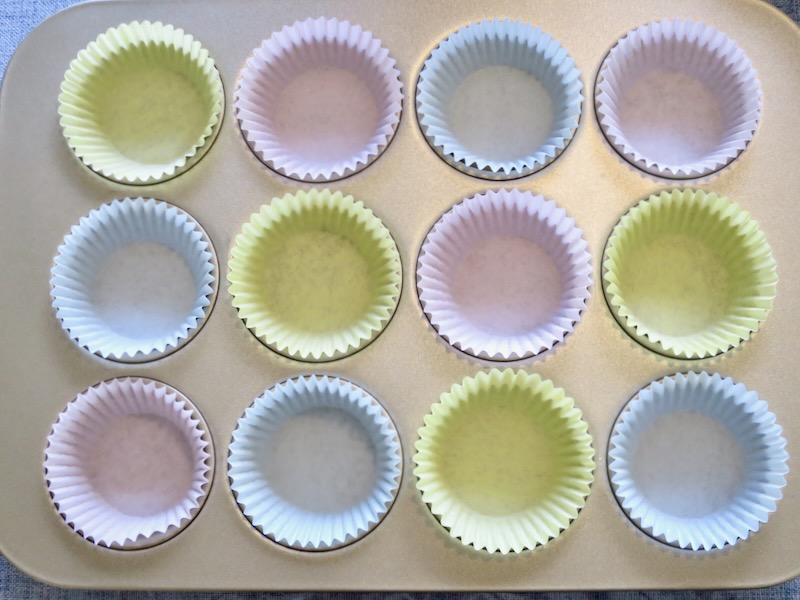
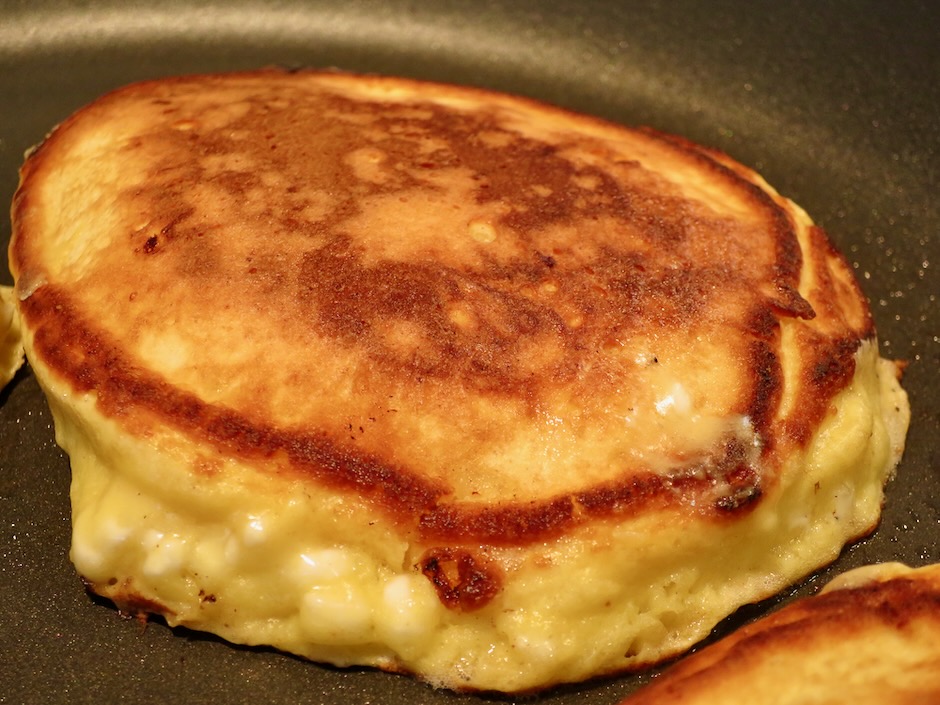
Be sure to butter and sugar coat each cupcake cavity. This ensures each individual cake will have craveable crispy edges.


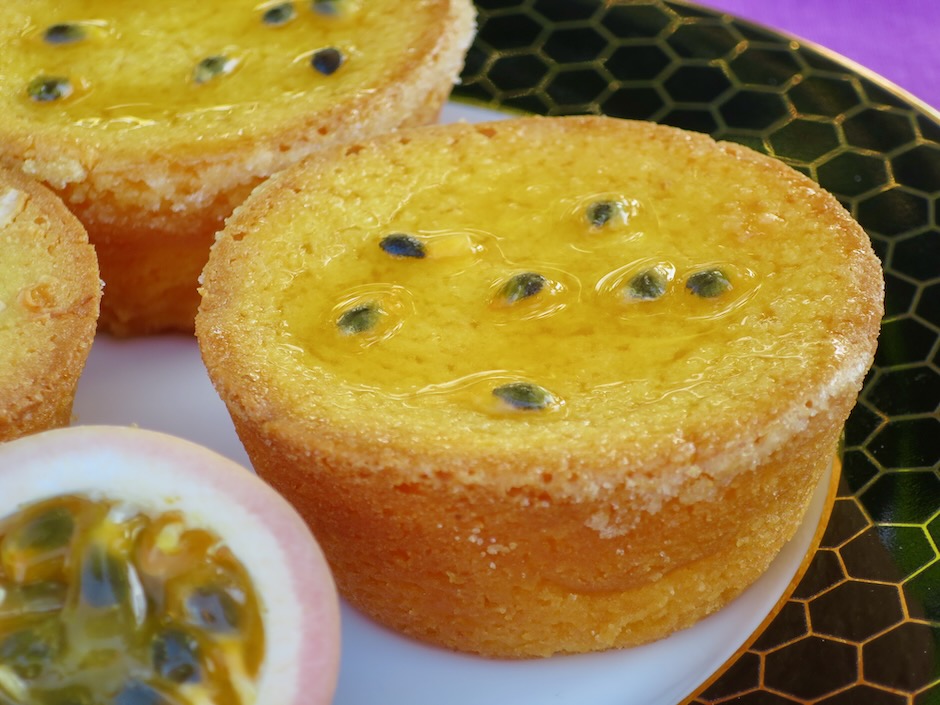
A little sugar mixed with lilikoi puree is brushed over the baked cakes. This gives the mochi cakes an extra burst of lilikoi flavor. Scatter a few seeds over the top for a beautiful contrast.
Lilikoi Mochi Cakes
14
servingsEasy to make lilikoi mochi cakes are bursting with tropical flavors
The batter makes enough for 14 muffin/cupcake pan cups
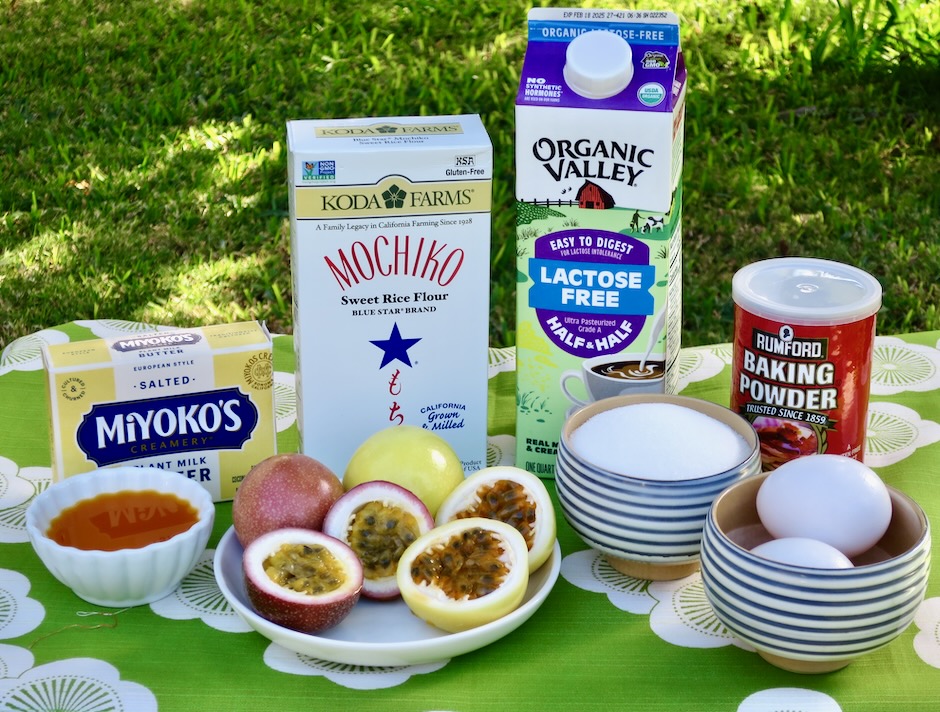
Ingredients
6 tablespoons (85g) lactose free butter such as Miyoko’s unsalted, Earth Balance Buttery Sticks or regular unsalted butter, melted
1 1/2 cups (300g) granulated sugar, plus more for the pan
1 cup lactose free half and half or whole milk, or regular half and half or whole milk
2/3 cup lilikoi puree (if fresh is not available look for Goya passion fruit pulp/freezer section)
2 large eggs
3/4 teaspoon Diamond Crystal kosher salt, or 1/2 teaspoon Morton kosher salt
2 cups + 3 tablespoons (284g) mochiko rice flour, preferably Koda Farms brand
1 1/2 teaspoons baking powder
- Topping
Unsweetened coconut flakes, optional
2 tablespoons lilikoi puree mixed with 2 tablespoons granulated sugar, optional
Directions
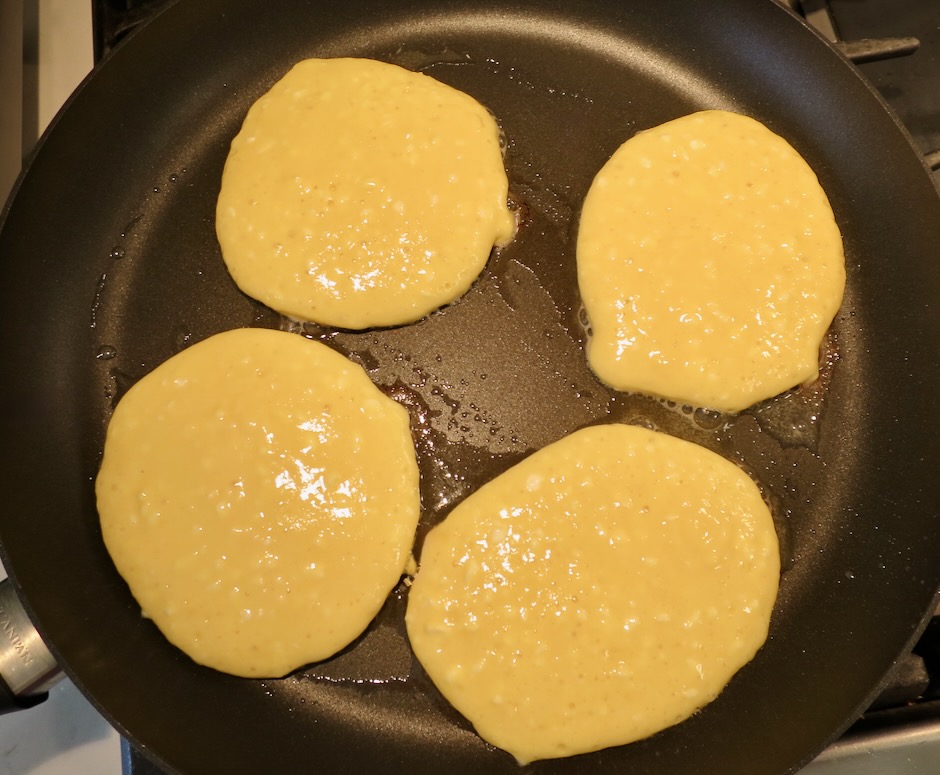
- Preheat oven to 350 degrees. Butter and sugar coat a 12-cup muffin pan and a small 4×6-inch baking dish, or an additional 2 cavities of a second muffin pan. (The recipe makes enough batter for 14 muffin pan cakes).
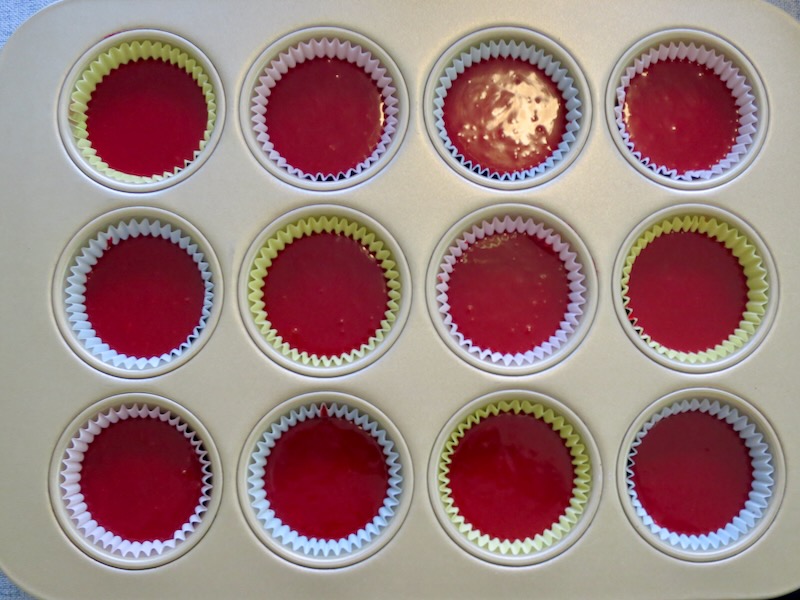
- Whisk together the melted butter and sugar in a medium bowl. Whisk in half and half or whole milk, lilikoi puree, eggs and salt. Add mochiko flour and baking powder and whisk until ingredients are well incorporated.
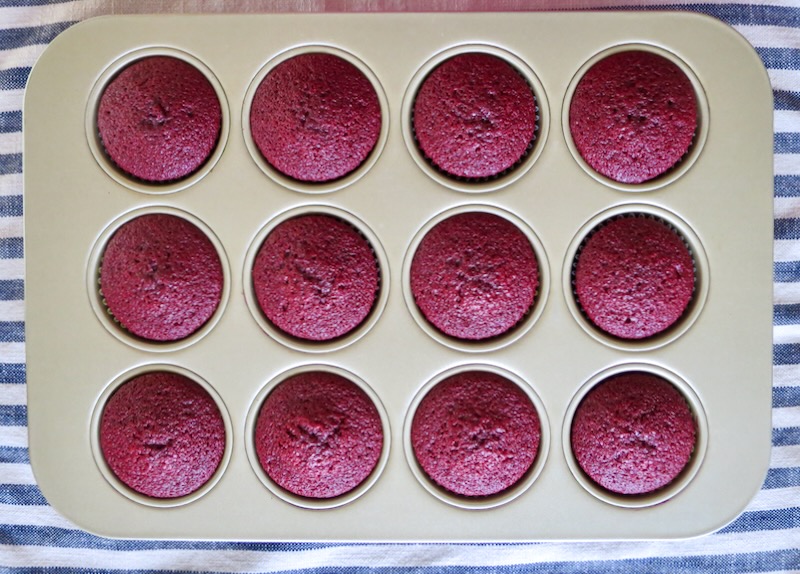
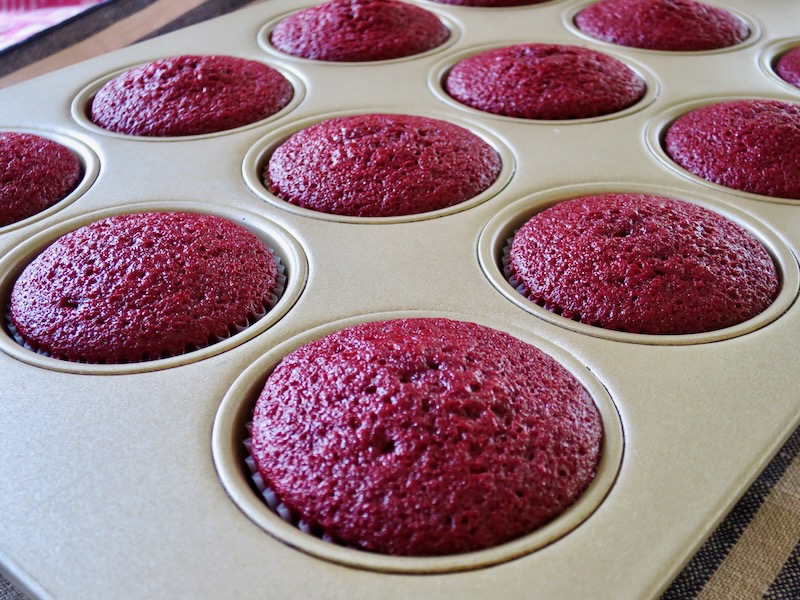
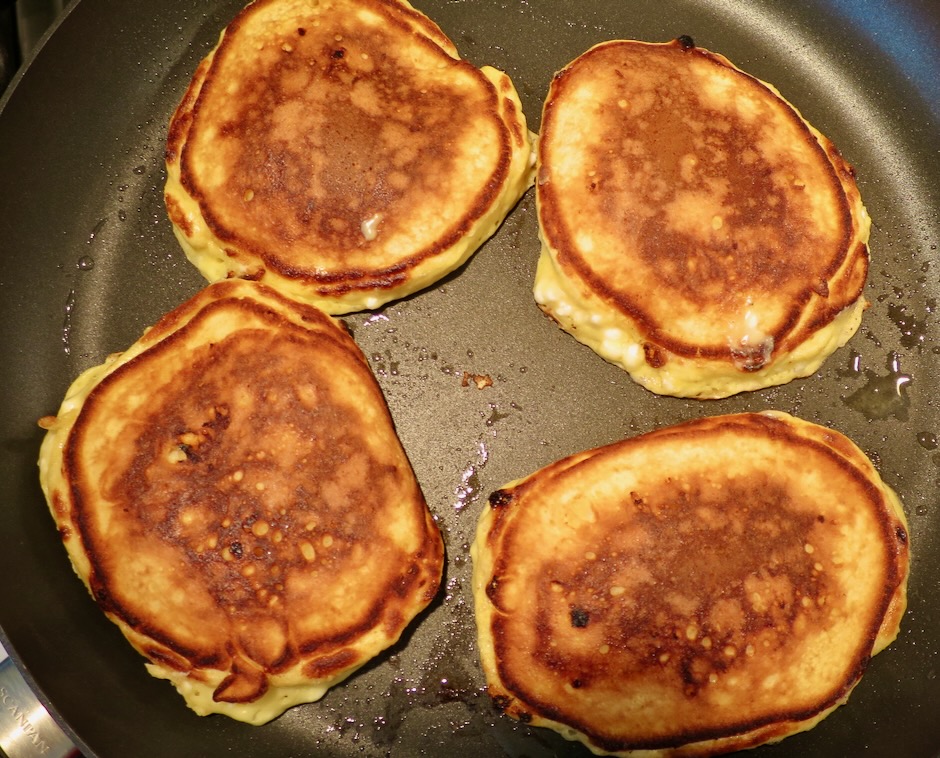
- Pour batter into prepared muffin tins filling 2/3 of the way (14 cavities or 12 + small baking dish). If using coconut flakes, add a few pinches on top of the batter. Bake on middle rack for 38-42 minutes. The mochi cakes are done when a toothpick inserted in the center comes out with just a few moist crumbs and the edges are slightly browned.
- Allow cakes to cool in the pan for 10 minutes before removing cakes to a rack to cool completely.
- Meanwhile, combine 2 tablespoons of granulated sugar with 2 tablespoons of lilikoi puree. Stir until most of the sugar has dissolved. Once mochi cakes are cool or just slightly warm, brush glaze over the tops. The glaze will be absorbed into the cake within a few minutes. Brush once more with the glaze and top with lilikoi seeds if using. Let cakes cool before serving.
Notes
- Lilikoi mochi cakes can be frozen for a couple of months. Once cool and the glaze has set, place in a plastic freezer container or stack in a freezer zip top bag (use wax paper between layers). Defrost in the refrigerator or on the counter for a few hours before serving.