Breakfast, Eggs, Recipes

The Beautiful Egg

August 10, 2012

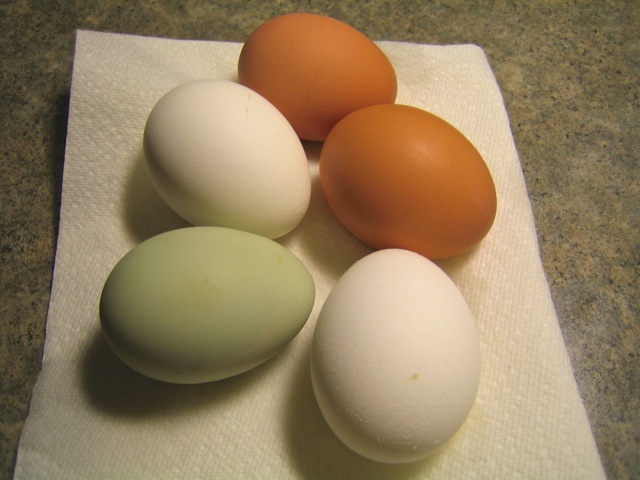
Eggs are a wonderful thing.  They are not seasonal, you can eat them all year-long.  They are not expensive and you don’t have to go out of your way to find them.  They can be baked, poached, fried, scrambled and taste wonderful with just a sprinkling of salt and freshly ground pepper.  You can eat them for breakfast, lunch or dinner.  What’s not to like?
My favorite way to prepare eggs is to poach them.  Soft boiled eggs are also very satisfying.  When I was a kid my mom would tear white bread into pieces (without the crust) and place the bread in a small bowl then break open a soft-boiled egg and spoon it on the bread adding salt and a bit of pepper.  Oh my.  It was so good, those fluffy morsels of bread soaking up the runny yolk.
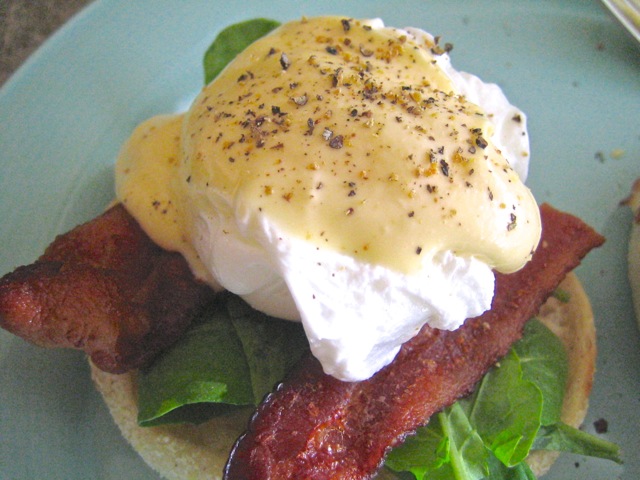
Poached egg on toasted English muffin with Hollandaise sauce, spinach and crispy bacon.

Hard boiled eggs Pan Bagnat.

Poached Eggs

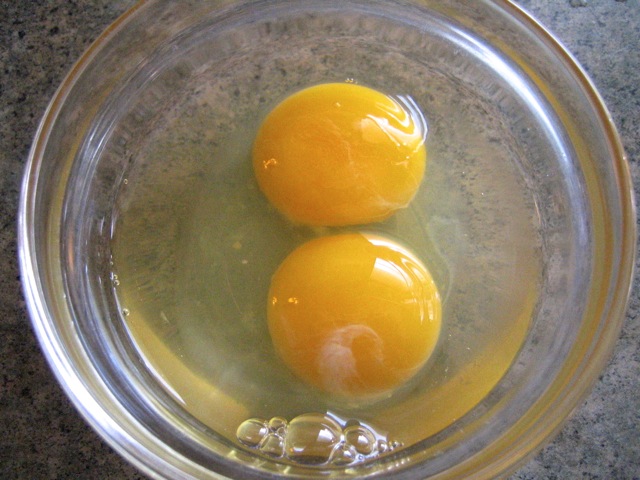
2 large eggs cracked and placed in two separate bowls (small Pyrex bowls work well, or smaller ones shown above)

2 1/2 tablespoons white vinegar

Place vinegar in a small pot, large enough to hold two eggs.  Add enough water to reach about 3 inches up the side.  Heat water on high, just until small bubbles appear on the bottom of the pot.  Gently slide in one egg at a time.  Turn heat down to medium (water should not boil) and set the timer for 4 minutes.  If the water seems too hot, turn the heat down just a bit.  Once your timer rings, remove the eggs gently with a slotted spoon and place on paper towels to drain.  Serve on buttered toast or as my family sometimes does,  place eggs on top of steaming hot white or brown rice and drizzle with soy sauce.

To poach four eggs use a 3 quart pot and increase the vinegar to 1/3 cup.

Hard Boiled Eggs

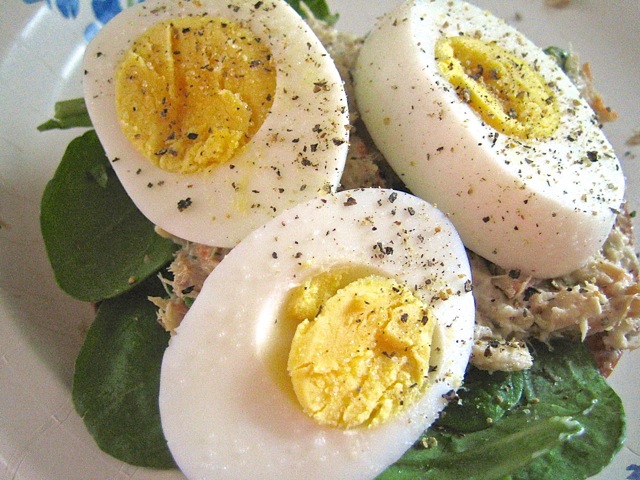
Place eggs in a pot that’s large enough so that the eggs have a bit of space around them.  Add cold water at least one inch above eggs.  Bring to a boil and immediately turn the heat to medium and let eggs simmer.  Set your timer for 10 minutes. Once your timer rings, drain and run cold water over eggs.  When I follow this method the eggs seem to cook perfectly.


Japanese, Recipes, Salad, Side Dishes, Veggies

Aunty Ruby’s Somen Salad

July 28, 2012

(Updated with additional photos, June 2013). My aunt Ruby was an excellent cook.  You could count on having a fine meal when she invited the gang over.  First class all the way.  Some meals were more involved than others but even the simplest dish was so “ono!”  This is one of those recipes, simple but ever so satisfying on a warm summer day.  You can add any type of vegetables you desire, as long as they are finely julienned.   I like to use carrots, cucumbers, iceberg lettuce and sometimes blanched bean sprouts.  You might also consider celery and daikon. This is a layered salad so you should keep the julienned vegetables separate.  One last note, it’s important to serve this well chilled and not at room temperature so plan to make this at least a few hours in advance.

Somen Salad

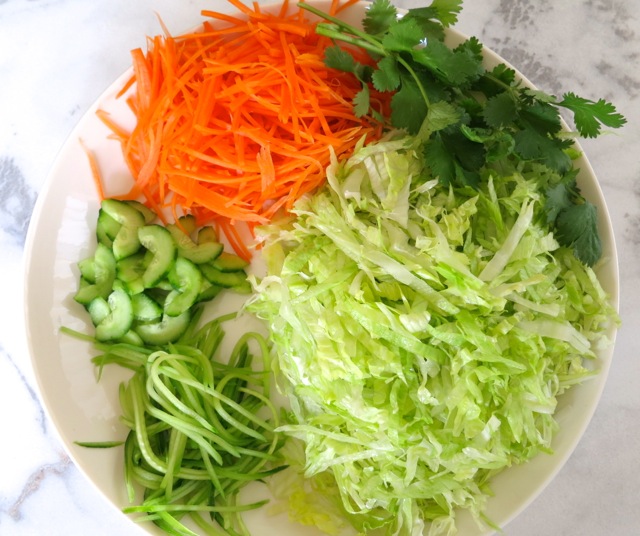
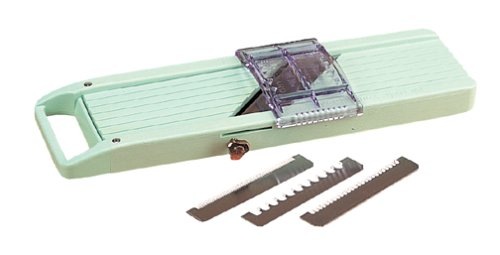
Somen Salad VeggiesSometimes I find mini Japanese cucumbers at the store and will slice them into thin half moon shapes and other times I will julienne the larger cucumbers (both shown above left).  The Benriner below (Japanese mandoline) juliennes carrots and cucumbers in no time.  I’ve had mine for more than 20 years, a good little kitchen tool to have.

Benriner

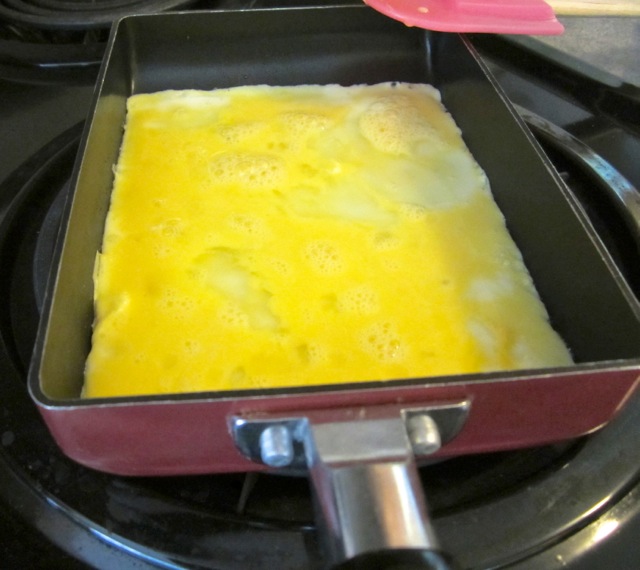
Egg PanThis inexpensive egg pan works like a charm when you want cook eggs in one even layer and slice into thin strips for somen salad or fried rice.

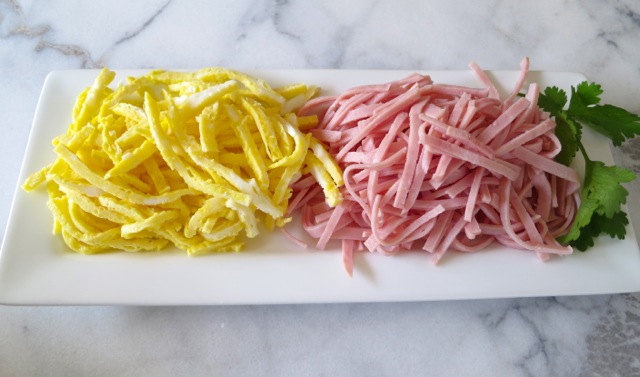
Egg and HamSlice the cooked egg and ham into narrow strips.

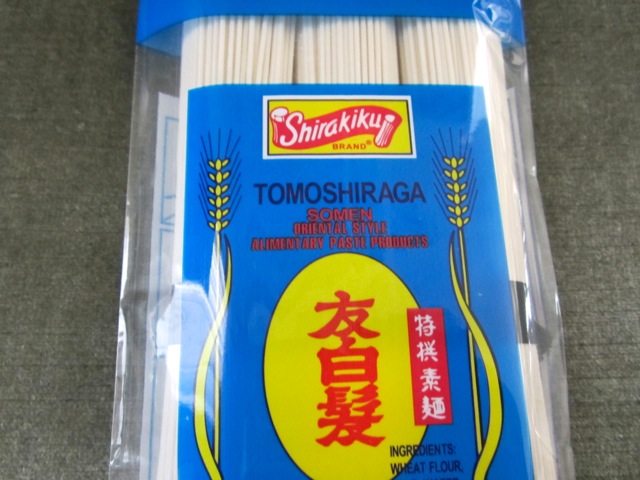
Somen noodles are super thin.  Cook in boiling water for just 3 minutes and quickly drain the noodles under cold water to stop the cooking.

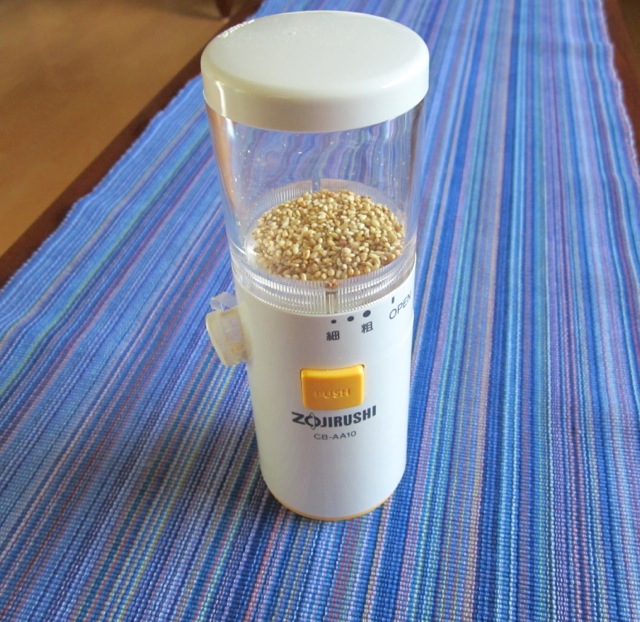
This grinder by Zojirushi is a tad expensive but I use it all the time so it was worth the splurge.  You can also find very inexpensive sesame seed hand grinders in your local Asian stores.

Somen Dressing

Somen Salad

Aunt Ruby’s Somen Salad

Serves 4 as a main dish

Ingredients

1 pkg. somen noodles (3 bundles)

Finely julienned carrots, cucumbers and iceberg lettuce (about 4 cups total)

Thinly sliced ham (I use Oscar Mayer packaged ham because it’s easy to stack and cut into even, thin strips).  You may substitute finely sliced fishcake, char siu, thinly sliced and fried tofu in place of ham or use only vegetables.

Two lightly beaten eggs, fried and thinly sliced.

Cilantro (optional) or green onions (optional)

Dressing 

1 1/2 tablespoons sugar

4 1/2 tablespoons rice vinegar (unseasoned)

4 1/2 tablespoons soy sauce (Kikkoman recommended)

3 tablespoons canola or vegetable oil

1 1/2 tablespoons sesame oil  (Kadoya recommended)

2 tablespoons ground roasted sesame seeds

Preparation

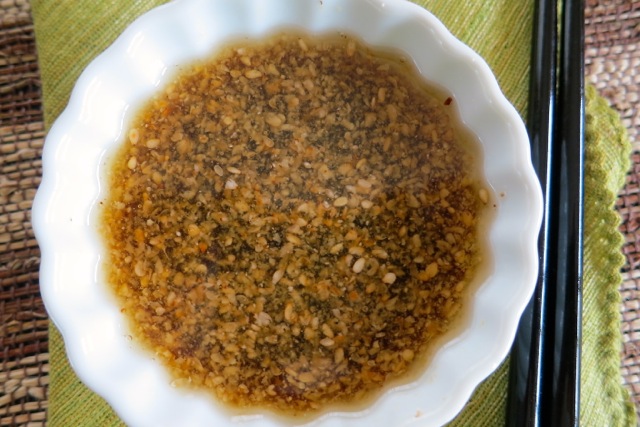
For dressing: Dissolve sugar in rice vinegar then add soy sauce, canola oil, sesame oil.  Add ground sesame seeds last.  If you do not have a sesame grinder, sprinkle roasted sesame seeds on the salad before serving.

Boil the noodles for 3 minutes (I use Shirakiku somen noodles, 3 bundles per package)  and drain right away under cold water until noodles are cool.  If you do not drain the noodles right away you risk the chance of overcooked noodles.  Nothing worse than overcooked, mushy noodles!

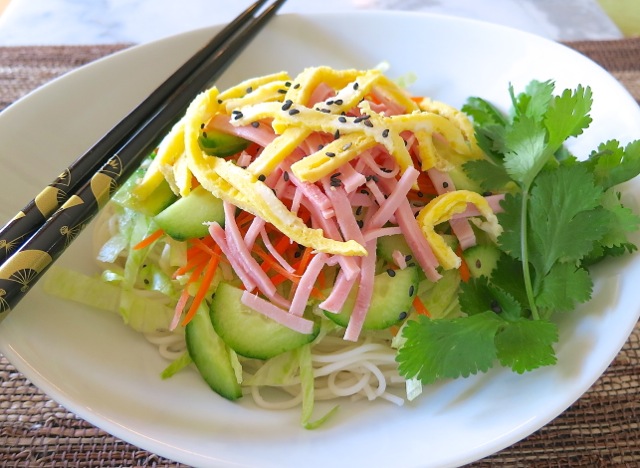
Once the water has drained away, place noodles in large dish.  It’s better to use a dish that is not too high but with sides high enough to be able to toss the salad after adding the other ingredients.  Layer the veggies: Lettuce, carrots then cucumbers.  Add the ham, egg, and finally a sprinkling of cilantro if using.  If you don’t care for cilantro you may sprinkle finely chopped green onions on the salad.

Stir the dressing before using and add it just before serving the salad so the vegetables remain crisp and fresh looking.  Once you add the dressing toss the salad and serve right away.  You may not need all of the dressing.

You can prepare the salad a day in advance if needed.  Cover tightly and store dressing in a separate container.


Bread, Dinner, Lactose Free, Sandwiches, Vegan, Vegetarian

Pita Bread

July 24, 2012

After making hummus and tabouleh I purchased two types of pita bread from a local grocery store to complete the meal.  What a disappointment!  Both of the pita breads were dry and flavorless.  I was determined to make my own pita bread and did a search and found this simple and delicious recipe:

Farmgirl’s Pita Bread

Makes 8

2 1/2 c bread flour

2 teaspoons salt

1 tablespoon sugar

2 teaspoons instant or bread machine yeast

2 tablespoons olive oil

1 c water

8 8″ squares of aluminum foil for baking pitas

In a large bowl combine 1 c flour with salt, sugar and yeast.  Add the oil and water.  Beat vigorously with a wooden spoon for three minutes.  Stir in the rest of the flour 1/2 cup at a time. The dough should be a rough, shaggy mass that will clean the sides of the bowl.  I did not use the entire 2 1/2 c of flour.  I used the remaining flour plus more when I kneaded the dough.

Turn the dough onto a lightly floured work surface and knead for about 6 minutes

Preheat the oven to 500 degrees.

Divide the dough into 8 pieces.  This is where a kitchen scale comes in handy.  Roll into balls, dust very lightly with flour and cover with a damp tea towel.  Let the dough rest for 30 minutes.

Use the palm of your hand and flatten each ball into a disk.  Finish with a rolling pin, flattening the dough into a disk about 6″ in diameter and 3/16″ thick.

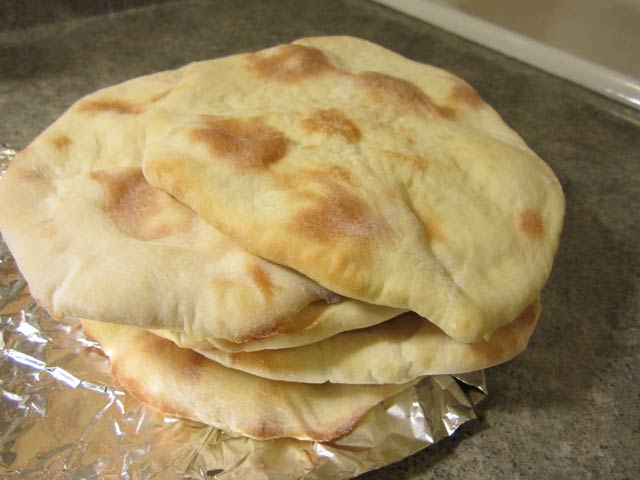
Place each round on a square of aluminum foil and carefully place 4 of the rounds directly on the oven rack.  Bake for 5-8 minutes, or until they puff up.  If they don’t puff up, they may not form a pocket and you will not be able to stuff them with goodies.  This happened to me but those pitas didn’t go to waste.  I ate them with a slathering of Earth Balance buttery spread, yum.

Once you remove the pitas from the oven, stack them up and wrap them in a large piece of foil.  This will keep them soft while the tops fall, leaving a pocket in the center.  At this point you can eat them right away or freeze to use later.

Next time I will substitute some of the white bread flour with white whole wheat flour and see how that works.  The entire process took just about an hour.  Give it at try.

Follow

Get every new post delivered to your Inbox

Join other followers: