Dinner, Italian, Pasta, Recipes, Vegetarian

Pesto with Macadamia Nuts

November 8, 2012

Pesto is a simple and delicious dish.  The fragrant basil, pungent cheese and garlic, rich macadamia nuts and olive oil go together like no other dish I know.  Most recipes call for pine nuts which I used in the past, until I had an awful experience with Pine Mouth. Just thinking about it makes my stomach turn.  It’s something that can’t be easily forgotten.  I suffered for two weeks and could not figure out why suddenly everything I ate or drank tasted bitter, very bitter. So bitter I didn’t want to eat. I googled my symptoms and discovered Pine Mouth.  Like others who have had this weird problem, I too had eaten pine nuts (in pesto) a few days prior to getting my symptoms. My husband also ate the pesto but without any problems.  It apparently doesn’t affect everyone. The FDA is still trying to determine what the exact cause of Pine Mouth syndrome is.  Needless to say, I have given up eating pine nuts.  Some say that pine nuts from China are the culprits and that buying pine nuts that originate from the Mediterranean won’t cause such a terrible reaction. Hmmmm.  I’m still not convinced enough to eat them again.
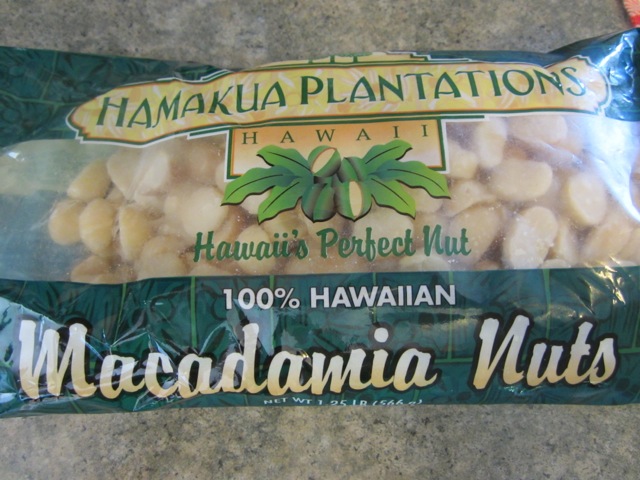
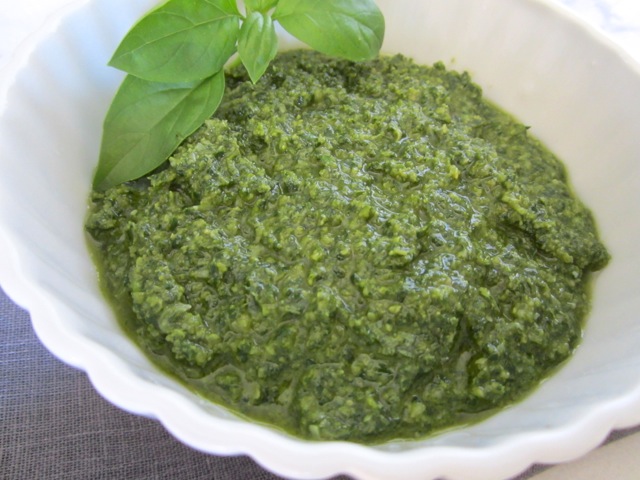
Many pesto recipes suggest walnuts as an alternative to pine nuts (which can be expensive).  I tried this once, however my pesto turned out to be a drab green-brown color.  Now, due to my aversion to pine nuts, macadamia nuts are my choice for pesto.  They are light-colored like pine nuts and don’t have the annoying skin of a walnut.  They can be pricy like pine nuts though you really need just a small amount for each recipe and you can store the rest in the refrigerator for other baking recipes.  The package above is from Costco and was very reasonably priced.
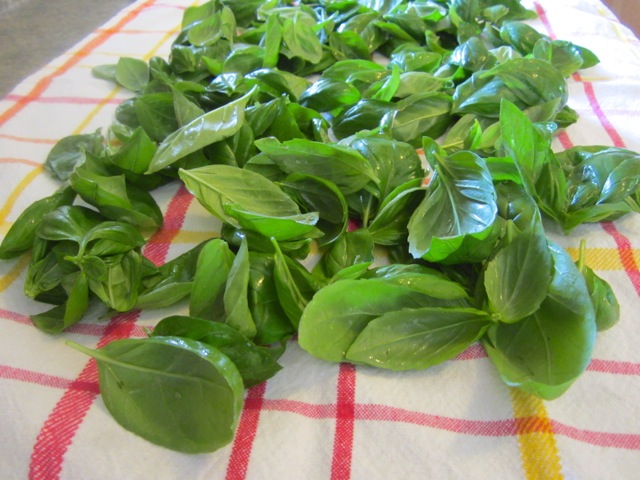
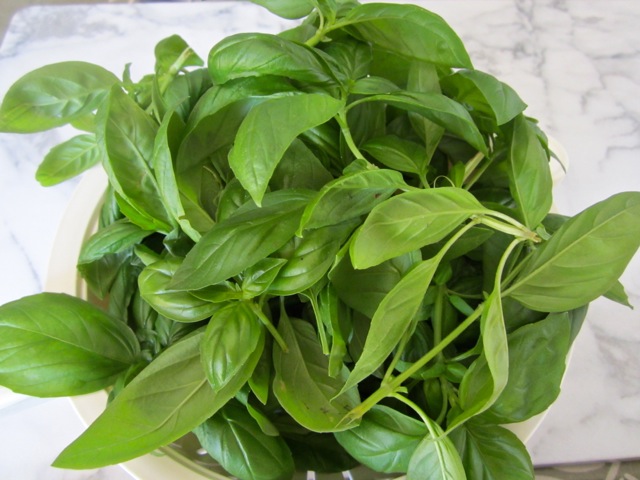
Rinse the basil leaves gently and leave out to dry for a short time.
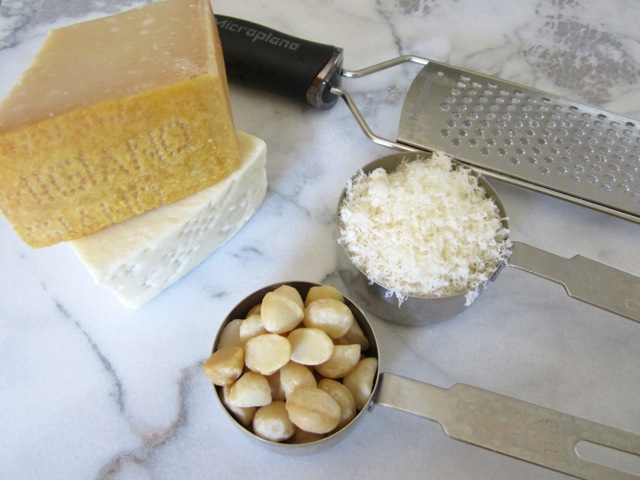
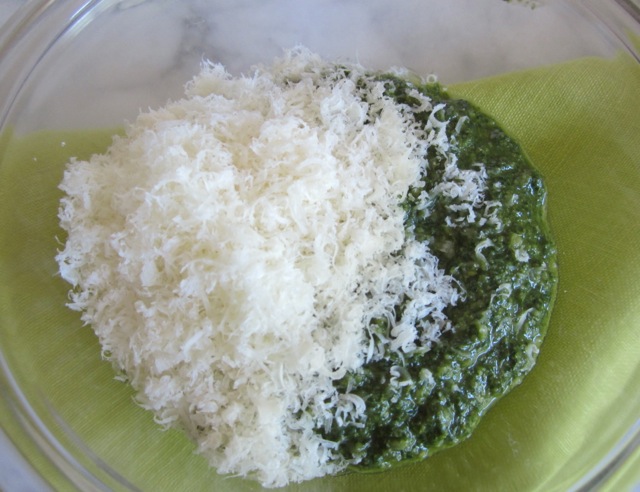
Use good cheese.  Real Parmigiano Reggiano and Pecorino Romano and grate them yourself.

Pesto

Serves 6

Adapted from Nancy Harmon Jenkins The Mediterranean Diet Cookbook

Ingredients

4 ounces fresh basil leaves

1/3 heaping cup macadamia nuts

1 teaspoon kosher salt

1/2 cup extra virgin olive oil

2 medium garlic cloves, crushed and finely minced

1/2 cup finely grated Parmigiano Reggiano cheese (or a combination with Pecorino Romano)

Preparation

Remove basil leaves from stems and gently rinse.  Set aside on a kitchen towel to dry for a short time.

Put half of the basil, all of the macadamia nuts and salt in a food processor.  Pulse a few times.  Scrape down the sides and add the rest of the basil and pulse a few more times.  Add the oil in a thin stream and process until the consistency is that of a slightly grainy paste but not a fine puree.  Add the garlic and process briefly, just to mix the garlic into the sauce.  If the pesto seems too thick, add a bit more olive oil.  Transfer the pesto to a bowl and fold in the grated cheese.

I like to serve the pesto on thin capellini noodles with a bit of extra grated cheese sprinkled on top.  Sometimes I use spaghetti and add steamed, finely chopped broccoli florets to it or I’ll make a pasta salad with pesto, cherry tomatoes and baby spinach.  For a change, use pesto on your pizza instead of tomato sauce (top with sliced tomatoes, artichoke hearts and mozzarella).

Pesto can be stored in the refrigerator for a few days.  Pour a very thin film of oil over the top of the pesto and cover the bowl.  You can also freeze pesto in small containers for a few months.


Reviews

Restaurant Review ~ 53 By The Sea

November 5, 2012

53 By The Sea is a new Italian restaurant that took over the site of the former John Dominis restaurant in Kakaako.  The restaurant has been transformed into a gorgeous space offering ocean front dining.  The water is literally steps away from the restaurant and diners are able to walk outside to take photos of the ocean with Diamond Head in the background.  The main dining room is on the ground level, however there is an impressive staircase that leads up to a second level with private function space.

Ocean views with Diamond Head in the background.

The restaurant has a beautiful and lavishly stocked bar. Live piano music is featured during dinner.

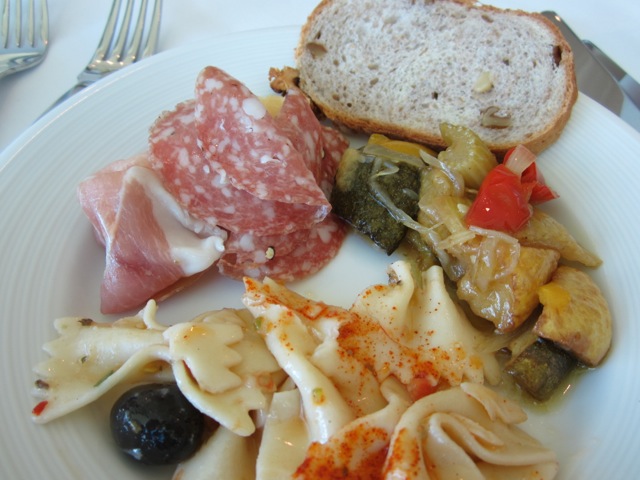
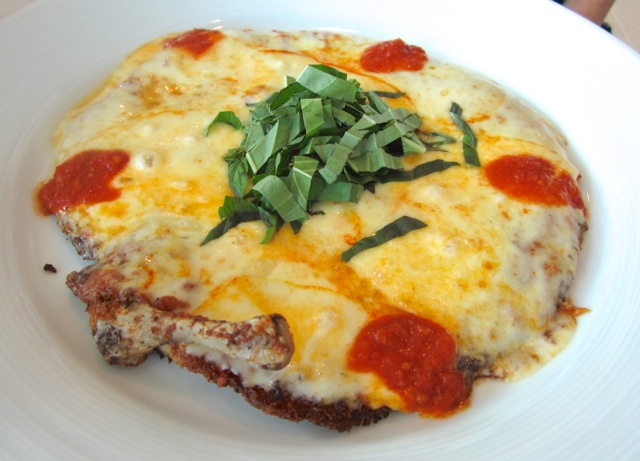
Executive Chef Hiroshi Hayakawa trained in southern Italy and his menu offers a number  of fresh pastas, seafoods, meats and a chicken cutlet that’s pounded as thin as paper, a beautiful presentation.  It was a pleasant surprise that they offer a nice selection of antipasti with your lunch entrée.  It is served table side by your waiter from an elegant cart.

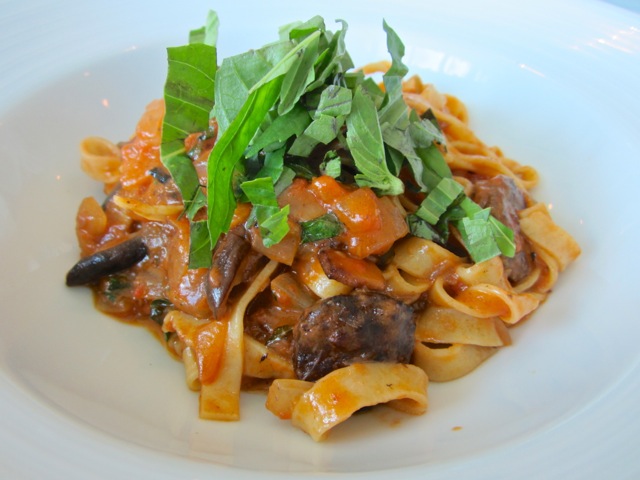
Fresh pasta with house-made Italian sausage and tomato sauce, perfectly cooked.

My sister ordered the chicken cutlet with parmesan.  Quite delicious and what a beautiful presentation!

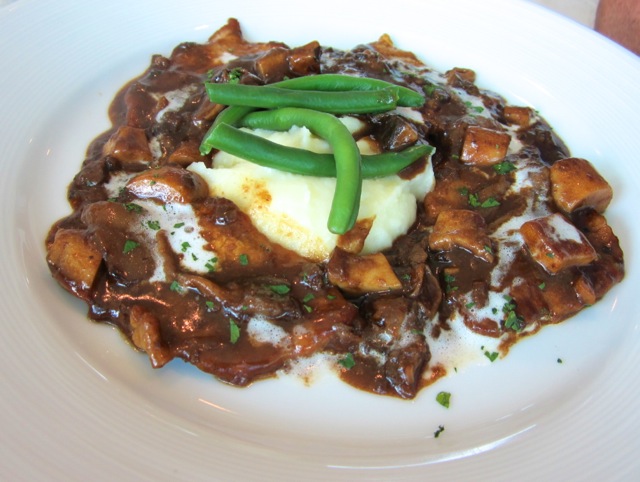
My husband ordered the veal Marsala.  It was just as beautiful and tasty as the chicken cutlet.

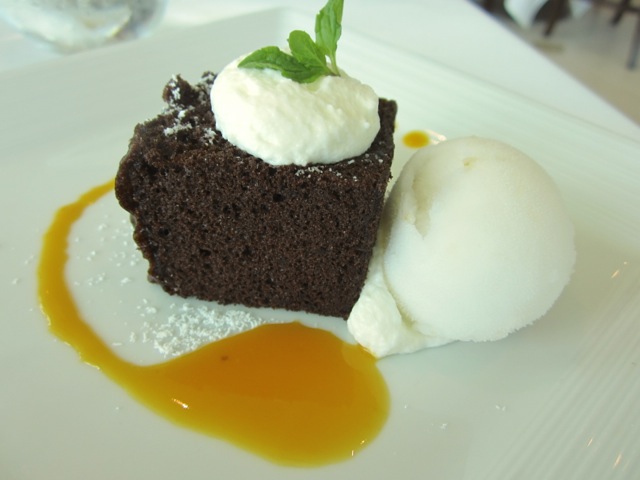
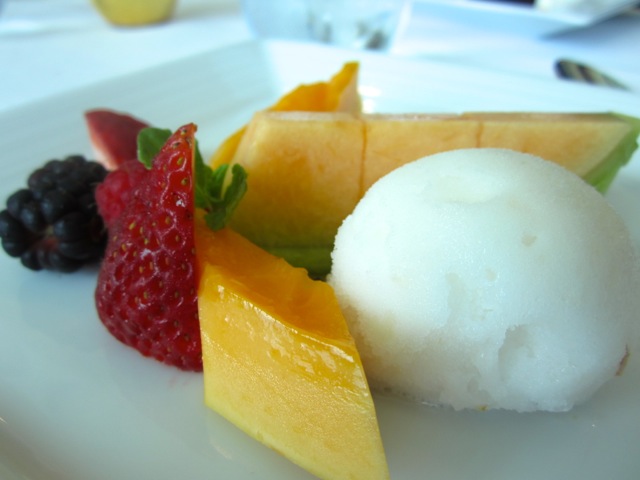
Another surprise was the complimentary dessert, chocolate cake or fruit with sorbet.

53 By The Sea was a real treat and a welcome addition to the island dining scene.  We’re looking forward to having dinner here on our next visit.

Chicken, Dinner, Japanese, Recipes

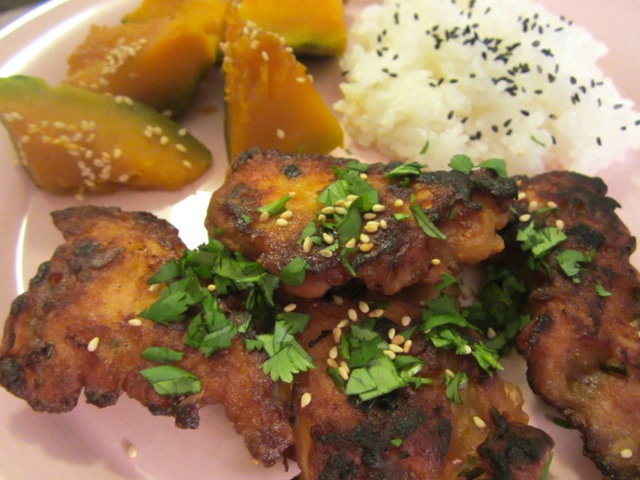
Mochiko Chicken

November 3, 2012

With the tsunami warning taking place the other night, many of us stayed up way past our bedtime listening to updates from the Pacific Tsunami Center.  Luckily there was no damage caused by the tsunami here in Hawaii.  The following day was like any other Sunday, people picnicking at the beach, shopping, doing errands and going about their merry way.  Since I was one of those people who didn’t get much sleep the night before, I wasn’t too keen on making anything fancy for dinner.

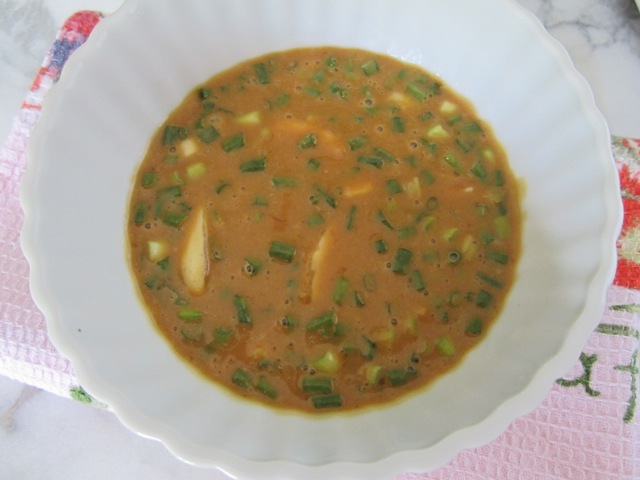
Mochiko Chicken Marinade

I found this recipe in our local newspaper years ago.  This version of mochiko chicken is delicious.  It makes a great picnic lunch along with some onigiri and Kabocha No Toroni. All of these dishes can be eaten without heating up.

Mochiko Chicken

Serves 4

Ingredients

4 tablespoons sugar

5 tablespoons soy sauce

1/4 cup sesame oil

1 tablespoon oyster sauce

2 eggs, beaten

5 tablespoons cornstarch

3 tablespoons flour

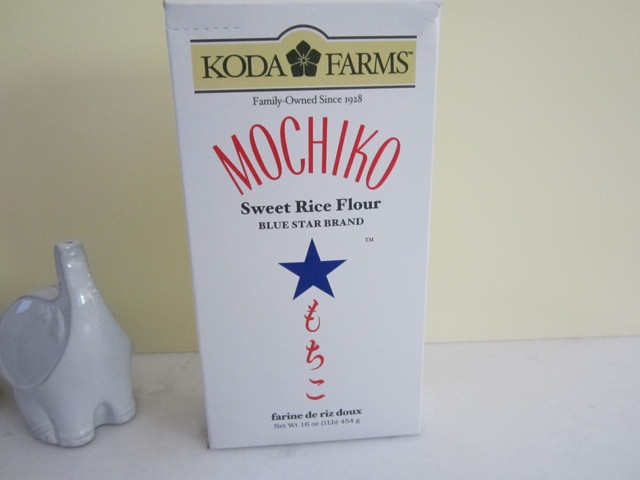
6 tablespoons mochiko flour

3 garlic cloves, crushed

1/2 cup chopped green onions

few dashes of salt

4 large boneless, skinless chicken breasts cut into pieces about two inches in length

canola oil for frying

Preparation

Combine the sugar and soy sauce until the sugar has dissolved.  Add the rest of the ingredients except the chicken.  Mix marinade well and pour into a large bowl or Ziplock bag.  Add the chicken and marinate in the refrigerator for a minimum of two hours.

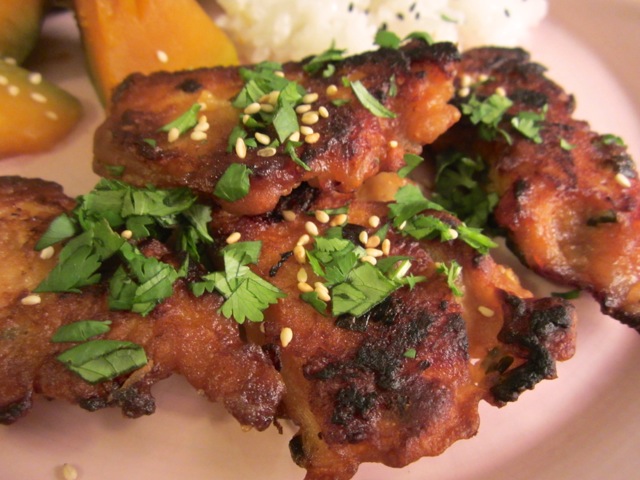
Pour enough oil into a large fry pan to a depth of 1/4 inch and heat over medium high heat.  Fry the chicken in batches for about 3 – 4 minutes per side or until the chicken is cooked through.  The cooking time will depend on how thick your pieces of chicken are.  I prefer to pound the chicken breasts so they cook evenly and quickly.  This also tenderizes the chicken.  Alternately you can use chicken tenders or if you prefer, chicken thighs.
Remove the chicken and drain on a paper towel lined plate.  Serve right away or pack it up and take it to the beach.


Dinner, Italian, Pasta, Recipes, Vegan, Vegetarian

30 Minute Fresh Tomato Sauce

October 29, 2012

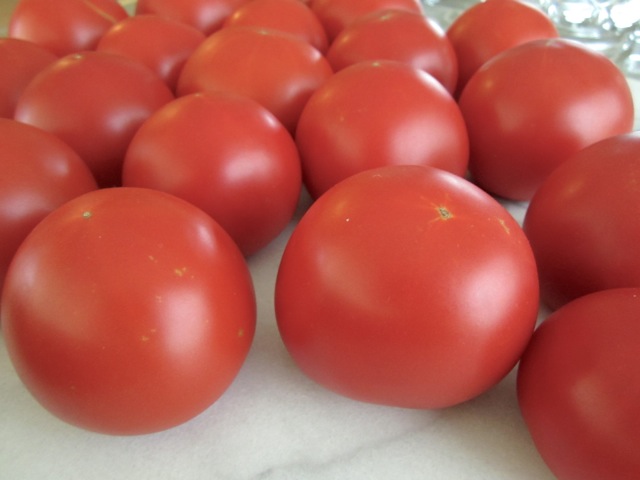
When your garden crop comes in droves it can make you feel overwhelmed.  The stories you hear about people who grow zucchini come to mind. Suddenly they have baskets full of them and they start dropping them off at their friend’s homes, and sometimes homes of people they never even considered to be their friends.  There’s the hilarious story I heard on NPR of zucchini growers leaving them in unattended cars just to get rid of them.  Anyhow, this is a story of tomatoes and I’m happy to say people don’t make fun of them like they do zucchini.  With that being said, we have lots of tomatoes in the garden and I’ve been making salsa, tomato sandwiches, roasted tomatoes, and today, a quick tomato sauce that is as good as those simmering for hours.  I was searching for a recipe and stumbled upon this one from Chez Pim.  The idea of removing the tomato pulp from the juice then adding it back once the juice thickens up caught my attention.  It works quite well and it’s quick.
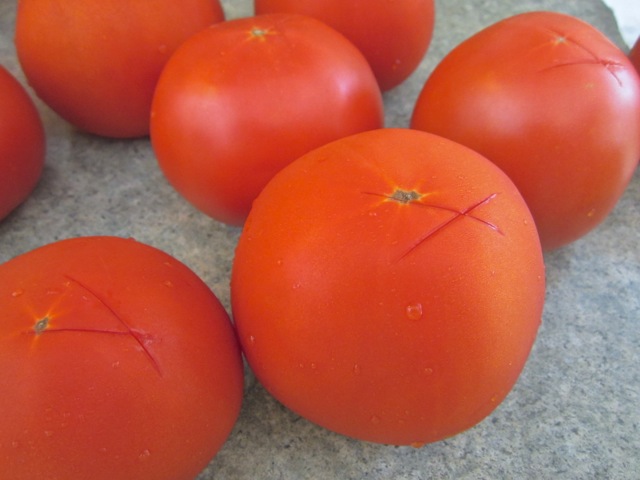
The easiest way to peel tomatoes is to dunk them in boiling water for about 10 seconds and transfer them to an ice bath.  The skins will come off effortlessly and you won’t waste a bit of the tomato.  It works like a charm.  Just make a cross at the bottom of the tomato before plunging them into boiling water.

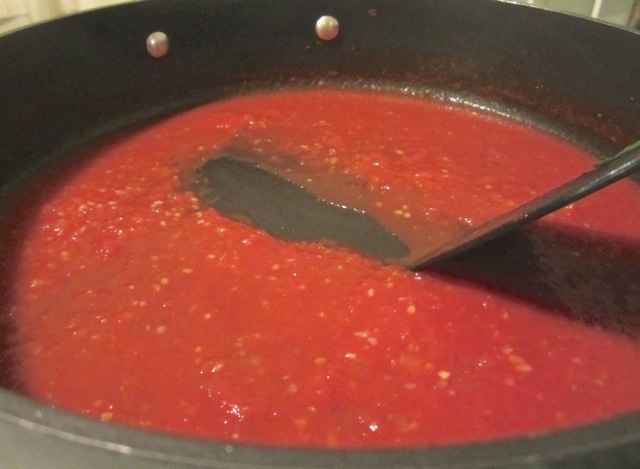
Reduce the sauce until it clears the pan with your spatula. 

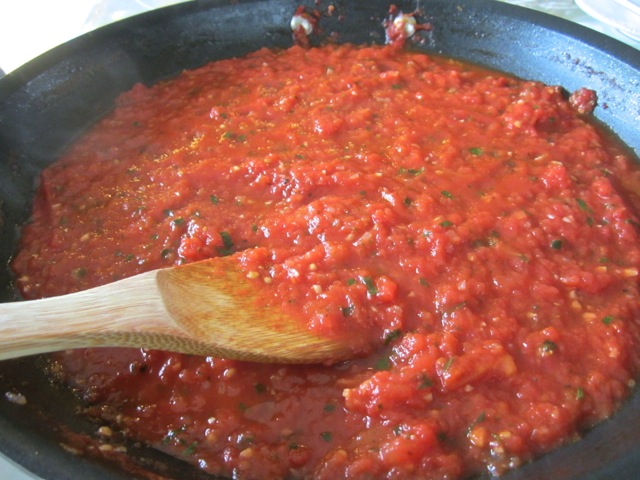
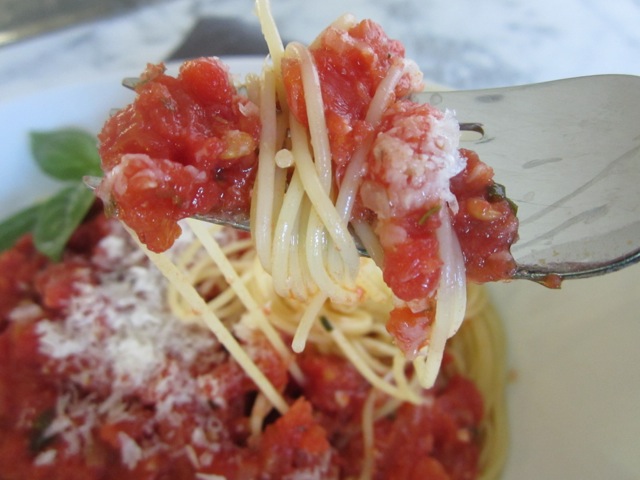
The tomato pulp has been added back to the sauce and simmers briefly, becoming luxuriously thick and flavorful.

30 Minute Fresh Tomato Sauce

4 generous servings

Adapted from Chez Pim’s recipe

Ingredients

5 pounds ripe tomatoes peeled, seeds removed

2 tablespoons olive oil

1/2 cup minced onion

2 medium garlic cloves, minced

2 teaspoons kosher salt

1 teaspoon dried oregano

1 heaping tablespoon fresh chopped basil

Preparation

Prepare the tomatoes by removing the skin, cut them in half and remove the seeds.  Place halved tomatoes in a large bowl and crush with your hands to break up the tomatoes into very small chunks.

Heat olive oil in a large, deep skillet over medium low heat.  Add onions and sauté for about 5 minutes until softened but not browned.  Add minced garlic and sauté for another minute.

Turn the heat up to medium high. Add the crushed tomatoes to your pan, give everything  a stir and cook for about 10 minutes.

Transfer the tomato pulp to a bowl with a slotted spoon.  Continue to cook the tomato sauce for another 10 minutes until it has reduced and is fairly thick.  Test by scraping the pan with your spatula.  If the sauce clears the pan it’s time to add the tomato pulp back to the pan.

Turn the heat down to medium and add the salt and dried oregano to the tomato sauce.  Simmer for another 10 minutes.  Add the fresh basil, give the sauce a stir and adjust the seasoning if needed.

Serve with freshly grated Parmigiano-Reggiano or Pecorino Romano cheese.  The sauce freezes well and provides a quick and delicious meal on a busy work night.


Korean, Recipes, Tofu, Vegan, Vegetarian

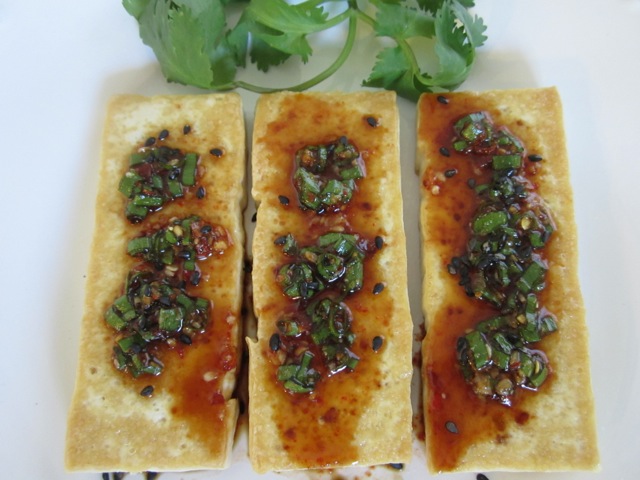
Korean-Style Fried Tofu with Green Onion Sauce

October 25, 2012

I have mentioned before that I love tofu in many forms.  Either frozen, defrosted, then baked with herbs or straight from the package with green onions, ginger and soy sauce.  Or even cut into cubes, baked  and tossed in nutritional yeast.  Here’s another tofu recipe that’s quick and easy. A friend at work adores this sauce.  He waits patiently for any leftovers I might have and drizzles it on his rice. It has the perfect balance of salty, garlicky, spicy kick to it.

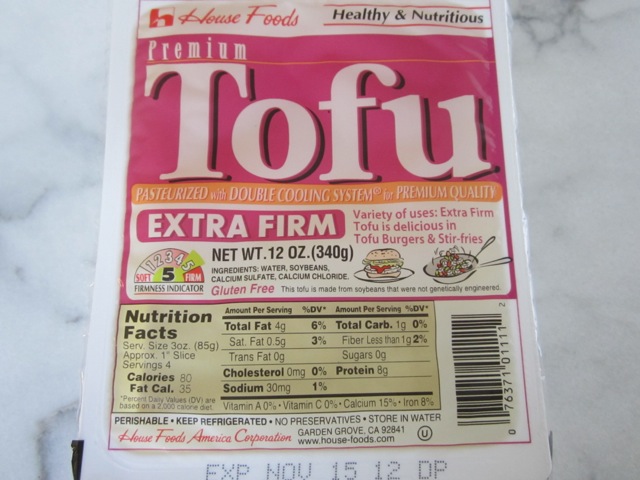
Firm or extra firm tofu works well for fried tofu.

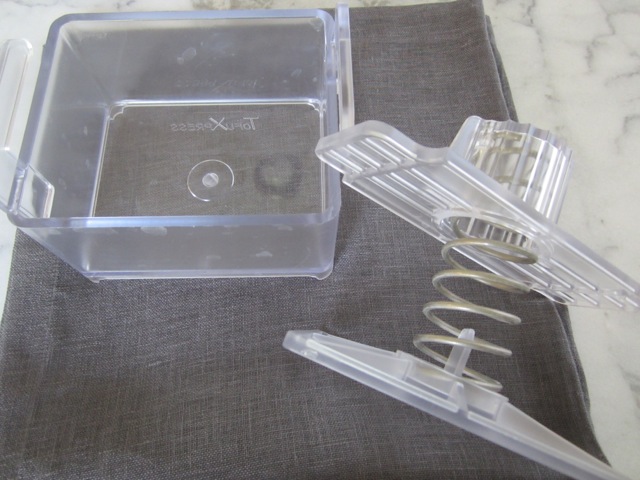
Tofu Xpress

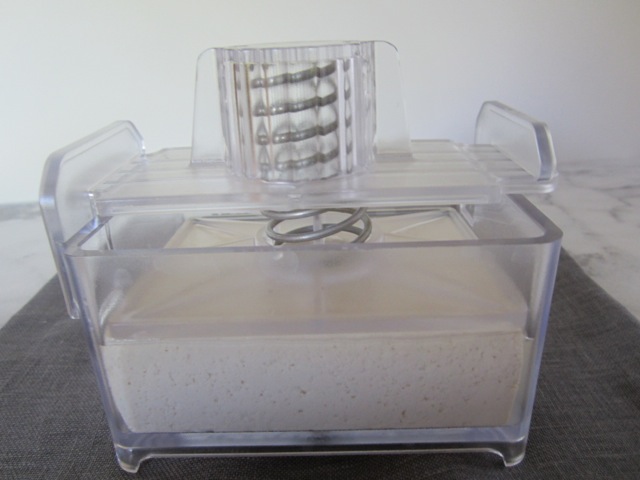
I discovered an ingenious tofu press on a food blog one day.  This simple gadget works great.  Put your block of tofu in the container, press the spring-loaded top on it, place in your refrigerator for a half hour or so, and in no time most of the water will have been pressed out.  The days of wasting paper towels are over!

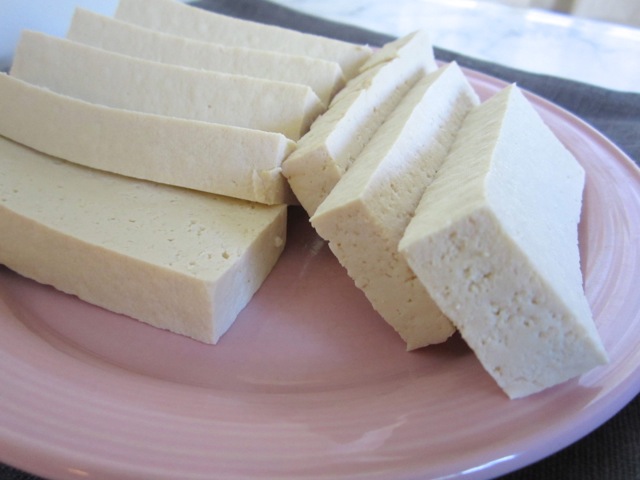
Slice tofu block into 8 pieces, about 1/4 inch thick.

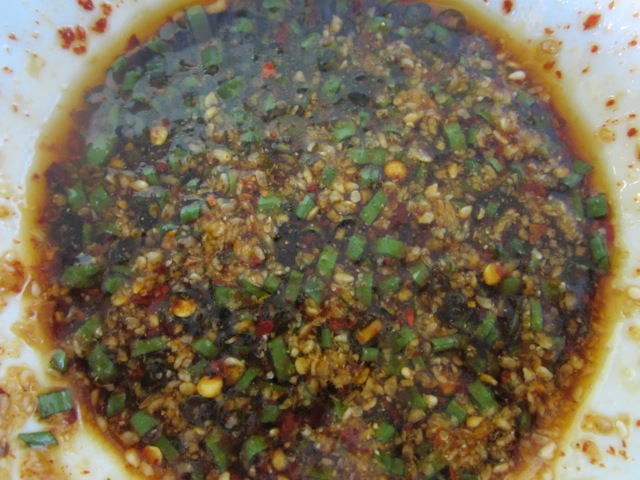
Korean-Style Tofu Sauce

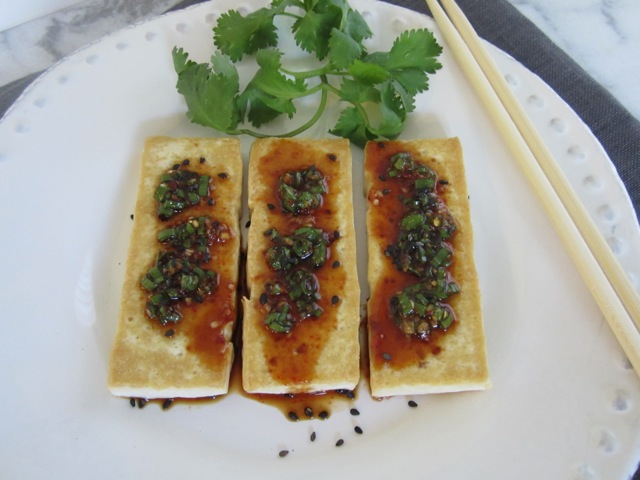
Korean-Style Fried Tofu with Green Onion Sauce

Serves 2

Ingredients

1 block firm or extra firm tofu (12 oz.)

canola oil for frying

Sauce

2 tablespoons soy sauce

1/2 teaspoon sugar

2 teaspoons sesame oil

1/2 teaspoon minced garlic

1/2 teaspoon Korean chili powder flakes – optional (I bought Whole Spice Korean chili flakes in Napa Valley and it’s quite mild though it gives the sauce a splash of color).

1/3 teaspoon red chili flakes (more or less depending on how spicy you want the sauce to be).

2 tablespoons finely chopped green onions (or more if you prefer).

1 teaspoon ground sesame seeds (I use an electric  Zojirushi sesame grinder though for a few dollars you can purchase an inexpensive hand grinder at most Asian markets).

Roasted sesame seeds for sprinkling on the fried tofu (optional).

Preparation

Combine soy sauce, sugar, sesame oil, garlic, Korean chili flakes if using, red chili flakes, green onions and ground sesame seeds in a small bowl.  Mix ingredients to combine well.  Set aside.

Press tofu in Tofu Xpress for 1/2 – 1 hour in the refrigerator (alternately slice tofu and place between several layers of paper towels then put a cutting board on top and weight with a few cans or a large book on your counter for 15 – 30 minutes).

Remove tofu from Tofu Xpress and slice into 8 pieces (about 1/4 inch thick).

Place a skillet large enough to hold all of the tofu on medium heat with 2 – 3 teaspoons of canola oil.

Fry tofu for about 5 minutes, until lightly browned.  Flip tofu over and brown the other side for about 5 minutes.  Remove to a plate and drizzle sauce over the tofu.  Sprinkle with roasted sesame seeds (optional).

I make this the night before and take it for lunch the following day.  Gently reheat the tofu, drizzle with sauce and serve with rice.

Dinner, Pasta, Recipes, Side Dishes, Vegetarian

Martha Stewart’s Creamy Mac-and-Cheese

October 19, 2012

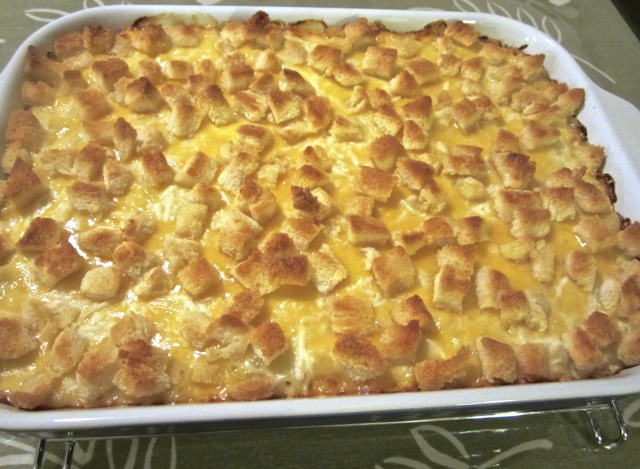
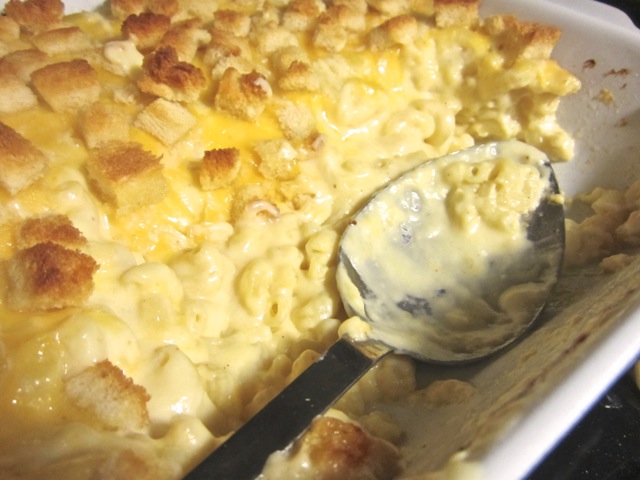
Macaroni and cheese is the ultimate crowd pleaser.  There’s nothing better than noodles smothered in a creamy, cheesy sauce with a crispy crouton topping.  I’ve tried several different recipes such as one incorporating butternut squash and bacon.  It was very good but….I happened to see Martha’s mac-and-cheese recipe on the Smitten Kitchen blog and I immediately thought, this is the one.  How much cheese for one pound of pasta?  Lots!  What was Martha thinking?

This recipe makes a lot of mac-and-cheese so if you’re not feeding a large group of people you may want to cut the recipe in half.  Here is my adaption of Martha’s Mac-and Cheese.

Martha Stewart’s Creamy Mac-and-Cheese

Serves 12

Ingredients

8 tablespoons (1 stick) butter, plus more for casserole

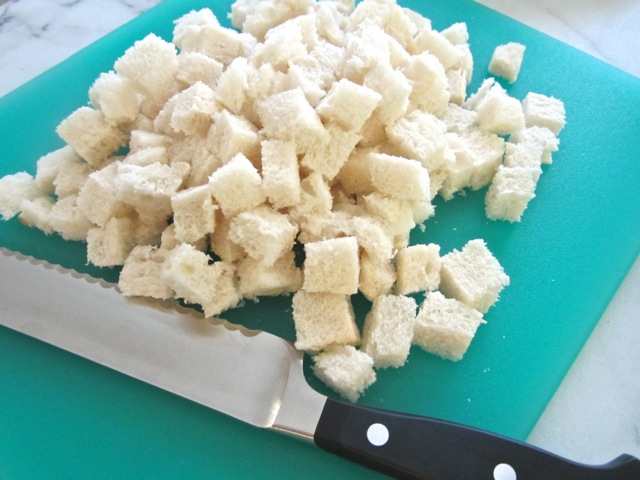
5 slices white bread, crusts removed, cut into 3/4 inch cubes

5 1/2 cups milk (2% or whole, either works fine)

1/2 cup flour

2 teaspoons kosher salt, plus more for the pasta water

1/8 teaspoon ground nutmeg

1/4 teaspoon freshly ground black pepper

1/4 teaspoon cayenne pepper

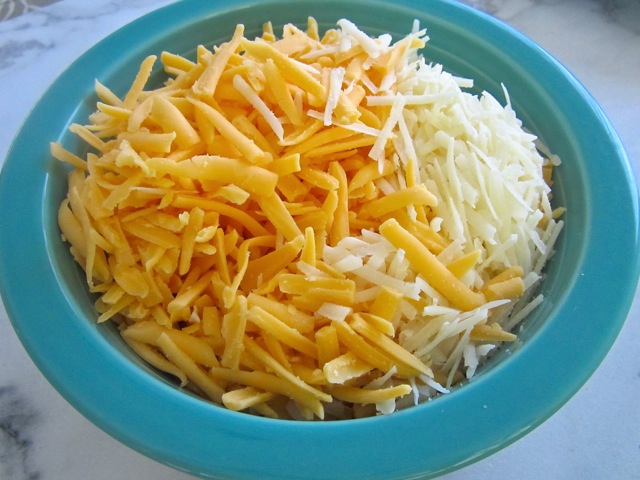
1 pound grated extra sharp cheddar, about 4 1/2 cups (I use Tillamook yellow, the original recipe calls for sharp white so use which ever you prefer).  Set aside 3 cups of the cheddar for the sauce.  The remaining cheddar will be sprinkled on the top before baking.

4 1/2 ounces grated Pecorino Romano cheese, about 1 1/4 cup (or 8 ounces grated Gruyère, about 2 cups). Set aside 1 cup Pecorino Romano for the sauce (or 1 1/2 cups Gruyère).  The remaining Pecorino Romano (or Gruyère) will be sprinkled on the top before baking.

1 pound elbow macaroni

Preparation:

Preheat oven to 375 degrees.  Butter a 3-quart casserole dish, set aside.  Place bread cubes in a medium bowl.  Melt two tablespoons of butter in a covered microwave dish just  until melted. Pour the melted butter into the bowl with the bread cubes and toss. Set aside.

Bring a large pot of salted water to a boil (large enough to generously cook 1 pound of pasta).  Cook the macaroni until the outside of the pasta is cooked and the inside is  underdone, about 4 minutes.  Drain the pasta in a colander and rinse under cold water.  Drain well and set aside.

Warm the milk in a medium saucepan over medium heat.  Melt the remaining 6 tablespoons of butter in a large high-sided skillet over medium heat (large enough to hold the sauce and pasta). When the butter bubbles, add the flour. Cook, stirring 1 minute.

While whisking, slowly pour in the hot milk a little at a time to keep the mixture smooth.  Continue cooking, whisking constantly until the mixture bubbles and becomes thick, about 10 minutes.

Remove the pan from the heat.  Stir in the salt, nutmeg, black pepper, cayenne pepper, 3 cups of cheddar cheese, 1 cup Pecorino Romano (or 1 1/2 cups Gruyère).  Stir the macaroni into the cheese sauce.

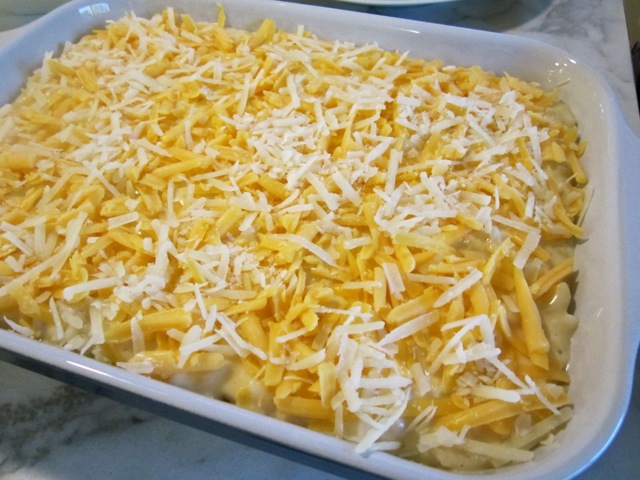
Pour the mixture into your casserole dish.  Sprinkle remaining cheddar and Pecorino Romano (or Gruyère) and bread cubes over the top.  Bake until golden brown, about 30 minutes.  Transfer the dish to a wire rack for 5 minutes; serve.

This is another meal that freezes well.  Chill the leftovers in the casserole and cut into squares and wrap in foil for individual servings.  It’s best to remove the mac-and-cheese from the foil and place in a lightly buttered dish when reheating.  If you have a toaster oven it will crisp up the croutons nicely.

Follow

Get every new post delivered to your Inbox

Join other followers: