Dinner, Japanese, Recipes, Vegan, Vegetarian, Veggies

Cucumber & Carrot Namasu

December 5, 2012

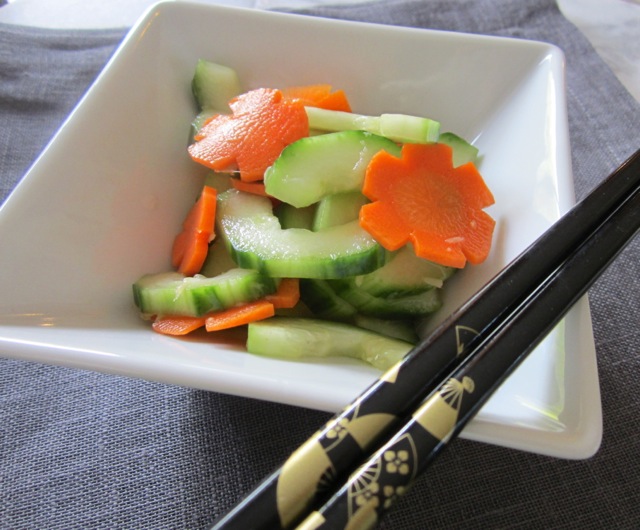
Pickles are addictive.  Crunchy, tangy goodness in every bite.  Namasu is a simple Japanese pickle that’s ready in an hour.  Not only is it quick to make, there are just 6 ingredients.  It can double as a refreshing tangy-sweet salad.
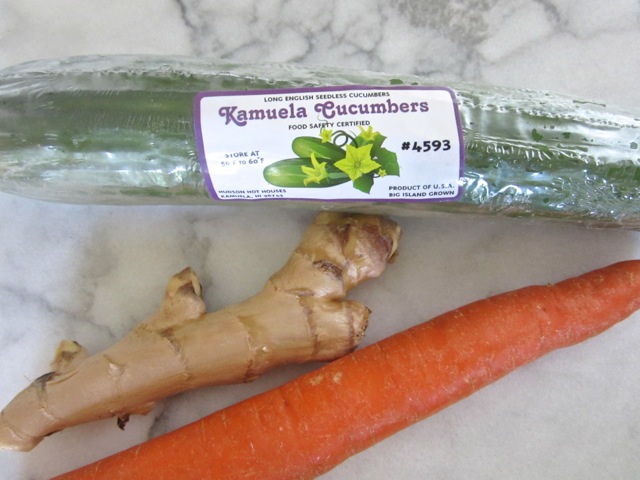
The first 3 ingredients – Cucumber, Ginger & Carrot.
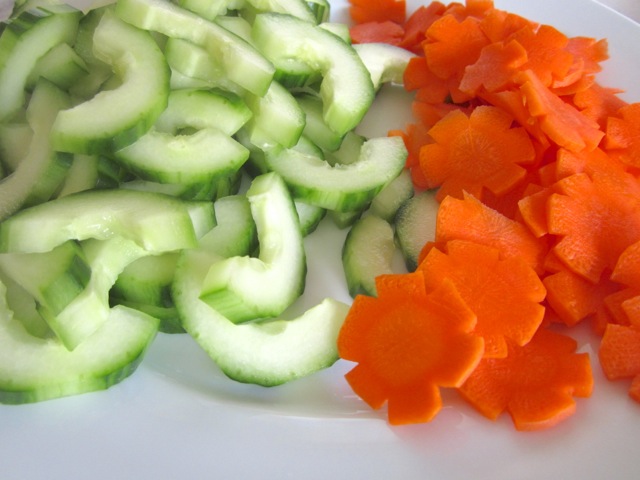
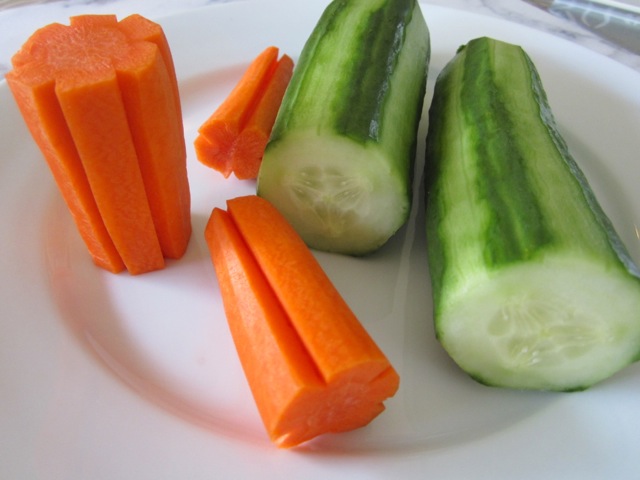
It’s easy to make attractive carrot florets with a knife and steady hand.
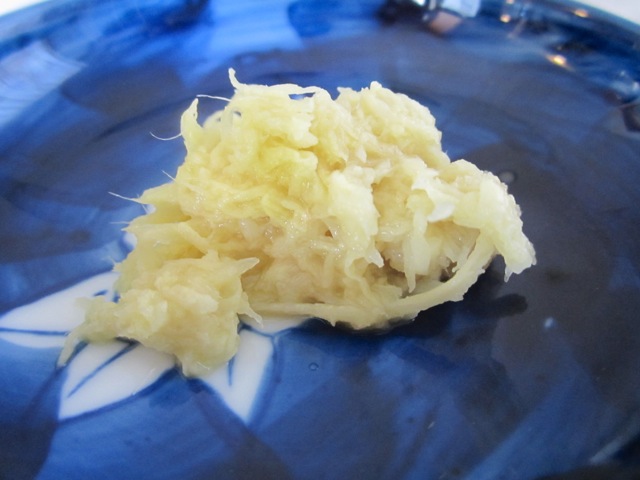
Grated ginger adds a refreshing flavor to the vegetables.
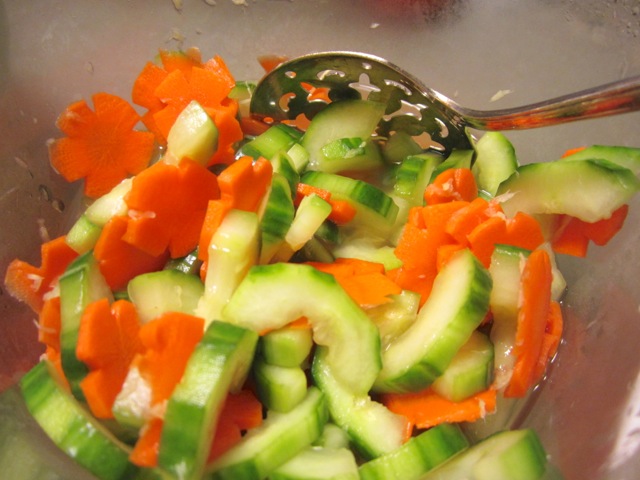
Beautiful pickles, Japanese style.

Cucumber & Carrot Namasu (Japanese pickles)

Ingredients

1 large English or 2 Japanese cucumbers

1 medium carrot

1/2 cup unseasoned rice vinegar

1/4 cup sugar

2 teaspoons grated ginger

1/4 teaspoon salt

Preparation

Cut the cucumber in half diagonally and peel thin strips of skin off of each half.  Cut each piece of cucumber in half, lengthwise.  Remove seeds.  Slice the cucumber into 1/4 inch pieces and set aside.

Peel the carrot and cut into thirds.  With a small, thin knife cut narrow lengthwise grooves in the carrot to make a floret shape (about 5 cuts if the carrot is thick, 4 if the carrot is very thin).  Using a mandoline or sharp thin knife slice the carrot into florets.

Peel ginger and finely grate, set aside 2 teaspoons.

Mix 1/2 cup unseasoned rice vinegar with 1/4 cup sugar and 1/4 teaspoon salt until sugar and salt has dissolved.  Add 2 teaspoons grated ginger.

Combine cucumbers, carrots and vinegar mixture in medium size bowl.  Cover and refrigerate for at least 1 hour.  Cucumbers and carrots will become delightfully crispy when chilled.   The pickles will keep well in the refrigerator for a couple of days.  These pickles go well with tofu or grilled teriyaki chicken.

Dinner, Italian, Recipes

Homemade Pepperoni Pizza

December 1, 2012

Pizza with homemade sauceFinally the weekend has arrived.  No alarm clock disturbance or lunch to pack up.  My work clothes don’t need to be ironed and they can stay piled up on the chair for another day or two. Maybe it’ll be the perfect weekend to clean out the cabinets which definitely have too many items “I need to save” but never use.  Like those gift boxes that are just too good to toss, vases or jars that never get used.  Speaking of jars, I have a half dozen old glass mayonnaise jars.  Now that mayonnaise comes in plastic containers somehow I treasure the glass jars more than ever.  I really don’t have much use for them, but I just can’t bear throwing them away. They will live to see another day. Which brings me to pizza.

This pizza dough was adapted from Peter Reinhart’s recipe, the best one we have found so far.  You can mix the ingredients in a bread machine, stand mixer or by hand.

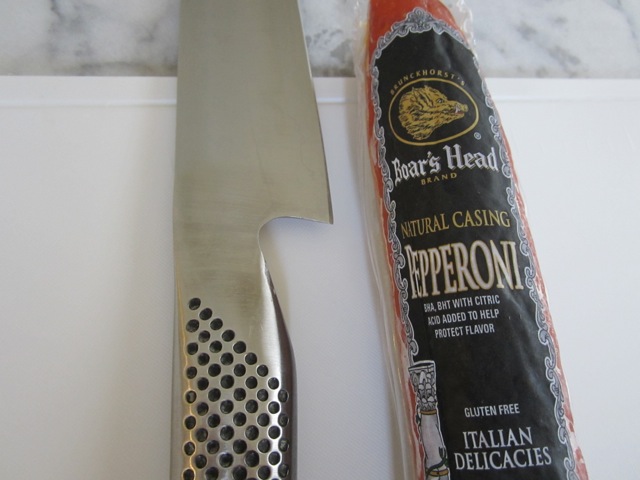
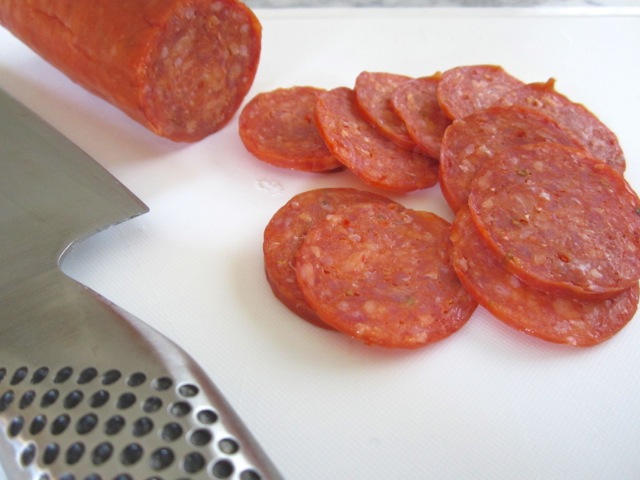
I’ve tried many brands of pepperoni and like Boar’s Head the best.  Their pepperoni has good flavor with a bit of spiciness that’s just right for pizza.

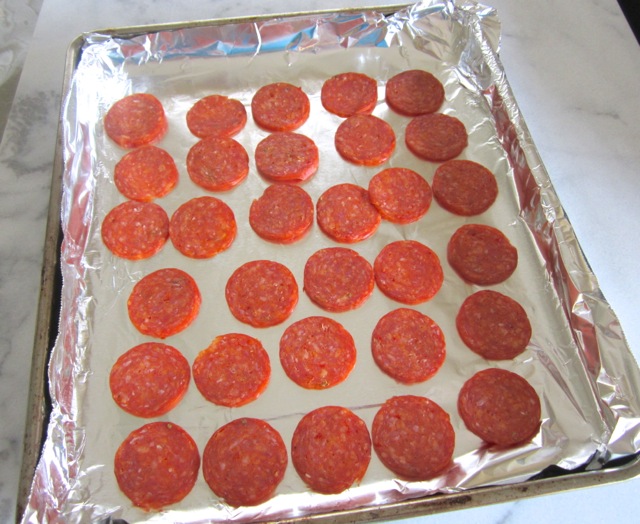
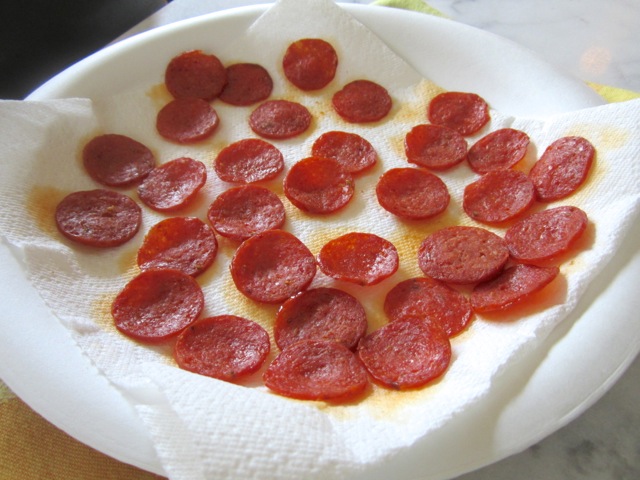
I love pepperoni but I don’t want my pie dripping with grease so I “render” the sliced pepperoni in my toaster oven for 5 minutes at 300 degrees then remove the slices to a paper towel lined plate and dab off the oil.


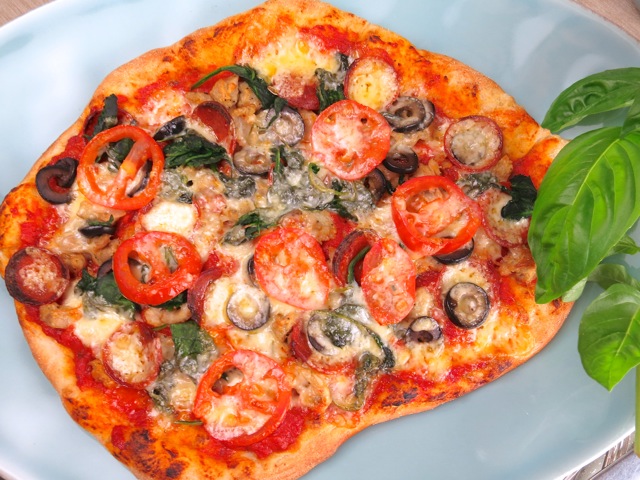
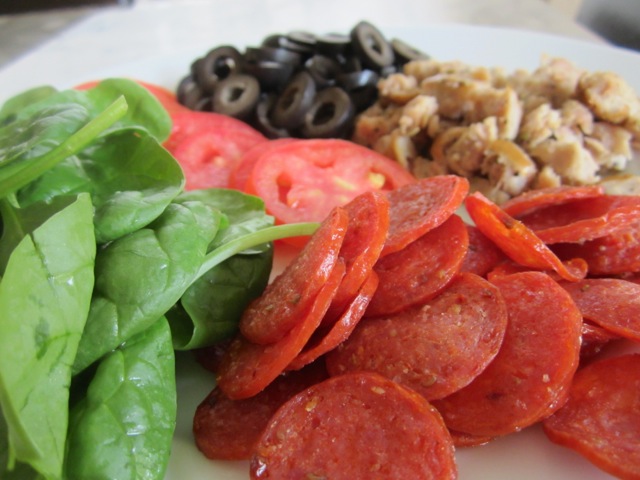
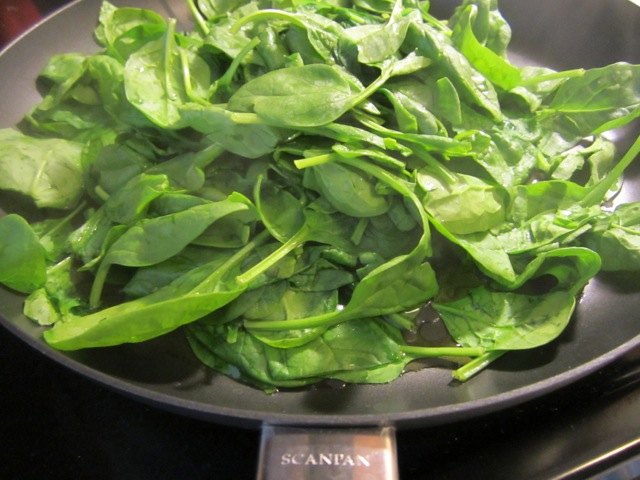
My favorite toppings are pepperoni, olives and fresh sliced tomatoes, mild Italian sausage  and spinach.You can add spinach to your pizza in its raw form or quickly blanch it.  Just press between paper towels to remove the water before layering on your pizza.

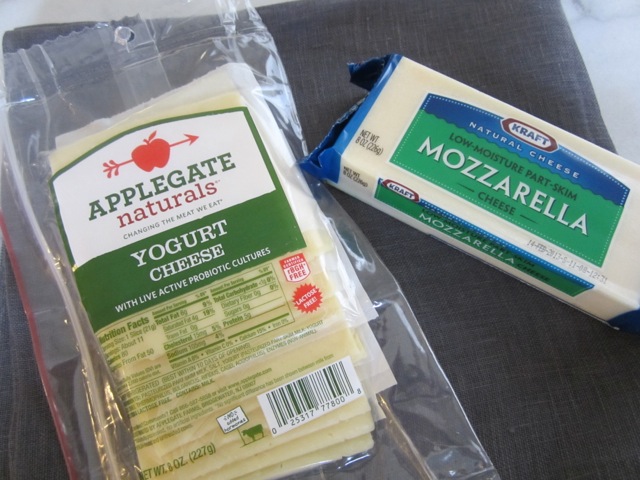
Why am I showing you this yogurt cheese?  I am lactose intolerant and thus can’t eat mozzarella.  I searched around for a cheese that would adequately replace mozzarella on my pizza and voila!  Yogurt cheese is my new friend.  It melts well and tastes good too. The mozzarella is for my husband.

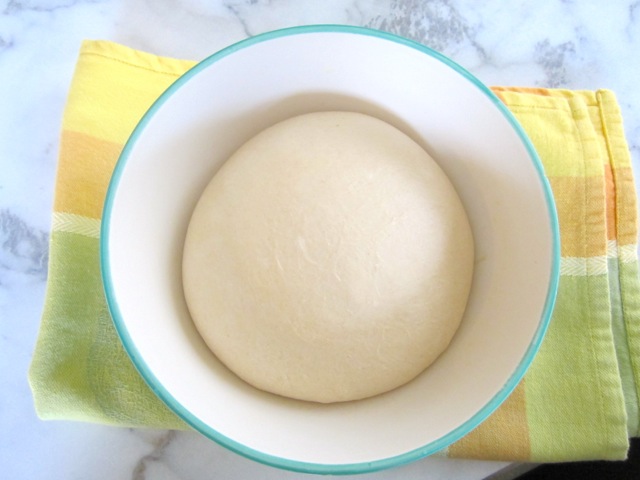
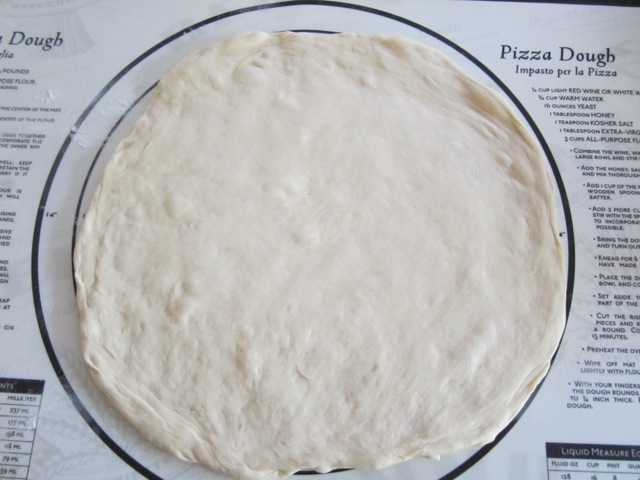
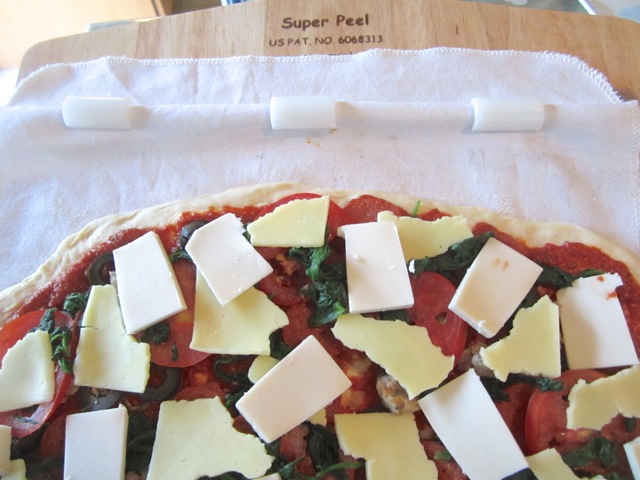
Take the dough out of the refrigerator about 2 hours prior to baking so that it has time to come to room temperature then form into a 12 – 14 inch circle (above).

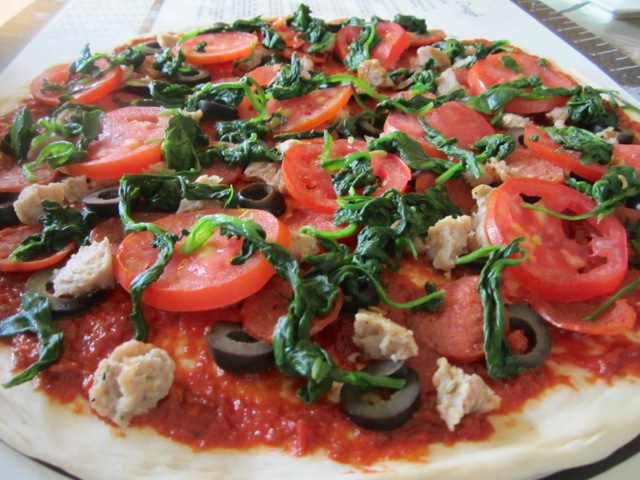
Use your favorite pizza sauce, add veggies, pepperoni, sausage and olives.

Check out the Super Peel here.  Watch their video on how to use it, you will be amazed at how well it works.  It effortlessly scoops up your pizza and transfers it to your stone without a hitch.

Pizza Slices

Homemade Pepperoni Pizza (bread machine version)

Makes two 12 – 14 inch pizzas

Preheat oven to 550 degrees (1 hour prior to baking)

Ingredients

1/4 cup sourdough starter (If you don’t have sourdough starter, follow Peter Reinhart’s recipe (see link to recipe above).

10 ounces water (1 1/4 cup)

2 tablespoons extra virgin olive oil

2 teaspoons sugar

1 1/2 teaspoons salt

14 ounces bread flour (3 1/4 cups)

2 ounces whole wheat flour (1/4 cup)

1 teaspoon instant yeast

Preparation

Mix sourdough starter in the 10 ounces of water.

Place sourdough starter/water and olive oil in your bread machine.

Add dry ingredients to wet ingredients in the order listed into the bread machine.  Set bread machine to dough setting.  When dough cycle ends remove to lightly floured surface and  divide dough into two equal portions (kitchen scale comes in handy). Form into balls and place in oiled bowls, cover with plastic wrap and refrigerate overnight.

Remove dough 2 hours before baking.  Place dough balls on a lightly floured surface and flatten into small disks. Then cover with plastic wrap or kitchen towel.

Once dough has come to room temperature, pat or roll the dough into a 12-14 inch circle.  If the dough resists too much, cover again and let it rest for 5 minutes.

Add your favorite pizza sauce, veggies, Italian sausage, pepperoni and cheese.  Fresh basil and a sprinkling of dried oregano make a tasty topping as well added before or after baking (see pizza at the top of this page). Bake for about 4 minutes and rotate the pizza with your peel.  Total baking time is usually 6 to 7 minutes until the cheese is bubbly and the crust is nicely browned .  Transfer the pizza to a large cutting board. Slice and enjoy! Repeat above steps for second pizza. Or alternatively, the second dough ball can be frozen in a ziplock freezer bag for up to 3 months.

*If using a stand mixer follow the same basic steps as with a bread machine.

*No bread machine or stand mixer?  Place all ingredients in a large bowl.  Mix with large spoon or your hands until the wet and dry ingredients are combined.  On a lightly floured surface knead the dough (about 5 minutes) until a smooth ball is formed.  Continue with the directions above.


Beef, Dinner, Italian, Pasta, Recipes

Meatballs & Spaghetti ~ Mike Maroni Style

November 25, 2012

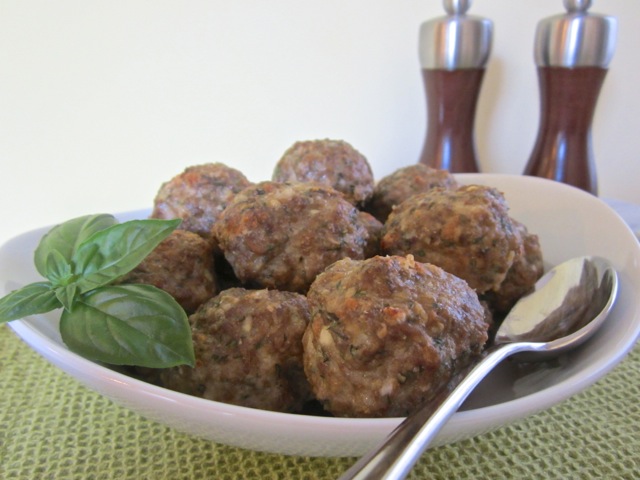
There’s something to be said for a good meatball.  You start with ground beef which by itself is nothing special, until you transform it with flavorful ingredients. Though meatballs take a bit more time than say a hamburger patty, you will be rewarded in the end.  I was watching a Bobby Flay Throwdown episode one afternoon and the challenge of the day was meatballs and spaghetti one of my favorite dishes.  So I dropped whatever chore I was doing and plopped down on my big comfy chair and watched the entire show.

Mike Maroni was Bobby’s opponent.  Maroni is noted for his grandma’s famous meatball recipe. Bobby makes some terrific food and typically wins the Throwdown but in this case, Mike defeated Bobby.  I had to have that recipe.  The original recipe calls for ground chuck and a lot more cheese, twice as much cheese!  I adapted the recipe and used ground sirloin which is leaner, and less cheese but go ahead and use ground chuck and all of the cheese if you desire.

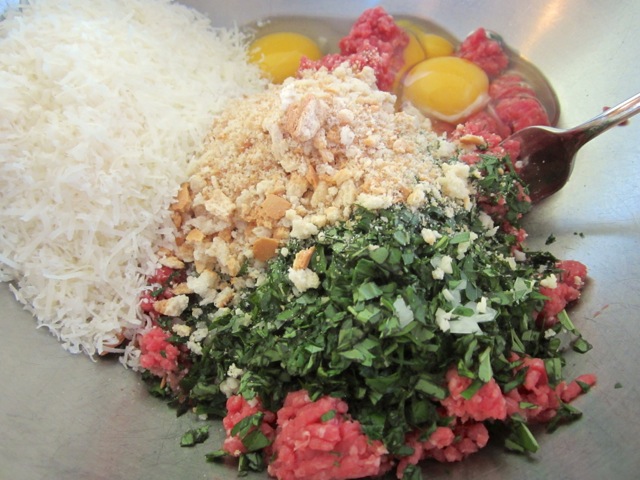
With 3 ounces of cheese, 3 eggs and breadcrumbs the meat mixture is quite rich and makes for a very tender meatball.

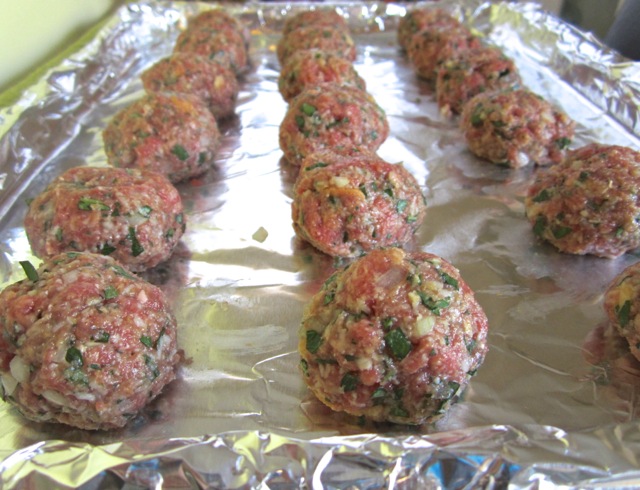
Maroni bakes his meatballs on a sheet pan rather than browning in a skillet which is more time consuming.  I line a 16 3/4 x 12 inch jelly roll pan with heavy duty foil for easy clean up.

Maroni’s Meatballs (my variation)

About 18 meatballs

Ingredients

1 pound ground sirloin or ground chuck

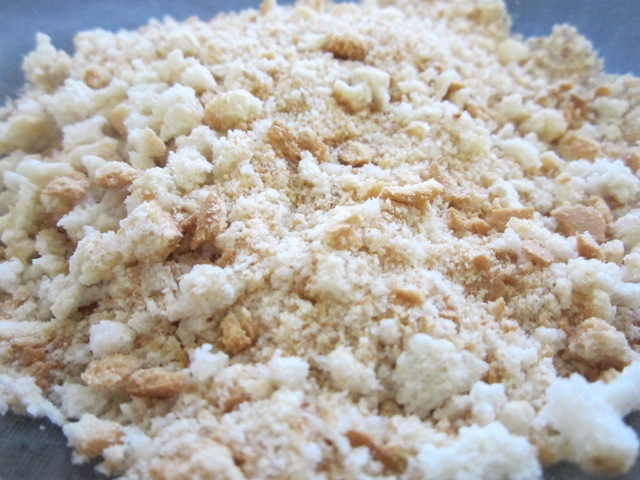
1/2 cup + breadcrumbs

1/4 c milk

3 large eggs

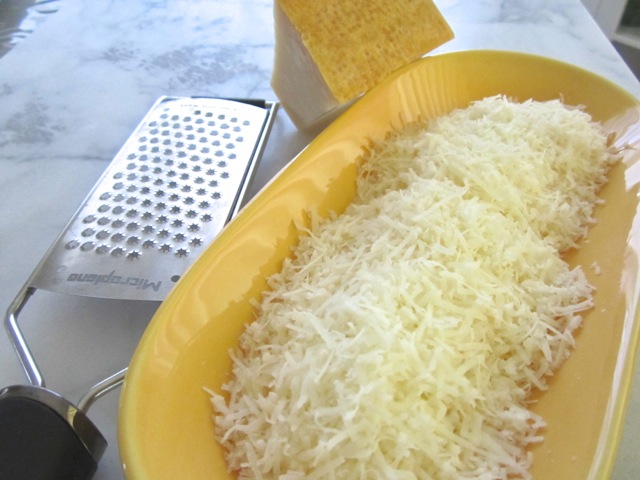
2 ounces finely grated Pecorino Romano (about 1/2 cup)

1 ounce finely grated Parmigiano Regianno (about 1/4 cup)

1/2 c finely minced onion

3 medium garlic cloves

4 tablespoons finely chopped basil

4 tablespoons finely chopped Italian parsley

1 1/2 teaspoons kosher salt

freshly ground pepper

Preparation

Preheat oven to 350 degrees.

Line a large baking pan with heavy duty foil.

In a large bowl gently break apart the ground sirloin with a fork.  Add all other ingredients and mix lightly (I use disposable gloves) just until combined.  You may add  more breadcrumbs if you feel the mixture is too soft however it should not be too firm or the meatballs will be dense and dry.  Very gently (do not pack) form into 18 meatballs, approximately the size of a golf ball.  Place meatballs on prepared baking pan so they do not touch one another.  Bake for 25 – 30 minutes.

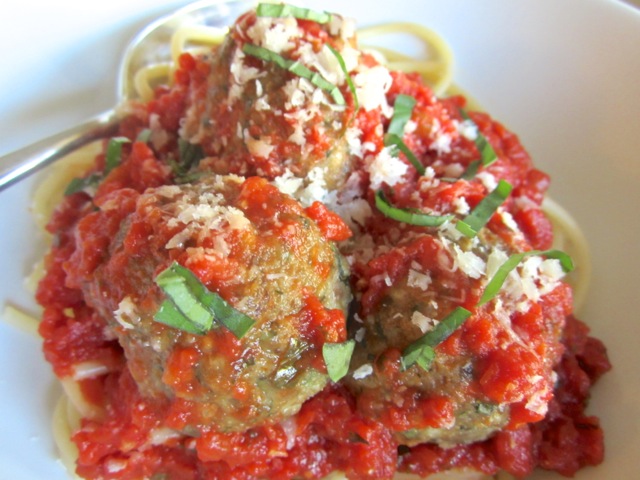
Heat your favorite tomato sauce and add meatballs to the pan and simmer for about 15 minutes.  Serve on spaghetti noodles with extra cheese.

If I’m not feeding a crowd, I freeze the leftover meatballs in plastic containers with waxed paper between each layer.  Defrost in the refrigerator the morning you plan to have them for dinner then simmer the meatballs in tomato sauce to warm up.


Beef, Chicken, Dinner, Japanese, Recipes, Vegan, Vegetarian

Granny’s Teriyaki Sauce

November 20, 2012


A recipe named after “Granny” might not sound all that exciting but if you love homemade teriyaki sauce this is really delicious. My mom gave me her recipe card for this sauce a long time ago and she made a note on it “the best.”  She was right. It’s the best teriyaki sauce I have ever had.

The secret ingredient that makes this sauce so tasty is sherry.  So go ahead and buy a bottle of sherry.  Not the cooking sherry they sell in the condiment aisle, decent sherry like Hartley & Gibson’s Amontillado sherry which you can find at a full service grocery store or liquor store.  Stash the bottle in your cupboard until your next craving for really good teriyaki sauce, it will last indefinitely.

You can use this marinade for chicken, tofu, fish and beef.  I use part of the sauce to marinate whatever I’m cooking and simmer the rest of the sauce until it becomes thick and syrupy.  I drizzle this on grilled chicken, tofu or fish and finish with a few sliced green onions before serving.  Really good.

Granny’s Teriyaki Sauce

Ingredients

1/2 cup sugar

1/2 cup plus 2 tablespoons soy sauce (Kikkoman recommended)

4 tablespoons sherry (Hartley & Gibson’s or similar quality)

1 tablespoon canola oil

2 large garlic cloves chopped

green onions, sliced (use a good amount since they tend to shrink quite a bit once mixed into the sauce)

Preparation

Combine sugar with soy sauce and sherry until the sugar has dissolved.  Add oil, garlic and chopped green onions.

Use to marinate boneless chicken breasts chicken thighs, or your favorite cut of steak for about 3 hours.  For tofu and fish such as salmon or ahi marinate for just one hour or so.  Turn pieces occasionally.

Note: Prior to marinating your chicken, fish, beef or tofu reserve part of the sauce and simmer until syrupy, about 10 minutes on medium low heat.  Watch so the sauce does not boil and burn.  You can do this in advance, the sauce will thicken as it cools.  Drizzle over grilled chicken, fish, beef or tofu.  Sprinkle on green onions and roasted sesame seeds before serving. For a larger quantity of meat double the recipe.

Dinner, Recipes, Rice Dishes, Side Dishes, Veggies

Fried Rice with Bacon

November 16, 2012

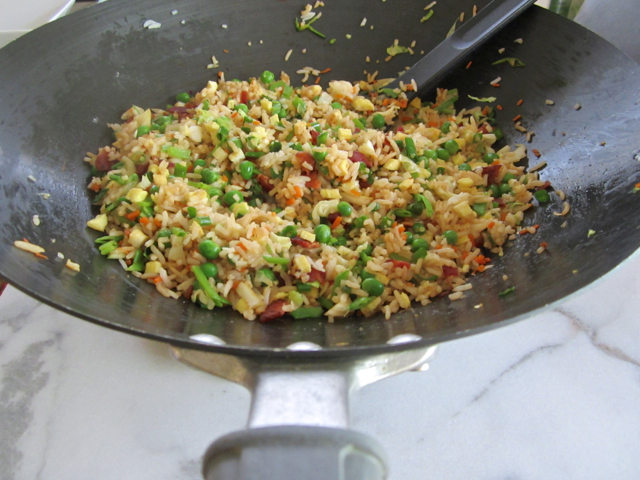
Everyone has their own version of fried rice. It’s a versatile dish because you can add numerous ingredients to it and it always turns out tasty. I prefer jasmine rice and lots of vegetables for my recipe. Chinese peas (snow peas), carrots, cabbage, and green peas add a bit of texture to the velvety rice and bits of egg you get in each spoonful.  And let there be bacon.  Smoky, salty, just plain delicious.

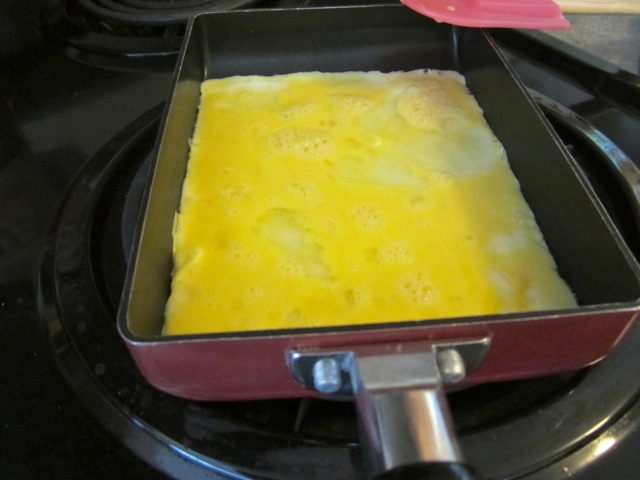
This little Japanese omelet pan has made its way to the stove top often.  Because of its shape, the finished eggs are easily sliced into small pieces perfect for fried rice.  It also comes in handy for somen salad.
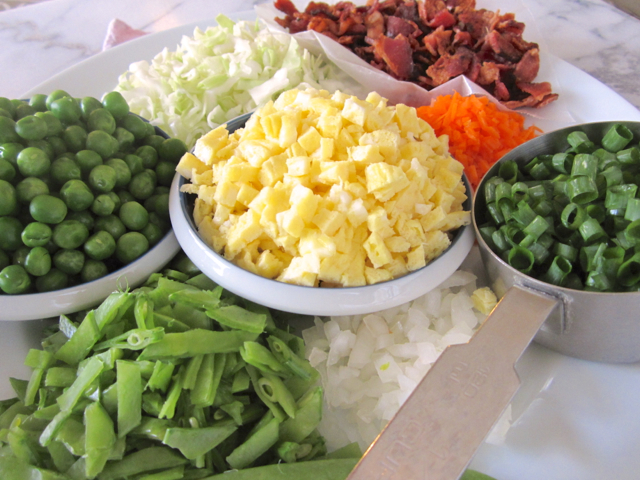
Chinese peas, green peas, cabbage, bacon, carrots, green onions, Maui onion, diced egg.

Fried Rice with Bacon

4 side dish servings

Ingredients

1 cup uncooked jasmine rice

2 tablespoons finely chopped onion

1/4 cup minced carrot

10 Chinese peas finely chopped

1 cup finely chopped cabbage

1/2 cup green peas

1/4 cup sliced green onions

2 large eggs

4 slices crispy bacon, crumbled

soy sauce

salt and pepper

oil for stir frying

Preparation

Cook jasmine rice in advance (the morning you make the rice is fine).  Fluff the cooked rice, cool and store in a the refrigerator until ready to use.

Heat 2 – 3 teaspoons of oil in your wok or stir fry pan on medium heat.  Add the onions, carrots and Chinese peas and cook for about 1 minute.  Remove ingredients to a bowl and set aside.   Turn the heat up to medium high and add 1 tablespoon of oil to your pan. Once the oil is very hot add the rice.  Stir fry the rice for 30 seconds or so, just to heat slightly.  Add the reserved onions, carrots and Chinese peas back to the pan along with the cabbage, green peas, green onions, diced egg and bacon.  Drizzle soy sauce on to the rice and vegetables and season to taste with salt and pepper. Give the fried rice a quick stir and adjust the seasoning adding more soy sauce to taste.
 

Dinner, Mexican, Pork, Recipes

Carne Adovada

November 12, 2012


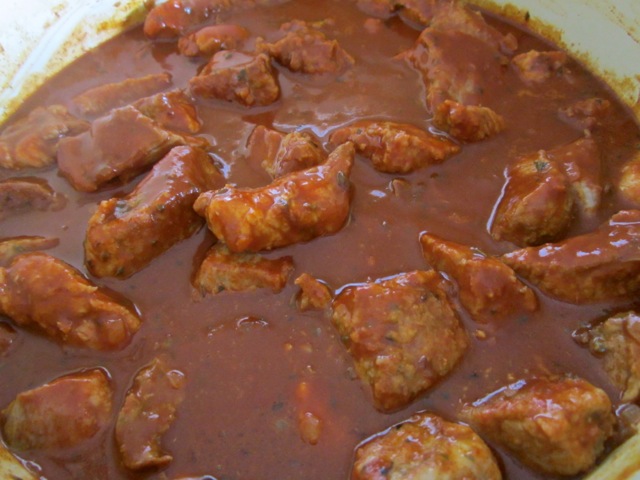
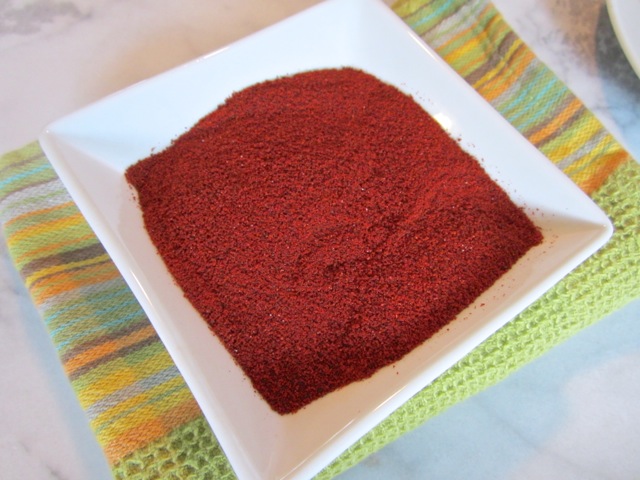
Most carne adovada recipes call for dried chiles which are not often found in most supermarkets.  A simple alternative is to use a good dried chile powder (I like to use Hatch Mild Chile available by mail order from The Chile Shop in Santa Fe, New Mexico). Whenever I have a craving for adovada I can whip up the sauce in a half hour and simmer beef or pork in the sauce until it’s fork tender. Shred the pork and serve with Cuban Style Black Beans and Sopa de Arroz and warm tortillas.  Any leftovers make a delicious filling for tamales.

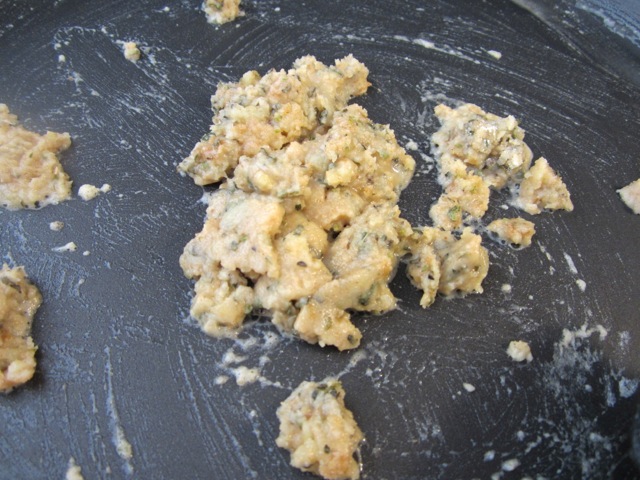
Cook oil, flour, garlic, oregano and cumin.

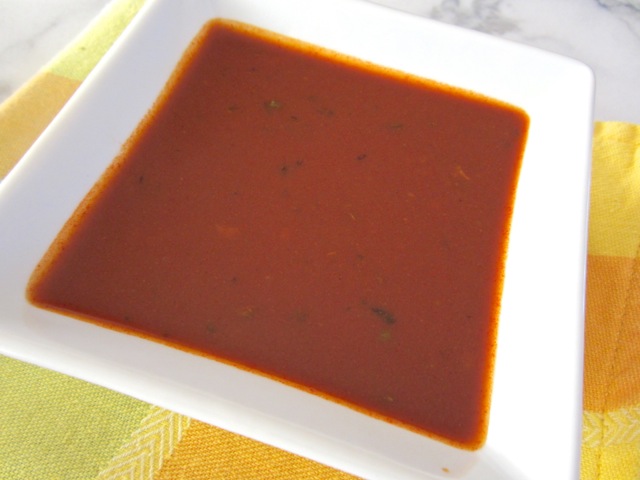
Adovada Sauce.

Carne Adovada

Ingredients – Sauce

4 tablespoons oil

3 large garlic cloves, pressed

5 tablespoons flour

1 teaspoon cumin

2 teaspoons dried oregano

2 cans chicken broth (14.5 oz. each)

1 cup water

8 heaping tablespoons (about 3 oz.) mild chile powder such as Hatch Mild, combined with chicken broth and water

1 tablespoon Dixon hot chile powder (optional) combined with chicken broth and water

2 teaspoons kosher salt

Ingredients – Pork

2 1/2 – 3 pounds trimmed pork butt cut into 1 1/2 inch cubes

1 teaspoon kosher salt

1 teaspoon dried oregano

1 teaspoon cumin

1 tablespoon flour

1 small onion finely diced, about 1 cup

Preparation – Sauce

Combine the flour, cumin and oregano in a small bowl and set aside.  Mix the chicken broth, water and chile powder in a large measuring cup or bowl.

Heat 4 tablespoons of canola oil in a large deep skillet over medium heat.  Add the garlic and cook for about 1 minute.  Add the flour, cumin and oregano to the pan mixing with the oil and garlic.  Continue to cook for a few minutes until lightly browned.

Slowly add the chicken broth mixture to the pan, stirring well making sure there are no lumps in the sauce.  Add the salt and simmer, stirring frequently for about 15 minutes on medium to medium-low heat until the sauce thickens up and coats the back of a spoon.  Remove from the heat and set aside.

Preparation – Pork

Place the cubed pork in a large bowl and mix in the salt, oregano and cumin.  Sprinkle on the flour, toss to coat and set aside while you cook the onions.

Heat 1 tablespoon of olive oil in a large, wide pot (I use a 5 1/2 quart Le Creuset Dutch oven) over medium heat.  Add the diced onions and sauté for about 5 minutes until the onions are soft but not browned.  Remove the onions from the pan and set aside.

Add more oil to your pan and once hot, cook the pork in batches until nicely browned.  Add only enough pork so the pieces are in a single layer and don’t touch each other.  Cook the pork, undisturbed, until each piece is well-browned on one side, about 3 – 5 minutes.  Turn and brown on the other side.  Remove pork to a plate and continue to cook all of the pork adding more oil to the pan as needed.  Once all the pork has browned add it back to the pot along with the onions.  Pour enough chile sauce into the pan to cover the pork generously, give it a stir and simmer on low heat for 3 -4 hours until the pork is fork tender and can be shredded easily.  Check the pork each hour to ensure there is enough sauce in the pan, adding more sauce if necessary.

The ingredients are simple, and the finished dish is really, really good making for terrific tacos, burritos, tostadas and tamales.  Any leftover adovada sauce can be frozen for several months.

*I highly recommend Hatch Mild Chile Powder (A Mild New Mexico Red Chile powder great flavor, gentle heat). Using a good quality chile powder will make all the difference in this dish.  You can purchase a 1 pound bag for under $9.00 or a half pound bag for under $6.00 and it will be delivered to your doorstep!


Follow

Get every new post delivered to your Inbox

Join other followers: