Dinner, Pork, Recipes

Grilled Pork Tenderloin with Herbs and Pancetta

February 9, 2013

Pork Tenderloin with Demi GlaceNow that the weekend has finally arrived I’ll have some time to tackle some chores I’ve neglected for a while. One of which might be to sift through all of the food magazines I have stacked on the book shelves and toss a few.  It’s rare that I go back to past issues once I move them from the living room to the book shelf in the back of the house.  The exception to that would be Cooks Illustrated.  I like to keep my back issues as reference. Their in depth analysis of every recipe is quite valuable. Speaking of weekends and food magazines, I found this recipe in the August issue of Bon Appetit (this particular one never found its way to the book shelf). I finally made this dish last Sunday.  All I can say is that it’s delicious, easy to prepare, great for a dinner party.  If you happen to have leftovers it makes a tasty sandwich.
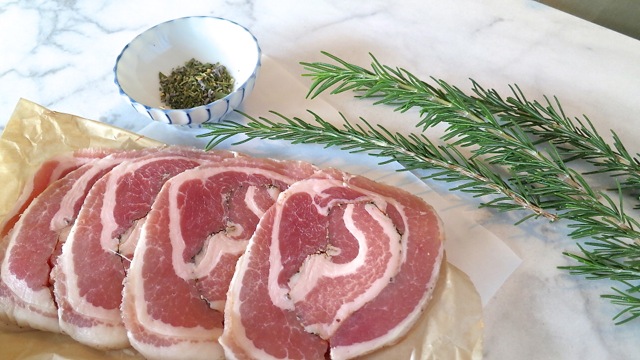
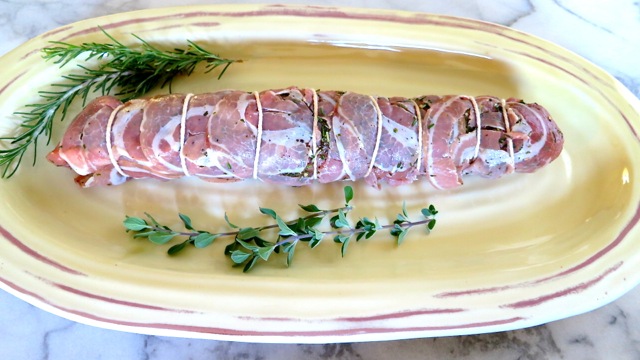
Pancetta & HerbsHerbes de Provence and fresh rosemary are rubbed on the pork tenderloin and pancetta is wrapped and tied over the herbs.

Pancetta Wrapped Tenderloin

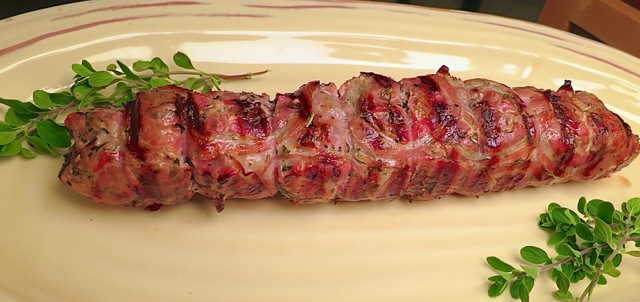
Grilled Pork Tenderloin

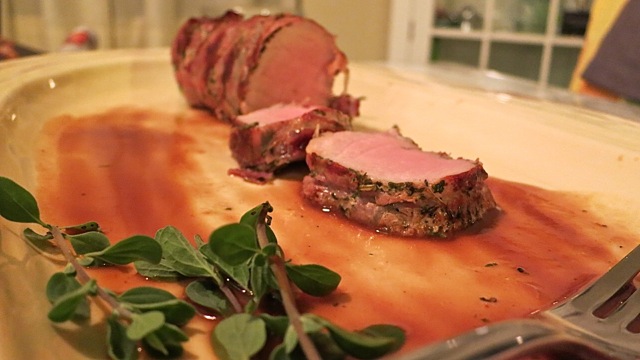
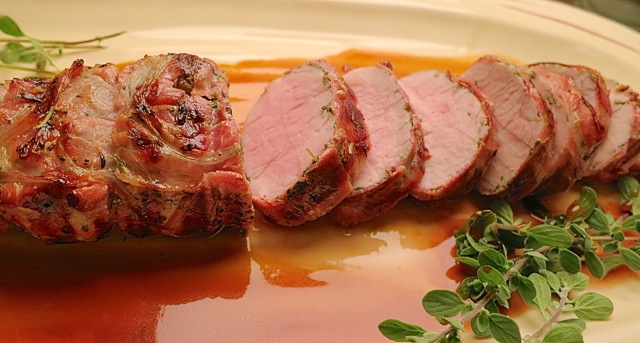
Sliced Pork Tenderloin

Grilled Pork Tenderloin with Herbs & Pancetta

Adapted from Bon Appetit

Serves 6

Ingredients

1 1/2 tablespoons minced fresh rosemary

4 teaspoons herbes de Provence

4 teaspoons extra virgin olive oil

2 pork tenderloins (about 2 pounds total)

kosher salt and freshly ground pepper

16 thin slices pancetta (about 8 ounces)

Preparation

Mix rosemary, herbes de Provence and oil in a small bowl.  Rub the herb mixture over the pork.  Season the pork with salt and pepper.

Wrap pancetta slices around the pork and tie at 2 inch intervals with kitchen twine.

Gas Grill Instructions:

Heat all but one burner to high.  Grill tenderloins over the hot part of the grill, turning frequently, until a crisp brown crust forms on all sides, 8 – 10 minutes.  Turn heat down to medium and move tenderloins to cooler part of the grill to gently cook through. Close grill (if your grill has a built-in thermometer, aim for a temperature of about 350 degrees F.) and cook until an instant-read thermometer inserted into the middle of each tenderloin registers 145 degrees, 15 – 20 minutes longer.

Transfer tenderloins to a cutting board and let rest for 5 minutes.  Slice and serve with demi-glace sauce or the plum chutney suggested in Bon Appetit.

***If using a charcoal grill, build a medium hot fire; push coals over to 1 side of the grill and continue with the gas grilling instructions above.

Breakfast, Dinner, Recipes, Side Dishes, Vegan, Vegetarian, Veggies

Crash Hot Potatoes

February 4, 2013

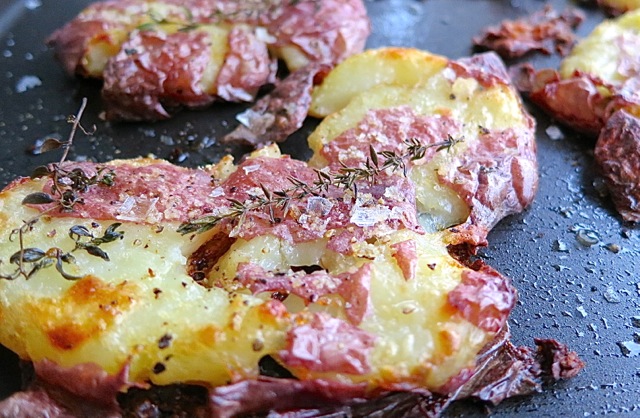
Crash Hot PotatoesRoasted potatoes are always tasty, but these are even better.  The potatoes are flattened before roasting which produces more irresistible crispy edges.   This recipe comes from Jill Dupleix, a freelance food writer originally from Australia but now a resident of London.  Speaking of Australia, the people there are famous for their humorous slang.  Take Jill’s instructions for boiling the potatoes  “Just bung (throw) them into a pot of salted water” she says.  I love that.

Crash Hot Potatoes in to the Oven

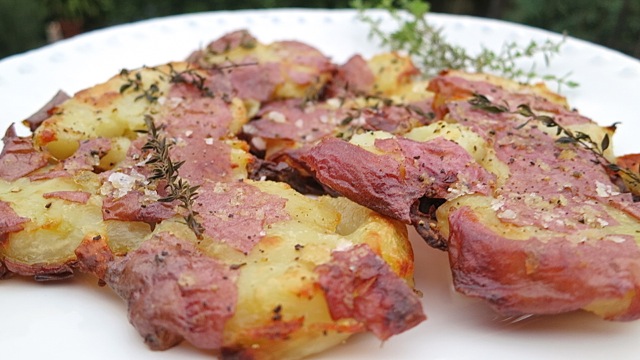
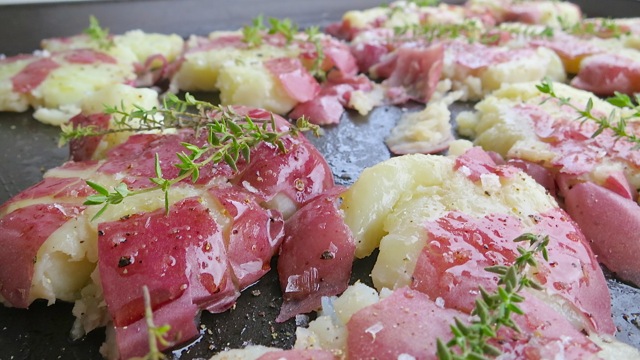
Crash Hot Potatoes Ready to RoastThe potatoes are boiled until just cooked through without being soft.  Use a potato masher to squash the potatoes flat then brush with olive oil and sprinkle with coarse salt and black pepper.  Scatter some fresh thyme sprigs on the potatoes.

Crash Hot Potatoes with Thyme

Crash Hot Potatoes 

2 generous servings

Ingredients

1 1/2 pounds baby red potatoes

1 tablespoon extra virgin olive oil

coarse sea salt (Maldon works well)

freshly ground black pepper

thyme sprigs

Preparation

Heat the oven to 450 degrees

Scrub the potatoes and place in a pot of salted water.  Bring to a boil then simmer for about 12 minutes until just done.  The cooking time will depend on the size of your potatoes, check frequently so they don’t over cook.

Drain the cooked potatoes and arrange on a lightly oiled baking sheet.  Using a potato masher, flatten the potatoes until they are twice their original diameter.

Brush the tops with olive oil and sprinkle with coarse sea salt and pepper.  Scatter the thyme sprigs over the potatoes.

Bake for about 30 minutes or until they potatoes are crisp and golden.

Dinner, Potato Salad, Recipes, Salad, Side Dishes, Veggies

Potato Salad with Green Beans & Bacon

January 29, 2013

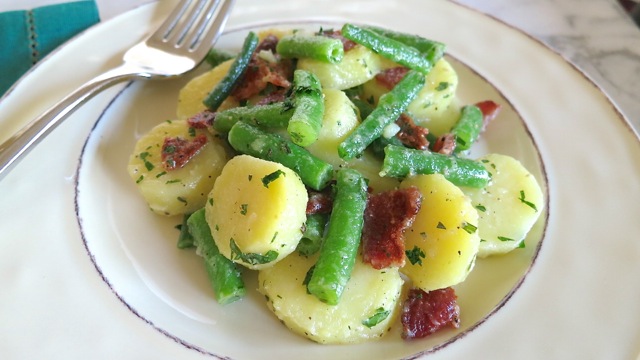
Potato Salad with Green Beans & BaconIt was supposed to rain last night.  The weather forecast said there was a 90% chance of rain so I made sure my umbrella was packed along with my lunch and off to work I went.  Not a drop of rain had fallen by the time I went to bed which was a real let down. The following morning I woke up to find that it had rained after all and crazy as it may seem, it was a relief!  We desperately needed it.

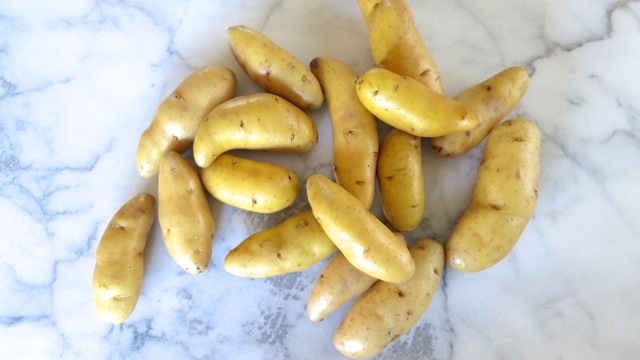
Fingerling PotatoesThis weekend I found these handsome fingerling potatoes at my favorite grocery store Mana Foods.  They are very versatile and are delicious roasted with herbs, pan-fried in butter with a sprinkling of Maldon sea salt or boiled and used in your favorite potato salad recipe.   Many years ago my sister made a red potato salad with green beans and bacon. I fell in love with that potato salad.  I adjusted her recipe a bit by using less oil  and more vinegar which gives the dressing a fresh, tart flavor.  As I recall, the tarragon and basil were dried rather than fresh.  Today I thought I’d use fresh tarragon, however, venturing into the garden I found just a few gangly stems poking out of the planter.  My husband had pruned the tarragon.

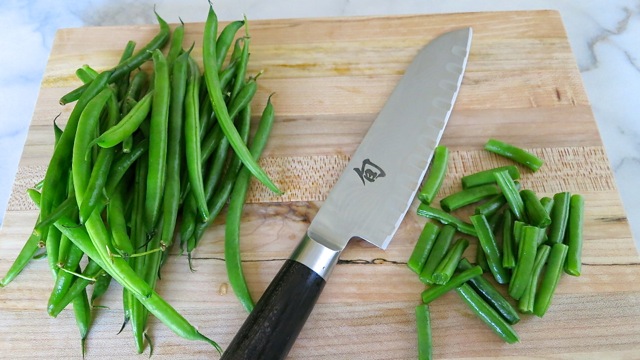
Green BeansIf you are using small potatoes such as fingerlings, cut the green beans into 1 inch lengths or longer if using larger potatoes.

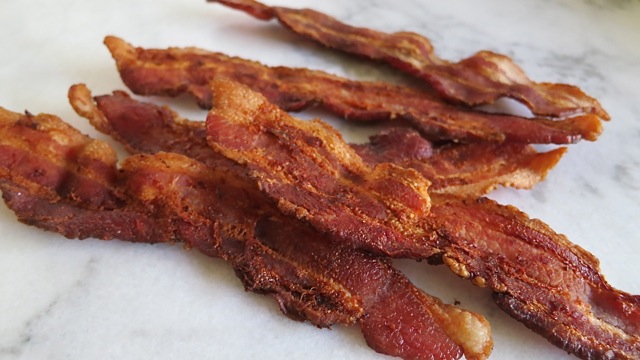
Crispy BaconCrispy, meaty, smoky bacon is always a welcome addition to any dish.

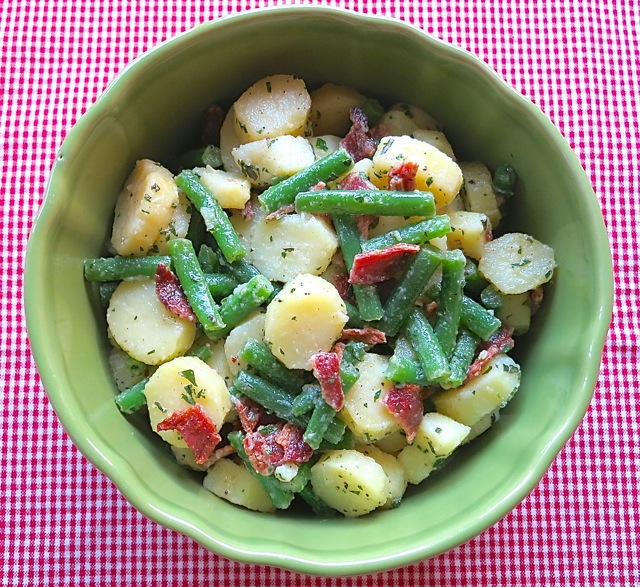
Potato Salad with Green Beans & Bacon Serving Bowl

Potato Salad with Green Beans & Bacon 

Serves 6 as a side dish

Ingredients

2 pounds potatoes (fingerling, Yukon Gold or red)

1/2 pound green beans (tender thin beans preferred)

6 pieces crispy fried bacon, crumbled

Dressing

1/3 cup canola oil

1/4 cup white wine vinegar

1/2 teaspoon dried mustard (Coleman’s)

1/2 teaspoon Dijon mustard

1 garlic clove, crushed

2 tablespoons minced fresh parsley

1 teaspoon dried tarragon (or 3 teaspoons fresh , if available)

1 1/2 teaspoons minced fresh basil or 1/2 teaspoon dried

3/4 teaspoon kosher salt (1/3 teaspoon regular sea salt)

freshly ground pepper

Preparation

Cut potatoes into 1/4 inch slices and place in a large pot of cold water.  Set over high heat and bring to a boil.  Turn down heat and cook for approximately 6 – 7 minutes until potatoes are just done.  If potatoes need more time, cook for 1 minute more and test again.  Once potatoes are cooked, drain well and place potatoes in a large, wide bowl.  Sprinkle with kosher salt and freshly ground pepper.

Bring a medium saucepan of water to a boil then add sliced green beans.  Cook for about 2 – 3 minutes until beans are tender but still firm.  Drain under cold water or place in an ice bath to cool quickly.  Remove beans to a kitchen towel.

To make the dressing, add all ingredients in a medium-sized jar.  Shake  until well combined.  Taste and add more salt, pepper or vinegar if needed.

Toss the potatoes, green beans and bacon with the dressing, a spoonful at a time.  You will have extra dressing that you can add to the salad before serving or use the following day if you have leftovers.

This potato salad is best served after it has time to absorb some of the dressing,  a few hours after tossing the ingredients together.

Breakfast, Canning, Fruit, Jams & Jellies, Recipes, Vegan, Vegetarian

Lilikoi Jelly ~ Passion Fruit

January 26, 2013

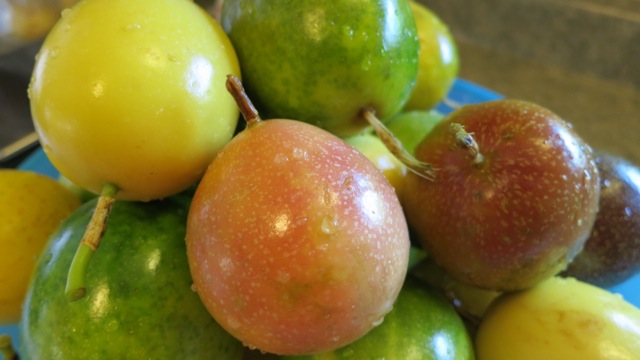
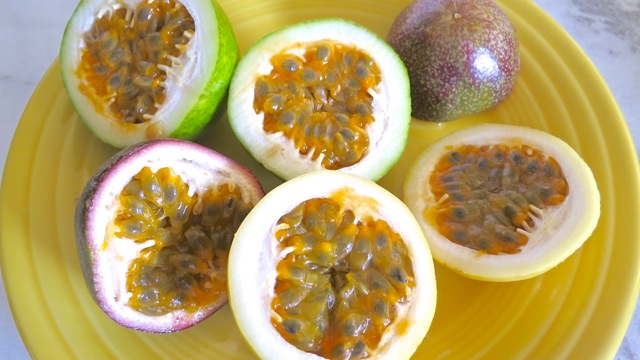
Colorful LilikoiPassion fruit, or lilikoi as we know it in Hawaii is a unique fruit with a pleasantly sweet and tart flavor.  The most common varieties are yellow and purple and they can be found in some of our health food stores on Maui.  They have a tough, waxy and smooth rind yet once you cut through the hard outer skin, the most amazing scent envelops the air.  Once cut in half, you might wonder what all the fuss is about.  Be patient.  You will find an aromatic gelatinous seed filled pulp with a fragrance that is hard to describe.  “Sublime” might hit the right note. An important step at the start of the jelly making process is to select a good recording of Beethoven’s Ninth Symphony and set the volume to “eleven” ala Spinal Tap!

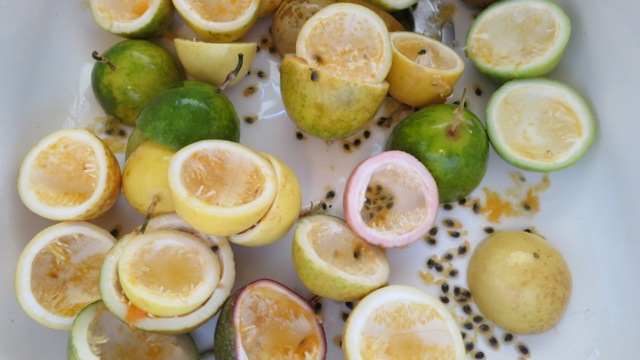
Cut LilikoiUsing a spoon remove the pulp from the rind.  You can strain the seeds out as we do to make juice for the jelly.  The pulp from the fruit can be eaten as is, seeds and all.

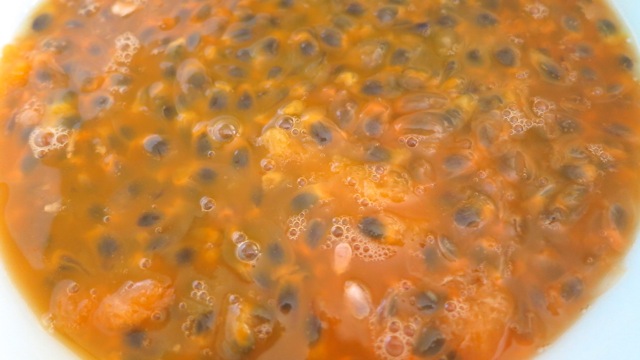
Lilikoi pulp

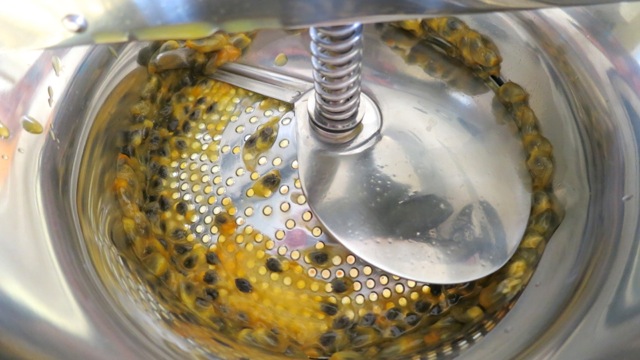
Oxo

The best method to extract the juice is to first put all the pulp into a blender.  Then pulse it on low speed for 45 -60 seconds.  We turn our Vitamix to #3 setting.  This will separate the seeds from the pulp but won’t break the seeds.  If you have a food mill this is a good opportunity to use it.  Pour the contents of the blender into the mill and turn, turn, turn.  Soon you will have your 3 cups of lilikoi juice.

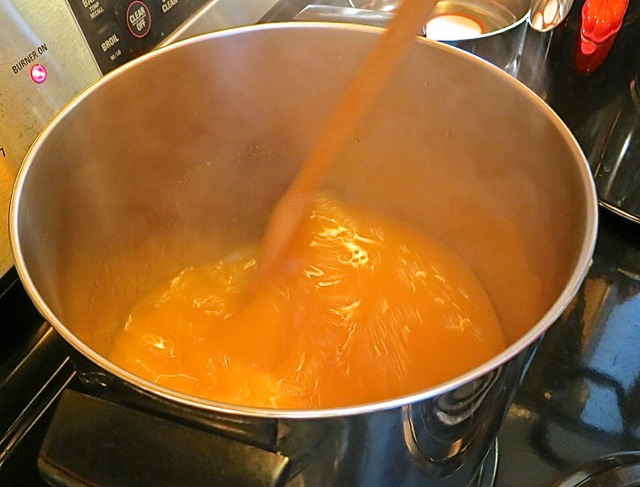
Boiling lilkoi juiceBring the mixture to a boil, stirring constantly with a long wooden spoon.

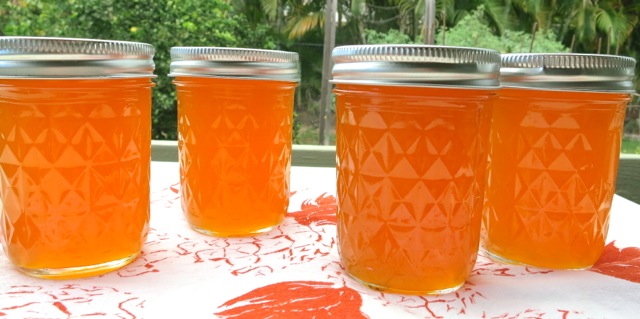
Lilikoi Jellies

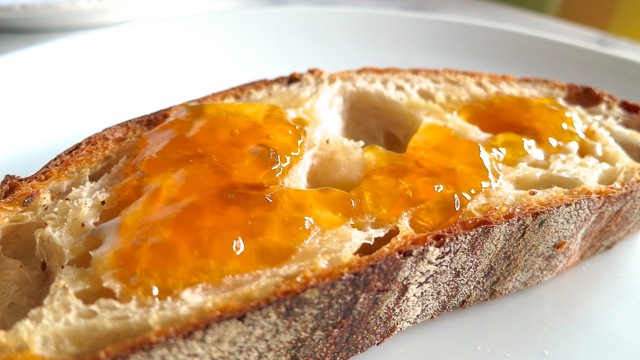
Lilikoi ToastA few pats of butter on your favorite toast with a spoonful of lilikoi jelly.  It’s divine.

Lilikoi Jelly

Updated 1/15/20 (increased lilikoi juice to 3 cups)

Makes 8 half pint jars

Ingredients

3 cups lilikoi juice (about 5 pounds of fresh lilikoi) or frozen, unsweetened passion fruit pulp  (Goya brand)

1 cup water

7 1/2 cups sugar

6 ounces liquid pectin (2 pouches Certo brand)

Preparation

Prepare canner and canning jars.

Combine juice, water and sugar in a large, tall pot.  Bring to a boil over high heat, stirring constantly.  Immediately add liquid pectin and bring to a full, rolling boil.  Boil rapidly for 1 minute, stirring constantly.

Remove from the heat, skim off foam (use a small fine mesh strainer) and pour into sterilized jars leaving 1/4 inch space between the jelly and rim of the jar.  Secure 2 part lids and process for 10 minutes in boiling water canner.  Turn off heat and leave jars in canning pot for 5 more minutes before removing to cool.

***Basic canning instructions can be found here.

Chicken, Dinner, Japanese, Recipes

Chicken Karaage

January 21, 2013

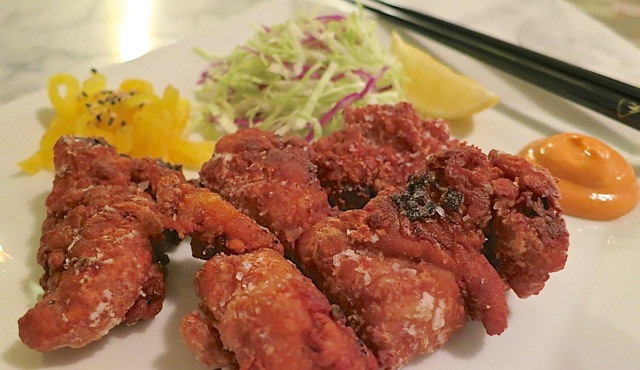
Chicken KaraageChicken karaage or Japanese fried chicken is a quick and delicious meal to prepare for your friends and family, a real crowd pleaser.  Because the chicken is boneless and cut into small pieces, it cooks quickly and that means you spend less time standing over your stove.
Karaage MarinadeThe marinade for the chicken is flavorful and made with ingredients you’re likely to have in your pantry.  Fresh ginger is the only item you might need to pick up at the market before you make this dish.  Though I only made dinner for two, the marinade will season up to 10 chicken tenders.  Just remember to turn the pieces now and then so each one soaks up the tasty sauce before frying.

Chicken Karaage CoatingLet the marinated chicken absorb the corn starch before frying.

Chicken Karaage - Japanese Fried Chicken

Chicken Karaage

Serves 2

Ingredients

6 chicken tenders – each cut into 3 pieces

1 cup corn starch

canola oil for deep-frying

Marinade

1/4 cup soy sauce

2 tablespoons mirin (sweetened rice wine)

2 tablespoons Sherry (Amontillado if available)

1/4 teaspoon sesame oil

2 medium garlic cloves – minced

1 teaspoon finely minced or grated ginger

Preparation

Combine soy sauce, mirin, sherry, garlic and ginger in a medium bowl large enough to hold the chicken pieces.  Marinate chicken in refrigerator for about 1/2 hour, turning chicken pieces occasionally.

Place corn starch in a pie plate or medium bowl.  Once the chicken is ready to fry, remove pieces from marinade and coat well in cornstarch.  Transfer chicken to a plate and continue with the rest of the chicken.

Let the marinated chicken pieces absorb the corn starch until they turn a light brown color (see photo above).  Now they are ready to cook.

In a wok or sauce pan heat oil over medium high heat – 355 degrees.  Use just enough oil to cover the chicken for deep-frying.

Once the oil is hot, cook chicken in batches.  Try not to over crowd the pan.  This will cause the heat to drop and the chicken will become greasy if the oil is not hot enough. Turn chicken after 1 minute and continue to fry until cooked through, about 1 1/2 minutes more. The chicken should be a deep brown color on both sides.  Remove a piece of chicken from the pan to check for doneness.

Transfer cooked chicken to a paper towel lined plate and sprinkle with coarse salt.  Continue to cook the rest of the chicken.

Place fried chicken on a serving plate with lemon slices or as I prefer, with Sriracha hot sauce on the side.

Dinner, Recipes, Salad, Side Dishes, Veggies

Salad Nicoise

January 14, 2013

I’m always on the lookout for good tuna, especially tuna in olive oil.  Ten years ago I had never even heard of such a product.  These days I can’t imagine living without it.  It makes the best tuna sandwiches and puts to shame many well known brands that have added water or broth and a texture I can only describe as mushy.

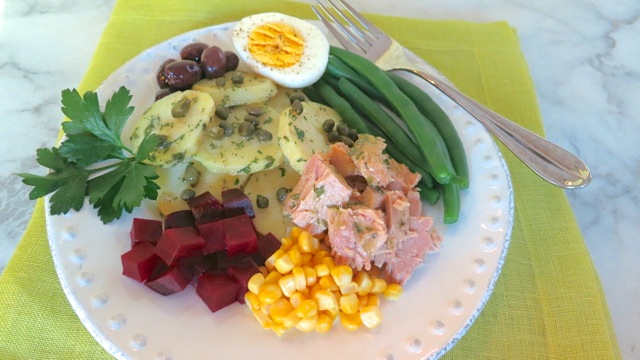
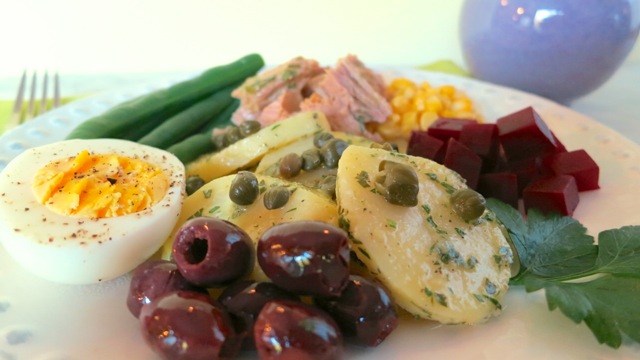
My favorite way to use tuna in olive oil is in a Salad Nicoise.  The ingredients are simple but when you put it all together you’ll have created the best salad, bar none.  With so many variations of Salad Nicoise it makes it even easier since you dont have to follow a  specific recipe.  Many years ago I ordered a Salad Nicoise at La Note restaurant in Berkeley.  What a surprise to find corn and beets in my salad.  Though it is unlikely you will find these ingredients in a Salad Nicoise in France, I always include them in my salad thanks to La Note.  Besides tasting great, they add beautiful color to the salad. You can add thinly sliced radishes, cucumber, bell pepper, anchovies, tomatoes and torn butter lettuce too.

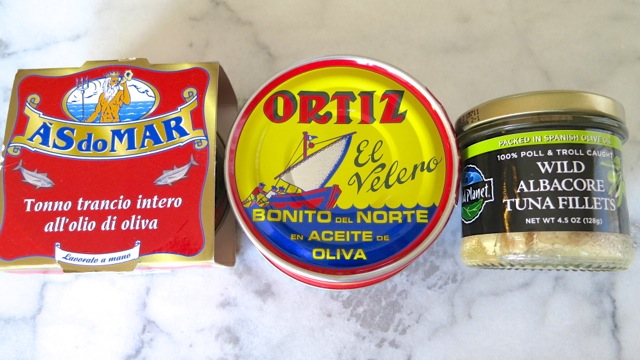
Tuna in Olive OilI always keep an assortment of tuna in my pantry.  Above left is As do Mar a yellowfin tuna (ahi) from the Azores Islands a region of Portugal.  This tuna is meaty, firm and very flavorful.  In the center is Ortiz, an albacore (white) tuna from Spain.  It’s very tender and flaky with a mild, buttery flavor.  On the right is albacore fillets from Wild Planet.  All of these are perfect for Salad Nicoise.
Salad Nicoise #2

Salad Nicoise

Serves 2

Ingredients

3 medium Yukon Gold potatoes

1 medium beet

1/4 pound green beans

2 ears fresh corn

2 large eggs

Nicoise olives

Capers

1 can tuna in olive oil

Fresh herb vinaigrette

Preparation

Peel and cut potatoes into 1/4 inch slices

Place potatoes in a pot of water, bring to a boil then turn down heat a bit so that the water is at a lively bubble but not boiling.  Cook potatoes until just done, about 7 minutes (remove a slice to a plate and check to see if it is done).

Drain potatoes and transfer to a shallow bowl.  Season with salt and pepper and toss with  fresh herb vinaigrette.  Set aside or refrigerate until ready to use.

Scrub beet and either steam or roast until completely cooked through.  I rub a bit of olive oil on my beets and wrap them in foil and roast in my toaster oven for about 1 1/4 hour.  Once cool, peel beet and cut into small cubes. Set aside

Remove the husk from the corn and rinse (do not dry, leave the water clinging to the corn).  Place corn on a plate and cover loosely with waxed paper and microwave on high for 1 minute.  Flip corn over and microwave for another 30 seconds or so.  The corn should be crisp.  Once cool, cut off kernels and set aside.

Trim and boil green beans until cooked but still firm.  Drain and place beans in an ice water bath to cool.  Drain again and set on paper towels to dry.

Hard boil the eggs and set aside until ready to use.

Place the tuna in olive oil in a bowl and break apart into bite size pieces.

When you are ready to serve your salad, place all of the ingredients on your plate (as pictured above) sprinkling the capers over the tuna and potatoes.  Drizzle fresh herb vinaigrette over the beets, green beans, corn and tuna.  Slice the eggs in half and season with salt and pepper.  A good sourdough bread is the perfect accompaniment.

Follow

Get every new post delivered to your Inbox

Join other followers: