Appetizers, Dinner, Eggs, Lactose Free, Pickles, Recipes, Salad, Side Dishes, Veggies

Pickled Beets, Red Onion & Eggs

September 14, 2014

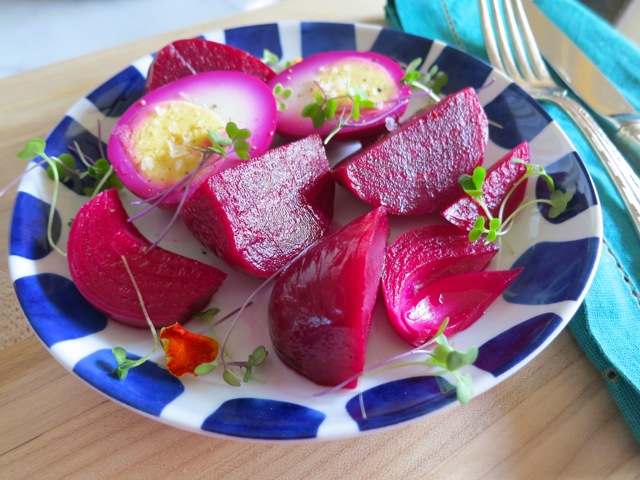
Pickled Beets, Onion & EggsAnyone familiar with this blog, knows that I love pickles.  I think homemade pickles should be in every serious home cooks repertoire.  You’ll be rewarded with tangy-sweet and crunchy snacks that are delightful and with far more variety than you will find in your typical supermarket.
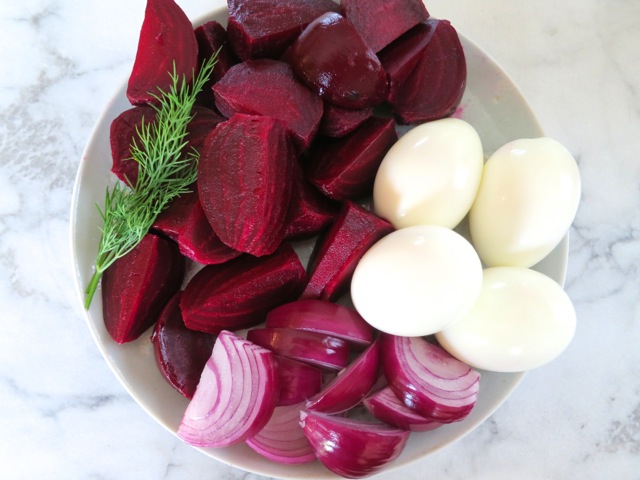
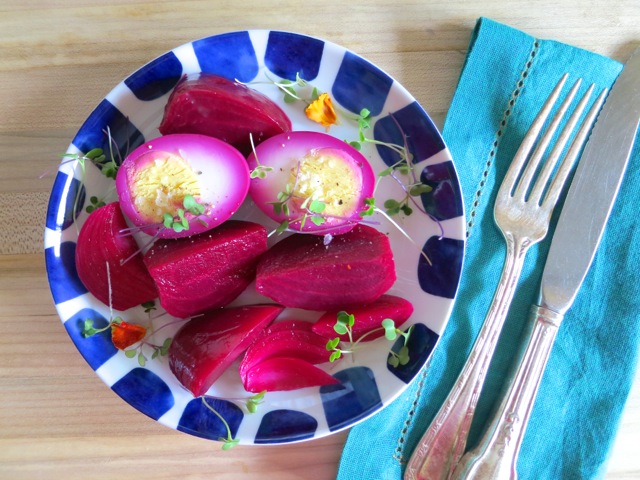
Beets, Red Onion & Hard-Boiled EggsThis appealing recipe comes from Food & Wine magazine.  Beautiful beets along with wedges of red onion and hard-boiled eggs are quickly “pickled” in a simple brine with whole peppercorns and fresh dill.  The onion and eggs take on the bright color of the beets, making this a gorgeous salad.  I adore eggs in any form and never having had one pickled, I had to try this recipe.
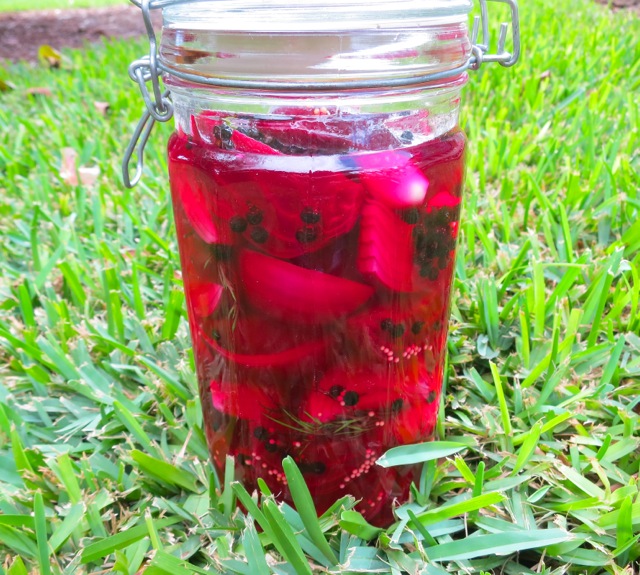
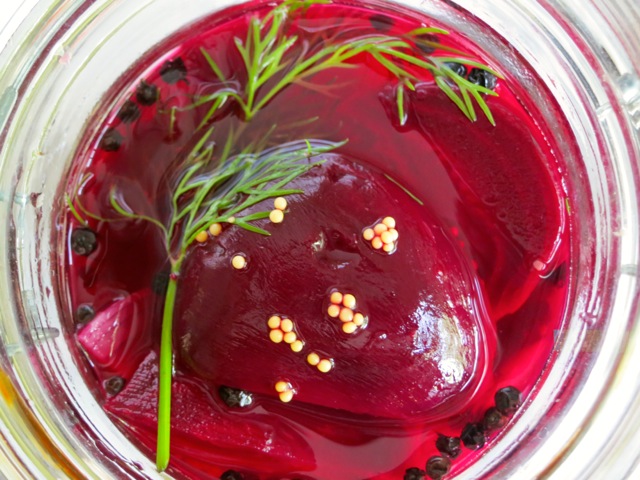
Layered Beets, Red Onion, Hard-Boiled Eggs and Dill

Pickled Beets, Red Onion & Hard-Boiled EggsThe pickles are ready to eat in 24 hours, after a brief soak in the brine.  Serve them as a simple salad alone or with pretty greens, or scattered on a platter with chunks of feta cheese nudged between the beets and onions.

Pickled Beets, Onion & Eggs

Pickled Beets, Red Onion & Eggs

Adapted from Food & Wine magazine

Serves 4

Ingredients

4 small red red beets

4 large eggs

1 small red onion

6 dill sprigs

1 cup raw, unfiltered apple cider vinegar

1 cup water

3 small crushed garlic cloves

3 tablespoons sugar

2 teaspoons whole black peppercorns

1 teaspoons yellow mustard seeds (optional)

1 tablespoon kosher salt

Preparation

Scrub the beets and wrap in foil.  Roast for 1 hour at 425°.  I used my handy toaster oven.  Peel and quarter the beets.

Place 4 eggs in a small pot, cover with water by 1 inch.  Bring to a boil and immediately turn the heat down to medium. Set a timer and let the eggs gently simmer for 10 minutes. Drain immediately and rinse under cold water.  Peel the eggs when you are ready to add them to the pickle brine.

Slice onion into small wedges (about 8).

In a saucepan, simmer the vinegar, water, garlic, sugar, peppercorns, mustard seeds if using, and salt.  Stir until the sugar and salt are dissolved.  Let cool to room temperature, about 15 minutes or so.

In a 1-quart glass jar (you might need a larger jar depending on the size of your beets) layer the beets, onion, hard-boiled eggs and dill springs.  Cover with the pickling liquid. Refrigerate overnight.

***The longer the eggs are in the brine, the more color they will absorb from the beets.  I prefer to keep part of the eggs white so I add the eggs to the brine no more than 24 hours before serving.  You can make the pickles a few days in advance and add the eggs to the jar when you are ready.  If you’ve eaten all the eggs and still have beets and onions, boil more and add to the brine!


Dinner, Recipes, Soups, Vegetarian, Veggies

Tomato Soup with Feta, Olives & Cucumbers

September 7, 2014


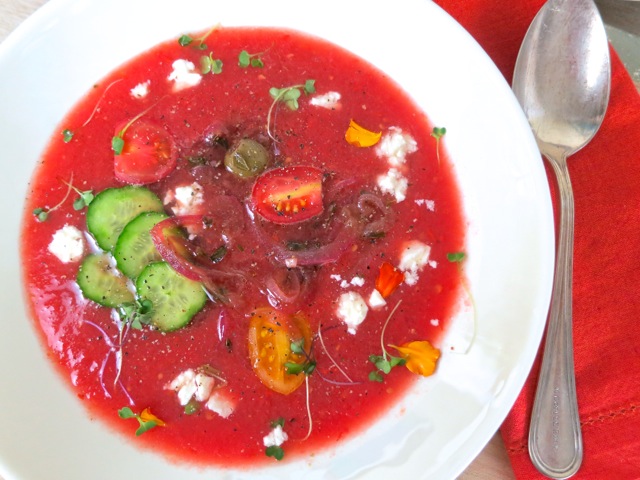
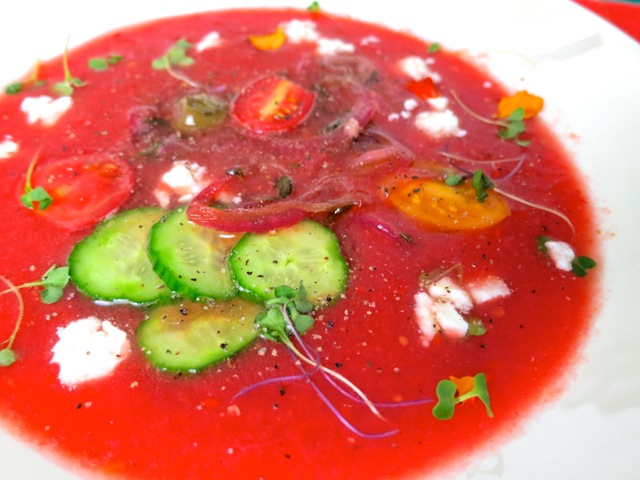
Fresh Tomato Soup with Feta, Olives & CucumbersLeave it to David Chang to come up with this unusually delicious tomato soup.  He is such a creative chef, always dreaming up new mouthwatering recipes.  One of these days I’ll make it to New York, sit at the bar of his famous Momofuku restaurant and slurp up spicy miso ramen with smoked chicken and poached egg.   Until that day comes, I’ll have to be content with preparing my own renditions of David Chang’s recipes.  So, with that in mind, and a dining room table covered with baskets of fruit from the garden, including one full of tomatoes, this recipe was perfect.

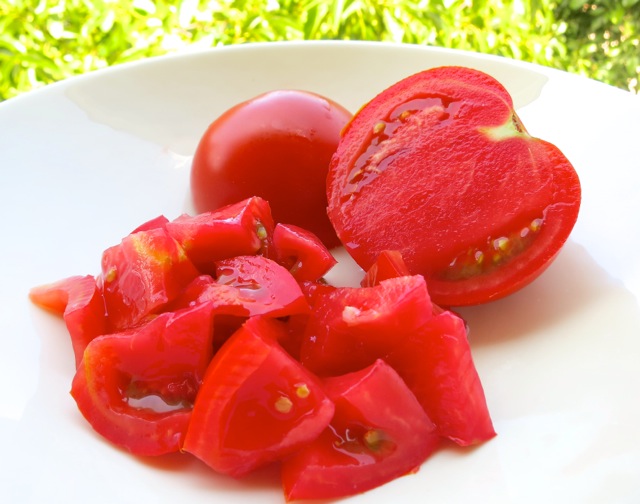
Homegrown Big Beef Tomatoes I’m so lucky to have the best “Big Beef” tomatoes growing in the garden. John spends a lot of time looking after the plants making sure they are watered early in the morning and applying regular supplements of organic fertilizer.  You just can’t buy tomatoes like these at any store that I know of.  This recipe calls for 5 tomatoes. Hmm.  I used 2 pounds (about 6 medium) and there was enough soup for just two servings, not four as the recipe states.  I did use all of the onion, oregano and vinegar the recipe calls for.  If you want to make enough soup to serve four, double the recipe.

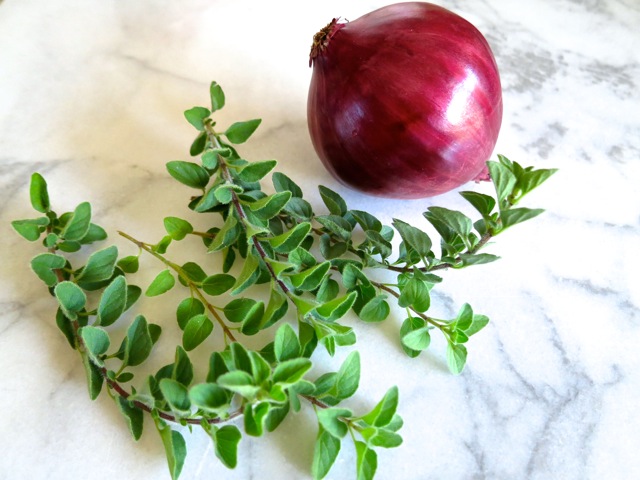
Red Onion & Oregano

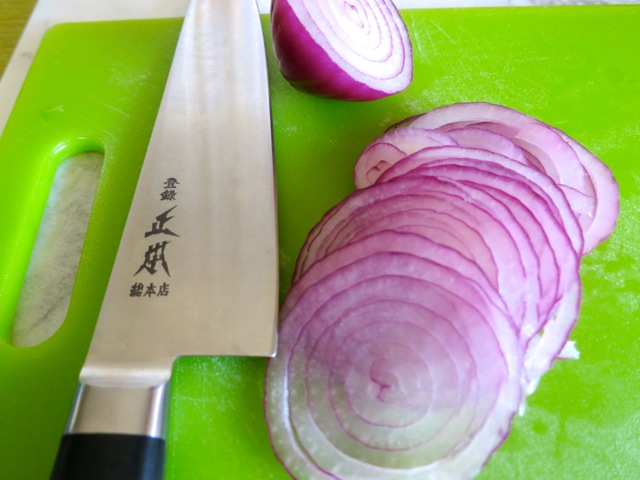
Finely Sliced Red Onion

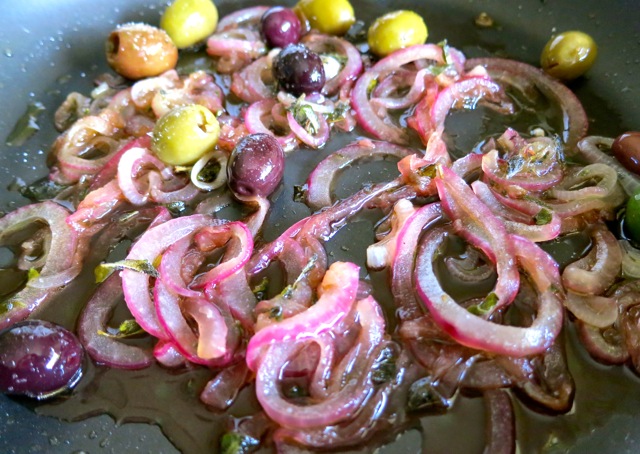
Onion, Olives & OreganoThough the sautéed onions are not included in the title of the recipe, they may be the star of the dish, second only to the vine ripened tomatoes.  After a slow sauté in olive oil with the olives and oregano, red wine and sherry vinegar are added.  The mixture is set aside until the soup is served, then placed on top of the soup with the other garnishes (cucumbers, grape/cherry tomatoes, feta).  The vinegar adds a zing to the sweet onion and savory olives.  I could eat the sautéed, herbed onions and olives alone.  They are that good.

Fresh Tomato Soup with Feta, Olives & Cucumbers

Tomato Soup with Feta, Olives & Cucumbers 

Adapted from David Chang/Food & Wine Magazine

Serves 2

Ingredients

3 tablespoons extra-virgin olive oil

1 small red onion, thinly sliced

1/4 cup pitted Nicoise olives (I used assorted olives I had on hand)

2 tablespoons fresh oregano leaves

3 tablespoons red wine vinegar

1 tablespoon sherry vinegar

kosher salt

1/2 small Kirby or Keiki cucumber, thinly sliced

3 teaspoons honey

2 pounds ripe tomatoes, chopped

freshly ground black pepper

2 ounces cherry tomatoes

1/4 cup feta cheese, crumbled

baby greens for garnish

Preparation

In a  medium saucepan, heat 3 tablespoons olive oil.  Add the onion, olives and oregano and cook over moderately low heat, stirring until the onion is softened, about 7 minutes.  Remove from the heat and stir in both vinegars.  Season with kosher salt.  Cool to room temperature.

In a small bowl, toss cucumber slices with 1 teaspoon honey and season with salt.

In a blender, puree the chopped tomatoes with 2 teaspoons of honey and season generously with salt and pepper.  Pureeing tomatoes may cause quite a bit of air bubbles that will often make the sauce appear pink or orange in color.  I gently heated the pureed tomatoes for a few minutes, stirring the mixture often, then transferred the pan to an ice bath until cooled.  This step will transform the sauce into a gorgeous bowl of tomato soup.  You could also prepare the tomatoes in advance and store in the refrigerator for a few hours so that the air bubbles have time to settle down.

Pour the soup into shallow bowls.  Top with the onion-olive mixture, cherry tomatoes, cucumber slices, feta and a few grinds of pepper.  Garnish with baby greens if desired.


Beef, Dinner, Korean, Lactose Free, Recipes

Best Beef Bulgogi

August 31, 2014

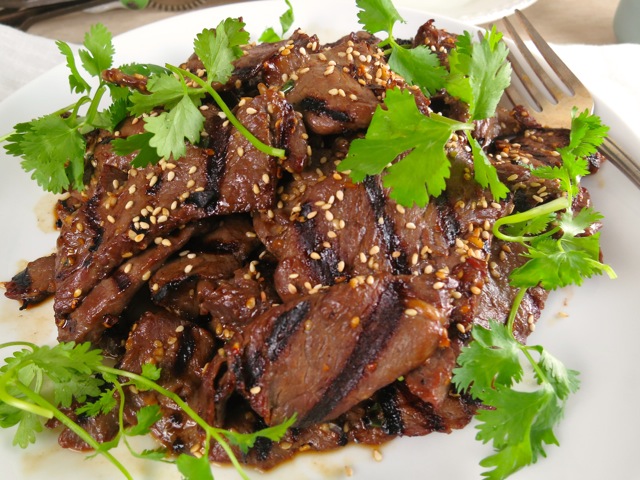
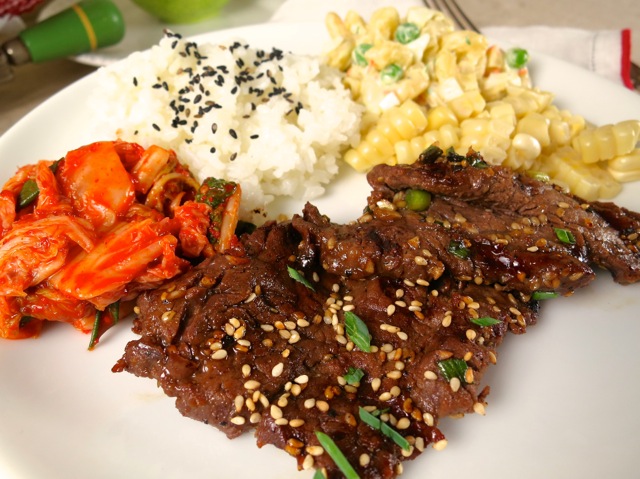
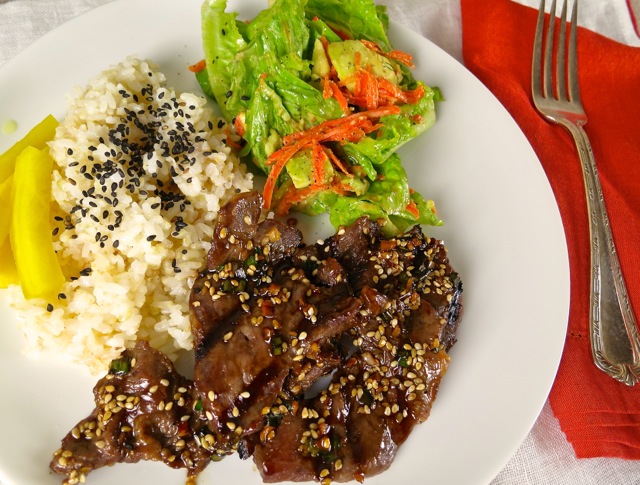
Best Grilled BulgogiKorean food is rapidly becoming one of America’s favorite ethnic cuisines and it is no surprise given its bold, spicy flavors.  Korean barbecue beef known as bulgogi is a particular favorite.  This bulgogi recipe is so good it will become habit-forming.  Grilling the beef instead of pan-frying it gives it that bit of barbecue flavor along with lovely grill marks.  My favorite way to serve bulgogi is with rice and a side of mac salad or green salad, kimchi and homemade takuan (plate lunch!) but it is equally delicious stuffed in a banh mi with a generous amount of do chua pickles.  It’s just beautiful.

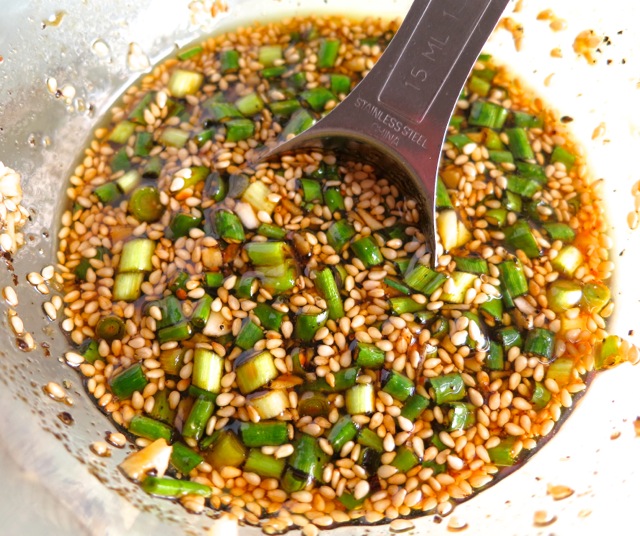
Bulgogi MarinadeAfter a quick soak in this flavorful marinade you’ll have the best barbecued bulgogi.  Melt in your mouth super thin slices of lean, tender beef thrown on the grill is ready in just a few minutes.  The original recipes calls for flank steak but I much prefer to use the more tender filet mignon or top sirloin.  Thanks to TNCouch for sharing the recipe via allrecipes.com.

Bulgogi "Plate Lunch"

Bulgogi "Plate Lunch"

Best Beef Bulgogi

Adapted from allrecipes.com

Serves 4

Ingredients

1 pound filet mignon or top sirloin, slightly frozen for easier slicing, sliced very thin

5 tablespoons soy sauce

2 1/2 tablespoons white sugar

1/4 cup chopped green onions

2 tablespoons minced garlic

1 tablespoon roasted sesame seeds

2 tablespoons sesame oil

1/2 teaspoon ground black pepper

Preparation

Thinly slice partially frozen beef and place in a shallow bowl. Combine soy sauce, sugar, green onion, garlic, sesame seeds, sesame oil, and ground black pepper in a small bowl.  Pour over beef.  Cover and refrigerate for 1 hour, turning once halfway through marinating time.

Preheat an outdoor grill for high heat, and lightly oil the grate.

Quickly grill beef on hot grill until slightly charred and cooked through, 1 – 2 minutes per side.


Dinner, Lactose Free, Pork, Recipes

Herb Roasted Pork Loin

August 25, 2014

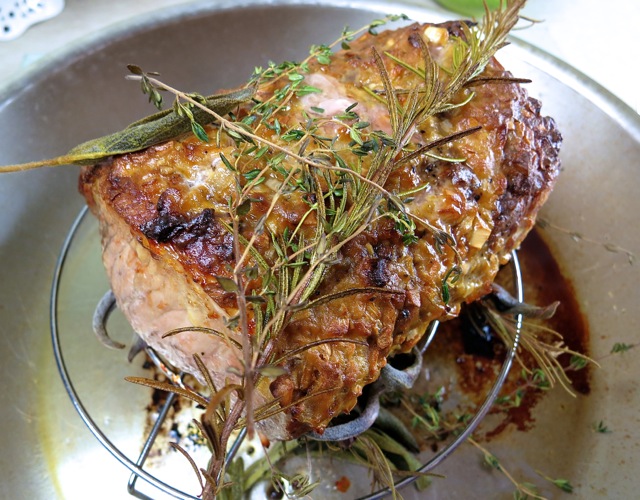
Herb Roasted Pork LoinWhen I was growing up my mom used to make delicious pan-fried pork chops and served them with mashed potatoes, gravy, and peas.  These days I tend to favor pork tenderloin or pork loin over pork chops and various roasted potatoes, though I still enjoy mashed potatoes as well.  This simple recipe is just perfect for company. A beautiful dish with its mustard-garlic coating and fresh herbs, we now serve it with “sauce” rather than “gravy!”

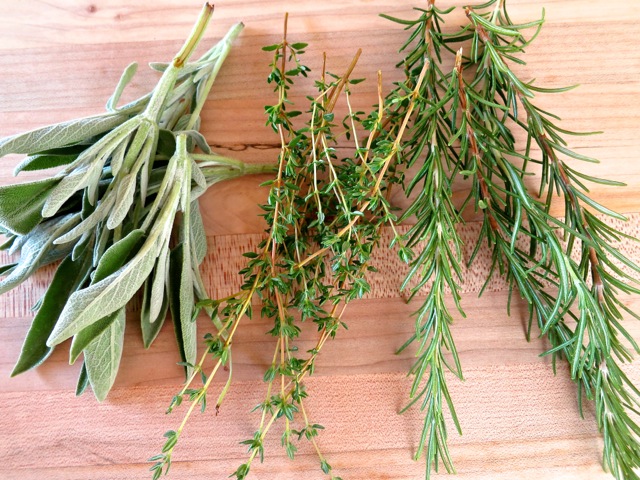
Sage, Thyme & RosemaryA few fresh herbs, Dijon mustard, garlic and shallots = a lovely seasoning for a roasted pork loin dinner.

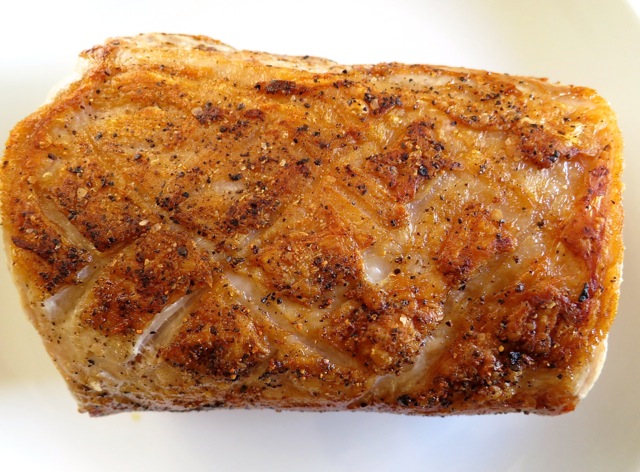
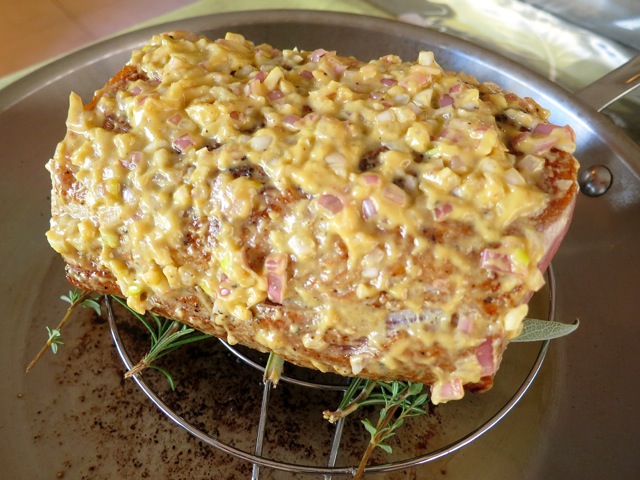
Browned Pork LoinThe pork is browned before heading to the oven. I scored the thin layer of fat on one side of the pork loin, browned it on all sides, then smothered it with the mustard-garlic sauce.

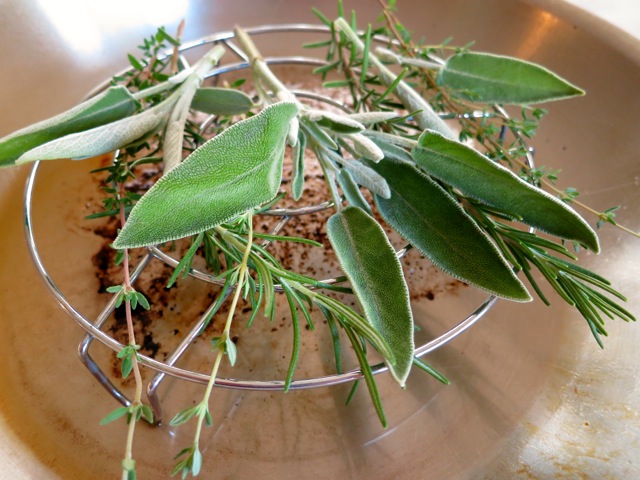
Fresh HerbsHerbs are layered under the browned pork loin and more herbs are placed on top as the pork roasts.

Pork Loin with Mustard CoatingThe coating of mustard, garlic and shallots keeps the meat moist, adding a delicious and flavorful crust to the pork.

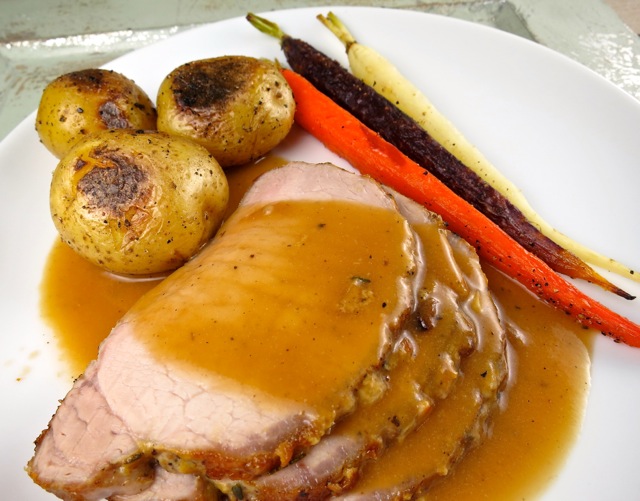
Beautiful carrots

Herb Roasted Pork Loin with Roasted Potatoes, Carrots & Sauce

Herb Roasted Pork Loin

Adapted from Gourmet magazine

Serves 4

Ingredients

1 (2 pound) boneless pork loin roast, trimmed

2 tablespoons plus 1/2 teaspoon olive oil, divided

4 rosemary sprigs, divided

4 large thyme sprigs, divided

4 sage sprigs, divided

1/4 cup finely chopped shallots

1 tablespoon finely chopped garlic

1 1/2 tablespoons Dijon mustard

For Sauce:

1/3 cup dry vermouth

2 teaspoons Dijon mustard

1 3/4 cups reduced-sodium chicken broth

1 1/2 tablespoons Earth Balance buttery spread or unsalted butter

1 1/2 tablespoons all-purpose flour

Preparation

Roast Pork:

Preheat oven to 350°F with rack in middle.

Pat pork dry and score the thin layer of fat (optional).  Season with 1 teaspoon salt and 1/2 teaspoon pepper.  In a stainless steel skillet large enough to accommodate the pork loin, heat 1 tablespoon oil over medium-high heat until it shimmers.  Brown pork on all sides, then transfer to a large plate.  Put a metal rack in skillet and arrange half of the herbs down middle of rack.  Stir together shallots, garlic, mustard, and 1 tablespoon olive oil and smear over top and sides of roast, then put roast, fat side up, on top of herbs.  Roast  about 35 – 40 minutes.  Toss remaining herbs with 1/2 teaspoon oil and arrange on top of roast.  Continue roasting until an instant-read thermometer registers 140 to 145°F, 5 – 15 minutes more.  Transfer pork to a cutting board and let rest 10 – 15 minutes.

Make Sauce:

Remove rack from pan and discard herbs from rack.  Place pan over medium heat.  Add vermouth and mustard and deglaze by boiling, stirring and scraping up brown bits, until reduced by half. Add broth and simmer for 3 minutes.  Strain through a fine-mesh sieve into a 2-cup measure.  If you have more than 1 1/2 cups, boil to reduce; if less, add water.

Melt butter in a heavy medium saucepan over medium heat.  Whisk in flour and cook whisking until pale golden, about 3 minutes.  Whisk in vermouth mixture and simmer until slightly thickened, about 3 minutes.  Serve pork with sauce.

***Leftover herb roasted pork loin makes great sandwiches.  Slice thin and pile on good bread with a little mayonnaise and a generous amount of mustard.  Add a bit of mild cheese, butter each slice of bread and place in a pre-heated pan  over medium heat.  Place a piece of foil over the bread, pressing down on the sandwich with another pan until nicely browned, flip and repeat on the other side.  Serve with a side of pickles.

Bread, Gardening, Lactose Free, Recipes, Sandwiches, Vegetarian, Veggies

Summer Tomato Toast

August 18, 2014

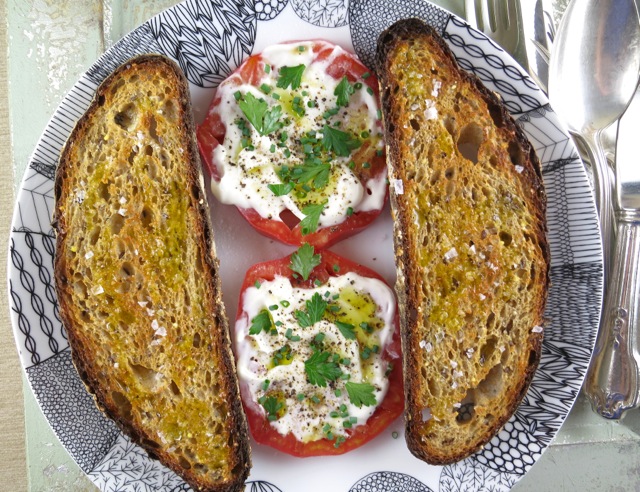
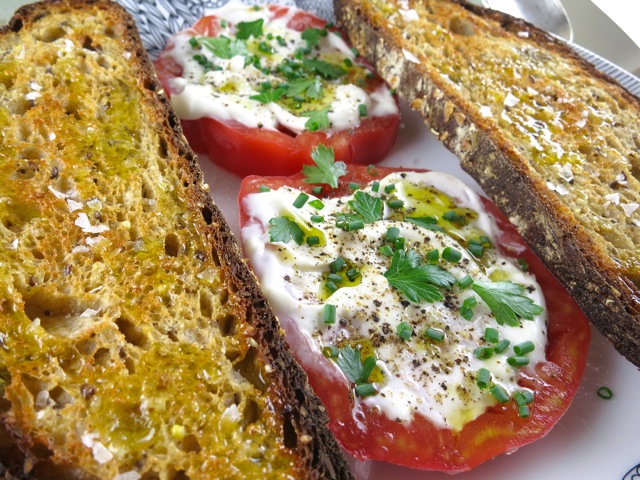
Country-Style Whole Grain Bread with Tomatoes In their book Canal House Cooks, Christopher Hirsheimer and Melissa Hamilton share simple yet magnificent recipes.  They are so inspired I can hardly wait to make their irresistible dishes.  These seasonal recipes, rustic yet elegant, are well suited to the home cook and most of the recipe ingredients are easily found at your local market. The food photos in the book are gorgeous.  What is more simple and satisfying than homegrown tomatoes on toast?

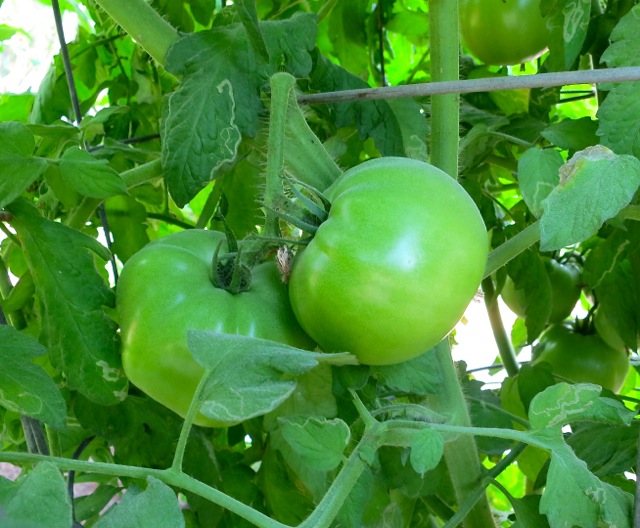
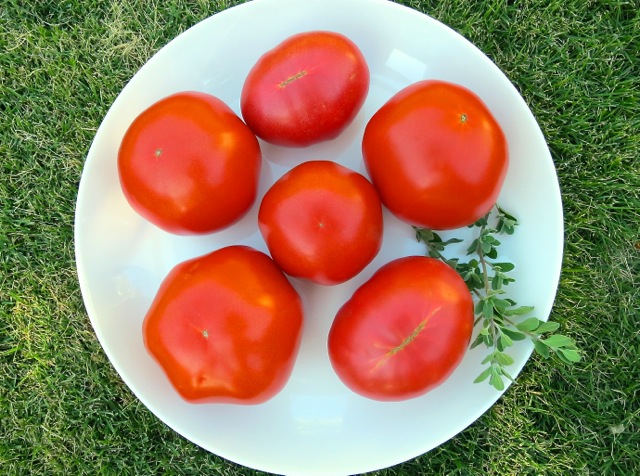
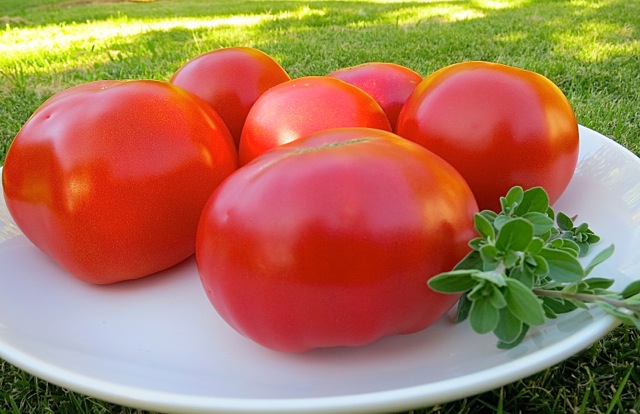
Big Beef Tomatoes in the GardenJohn grows Big Beef tomatoes throughout most of the year. We have tried different tomato varieties from little grape tomatoes to beautiful heirloom varieties but we have found that the Big Beef tomato is consistently the tastiest.  Meaty with very few seeds, whether using it in sandwiches or salads, making fresh tomato sauce or salsa, it’s by far the most versatile.

Vine Ripened Big Beef Tomatoes from the Garden

Vine Ripened Big Beef Tomatoes from the Garden

Country-Style Whole Grain Bread with Tomatoes

Summer Tomato Toast

Adapted form Canal House Cooks Every Day

Serves 2

Ingredients

2 large slices  of country-style whole grain or sourdough bread (or 4 medium slices)

1 clove garlic, peeled

1/4 cup extra virgin olive oil

kosher or Maldon sea salt

2 perfectly ripe tomatoes, cored and thickly sliced

1/4 cup mayonnaise

freshly ground pepper

Finely chopped fresh chives and parsley

Preparation

Toast the bread.  While still warm, rub each slice with the garlic, rubbing more or less depending on how much flavor you’re after.  Drizzle the toast with some of the olive oil and sprinkle with salt.

Slather tomato slices with  mayonnaise and arrange them on a serving platter with the toasts.  Drizzle the remaining oil over the tomatoes, season well with salt and pepper and scatter the chives and parsley on top.  Pile the tomatoes on the toast just before serving.


Dessert, Fruit, Lactose Free, Recipes

Lilikoi Bars

August 11, 2014

Lilikoi BarsLemon bars are a favorite dessert of mine since they’re easy to make and most importantly, taste great.  Creamy and rich from the eggs, a bit of sweetness with a hit of tartness, they are a wonderful dessert.  This is a variation on the classic lemon bar. In this recipe I used lilikoi (passion fruit) an exotic tropical fruit which has an extraordinarily fragrant scent. Once the fruit is open, the entire room is filled with a wonderful essence that lingers in the air.  It’s mesmerizing….

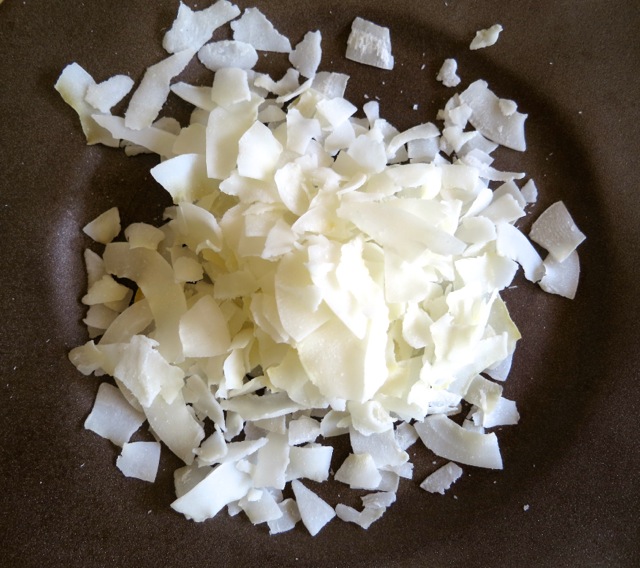
Coconut FlakesNow that we grow our own lilikoi I’m always searching for new recipes.  The fruit hangs gracefully from the vines and drops to the ground once ripe.  They can be left on the counter for a few days and will become more fragrant as each day passes. Their taut skin becomes wrinkled, and honestly, they look very homely at this stage.  But don’t throw them out!  This is perfect time to get out the food mill if you have one, and collect the precious juice.  The food mill is ingenious.  It presses out the juice from the fruit and leaves all the seeds behind.  If you don’t have a food mill use cheese cloth or a jelly bag to  strain the juice.  I freeze the juice in 1 and 2 cup containers to use later.  Speaking of searching for new recipes, I found this excellent recipe on Hungry Cravings.  The shredded coconut in the crust is absolutely divine.  The coconut becomes nicely toasted as the crust bakes and adds a delicious note to the bars.  Don’t leave it out.

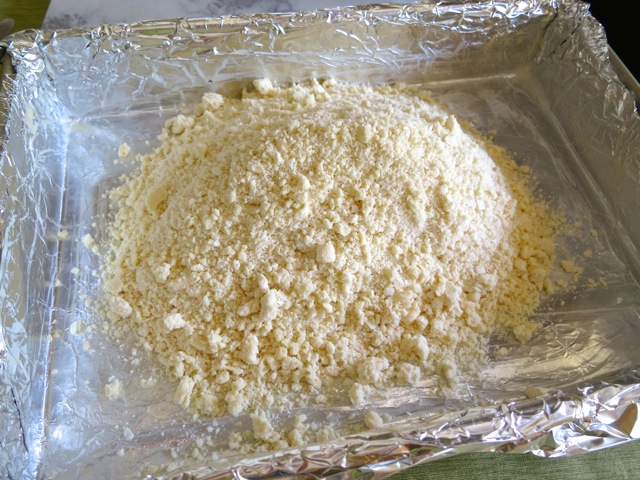
Crust IngredientsThis is the perfect recipe.  Mix up the crust ingredients, dump it in the pan, press and bake it.  You end up with a beautiful, golden crust with hints of toasted coconut.

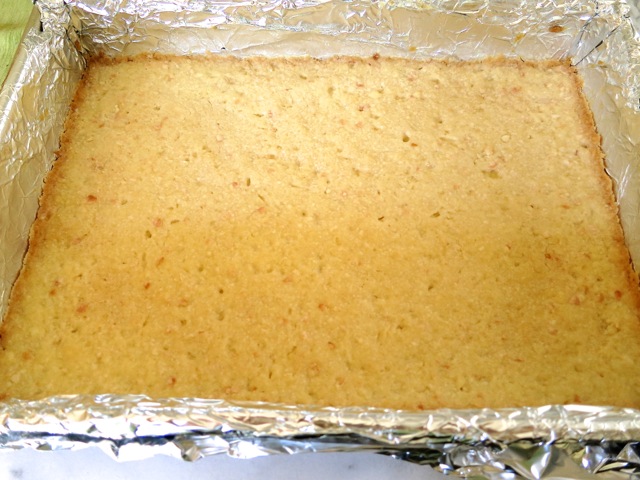
Lilikoi Bar CrustYou can see the bits of coconut in the baked crust.  I didn’t have finely shredded coconut on hand so I chopped up some coconut flakes and it worked out fine.

Fresh Eggs

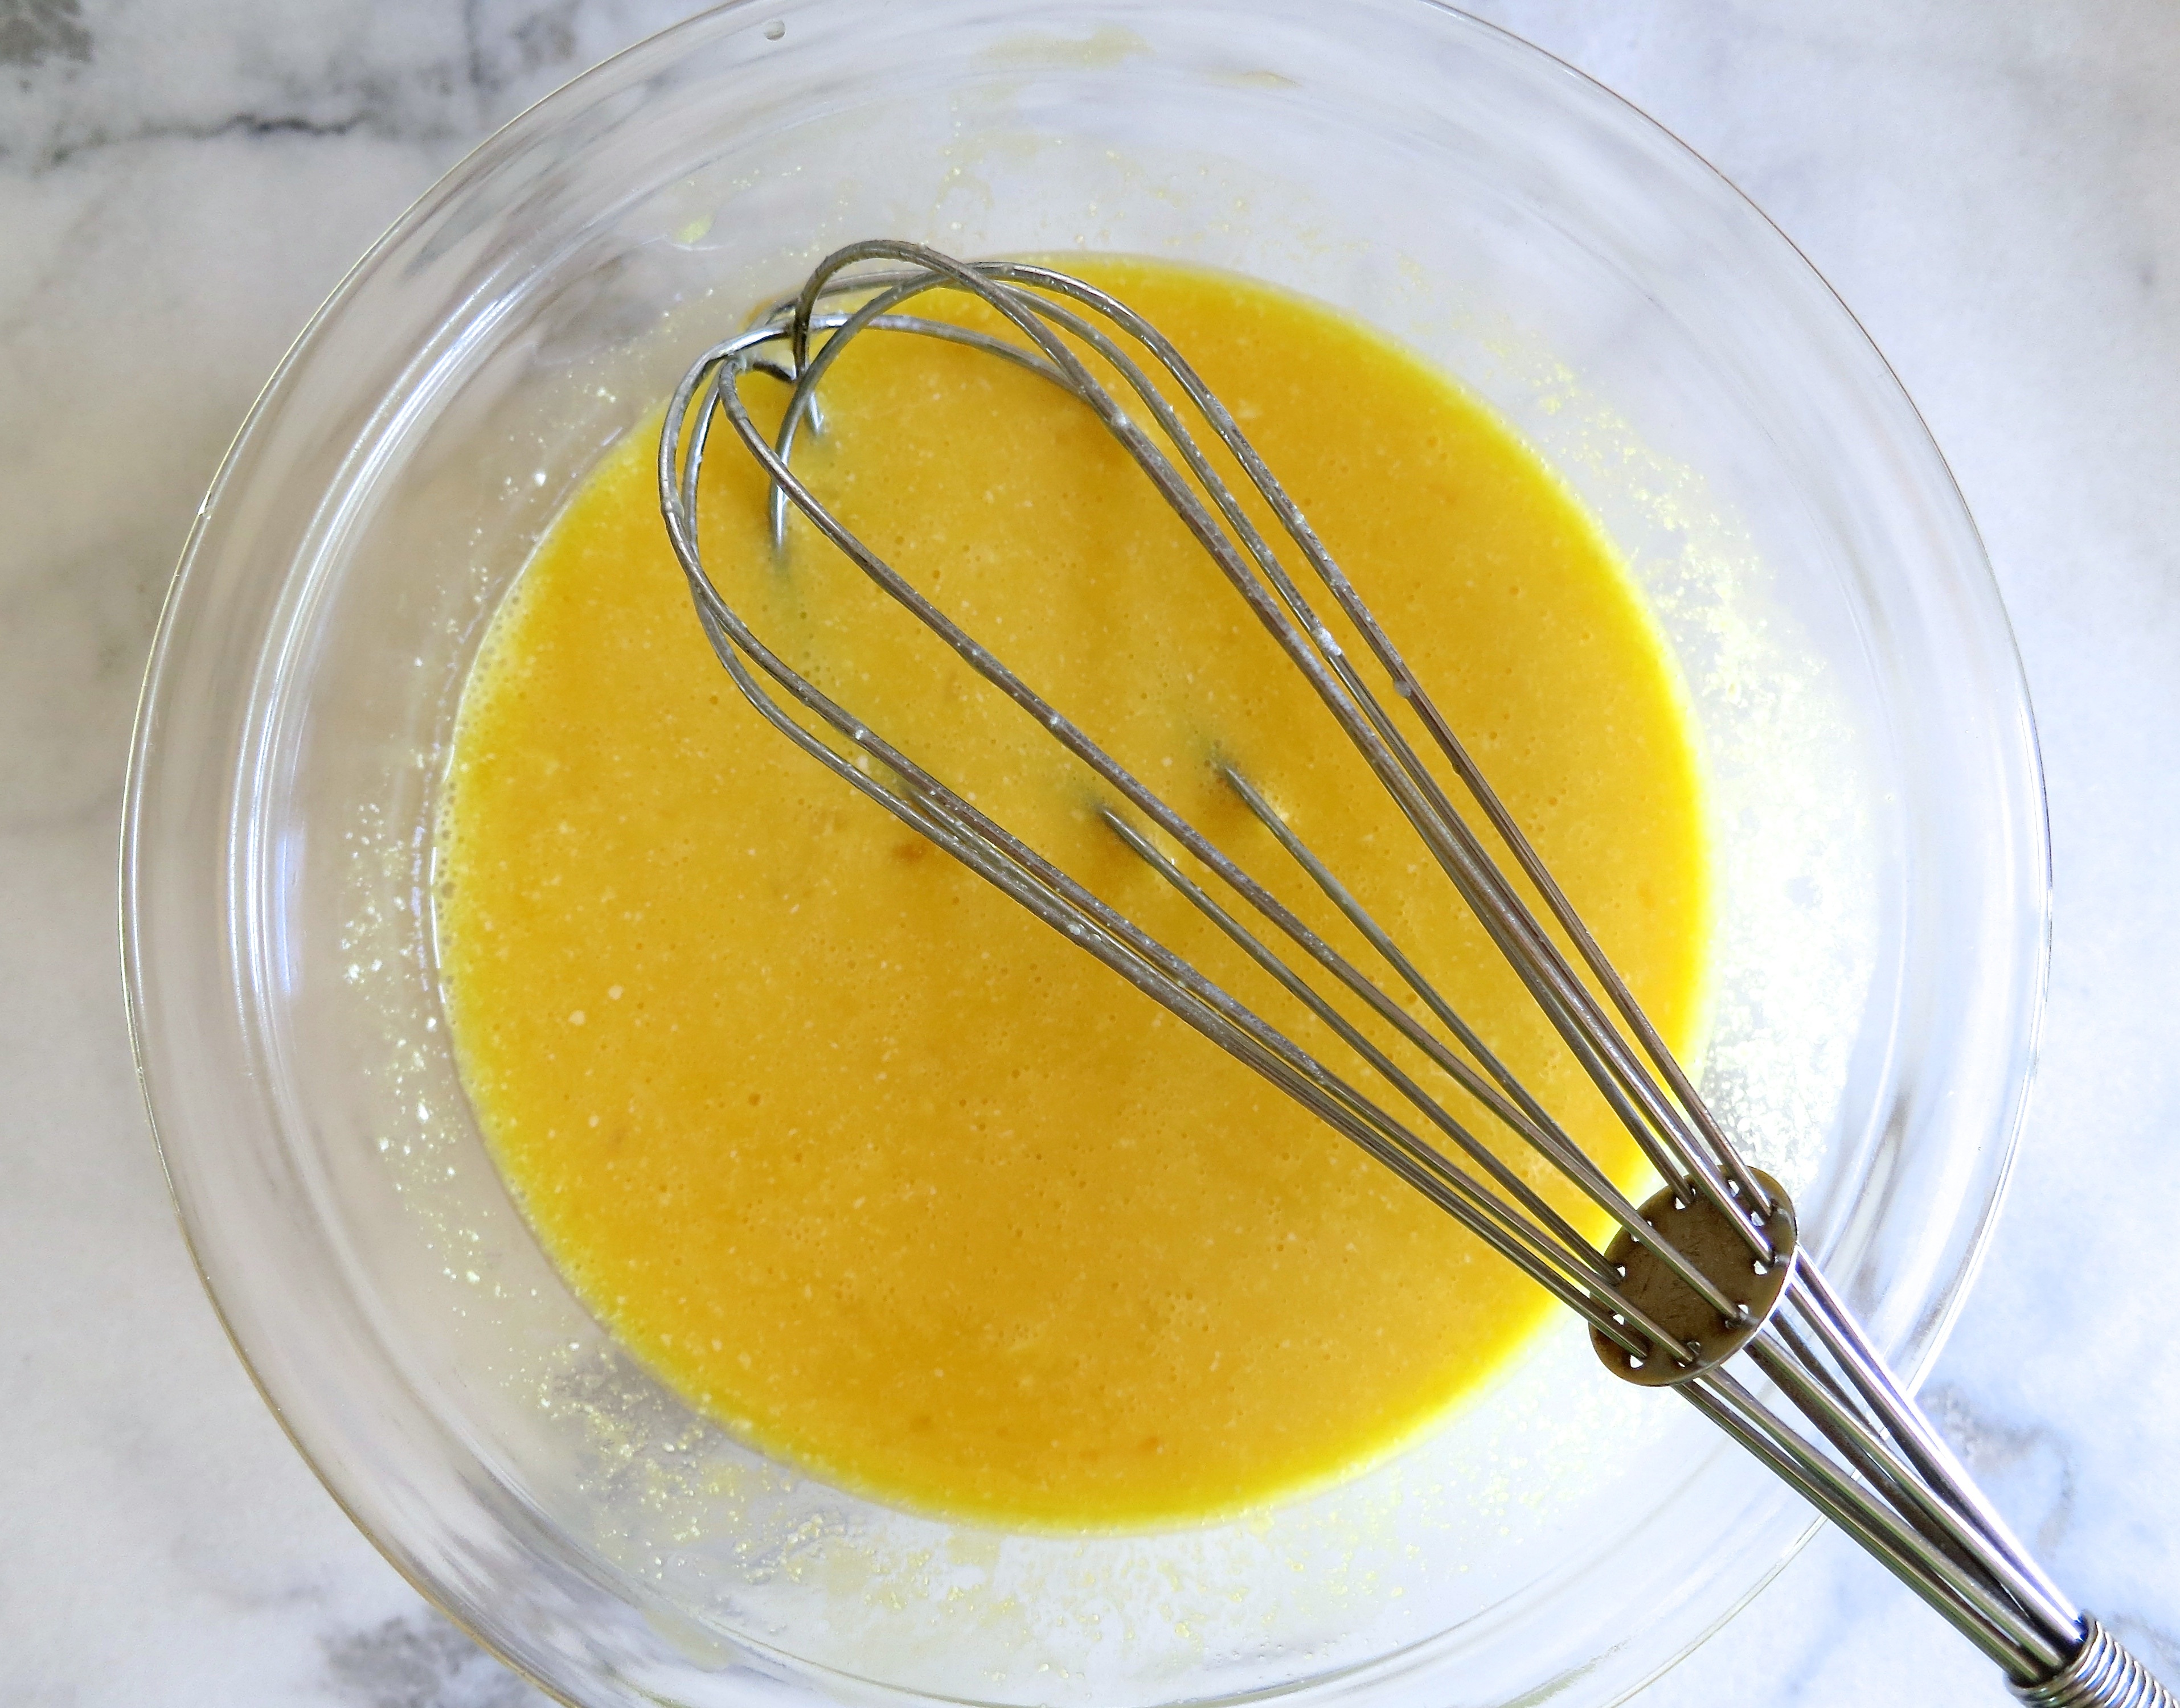
Lilikoi Bar FillingNot only does this recipe have coconut flakes in the crust, it also incorporates coconut milk into the lilikoi layer which adds a subtle richness along with the eggs.

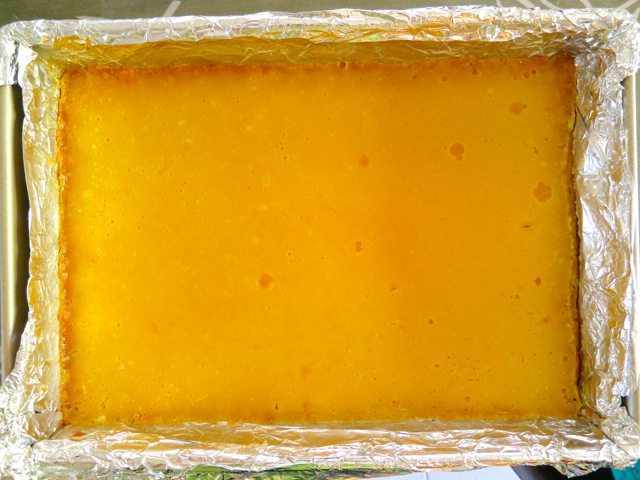
Baked Lilikoi Bars

Lilikoi Bars

Lilikoi-Coconut Bars (Passion Fruit-Coconut Bars)

Updated 9/23/15

Adapted from Hungry Cravings

Ingredients

For the crust:

1 1/2 sticks cold unsalted butter, cut into small pieces (I used lactose-free Buttery Sticks)

1 3/4 cups all-purpose flour

3/4 cups powdered sugar

1/4 cup shredded coconut (I used unsweetened)

3/4 teaspoon kosher salt (1/2 teaspoon kosher salt if using Buttery Sticks)

For the lilikoi-coconut layer:

4 large eggs

1/4 cup coconut milk

6 ounces fresh lilikoi juice

1 1/4 cups sugar

3 tablespoons all-purpose flour

1/4 teaspoon kosher salt

powdered sugar, for dusting

Preparation

Make the crust:

Line a 9 x 13-inch baking pan with heavy-duty aluminum foil leaving an overhang on all sides.  This makes it a breeze to lift out the entire tart once thoroughly cooled.  Lightly butter the foil. Whisk together the flour, powdered sugar, coconut, and salt in a large bowl.  Add the butter and using a pastry cutter, cut the butter into the flour until the mixture resembles coarse crumbs.  Transfer the dough to the baking dish and press into an even layer and up the sides of the pan about 1/3 – 1/2 inch. Refrigerate at least 15 minutes and up to 30 minutes.  Don’t skip this step as it will help to keep the crust from shrinking and pulling away from the sides of the pan which will cause the lilikoi mixture to seep under the crust. While dough is chilling in the refrigerator, pre-heat the oven to 350° then bake for about 20 – 22 minutes, or until lightly browned.

Make the lilikoi-coconut layer:

Blend together the eggs, coconut milk, and lilikoi juice in a small bowl.  Whisk together the sugar, flour, and salt in a large bowl.  Add the lilikoi mixture to the sugar mixture and whisk until smooth.  Pour over the baked crust and bake for 16 – 18 minutes, or until just set.  Let cool to room temperature then transfer to the refrigerator until ready to serve.

Using the edges of foil, lift the bars out of the pan and transfer to a cutting board.  Cut into portions and dust with powdered sugar just before serving.


*Updated the dough procedure to include pressing dough up the sides of the pan about 1/3 – 1/2 inch prior to baking.  This provides a barrier for the lilikoi mixture when you pour it over the baked crust (it could seep down the sides of the baked crust if this is not done).


Follow

Get every new post delivered to your Inbox

Join other followers: