This is one of our favorite ways to prepare pork tenderloin. It’s simple to put together and if you happen to have leftovers, it makes an exceptional sandwich carved thin, stuffed between slices of good bread with a dab of mustard.
 Whole Foods on Maui has a small deli counter where you can request paper-thin slices of prosciutto for this recipe.

 The lemony, herby sauce, is ready in just a few minutes. Mix the ingredients in your serving bowl and set aside until your pork medallions are ready to serve.

 Potatoes of any kind go well with the pork medallions, or if you prefer, serve the pork with your favorite rice pilaf. French fries are always welcome in our home.

Prosciutto Wrapped Pork Medallions
Author: Kiyo Miller adapted from Cuisine at Home magazine
Recipe type: Main Course
Serves: 4
Ingredients
- For the sauce:
- ¼ cup extra virgin olive oil
- 1 tablespoon + 1 teaspoon fresh lemon juice
- 1 tablespoon minced fresh sage
- 2 teaspoons minced fresh rosemary
- 2 teaspoons minced fresh garlic
- 2 teaspoons minced lemon zest
- ½ teaspoon kosher salt
- ½ teaspoon red pepper flakes
- For the pork:
- 1¼ pound pork tenderloin, trimmed well, sliced into 4 medallions
- olive oil
- kosher salt
- black pepper
- 4 slices prosciutto, sliced very thin (folded in half if wide pieces)
Preparation
- Preheat gas grill or prepare charcoal grill to medium-high
- Clean grill grate and brush well with oil
- Combine all sauce ingredients above. Pour sauce into a shallow dish.
- Coat medallions with oil; season with salt and pepper. Wrap a slice of prosciutto around each medallion and secure with kitchen string.
- Grill medallions, covered, until an instant-read thermometer inserted into centers registers 145 degrees, about 5 minutes per side.
- Transfer medallions to prepared dish, flip in sauce, and let rest for 3 or 4 minutes, flipping frequently. Remove strings from medallions and serve with sauce.


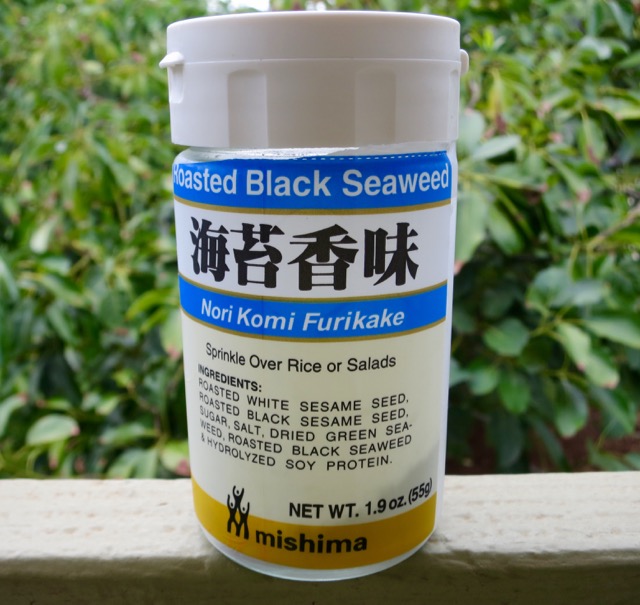
 This is one of the simplest and most delicious ways to prepare fresh sashimi grade ahi. The fish is coated with furikake, seared for just a few seconds on each side, and served with a flavorful dressing adapted from Nobu Matsuhisa’s original