


This light and refreshing salad is ideal for those days when you want a change from your typical bowl of mixed greens. Sweet and crisp sugar snap peas are the perfect companion to the slightly peppery radishes, lemony dressing and feta cheese. Scatter some fresh torn mint leaves over the salad just before serving. It’s a beautiful side dish to serve at a small dinner gathering this summer.

I’ve been appreciating radishes more and more these days. They are especially good in salads or served on top of tuna tartare with avocado. A quick soak in ice water and the radish slices become delightfully crunchy.


Hydroponic watercress works very well in this salad because of its mild flavor, delicate leaves and stems. If you are on Maui, our local Whole Foods store regularly carries this item.
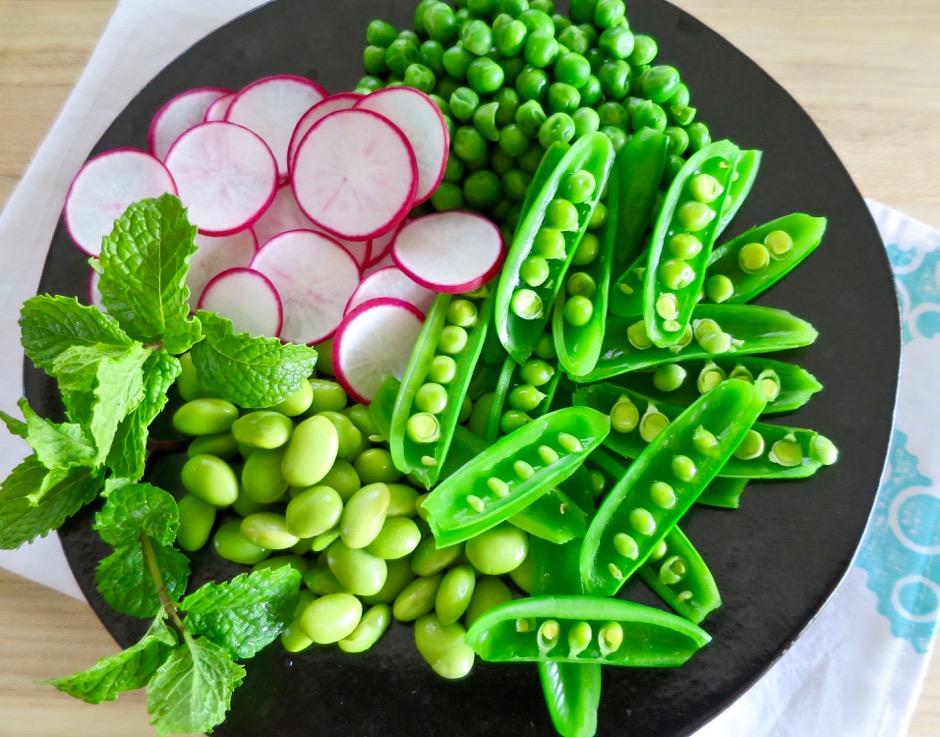
The sugar snap peas are blanched for 30 seconds then transferred to an ice bath. Once cool, they are sliced in half to reveal the tender peas within.

- Dressing
- 2 teaspoons Dijon mustard
- ½ teaspoon honey
- 1 tablespoon fresh lemon juice
- 1 tablespoon extra virgin olive oil
- salt & pepper
- Salad
- ½ cup green peas, defrosted if frozen or blanched for a minute if using fresh
- ½ cup shelled edamame, boiled for 5 minutes, cooled in ice water
- 1 small bunch hydroponic watercress, washed and stems trimmed - optional
- 3 ounces sugar snap peas, blanched for 30 seconds, cooled in ice water and sliced in half lengthwise
- 2 small radishes, sliced very thin, soaked in ice water for 15 minutes
- 1 ounce crumbled feta
- handful of fresh mint leaves
- *Drain and place blanched and chilled vegetables on paper towels, carefully pat dry before using.
- Whisk together Dijon, honey, lemon juice, and olive oil. Season to taste with salt and pepper. Set aside. Dressing can be made a day in advance.
- In a medium wide salad bowl, gently mix together the green peas, edamame and watercress.
- Scatter sliced sugar snap peas and radishes over the top of the salad.
- Sprinkle salad with feta and fresh torn mint leaves (tear the mint leaves right before serving as they can turn brown if torn in advance).
- Drizzle salad with dressing just before serving.

")


")


