One of my favorite uses of the nutritious blueberry is in muffins. They are one of the easiest breakfast (or dessert) snacks to make. All you need is a bowl for the dry ingredients and a measuring cup for the wet ingredients. Combine the two, fold in the blueberries and your batter is ready. In less than 20 minutes you’ll have warm, crispy topped muffins with just the right amount of blueberries. These are delicious split down the center, toasted and served with a pat of butter.

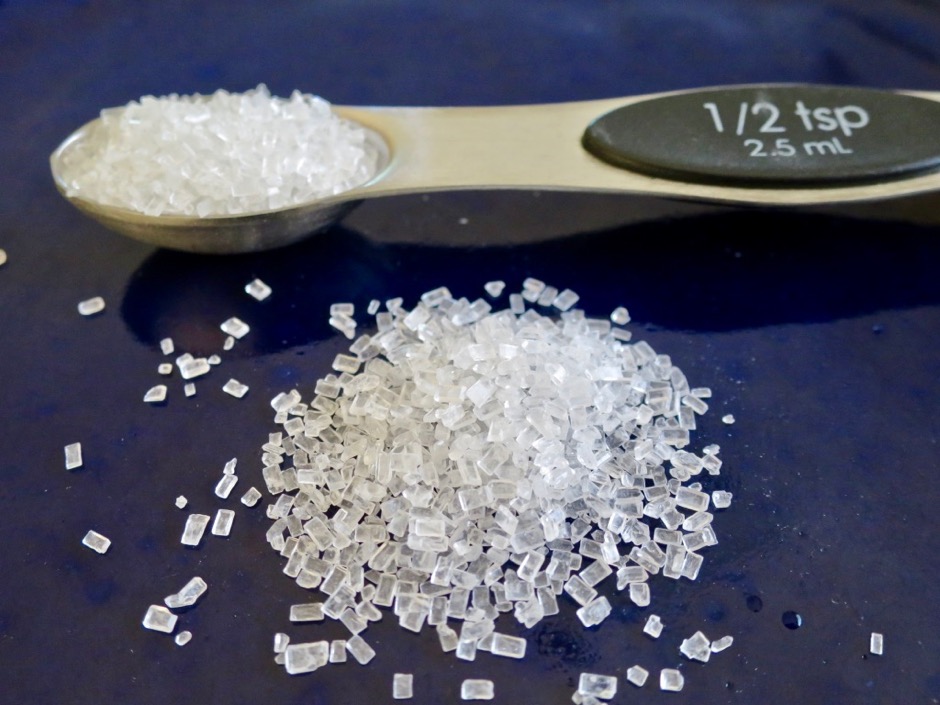
The sparkling sugar ensures the muffins have a perfectly crisp top that is not only a delight to eat but also gives the muffins that certain je ne sais quoi. Bob’s Red Mill decorative sparkling sugar works perfectly.


It’s best to use liners in your muffin tin to ensure that the muffins won’t stick to your pan. Liners also mean easier clean up.

These are beautiful muffins with crackly and crispy tops. If by chance you have any leftover muffins, store them in the freezer in a heavy-duty plastic bag. They will keep well for more than a month.

- 2 cups all purpose-flour
- 1 cup + 1 tablespoon granulated sugar
- 2 teaspoons baking powder
- ½ teaspoon salt
- ¼ teaspoon cinnamon
- ½ cup lactose free milk (or regular milk)
- ¼ cup canola oil
- 4 tablespoons Earth Balance Buttery Sticks, melted and cooled for 5 minutes (or regular salted butter)
- 2 large eggs
- 1 teaspoon vanilla extract
- 2 cups (8 ounces) fresh blueberries
- Sparkling sugar such as Bob's Red Mill Simply Sweet Decorative Sparkling Sugar
- Preheat oven to 400 degrees.
- Line muffin tin with muffin/cupcake liners.
- In a large bowl whisk to combine the flour, sugar, baking powder, salt, and cinnamon. Set aside.
- In a 2 cup measuring cup, measure ½ cup milk. Add ¼ cup canola oil, melted Buttery Sticks, eggs, and vanilla extract. Whisk ingredients together.
- Pour wet ingredients into bowl of dry ingredients. Stir to combine. Fold in blueberries. Divide batter between a 12 cup paper-lined muffin tin. Sprinkle each muffin with ½ teaspoon of sparkling sugar.
- Bake for 18 - 22 minutes or until a toothpick inserted in the center comes out clean. Cool muffins in the pan for 10 minutes before removing to a rack to cool completely.