The perfect chocolate cookie probably doesn’t exist. There are so m any different styles, so why limit yourself to just one? Thin and crispy cookies are one of my favorites, but these thick, chewy cookies packed with chocolate chips are truly delectable. I’ve made them numerous times and always have some stashed in the freezer for that moment when I crave a quick dessert. I adapted the recipe from Melissa at Modern Honey. Melissa makes 8 big cookies like the ones they sell at Levain Bakery in Manhattan. I divided the dough into 12 portions and I can barely finish one of these cookies by myself.

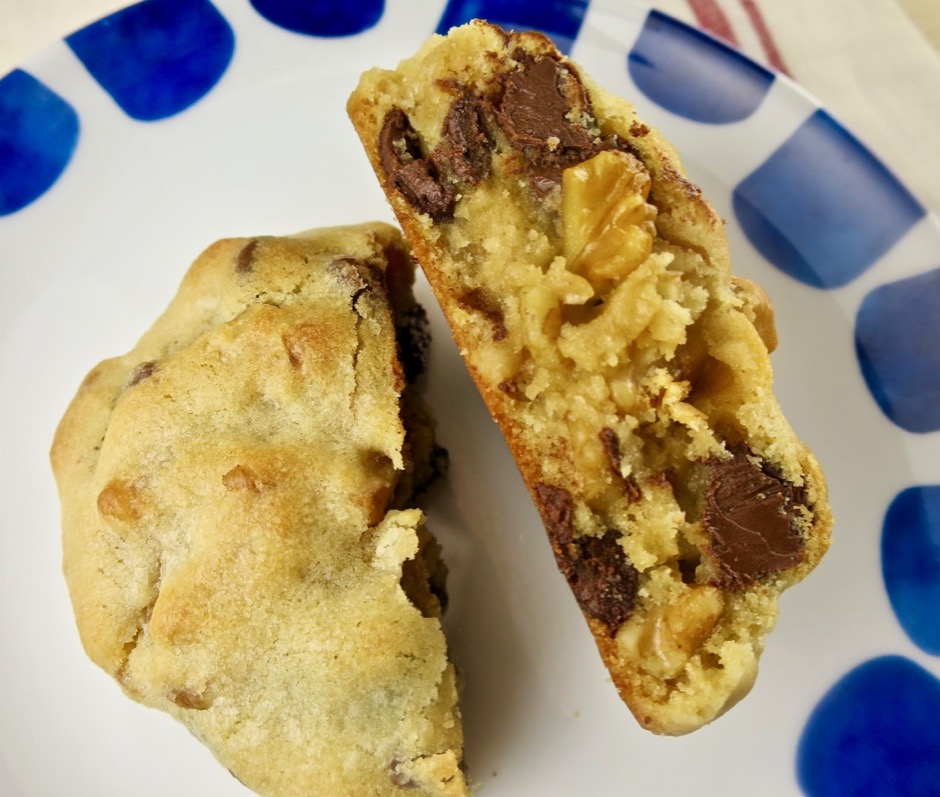
The cookie dough has more than a pound of chocolate chips and nuts combined which makes these cookies particularly delicious.

What’s so cool about these cookies is that there are no specialty ingredients needed and you can make these on the fly because you use cold butter and not butter that needs to sit out for an hour to soften. I do like to use the larger baking chips although regular sized chips will work just fine. I suggest using heaping (rather than level) cups of chocolate chips so that each bite delivers that chocolate experience you would expect in a really good chocolate chip cookie.


The cookie tops are golden brown when done. They smell divine when they come out of the oven. Do your best to resist eating them until they cool down a bit for the perfect cookie texture.


- 1 cup cold Earth Balance Buttery Sticks (or regular butter) cut into small cubes
- 1 cup (145g) light brown sugar, lightly packed
- ½ (99g) cup granulated sugar
- 2 large eggs
- 1½ cups (160g) cake flour
- 1½ cups (190g) all-purpose flour
- 1 teaspoon cornstarch
- ¾ teaspoon baking soda
- ½ teaspoon (scant) salt or ¾ teaspoons if using unsalted butter
- 2 heaping cups (368g) chocolate chips
- 2 cups (215g) walnuts, roughly chopped
- Preheat oven to 400 degrees.
- Line two cookie sheets with parchment paper.
- With a hand held mixer or stand mixer, cream together the cold butter cubes with the brown and white sugar for about 3 minutes until creamy.
- Add eggs one at a time, mixing well between each addition.
- Stir in cake and all-purpose flour, cornstarch, baking soda and salt. Mix until just combined. Stir in chocolate chips and walnuts.
- Lightly form 12 balls and place 6 on each cookie sheet. Each one should weigh about 4⅛ ounces.
- Bake one pan at a time for about 9 minutes, or until the tops of the cookies are light golden brown. Remove from the oven and let cookies rest on the baking sheet for 10 minutes to firm up before transferring to a cooling rack. Repeat with the second batch of cookies.