Search results for

sriracha

Breakfast, Dinner, Eggs, Lactose Free, Recipes, Rice Dishes, Side Dishes, Veggies

Kale Fried Rice

March 8, 2021

Kale Fried Rice

There are countless versions of fried rice.  It can be a stand-alone meal or a splendid side dish. Some of my favorites are ramen fried rice and kimchi and Spam fried rice.  Quick and inexpensive, this particular version couldn’t be easier to make.  Leftover brown rice with wilted kale makes for a healthy meal.  I make it regularly and I don’t think I’ll ever tire of it.

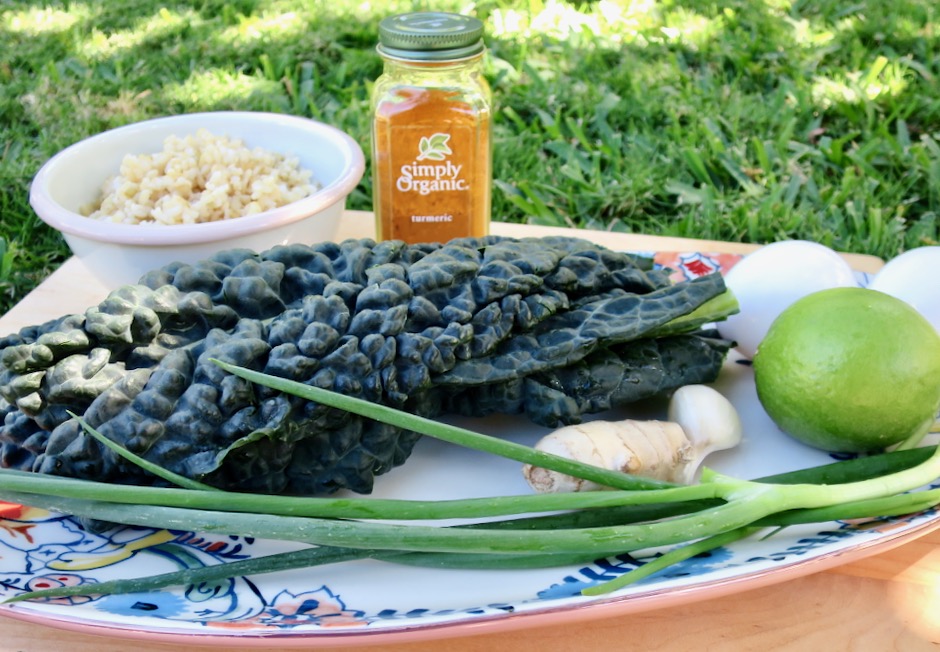
Kale, Brown Rice, Turmeric, Eggs, Lime, Garlic, Ginger, Green Onions

Don’t skip the turmeric.  It’s what gives this dish a slightly earthy flavor and a gorgeous color.

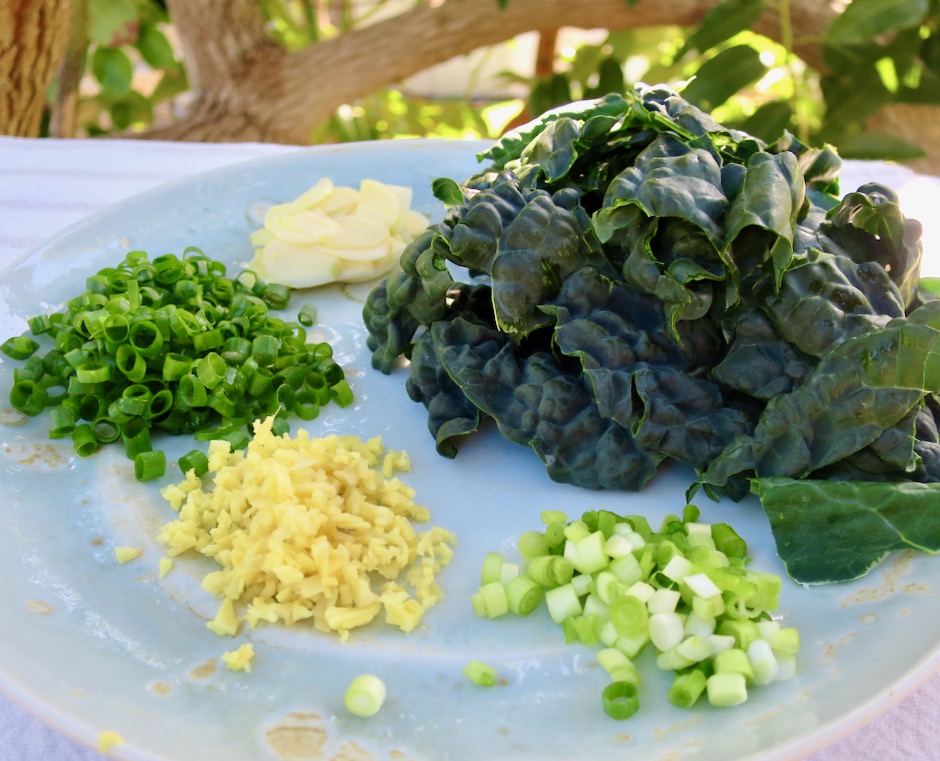
Sliced Garlic, Kale, Light Green Onions, Ginger, Green Onions

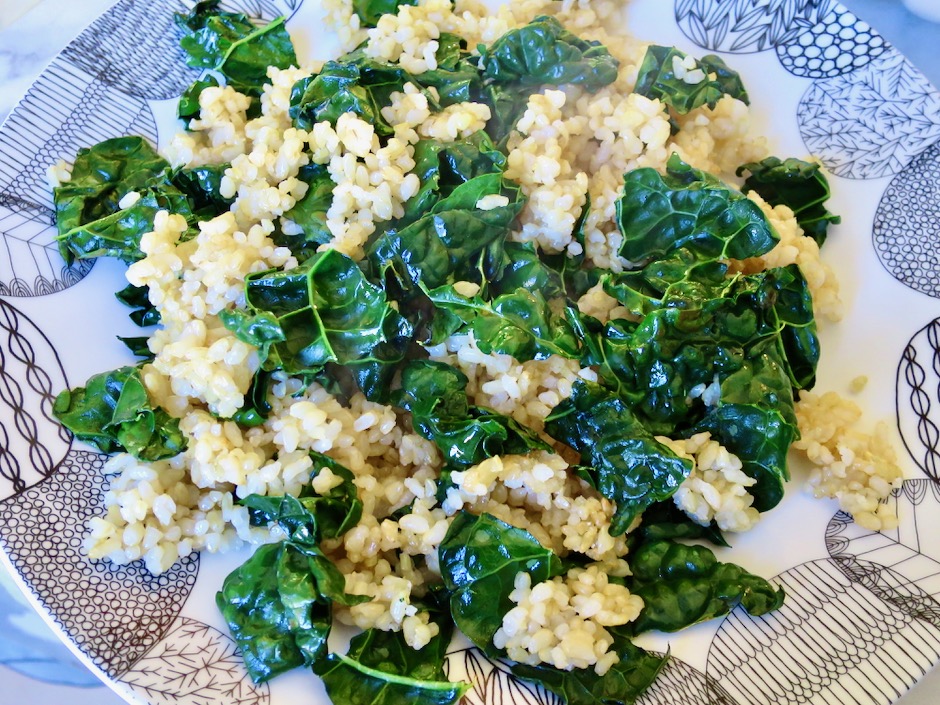
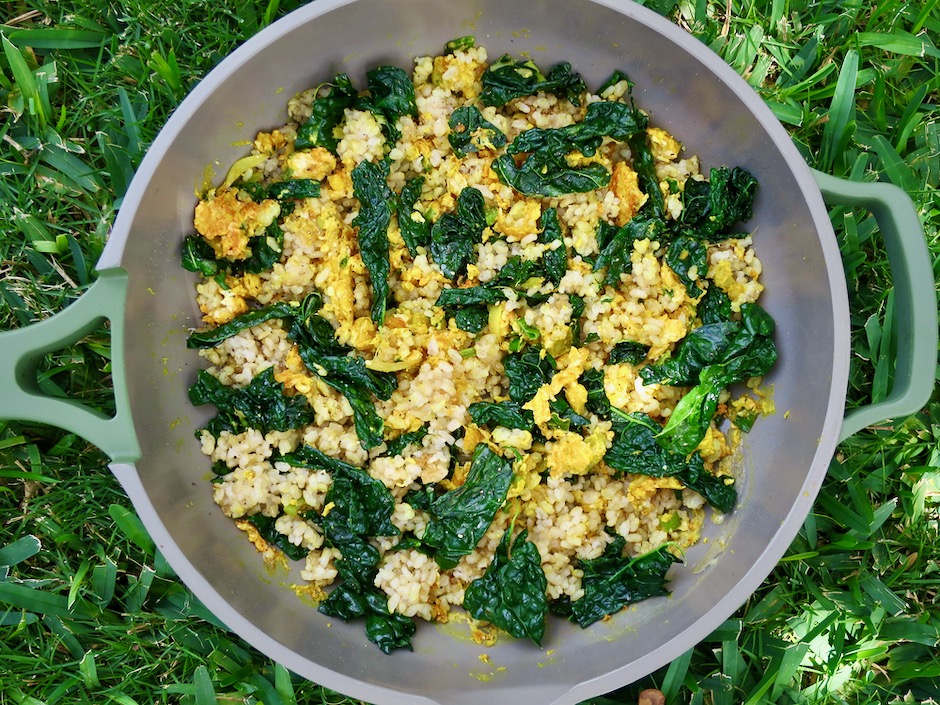
Once the rice is warmed and crisped, handfuls of kale get tossed into the pan until wilted.  If your pan is hot enough, some of the kale will get a bit charred.  This adds another level of flavor to the fried rice.

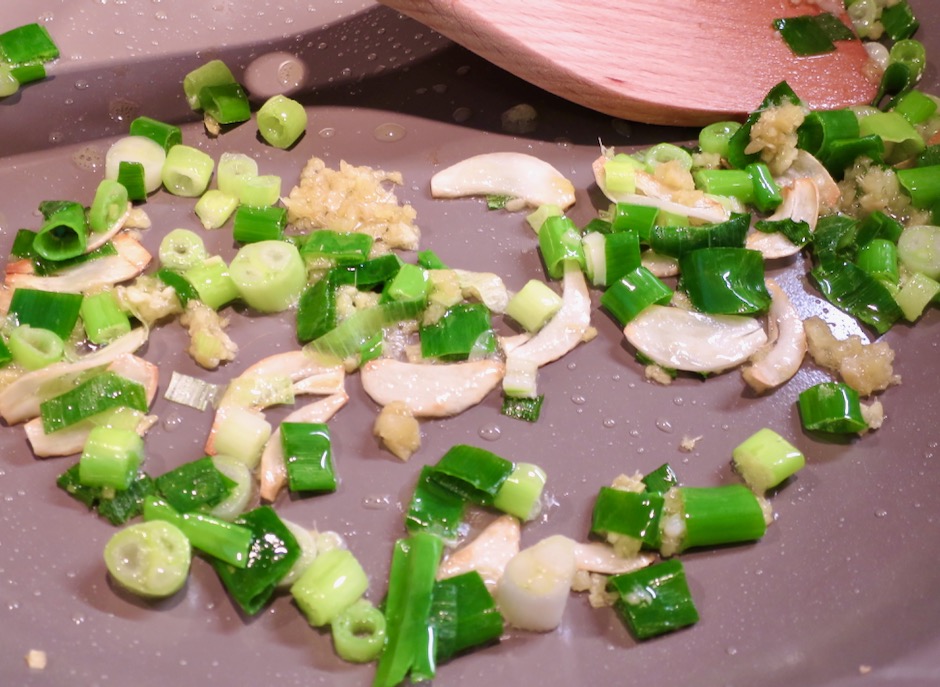
Garlic, Green Onions, Ginger

The garlic is cut into thin slices then lightly browned until the edges are crisp.  Fresh ginger and green onions are stir-fried with the garlic before adding the turmeric and eggs.

Kale Fried Rice

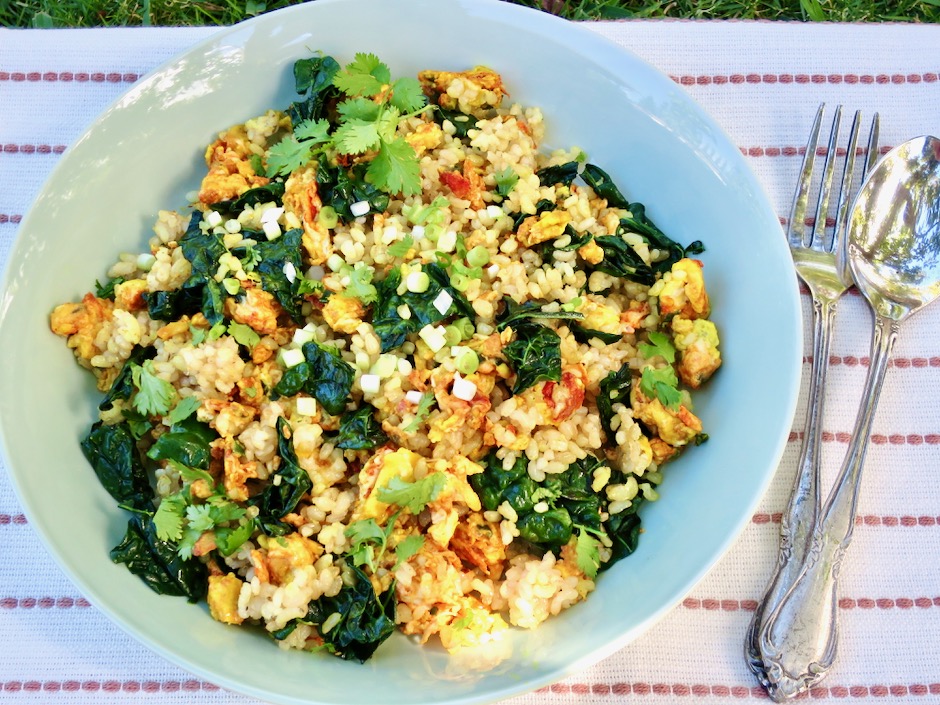
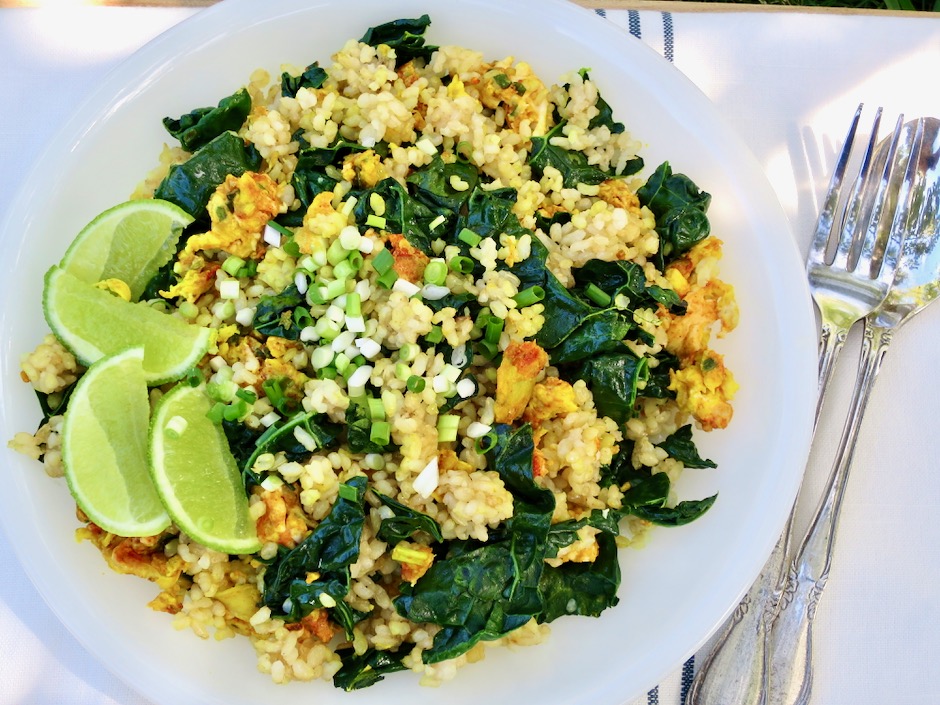
You’ll end up with a gorgeous pan of fried rice that is healthy and delicious.  

Kale Fried Rice

Kale Fried Rice

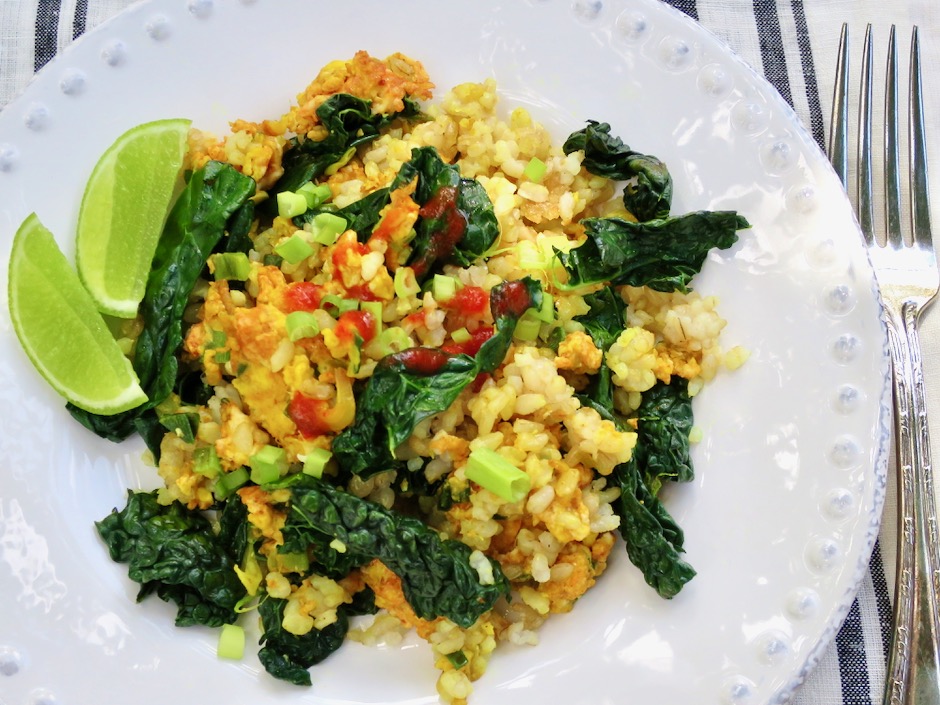
I like to serve the fried rice with sriracha sauce which adds the perfect kick to this meal.  Sprinkle sliced green onions and squeeze fresh lime juice over the rice just before serving.

Kale Fried Rice
 
Adapted from Bon Appetit
Author:
Serves: 2
Ingredients
  • 6 green onions, thinly sliced (set aside a tablespoon for serving)
  • 2 tablespoons grapeseed oil, divided (or another mild flavored oil such as canola)
  • 2 cups cooked short grain brown rice (day old is best)
  • 1 small bunch Tuscan kale, ribs and stems removed, leaves torn (about 2-3 ounces)
  • 2 small garlic cloves, thinly sliced
  • 1 tablespoon finely chopped peeled ginger
  • ¾ teaspoon ground turmeric
  • 2 large eggs
  • lime wedges for serving
Preparation
  1. Heat 1 tablespoon of oil in a large nonstick skillet over medium heat. Add rice, breaking up any lumps. Pat down into an even layer and cook, undisturbed until beginning to crisp, about 3 minutes. Toss and continue to cook, adding kale by the handfuls and letting wilt slightly before adding more. Toss occasionally, until rice is heated through and all the kale is wilted, about 3 minutes. Season with salt and transfer to a plate.
  2. Heat remaining 1 tablespoon oil in same skillet over medium-low heat. Add garlic, ginger, and green onions, stirring often until garlic is lightly browned (careful not to burn) around the edges, about 1-2 minutes. Turn heat up to medium sprinkle turmeric over, then stir in eggs. Using a pair of chopsticks or a heatproof spatula, blend whites and yolks with garlic, ginger, and green onions until the eggs are barely set. Return rice and kale to the skillet, tossing occasionally until hot, adjusting heat as necessary. Divide fried rice between two plates and top with reserved green onions. Serve with sriracha sauce.



Dinner, Korean, Lactose Free, Recipes, Tofu, Vegetarian, Veggies

Green Tea Noodle Salad

March 2, 2021

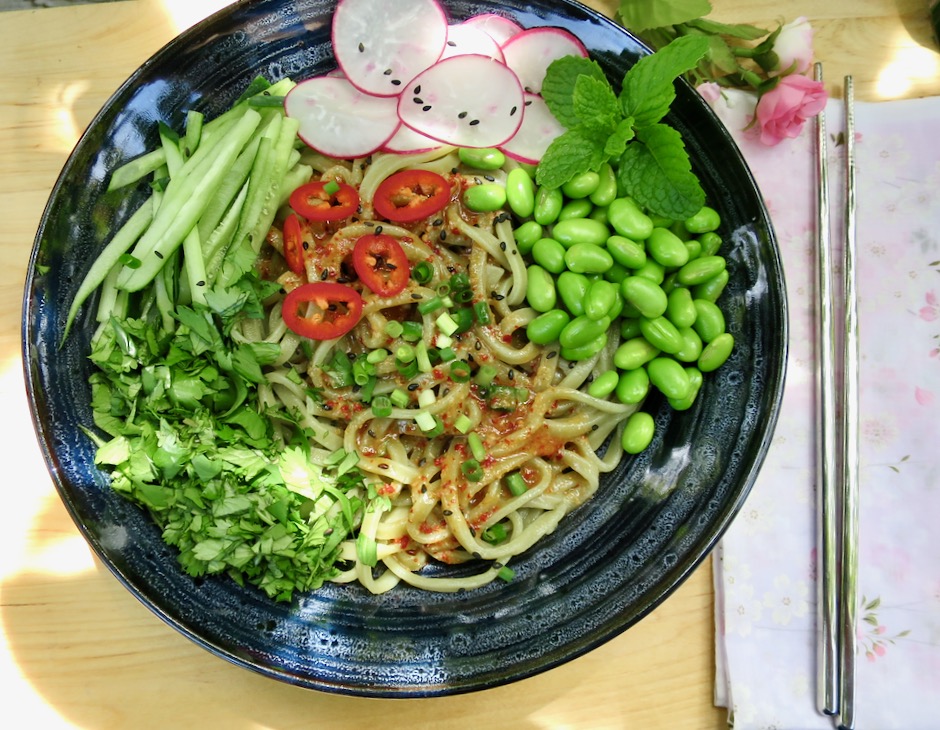
Korean Green Tea Noodle Salad

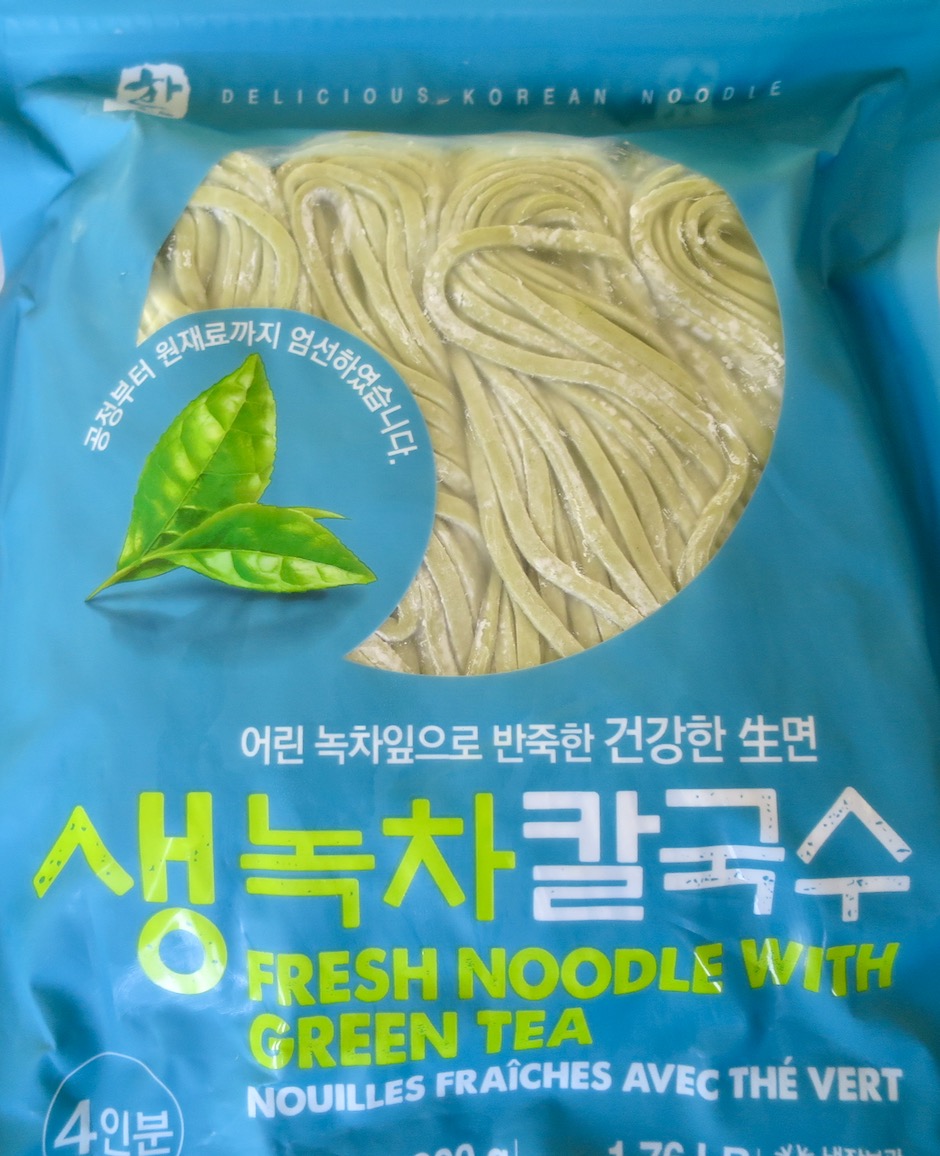
On my recent trip to Oahu I visited H Mart, a terrific Korean market in Kakaako.  I had so much fun checking out all of the items on the shelves, slowly making my way down each aisle being careful not to miss anything.  There are dozens of types of nori, instant noodle bowls, rice, snacks and more. They also have a nice selection of meat and produce.  I always bring back some Chinese broccoli if they have it.  This time I was able to squeeze a large package of fresh green tea noodles in my small cooler bag.  When I returned to Maui I decided that I should create a dish that would feature these noodles in a refreshing salad. 

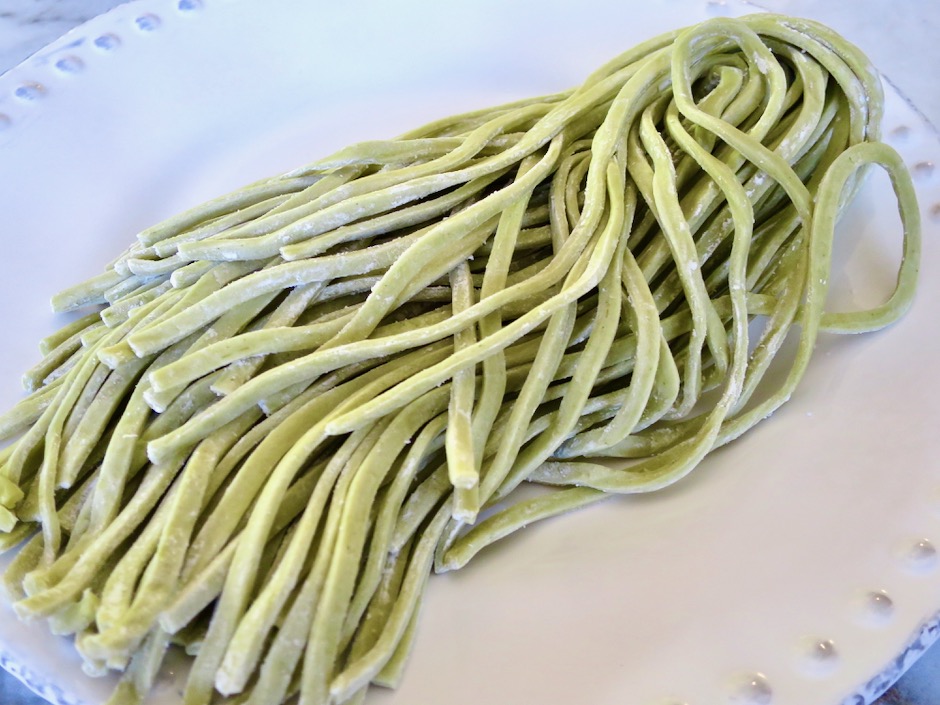
Korean Green Tea Noodles

Korean Green Tea Noodles

These noodles are similar in shape to the fresh Sun Noodle udon I buy at Island Grocery (a good substitute for this dish).

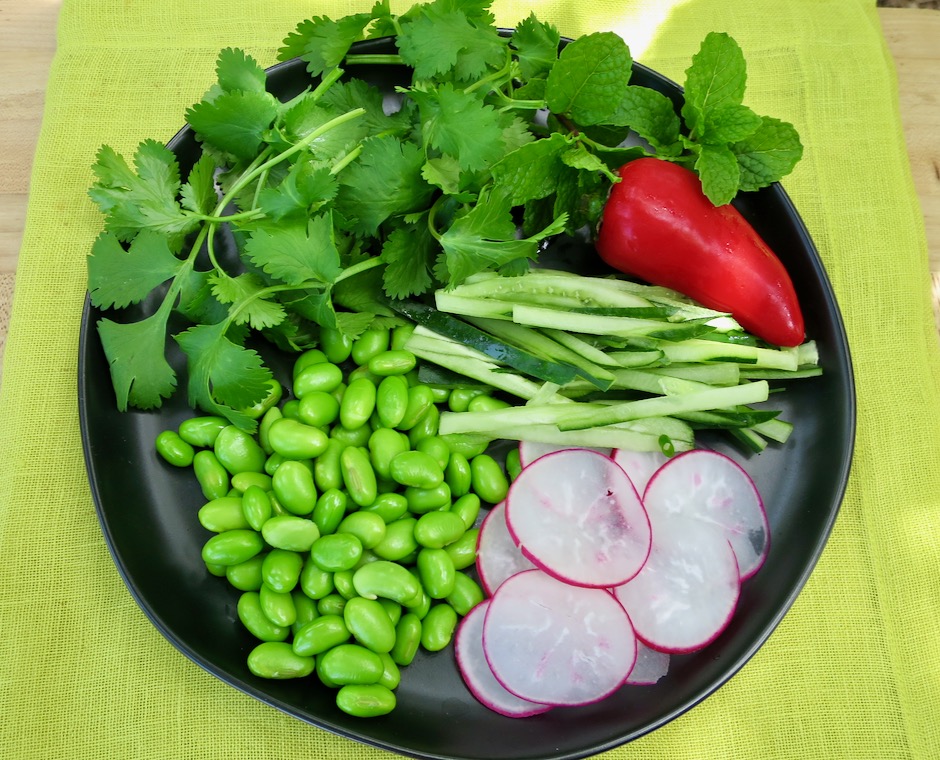
Cilantro, (mint for garnish), Fresno Pepper, Japanese Cucumber, Radish, Edamame

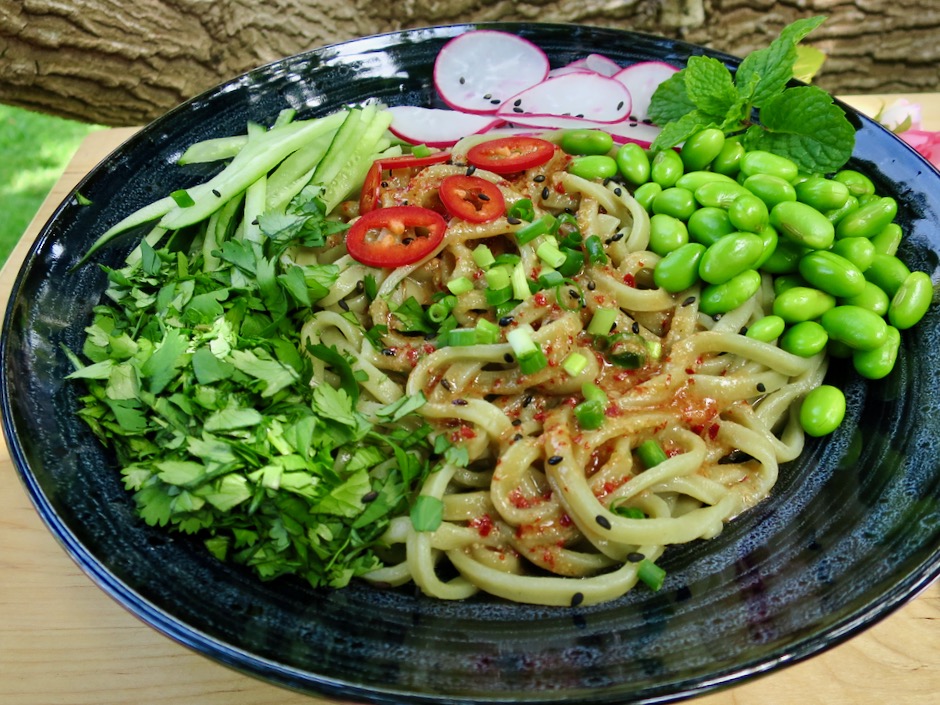
I love the bright green colors in this salad which consists of cucumbers, edamame and lots of fresh cilantro.  For a pop of color and crunch, I included sliced radishes that I cut as thin as possible and placed in an ice bath for 5 minutes to get them super crispy.  Use whatever you have on hand, such as julienned carrots, lettuce, watercress and avocado.  

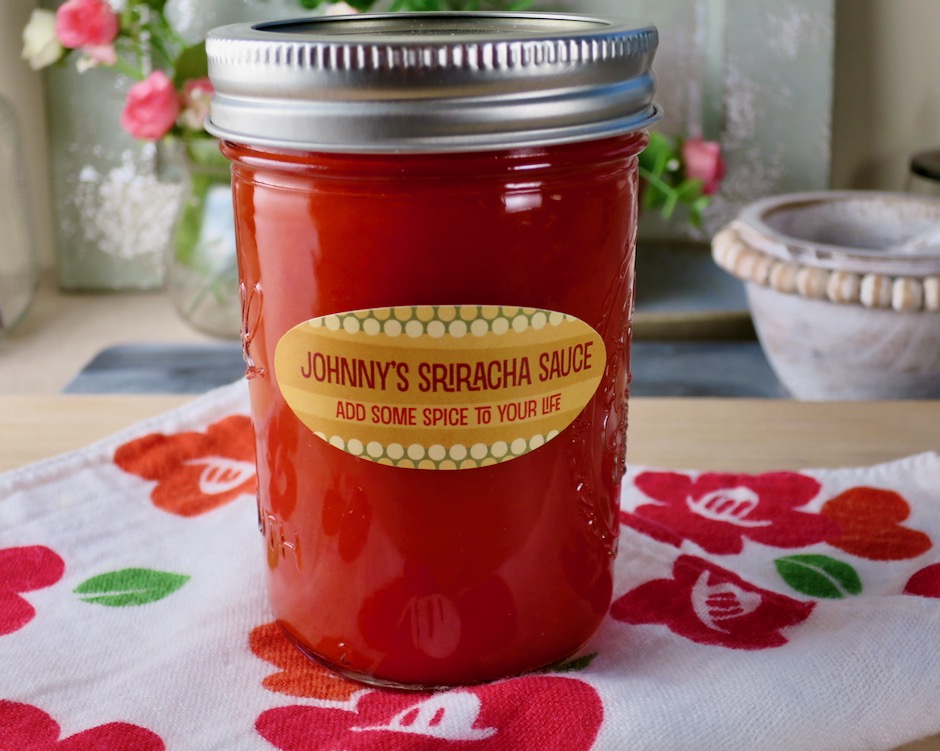
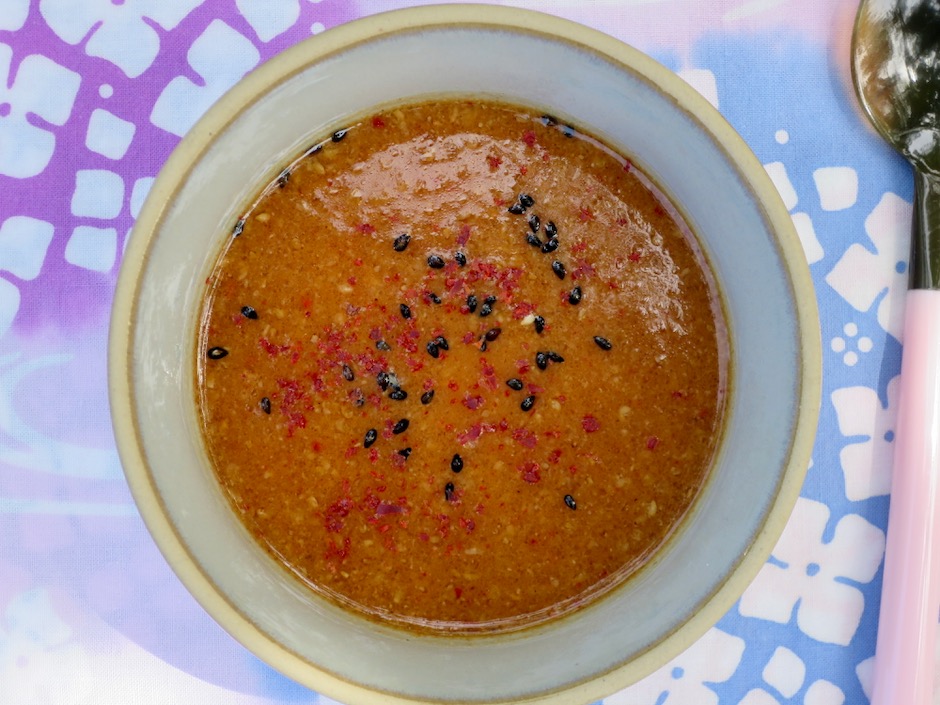
Homemade Sriracha Sauce

Sriracha is a key ingredient in the dressing.  We use our homemade sriracha but the “Rooster Sauce” works very well.

Salad Dressing

The dressing can be used on any cold noodle salad, drizzled over tofu, or as a dressing for a crispy iceberg salad.

Korean Green Tea Noodle Salad

Korean Green Tea Noodle Salad
 
Author:
Serves: 2
Ingredients
  • 8 ounces fresh green tea noodles (substitute fresh udon or your favorite noodles)
  • ½ cup cooked edamame
  • ½ Japanese cucumber, julienned
  • 1 small radish, sliced thin and chilled in ice bath for 5 minutes
  • chopped cilantro
  • chopped green onions
  • sliced Fresno pepper (optional)
  • Dressing:
  • 3 tablespoons rice vinegar (not seasoned)
  • 1½ tablespoons sesame oil
  • 1 tablespoon honey
  • 2 teaspoons soy sauce
  • 2 tablespoons light miso
  • 1 teaspoon gochugaru
  • 3 teaspoons sriracha (less or more depending on your preference)
  • 2 teaspoons finely ground roasted sesame seeds
Preparation
  1. Boil the noodles according to the package directions. Immediately transfer to a colander and rinse under cold water to stop the cooking. Set aside to drain.
  2. Whisk all of the dressing ingredients in a medium bowl until well combined.
  3. Divide noodles between two bowls. Drizzle some of the dressing over the noodles. Top noodles with vegetables, cilantro, green onions and Fresno pepper if using. Serve extra sauce on the side to drizzle over the vegetables.


Breakfast, Dinner, Eggs, Japanese, Korean, Lactose Free, Recipes, Rice Dishes

Instant Ramen Fried Rice

May 31, 2020

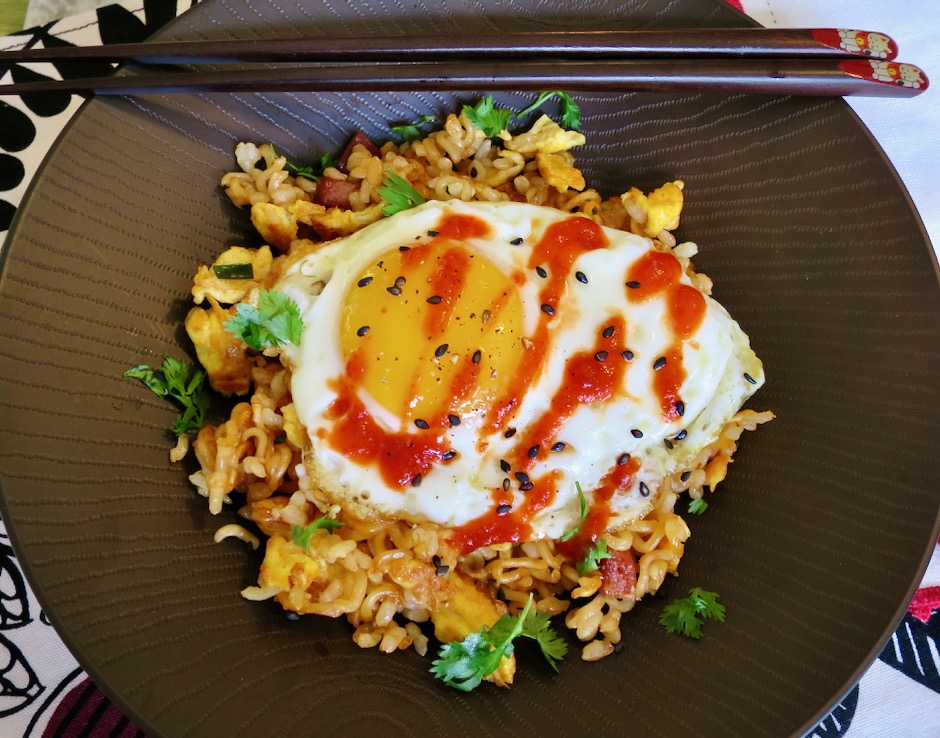
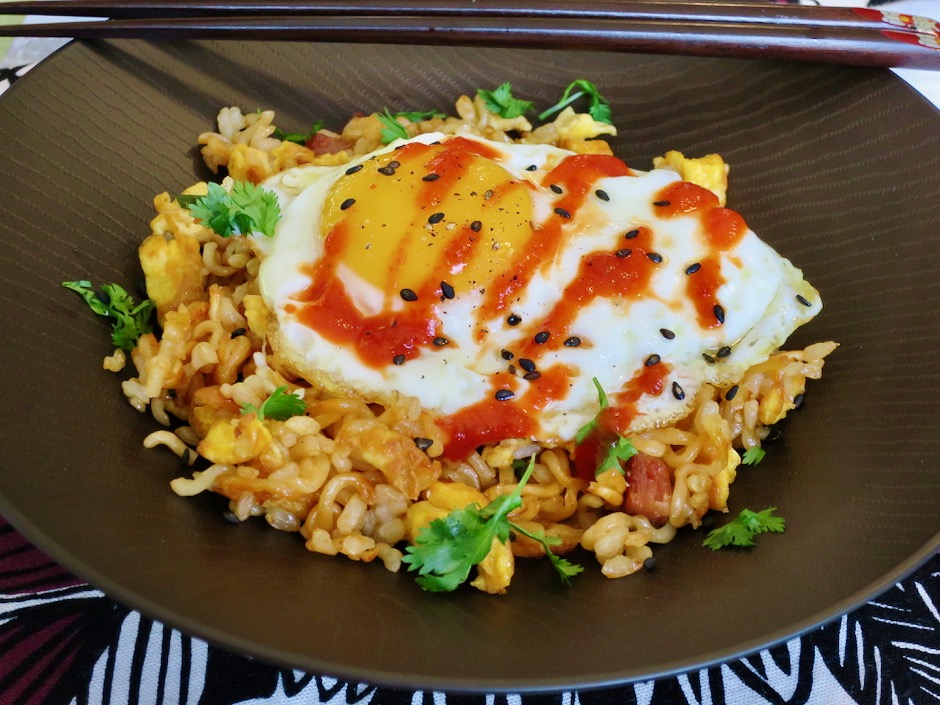
Ramen Fried Rice with Sunny Side Up Egg

I came across this recipe on the always interesting Serious Eats blog.  It seems that instant ramen fried rice is the latest food craze in Japan.  Everyone there has instant ramen in their cupboards, and so do many of us.  This dish is inexpensive, perfect for single servings, and most of all so tasty.

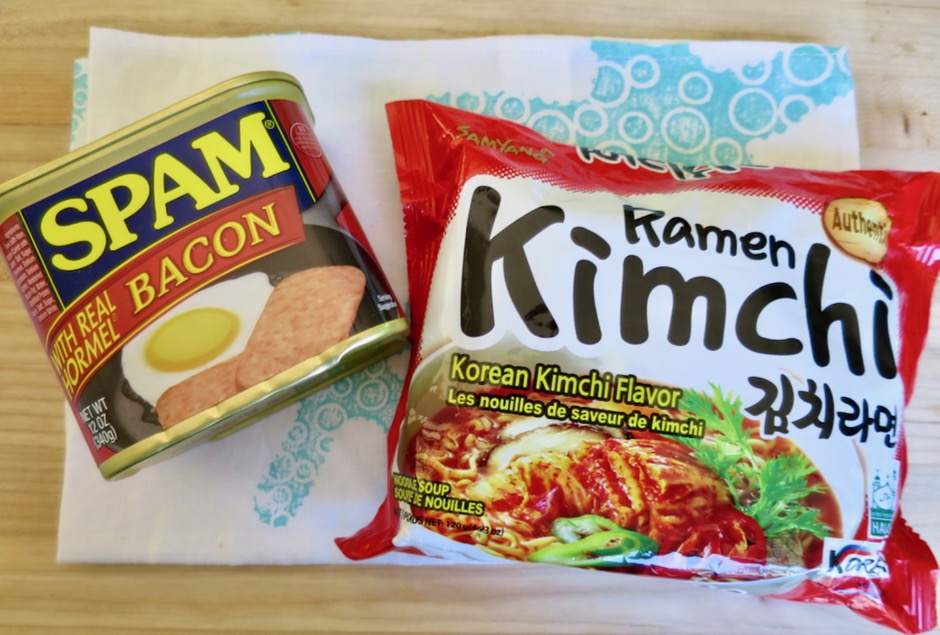
Bacon Spam & Kimchi Ramen

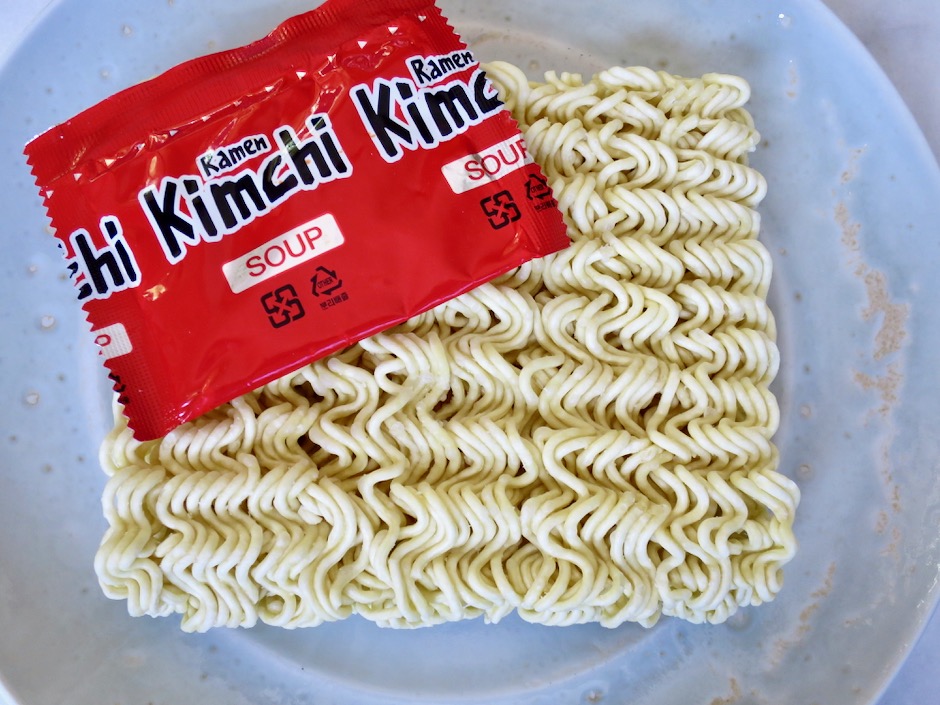
I added some Bacon Spam to my ramen fried rice for an extra umami boost but you may omit it to make things simpler and quicker. For just one serving, use your favorite flavor of Cup Noodles instant ramen.  I used Kimchi ramen since it was what I had available and it was perfect for the two of us.

Kimchi Ramen

Unlike many other ramen recipes that suggest you throw out the flavor packet and make your own soup, you’ll want to keep it this time.  This is suppose to be a no fuss meal after all.

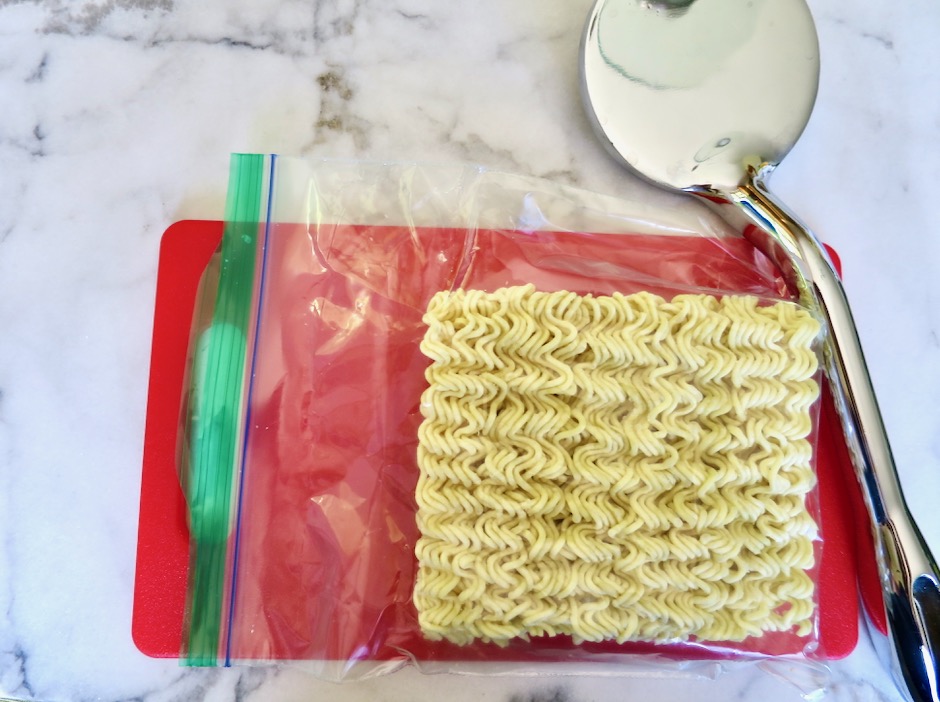
Ramen Noodles

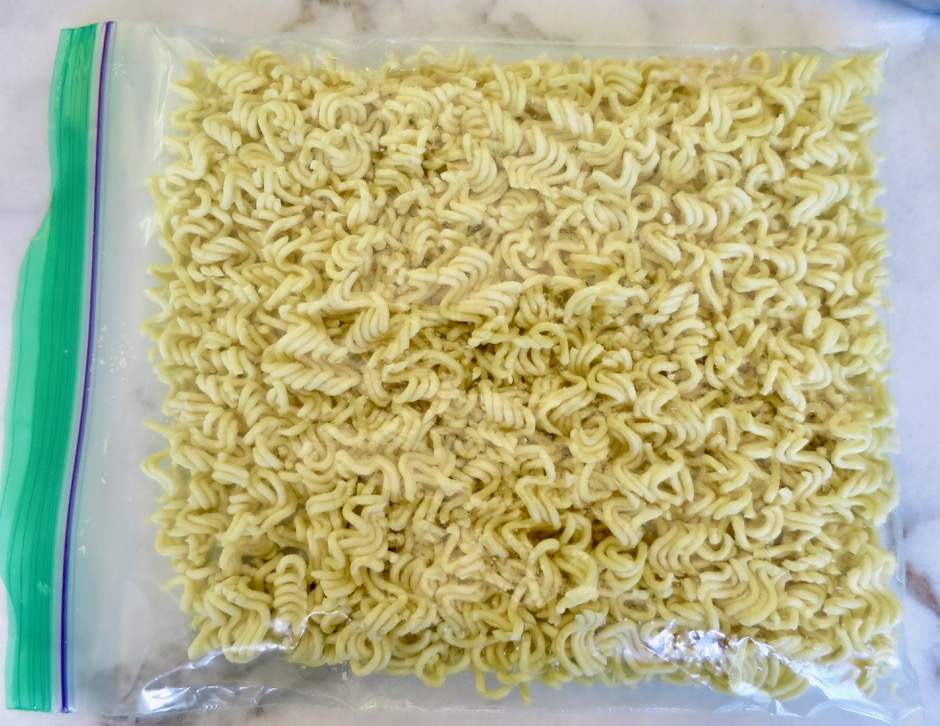
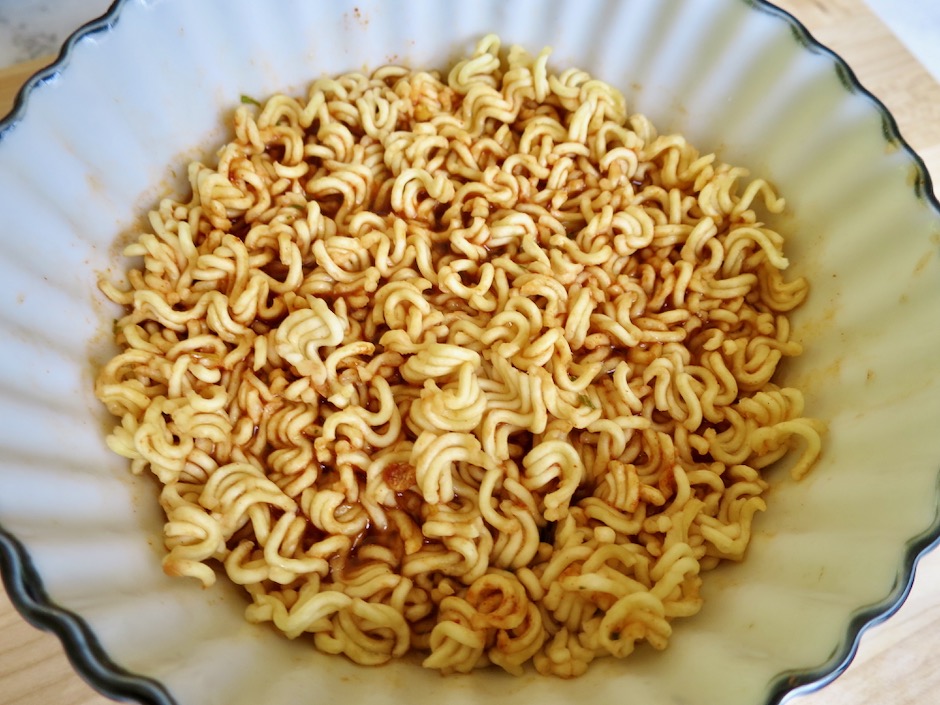
Crush the noodles into small pieces before adding the soup base and boiling water.

Crushed Ramen Noodles

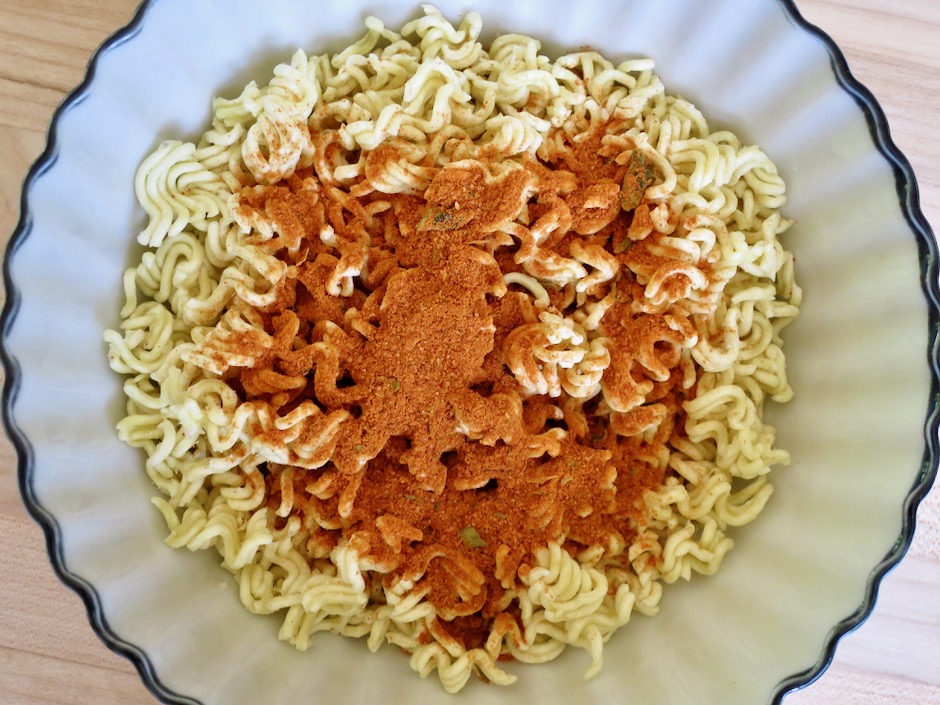
Crushed Ramen Noodles with Soup Base

Pour just enough boiling water over the noodles and soup base to rehydrate the noodles.  You don’t want to use too much water which would lead to soggy fried rice. Give the noodles and soup base a quick stir, cover and let sit for a few minutes.

Ramen Noodles & Soup Base Rehydrating

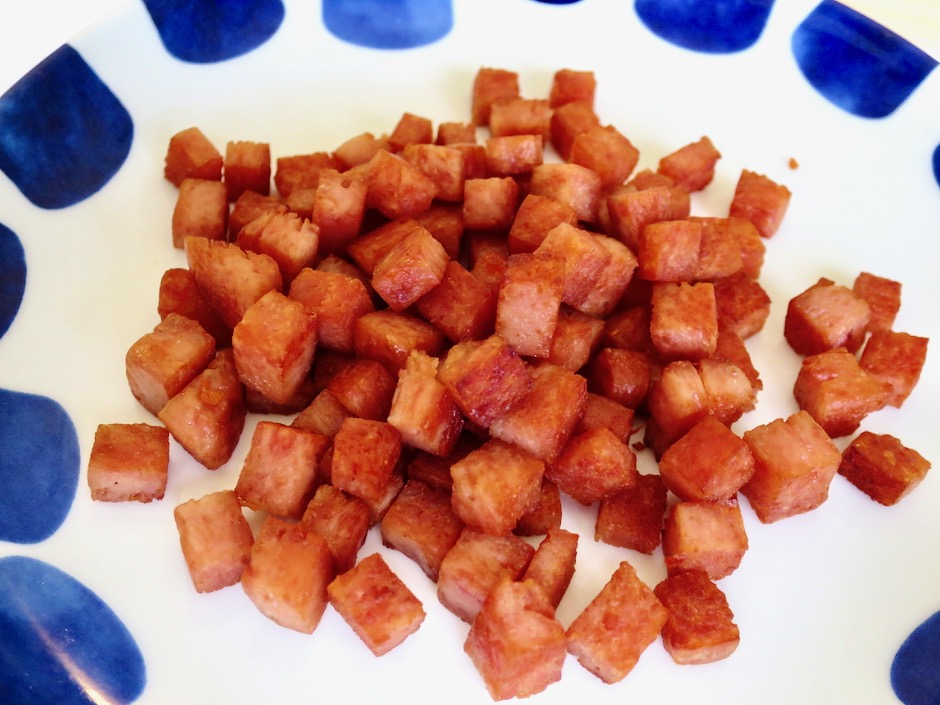
Bacon Spam

With Spam (the unofficial state food of Hawaii), there are two options: either you like it (add it) or you loathe it (leave it out).

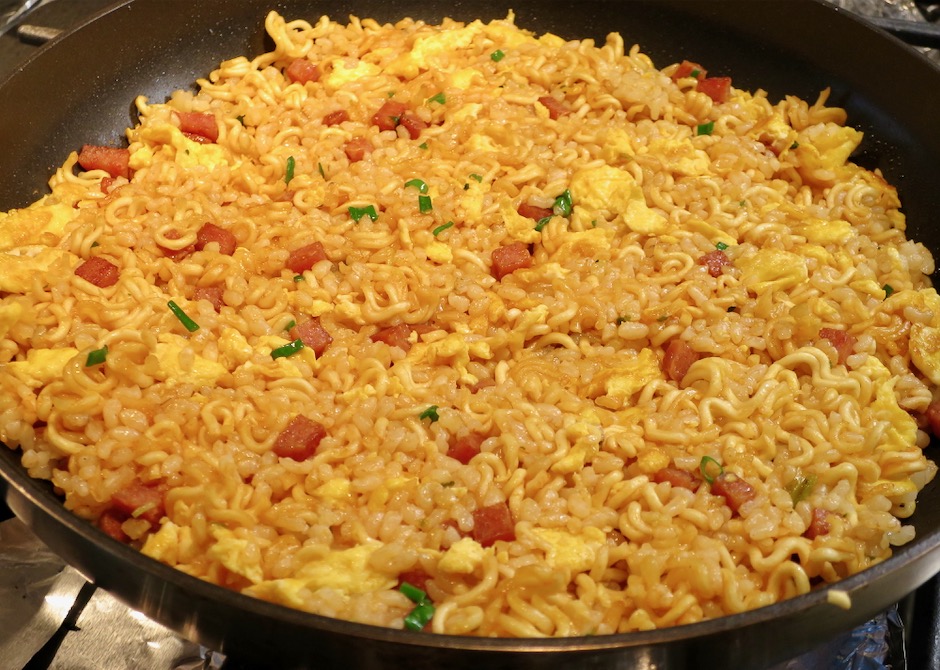
Ramen Fried Rice with Bacon Spam

Almost any type of rice will work in this recipe. I used 2 cups of cooked short grain brown rice.

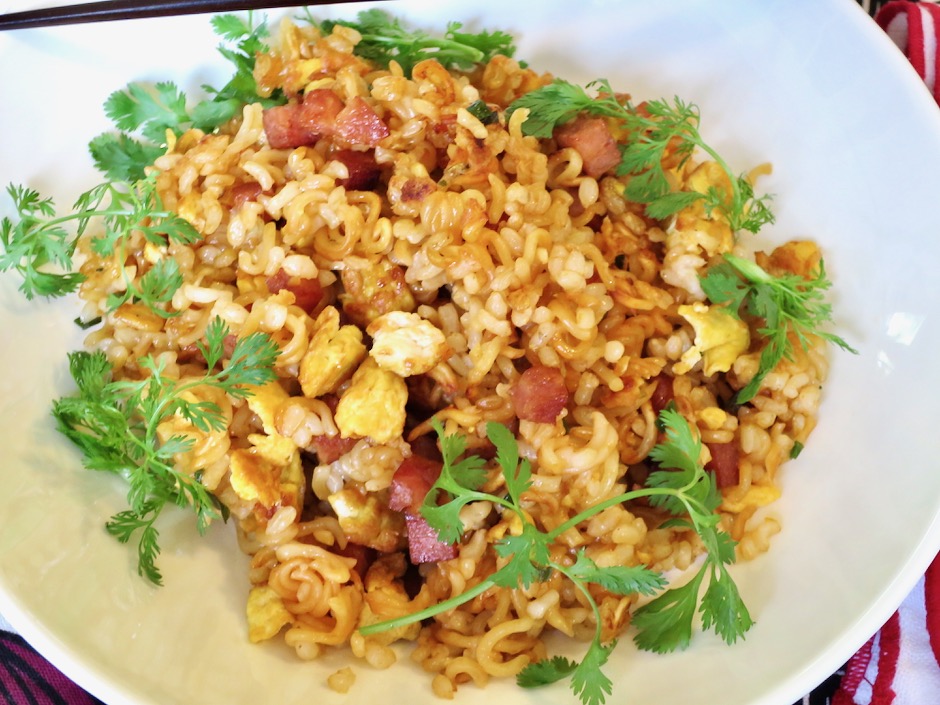
Ramen Fried Rice with Bacon Spam

Since eggs are one of my favorite foods, I couldn’t resist frying up a couple of sunny side up eggs to eat with our ramen fried rice.  A good drizzle of sriracha sauce is the ideal accompaniment for this satisfying meal. Oishii!

Ramen Fried Rice with Sunny Side Up Egg

Ramen Fried Rice
 
Adapted from Serious Eats blog
Author:
Serves: 2
Ingredients
  • 1 package (about 4.25 ounces) kimchi ramen
  • 2 cups cooked short grain brown rice
  • 2 eggs, lightly beaten
  • 2 pieces Bacon Spam, diced small and fried until crisp (optional)
  • 2 sunny side up eggs (optional)
  • cilantro for sprinkling over fried rice (optional)
  • Sriracha (optional)
Preparation
  1. Crush ramen noodles and place in a bowl with soup base. Pour boiling water over noodles (just enough to barely cover the noodles) and give them a quick stir. Cover and rehydrate noodles while you continue with the recipe.
  2. Heat 2 tablespoons canola oil in a large (I use 11") non-stick skillet over medium-high heat. Once the oil is shimmering, add beaten eggs and scramble just until barely set. Add rice to the pan and heat through, breaking up any large lumps, about 1-2 minutes. Add cooked Spam cubes if using.
  3. Add noodles along with any liquid (you shouldn't have too much liquid left after rehydrating the ramen) to the rice and stir constantly until excess moisture has cooked off. Taste and season with salt if needed. Press the rice mixture in an even layer on the bottom and up the sides of the pan to allow crispy bits to form. Serve ramen fried rice with sunny side up eggs, cilantro, soy sauce and sriracha.


Appetizers, Beef, Dinner, Korean, Lactose Free, Recipes, Sandwiches

Korean Buns

March 12, 2020


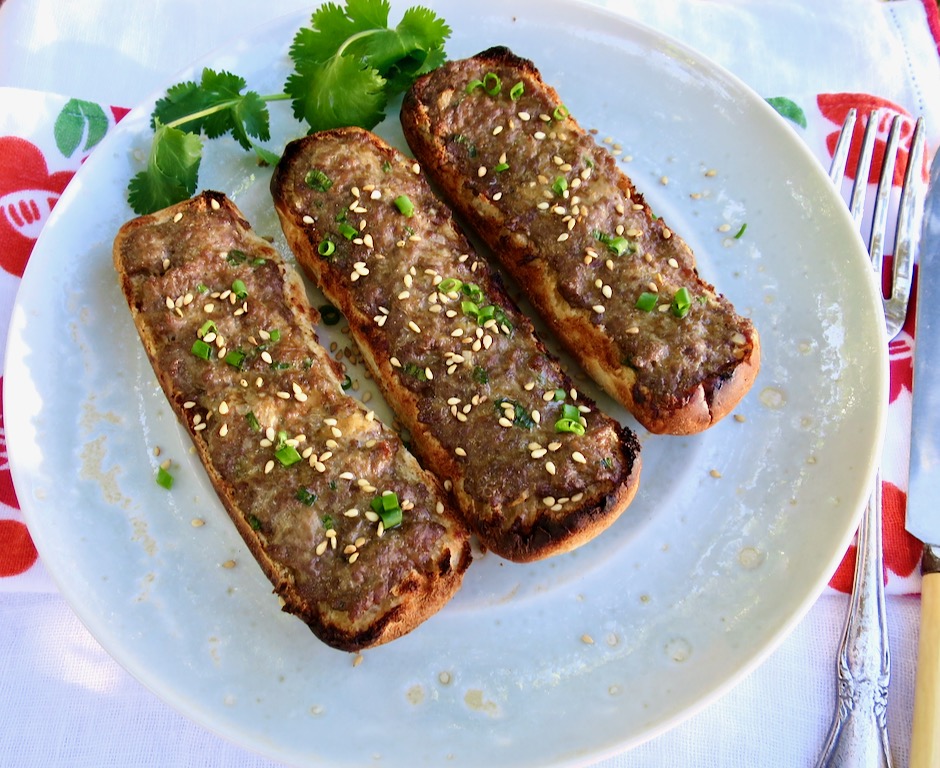
Korean Buns

I posted a recipe for Korean hamburger patties back in 2012. This is one of my favorite recipes and I make it on a regular basis.  This post is a description of how my mom originally made the dish using the ground meat mixture on hot dog buns.  I always requested these Korean buns when my girlfriends came over for a slumber party (back in the day).  These are so easy to make and very tasty.

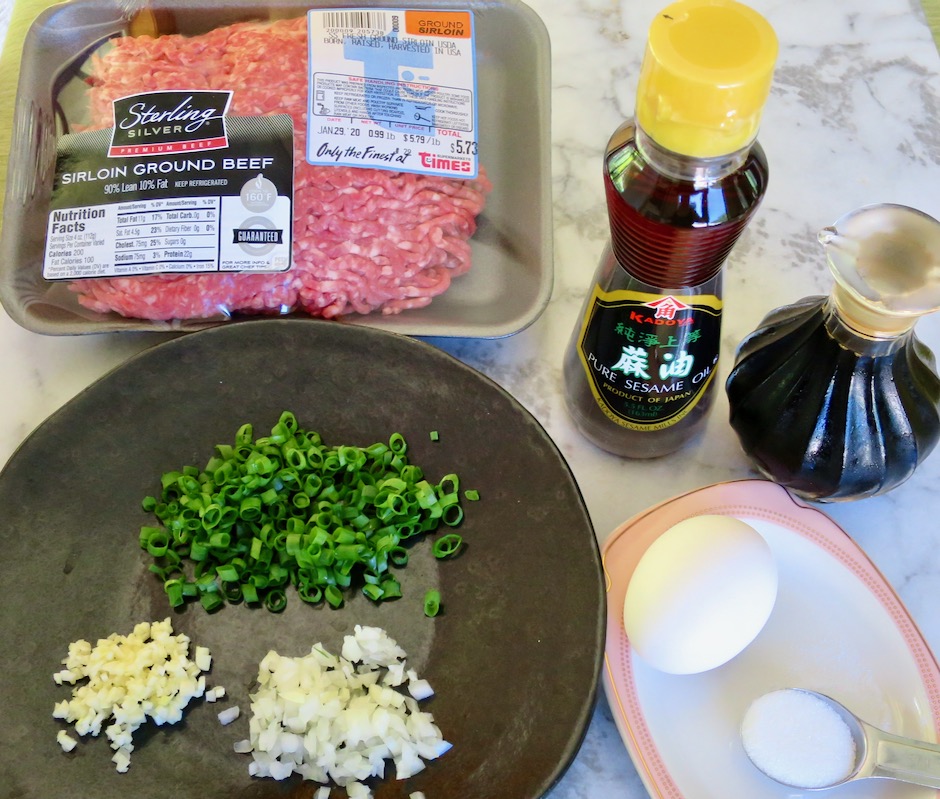
Korean Buns Ingredients

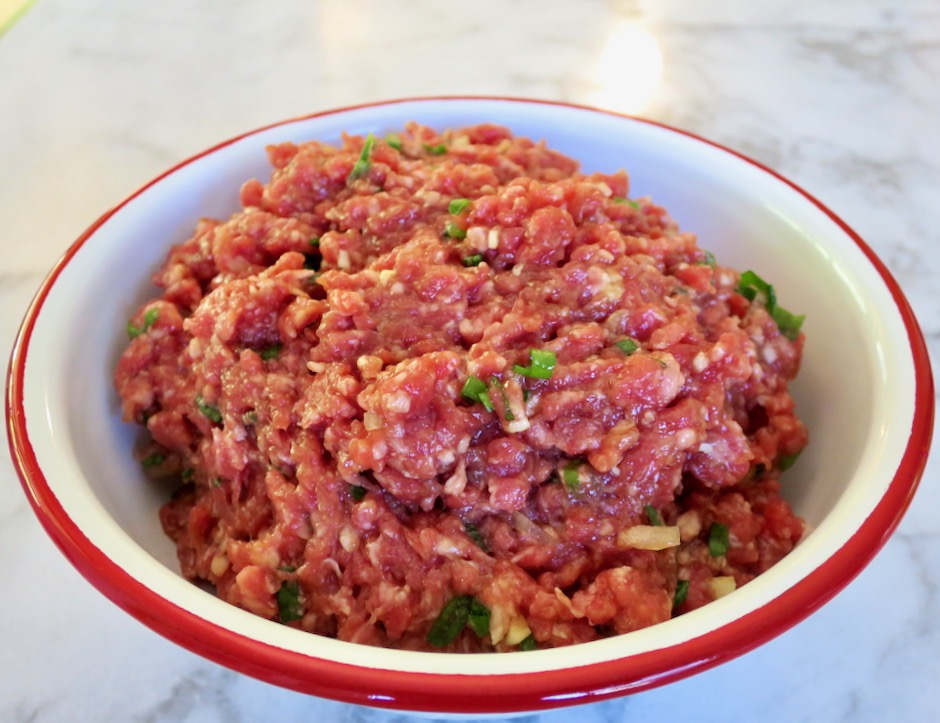
You can make the meat mixture earlier in the day and store it in your refrigerator until you are ready to prepare the buns.  The few ingredients for this recipe all have that umami flavor that makes this simple meal so good.

Korean Buns Meat Mixture

Hot Dog Buns

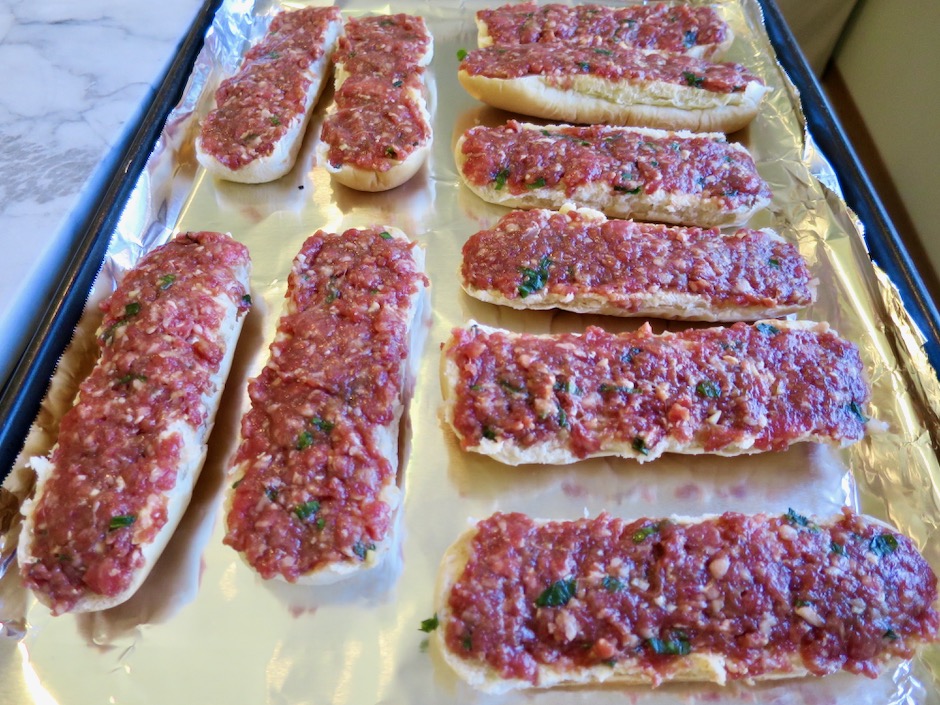
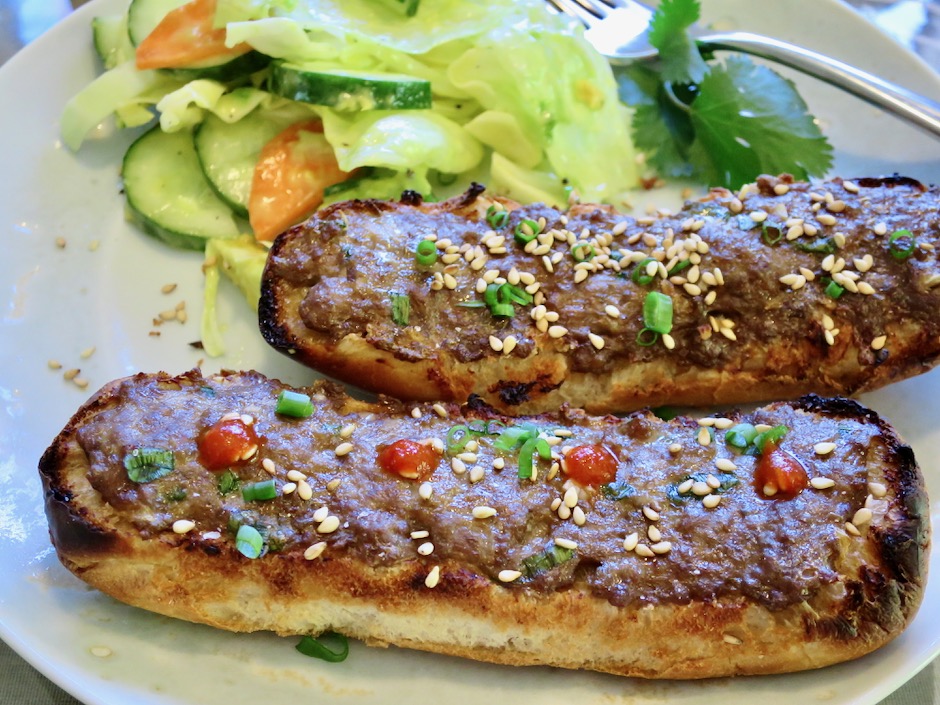
I used 5 hotdog buns that I split, making 10 Korean buns.  The meat mixture is spread thinly over each bun and broiled quickly.  I used the remainder of the meat for slider patties for another meal.  If you are making the buns for a crowd you can use 10-12 buns instead of 5.

Korean Buns

Serve the buns with a crispy salad and you’re all set.  If you want a little kick, drizzle a bit of sriracha on each bun.

Korean Buns

Korean Buns
 
Author:
Serves: 10 split buns
Ingredients
  • 5 hot dog buns, split (depending on how many people you are serving, use up to 12 buns making 24 split buns)
  • 1 pound lean ground beef (I use ground sirloin)
  • 1 tablespoon finely chopped onion
  • 3 tablespoons finely chopped green onion
  • 1 medium clove garlic, minced
  • 1 teaspoon sesame oil
  • 4 tablespoons soy sauce (Kikkoman recommended)
  • 1 heaping teaspoon sugar
  • 1 large egg
  • To garnish: Roasted sesame seeds and thinly sliced green onions
Preparation
  1. Place oven rack on the second position from the top, about 6 inches away from the element. Preheat broiler on high. Line a large sheet pan (jelly roll pan works great) with foil for easy clean up.
  2. In a large bowl, gently break up the ground beef with two forks or your fingertips. Add onion, green onion, garlic, sesame oil, soy sauce, sugar and egg. Mix gently to combine ingredients.
  3. Spread a thin layer of the meat mixture on each split bun, covering as much of the edge of each bun as possible.
  4. Place pan under the broiler and broil for a few minutes until the meat is cooked and the buns are nicely browned on the edges. The buns are best served right away but leftovers can be reheated in a toaster oven.


Appetizers, Dinner, Kimchi, Korean, Lactose Free, Recipes

Kimchi & Bacon SPAM Pancakes

August 29, 2018

Kimchi Pancake with Bacon Spam

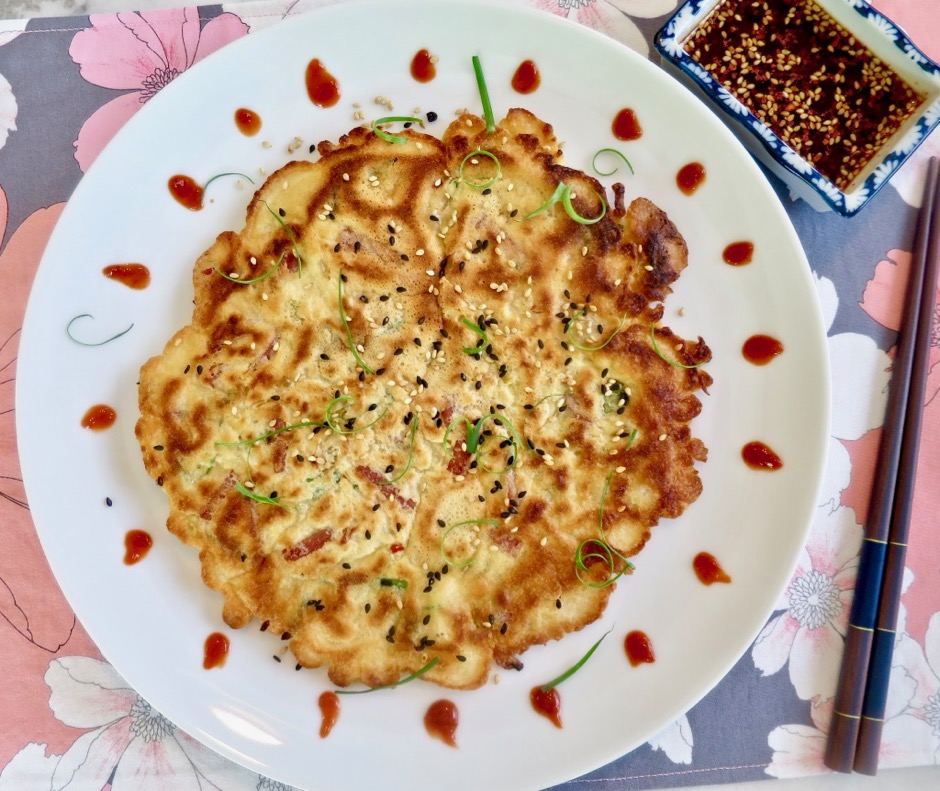
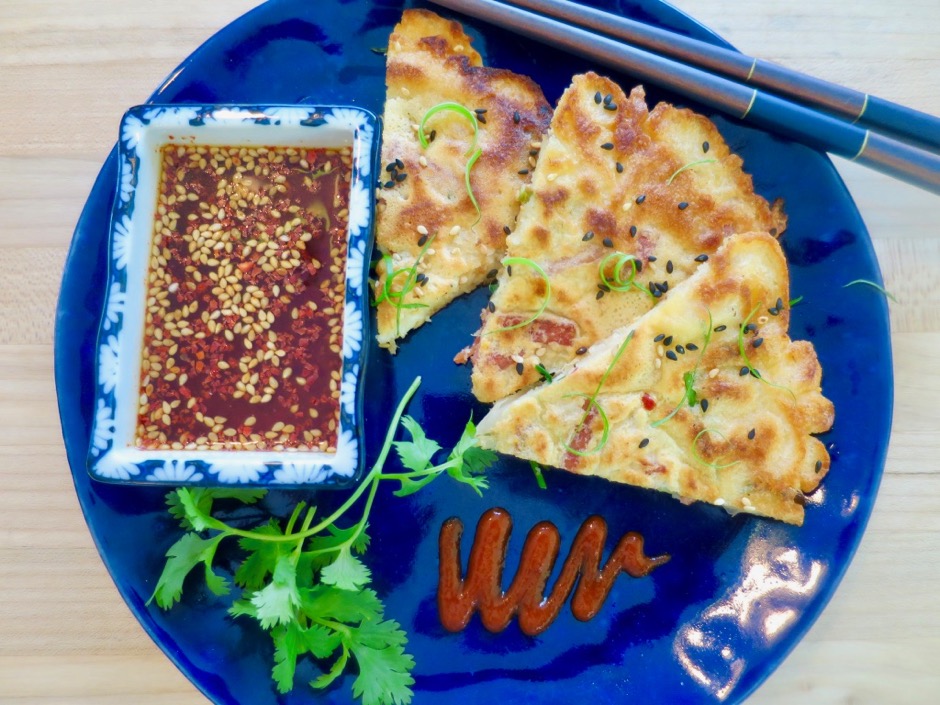
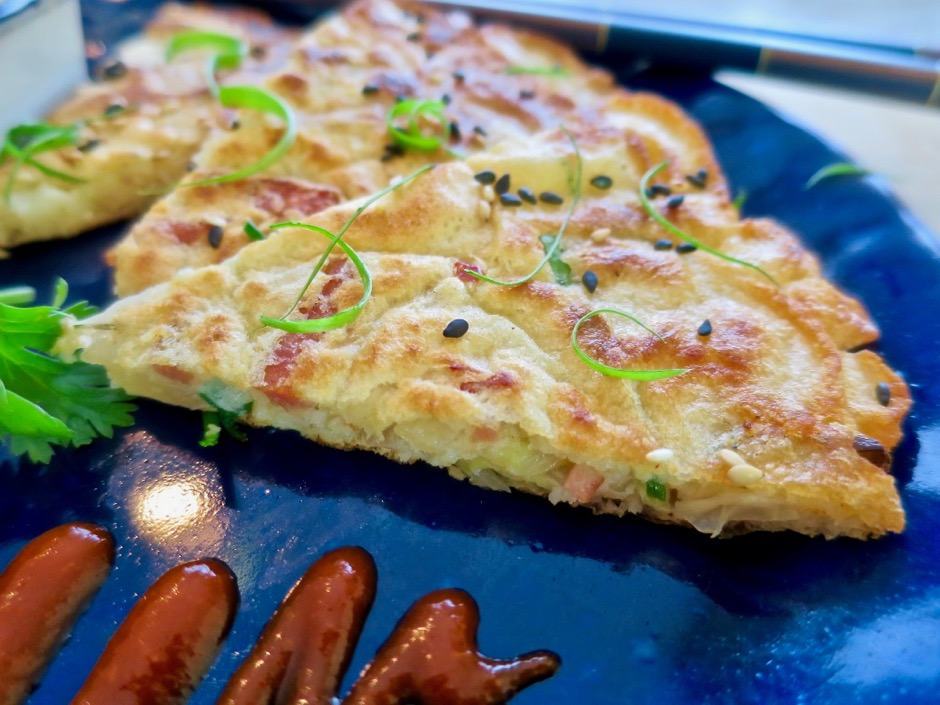
John’s favorite weekend breakfast is griddle cakes. I have to agree, they are delicious with pats of salty butter and maple syrup.  But the sweet breakfast pancake has savory relatives, one of which is this kimchi pancake.  It is mildly spicy, with a tangy flavor from the kimchi and delightfully crispy around the edges.  I couldn’t resist adding Bacon Spam to the pancake. Yum.

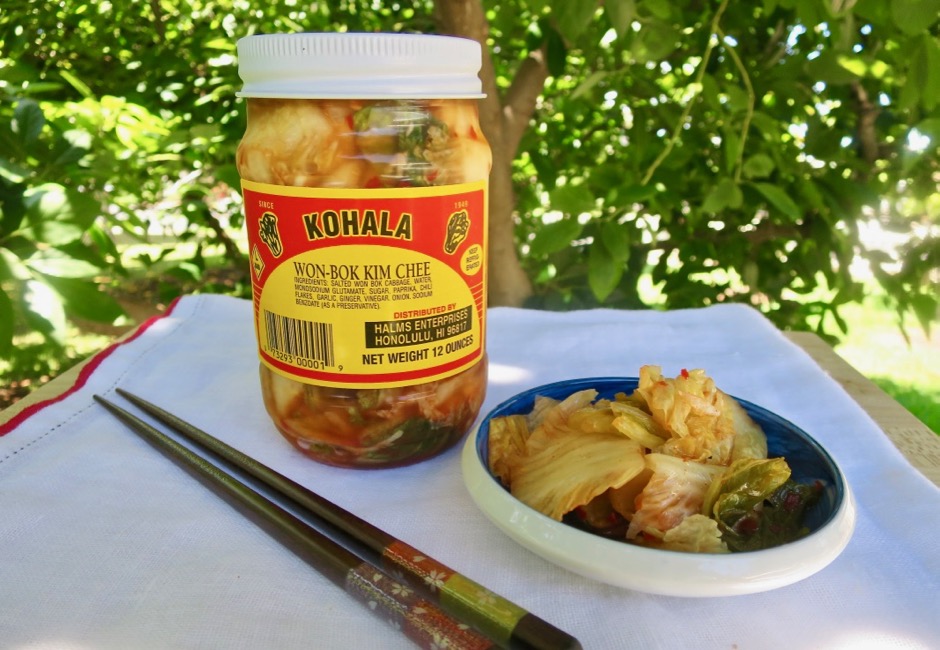
Kimchi

Use your favorite kimchi in these pancakes. Mild or spicy, either one works.

Bacon Spam

Don’t dismiss the idea of using Bacon Spam, it adds an abundance of flavor. But, you can skip it if you are not a Spam fan.

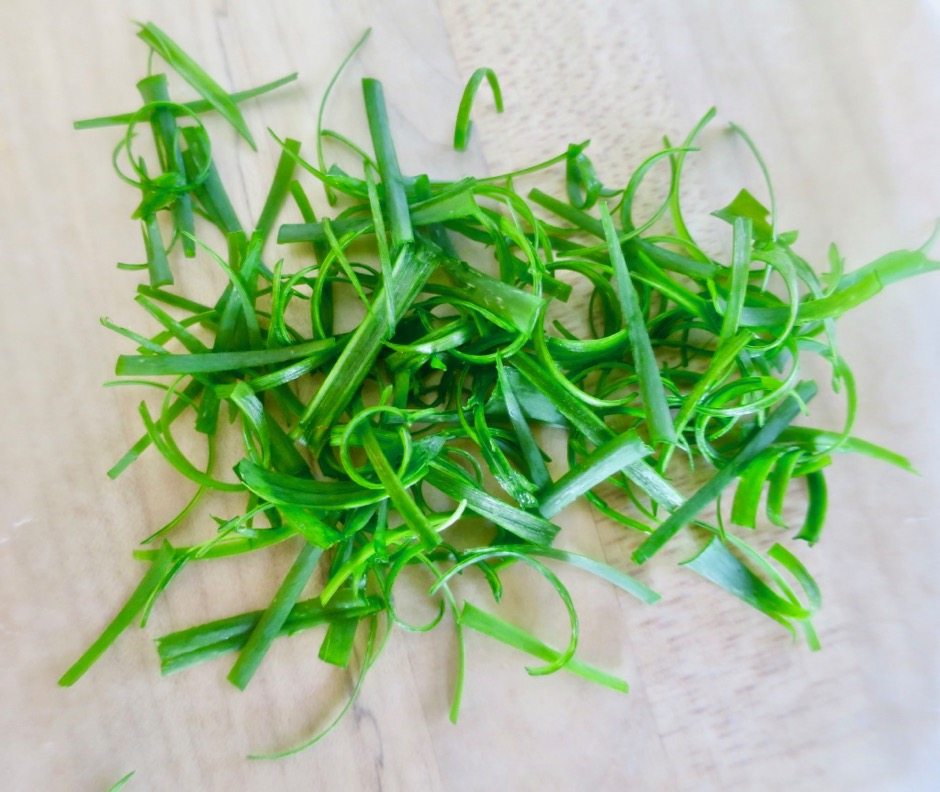
Sliced Green Onions

Lots of green onions (scallions) adds an additional depth of flavor to the pancakes.  Chopped, thinly sliced, or slivered are all acceptable.

Kimchi Pancakes with Bacon Spam

The dipping sauce is a simple combination of soy sauce, rice vinegar, a dash a sugar, Korean chili flakes and roasted sesame seeds.  Serve the sauce with the pancakes and a drizzle of sriracha.

Kimchi Pancakes with Bacon Spam

Kimchi & Bacon SPAM Pancakes
 
Author:
Serves: 2 pancakes
Ingredients
  • Dipping Sauce:
  • ¼ teaspoon sugar
  • 2 tablespoons unseasoned rice vinegar
  • 2 tablespoons soy sauce
  • ¼ teaspoon Korean chili flakes (or dash of red pepper flakes)
  • ¼ teaspoon roasted sesame seeds
  • Pancakes:
  • 2½ ounces (3 thin slices) bacon Spam, cut into thin slices and fried until crisp (drain on paper towel lined plate)
  • ½ cup all-purpose flour
  • ½ cup rice flour
  • 1 extra-large egg, lightly beaten
  • ¾ cup cold seltzer water
  • ½ teaspoons sesame oil
  • ¾ teaspoon kosher salt
  • 1 cup kimchi, coarsely chopped
  • 4 green onions, sliced thinly
  • canola oil for frying
Preparation
  1. In a small bowl combine sugar with the rice vinegar, stirring until sugar has dissolved. Add soy sauce, Korean chili flakes, and sesame seeds. Set aside.
  2. In a large bowl, whisk flour and rice flour. Add the egg, seltzer water, sesame oil, and salt. Whisk until just combined. Add kimchi, fried Spam and green onions. Stir to combine.
  3. Heat 2 tablespoons canola oil in a 9-inch skillet between medium - medium high heat. Once oil is shimmering, pour half of the pancake batter into the pan. Quickly spread the batter to make a thin pancake. Cook for 3 minutes or so, until the bottom is golden and crisp, adjusting the heat as necessary so the pancake does not burn. Carefully flip the pancake and cook another 2 -3 minutes until nicely browned.
  4. Slide pancake onto a large plate. Add more oil to the pan and cook the second pancake.
  5. Scatter reserved green onions over the top of the pancakes along with roasted sesame seeds. Serve with sriracha and dipping sauce.
 

Beef, Dinner, Japanese, Lactose Free, Pork, Recipes, Sandwiches

Japanese Burgers

November 26, 2016

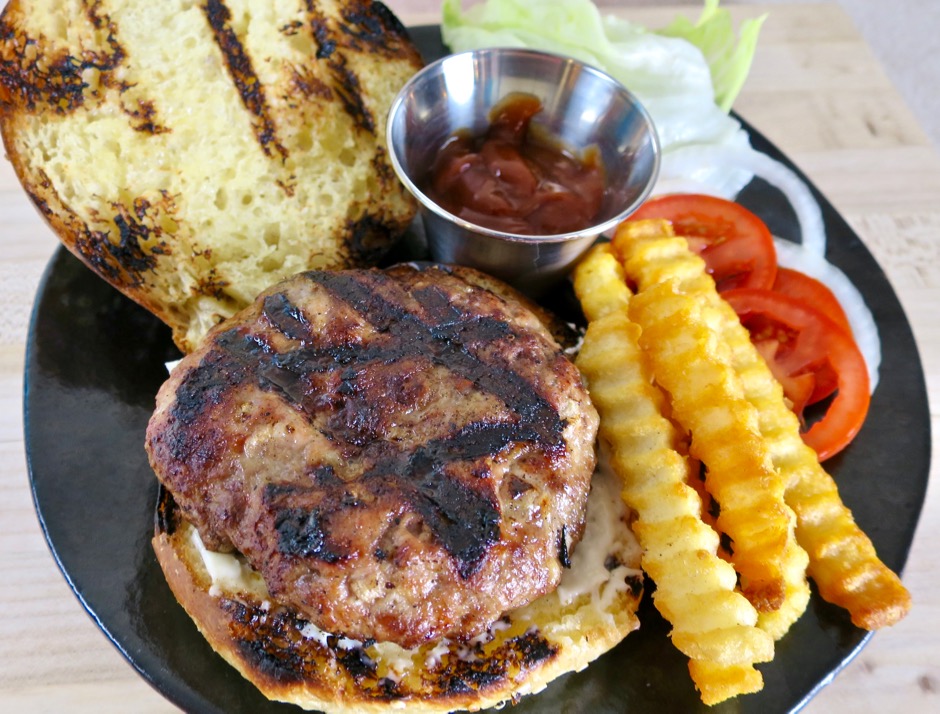
Japanese Burger

The moment I saw this recipe from the New York Times I knew I wanted to make it right away.  I was curious to know why these were called Japanese burgers.  Upon reading the ingredients, panko bread crumbs, soy sauce, and the combination of ground beef and pork, the answer was clear.  The recipe comes from Tadashi Ono, owner of Matsuri restaurant in New York. Tadashi is Japanese.  The article also lists a recipe for wasabi (Japanese!) ketchup to go along with the burger. In the end, it didn’t matter what they called these burgers.  They are so good I just call them “ono burgers!”

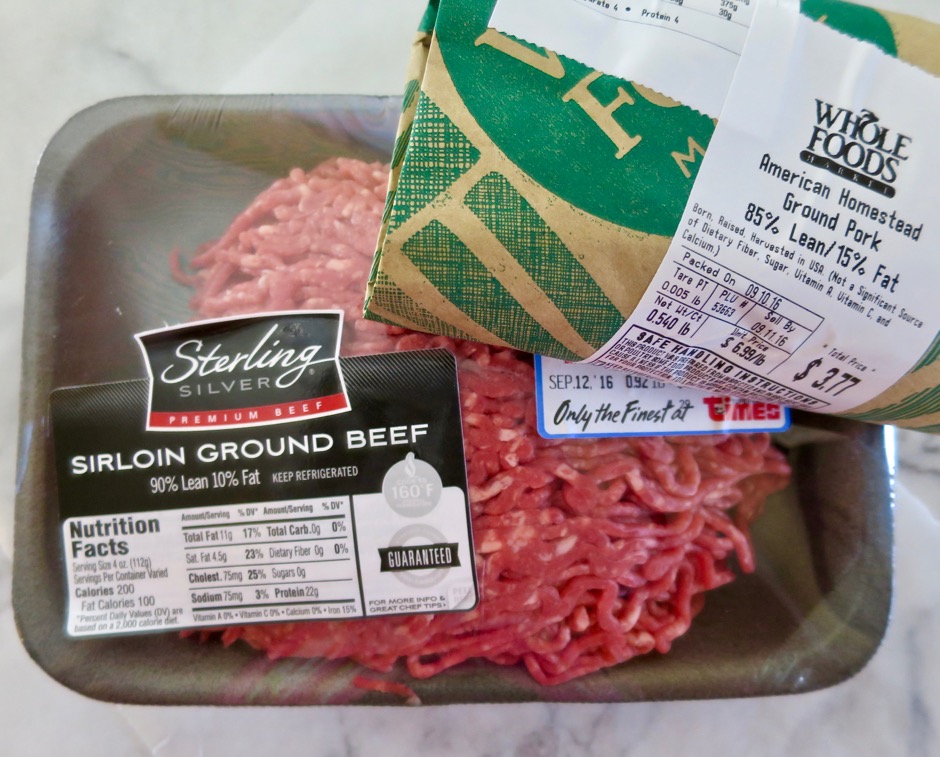
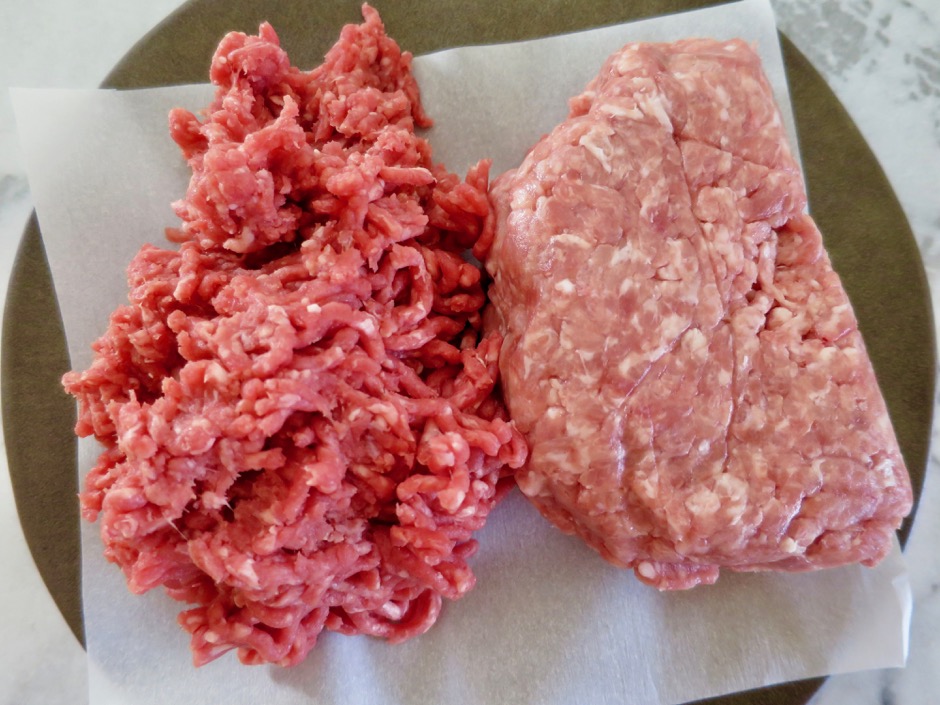
Ground Sirloin & Ground Pork

Times market in Kihei sells specific types of excellent ground beef (including sirloin and chuck), rather than the usual generic version. Whole Foods market ground the pork for me while I waited at the counter.

Ground Sirloin & Ground Pork

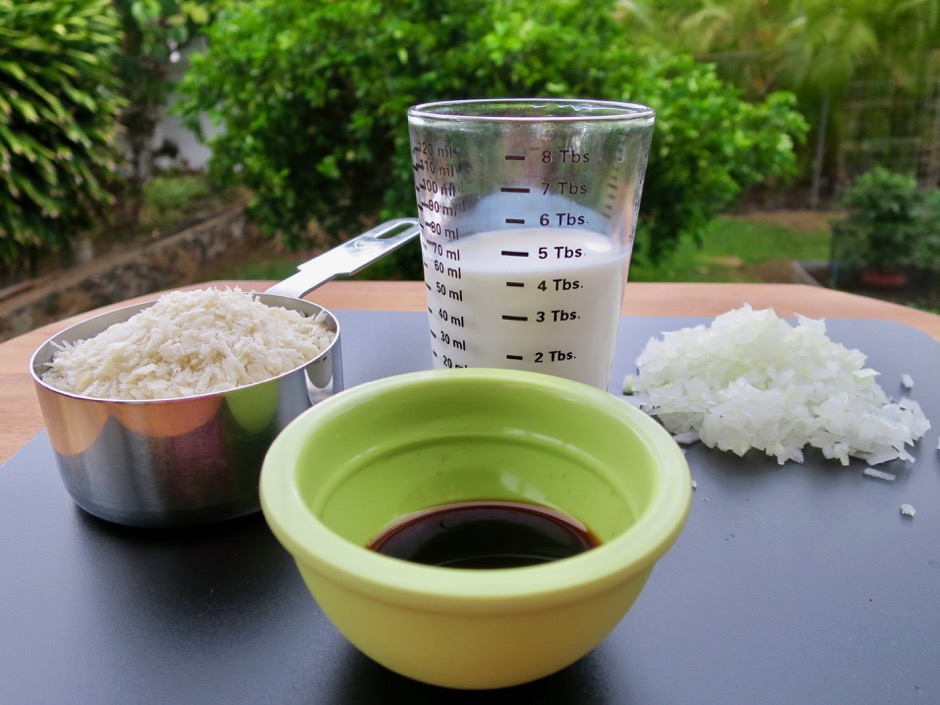
Panko, Milk, Onion, Soy Sauce

A bit of panko and milk moisten the meat.  Very finely minced onion and soy sauce flavor the ground beef and pork along with a little salt and pepper.

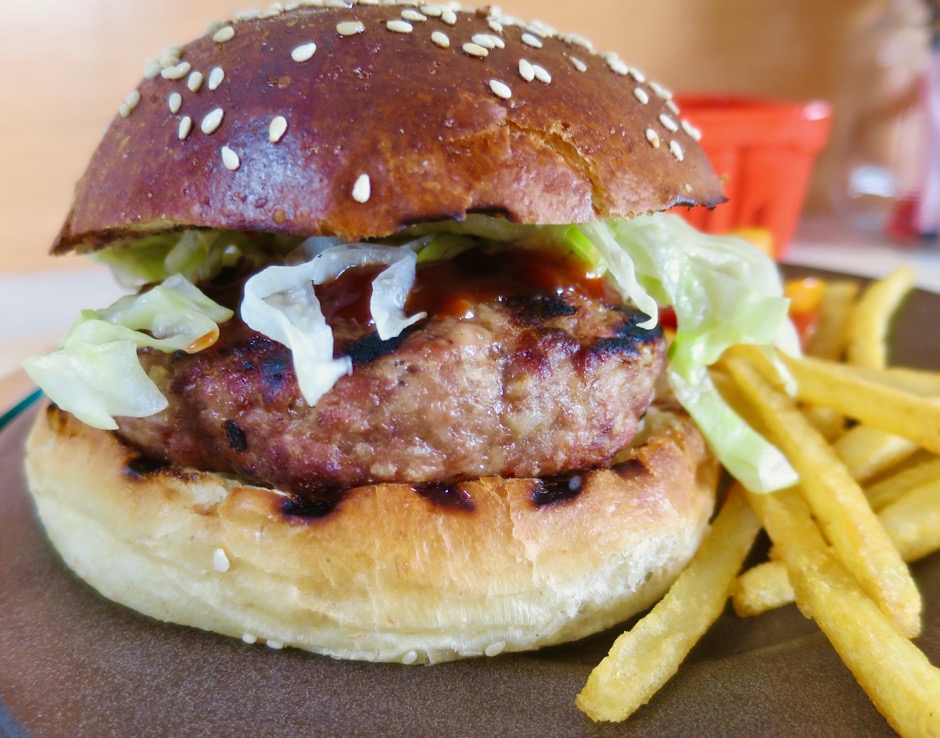
Japanese Burger

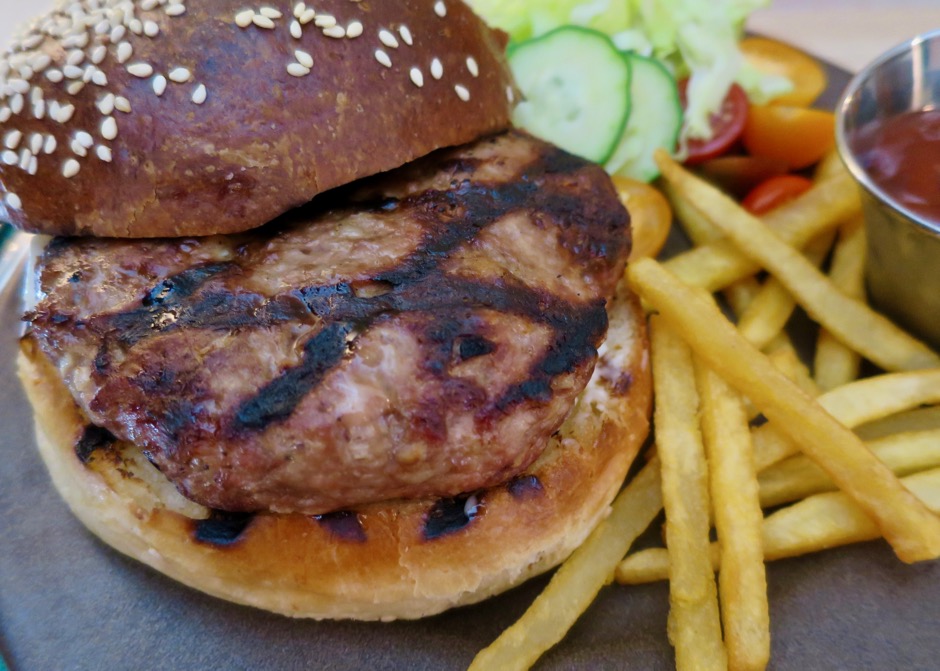
These are juicy, moist burgers.  We heated leftover patties wrapped in foil in the toaster oven the following day and they were equally delicious as they were on the first day.  In place of the wasabi ketchup suggested in the article, we opted to mix up sriracha with ketchup because sriracha enhances nearly every food imaginable (pizza, noodles, eggs, mayonnaise, ketchup).

Japanese Burger

Japanese Burgers
 
Adapted from the New York Times
Author:
Serves: 4
Ingredients
  • ½ cup panko
  • ¼ cup 2% or whole milk
  • 10 ounces ground sirloin
  • 10 ounces ground pork
  • ¼ cup finely chopped white onion
  • 1½ teaspoons soy sauce
  • ½ teaspoon salt
  • ¼ teaspoon pepper
  • sesame oil for coating hands
  • 4 brioche buns for serving
Preparation
  1. In a large mixing bowl, combine the panko bread crumbs and milk and let rest for a few minutes. If the mixture seems too dry add a few extra drops of milk to moisten the bread crumbs.
  2. Add sirloin, pork, onion, soy sauce, salt and pepper. Knead the meat until it becomes sticky and binds together. Divide into 4 equal parts (a scale comes in handy).
  3. Lightly dab your hands with sesame oil. Using your palms, roll each part of the meat into a ball, then pat the ball flat, shifting it from hand to hand to form a ½-inch-thick patty. Make a shallow indentation across the center of the patty to keep it from puffing while it grills.
  4. Grill the burgers, flipping twice, until browned and cooked through with no pink in the middle, about 10 minutes (160 degrees). Serve on buns, topped with spicy ketchup and shredded iceberg lettuce.



Follow

Get every new post delivered to your Inbox

Join other followers: