Search results for

mango

Bread, Breakfast, Dessert, Fruit, Recipes

Maui Mango Bread

November 9, 2013

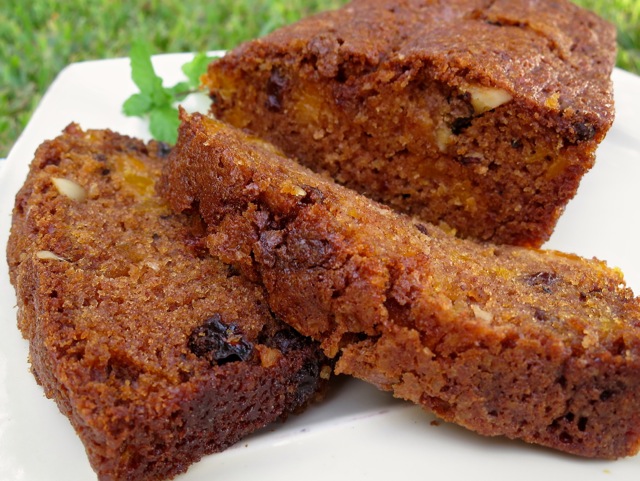
Maui Mango BreadSummer has come and gone and so have most of the mangoes on our two trees.  I haven’t had to buy fruit for months since we’ve had fresh mangoes every day.  What a dream!  Well we have just a few of those glorious golden orbs left and as it happens they all ripened at the same time.  I couldn’t let this opportunity pass: time to break out my mango bread recipe.
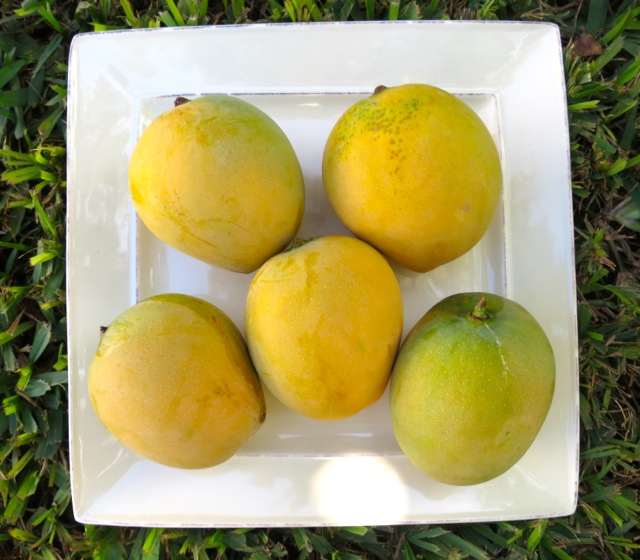
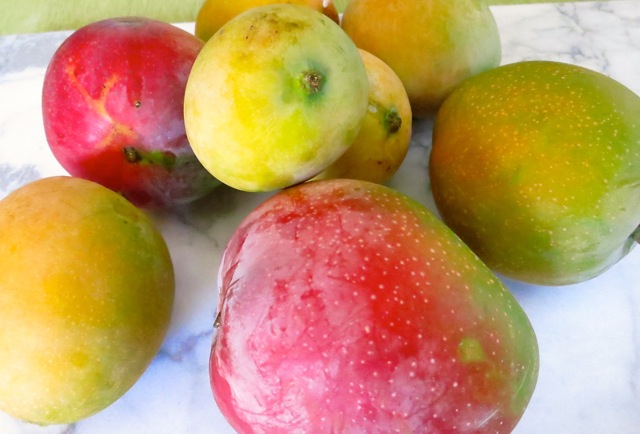
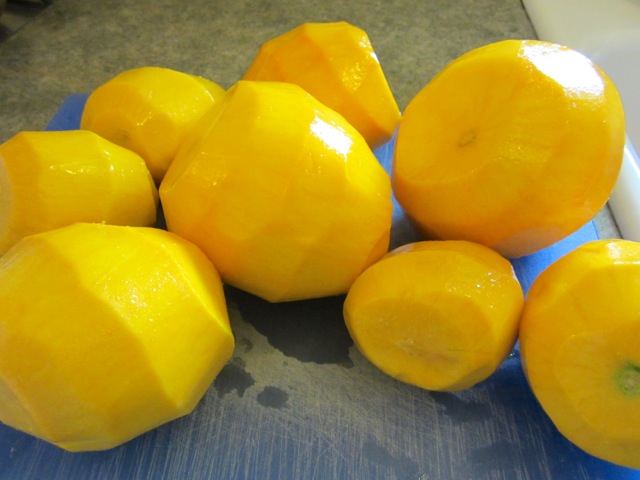
White Pirie MangoesI adore these exceptionally sweet mangoes as do my family and friends.  They don’t have a very long shelf life, they ripen a day or two after they’re picked.   A quick chill in the refrigerator and they are ready to eat.
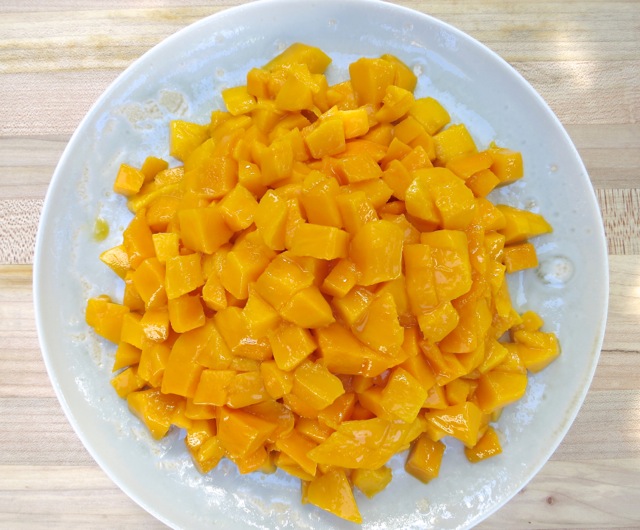
Diced White Pirie MangoesThe White Pirie mango has a deep orange color and is delightfully fragrant.
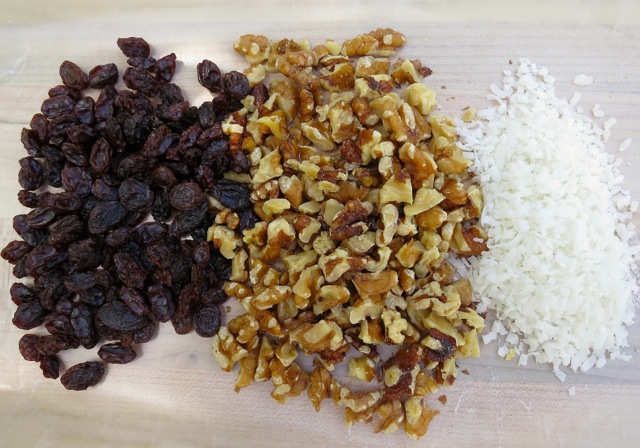
Raisins, Walnuts, CoconutThough mango is the star of this recipe, the combination of raisins, walnuts, coconut and cinnamon bring it all together to make a moist and luscious cake.  Thanks to my friend Tamoe who shared her recipe with me.
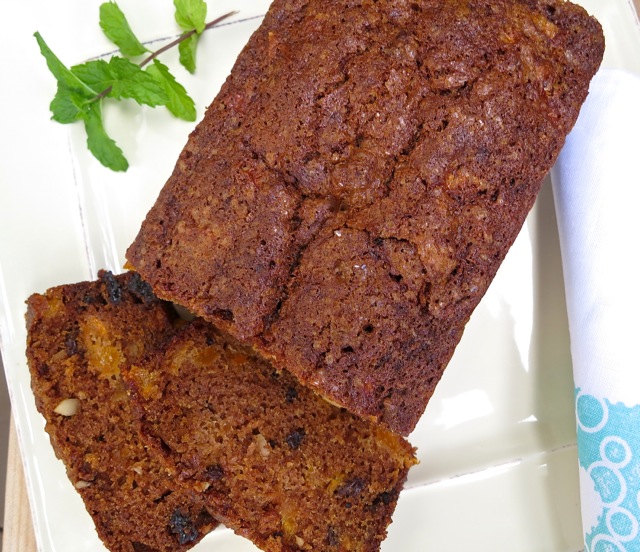
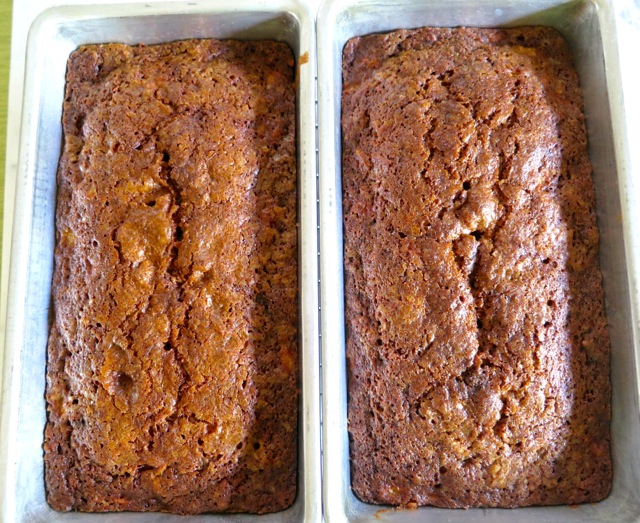
Mango Bread Loaves

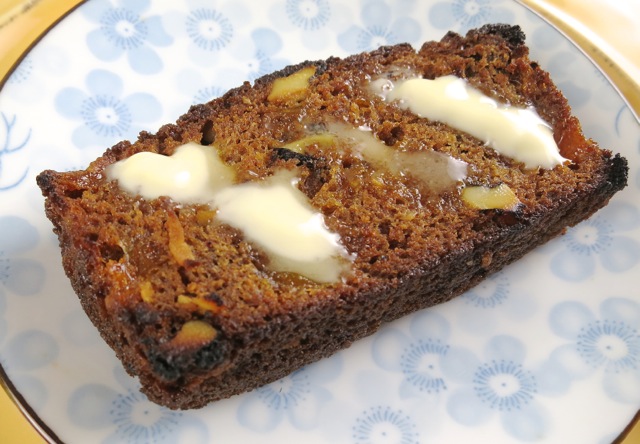
Maui Mango BreadToasting  a thick slice of mango bread and serving it with a pat of butter takes it to another level.

Toasted Mango Bread

Maui Mango Bread 

Adapted from Tamoe’s Mango Bread recipe

Makes two loaves

Ingredients

2 cups flour

1 1/4 cups sugar (or up to 1 1/2 cups sugar if your mangoes are not on the sweeter side)

2 teaspoons baking soda

1 1/2 teaspoons cinnamon

1/2 teaspoon salt

3/4 cup plus 2 tablespoons canola oil

3 large eggs, well beaten

1/2 teaspoon vanilla

2 cups finely chopped mango

1/2 cup chopped walnuts

1/2 cup raisins

1/8 cup shredded sweetened coconut

demerara sugar (optional but recommended)

Preparation

Preheat oven to 350 degrees.

Butter two 8 inch loaf pans.

Place flour, sugar, baking soda, cinnamon and salt in a large bowl and mix well.  Mix in the oil, beaten eggs and vanilla.  Add the mangoes, walnuts, raisins and coconut.  Pour into loaf pans and bake for 55 – 60 minutes.  If using demerara sugar, bake the bread for 10 minutes then sprinkle the sugar over the tops of each loaf.  (If you add the sugar before baking the bread, it will dissolve into the batter).  Continue baking for another 45 minutes. Since oven temperatures vary, it’s a good idea to check the bread after it has baked for 53 minutes.  If it needs more time, check again every 2 minutes to prevent over baking.

Note: If you are using dark pans the bread will bake quicker than in light pans so check for doneness at 50 minutes.



Canning, Fruit, Jams & Jellies, Recipes

Mango Strawberry Jam

August 15, 2013

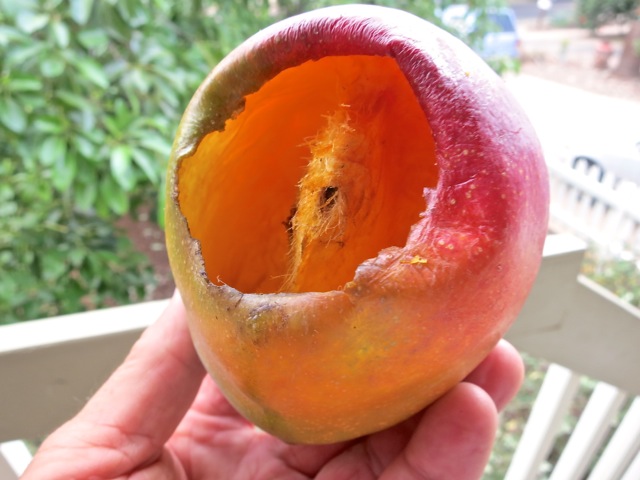
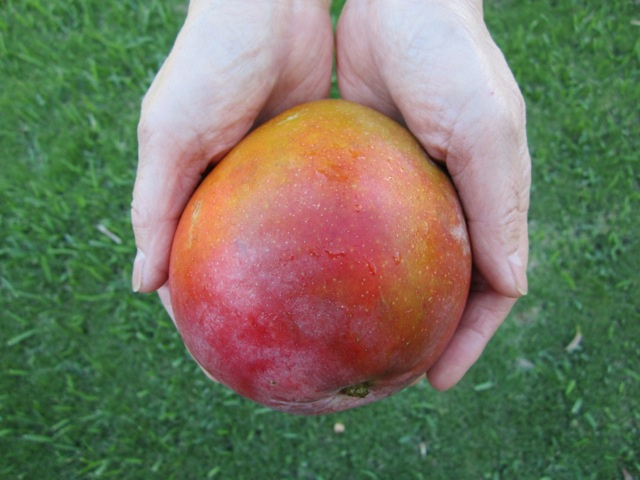
MangoesMangoes are our favorite fruit.  We have two mango trees in our yard, Rapoza and White Pirie.  Both provide us with sweet and juicy fruit throughout spring and summer and even occasionally into fall.  Apparently we are not the only ones who love mangoes.  This year the birds decided they couldn’t wait for the occasional mango that falls to the ground.  They have been devouring the mangoes while still on the tree.

Birds eat mangoThe nerve of those birds!

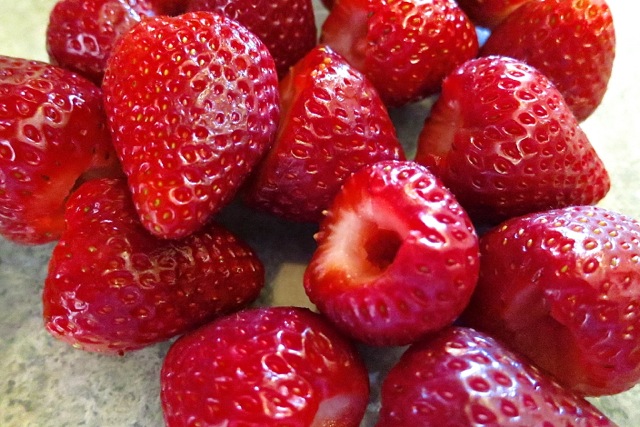
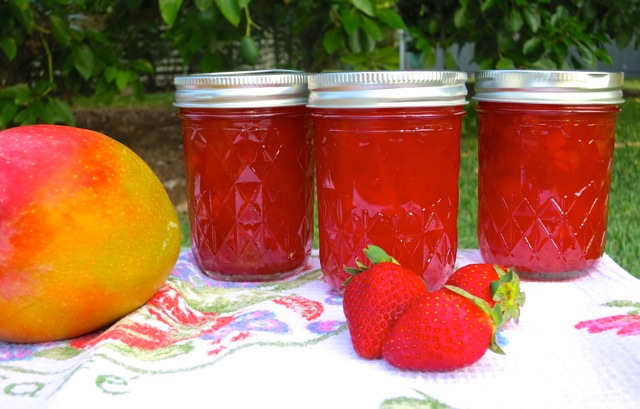
Hulled StrawberriesNo thanks to those hungry birds, we were still lucky to have enough fruit to make some jam this summer.  This time we mixed it up a bit and made mango-strawberry jam.  It turned out great.

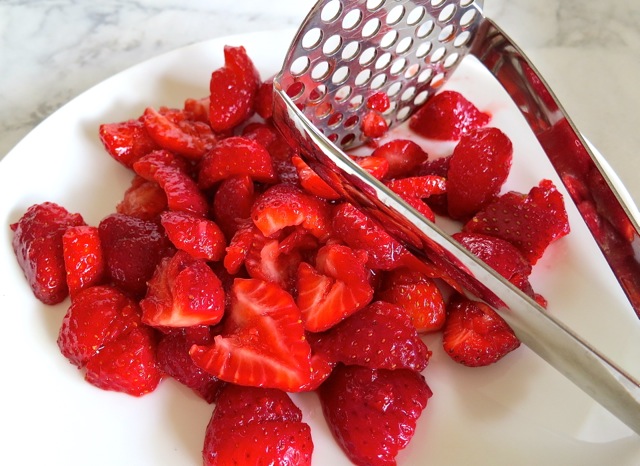
Crushed StrawberriesStrawberries are lightly crushed with  a potato masher to soften a bit and release their fragrant flavor.

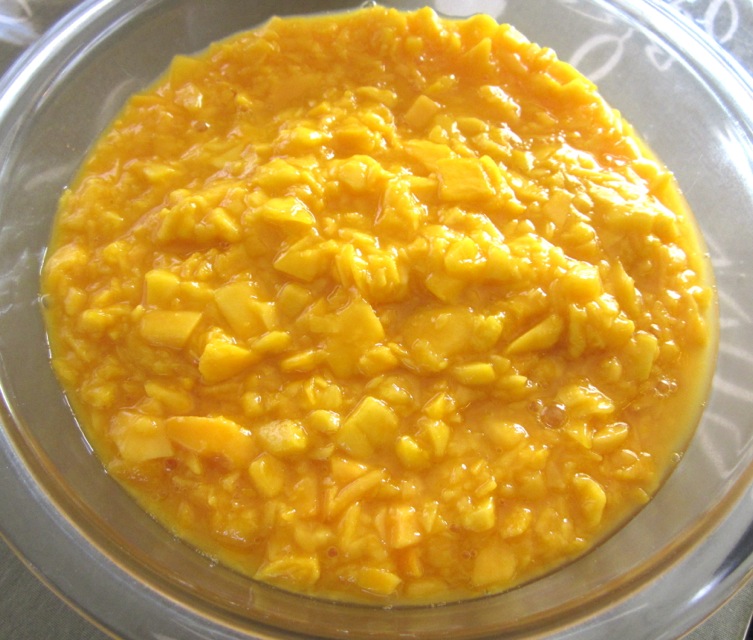
Chopped Mangoes

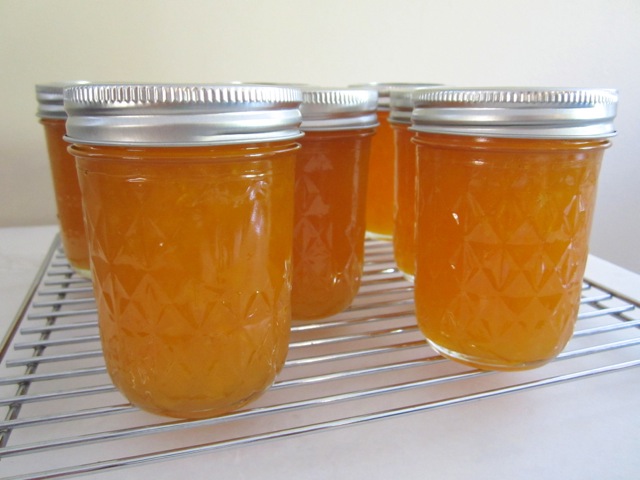
Mango Strawberry Jam Jars

Mango Strawberry Jam

Makes 7 half pint jars

Ingredients

1 1/2 cups packed crushed strawberries

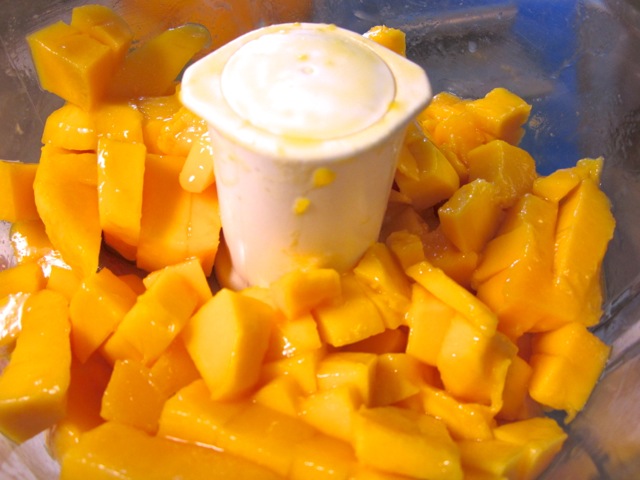
3 1/4  cups diced mango (I cut the mango into small chunks then pulse a few times in the food processor.  Be careful not to pulse too much or you will end up with mango purée!)

1/4 cup fresh lemon juice

5 1/2 cups sugar (1038 g)

1 package powdered pectin

Preparation

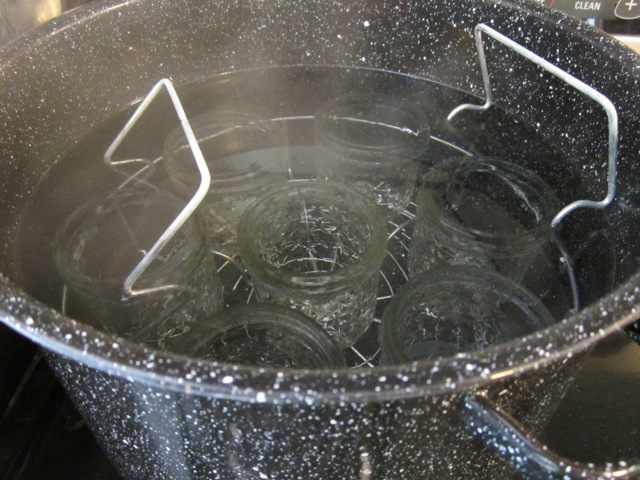
Place jars in boiling-water canner.  Fill the jars and canner with water to the top of the jars.  Cover and bring water to a simmer over medium heat, do not boil.  Prepare the two piece closures.  Place lids in a small saucepan and cover with water.  Heat to just a simmer but do not boil.  Do not heat screw bands.

Wash and prepare strawberries and dice mangoes.  Using a potato masher lightly crush strawberries.  Measure out 1 1/2 cups strawberries and 3 cups diced mango. Measure sugar and set aside.

Transfer fruit to a large, deep stainless steel saucepan.  Add lemon juice to fruit.  Whisk in pectin until it dissolves.  Bring to a full rolling boil over high heat, stirring frequently.  Add sugar all at once.  Stirring constantly, return to a full rolling boil that cannot be stirred down.   Boil hard, stirring constantly for 1 minute.  Remove from heat and using a large slotted metal spoon skim off any foam.

Fill one jar at a time. Remove jar from canner and empty hot water back into the canner. Place jar on a cutting board and place a canning funnel in it.  Ladle hot jam into jar leaving 1/4 inch head space.  With a clean damp cloth or paper towel wipe jar rim to remove any food residue.  Using a magnetic utensil lift hot lid from water, center it on the  jar and place screw band on jar.  Tighten screw band evenly and firmly just until resistance is met.  Then increase to finger tip tight.  Do not over tighten.  Return jar to canner rack until all jam is used.  When all jars are filled lower rack into canner and ensure that all jars are covered by 1 inch of water.  Cover canner and bring water to a full boil over high heat.  Process for 10 minutes, starting timer only when water reaches a full boil.

At the end of the processing time, turn the heat off and remove canner lid.  Wait 5 minutes then remove jars without tilting.  Place jars upright on a rack or towel and let cool undisturbed for 24 hours.  After 24 hours check lids for proper seal.  Remove screw bands  and press down on the lid with your finger.  Sealed lids will curve downward and will show no movement when pressed.  Jars that haven’t sealed properly must be refrigerated immediately or reprocessed.  Wipe jars and store in a cool, dry place.  Label and date jars.

***If there is extra jam after filling all of the jars, transfer to a small container and store in the refrigerator.

Breakfast, Canning, Fruit, Jams & Jellies, Recipes, Vegan, Vegetarian

Mango Jam

August 14, 2012

Each year we wait patiently for our annual mango season which brings us an abundant crop of fruit.  We share our mangoes with friends and family, many times lugging heavy bags of mangoes to work or wrapping them up carefully and taking them on the plane to Oahu.  One of the most enjoyable ways to eat a mango is to chill it well, cut it into bite size chunks and serve.  If you find yourself with too many mangoes you can also make mango salsa, bread, pie, smoothies, sorbet, and jam.

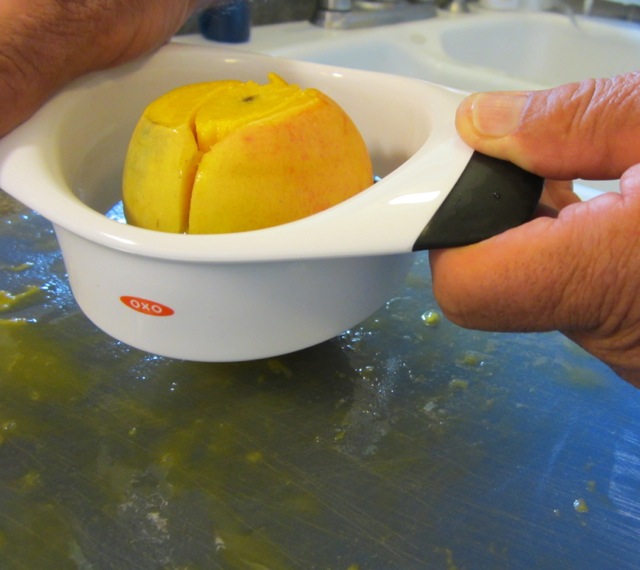
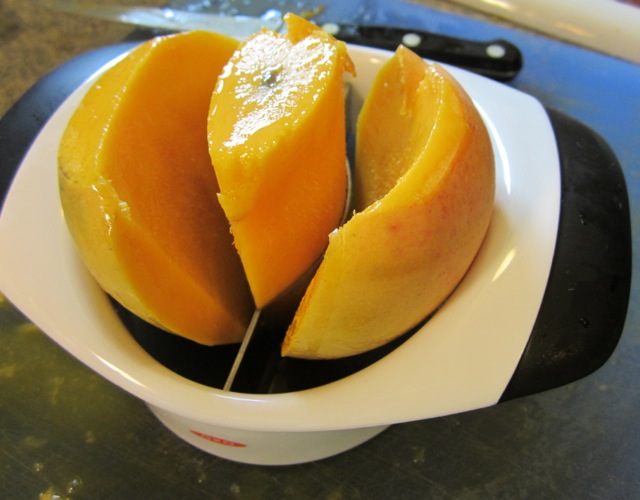
This little gadget works very well.  Just cut off the top of the mango and place the center of the cutter over the seed of the mango and press down.  In no time you will have your mango seeded and all you’ll need to do is remove the flesh of the mango from the skin by scooping it out with a spoon.  It saves a lot of time when preparing mangoes for jam.  There’s no need to peel and cut up the mango, just one quick swoop and you’re done.  

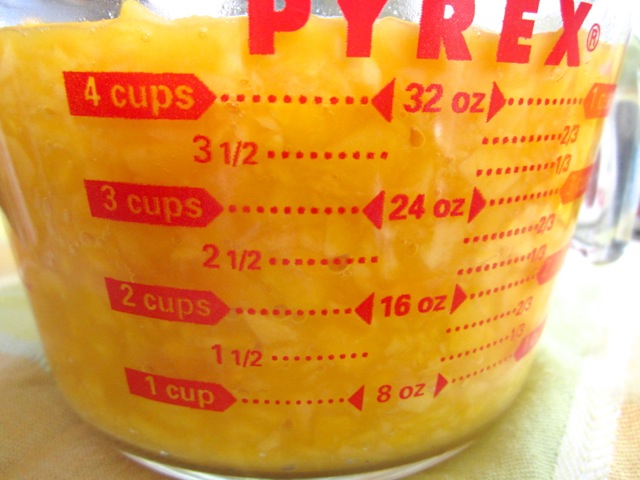
Process mangoes to measure 4 1/2 cups.

Sterilize your jars.

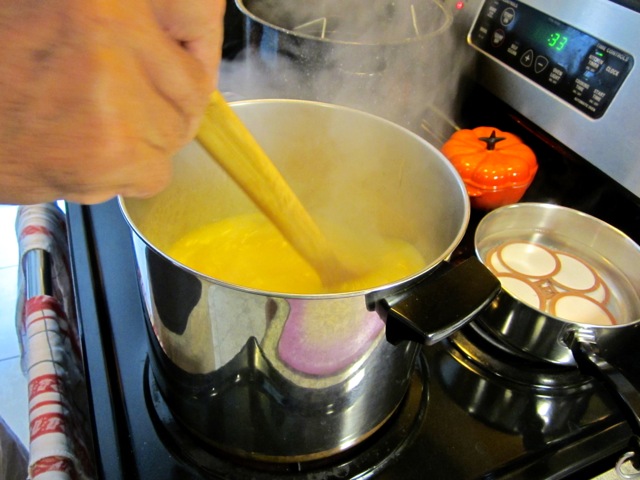
Bring the mango mixture to a rolling boil that can’t be stirred down then add sugar.  Return to a rolling boil that can’t be stirred down and boil for 1 minute.  Use a very tall pot and long wooden spoon. Mixture can splatter as it cooks.

Pour hot mango jam into sterilized jars leaving about 1/8 inch between the jam and the top of the jar.

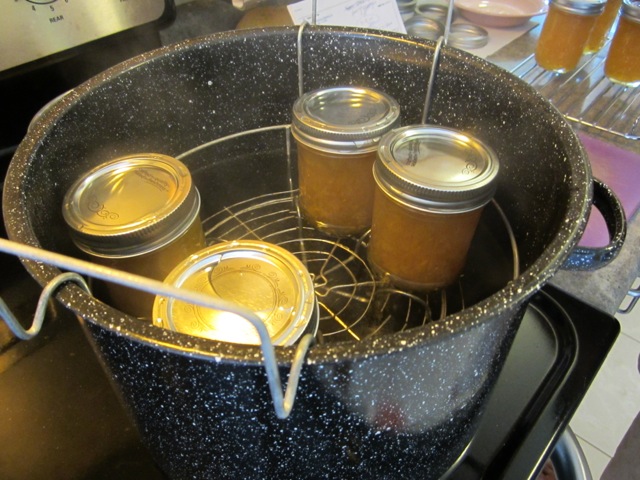
Process jam in boiling water for 10 minutes (covered) then remove to cool on a wire rack.

Canning jam is easier than you might think.  You will need canning equipment which is basically the canner, a few helpful utensils and  jars.  These items are not expensive and the only downside is that they take up precious cupboard space.  Once you have your little jars of homemade jam you can store them in the cupboard for up to a year.  They probably won’t be around that long…

Mango Jam

Yield: 7 Half pint jars

Ingredients

4 1/2 cups coarsely chopped mango

1/4 cup fresh lemon juice

6 cups sugar

1 pkg. dry pectin

1/2 teaspoon butter

Preparation

Wash fruit, peel, seed and cut into cubes.  You can mash the fruit with a potato masher or run through a food processor in batches.  I use the food processor (two batches to make 4 1/2 cups total) and pulse two times then I give it a stir with a large spoon and pulse two more times, mixing the fruit again, and one last pulse making sure not to puree the fruit leaving small pieces of mango for texture.

In a 8 – 10 quart pot, preferably with high sides, mix fruit, lemon juice, butter and pectin.  The butter helps to prevent foaming. Place over high heat, stirring constantly with a long handled wooden spoon.  Bring to a rolling boil that cannot be stirred down.  Still stirring, add sugar.  Return to a boil that cannot be stirred down, then boil for exactly 1 minute.  Remove from the heat.  Ladle hot jam into prepared half pint jars leaving just about 1/8 inch of space between the jam and top of the jar.  Wipe rims clean.  Place lids on jars and screw on the rings until a point of resistance is met – fingertip tight.  Process in boiling water bath for 10 minutes.
Once cool, remove rings and wipe rims clean.  Mark the date on the bottom of each jar and store for up to a year.  Once opened, refrigerate leftovers.  If any of the jars do not seal, store the jam in the refrigerator. For basic canning directions go here.

The jar on the left is mango jam with Hawaiian chili peppers.  For this delicious option add to the above recipe 15 – 20 Hawaiian chili peppers which have been seeded and finely chopped.  An exotic combination of sweet and hot it is especially delicious served on crackers with cream cheese.

Dinner, Dressing, Lactose Free, Recipes, Salad, Side Dishes, Vegetarian

Green Goddess Dressing

March 25, 2024

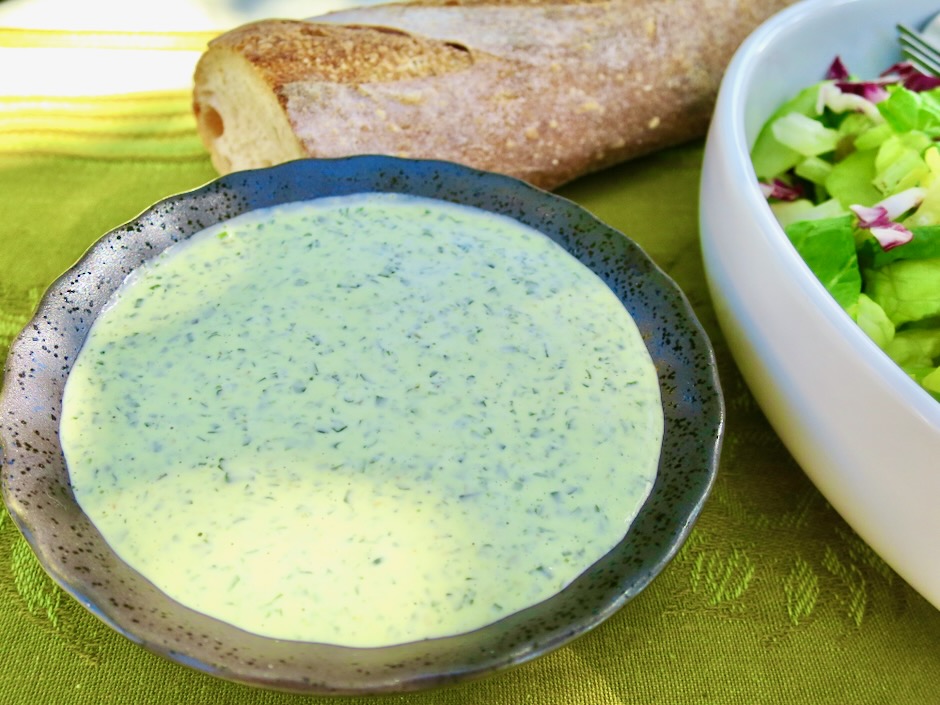
Here’s a lactose free green goddess dressing for those of us who are unable to digest lactose. Green Valley lactose free yogurt comes in handy for all sorts of recipes such as bread, cake and even popsicles. If regular dairy products suit you, go ahead and use your favorite brand of yogurt. Using a good mayonnaise is essential in this recipe as is seeking out the freshest herbs you can find.

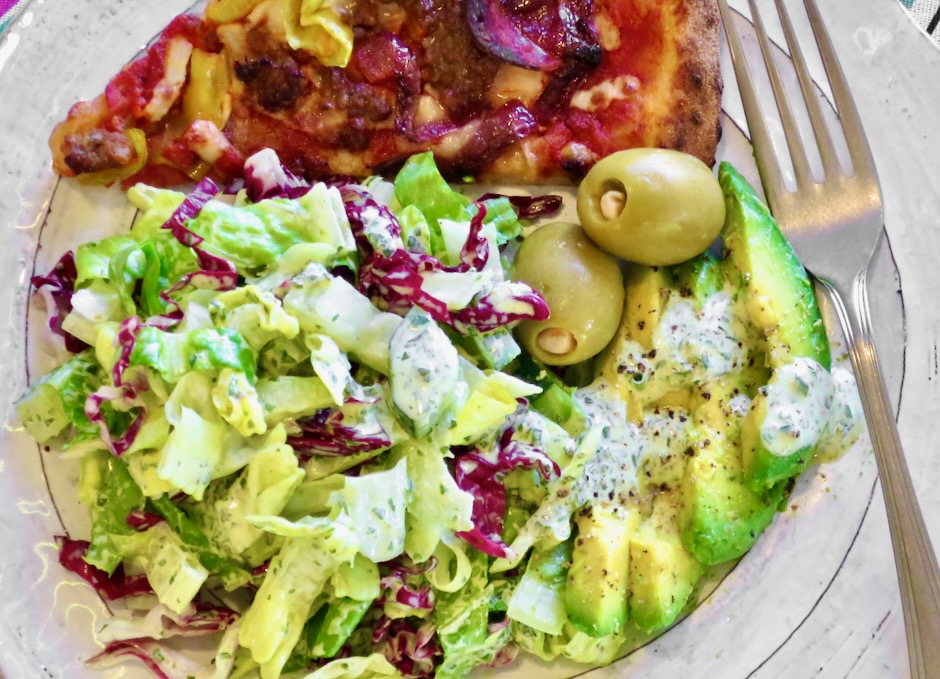
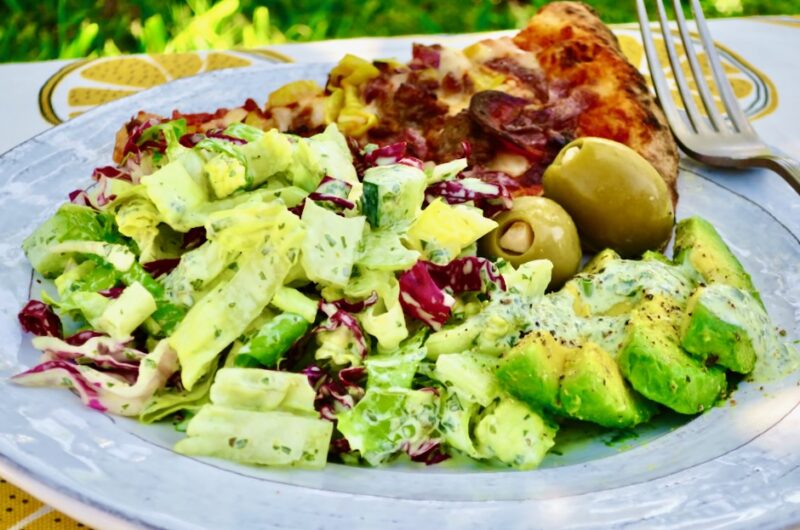
This is one of the easiest and tastiest dressings you can make. It definitely falls into the rich category of dressings given that its main ingredient is mayonnaise, so I make it for special occasions or when I have a produce drawer full of crispy romaine hearts.

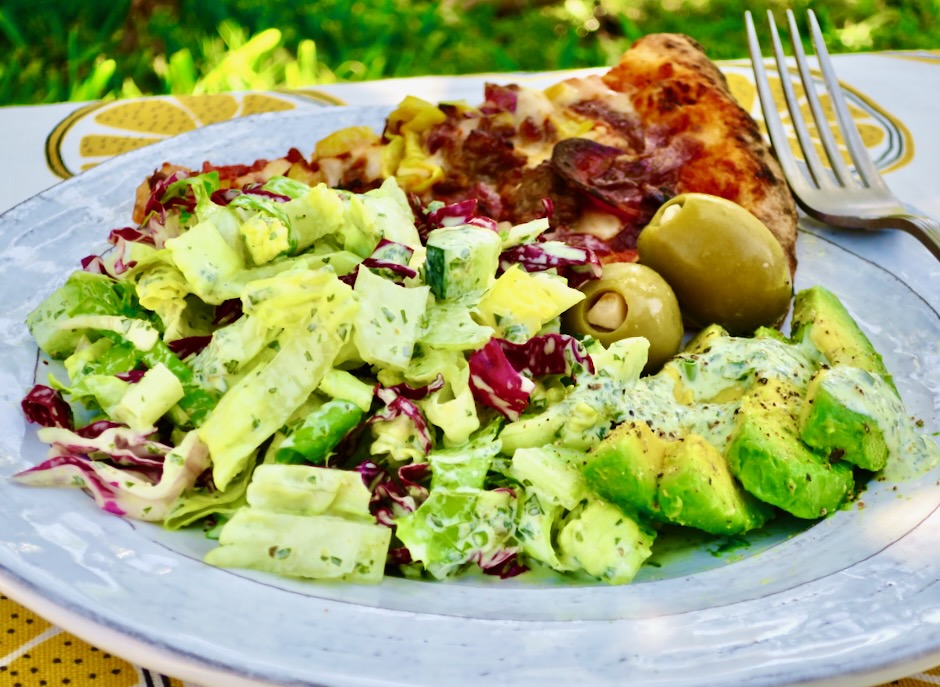
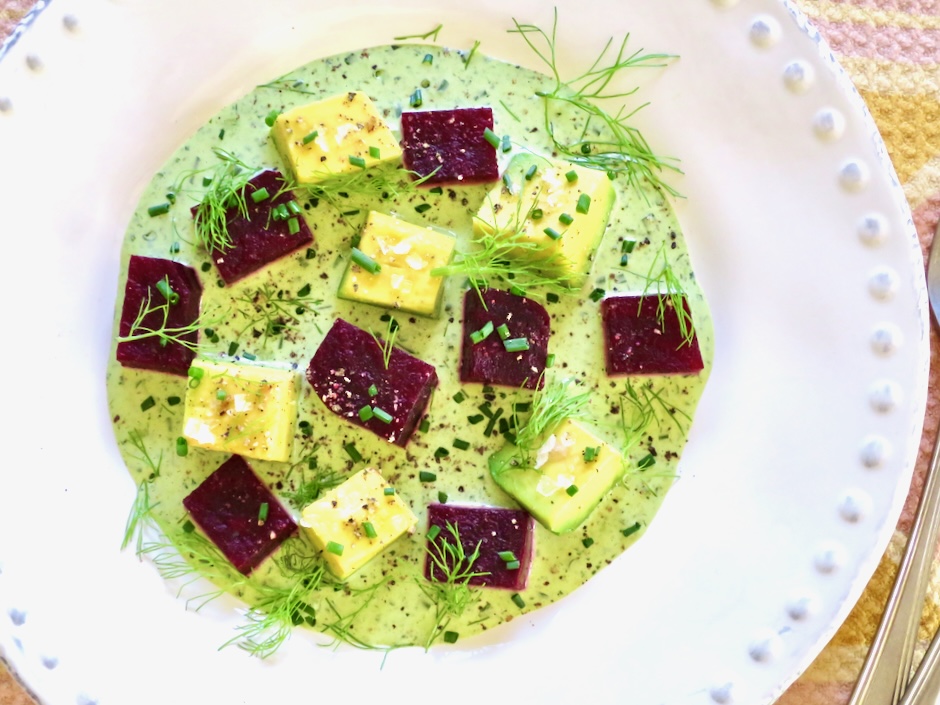
For a stunning salad, arrange steamed diced beets and avocado over green goddess dressing.

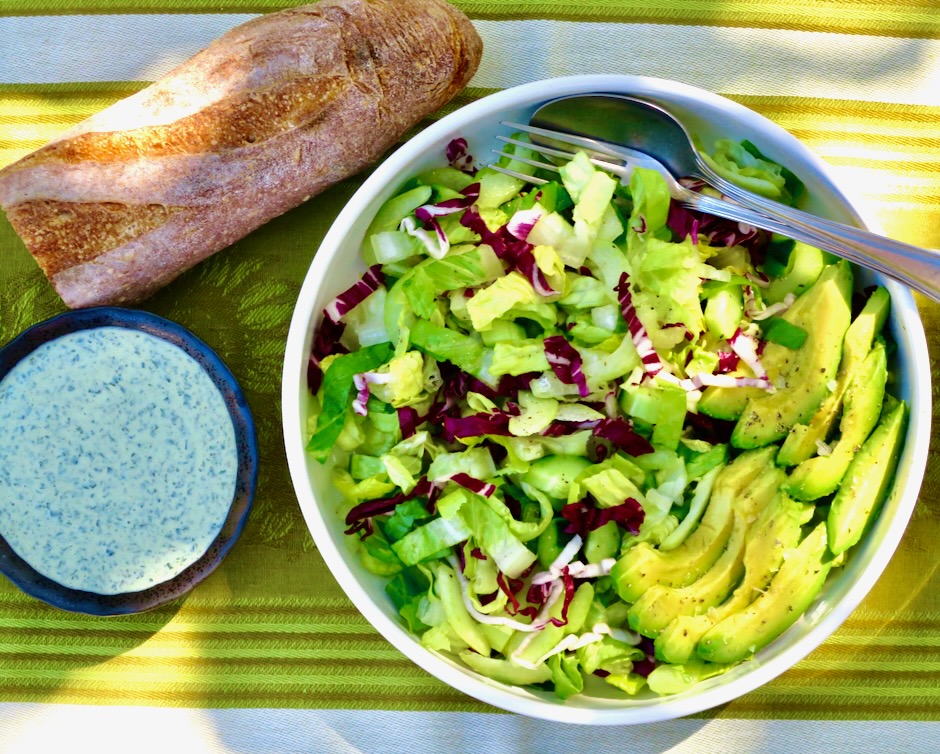
A green goddess dressed salad with a side of sourdough bread makes a splendid meal.

Green Goddess Dressing

Recipe by Kiyo
Servings

1 1/2 c

servings

Adapted from NYT Cooking

Ingredients

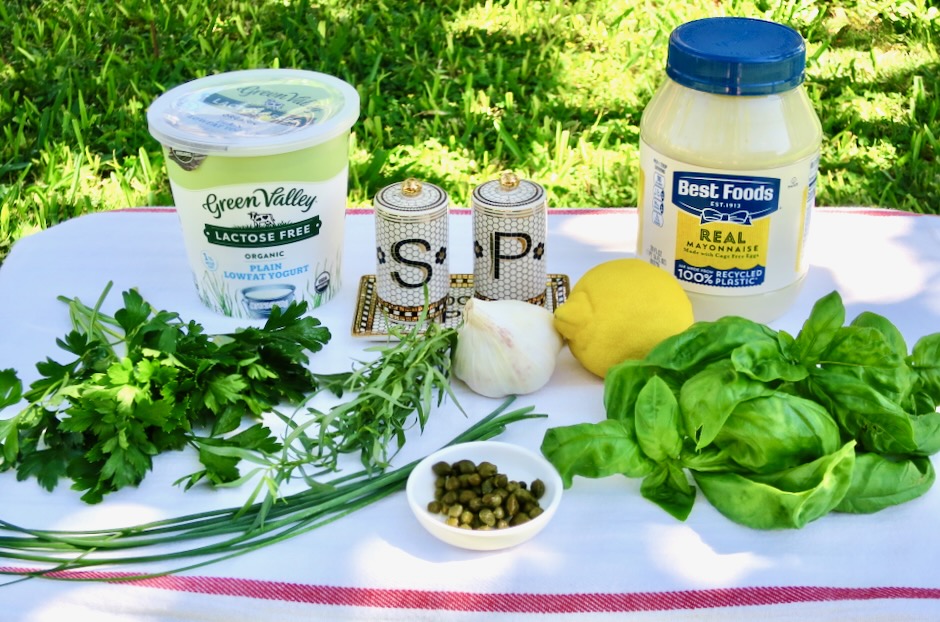
  • 1 1/2 teaspoons drained capers

  • 1/2 cup mayonnaise

  • 1/3 cup full fat plain lactose free yogurt (or regular yogurt)

  • 1 cup coarsely chopped flat leaf parsley

  • 1/2 cup roughly chopped basil

  • 1/8 teaspoon finely grated garlic

  • 1 1/2 tablespoons fresh lemon juice, divided

  • 2 tablespoons finely chopped tarragon

  • 2 tablespoons finely chopped chives

  • kosher salt

  • freshly ground black pepper

Directions

  • In a food processor (or use an immersion blender) combine the capers, mayonnaise, yogurt, parsley, basil, grated garlic and 1 tablespoon lemon juice. Process until smooth and uniformly green. Transfer to a lidded jar, and stir in the tarragon, chives, a few dashes of kosher salt, and a few grinds of black pepper. Taste and adjust seasoning as needed with salt, pepper and reserved 1/2 tablespoon lemon juice.

Notes

  • Store dressing in the refrigerator for up to 5 days.
Bread, Breakfast, Lactose Free, Recipes, Summertime Meal

Fresh Corn Muffins

August 22, 2023

Corn is in peak season now and the markets are stocked with beautiful fresh ears of corn. I don’t always have a plan for what I’m going to do with the corn I buy but I make sure to use it within a day to ensure it is fresh and sweet. Here is a great recipe to make when you have fresh corn on hand and aren’t quite sure how you want to use it. I adapted this recipe from Cook’s Country magazine to make a lactose-free version. Feel free to use standard dairy ingredients when you make these.

You can whip up a cardamom-brown sugar butter that pairs well with the fresh corn flavor of these muffins. The sweet and salty butter with a hint of cardamom takes these muffins over the top.

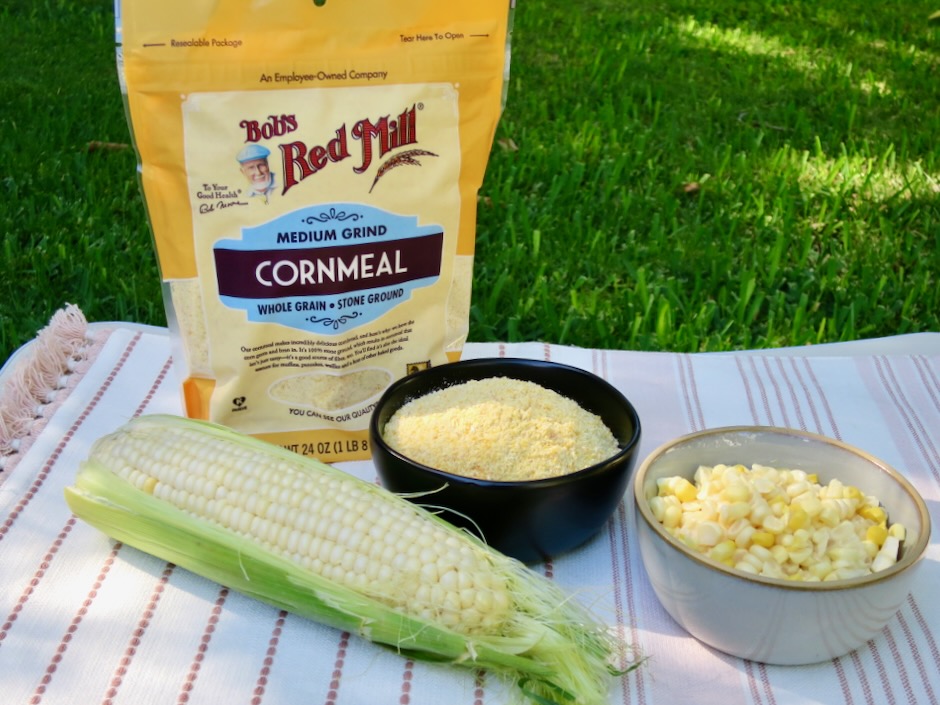
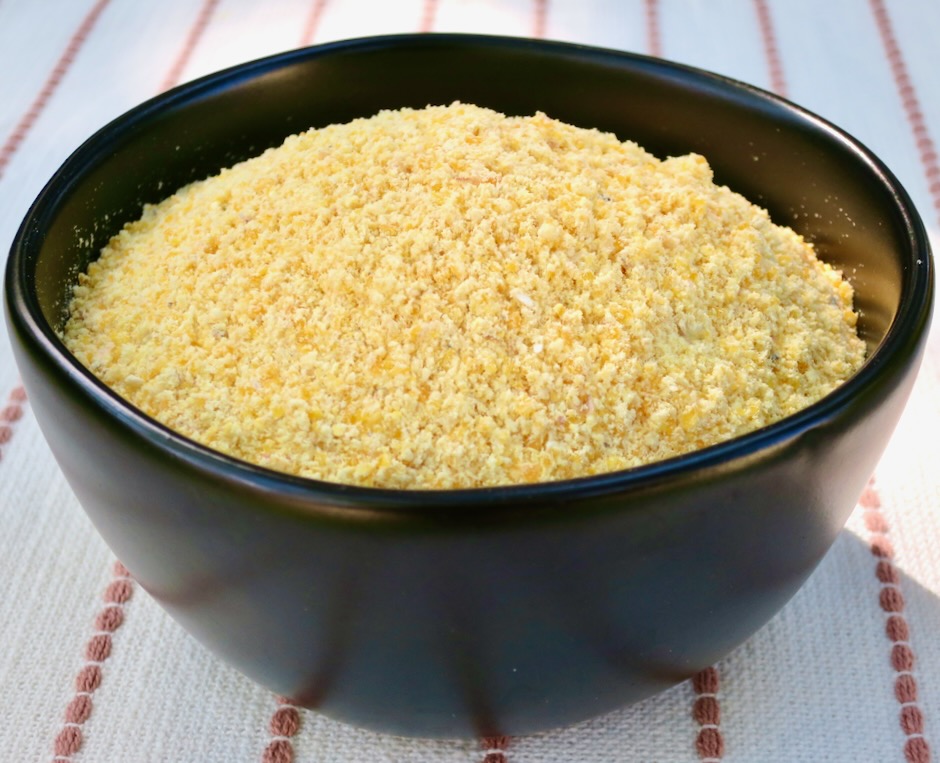
Bob’s Red Mill is known for quality products and their cornmeal is no exception. The medium grain cornmeal is just the right texture for these muffins.

Beautiful cornmeal such as Bob’s Red Mill can be found at Safeway on Maui.

Hydrating a portion of the cornmeal with milk in the microwave before adding it to the rest of the ingredients produces a muffin with a tender crumb and a boost of fresh corn flavor.

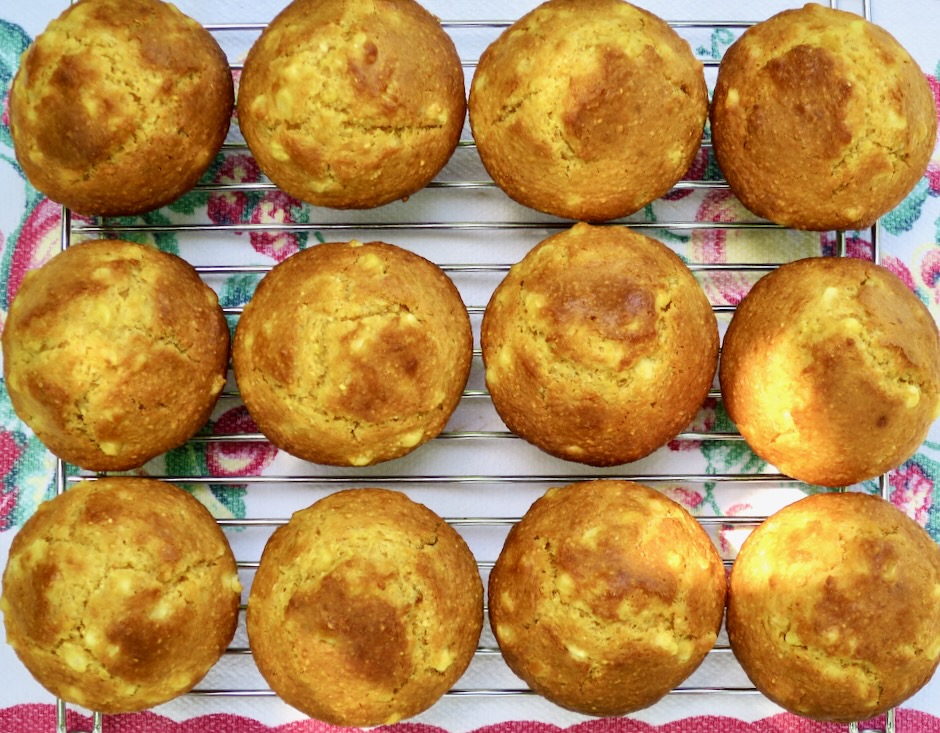
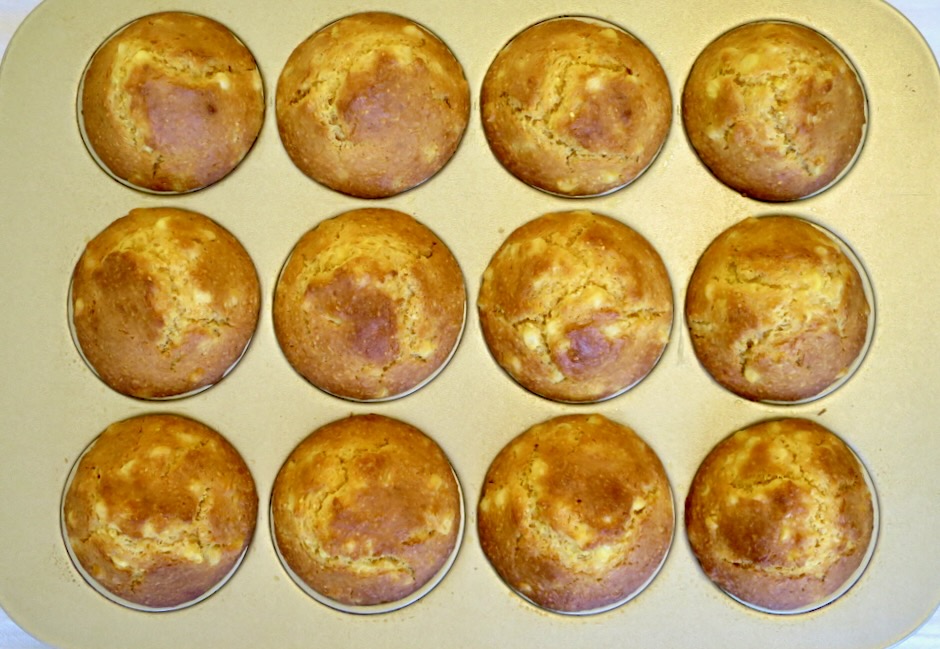
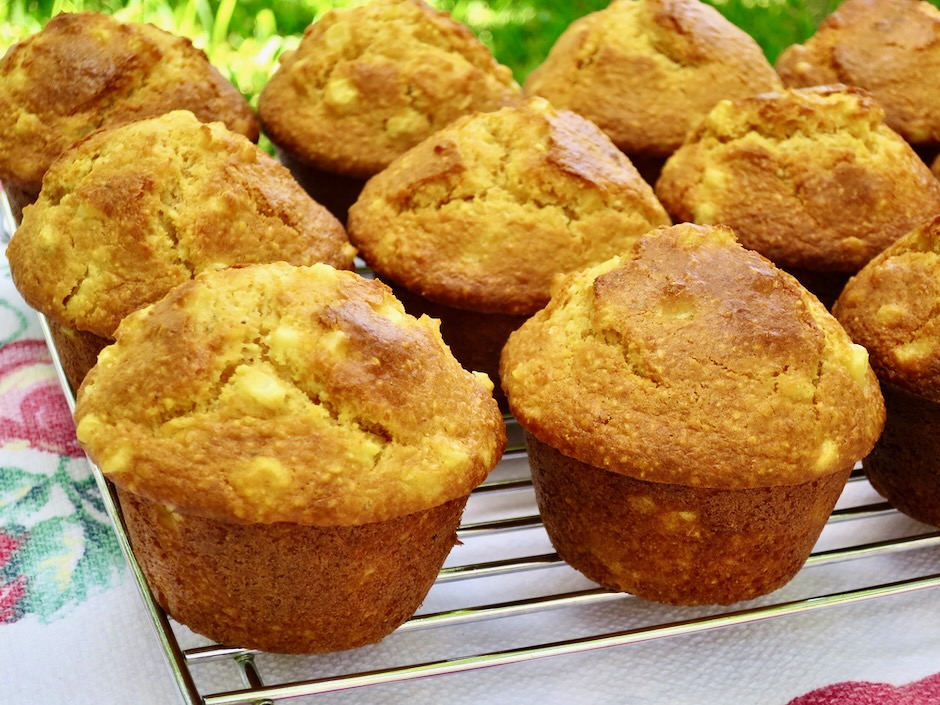
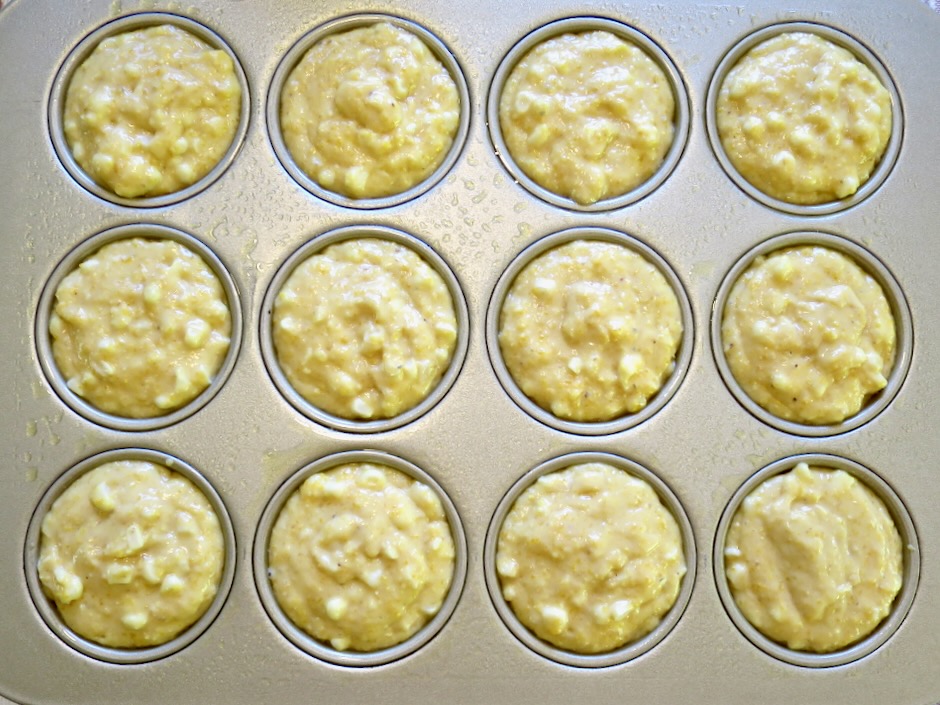
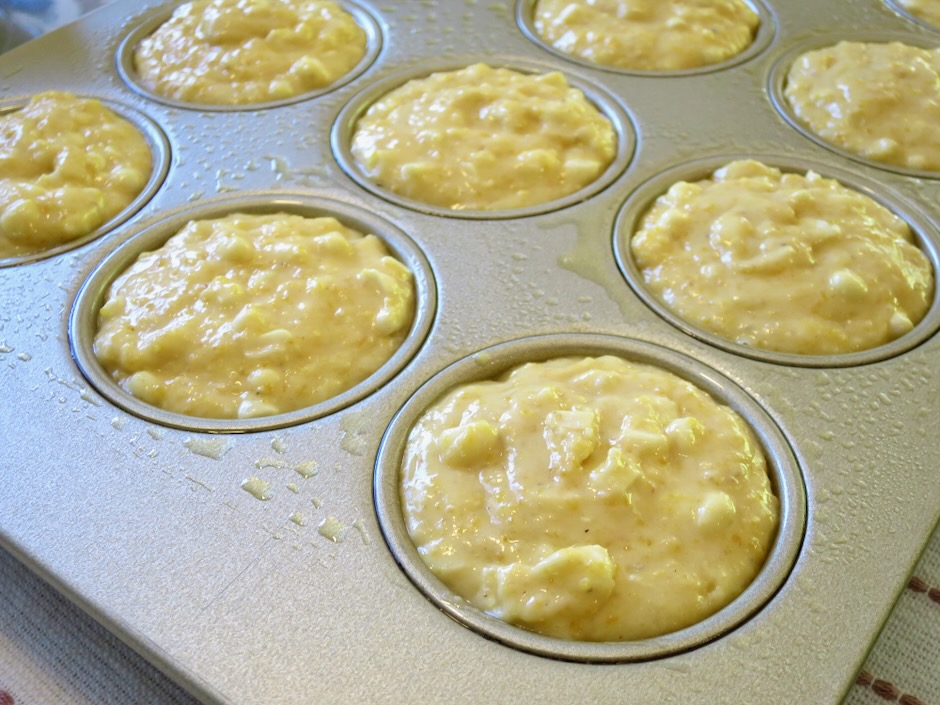
You might think there is too much batter for 12 muffin cups. I read a few comments from others who made 16-24 muffins. If you have a muffin pan that has a smaller than usual cup capacity, you may need to bake more than 12 muffins. However, for this recipe I found the batter to be perfect for my 12-cup muffin pan. The batter should fill the entire cup and even be a bit higher than level.

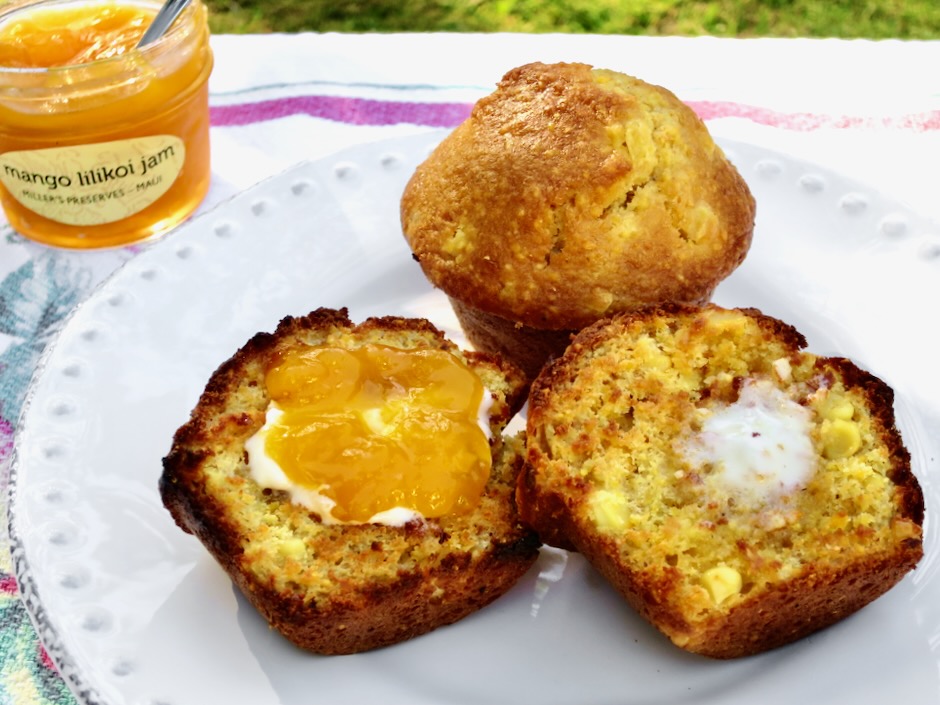
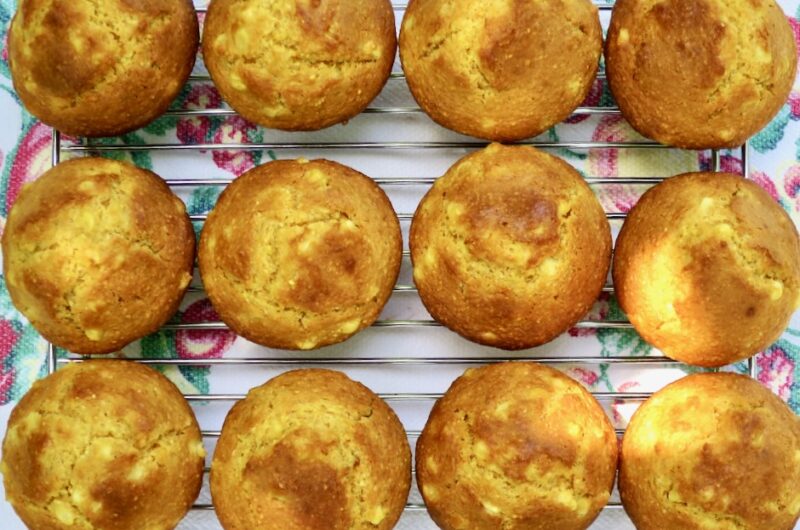
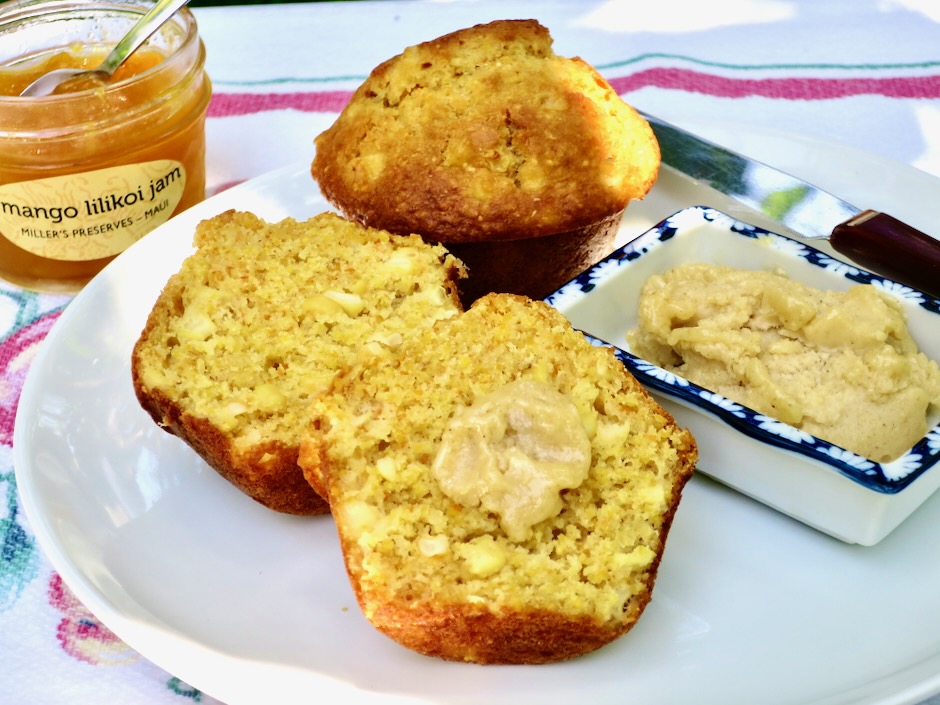
Beautifully high domed muffins show off the fresh corn beneath. One of my favorite ways to eat these corn muffins is to split them, toast them until the edges are browned and crispy, then serve with a pat of butter and homemade jam.

Fresh Corn Muffins

Recipe by Kiyo
Servings

12

servings

If you don’t have a scale use the spoon and level method for measuring dry ingredients. Recipe adapted from Cook’s Country magazine.

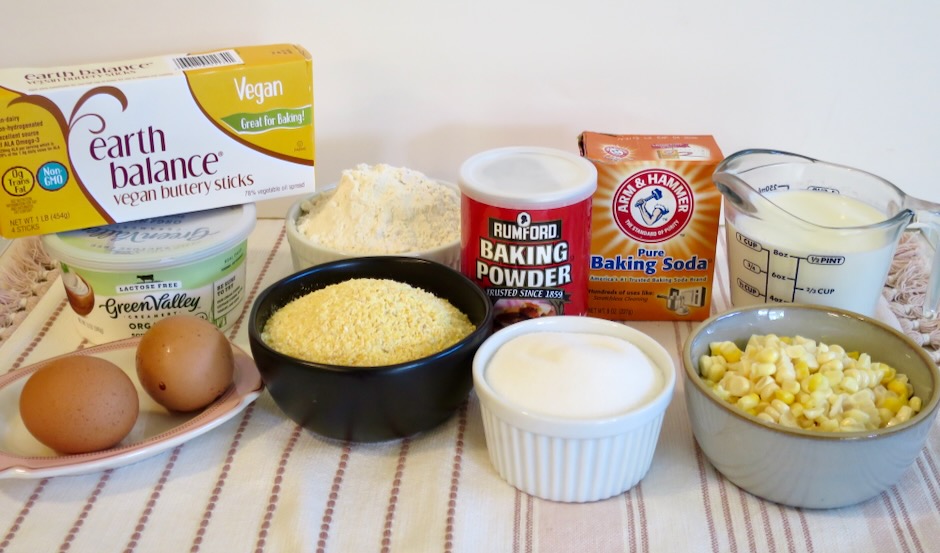
Ingredients

  • 1 1/2 cups (190g, 6.8 oz.) all-purpose flour

  • 1 1/2 cups medium grain cornmeal, divided (1 cup=140g, 5 oz.,
    1/2 cup=70g, 2.5 oz.)

  • 3/4 cup (150g, 5.3 oz.) granulated sugar

  • 1 teaspoon fine sea salt (if using unsalted butter increase to 1 1/4 teaspoons)

  • 1 1/2 teaspoons baking powder

  • 1 teaspoon baking soda

  • 1 cup (227g, 8 oz.) lactose free whole milk or regular whole milk

  • 1/2 cup (113g, 4 oz.) lactose free or regular sour cream

  • 1/2 cup (1 stick, 113g, 4 oz.) Earth Balance Buttery Sticks or unsalted butter (see adjustment for salt if using unsalted butter)

  • 2 large eggs

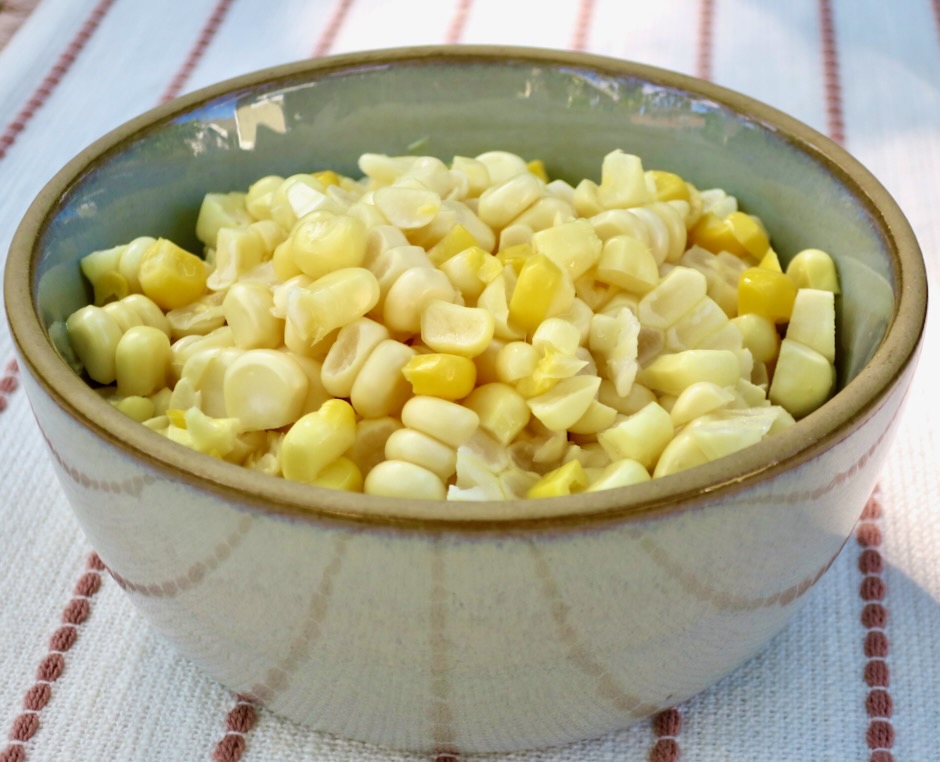
  • 2 cups (304g, 10.7 oz.) fresh corn kernels, about 2 large ears of corn

  • Cardamom Butter
  • Mash together until well combined: 1 stick Earth Balance Buttery Sticks or unsalted butter (softened), 1/8 cup + 1 tablespoon packed light brown sugar, 1/2 teaspoon ground cardamom (add 1/4 teaspoon fine sea salt if using unsalted butter).

Directions

  • Adjust oven rack to middle position and heat oven to 400 degrees. Generously spray 12-cup muffin tin, including top, with vegetable oil spray.
  • Whisk flour, 1 cup cornmeal, sugar, salt, baking powder, and baking soda together in a large bowl; set aside.
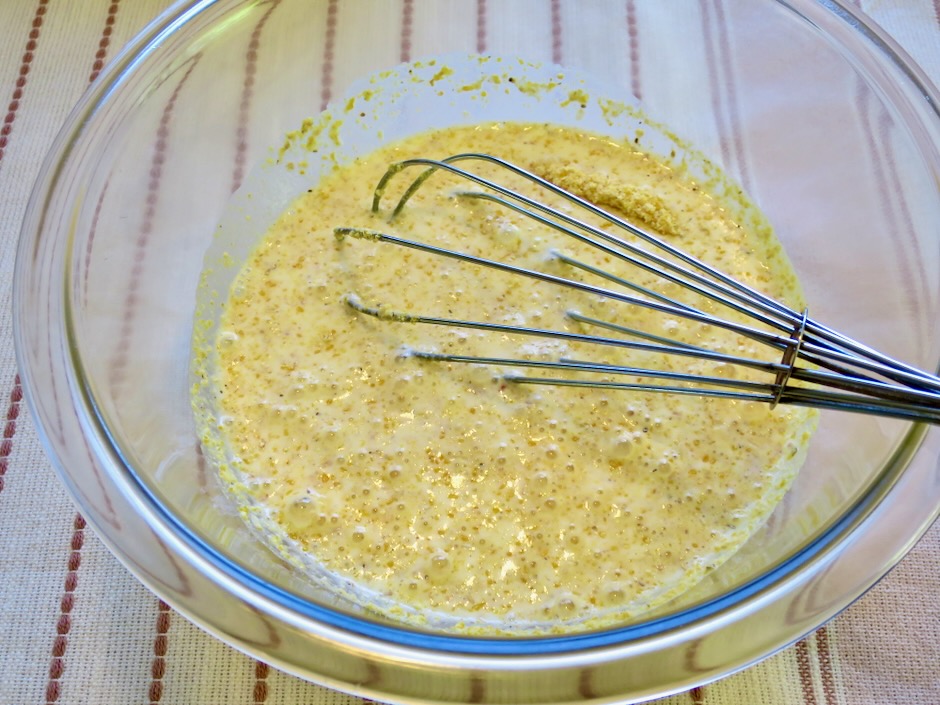
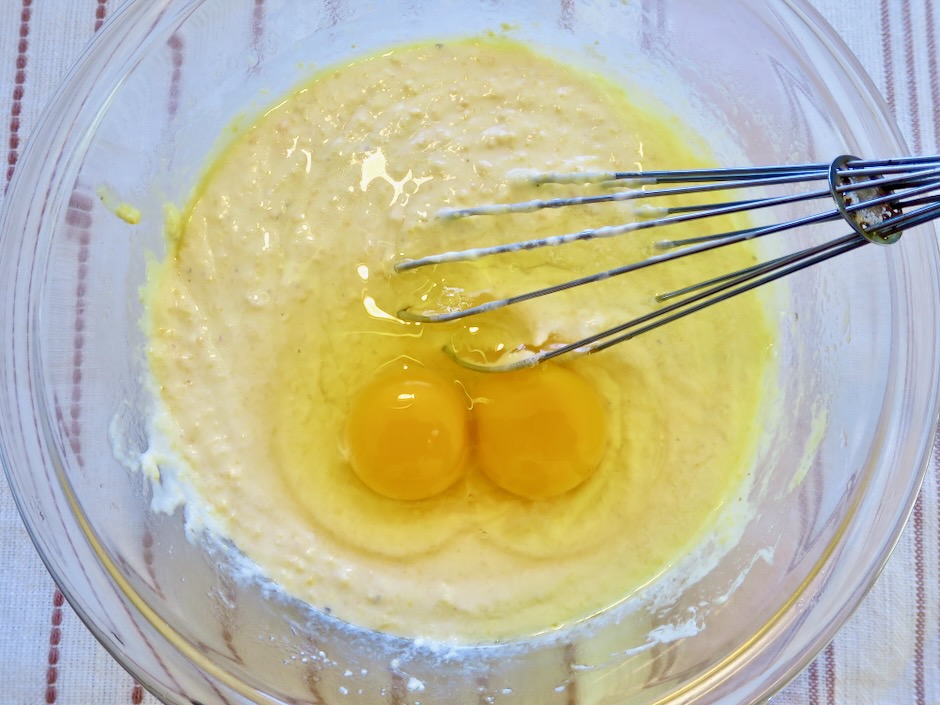
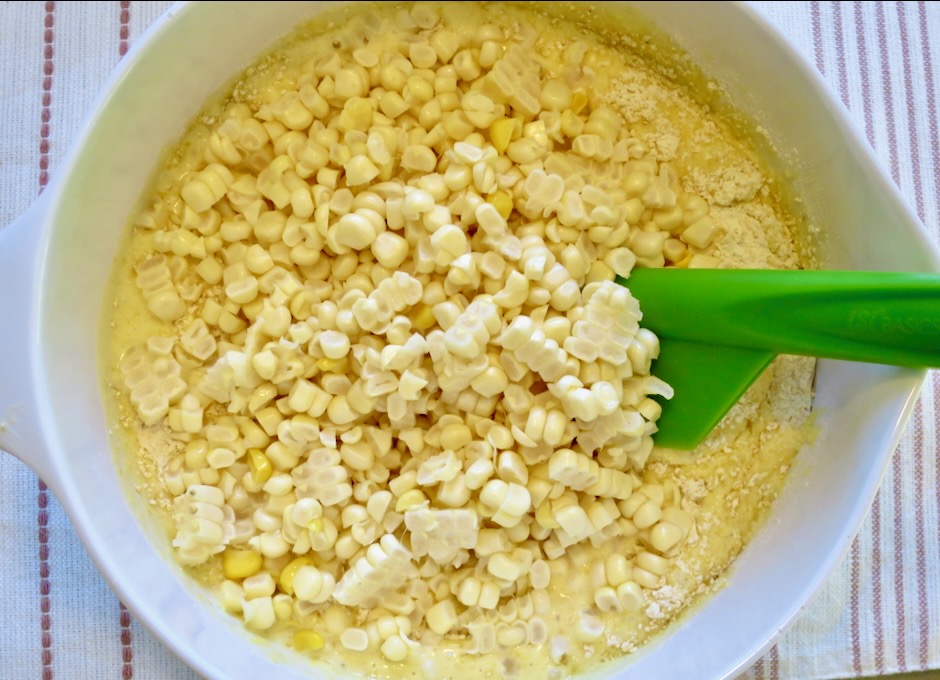
  • Whisk milk and remaining 1/2 cup cornmeal together in a medium bowl. Microwave until mixture begins to thicken to a paste-like consistency, about 1 1/2 minutes, whisking every 30 seconds to combine. Whisk sour cream and melted butter into cornmeal paste. Whisk in eggs. Stir cornmeal mixture and corn kernels into flour mixture until just combined.
  • Divide batter equally among prepared muffin cups; evenly distribute any remaining batter among cups (cups will be full or slightly over the top level).
  • Bake until muffins are golden brown and a toothpick inserted in the center comes out with just a few crumbs attached, 20 – 24 minutes. Let muffins cool in pan on wire rack for 5 minutes. Gently remove muffins and let cool on wire rack for 15 minutes. Serve warm with cardamom butter or split muffins and toast in toaster oven until edges are browned and crispy.
Notes

  • Muffins can be frozen for 1 month.
Dessert, French, Fruit, Jams & Jellies, Lactose Free, Recipes, Vegan, Vegetarian

Strawberry Galette

July 21, 2021

Strawberry Galette

One of my favorite fruits to use in a galette is mango.  During the summer months our two trees produce a good harvest of fruit that we use in all sorts of recipes.  But not everyone has access to mangos so any number of other seasonal fruits or berries are suitable.  I particularly like strawberries.  They make a gorgeous galette that bakes up beautifully.  The crust holds up well and leftovers, if any, are a real treat with coffee the following morning.

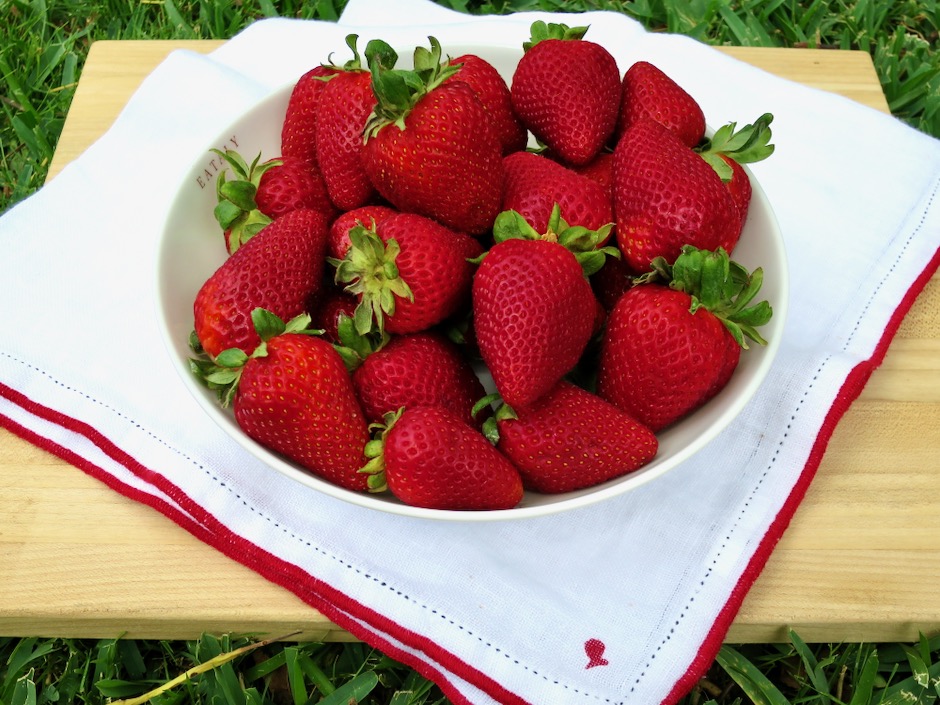
Fresh Strawberries

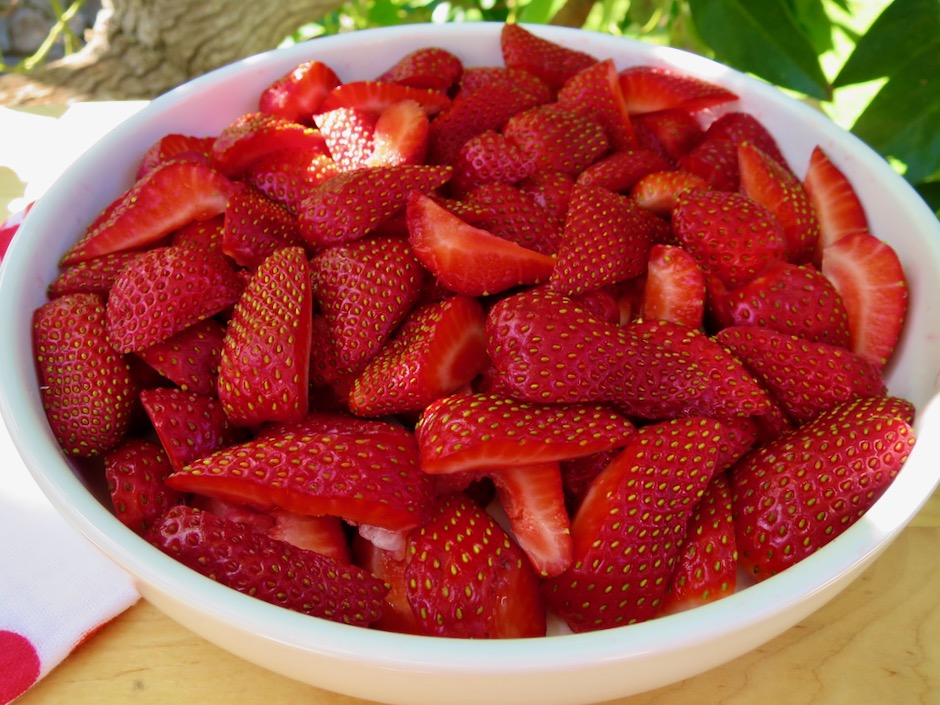
The strawberries found in the markets can vary in sweetness.  It’s a good idea to buy ones that are ripe and juicy in appearance but not at all soft.  Strawberries are quite perishable so plan on making the galette within a day or two of buying your strawberries.

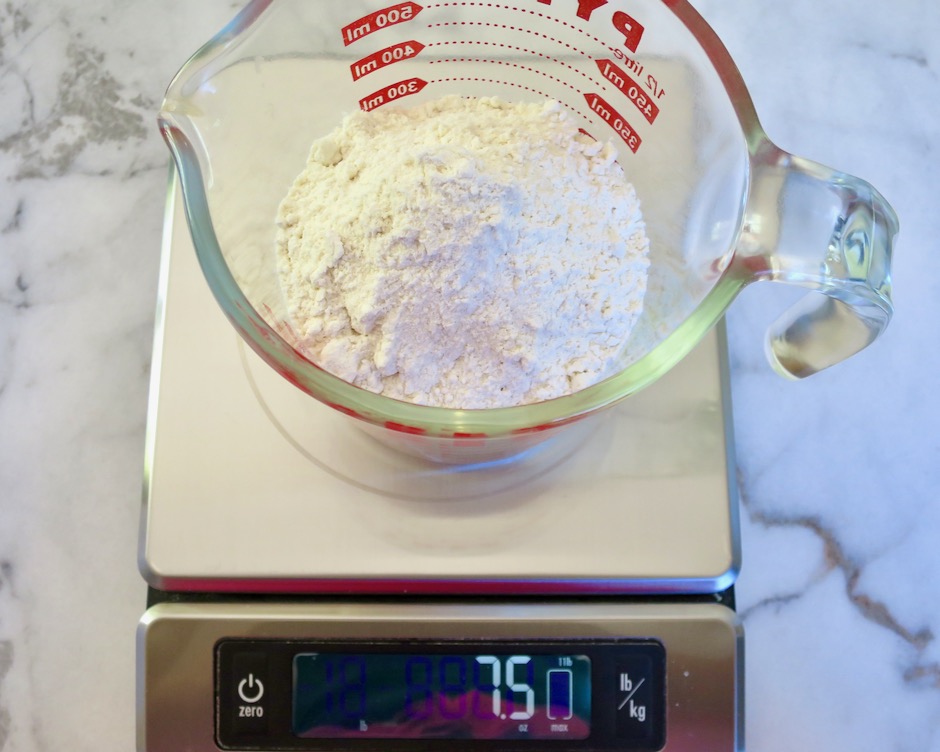
Weighing Flour

The crust for this galette is excellent. It holds up well to the juicy strawberry filling and does not become soggy even if you have leftovers the following day.

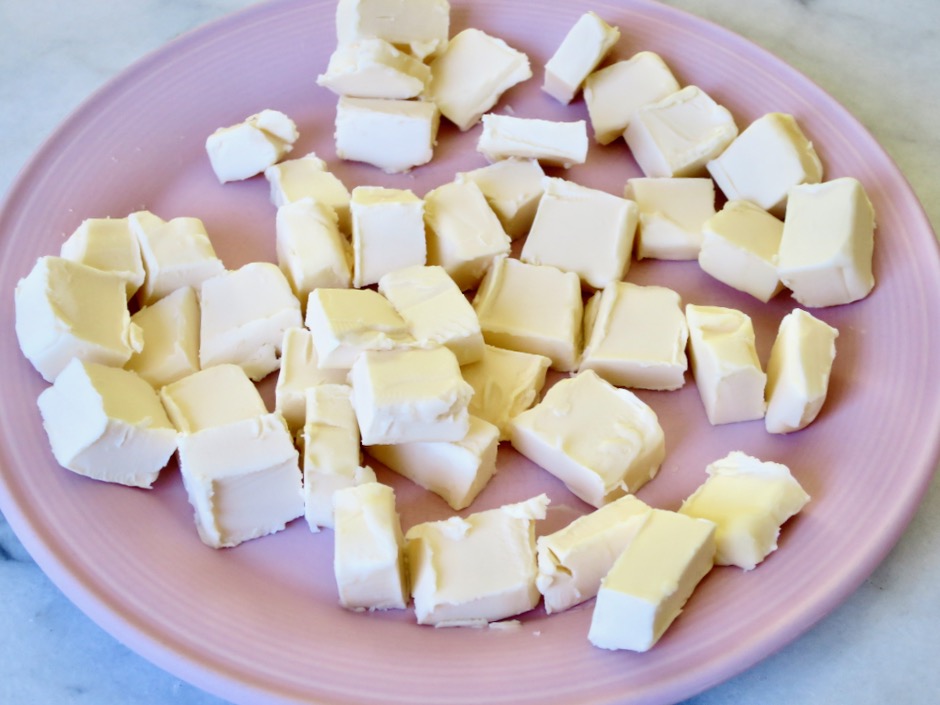
Chilled Earth Balance Buttery Stick Cubes

I used Earth Balance Buttery Sticks (vegan and lactose free) but feel free to use regular unsalted butter as the original recipe calls for.   Whatever you choose to use, make sure it does not sit out on the counter and is well chilled.  Buttery Sticks are not as firm as regular butter so I freeze the cubes for 15-30 minutes before proceeding with the recipe.

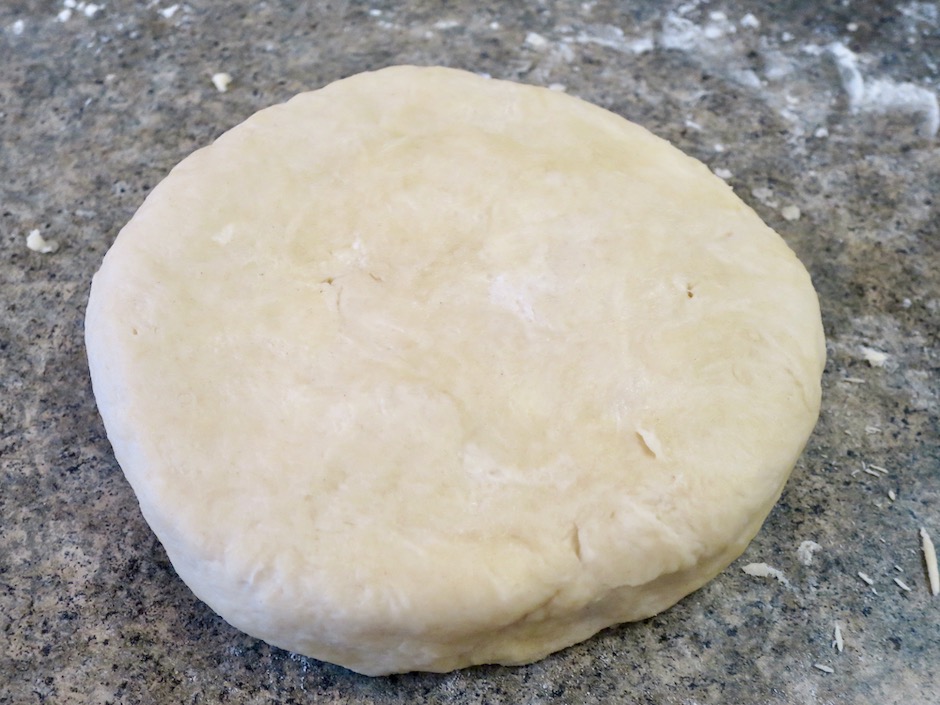
Galette Dough

If I am short on time I freeze the wrapped dough for 30 minutes instead of chilling it in the refrigerator for a few hours.

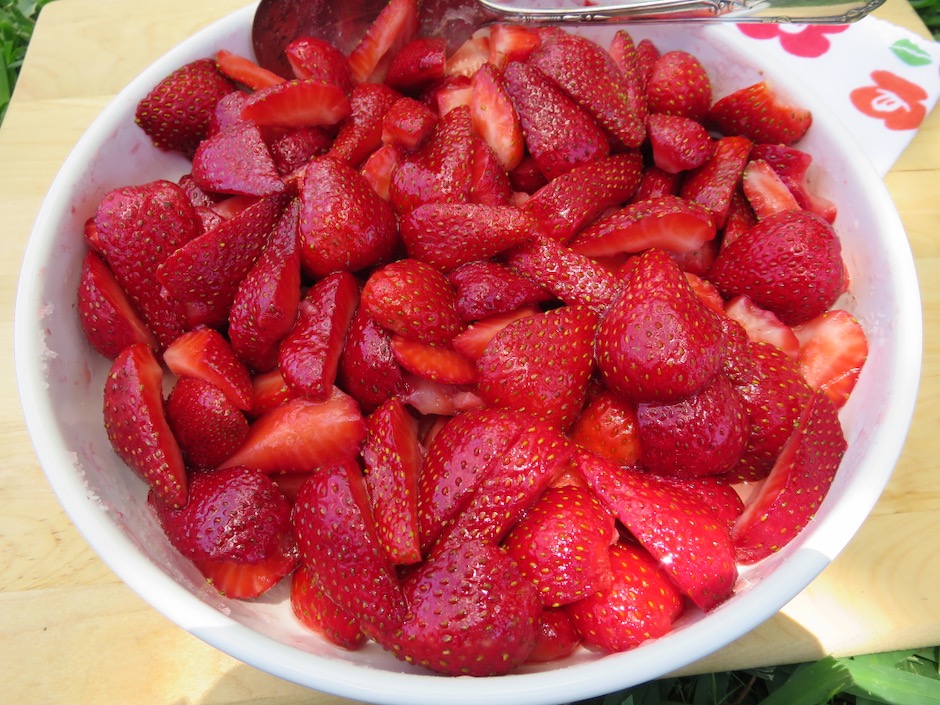
Sliced Strawberries

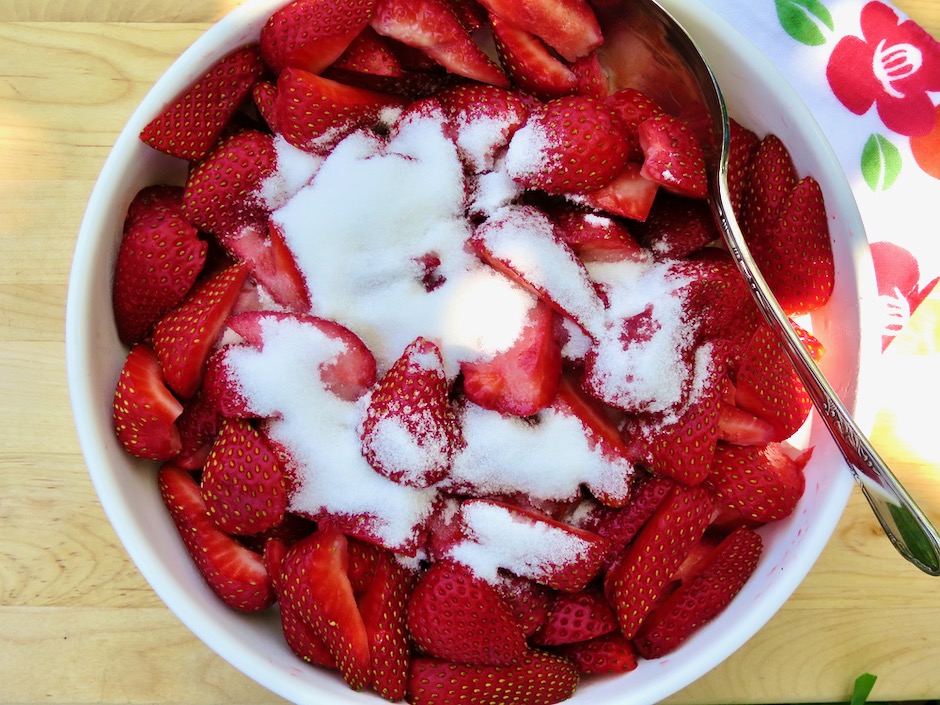
Strawberries & Sugar

A little sugar is stirred into the berries which will give them a bit of sweetness, but not too much.

Strawberries & Sugar

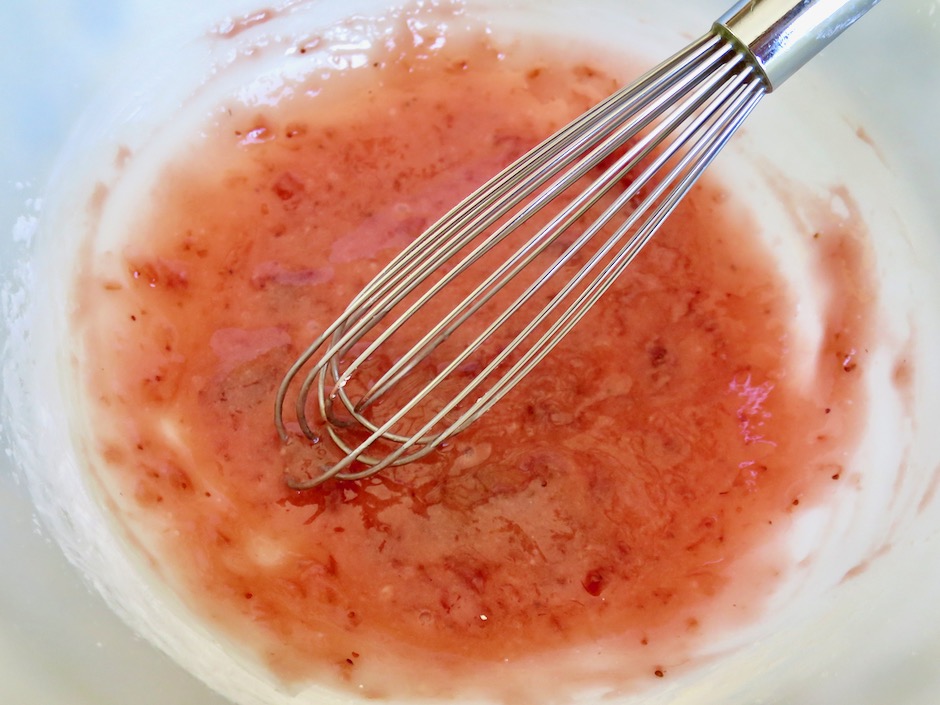
Strawberry Jam & Cornstarch Mixture

The strawberries are gently tossed into a mixture of strawberry jam that is mixed with cornstarch and a pinch of salt.  

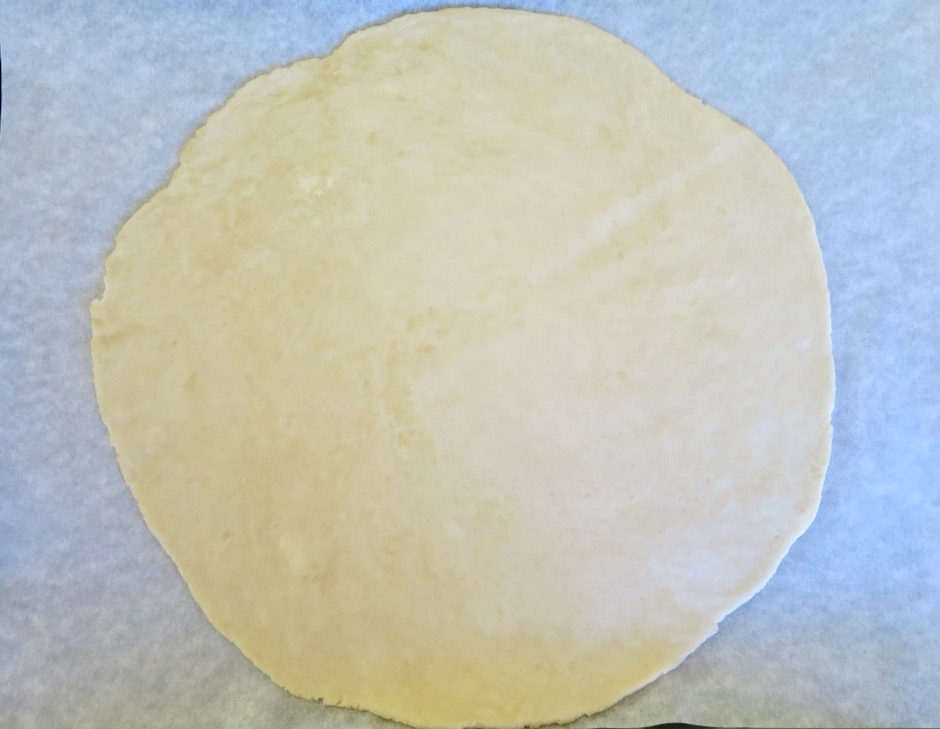
Rolled Out Dough

Roll the dough out on parchment paper.  Transfer the rolled out dough to your rimmed baking sheet and continue with the recipe.  

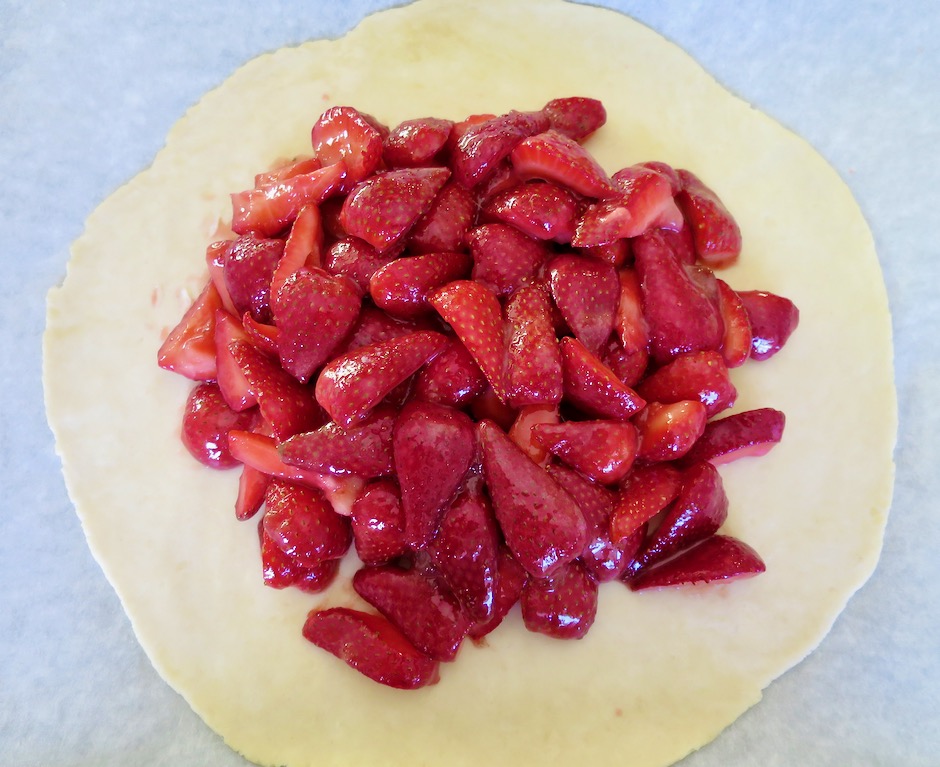
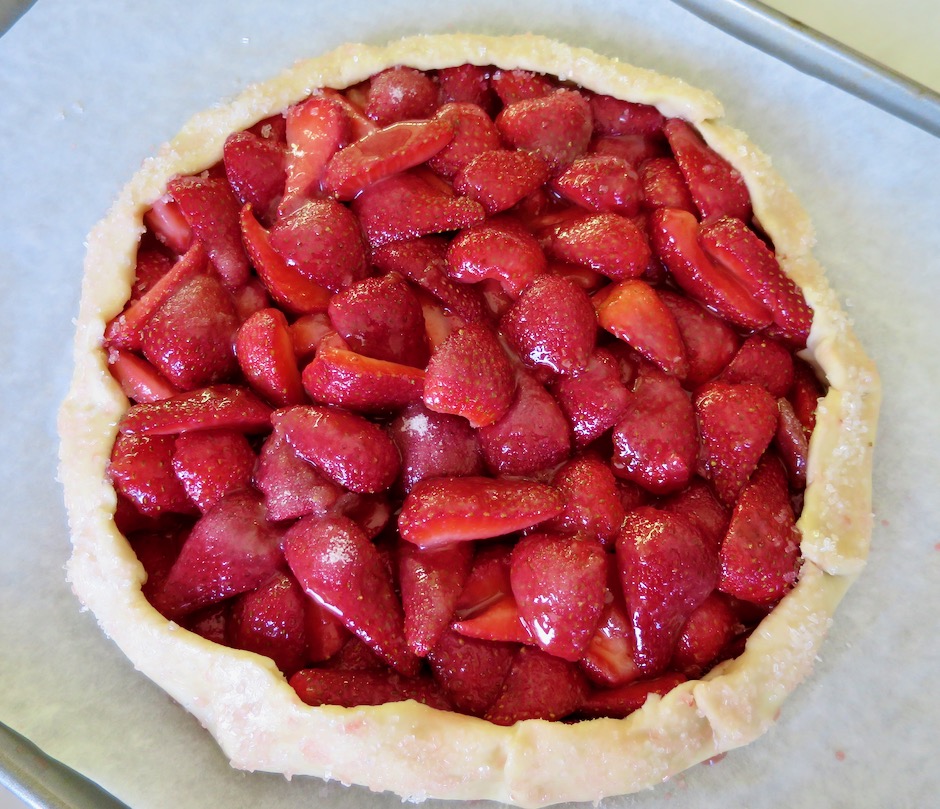
Strawberries on Galette Dough

Leave a 2-inch border (sometimes I end up with 1 1/2-inches!) to fold over the filling.  The original recipe calls for brushing the edges of the galette with some of the reserved strawberry juice and sprinkling sugar over the edges before baking.  Try not to apply too much of the juice as it is quite thin and will drip down the sides of the crust.  You can brush the crust with a bit of lactose free half and half or whole milk instead, then sprinkle with sparkling sugar.  The coarse-grained sugar adds a beautiful sparkle and sweet crunch to each slice of the baked galette.

Strawberries in Galette Dough

The dough is pleated every 2 inches to shape the galette and keep the strawberries the center of attention.

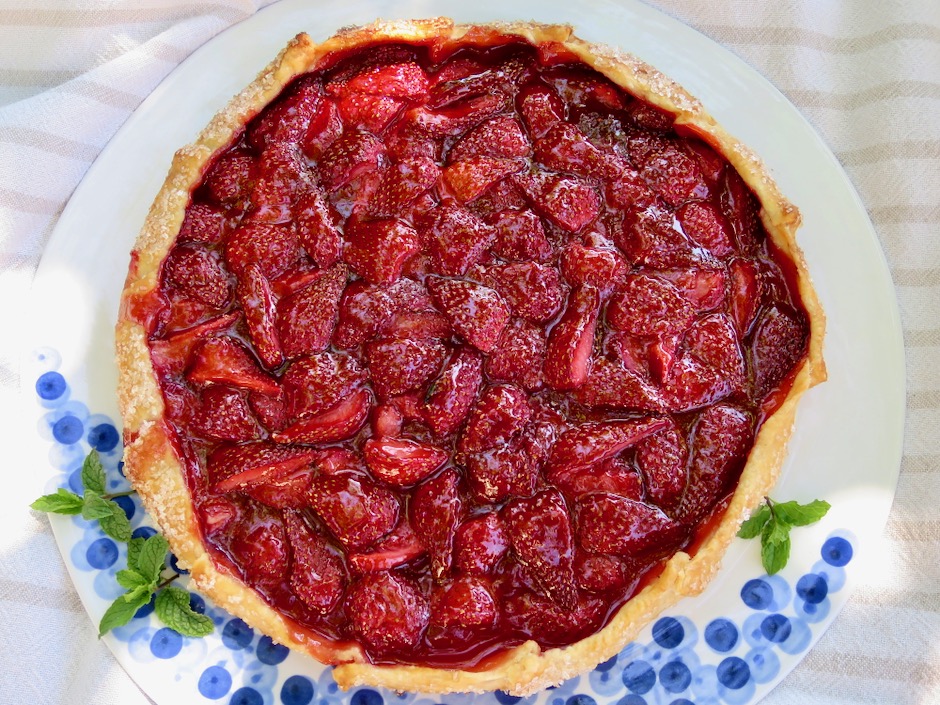
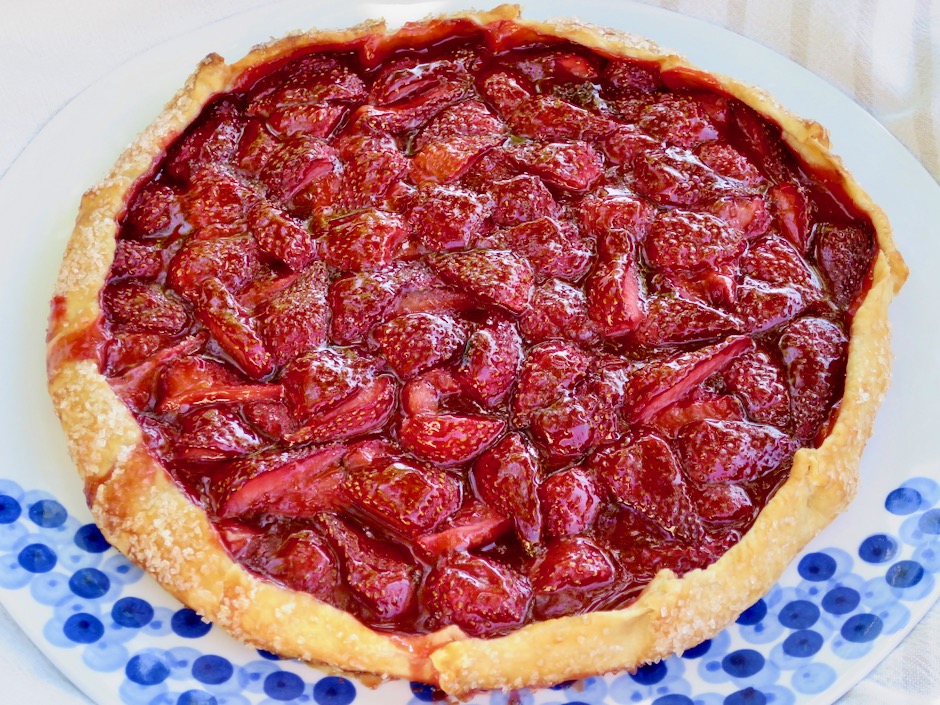
Strawberry Galette

I brush a bit of warmed strawberry jam over the strawberries once the galette is done baking. It gives the galette extra flavor and a beautiful sheen.

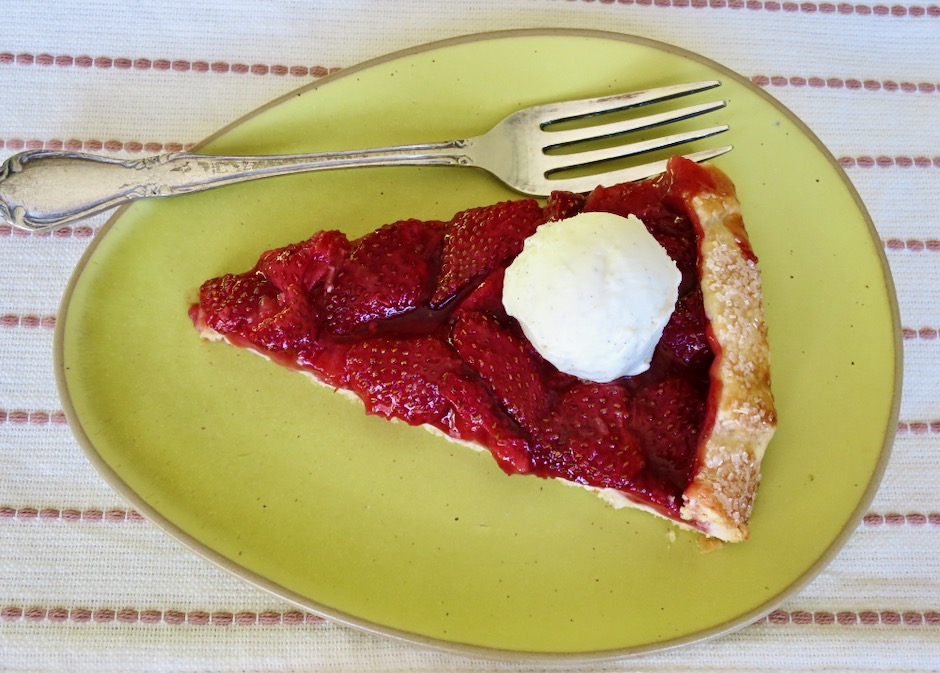
Strawberry Galette with Ice Cream

Strawberry Galette
 
Adapted from Cook's Country
Author:
Serves: 10
Ingredients
  • Dough:
  • 1½ cups (7½ ounces) all-purpose flour
  • ¼ teaspoon salt (1/2 teaspoon if using unsalted butter)
  • 1 tablespoon granulated sugar
  • 10 tablespoons Earth Balance Buttery Sticks cut into ½-inch cubes and frozen for 15 - 30 minutes (or unsalted butter well chilled)
  • 6 tablespoons ice water
  • Filling:
  • 1½ pounds strawberries, hulled, halved if small or quartered if large (about 5 cups)
  • ¼ cup (1¾ ounces) granulated sugar + 1 tablespoon sugar, divided
  • ⅓ cup strawberry jam + 1 tablespoon, divided
  • 1½ tablespoons cornstarch
  • ⅛ teaspoon fine sea salt
  • 1 tablespoon coarse sparkling sugar
Preparation
  1. For the dough: Process flour, salt, and sugar in a food processor until combined, about 4 pulses. Scatter Buttery Sticks cubes over the top and pulse until mixture resembles coarse sand and butter pieces are the size of small peas, about 10-12 pulses. Add ice water to flour mixture and pulse until dough begins to form small curds and holds together when pinched with your fingers, about 5 pulses.
  2. Transfer mixture to a lightly floured counter. Gather dough into a rough rectangular mound about 8 inches long and 4 inches wide. Starting at the farthest end, use the heel of your hand to smear a small amount of dough against the counter, pushing firmly down and away from you. Continue doing this while turning the dough as you go. Continue until all the dough has been worked, about 8 times. This is a process of working the crumbles of flour, butter, and water together into a dough by smearing them against the counter, making for a sturdy, flaky crust. Form dough into a 6-inch disk, wrap tightly with plastic wrap and refrigerate for 2 hours or freeze (if short on time) for 30 minutes. The dough can be refrigerated for up to 2 days.
  3. For the filling: One hour before rolling out the dough, toss strawberries with ¼ cup sugar in a medium bowl. Set aside for 1 hour. Reserve 1 tablespoon strawberry juice (if using for crust). Drain strawberries in colander while rolling out dough.
  4. Adjust oven rack to lower-middle position and heat oven to 375 degrees. Roll dough into 12-inch circle on parchment paper. Transfer dough on parchment paper to rimmed baking sheet, cover loosely with plastic wrap and refrigerate until firm, about 15 minutes.
  5. Whisk jam, cornstarch, and salt in a large bowl. Add drained strawberries and toss gently to coat. Remove dough from refrigerator (I transfer to dough to a second rimmed baking sheet that hasn't been chilled) and mound fruit in center, leaving a 2-inch border. Grasp one edge of dough and fold up 2-inches over fruit. Repeat around circumference of galette, overlapping dough every 2-inches. Firmly pinch pleated dough to secure. Sprinkle reserved 1 tablespoon of sugar over the strawberries. Brush top edges of dough with reserved strawberry juice, half and half or whole milk and sprinkle with sparkling sugar.
  6. Bake until crust is deep golden brown and fruit is bubbling, about 1 hour 5 minutes. Let galette cool on baking sheet for 5 minutes. Warm reserved tablespoon of jam. Brush jam over the berries. Let cool for 15 minutes. Using parchment, carefully slide galette onto serving plate. Serve warm or at room temperature.
 

Follow

Get every new post delivered to your Inbox

Join other followers: