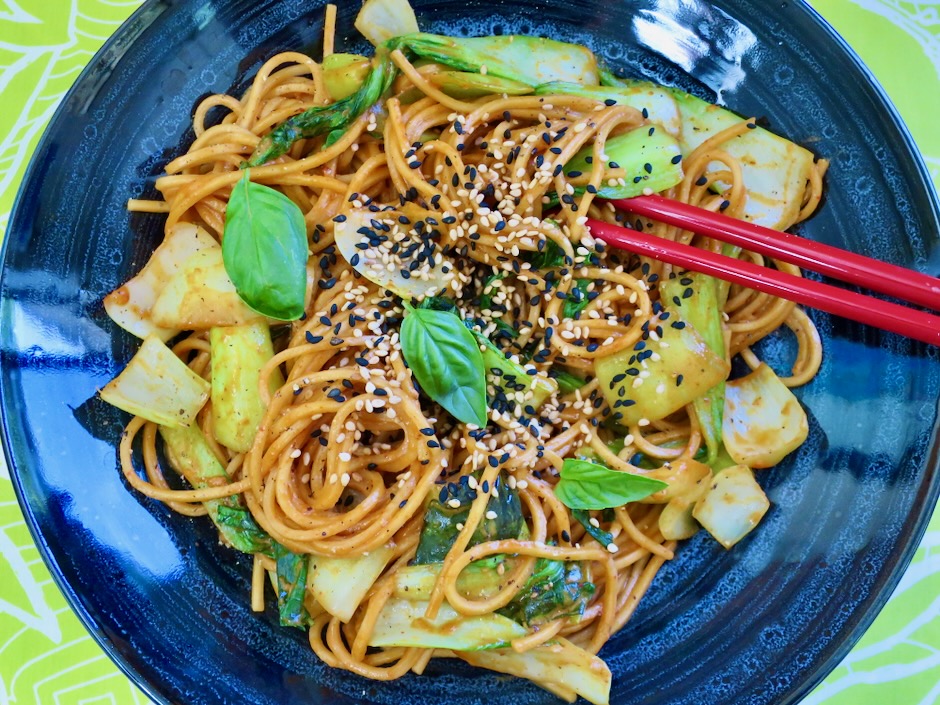
A bowl of noodles with a bit of spice, crispy bok choy, and a savory sauce is one I can’t turn down. This recipe is customizable, meaning you can use fresh or dried ramen, udon, or even dried spaghetti. No bok choy? Replace it with broccolini, choy sum, or another green and crisp vegetable. If you want to dial up the heat, increase the amount of gochuchang in the sauce.
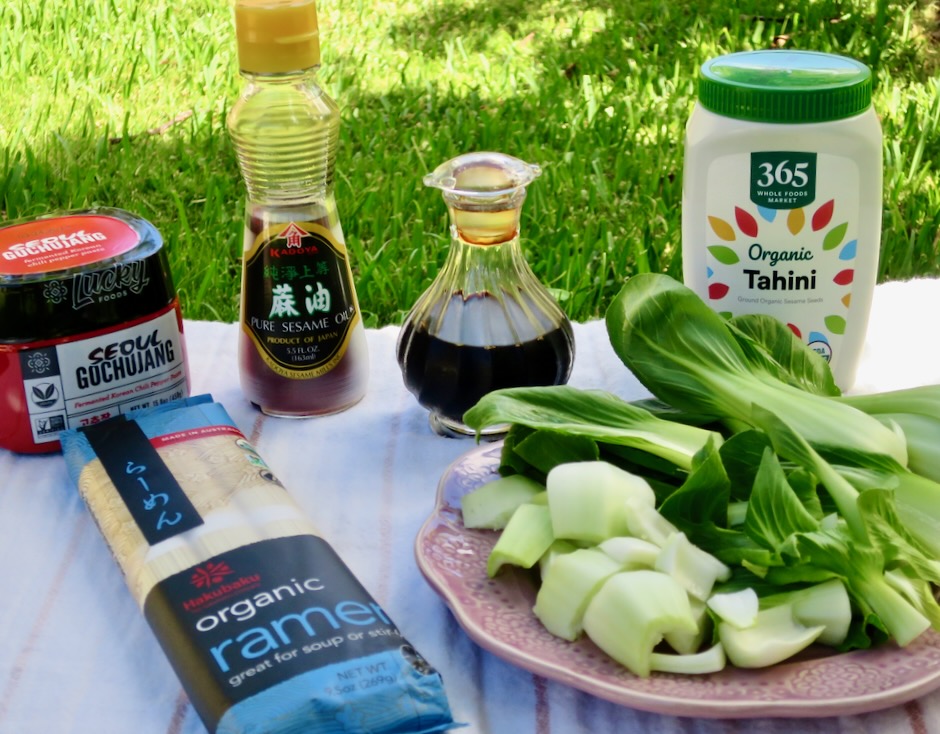
Tahini adds a richness and silkiness to the sauce so don’t skip this ingredient.
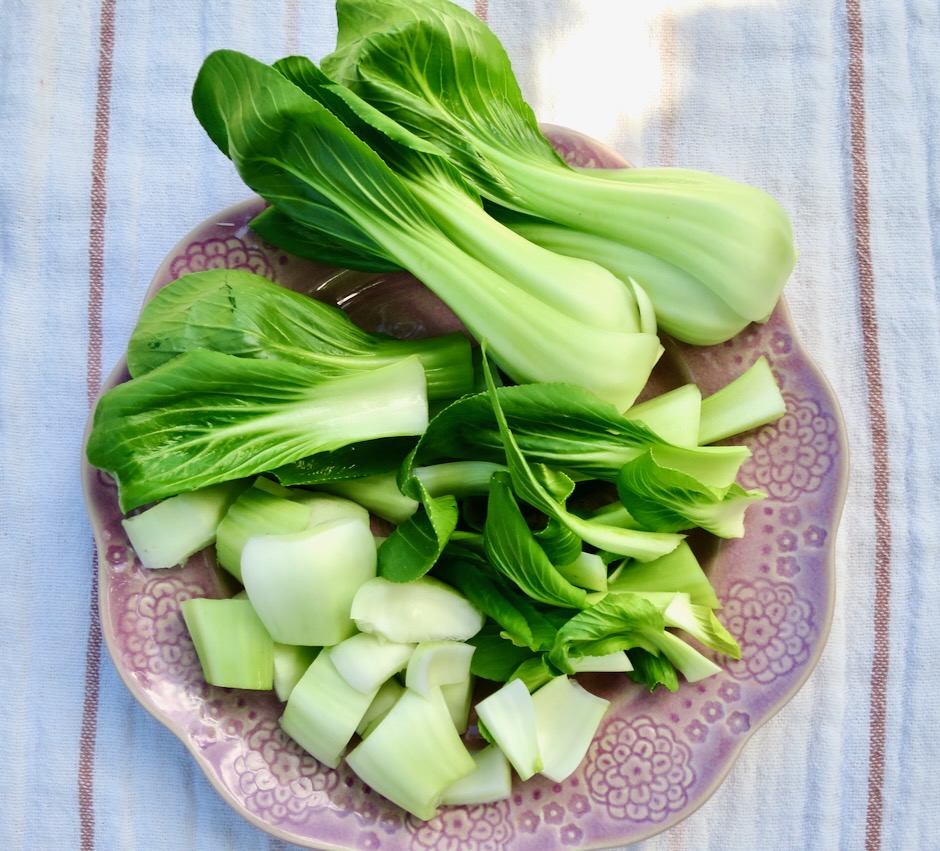
The original recipe from Bon Appetit calls for using broccoli rabe, however, it is not easily found in our markets on Maui, except at Whole Foods or Mana Foods. Bok choy is easier to find and I love the crispness it adds to the dish.
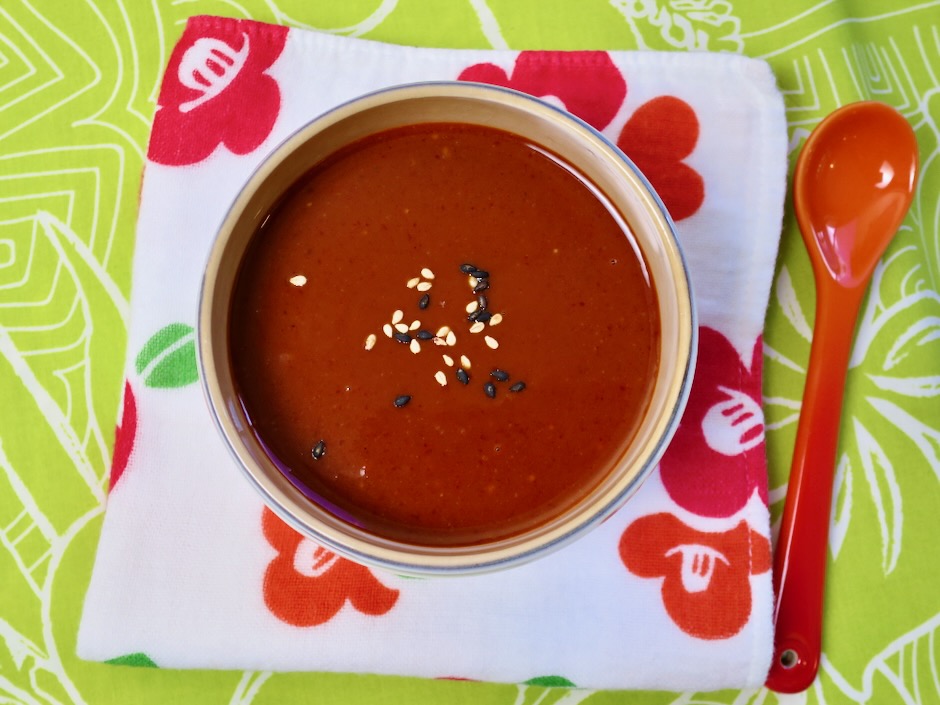
The sauce ingredients are simply whisked together in a bowl.
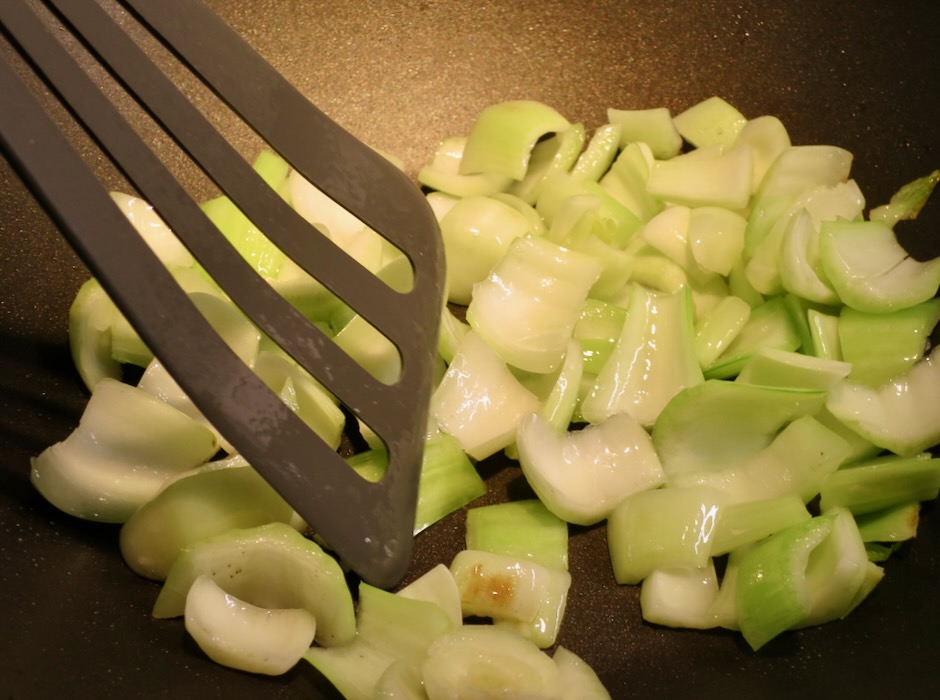
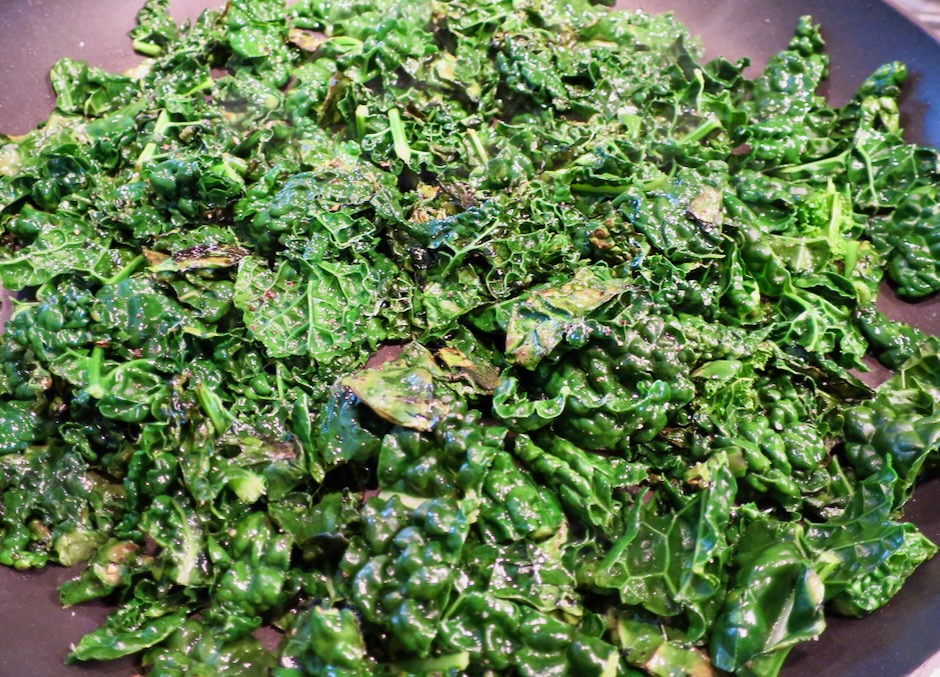
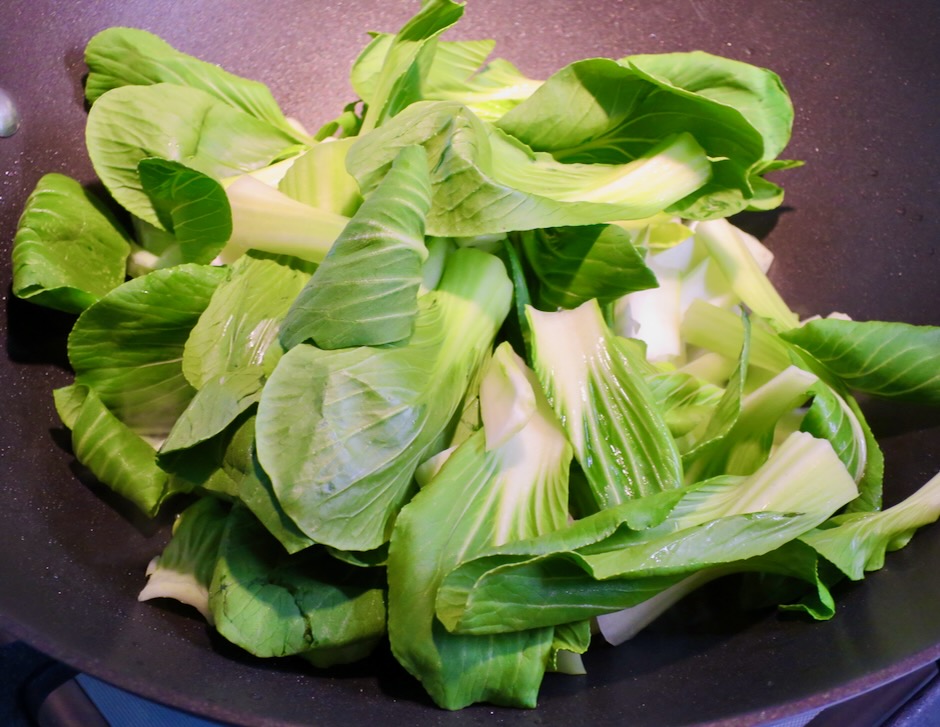
Cut the bok choy stems into short pieces and stir fry them briefly before adding the leaves which will cook in no time at all.
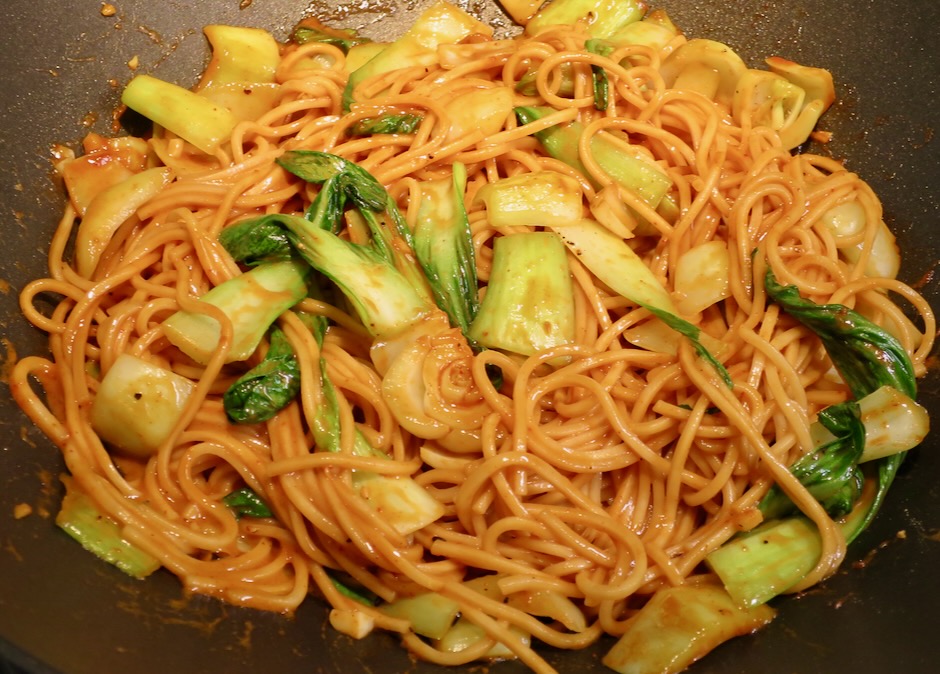
The cooked noodles are added to the wok with the vegetables along with the sauce. The sauce will reduce in less than a minute which provides just enough time to warm the noodles.
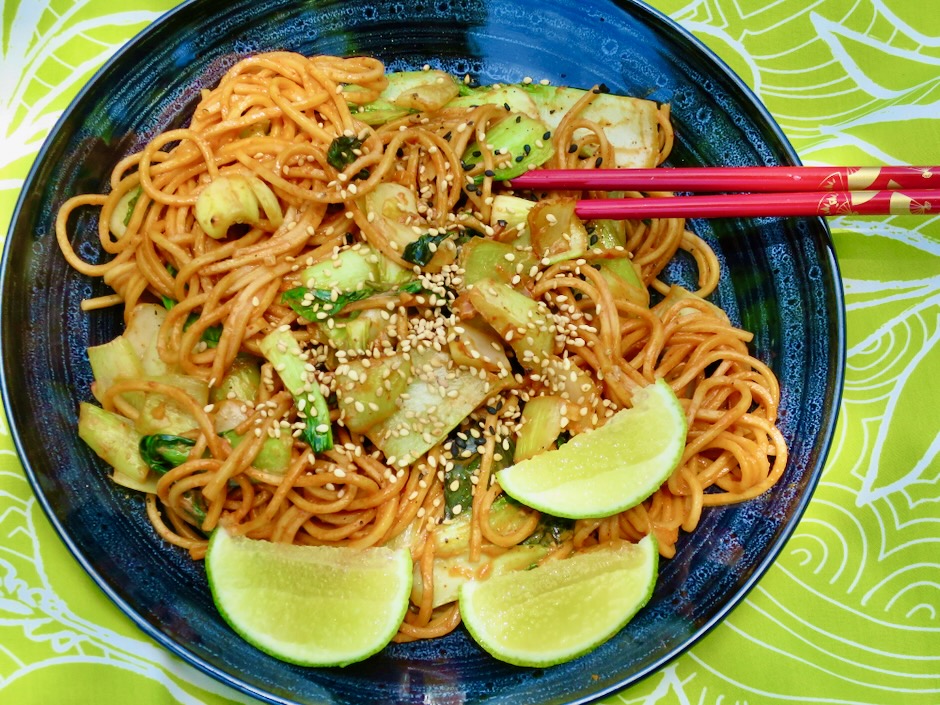
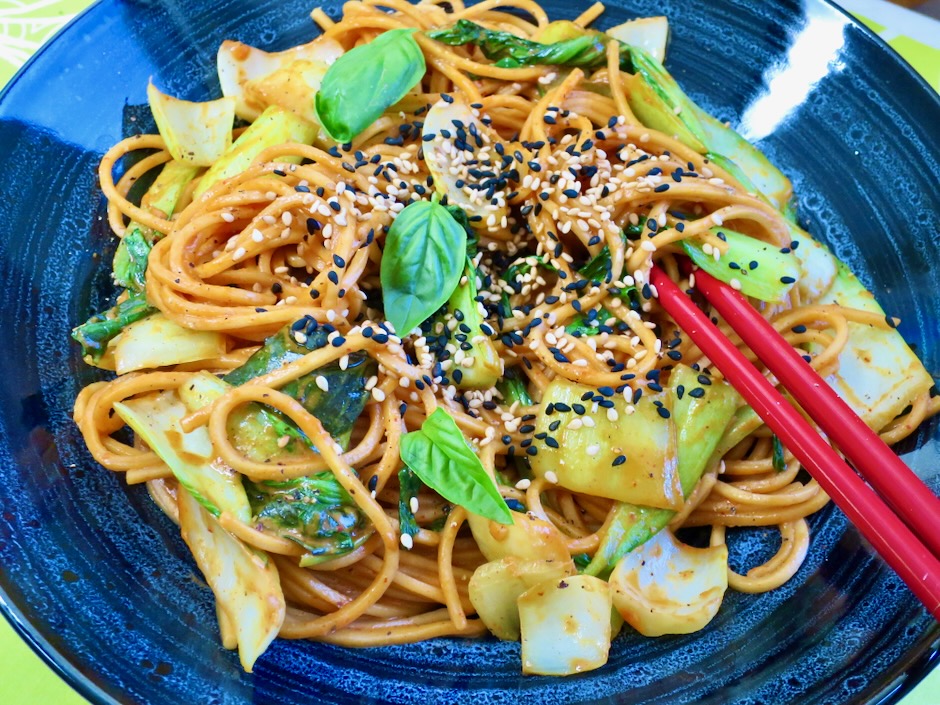
Serve the noodles with lime wedges and basil.
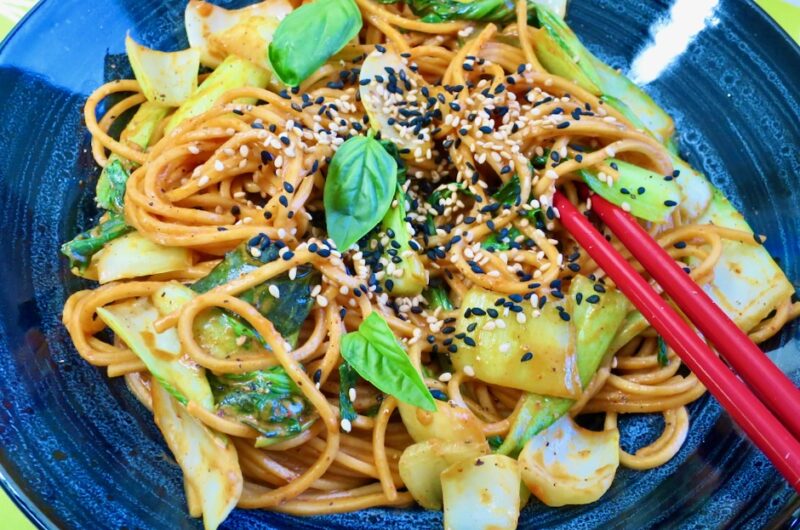
Gochujang Sesame Noodles
4
servingsAdapted from Bon Appetit
Ingredients
8-10 ounces fresh or dried noodles (ramen, udon, spaghetti)
3 tablespoons gochujang (less or more depending on desired heat level)
3 tablespoons soy sauce (low sodium can be used, or a mixture of low sodium and regular soy sauce)
2 tablespoons brown sugar
2 tablespoons tahini
2 teaspoons sesame oil (Kadoya recommended)
1 1/2 tablespoons vegetable oil
8 baby bok choy, stems cut into 1-inch pieces, large leaves coarsely chopped
3 medium garlic cloves, finely chopped
Freshly ground black pepper
Handful of torn basil leaves + more for serving (baby leaves or larger leaves torn)
Toasted sesame seeds and lime wedges (for serving)
Directions
- Cook noodles in a large pot of boiling salted water according to package directions. Drain and rinse under cool water.
- Whisk gochujang, soy sauce, brown sugar, tahini, sesame oil, and 2 tablespoons water in a small bowl to combine; set sauce aside.
- Heat oil in a wok or large non-stick skillet over medium-high. Add bok choy stems and stir fry for about 1 minute. Add bok choy leaves and garlic, season with salt and pepper. Cook for another minute just to wilt the leaves. Turn heat down to medium.
- Add reserved sauce, noodles and a handful of basil to the wok, stirring often until the sauce thickens a bit (pan should not be dry) about 1 minute.
- Divide noodles among bowls and top with sesame seeds and more basil. Serve with lime wedges.