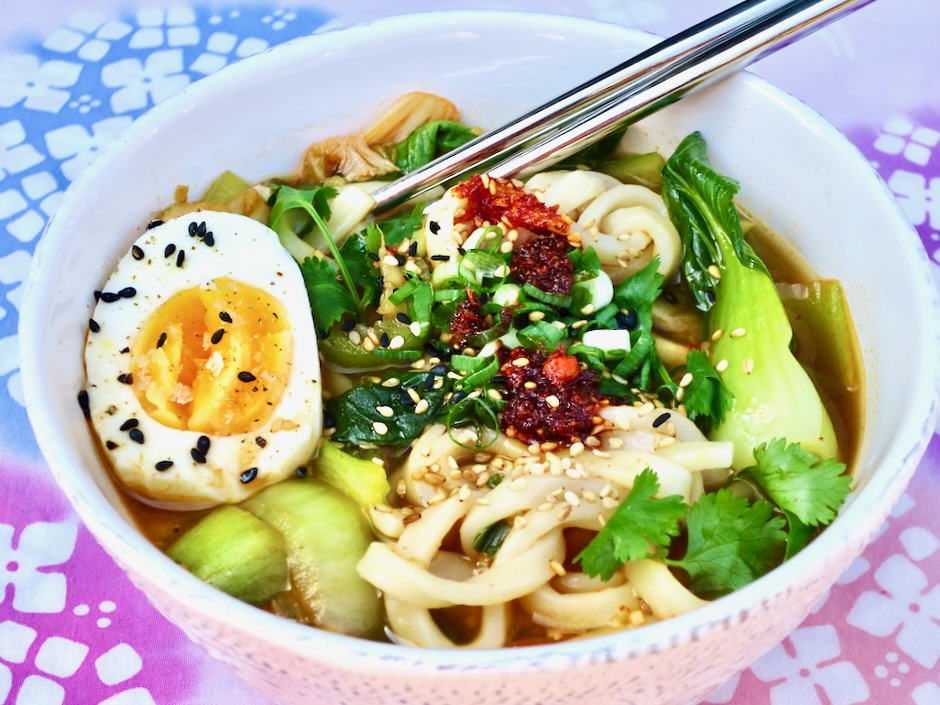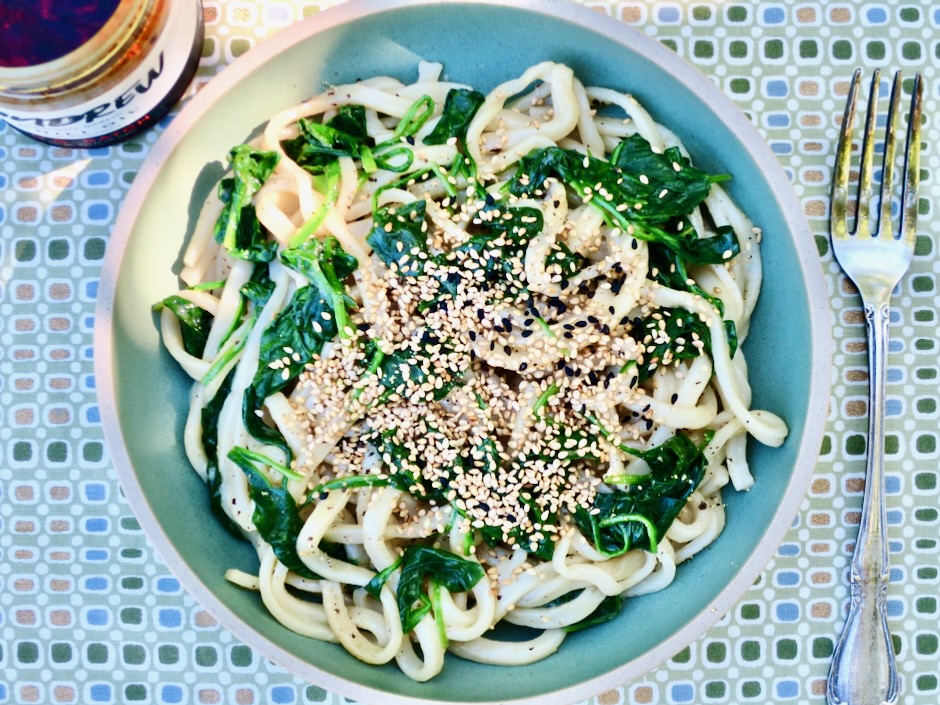
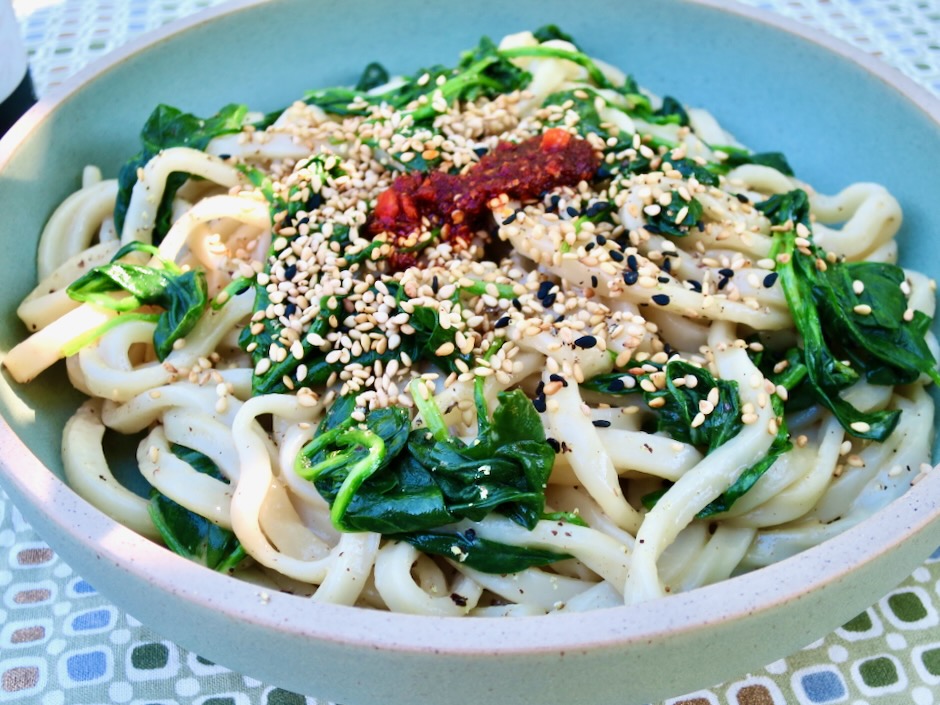
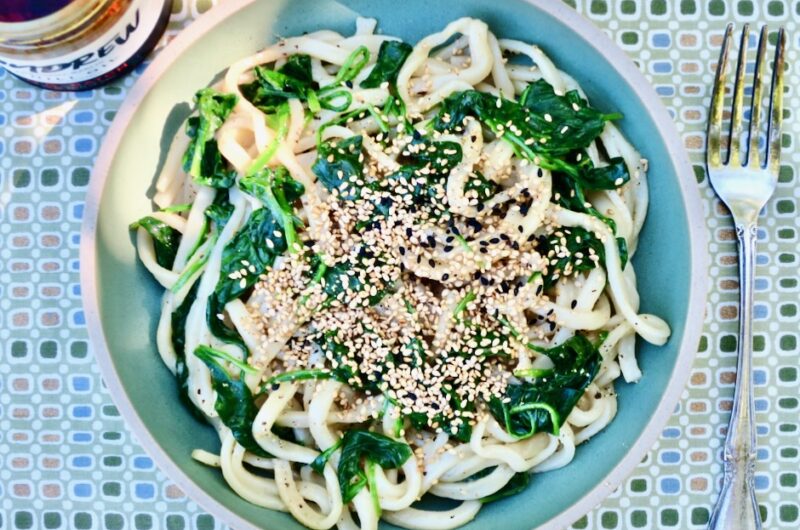
Here is a quick and delicious dish to satisfy a craving for udon. Given that it includes fresh spinach, it’s nutritious as well. This is a broth-less bowl of chewy noodles flavored with browned butter and lots of sesame seeds. It’s scrumptious.
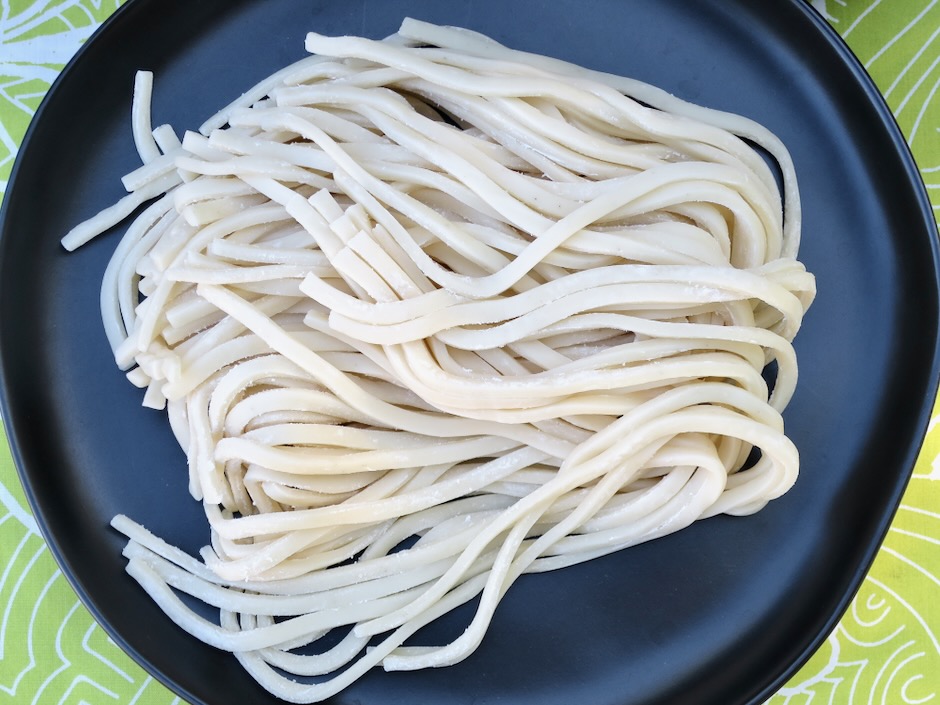
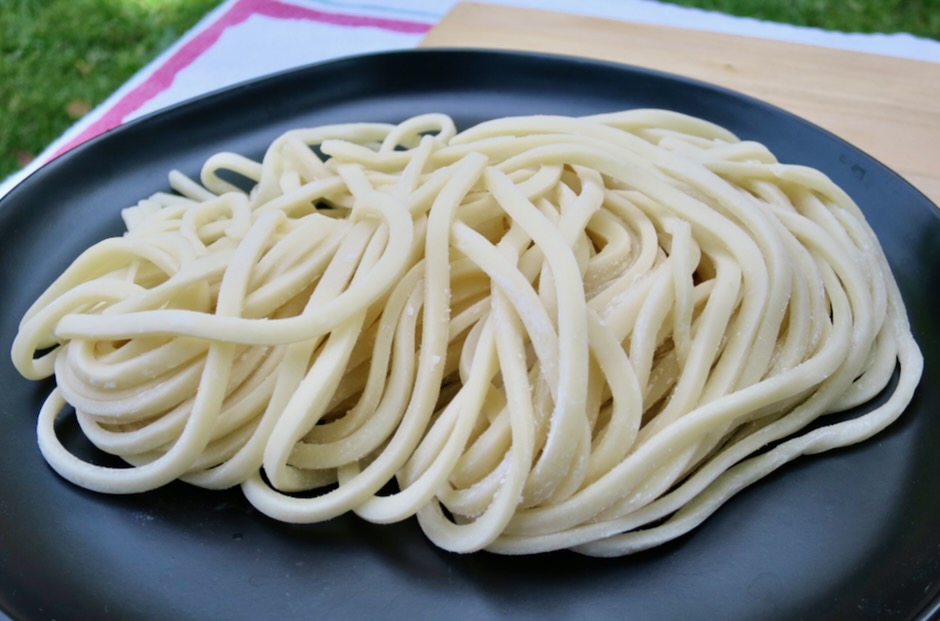
I highly recommend you seek out fresh udon. Here on Maui I buy Sun Noodle udon which is available at Island Grocery. If you are unable to find fresh udon, frozen udon would be the next option. Dried udon is very thin and lacks the wonderful chewy texture of fresh udon that makes this particular dish so delightful.
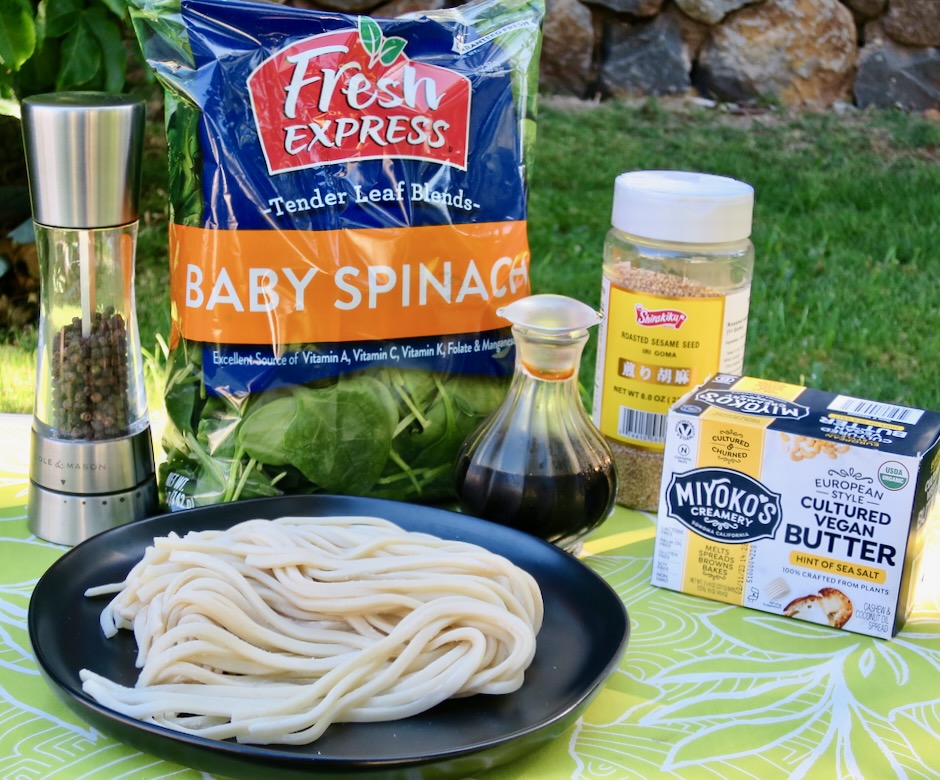
My version is vegan since I used Miyoko’s in place of regular unsalted butter. It’s an excellent substitute if you are lactose intolerant. Another plus is that you can actually brown Miyoko’s vegan butter.
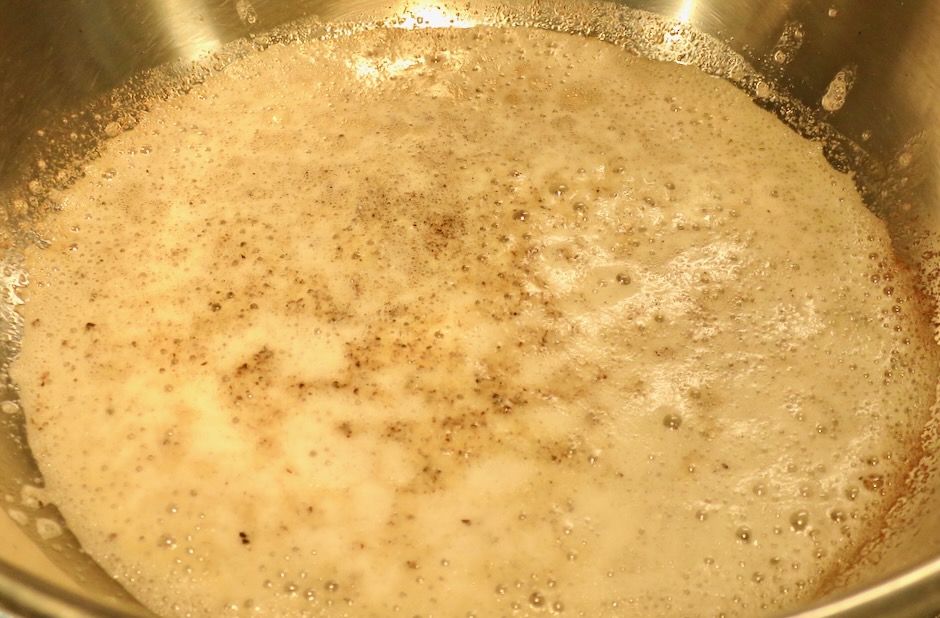
The “butter” browns quickly so you’ll want to keep a close eye on it.
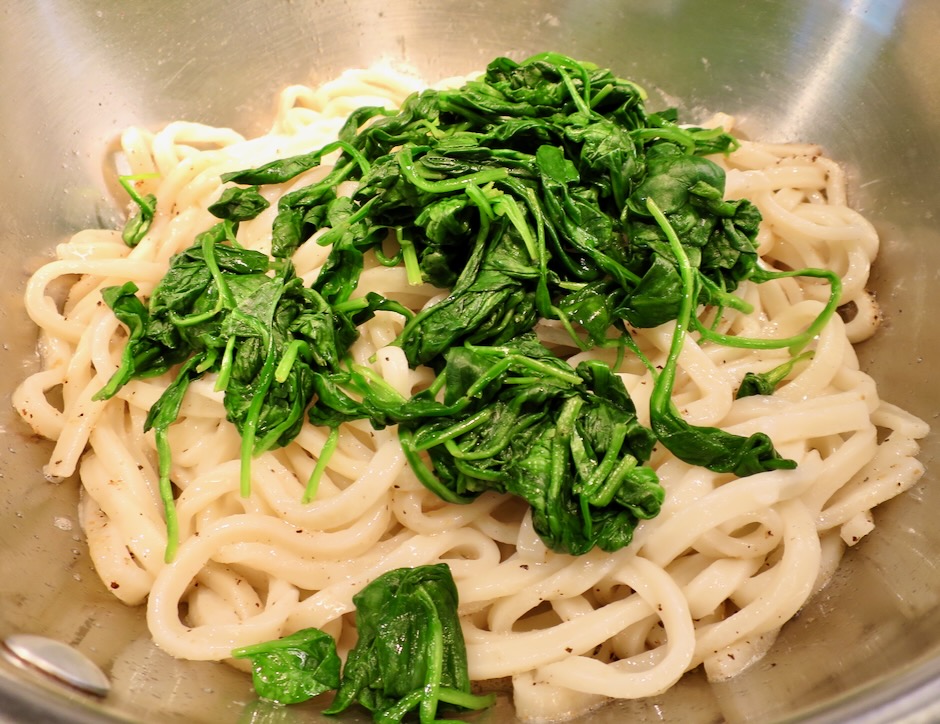
Once the “butter” has browned, it gets tossed with the cooked udon and spinach. Divide the noodles into bowls, sprinkle with a generous amount of roasted sesame seeds and a dollop of chili crisp and devour your bowl of noodles.
Adapted from NYT Cooking
Ingredients
8 ounces fresh udon (in a pinch, substitute with frozen udon)
5 ounce container of baby spinach (or up to 8 ounces)
2 tablespoons Miyoko’s Vegan Butter (or regular unsalted butter)
1/2 teaspoon coarsely ground black pepper
1/2 tablespoon soy sauce
pinch of granulated sugar
1 tablespoon roasted sesame seeds
Chili crisp for serving, optional
Directions
- Bring a large pot of water to a boil. Add the noodles and cook according to package directions until just tender. Reserve 1/4 cup of cooking water. Drain the noodles in a colander and set aside.
- Microwave spinach with 1 1/2 tablespoons water in a large bowl (cover with damp paper towel or microwavable plastic wrap with a small corner left open for steam to escape, or use microwavable steamer).
Drain and add to noodles. - Set the pot used for cooking the pasta, over medium heat. Add 2 tablespoons Miyoko’s Vegan Butter and cook, stirring occasionally, until the foam subsides and the butter turns golden brown, about 3-4 minutes. Watch closely so the butter does not burn. Add the black pepper and stir until fragrant. Add 2 tablespoons reserved pasta water, plus noodles and spinach, soy sauce and sugar, and toss until the sauce is thickened and silky. Add more pasta water a tablespoon at a time if needed to ensure the sauce clings to the noodles.
- Remove from the heat and season to taste with more soy sauce and black pepper if needed. Divide into two bowls, sprinkle with sesame seeds and serve with chili crisp.