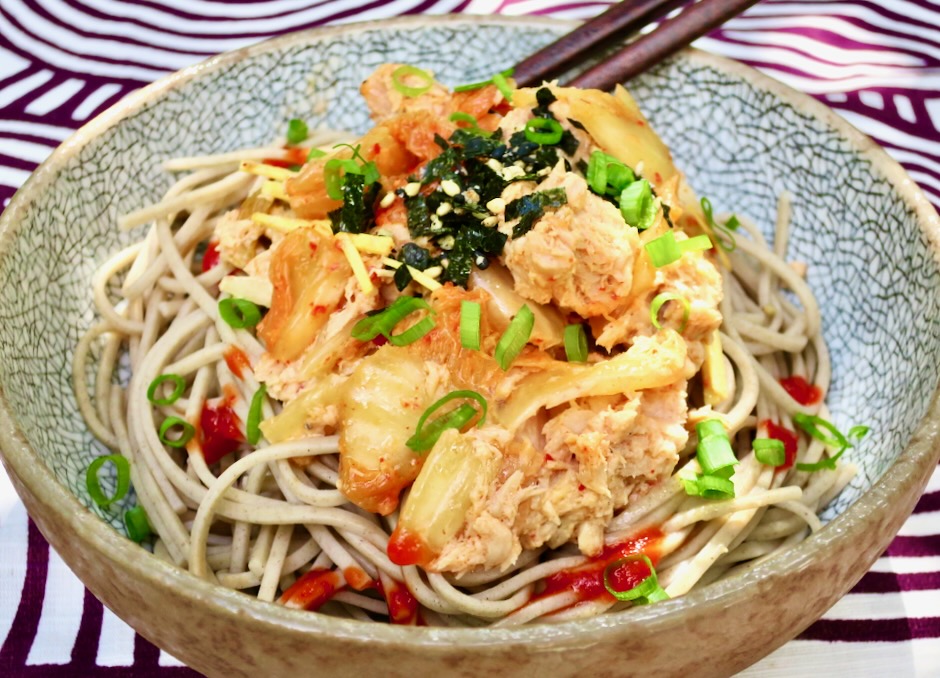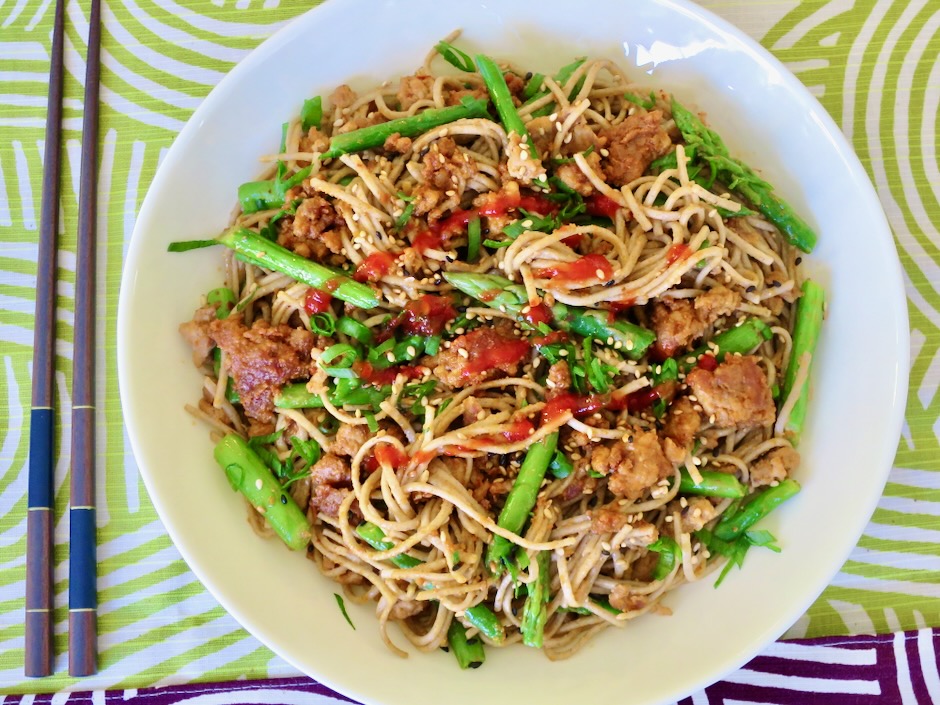
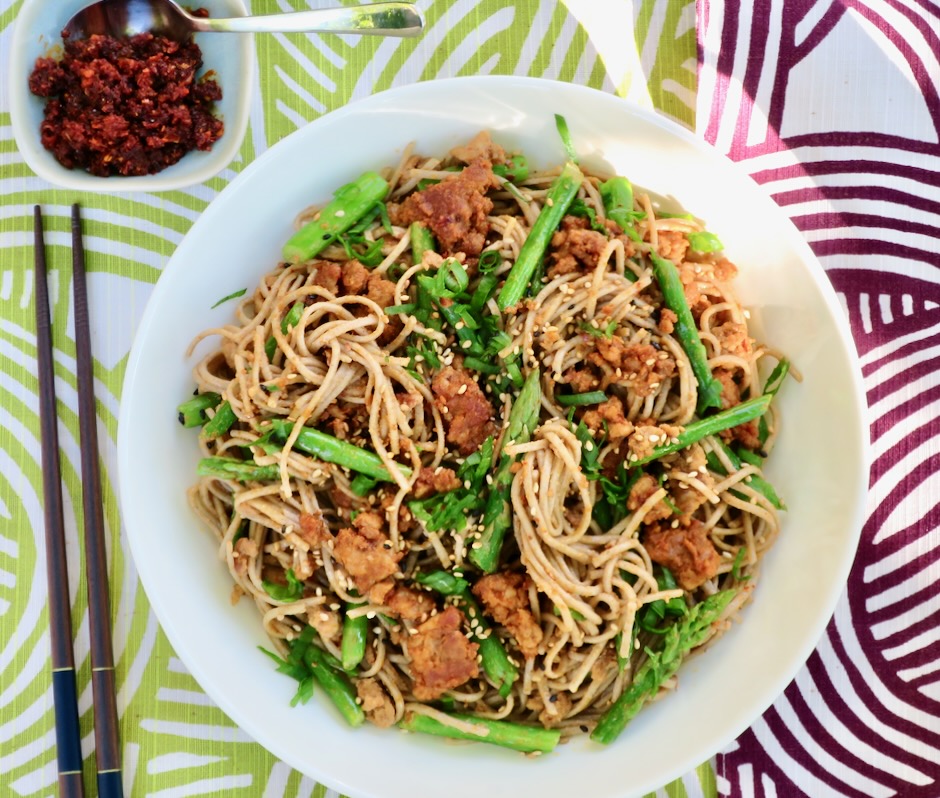
We’re starting to harvest our homegrown asparagus spears which is one of the reasons I was drawn to this recipe. The other reason is that I love soba. Though dried soba cannot compare to fresh, it works well enough for this dish which turns out to be a real winner.
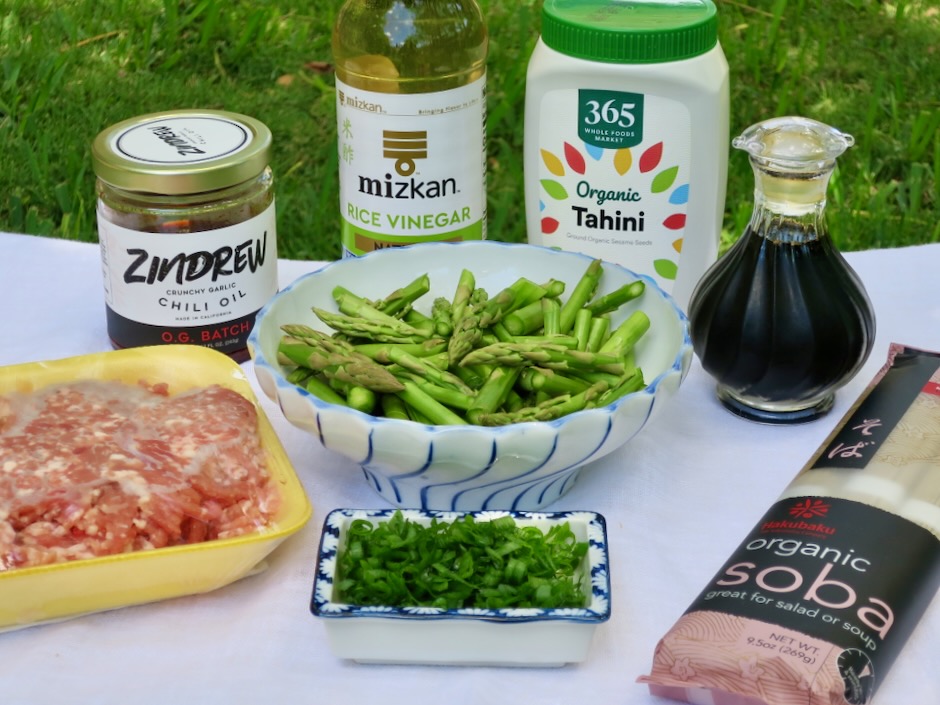
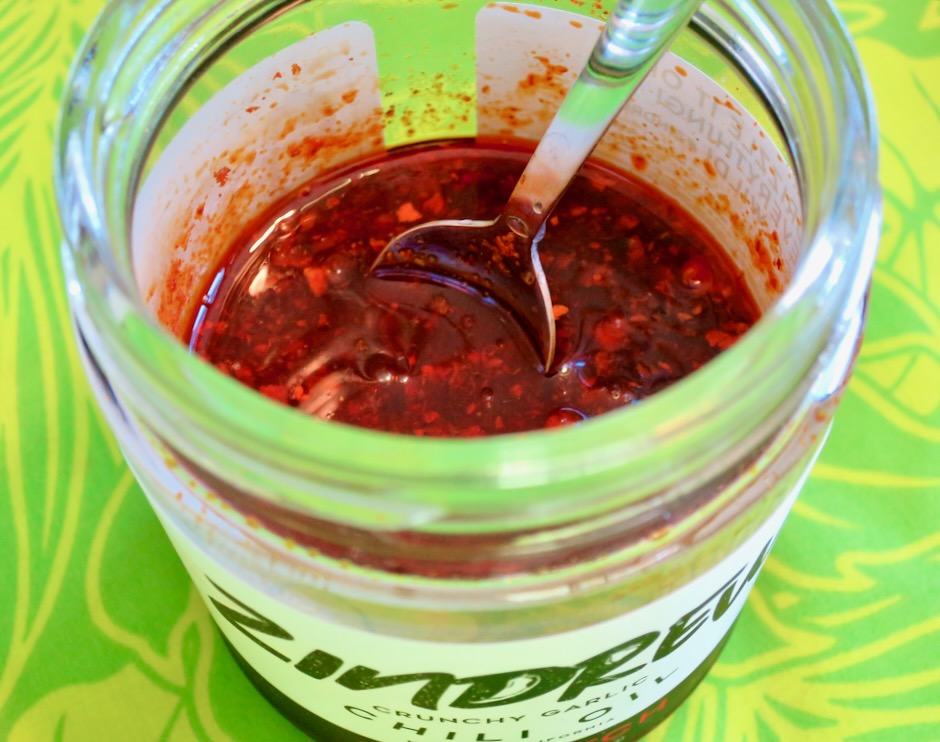
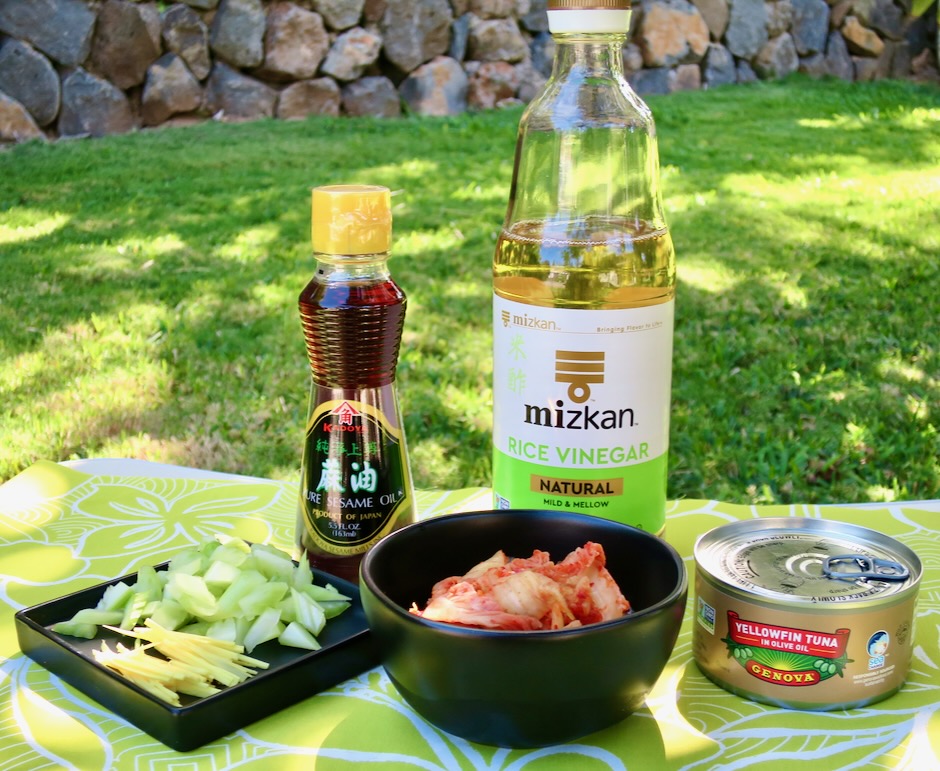
There’s not much to it, in terms of the amount of ingredients called for. However, you may need to make a quick trip to the market if you don’t have tahini or chili crisp in your refrigerator. There is a multitude of chili crisp/crunch options available these days. You can find it at Costco, the Asian food section of your local markets, or online. My current favorite is Zindrew O.G Batch from Amazon. They offer a much spicier version as well (X Batch). Though the jar says chili oil, I consider it to be a chili crisp since it has lots of crunchy bits of garlic and does not contain an excess amount of oil.
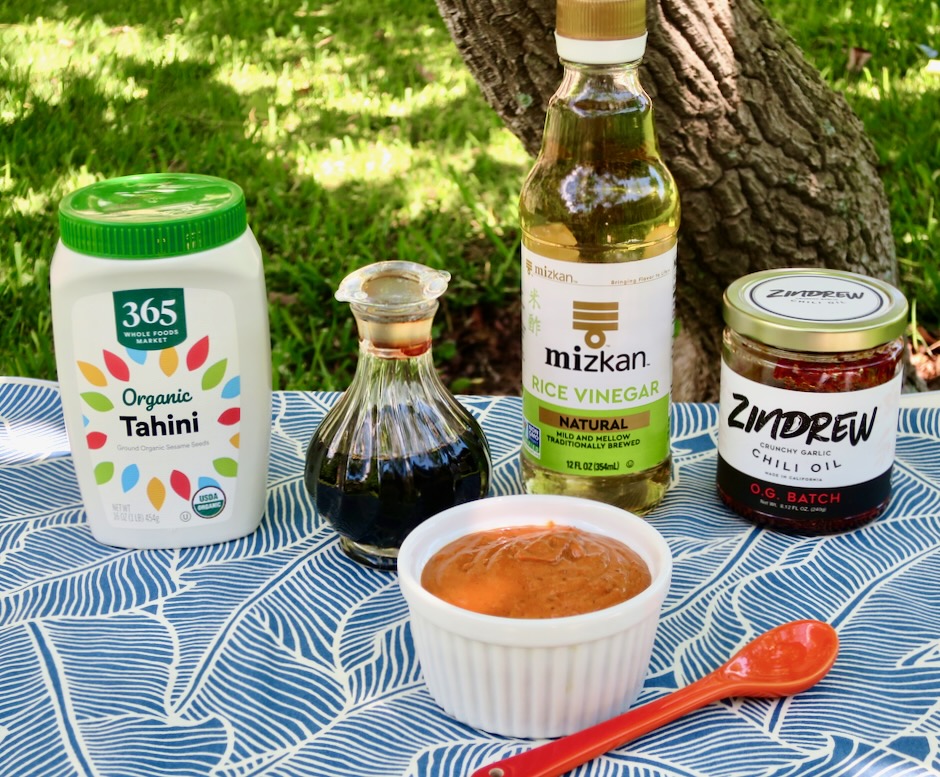
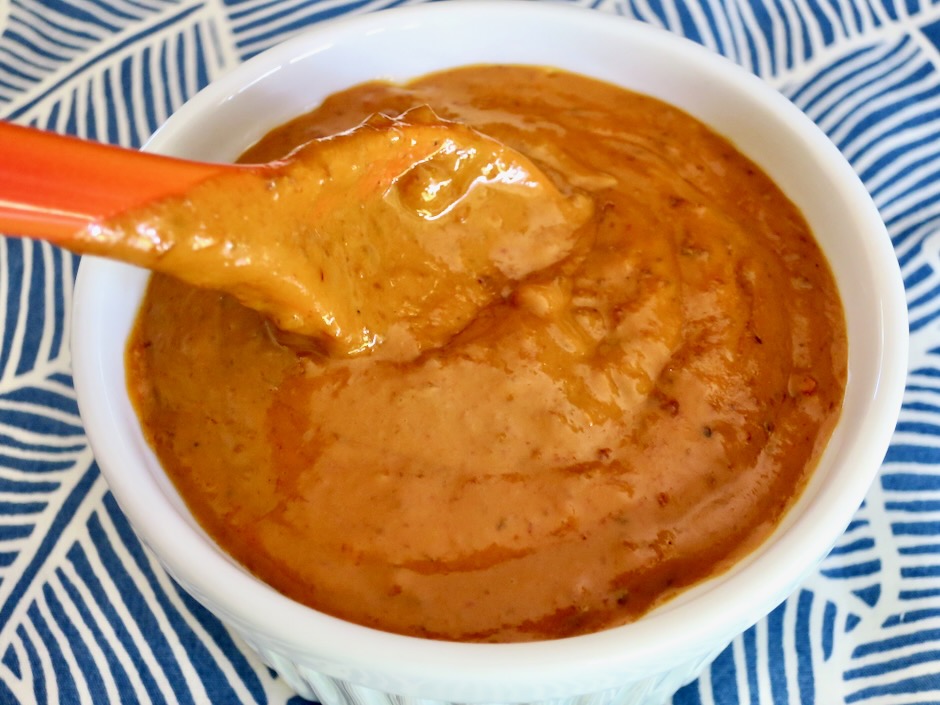
Tahini adds a rich and creamy note to the sauce. Mixed with soy sauce, rice vinegar and chili crisp, the flavor is an umami rich seasoning for the noodles and pork.

The soba is cooked briefly before adding the asparagus. It’s a one pot deal. Not having to blanch the asparagus separately saves time and dishes.
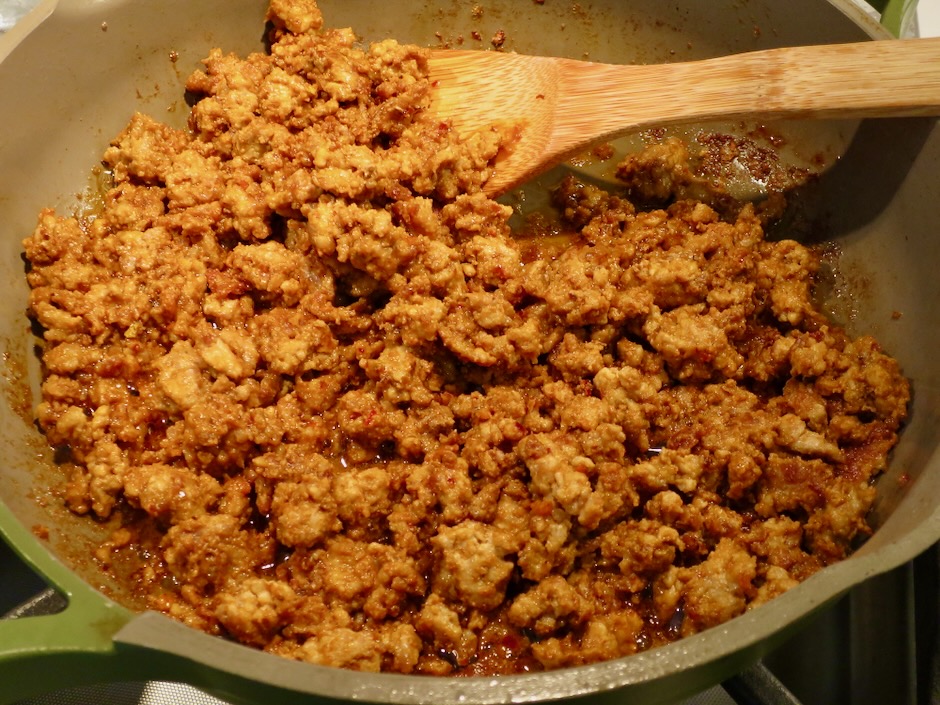
The sauce is added to the cooked pork before getting mixed in with the soba and asparagus. It’s so delicious.
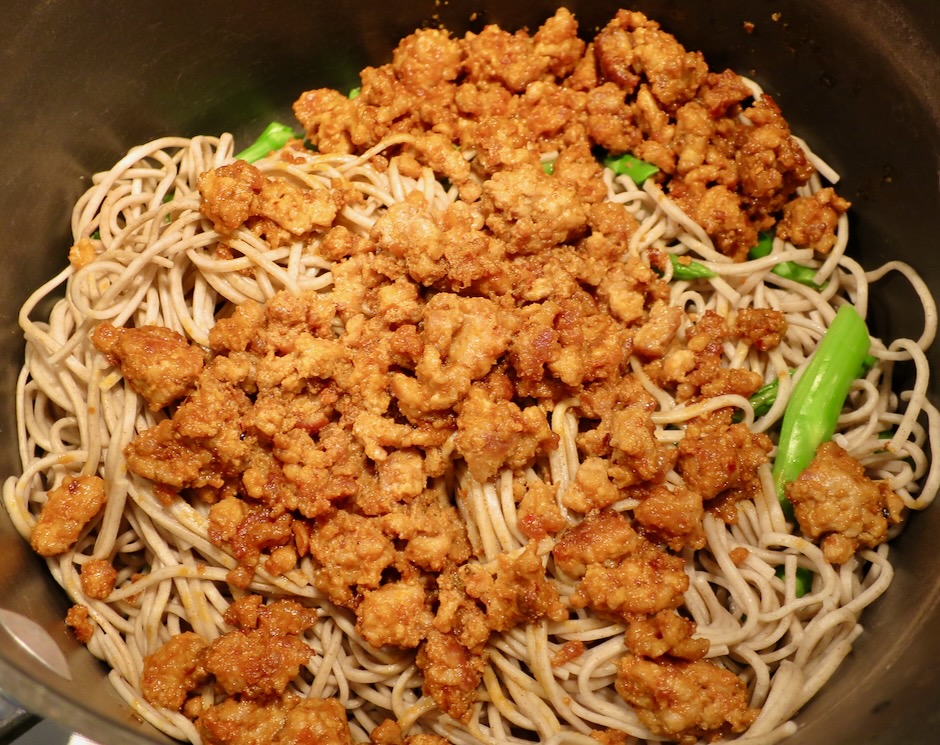
Everything goes back into the pot with some of the reserved soba cooking water. A quick stir to warm everything up and it’s ready to be served with extra chili crisp or sriracha.
Recipe adapted from Bon Appetit magazine
Ingredients
1/4 cup chili crisp (1/3 cup if you want it spicier) + more for serving
1/3 cup tahini, well stirred
3 tablespoons + 1 teaspoon soy sauced divided
3 tablespoons unseasoned rice vinegar
9.5 ounces dried soba noodles (1 package Hakubaku soba, or about 10 ounces of your favorite dried soba)
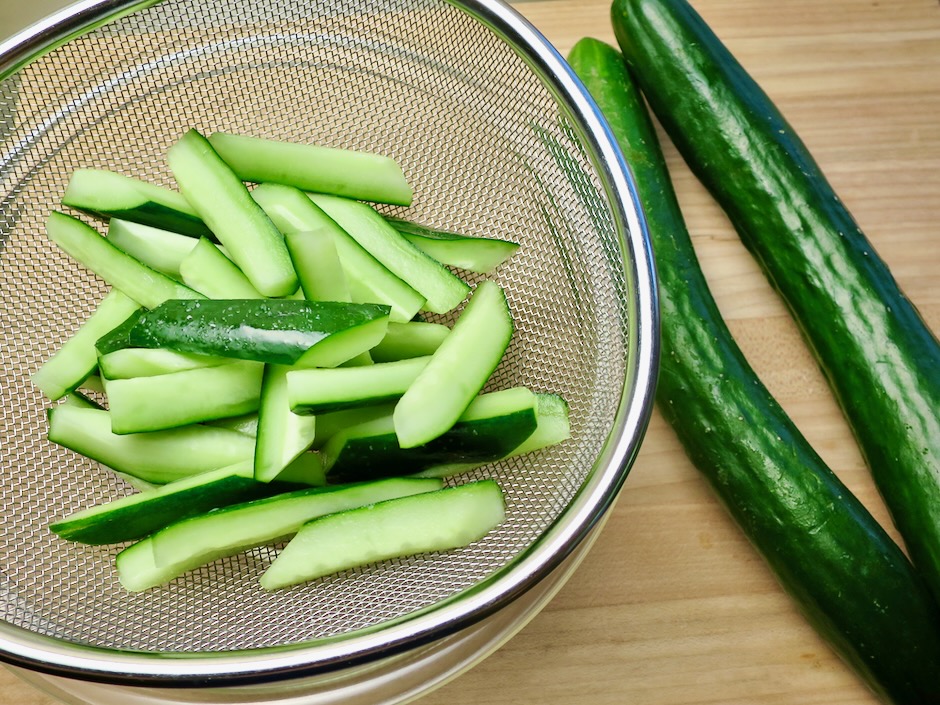
1 bunch (10-12 ounces) asparagus, trimmed, cut into 2-inch pieces (thinner spears work well in this dish)
1 1/2 tablespoons vegetable oil
1 pound ground pork
Thinly sliced green onions (for serving)
Roasted sesame seeds (for serving)
Directions
- Whisk chili crisp, tahini, 3 tablespoons soy sauce, and vinegar in a small bowl. Taste and add a few extra teaspoons of chili crisp if you want it spicier. Set aside.
- Cook noodles in a large pot of boiling water for half the time noted on the package directions. For Hakubaku brand soba, cook for 1 1/2 minutes (no longer). Add asparagus to noodles and cook for 45-60 seconds. Reserve 1 cup of cooking liquid just before the 45-60 seconds is up, then immediately drain noodles and asparagus in a colander and run under cool water to stop the cooking; reserve pot.
- Heat oil in a medium skillet over medium-high heat. Cook pork in an even layer undisturbed, until nicely browned, about 5 minutes. Continue to cook, stirring and breaking up with a wooden spoon, until cooked through, about 3 minutes (adjust heat as needed if too hot). Add reserved sauce and cook, scraping up browned bits, 1 minute.
- Transfer pork, noodles, and asparagus to reserved pot. Drizzle a teaspoon of soy sauce (or a few pinches of kosher salt) plus 2/3 cup reserved cooking liquid into the pot and cook over medium heat, stirring gently with a spoon adding more cooking liquid if needed, until noodles and meat are warm and well coated with sauce but not watery, about 1 minute (leaving the soba on the heat much longer can cause the soba to be over cooked). Taste and adjust with more soy sauce or kosher salt if necessary.
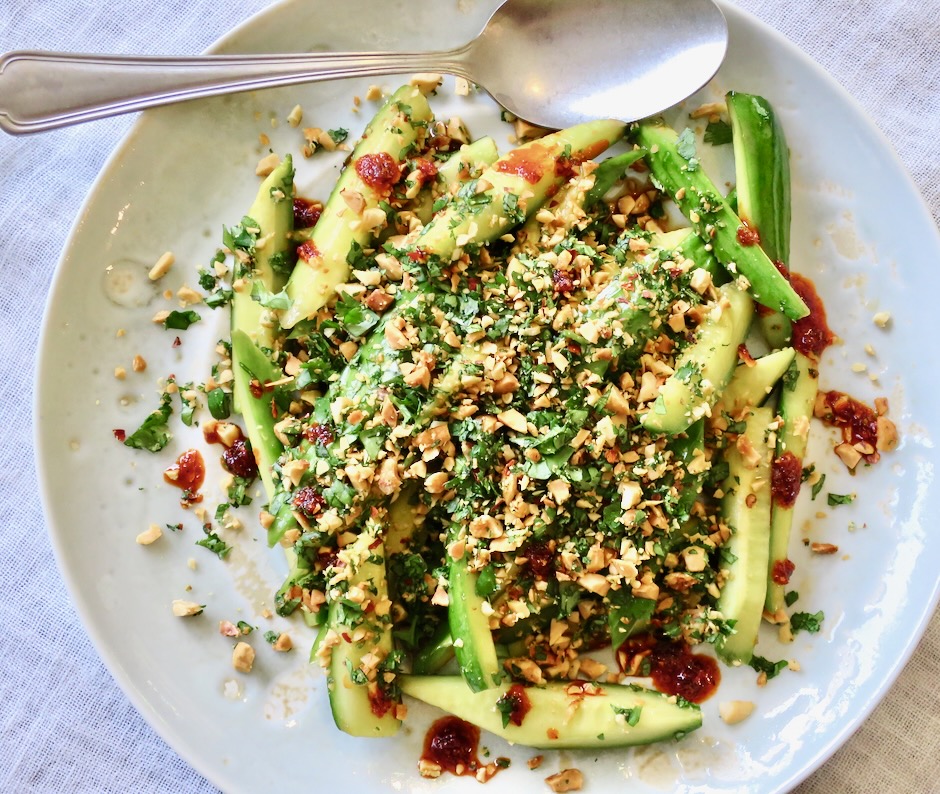
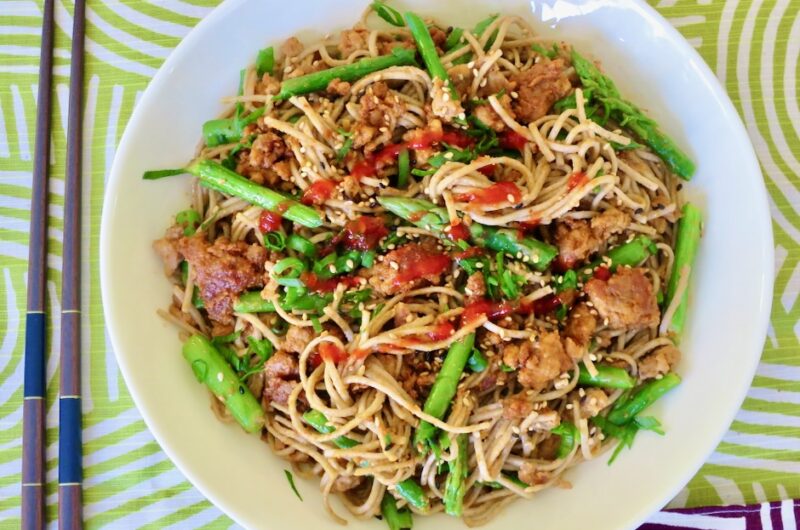
- Transfer pork and asparagus to a large, shallow serving bowl. Sprinkle with green onions and sesame seeds. Serve with extra chili crisp or sriracha.
Notes
- If you want to make this for two people, use half of the soba, asparagus and cooking liquid called for. I recommend making the full recipe for the pork and reserving half for the next day. It’s delicious with ramen (the dried wavy type) cooked al dente and warmed in a bit of vegetable oil seasoned with soy sauce. Mix it all together to warm up and shower with lots of green onions, roasted sesame seeds and sriracha sauce. Serve with crunchy bok choy on the side.