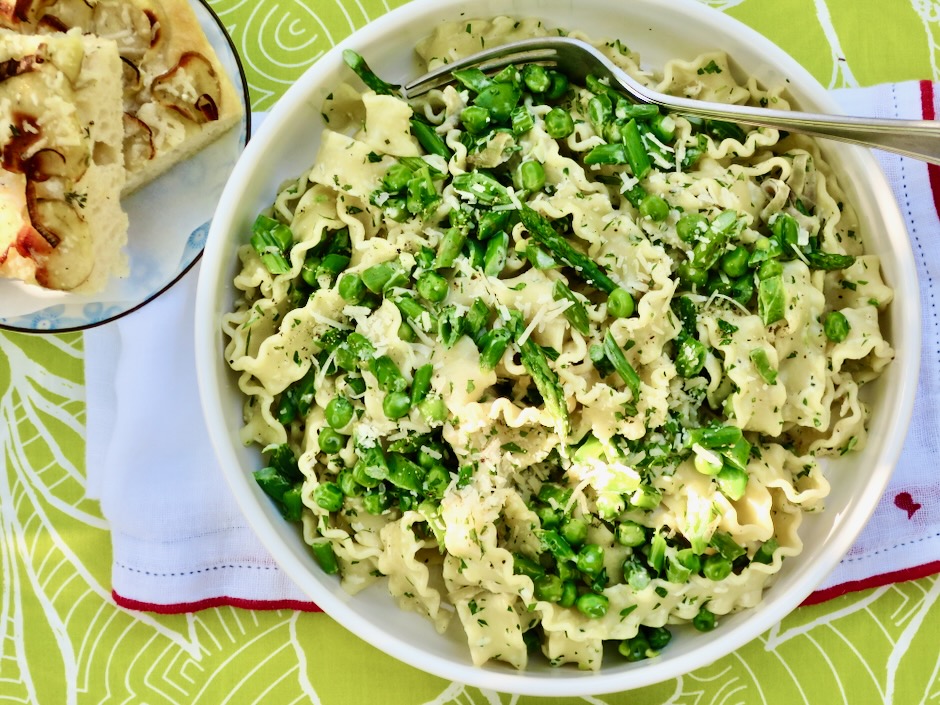
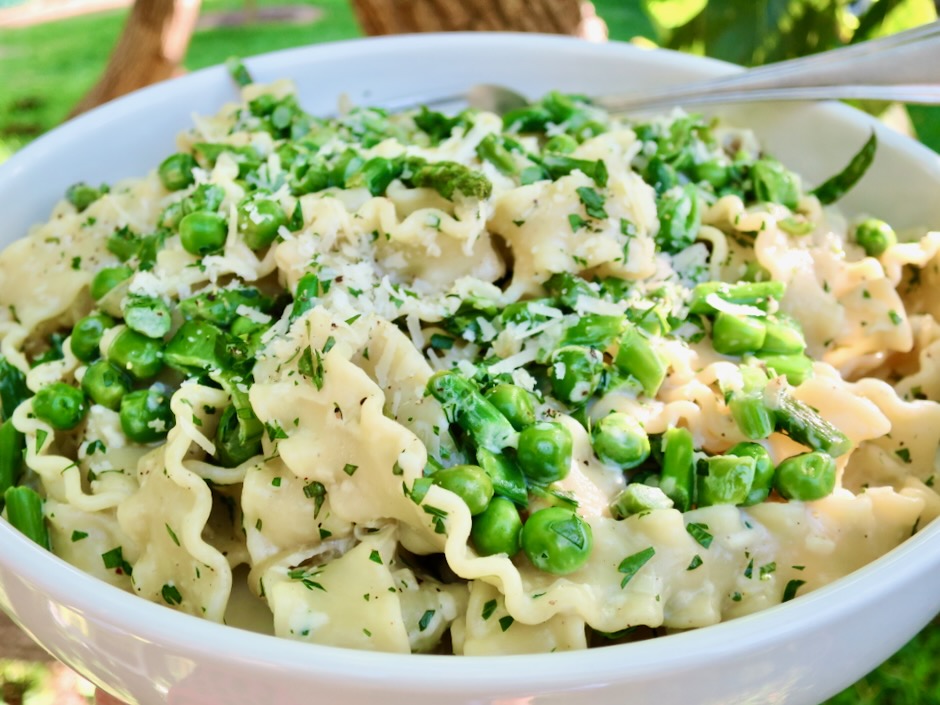
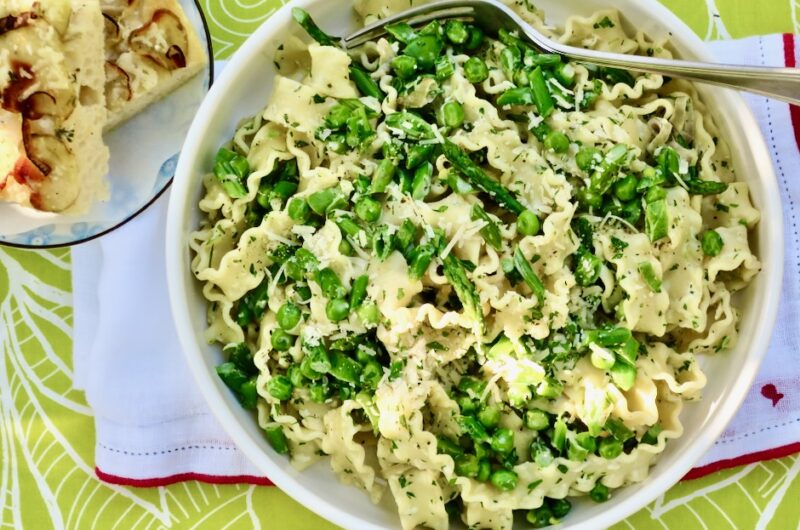
With its beautiful bright green colors and aromatic tarragon, this pasta primavera earned 5* ratings on NYT Cooking site. After making this dish I can see why everyone loves it. It’s loaded with fresh asparagus, snap peas and green peas. Fresh tarragon is what makes this dish special.
The pasta I used (Mafaldine) is wide and flat with ruffled edges. It has a striking appearance when cooked and works well with many pasta dishes. The original recipes calls for fettuccine or tagliatelle which are much easier to find. If you want to try malfadine, you can find it at Amazon. Fresh tarragon can be found at Whole Foods.
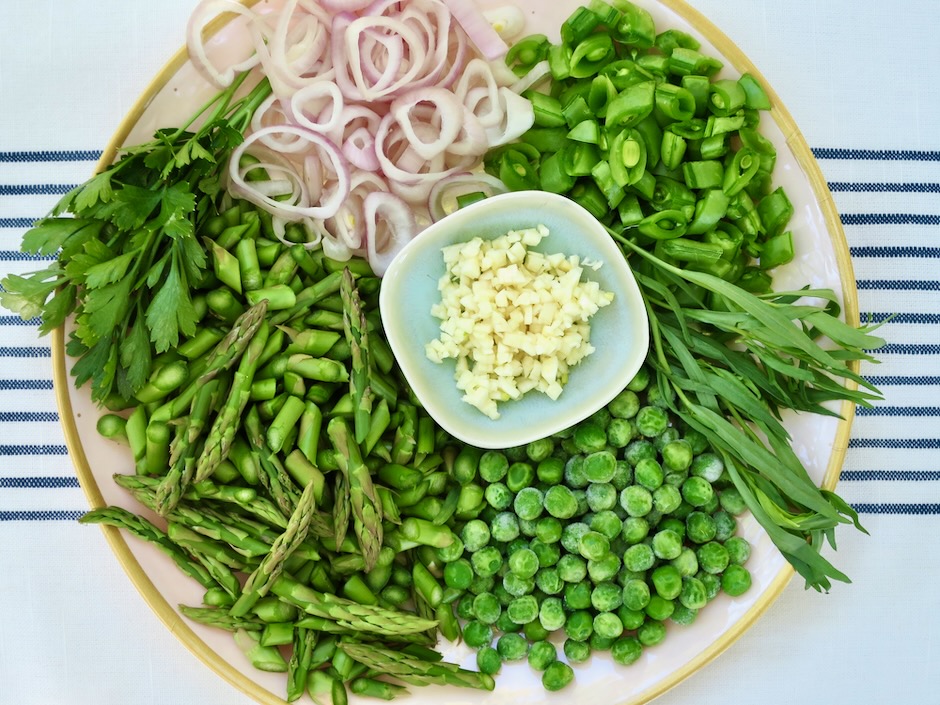
Pasta Primavera (Spring in Italian) is a dish that combines lightly cooked vegetables with fresh herbs. Now that spring has passed and summer is here, it’s still a perfect time to find fresh asparagus at the markets. Sugar snap peas seem to be available year round as well as peas (frozen). I bought a well known brand of frozen peas that were chalky and had no flavor. I searched online for reviews of peas and found multiple top ratings for Woodstock Organic Peas. They are sweet and have a nice texture. So these are the only peas I buy now. You can find Woodstock Organic Peas at Hawaiian Moons on Maui.
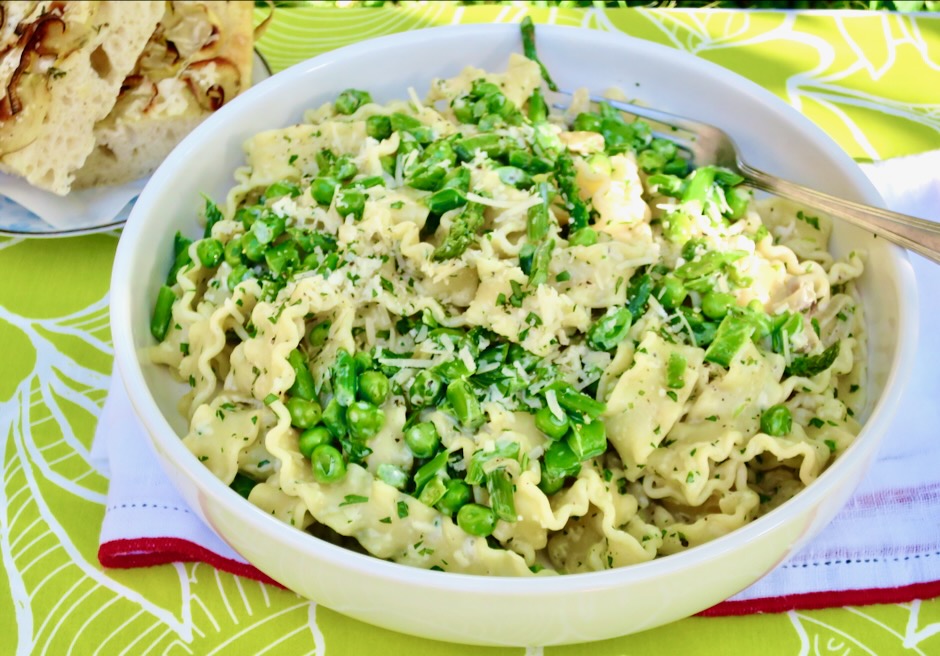
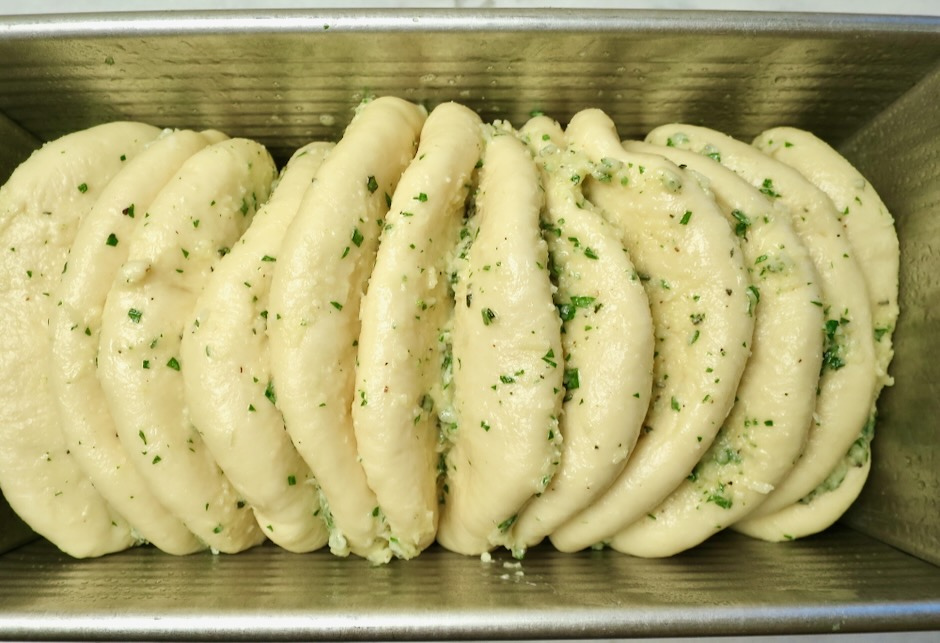
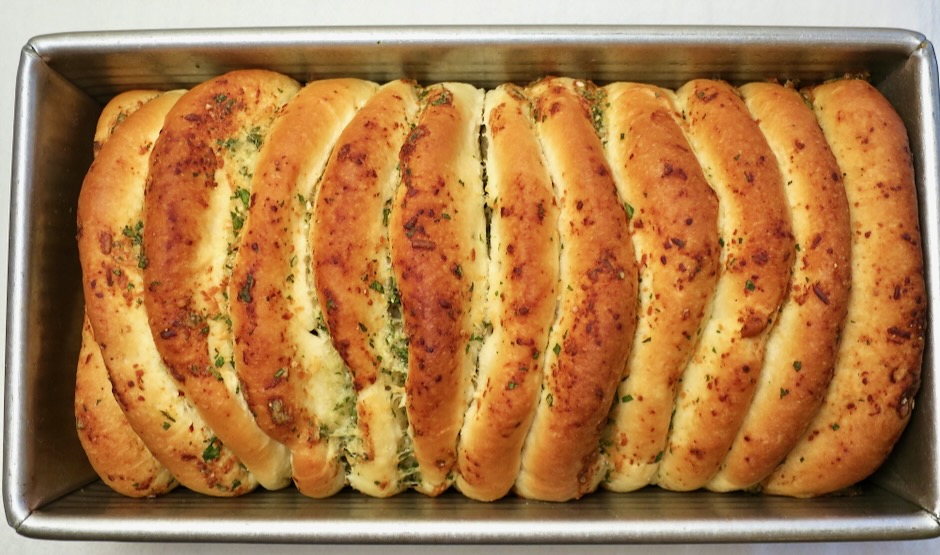
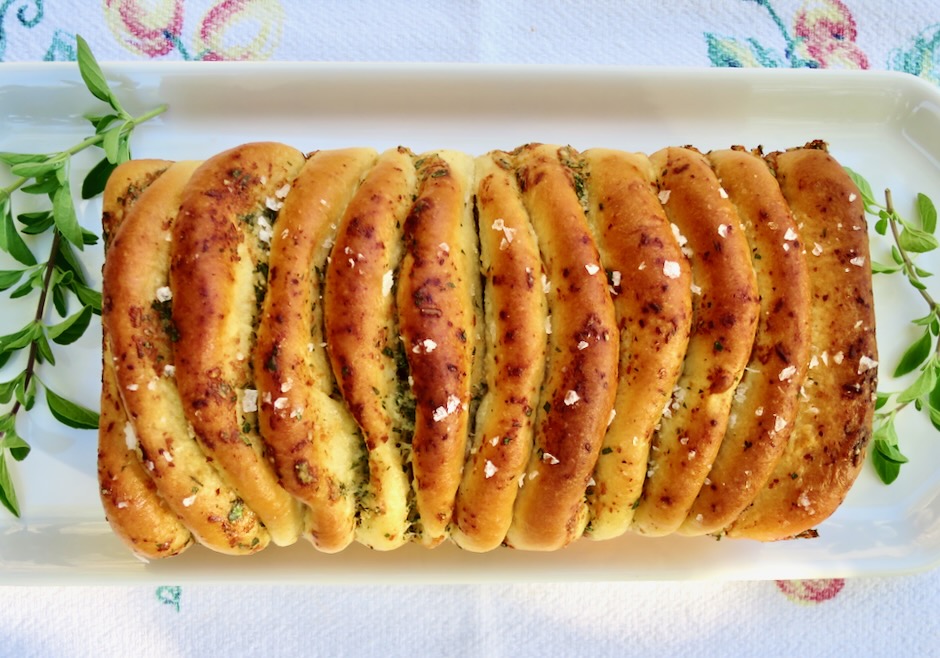
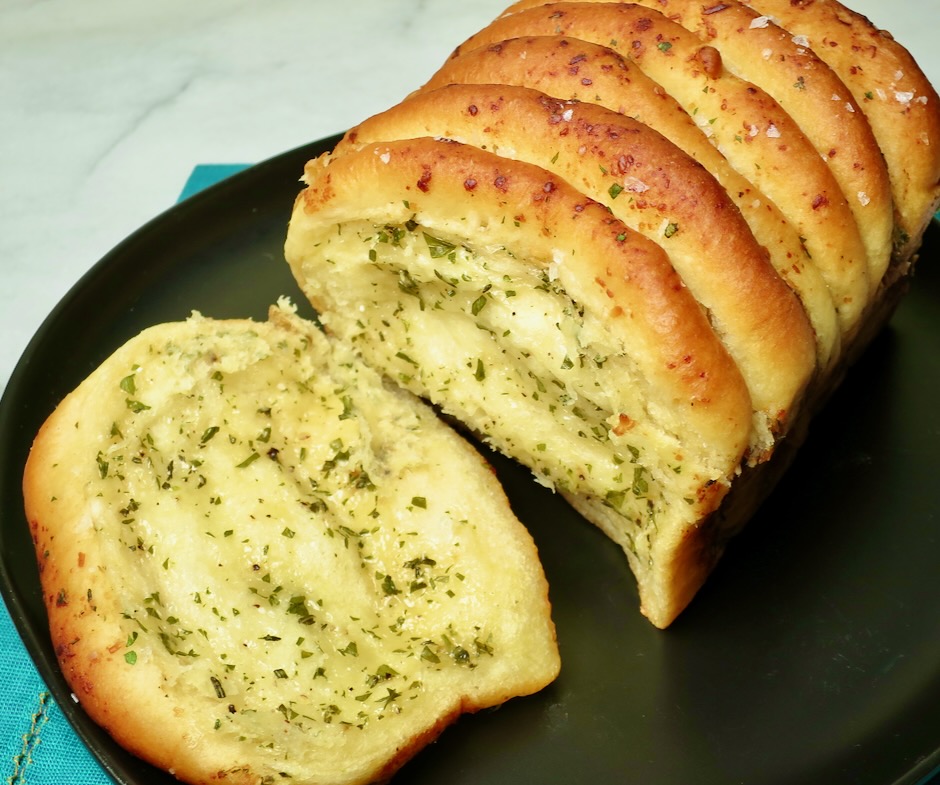
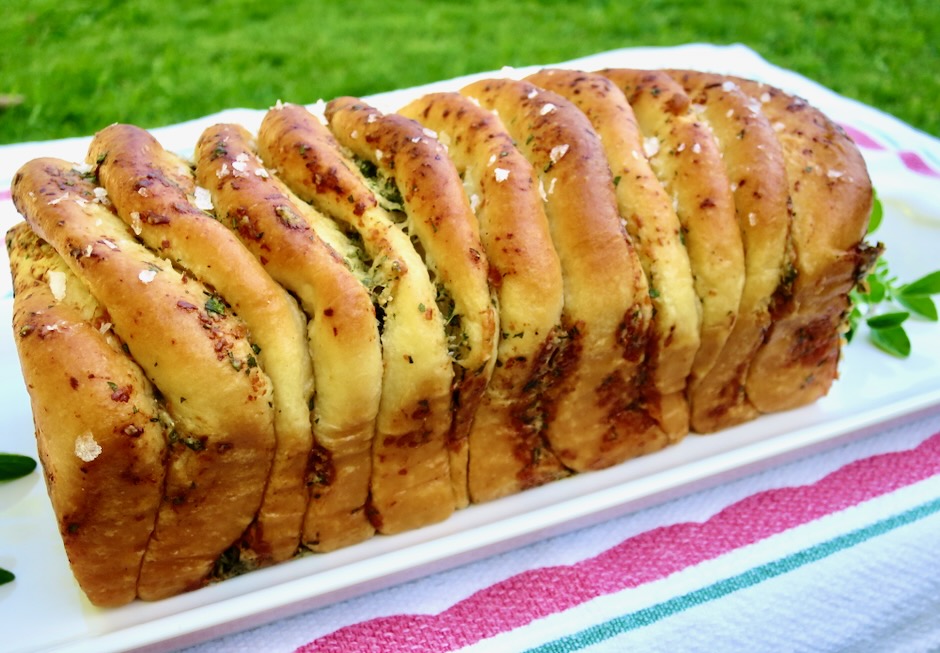
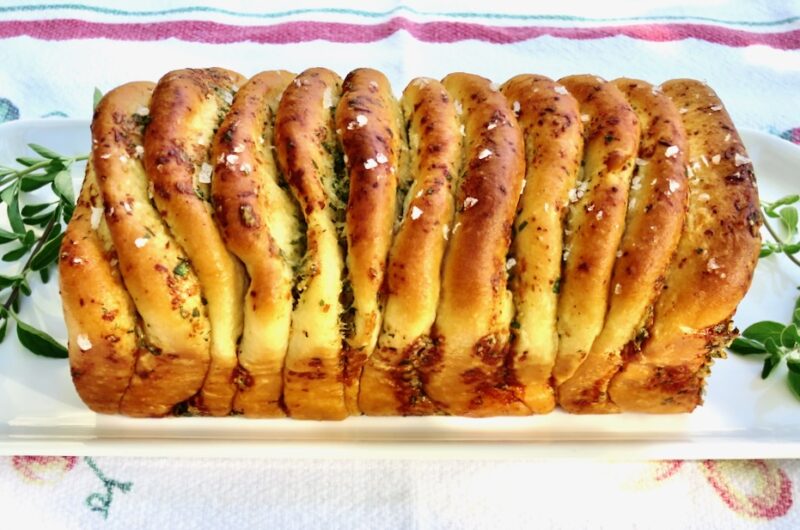
Serve your pasta primavera with focaccia or good sourdough bread and you have the perfect summer meal.
Adapted from NYT Cooking
Ingredients
1/4 pound sugar snap peas, stems trimmed
1/2 pound asparagus, woody ends trimmed
2 tablespoons Earth Balance Buttery Sticks or unsalted butter
3/4 cup frozen peas, defrosted
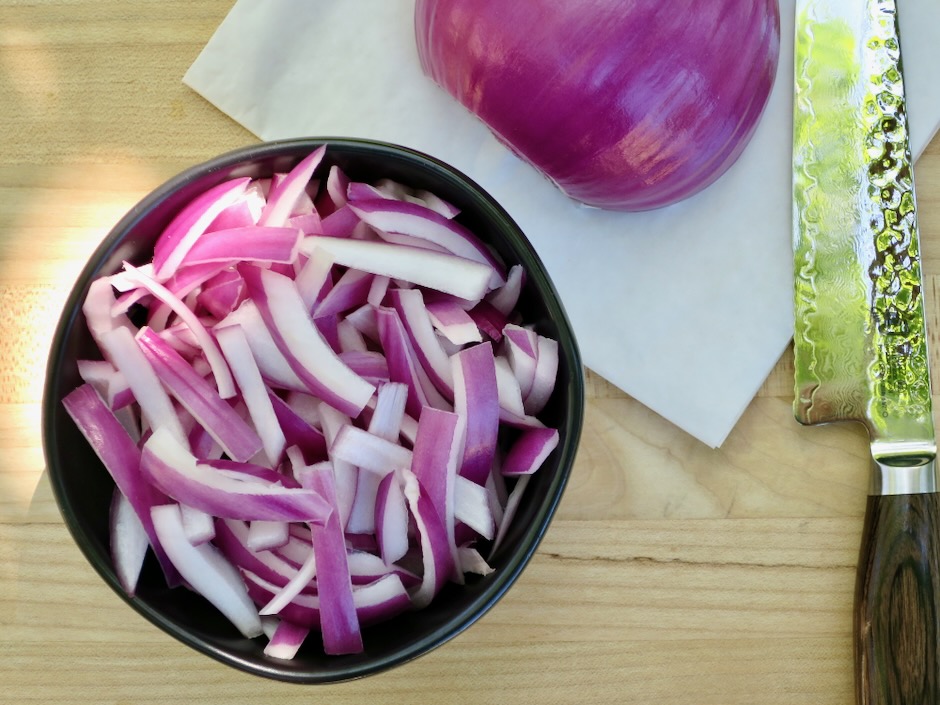
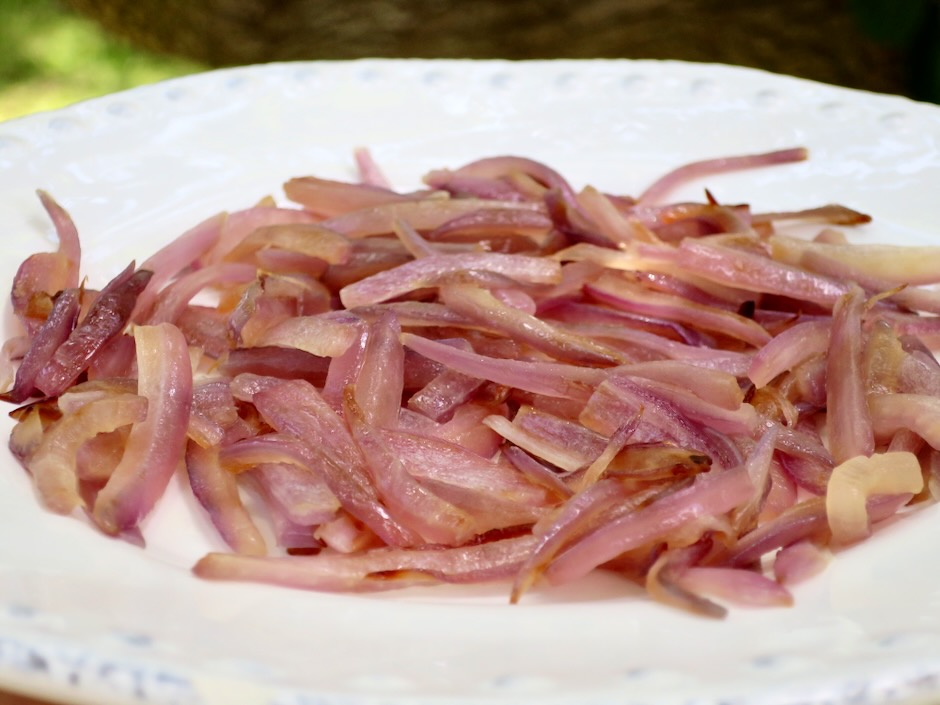
1/4 cup thinly sliced shallot
2 garlic cloves, finely chopped
kosher salt
freshly ground black pepper
10 ounces mafaldine, fettuccine, or tagliatelle
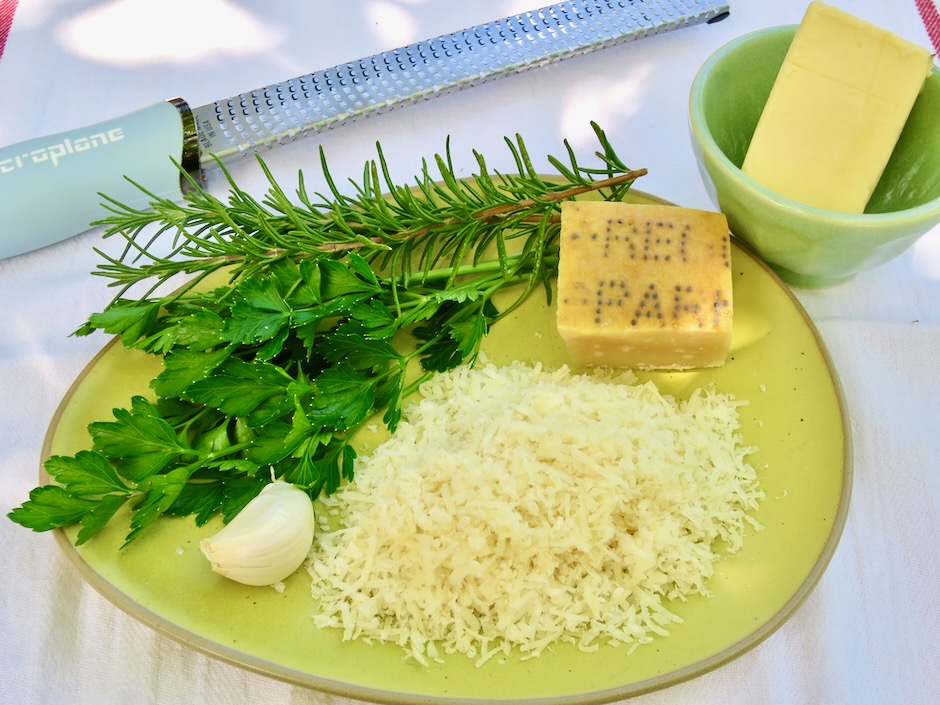
2/3 cup finely grated Parmigiano Reggiano + more for serving
1/2 cup warm half and half (I used Organic Valley Lactose Free)
3 tablespoons finely chopped flat leaf parsley
1 tablespoon finely chopped tarragon
Directions
- Bring a large pot of salted water to a boil.
- While the water is coming to a boil, slice snap peas and asparagus spears into 1/3-inch wide pieces; leave asparagus tips whole.
- Melt Buttery Sticks or unsalted butter over medium-high heat. Add snap peas, asparagus, and shallots. Cook until vegetables are barely tender (not soft or mushy), about 3 minutes. Stir in peas and garlic and cook 1 minute more. Season with salt and pepper. Transfer to a large bowl and set aside.
- Cook pasta until al dente. Drain pasta and transfer to the bowl with vegetables. Immediately toss pasta with vegetables, Parmigiano Reggiano, half and half, and herbs. Season generously with salt and pepper to taste. Grate extra cheese over the top before serving.