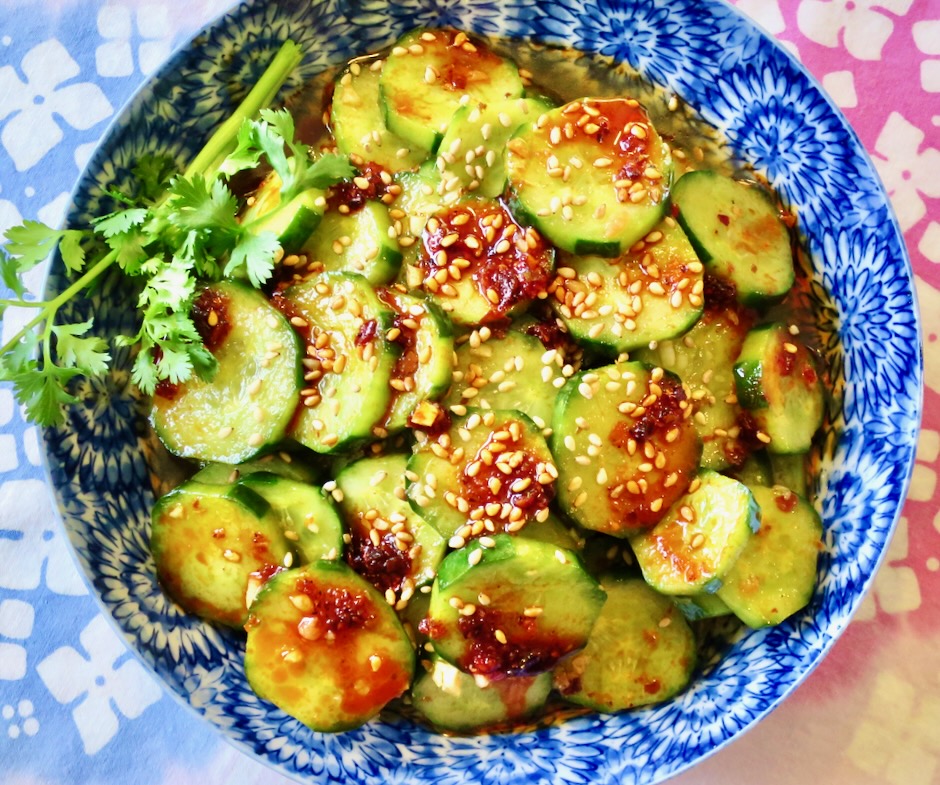
Here’s a delicious cucumber side dish that is very easy to put together. It’s crunchy and so refreshing you’ll be making it on repeat.
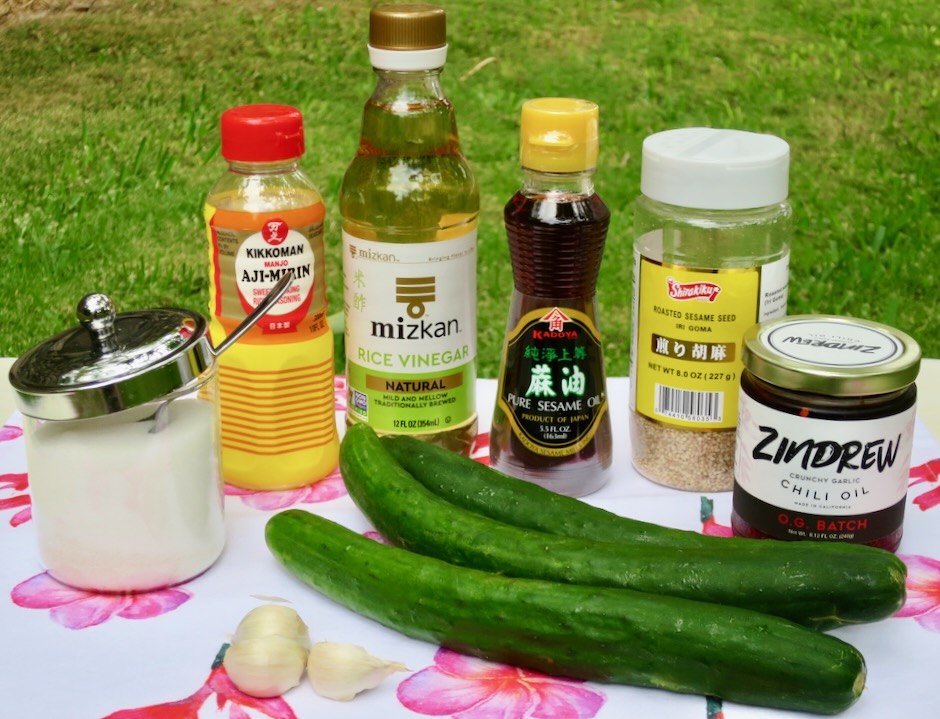
If you don’t already have chili crisp, visit your local market or purchase a jar online. It’s a wonderful condiment to have on hand. Chili crisp compliments ramen, tofu, stir fries, eggs, and so much more. I’ve tried a few brands and still come back to Zindrew O.G Batch (Amazon) as my favorite. Costco sells the popular Fly by Jing brand and I have spotted the locally made Maui Chili Oil at Foodland.

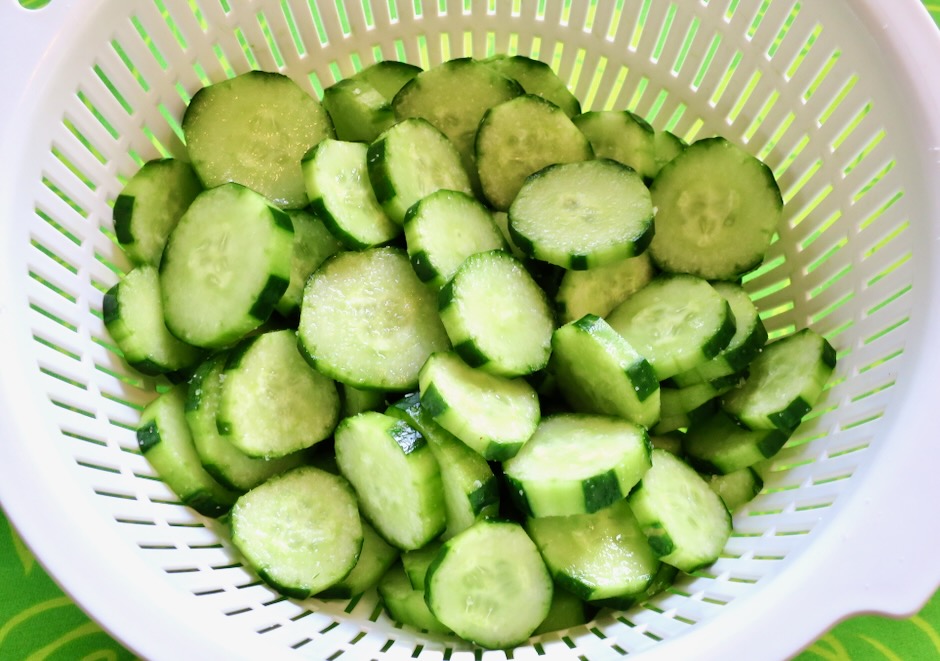
The first time I made this recipe I used an English cucumber that I had on hand. It was a bit disappointing because it didn’t have that excellent crunchy texture I expect. So from now on, I only use Japanese cucumbers which are guaranteed crunchy. Persian cucumbers would be an acceptable substitution.
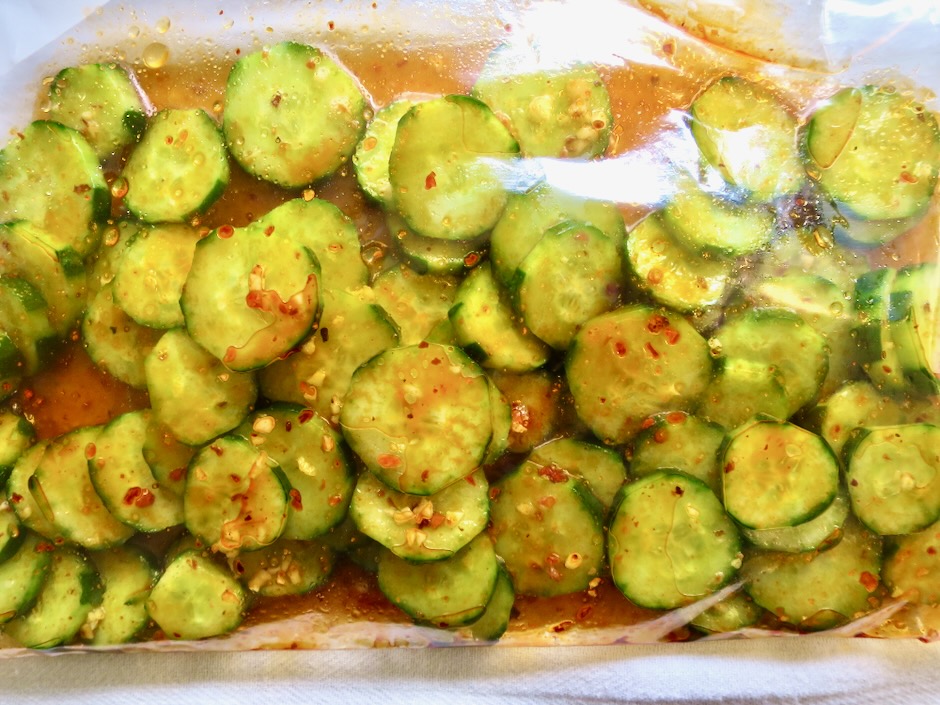
The cucumbers marinate in the sauce for 4 hours (overnight is fine) before being served.
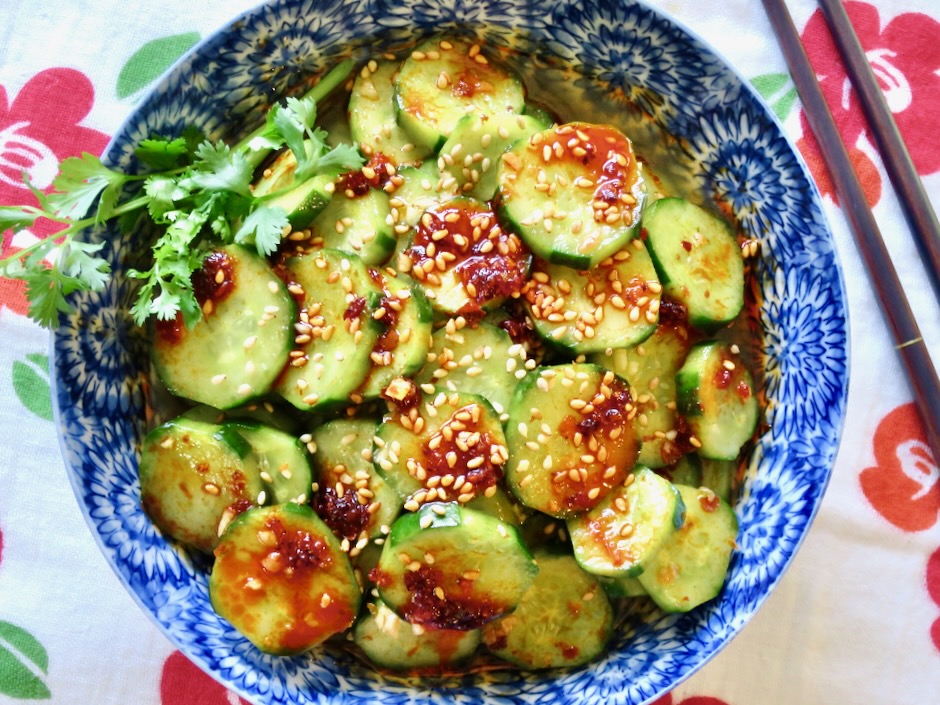
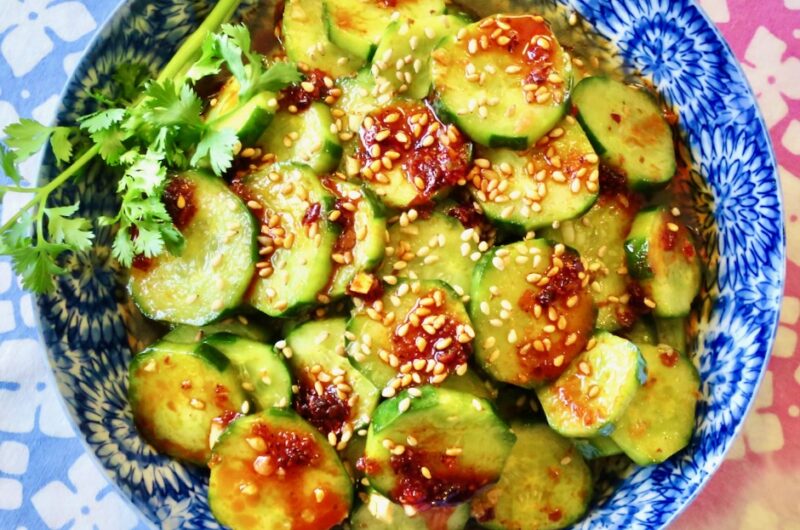
Sprinkle roasted sesame seeds over the cucumbers and additional chili crisp just before serving. The cucumbers go well with grilled teriyaki meat sticks, grilled tofu, or just about any grilled protein or noodle dish. Being and Island girl, I am thoroughly content eating these cucumbers with a bowl of hot rice!
Adapted from TJ Lee at The Kitchn
Ingredients
1 pound Japanese cucumbers (substitute with Persian)
1/2 teaspoon kosher salt
2 medium garlic cloves, finely minced
1/4 cup rice vinegar
2 tablespoons mirin
2 teaspoons granulated sugar (1 tablespoon for a sweeter sauce)
2 teaspoons sesame oil (Kadoya is a good choice)
2 teaspoons chili crisp, such as Zindrew + more for serving
1 teaspoon roasted sesame seeds
Directions
- Trim and cut cucumbers into 1/3-inch rounds. Place in a colander set over a bowl, sprinkle with 1/2 teaspoon kosher salt. Toss to combine. Let sit for 20 minutes.
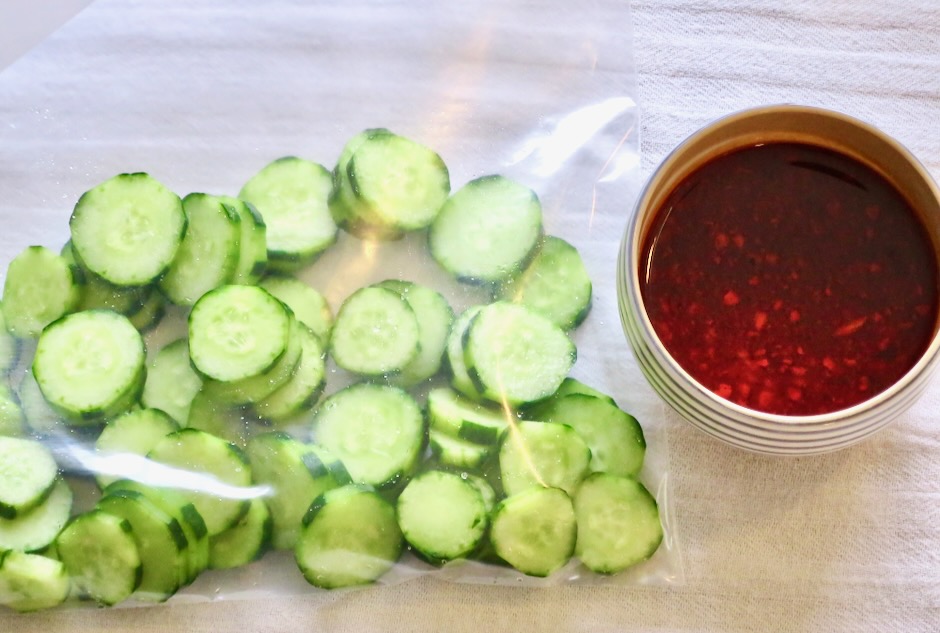
- Meanwhile, in a small bowl, combine rice vinegar, mirin, and sugar. Stir until sugar has dissolved. Add minced garlic, sesame oil, and 2 teaspoons chili crisp to the bowl.
- Rinse cucumbers under cold running water. Pat dry with towels. Place cucumbers in a large zip-top bag and add marinade. Seal the bag and lay flat in the refrigerator so that the cucumbers are mostly in a single layer. Marinate for 4 hours (or overnight) turning the bag occasionally.
- To serve, remove the cucumbers from the marinade and place in a low-sided serving bowl (a small amount of the marinade in the bowl is fine). Sprinkle sesame seeds over the top and drizzle with extra chili crisp. Serve cold.