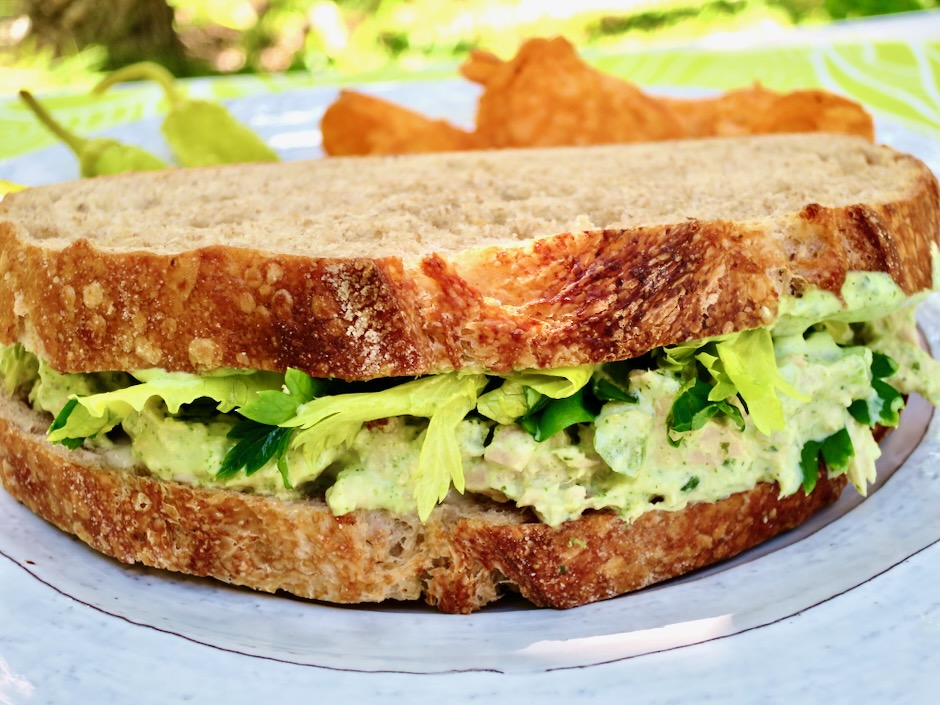
A hot bowl of vegetarian chili on a cool fall evening can be an ever so satisfying meal. Chipotles in adobo take this recipe to another level. They add a smoky flavor and just the right amount of heat. Salty, crunchy Fritos piled on top are the proverbial icing on the cake.
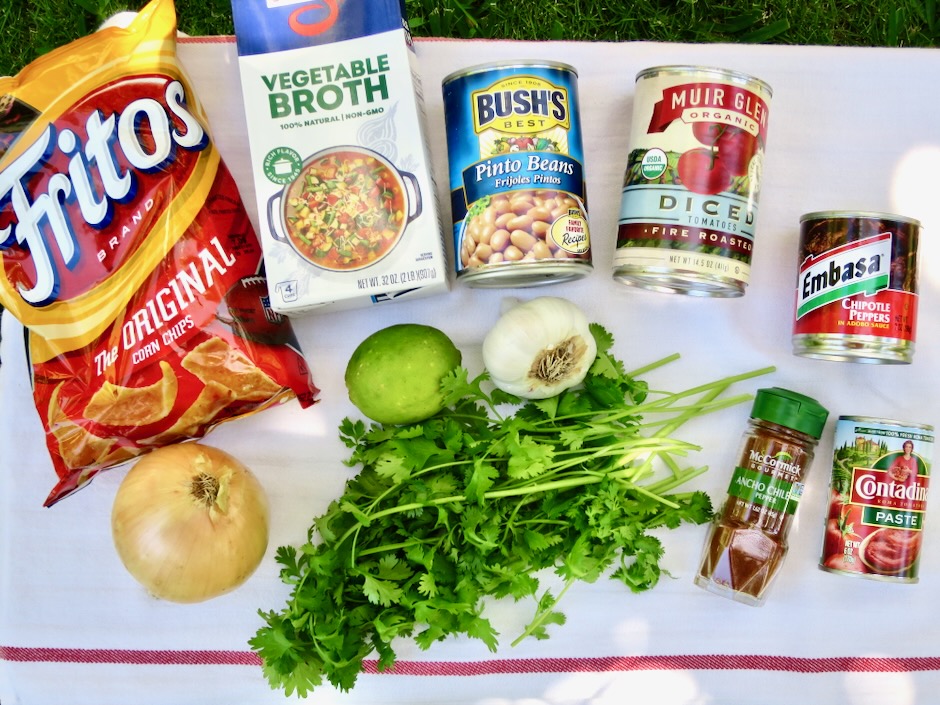
All of the ingredients are easily found at your local market. I love celery so I added a bit to the chili. You can make this your own by adding other vegetables such as corn, peppers, carrots, and other types of beans. But don’t leave out the chipotles in adobo. They are essential for giving the chili a pleasant, smoky flavor. A little goes a long way. Freeze the leftover chiles in small containers or mini freezer bags for future use.
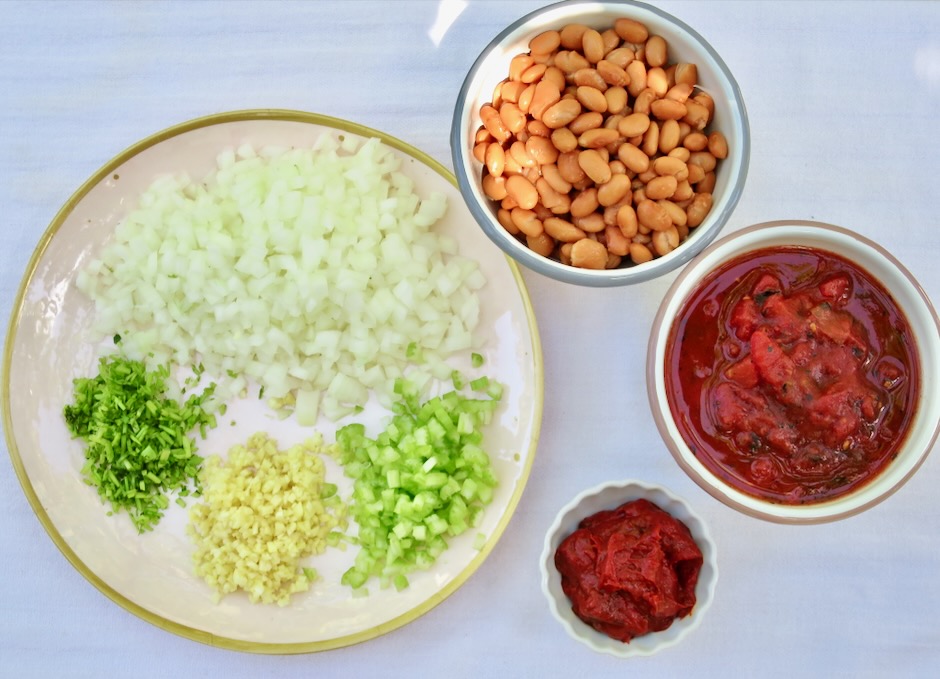
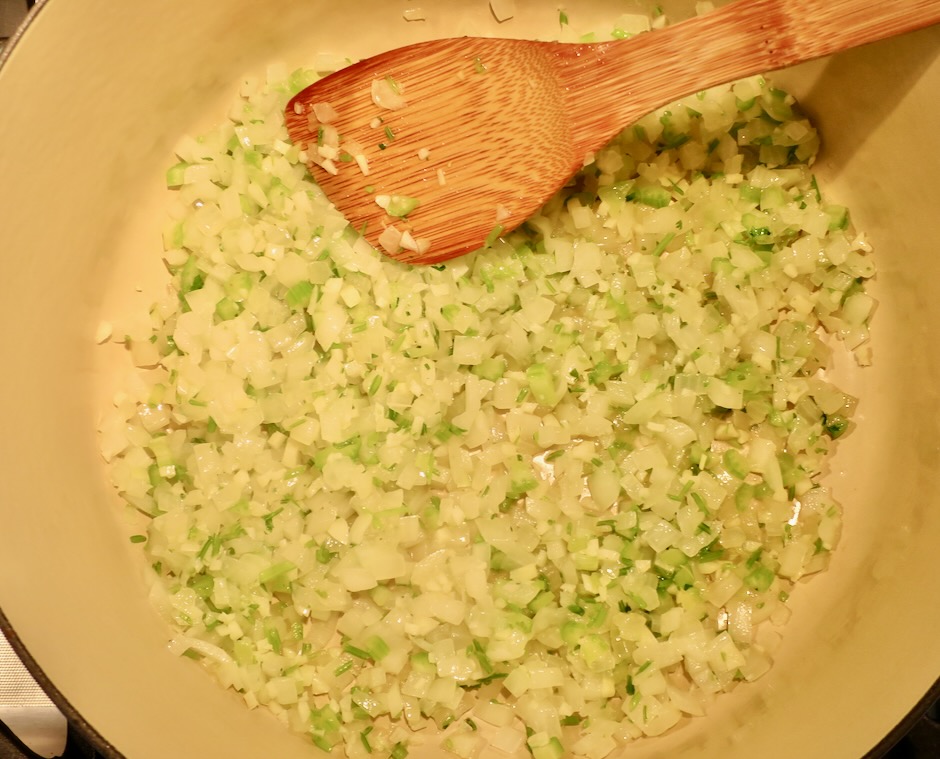
The onions, celery, and cilantro stems are sautéed for a bit before the other ingredients are added.
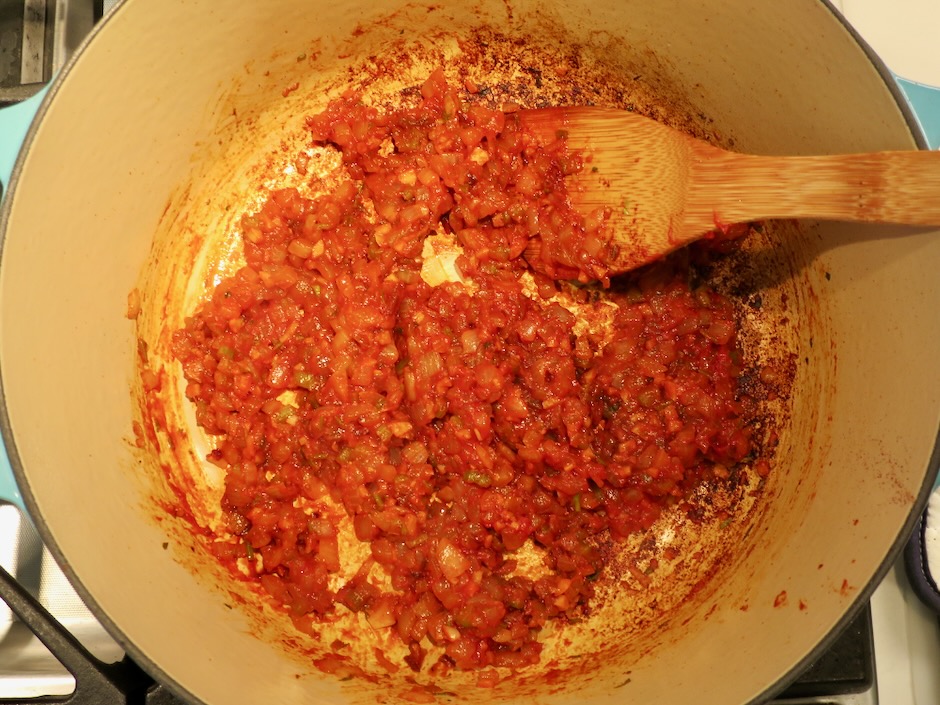
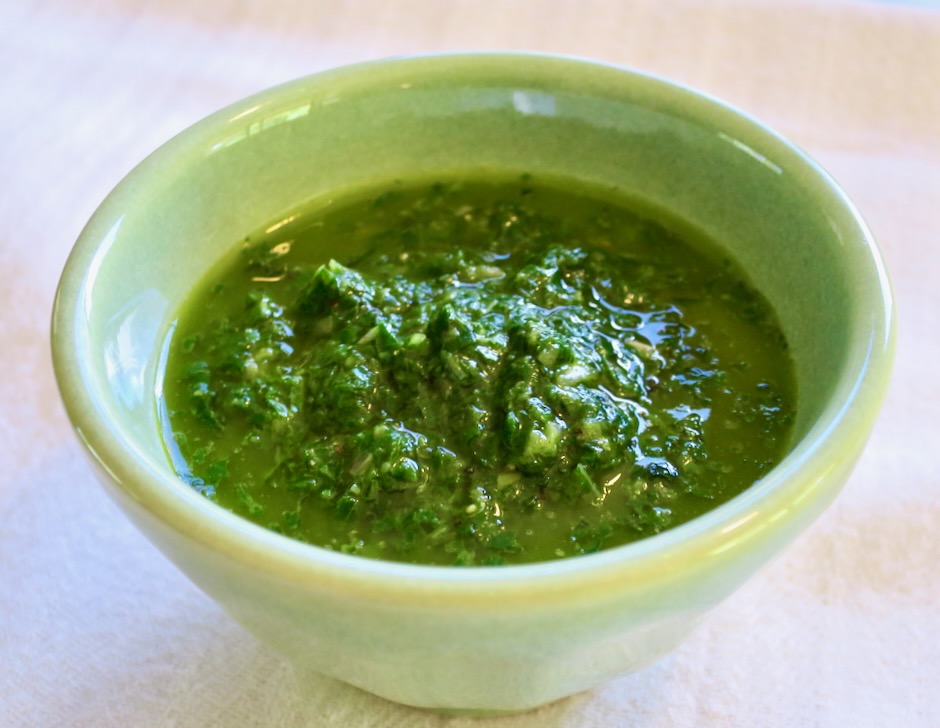
A tomato paste mixture is added to the onions and cooked until it turns a brick red color. It smells delightful with the chipotle peppers mixed in.
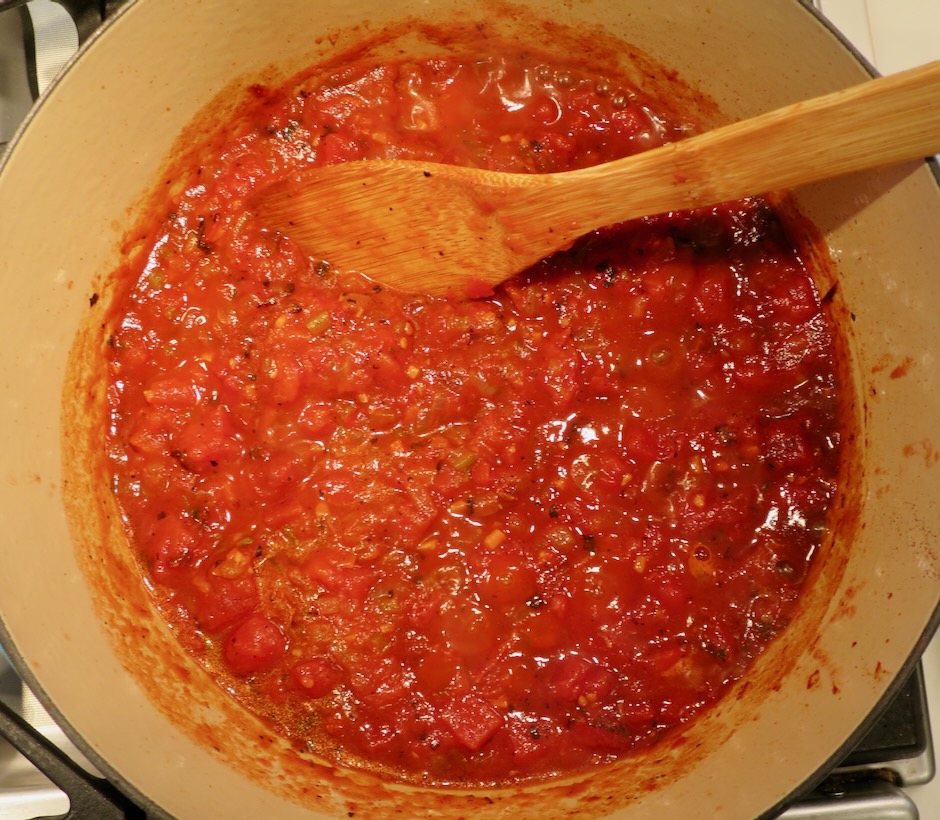
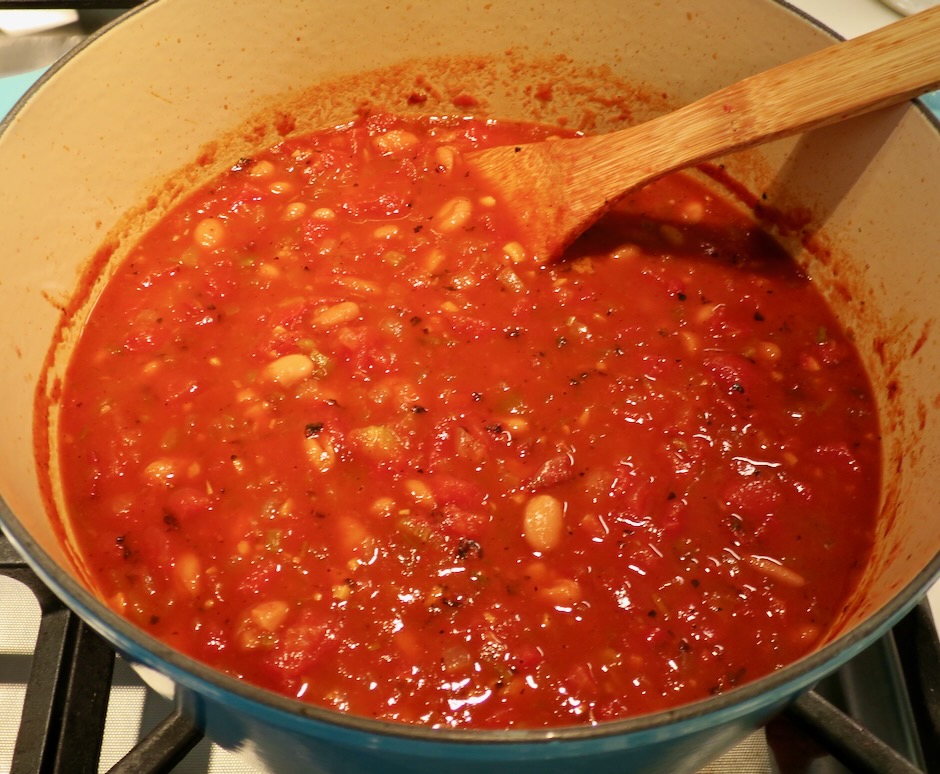
The chili is simmered for 35 minutes until reduced slightly.
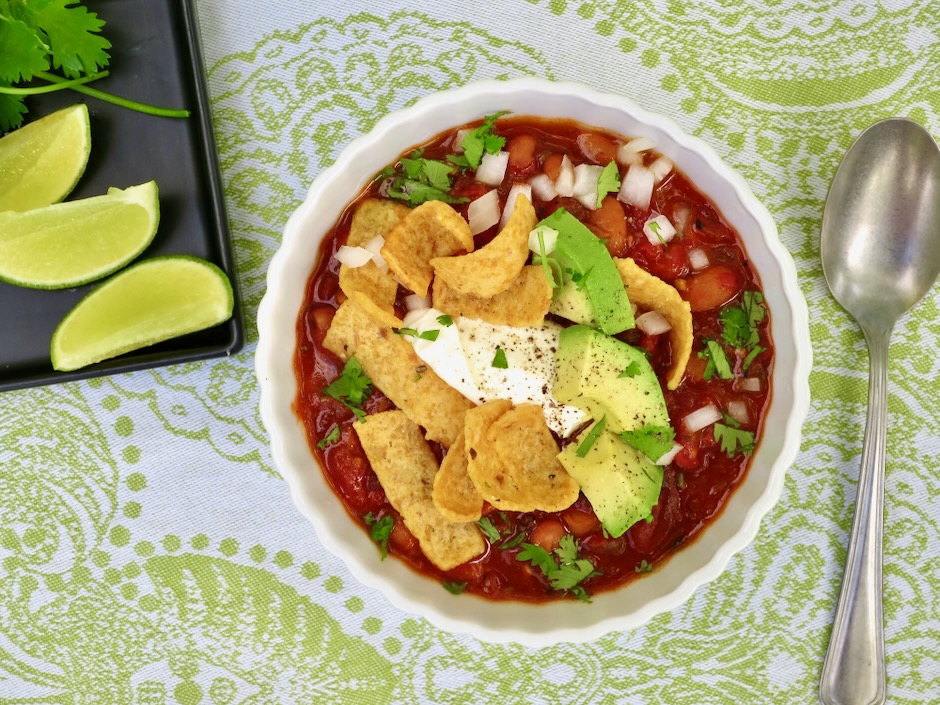
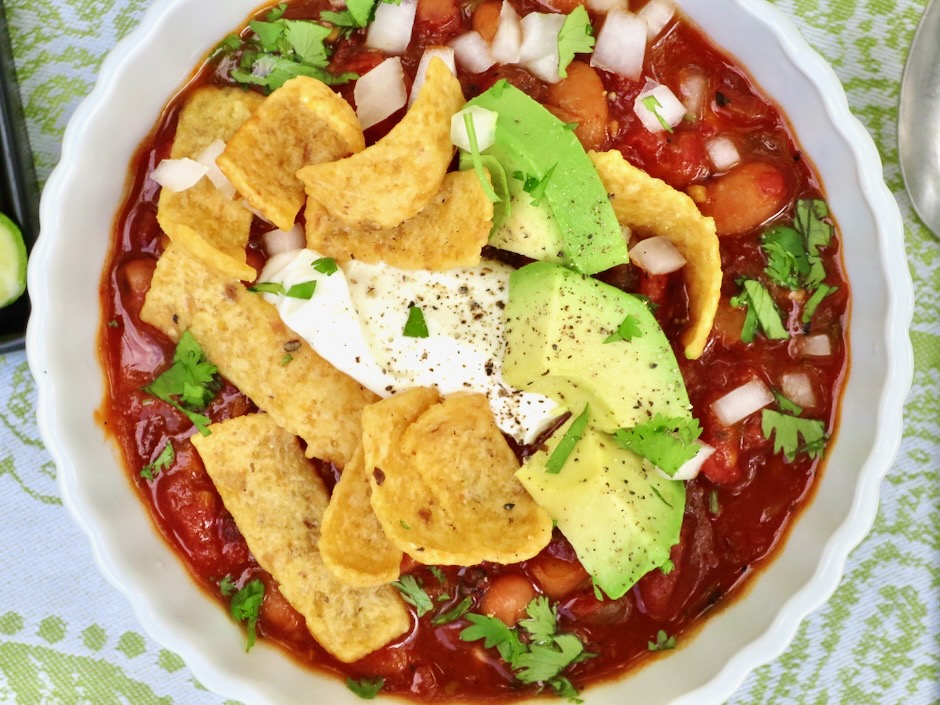
Top the chili with your choice of diced avocado and onions, sour cream, Fritos, cilantro, and dig in.

Recipe adapted from Bon Appetit magazine
Ingredients
1 large white onion (about 2 cups) diced (reserve 2 tablespoons for serving)
1/2 cup diced celery
6 medium garlic cloves, finely chopped
1/2 bunch cilantro, leaves coarsely chopped (about 1/2 cup) and stems finely chopped (about 1/4 cup, keep separate from leaves), cover and refrigerated cilantro leaves
1 seeded chipotle in adobo, plus 1 teaspoon adobo sauce, finely chopped (transfer to a small bowl)
1/4 cup tomato paste (transfer to a small bowl)
2 15-oz. cans pinto beans, drained and rinsed
1/4 cup extra virgin olive oil
2 teaspoons mild chili powder (I used ancho chili powder)
1 28-oz. can fire-roasted tomatoes
1 1/2 teaspoons Diamond Crystal or 1 1/4 teaspoons Morton kosher salt
2 1/2 cups vegetable broth
1 1/2 cups Fritos or other salty tortilla chips
1 lime, cut in half with one of the halves cut into wedges
1 avocado, diced
1/2 cup lactose free sour cream or regular sour cream
freshly ground black pepper
Directions
- Mix together the chipotle chiles in adobo with tomato paste. (If you prefer milder heat, reserve 1/4 of the chiles for adding in later if more heat is needed).
- Heat 1/4 cup extra virgin olive oil in a large saucepan or Dutch oven over medium heat. Add onion, celery, garlic, cilantro stems, and 2 teaspoons chili powder and cook, stirring frequently, until onion is starting to soften, 5-6 minutes. Increase heat to medium-high and add tomato paste mixture and cook, stirring frequently, until brick red and starting to stick to the bottom of the pan, 2-3 minutes.
- Add the fire roasted tomatoes and bring to a simmer. Cook, stirring frequently, until the tomatoes are cooked down and slightly darker in color, 8-10 minutes.
- Add beans, 1 1/2 teaspoons Diamond Crystal or 1 1/4 teaspoons Morton kosher salt, and 2 1/2 cups vegetable broth. Bring to a boil over high heat, then reduce heat to medium-low and simmer uncovered, stirring occasionally, until chili has reduced slightly and flavors have melded, 30-35 minutes. Taste and adjust seasoning with salt if needed. Stir in juice from reserved 1/2 lime.
- Divide chili among bowls. Top with sour cream, avocado, reserved cilantro leaves, chopped onion, and Fritos. Season with pepper and serve with reserved lime wedges.