Browsing Category

Veggies

Dinner, Italian, Lactose Free, Pasta, Recipes, Veggies

Summer Weekend Pasta

August 21, 2020

Summer Weekend Pasta

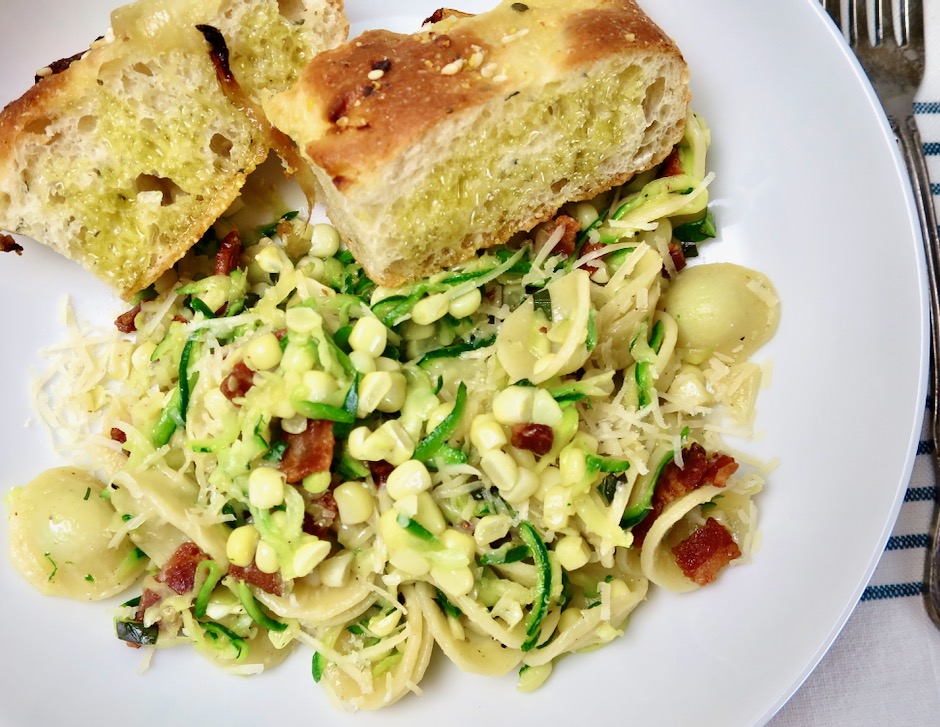
This is a lovely, summery pasta dish whose ingredients can be adjusted to include whatever fresh veggies you might have on hand.  Now that corn is in season, make sure to include it along with the bacon (yum).  I do love the bright green specks of zucchini tucked in-between the orecchiette, but that’s not to say that you couldn’t switch it out for another green vegetable such as julienned kale or thin strips of asparagus.  Whatever you choose, keep in mind they should be cut, grated, or sliced into petite sizes so they meld nicely with the orecchiette.

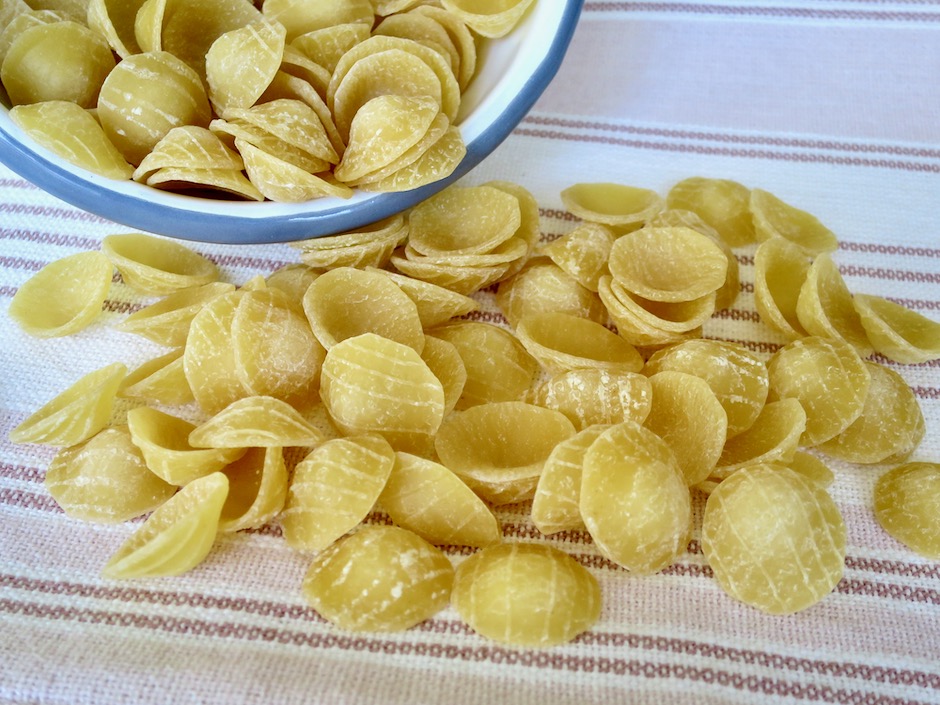
Orecchiette

Orecchiette is the perfect pasta for this dish.  The domed shape of this pasta is ideal for catching the little nuggets of corn, bacon, and zucchini.

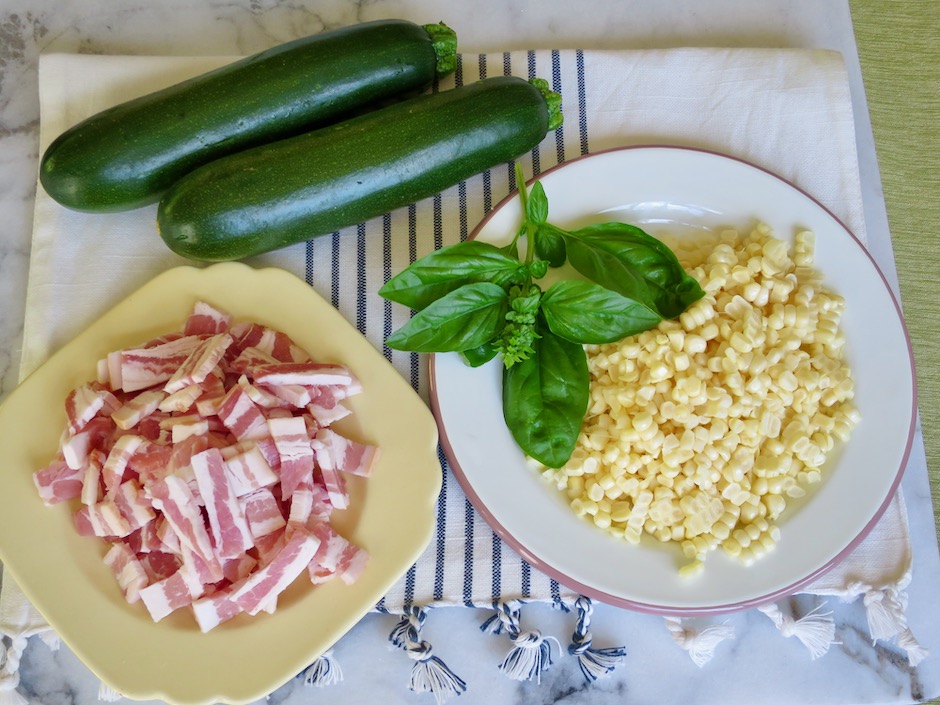
Zucchini, Corn, Basil, Bacon

Bacon = Happiness.

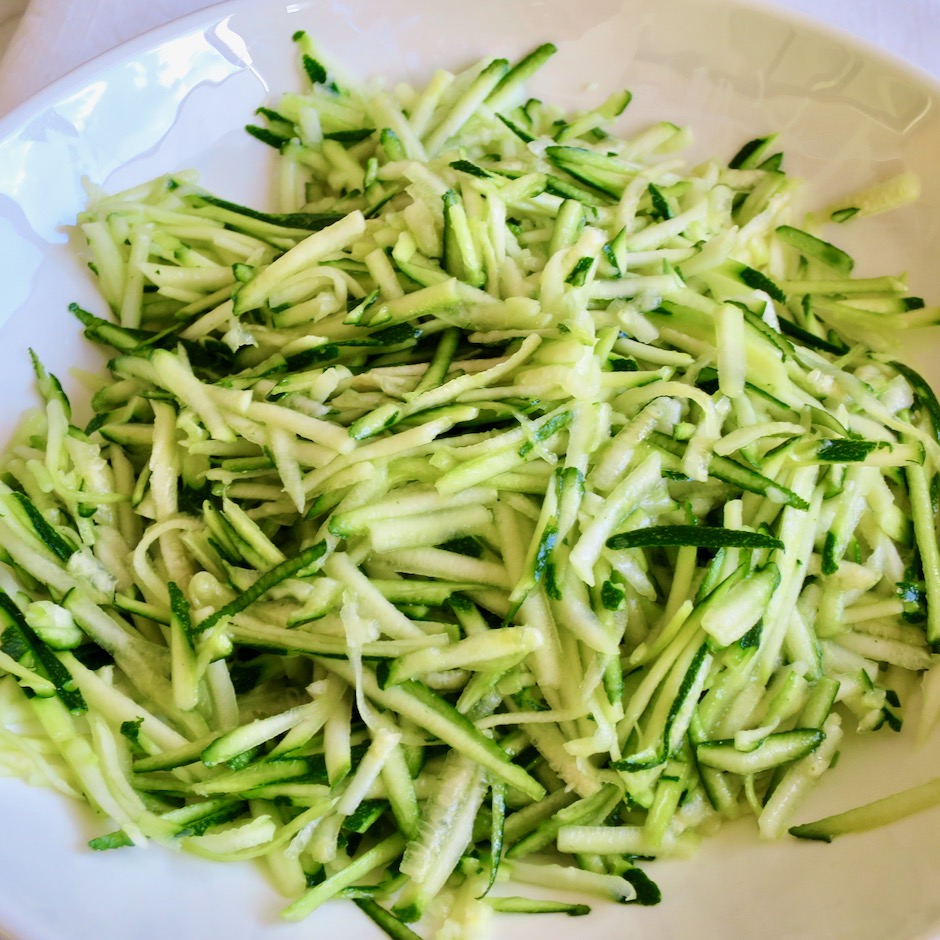
Grated Zucchini

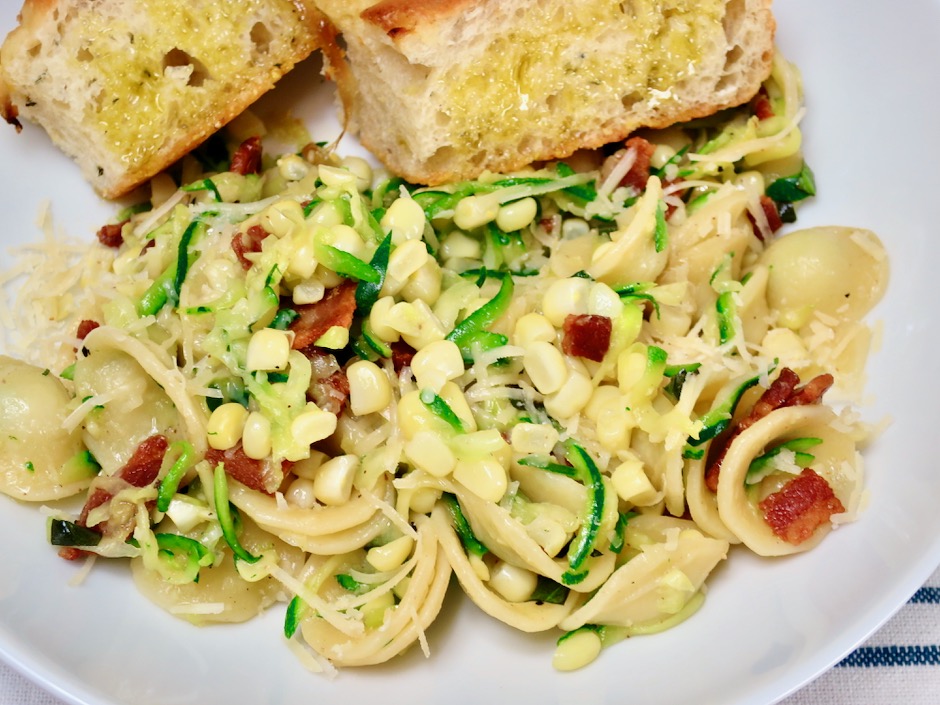
The zucchini is grated and salted before being squeezed to extract as much liquid as possible.  This will ensure you do not end up with watery pasta.  The final dish is a bowlful of summer flavors.

Summer Weekend Pasta


Summer Weekend Pasta
 
Adapted from Food52
Author:
Serves: 2
Ingredients
  • 4 slices thick bacon, cut crosswise into ¼-inch pieces
  • 1 medium garlic clove, peeled and crushed
  • pinch of red pepper flakes (optional)
  • 2 medium green zucchini, ends trimmed
  • ½ pound orecchiette
  • 2 ears corn, kernels cut from the cobs
  • 1 tablespoon roughly chopped or torn basil
  • kosher salt and freshly ground black pepper
  • olive oil for finishing
  • grated parmesan cheese for serving
Preparation
  1. Grate the squash on a box grater or large hole grater. Place grated squash in a bowl and toss with 1 teaspoon kosher salt. Let sit for at least 10 minutes, and up to 30 minutes.
  2. Bring a large pot of generously salted water to a boil for the pasta. Meanwhile, cook bacon in a large saute pan with crushed garlic clove over medium heat. Cook until the bacon is crisp. Remove bacon to a paper towel-lined plate. Discard the garlic clove.
  3. Once the water comes to a boil, add the pasta and cook until al dente. While the pasta is cooking, take fistfuls of the salted squash and squeeze firmly to extract liquid. Set aside in a bowl.
  4. Drain the pasta but don't shake it; you want a little pasta water to help create a sauce. Pour it back in the pot. Add the pressed squash, corn kernels and bacon to the pot. Toss everything together. Add salt and pepper to taste. Drizzle in a tablespoon or two of olive oil. Add basil and red pepper flakes if using. Toss once before serving and sprinkle with grated parmesan.


Dinner, Kimchi, Korean, Recipes, Side Dishes, Veggies

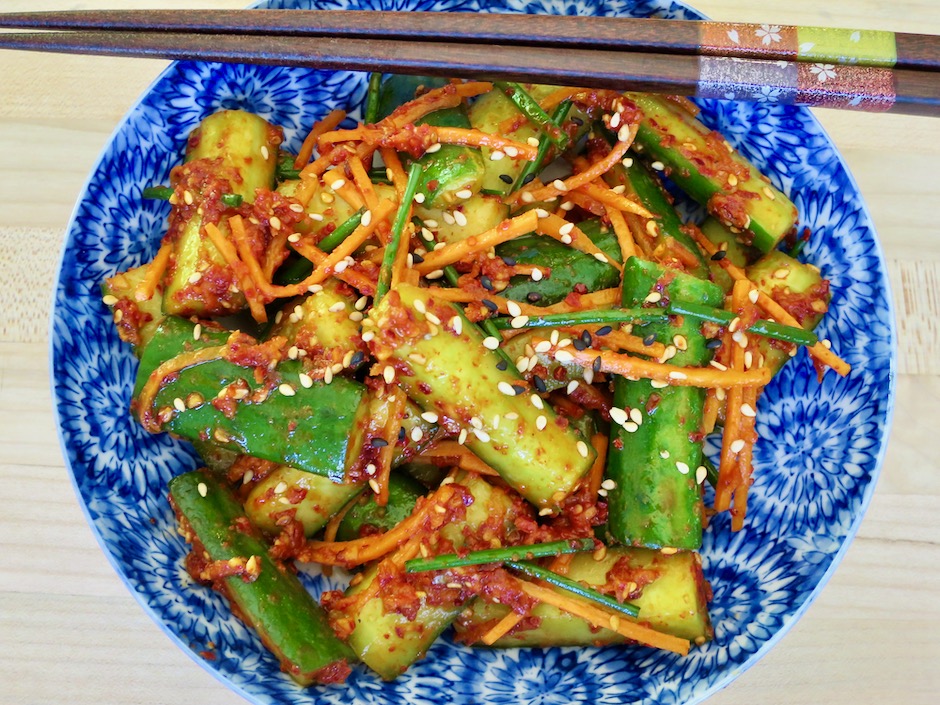
Oi Kimchi (Cucumber Kimchi)

July 3, 2020

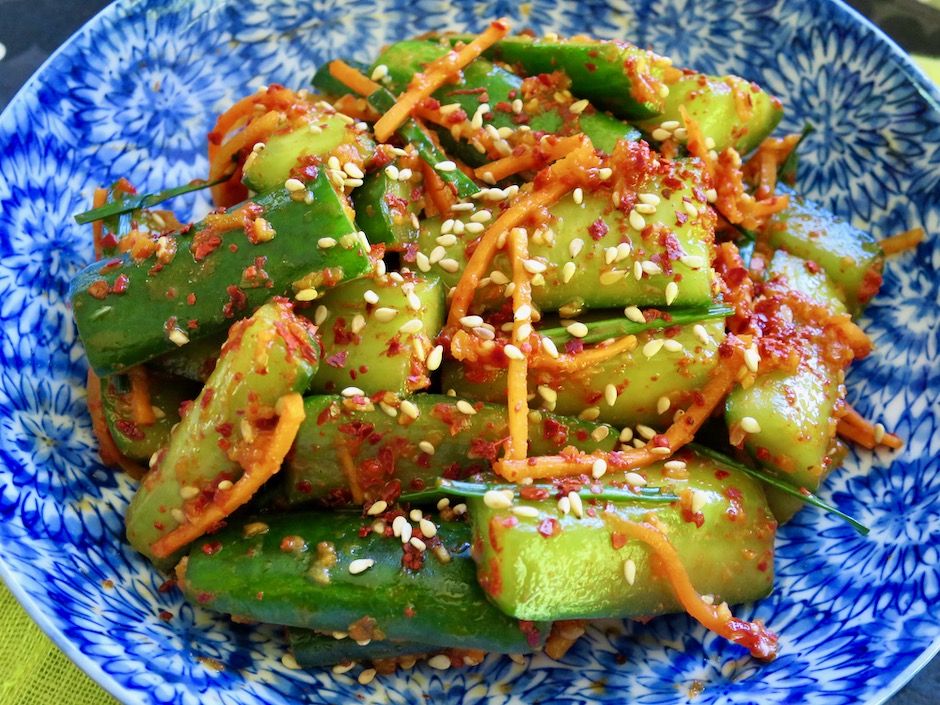
Crunchy Oi Kimchi

Here in Hawaii, we have a melting pot of cuisines.  One dish we all enjoy is the Korean specialty: kimchi.  A favorite version of ours is is spicy cucumber kimchi, the perfect accompaniment  to rice and Korean barbecued beef.  If you want to keep your meal vegetarian, skip the beef and serve the kimchi with rice and grilled teriyaki tofu.  And, if you don’t have time to fire up the grill, a bowl of steaming Japanese rice, white or brown will do just fine.  This is a quick and tasty side dish.

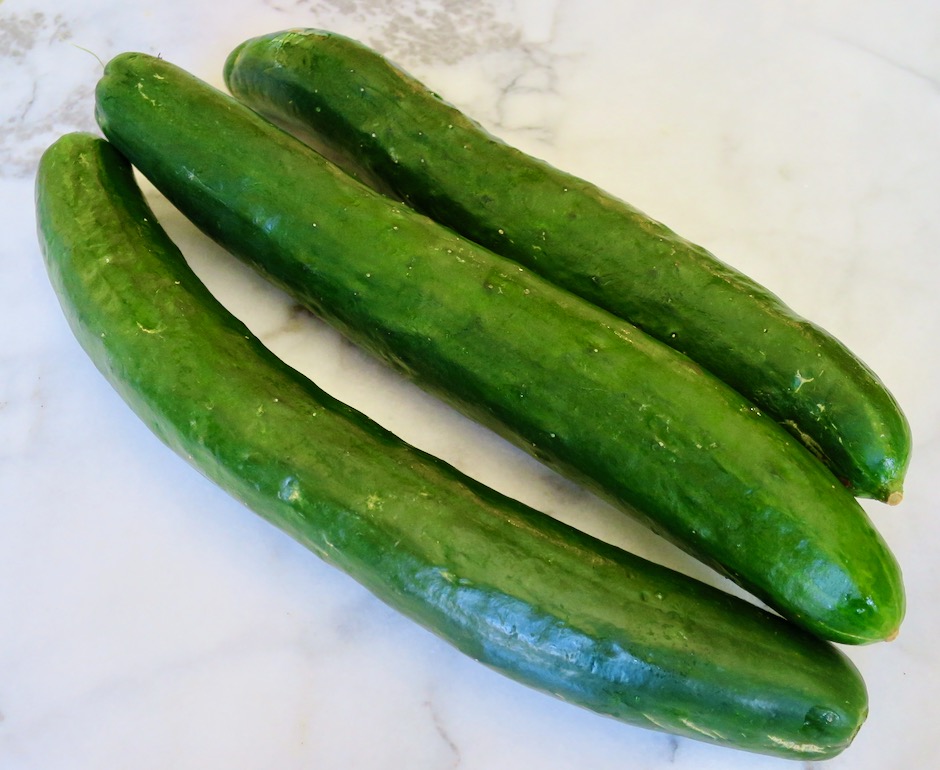
Japanese Cucumbers

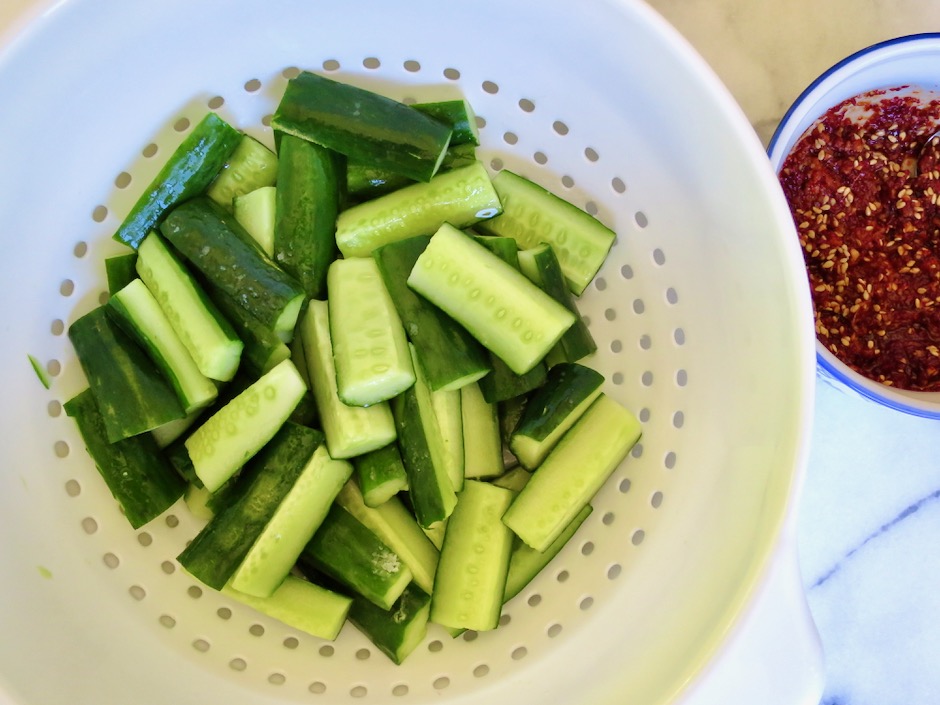
Japanese cucumbers are best for this recipe as they are extra crisp and have very few seeds.

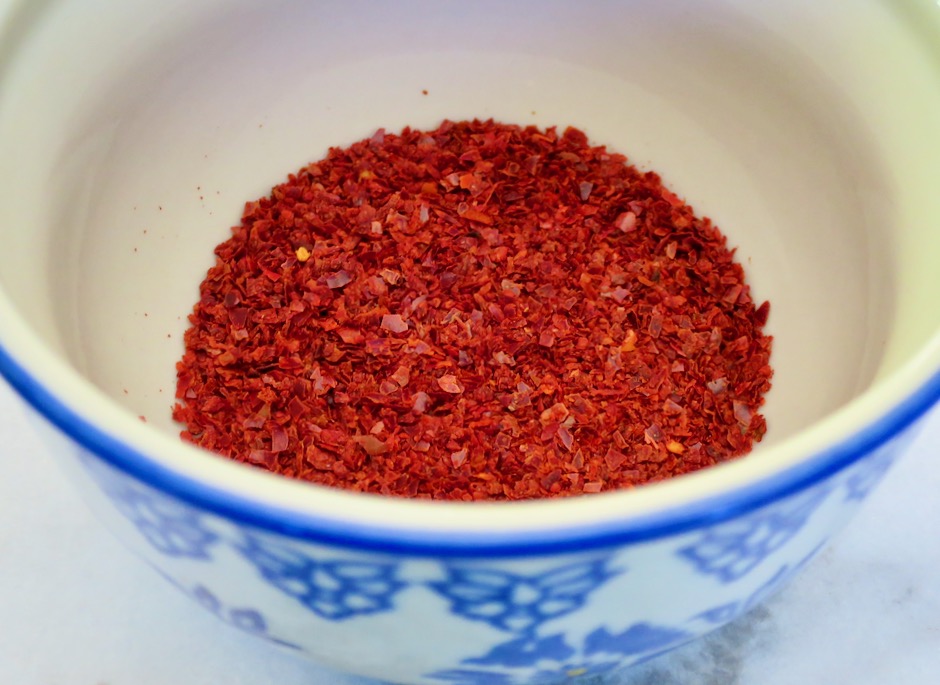
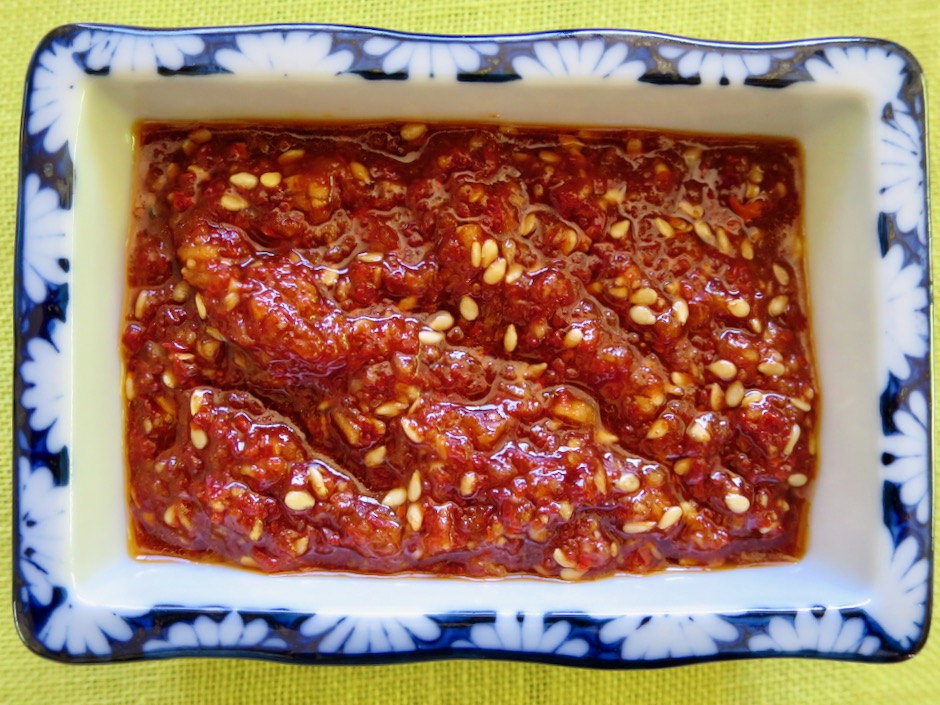
Gochugaru

There are  many varieties of kimchi (hundreds by some accounts) but one of the things they all have in common is gochugaru, Korean chili flakes.  This is the chili that I cook with most often.  Gochugaru has a smoky, sweet flavor, gorgeous deep red color and gentle heat.  It’s widely available on line and in local Asian markets.

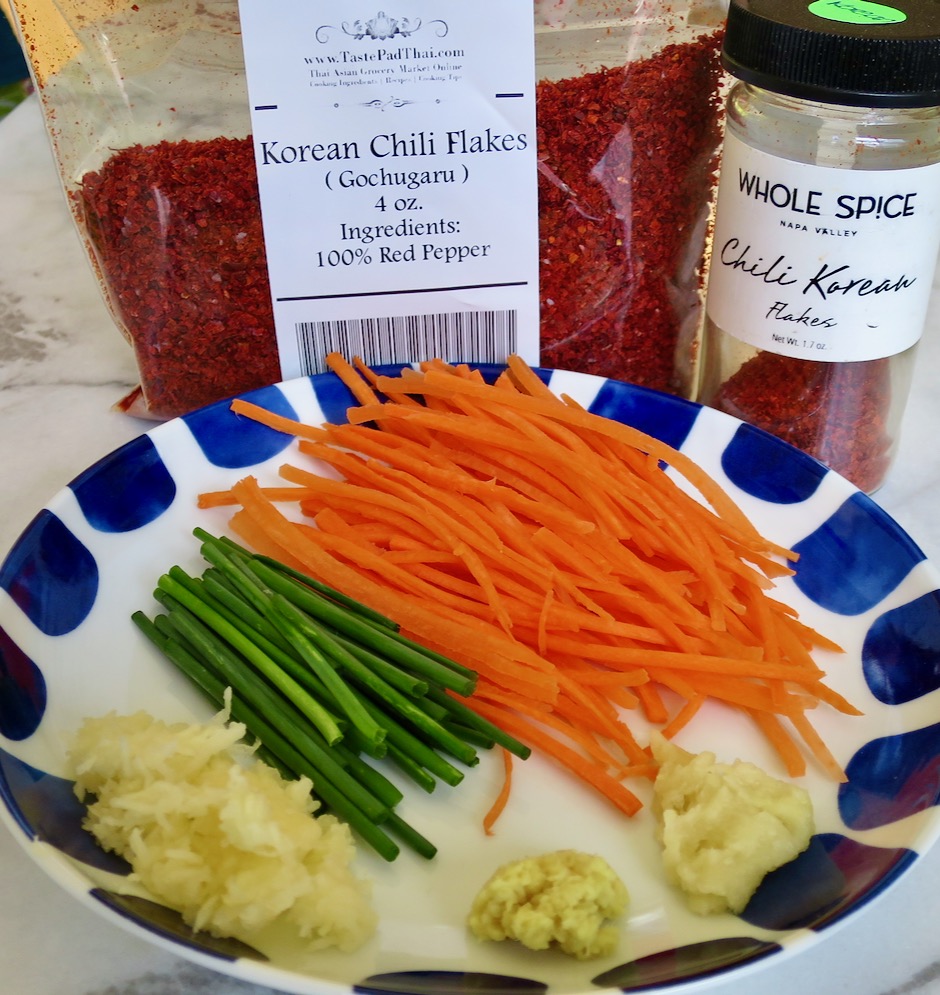
Gochugaru, Carrots, Chives, Grated Apple, Ginger, Garlic

Julienned carrots add color and flavor to the cucumber kimchi.  If you don’t have chives you may substitute them with slender green onions.

Kimchi Sauce

Salted Japanese Cucumbers

The cucumbers for this recipe are cut into baton shaped pieces which I find is the perfect size.  This recipe will keep for a good 3-4 days and the cucumbers will retain their crunchy texture.

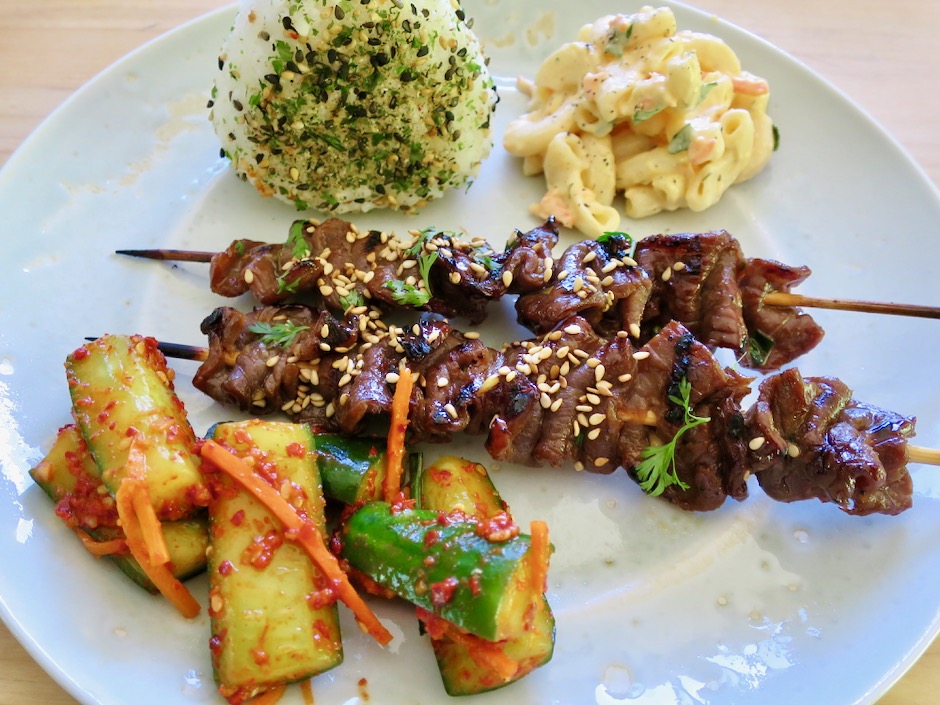
Crunchy Oi Kimchi with Teriyaki Meat Sticks, Mac Salad & Onigiri

Serve the kimchi with your favorite grilled meat or tofu and steamed Japanese rice.

Crunchy Oi Kimchi

Oi Kimchi (Cucumber Kimchi)
 
Author:
Serves: 6
Ingredients
  • 3 Japanese cucumbers (about 1 pound) cut into batons, about 2-inches long
  • 1 scant tablespoon kosher salt
  • ¼ cup julienned carrots
  • 5 chives, cut into 1½-inch pieces
  • Sauce:
  • 1 tablespoon gochugaru
  • 2 teaspoons finely minced garlic
  • ½ teaspoon finely grated ginger
  • 1 tablespoon finely grated apple, drained
  • 1 teaspoon sugar
  • 1 teaspoon soy sauce
  • 1 teaspoon rice vinegar (unseasoned)
  • 1 teaspoon sesame oil
  • dash of fish sauce (optional)
  • roasted sesame seeds
Preparation
  1. Trim the ends of the cucumbers. Cut into 2-inch long pieces. Cut each piece in half lengthwise, then into 4 even batons (sticks). Place the cucumber pieces in a colander and toss with a scant tablespoon of kosher salt (I use Diamond Crystal). Place the colander over a bowl to catch any drips and set a timer for 30 minutes.
  2. Meanwhile, combine all the sauce ingredients in a small bowl and mix well.
  3. Gently pat the cucumbers dry without removing all of the salt. Transfer the cucumbers to a wide bowl along with the carrots and chives, and toss with the sauce. I use disposable gloves to mix the cucumbers with the sauce which helps to coat every piece evenly. Transfer to a clean bowl and chill until ready to serve.


Appetizers, Dinner, Lactose Free, Recipes, Side Dishes, Vegetarian, Veggies

Mustard & Mayonnaise Glazed Asparagus

June 14, 2020

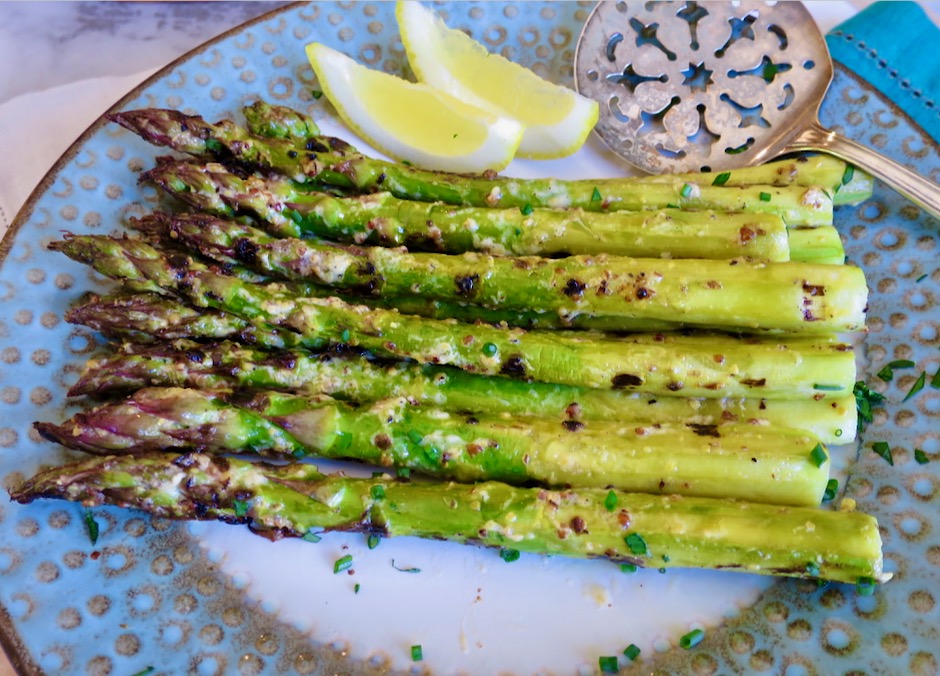
Mustard & Mayonnaise Glazed Asparagus

Asparagus is one of the most versatile vegetables around.  Endless preparations come to mind: steamed and served with a drizzle of olive oil, salt and pepper, stir-fried and seasoned with sesame oil and soy sauce, and crispy panko coated tempura.  Now that summer is here, grilling is the obvious choice for many reasons.  The weather is gorgeous, your kitchen stays cool without the stove or oven in use, and you can make this for two people, or for a group.  The marinade for this recipe is truly delicious, and this has become my favorite way to serve asparagus.

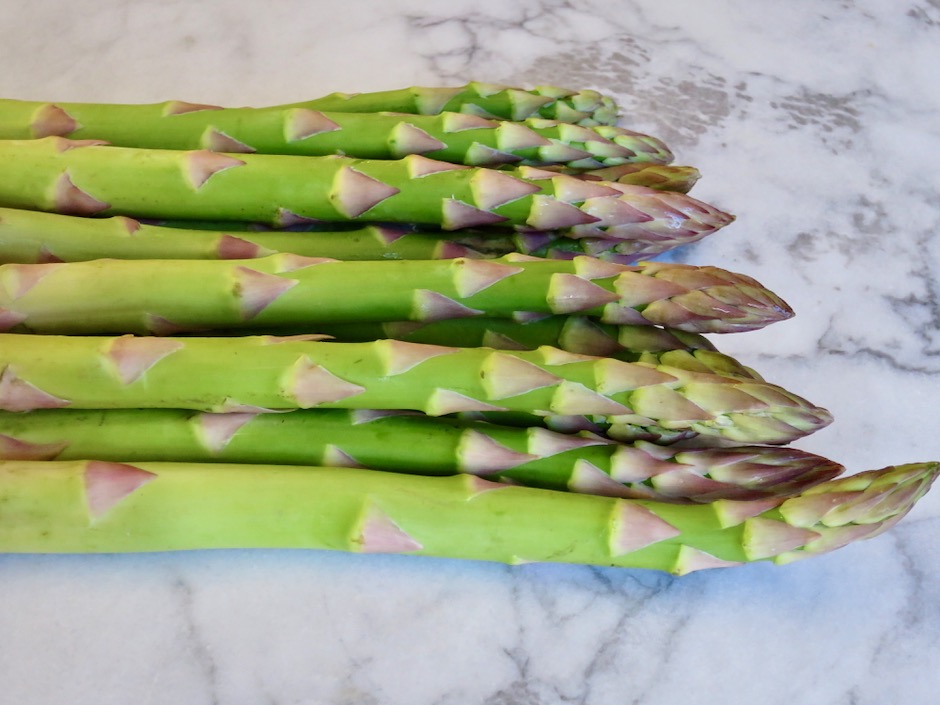
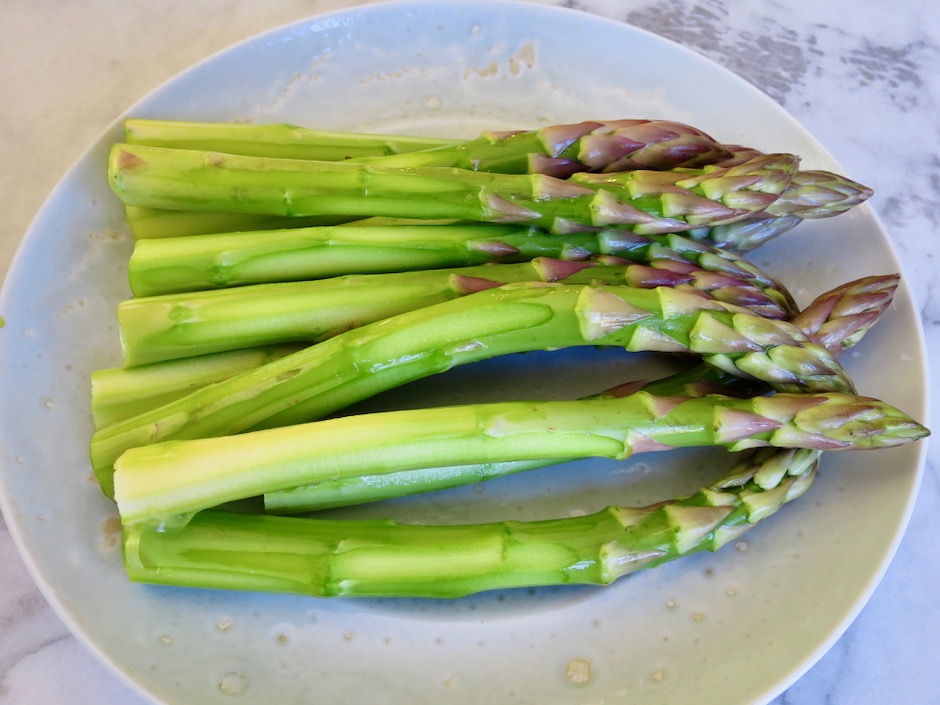
Fresh Asparagus Spears

Thick asparagus spears fare better than the pencil thin type when grilling. They hold their shape and texture without becoming droopy and soggy. To peel or not to peel the stems.  It’s up to you.  With thick asparagus I always peel a thin layer off the lower part of the stems.  The spears look beautiful and they are guaranteed to be tender and are never stringy.

Fresh Peeled Asparagus Spears

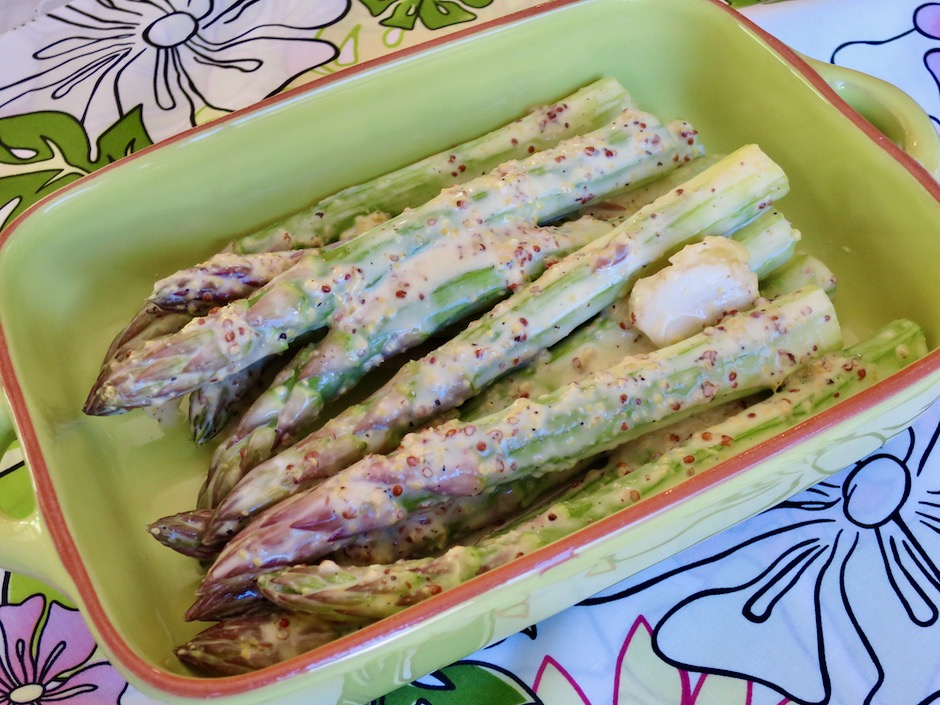
This recipe comes from Nate Appelman of San Francisco’s popular A16 and SPQR restaurants.  The marinade is a combination of mayonnaise, grainy mustard, olive oil, lemon juice and zest, garlic and salt and pepper.  It coats the asparagus beautifully and any extra marinade can be slathered on the grilled asparagus before serving if you wish.

Asparagus with Marinade

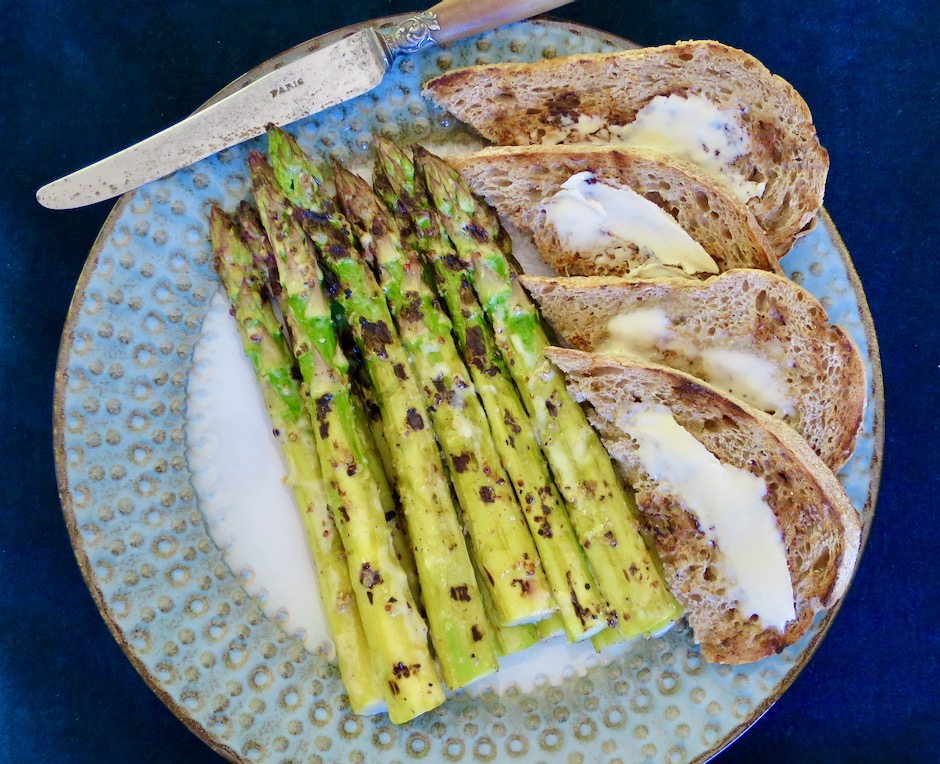
Mustard & Mayonnaise Glazed Asparagus

Mustard & Mayonnaise Glazed Asparagus
 
Adapted from Nate Appleman's recipe
Author:
Serves: 2
Ingredients
  • 1½ tablespoons mayonnaise
  • 1½ tablespoons grainy mustard
  • 1½ tablespoons extra virgin olive oil
  • 1 tablespoon fresh lemon juice
  • 1 teaspoon finely grated lemon zest
  • 1 medium garlic clove, crushed
  • ¼ teaspoon kosher salt (or more to taste)
  • ¼ teaspoon freshly ground black pepper
  • ½ pound thick asparagus, trimmed
Preparation
  1. Whisk the mayonnaise with the mustard, oil, lemon juice, lemon zest. garlic, salt and pepper. Pour the marinade over the asparagus (use a large plate) and turn to coat. Let stand for 30 minutes. Meanwhile, heat your grill to medium-high (we use a gas grill which takes 15 minutes to heat up). Grill the asparagus, turning occasionally, until the spears are tender and lightly blistered in spots, about 6 minutes.Serve the asparagus hot or at room temperature.


Dinner, Dressing, Lactose Free, Recipes, Salad, Vegan, Vegetarian, Veggies

Papaya Seed Dressing

September 20, 2019

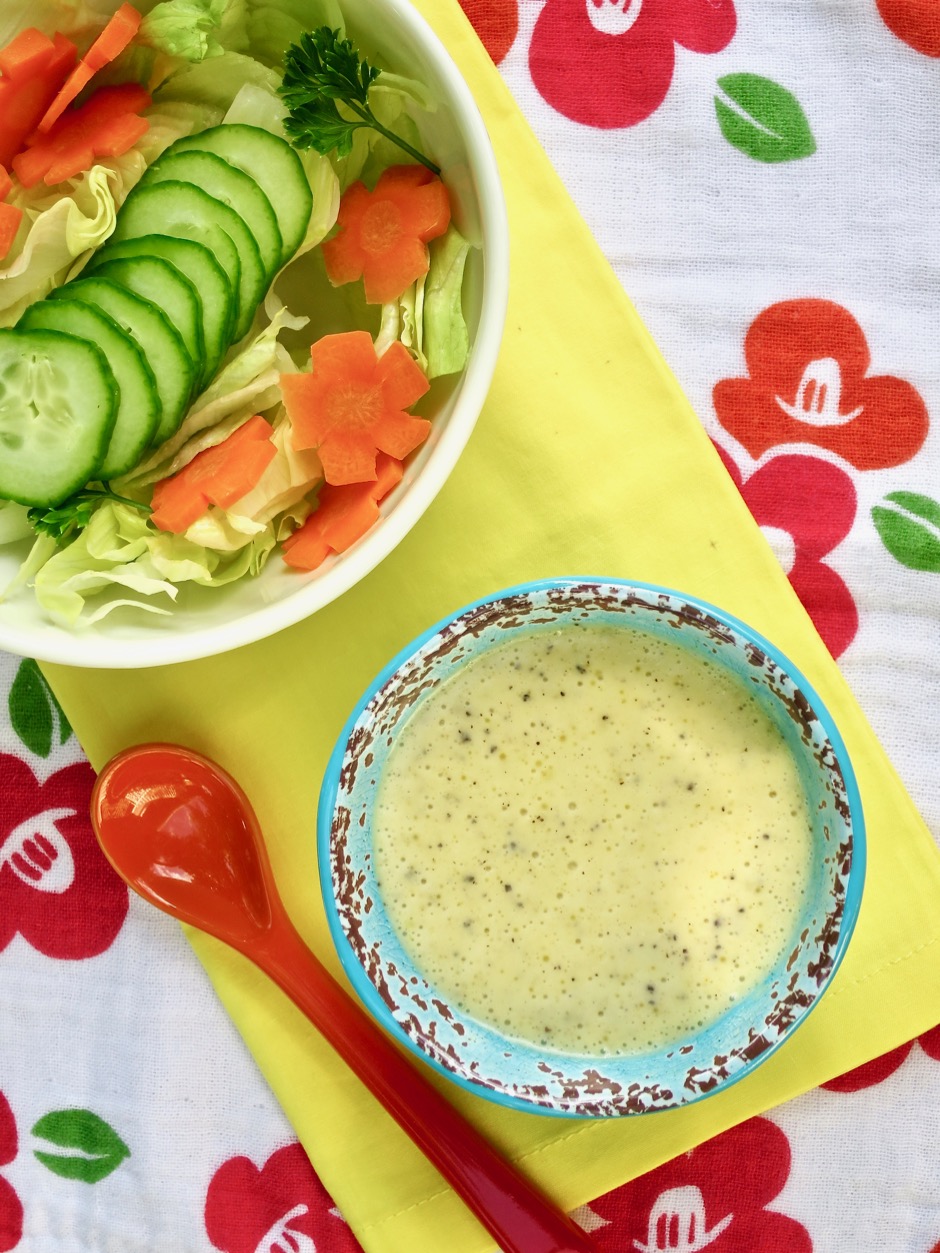
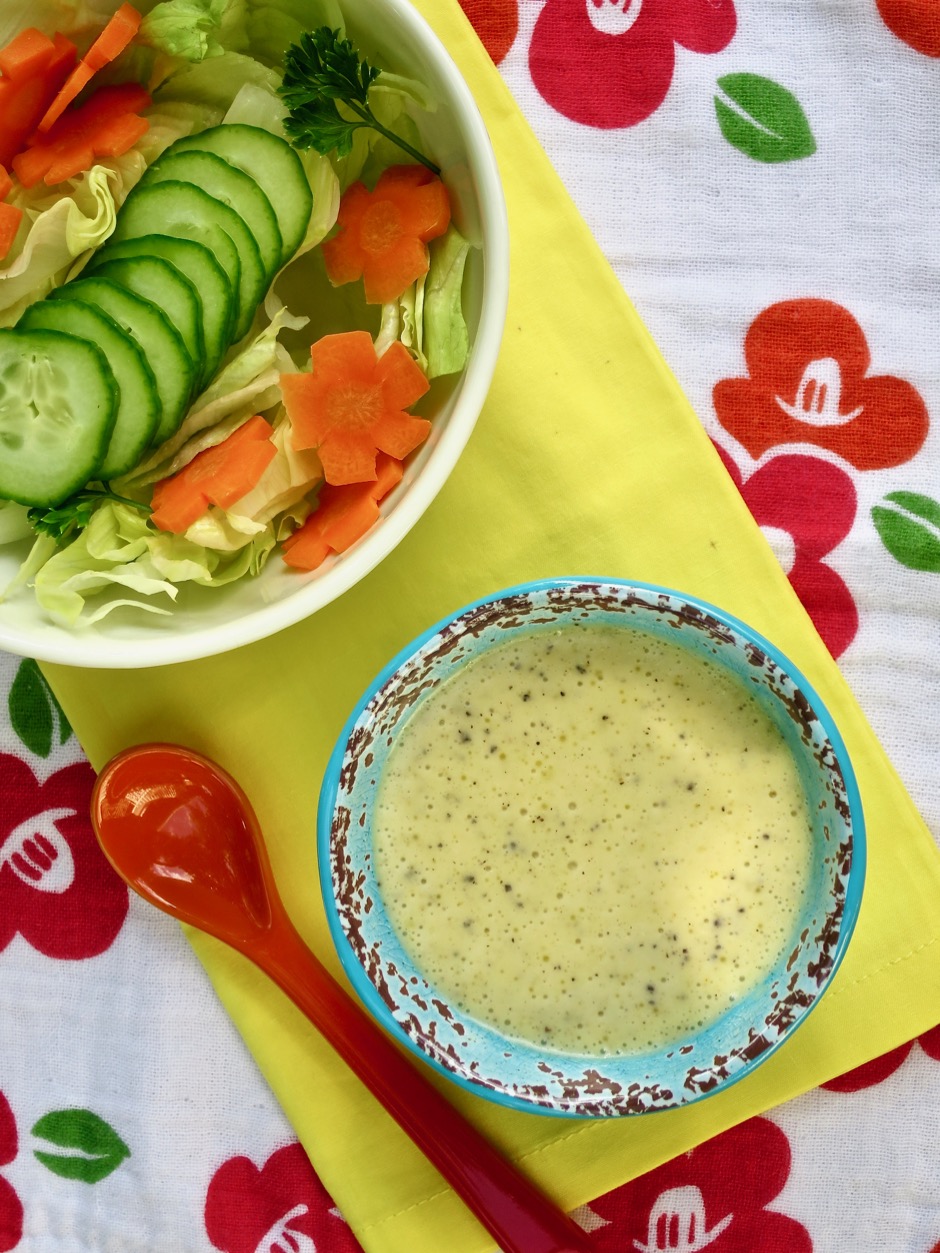
Papaya Seed Dressing

No one seems to know who created papaya seed dressing but I do recall enjoying it as far back as the 70’s.  I used to buy packets of papaya seed dressing then mix it up at home.  These days, I prefer to make most things from scratch, especially salad dressings. This sweet-tart dressing is one of them.  It’s so easy to make because all the ingredients are  blended at one time.  Voila!  You end up with a delicious dressing that is wonderful on a crisp salad.
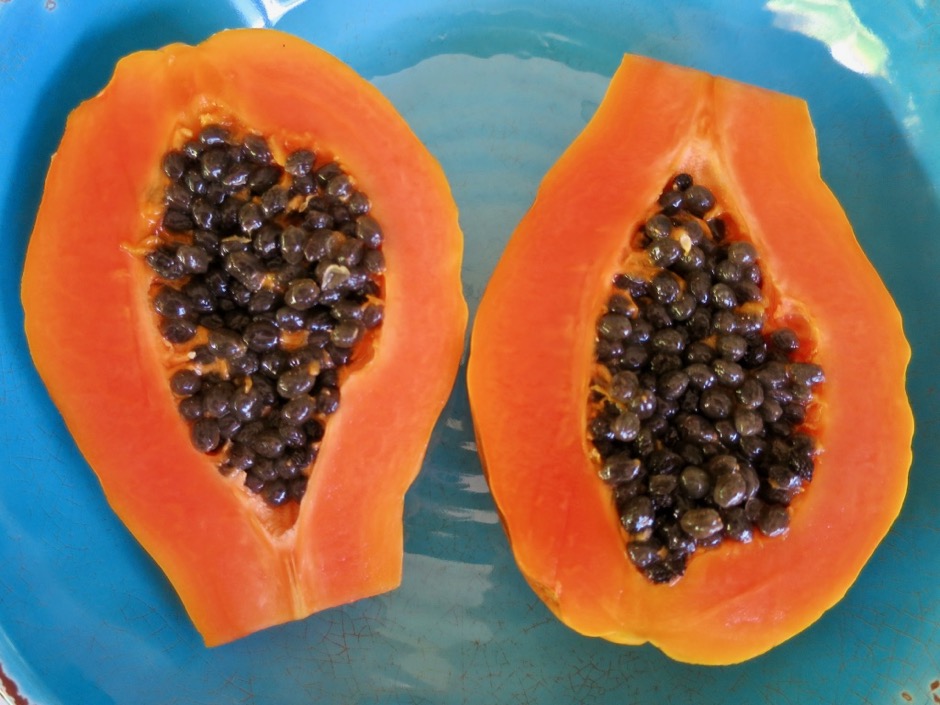
Homegrown Strawberry Papaya

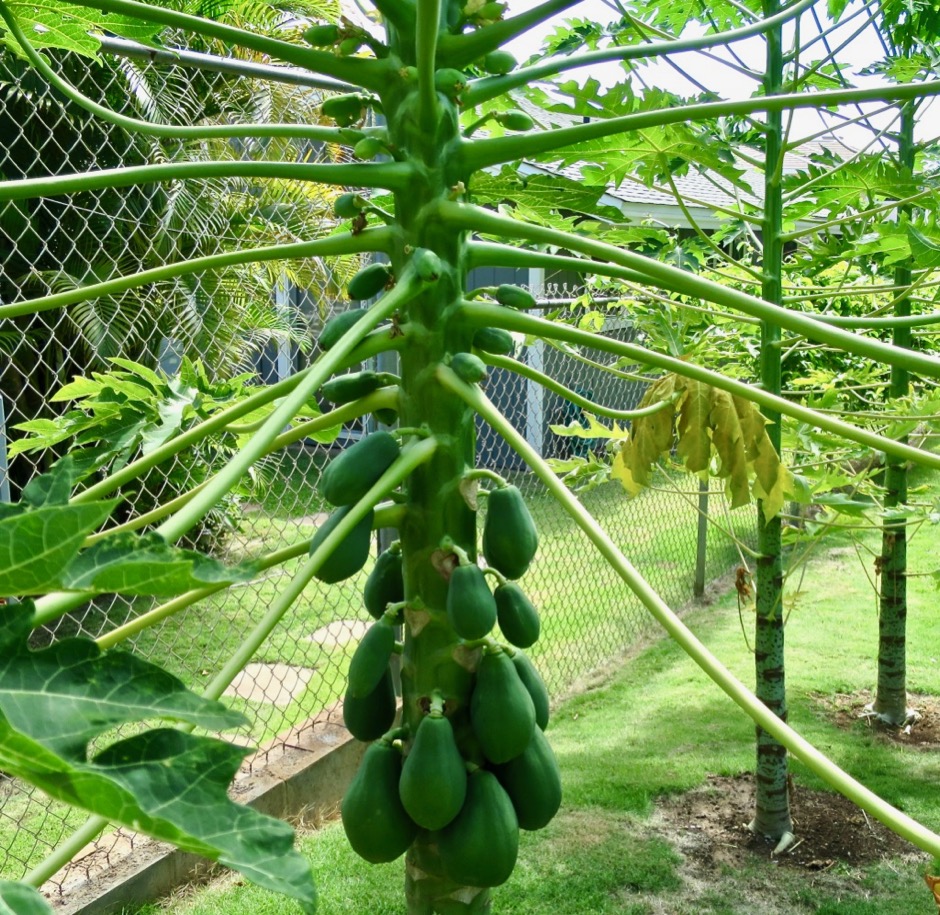
John grows Sunrise and Sunset papayas throughout the year. It’s one of those fruits that do well in hot and sunny Kihei.  The trees don’t take up much space and the papayas are gorgeous.  Normally the seeds get thrown out, but I like to save a few for this dressing. I’ve found that freezing the seeds for later works great.  Rinse and freeze in a small baggie or plastic container.

Sunrise Papaya Trees

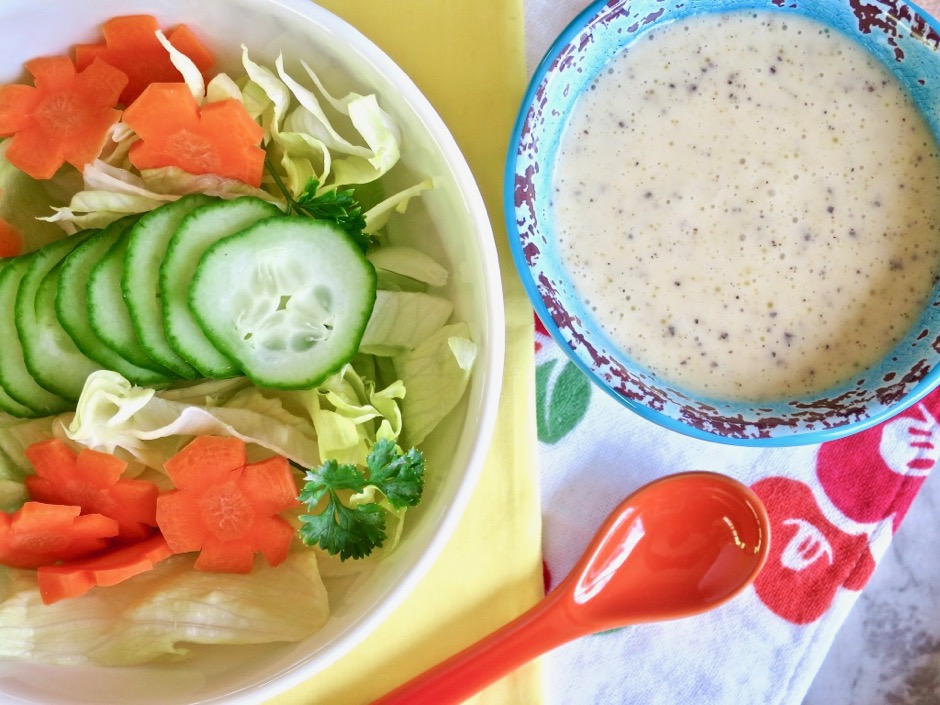
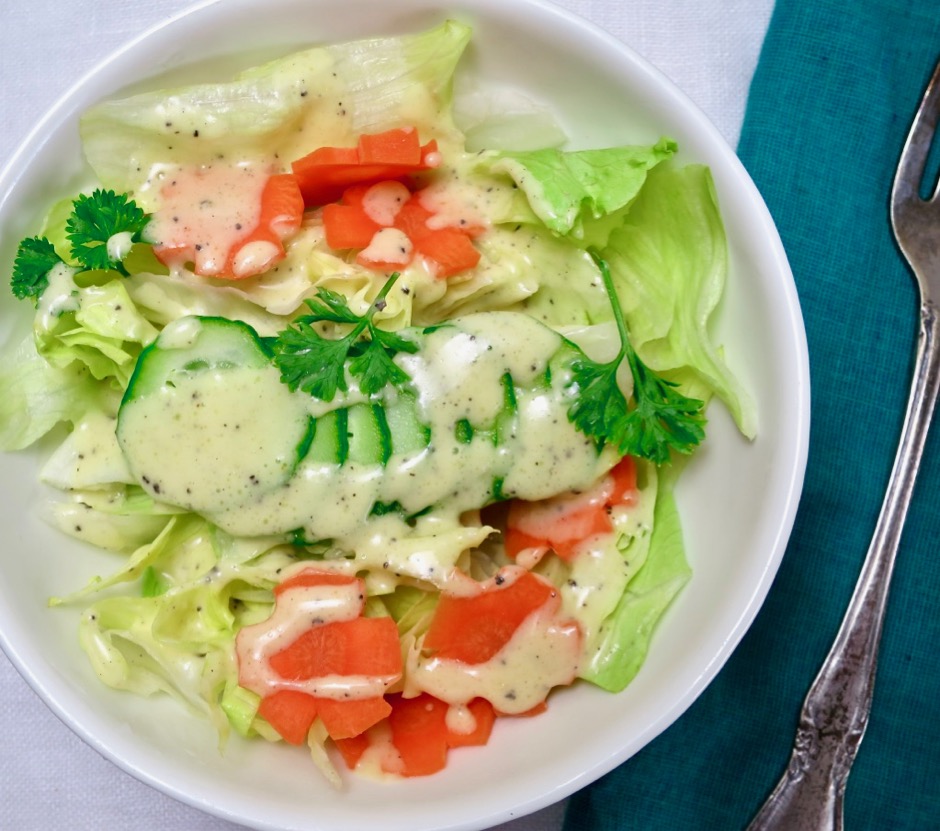
Papaya Seed Dressing Salad

I’m a fan of iceberg lettuce even though it’s not among the most nutritious lettuces out there.  I know that many people frown upon iceberg lettuce but it has its place in many of my dishes.  A wedge salad for instance, would not have been born if not for iceberg lettuce.  And Aunty Ruby’s somen salad would not be the same if I were to use a different type of lettuce.   Iceberg lettuce and papaya seed dressing are a perfect match!

Papaya Seed Dressing

Papaya Seed Dressing
 
Author:
Serves: ¾ cup
Ingredients
  • 2 tablespoons chopped onion
  • 1½ teaspoons papaya seeds. rinsed
  • ¼ cup unseasoned rice vinegar
  • 4 teaspoons sugar
  • ½ teaspoon dry mustard (Coleman's)
  • 1 teaspoon Dijon mustard
  • ¼ teaspoon kosher salt
  • few dashes of ground turmeric
  • ¼ cup canola oil
  • ¼ cup extra virgin olive oil
Preparation
  1. Combine all ingredients together and puree using a handheld mixer or blender. Serve over crispy greens such as iceberg lettuce, carrots, cucumbers, watercress, endive, shredded cabbage and romaine. Dressing keeps well for about 5 days.


Dinner, Japanese, Lactose Free, Recipes, Vegetarian, Veggies

Sesame Broccoli Salad

July 11, 2019

Sesame Broccoli Salad

This is a refreshing and healthy salad that is perfect to serve during the warm summer months.  The broccoli is quickly steamed until crisp and tender then drizzled with a tasty dressing.  You can serve it chilled or at room temperature.

Broccoli

Broccoli Florets

Cut the broccoli into bite-sized (not too small) florets.  Steam the broccoli just until crisp and tender.

Steamed Broccoli Florets

Chill the broccoli while you make the dressing.  If I’m in a rush, I place the steamed broccoli on a plate and put it in the freezer for a few minutes.

Broccoli Salad Dressing

The dressing is a snap to prepare.  Mix the soy sauce, rice vinegar, sesame oil and honey together in a small bowl.  Throw in a spoonful of roasted sesame seeds and you will end up with a well- balanced, flavorful sauce for the broccoli.

Sesame Broccoli Salad with Rice, Nori & Tuna Salad, Mango & Kimchi

My favorite accompaniments with this broccoli salad are steamed Japanese rice, crispy nori with tuna salad, kimchi and fruit.  It is the perfect summer lunch.

Sesame Broccoli Salad

Sesame Broccoli Salad
 
Adapted from epicurious.com
Author:
Serves: 6
Ingredients
  • 2 tablespoons soy sauce (Kikkoman recommended)
  • 2 tablespoons unseasoned rice vinegar
  • 2 tablespoons sesame oil (Kadoya recommended)
  • 2 tablespoons honey
  • freshly ground black pepper (optional)
  • 2 tablespoons roasted sesame seeds, divided
  • 1 pound (about 8 cups) broccoli florets
Preparation
  1. Steam the broccoli florets until crisp-tender, about 5 minutes. Cool on a plate in the refrigerator for about 5 minutes or so.
  2. Whisk soy sauce, rice vinegar, sesame oil, honey and a few grinds of fresh black pepper in a small bowl. Add 1 tablespoon of roasted sesame seeds. Set aside.
  3. In a large shallow bowl, toss broccoli with dressing (you may not need all of the dressing). Toss to coat all of the florets. Let marinate at room temperature for 30 minutes or cover and refrigerate if you prefer to serve it cold, or at a later time during the day. When ready to serve, toss once again then transfer the broccoli to a large low-sided serving bowl. Pour the dressing over the broccoli and sprinkle the remaining sesame seeds over the top.


Appetizers, Breakfast, Eggs, Recipes, Sandwiches, Sauces, Veggies

Pimento Cheese

July 2, 2018

Pimento Cheese Appetizer

Pimento cheese is a divine dish, known in the American South as Carolina caviar, Southern pâté or caviar of the South.  There are numerous ways to enjoy it whether it’s right out of the bowl spread on crackers and crunchy vegetables, or melted and drizzled over scrambled eggs or nachos.  Pimento cheese makes a wonderful grilled cheese sandwich and I can’t imagine a better spread on a warm, buttery biscuit or over a grilled burger.

Pimentos

Jarred pimentos are mild, sweet and vibrantly red.
Grated Sharp Cheddar

Cheddar cheese, mayonnaise, and pimentos are the three main ingredients.  To add a little depth to my pimento cheese, I add a bit of Dijon mustard and Worcestershire, and sometimes a dash of cayenne pepper.  Louisiana-style hot sauce is another common addition. Next time I will add some of our homemade pickled jalapeños. Freshly grated cheese is a must for this recipe.  Pre-grated cheese has added ingredients to prevent it from clumping and getting moldy.  These ingredients greatly affect its melting quality and taste.  So get out your grater, it will take just a few minutes if that, to grate a block of cheese.
Pimento Cheese Eggs Benedict

Melted pimento cheese makes a fabulous sauce for Eggs Benedict.  I also like to drizzle it over soft scrambled eggs.

Pimento Cheese Nachos

Nachos!  I came across the idea to use pimento cheese on nachos from South Carolina’s curiously named “Garden & Gun” web site (named after a 1970s Charleston disco called the Garden & Gun Club).  This turned out to be the best cheese sauce for nachos.  Once melted, it is easy to drizzle over the corn chips and other toppings.

Pimento Cheese Stuffed Baby Bell Peppers

Pimento Cheese
 
Author:
Ingredients
  • ½ cup mayonnaise (not light)
  • 1 teaspoon dry mustard, such as Coleman's
  • 1 teaspoon Dijon mustard
  • ½ teaspoon Worcestershire sauce
  • 2 tablespoons diced pimentos
  • 1½ teaspoons finely chopped parsley
  • 8 ounce block of sharp cheddar, finely shredded
Preparation
  1. Combine mayonnaise, dry mustard, Dijon, Worcestershire sauce, pimentos and parsley in a medium bowl. Stir in shredded cheddar cheese. Refrigerate pimento cheese in an airtight container until ready to use.
  2. Spread on crackers and vegetables such as cucumbers and bright peppers for a lively and delicious party appetizer. To use over eggs or nachos, heat pimento cheese in a small saucepan over low heat, whisking constantly so that the mixture does not separate.
  3. Pimento cheese will keep for 5 days or so.


Follow

Get every new post delivered to your Inbox

Join other followers: