Browsing Category

Veggies

Dinner, Pasta, Recipes, Side Dishes, Veggies

Mac & Cheese with Butternut Squash & Bacon

April 27, 2014

Mac & Cheese with Butternut Squash & BaconEveryone I know loves mac & cheese.  That’s a fact! I prefer to have a selection of recipes to choose from rather than always turning to one old standby.  On occasion I will make Martha’s decadent, rich, mac & cheese or broccoli mac & cheese if I’m craving nutritional veggies in the mix.  This rendition of mac & cheese is tops on my list.  The sweet, roasted, butternut squash along with the smoky bacon makes this dish special.  For the life of me I can’t remember where I found this recipe.  If you search the internet there are many recipes for mac & cheese with butternut squash.  Some puree the squash and combine it into the sauce, others mix the butternut squash with the pasta.  I love this version where the roasted squash is scattered on top of the mac & cheese along with panko bread crumbs that produce a crispy topping.

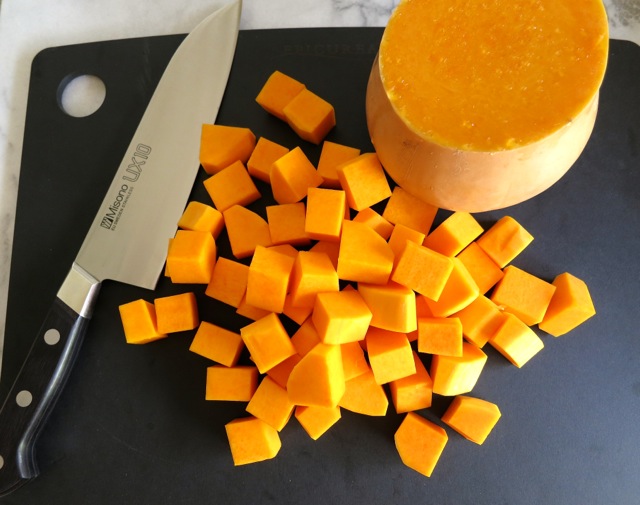
Butternut SquashCut the butternut squash into 1 inch cubes.  That may seem quite large but keep in mind they will shrink once roasted.

Cubed Butternut Squash


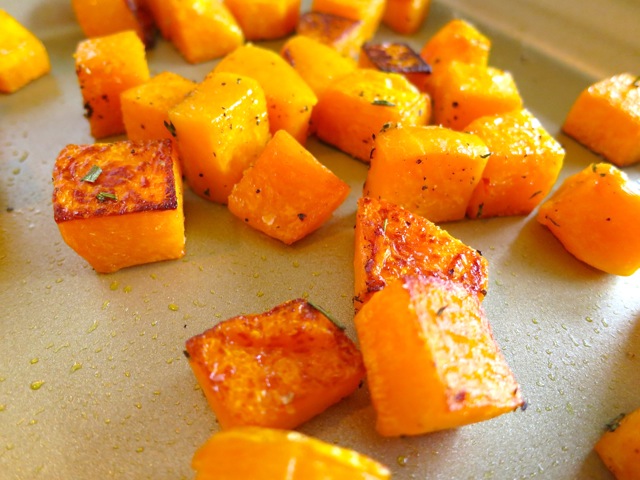
Roasted Butternut SquashTurn the butternut squash with a spatula once during roasting so that you’ll have nicely browned pieces.

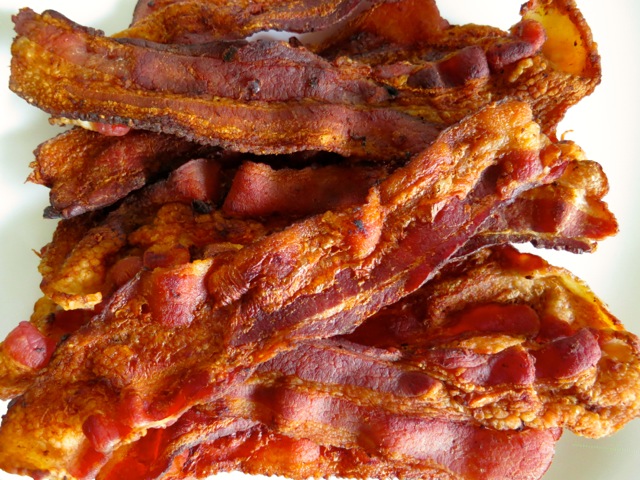
Crispy Bacon Bacon.  Crispy, smoky, delicious.

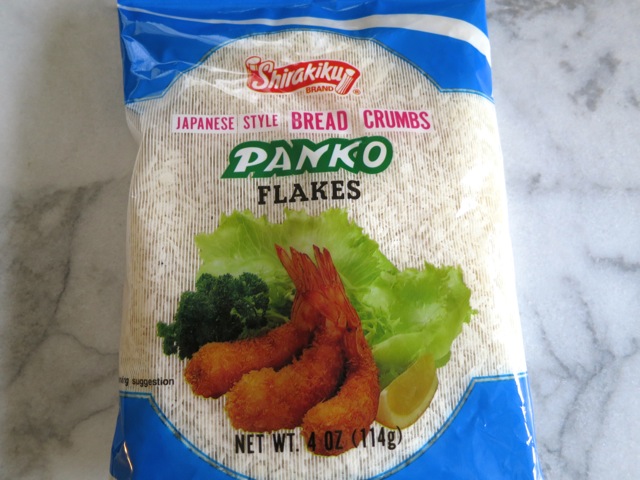
Panko FlakesPanko flakes are a handy item to have.  It keeps well in the refrigerator and can be used as a topping for mac & cheese or other casseroles and even tempura. They are a wonderful substitute for bread crumbs.

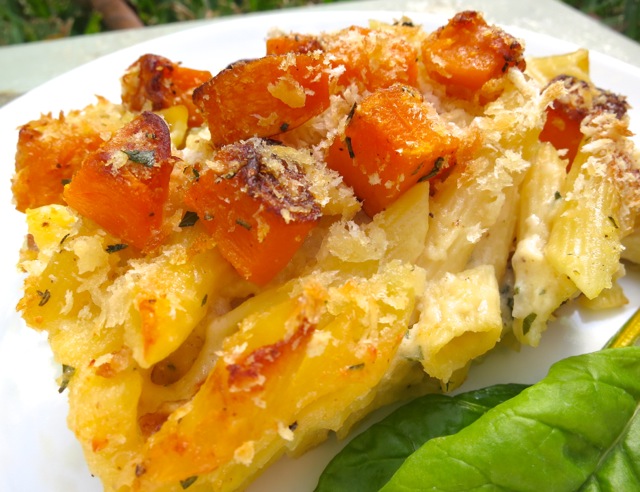
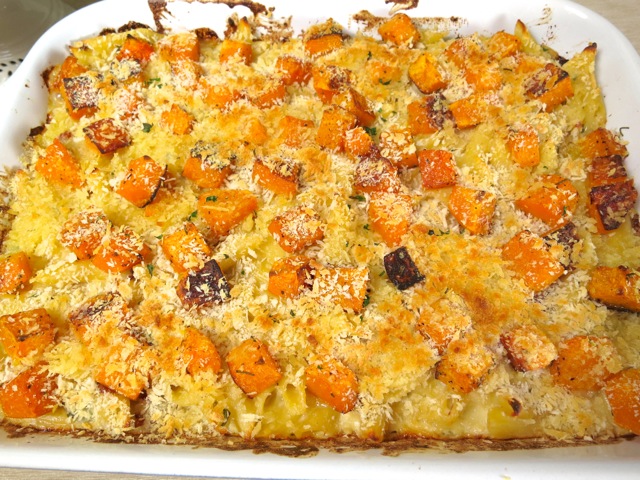
Baked Mac & Cheese with Butternut Squash & BaconDinner is ready.

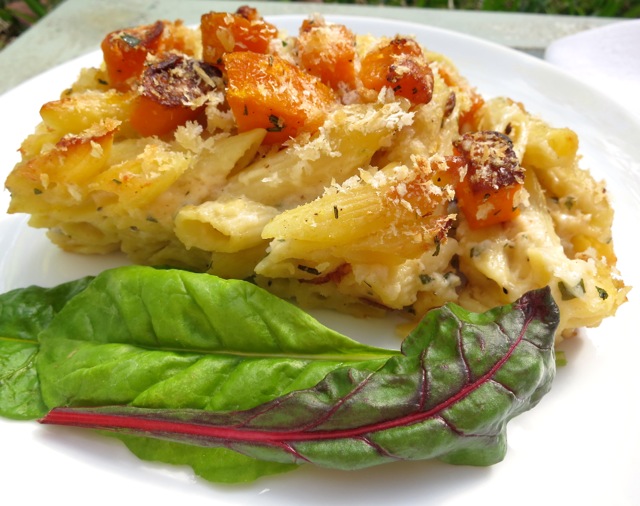
Mac & Cheese with Butternut Squash & BaconMac & Cheese with Butternut Squash & Bacon

Serves 8

Ingredients

8 pieces cooked, crumbled bacon

3 cups cubed butternut squash (1 inch cubes)

1/2 teaspoon finely chopped rosemary

1 pound penne or elbow macaroni

1 cup finely chopped onion

1 tablespoon olive oil

1/8 teaspoon cayenne

2 small garlic cloves, minced

4 tablespoons butter, divided

5 tablespoons flour

5 cups milk

5 cups coarsely grated extra sharp cheddar (I used Cabot Vintage White Extra Sharp Cheddar)

1 1/2 teaspoons kosher salt

freshly ground black pepper

3/4 cup panko

Preparation

Lightly butter a 9 x 12 inch baking dish and set aside.

Cook bacon, crumble into fairly large pieces and set aside (always make an extra piece to snack on).

Preheat oven to 425 degrees.

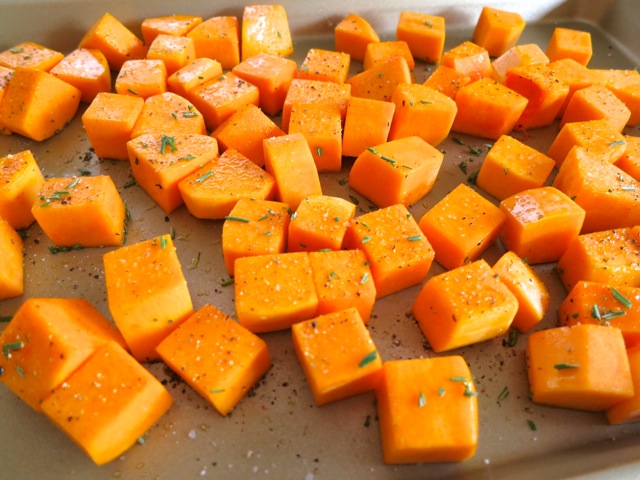
Toss butternut squash with a bit of olive oil, rosemary, and kosher salt and pepper.  Roast on a baking sheet for about 20 minutes, turning pieces once, until just tender and nicely browned.  Set aside.  Reduce oven heat to 375 degrees.
While the squash is roasting cook the pasta in boiling, salted water until al dente.  I like to under cook my pasta by a minute or two since it will further cook as it bakes in the oven for 30 minutes.  Drain and set aside.

Melt 2 tablespoons of butter and set aside.  In a large sauté pan (I use a 12-inch straight sided pan) over medium heat, sauté onion in 1 tablespoon olive oil for about 5 minutes until softened but not browned.  Add cayenne and garlic and sauté for another minute.  Stir in remaining 2 tablespoons of butter.  Once melted, whisk in the flour and stir for a minute to combine with butter.  Gradually add the milk and simmer for about 8 minutes, stirring constantly until thick enough to coat the back of a spoon.  Remove from the heat, fold in the cheddar cheese.  Stir in salt and a few grinds of pepper then stir in the crumbled bacon.  Add cooked pasta and toss to combine ingredients.  Transfer to your buttered baking dish and top with butternut squash.  Sprinkle panko evenly over the top and drizzle with the 2 tablespoons melted butter.  Bake uncovered for about 30 minutes until golden brown on top.  Let mac & cheese rest for 10 minutes before serving.


Canning, Lactose Free, Pickles, Recipes, Vegan, Vegetarian, Veggies

Homemade Dill Pickles

April 21, 2014

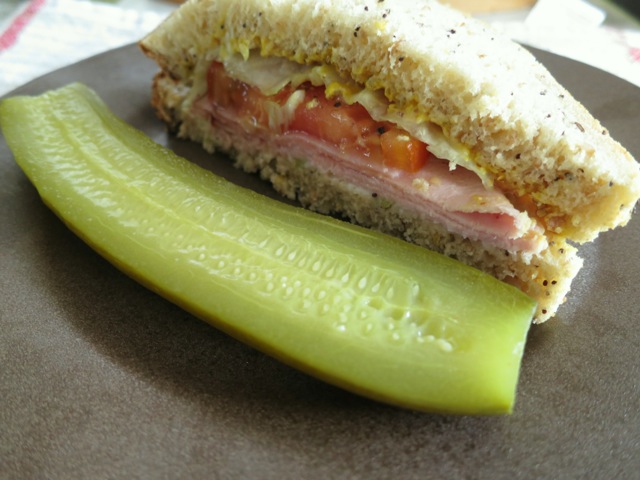
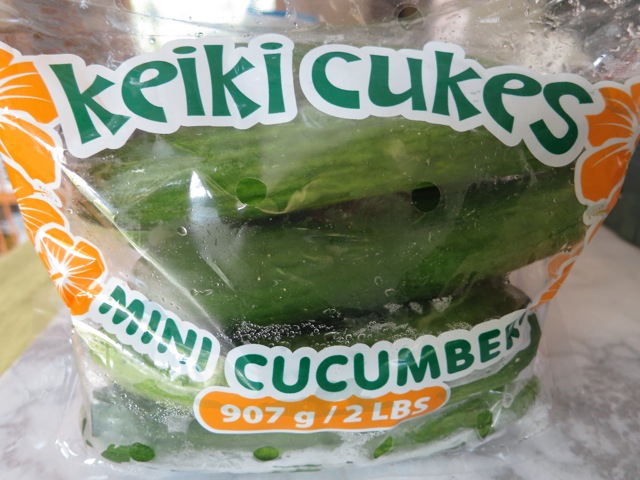
Keiki CukesPickles, pickles, pickles.  I can’t live without them.  Crunchy, tangy, salty, dilly, best chilled and served alongside a sandwich.

Homemade Dill Pickle

Keiki CukesJohn’s grandmother, Ida, made terrific dill pickles. Unfortunately, her recipe was lost. With the memory of those pickles in mind, he has been determined to make his own dills ever since. He used to grow cucumbers specifically for pickle making.  Unfortunately the garden pests were fond of them too.  Most destructive are the pickle worms that burrow into the poor little cukes.  It’s very frustrating to have spent so much time nurturing your plants only to have them destroyed.  Now that our local Costco sells these Keiki Cukes, we’re in business again.  These crunchy cucumbers are perfect for pickles.

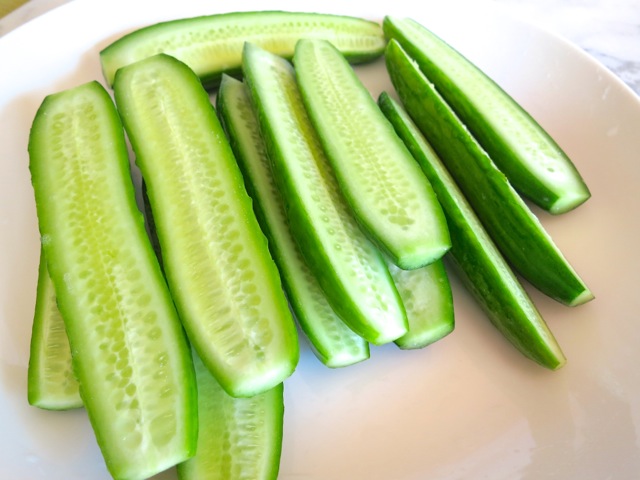
Sliced CukesBeautiful mini cucumbers with tender skin and few seeds.

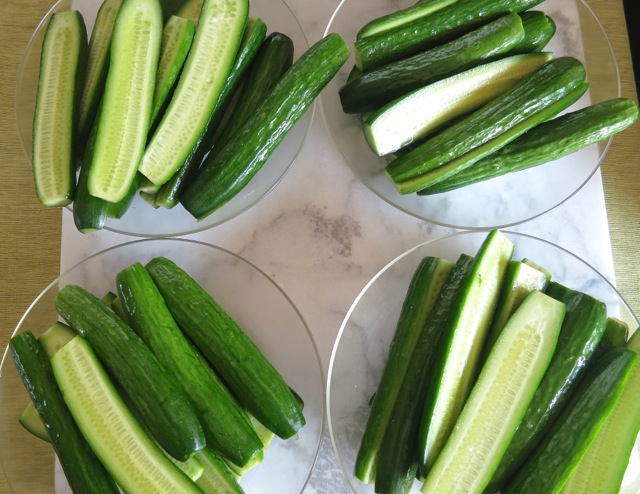
Divide Up Cucumbers for Each JarIt is best to have your mise en place ready.  Divide up the cucumbers for each jar so that you can work quickly to get the jars into the water bath canner.

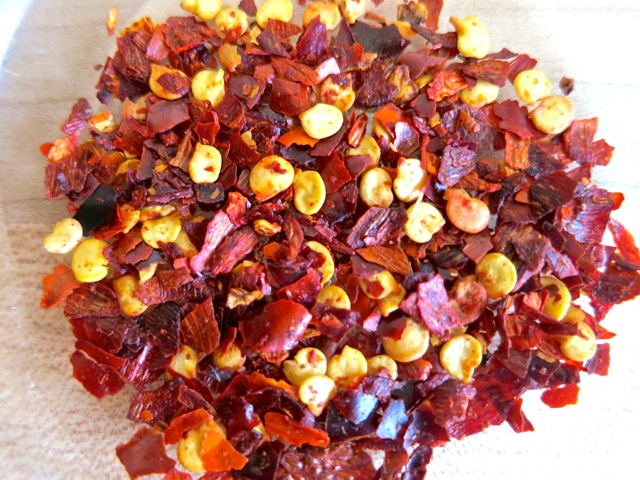
Red Pepper Flakes

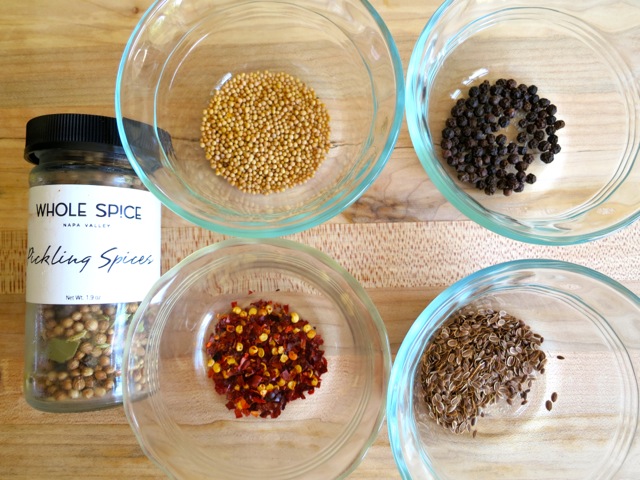
Pickling Spices, Mustard Seeds, Black Peppercorns, Dill Seeds, Red Pepper FlakesThe pickling spice is optional but it does add a nice flavor to the brine.  If you don’t have a tea ball you may use cheese cloth.

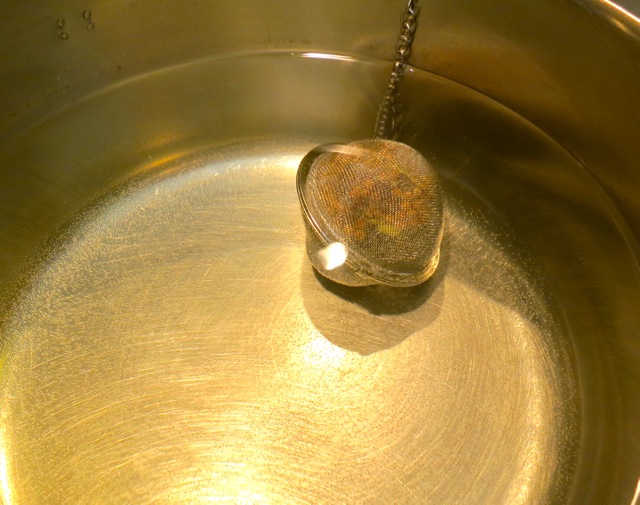
Tea Ball with Pickling Spices

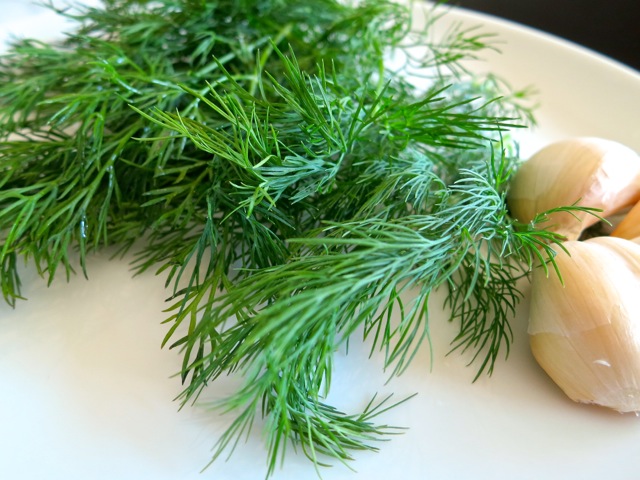
Fresh Dill & Garlic

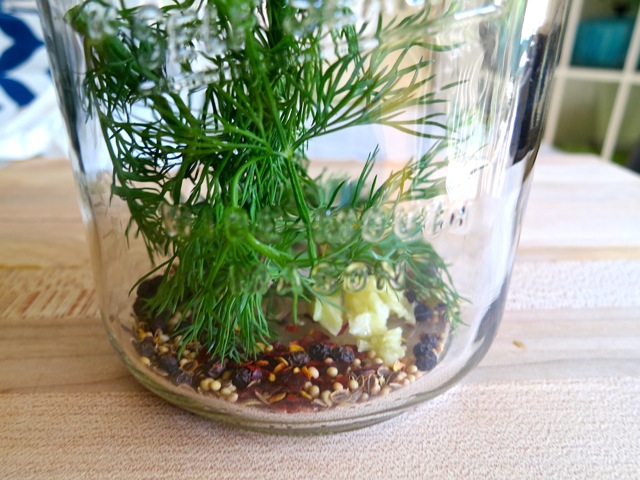
Spices in Jar

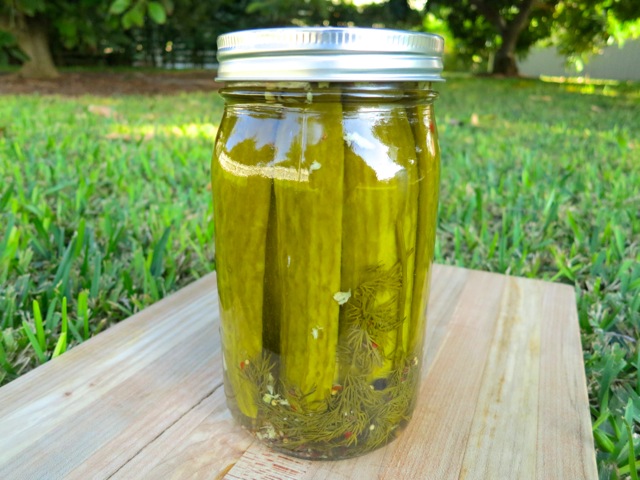
Dill Pickles

Homemade Dill Pickles

Makes 4 Quart Jars

Ingredients for pre-brine (optional)

3 quarts distilled or filtered water

5 tablespoons pickling salt

Ingredients for the brine

4 cups white vinegar

4 cups distilled or filtered water

2 tablespoons + 2 teaspoons pickling salt

2 teaspoons calcium chloride, AKA “Pickle Crisp” (optional)

3 tablespoons mixed pickling spice (in a tea ball or cheese cloth)

 Ingredients for the jars

4 1/2 pounds Keiki Cukes or other pickling cucumbers (about 18 ounces per jar)

4 teaspoons yellow mustard seeds

4 teaspoons black peppercorns

4 teaspoons dill seeds

2 teaspoons red pepper flakes

4 garlic cloves, crushed

4 large sprigs of fresh dill

Preparation

Wash cucumbers. Trim ends for uniformity and slice in half lengthwise.  At this point, one option is to pre-brine the sliced cucumbers overnight in 3 quarts distilled or filtered water mixed with 5 tablespoons pickling salt.  This is recommended but not required.  It does make for a crisper pickle. To portion the cucumbers for each jar, use an empty quart mason jar and snuggly pack with the cucumber slices. Remove slices and place in individual bowls and set aside.

Wash jars and place them in boiling-water canner.  Fill the jars and canner with water to the top of the jars.  Cover and bring water to a simmer over medium heat, do not boil.  Prepare the two-piece closures.  Wash lids and place in a small saucepan and cover with water.  Heat to just a simmer but do not boil.  Do not heat screw bands.

Place brine ingredients in a large saucepan and bring to a boil, turn down the heat and simmer for 5 minutes.

Lift the canner jar rack and fix into place on the rim of the canner. Remove one jar at a time from canner and empty hot water back into the canner. Place jar on a cutting board.  Place 1 teaspoon each of yellow mustard seeds, black peppercorn, dill seeds, 1/2 teaspoon red pepper flakes as well as 1 crushed garlic clove and 1 large sprig of fresh dill.  Pack  cucumbers into jar to within a generous 1/2 inch of top of jar.  Place a canning funnel in the jar.  Ladle hot brine into jar leaving 1/2-inch head space.  Remove air bubbles (with a chopstick or similar utensil) and adjust headspace, if necessary, by adding more brine.  Wipe jar rim. Using a magnetic utensil, lift hot lid from water, center it on the  jar and place screw band on jar.  Tighten screw band evenly and firmly just until resistance is met.  Then increase to fingertip tight.  Do not over tighten.  Return jar to canner rack.  Continue filling jars individually until all jars are filled, lower rack into canner and ensure that all jars are covered by 1 inch of water.  Cover canner and bring water to a full boil over high heat.  Process for 15 minutes, starting timer only when water reaches a full boil.

Remove jars from water, and let stand,  undisturbed, at room temperature 24 hours.  To check seals, remove the bands, and press down on the center of each lid.  If the lid doesn’t move, the jar is sealed.  If the lid depresses and pops up again, the jar is not sealed.  In the event that a jar does not seal, simply refrigerate it. Store properly sealed jars in a cool, dark place up to 1 year (date your jars on the bottom with a Sharpie pen)  Refrigerate after opening.


Beans, Dinner, Fish, Lactose Free, Recipes, Salad, Veggies

White Bean & Tuna Salad with Radicchio & Parsley Vinaigrette

April 15, 2014

White Bean & Tuna Salad with Radicchio and Parsley VinaigretteWhen I was young we made tuna sandwiches on soft, white, bread.  If you gently pressed down on the bread it would flatten and would not spring back!  Is that why it was Wonder bread? Back then our options of canned tuna were quite limited, as was our selection  of bread.  These days there is a multitude of really good canned tuna available and though I prefer tuna packed in nothing but its own juices for sandwiches, tuna packed in olive oil is mandatory for this salad.

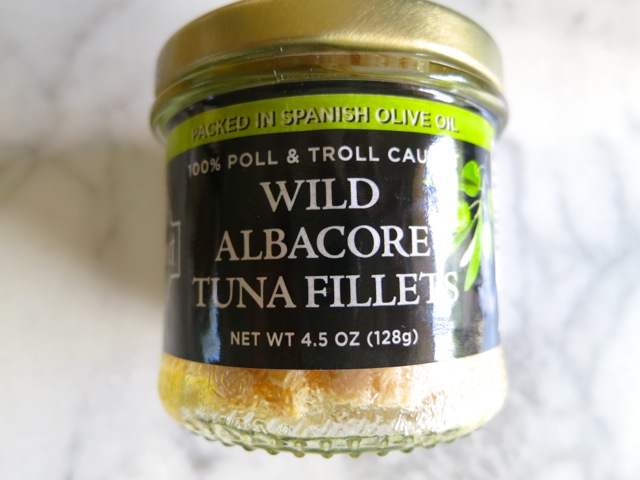
Wild Planet Tuna When I travel to San Francisco I stock up on As Do Mar tuna from Portugal or Ortiz tuna from Spain.  Wild Planet tuna in olive oil is also very good and is readily available at most markets such as Mana Foods on Maui. If you can’t find any of these tunas in your market, consider buying them on-line from Amazon.

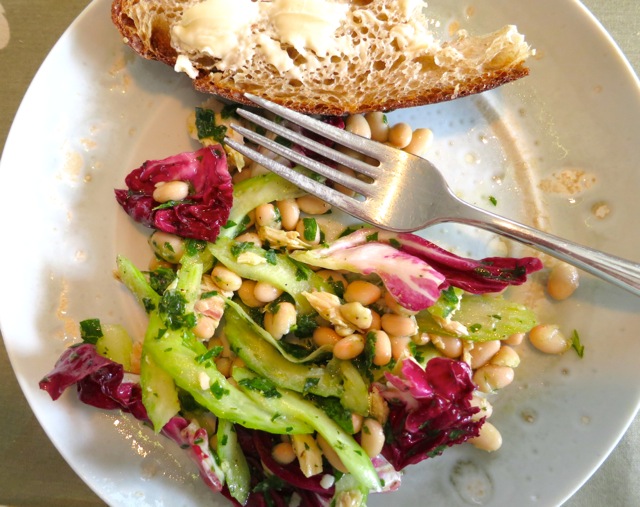
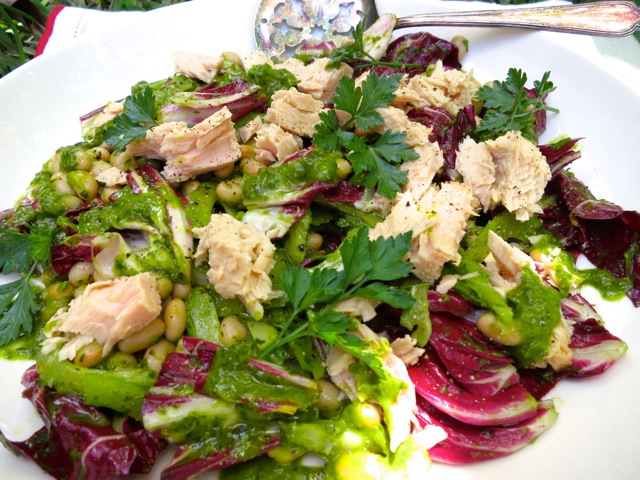
White Bean & Tuna Salad with Radicchio & Parsley VinaigretteThis is a beautiful salad full of bright colors and a vibrant parsley vinaigrette.

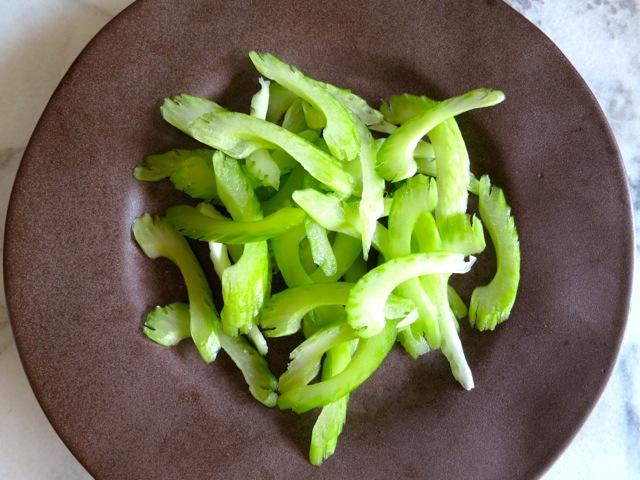
Sliced Celery

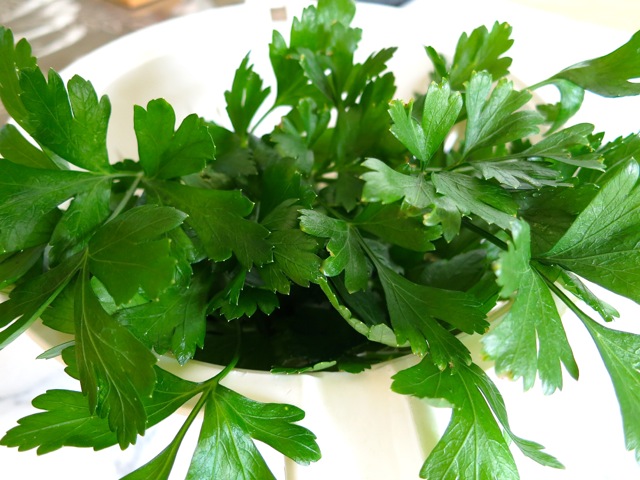
Italian Parsley

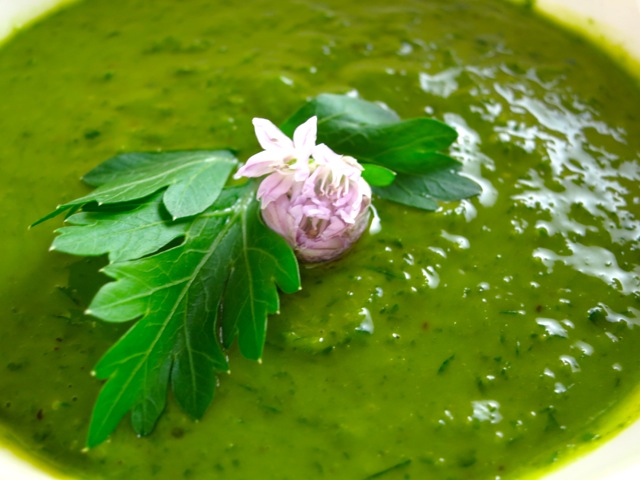
Parsley DressingThe parsley vinaigrette is so simple to make.  Throw all the ingredients in to a blender and shortly you’ll have this gorgeous dressing.

Tuna Salad

White Bean & Tuna Salad with Radicchio & Parsley Vinaigrette 

Adapted from Bon Appetit Magazine

Serves 2

Parsley Vinaigrette

2 cups (packed) flat-leaf parsley

1/2 cup olive oil

3 tablespoons fresh lemon juice

1/2 teaspoon white wine vinegar

1 garlic clove, crushed

kosher salt and freshly ground black pepper

Preparation

Pulse parsley, oil, lemon juice, vinegar and garlic in a blender. I used my immersion blender.  I tried using my food processor the first time however it didn’t puree the ingredients as well as the blender did. Season to taste with salt and pepper.

Salad

2 ounces radicchio, leaves torn (about 1/2 medium head of radicchio)

1 cup canned white beans, rinsed (S&W white beans are a good choice)

1 large celery stalk, sliced thinly on an extreme diagonal

1 jar (4.5 ounce) Wild Planet tuna in olive oil, drained and broken into large pieces (or other good-quality olive oil packed, canned tuna)

Preparation

Place radicchio in a medium bowl, drizzle with 2 tablespoons of parsley vinaigrette and toss to coat.  Season radicchio to taste with salt and pepper. Transfer to a serving platter, spreading out in an even layer.

Combine 2 tablespoons parsley vinaigrette, white beans, and celery in the same bowl you used for the radicchio, toss to coat.  Season with salt and pepper. Arrange bean mixture on top of radicchio. Top salad with tuna and drizzle some vinaigrette over.

***Serve leftover vinaigrette over fish, grilled vegetables or double the salad ingredients to serve 4.

Dinner, Lactose Free, Potato Salad, Recipes, Salad, Side Dishes, Vegan, Vegetarian, Veggies

Mustardy Fried Potato Salad

April 1, 2014

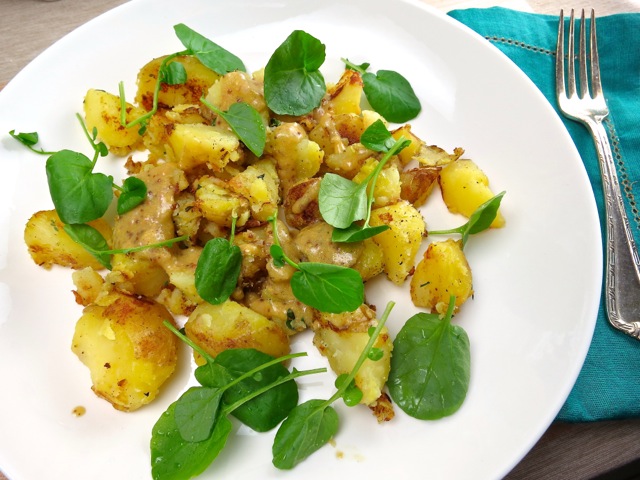
Potato Salad with Whole Grain Mustard and Upland CressWho knew that making your own mustard could be so simple?  Pour a few ingredients into a jar, let it sit for 5 days, then add a few more ingredients and let it sit for another 5 days.  Puree in a blender and voila!  You now have a fantastic whole grain mustard that’s far superior (and fresher) than store-bought varieties.  Simply dressed with a combination of whole grain mustard, red wine vinegar and shallots, this potato salad shines.

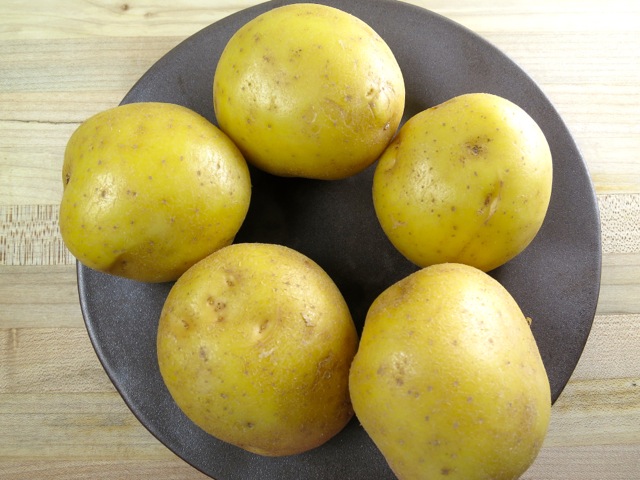
Yukon GoldsYukon Golds are my favorite potatoes. With thin skins, moist and sweet interiors, these potatoes hold their shape well and are equally good roasted, baked, boiled, grilled and fried.

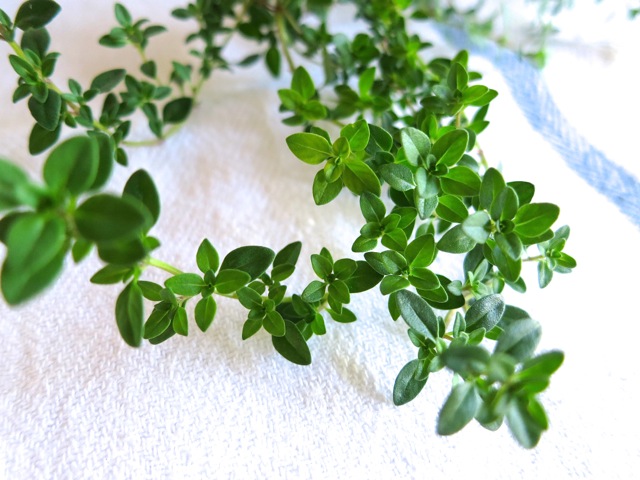
Fresh Thyme

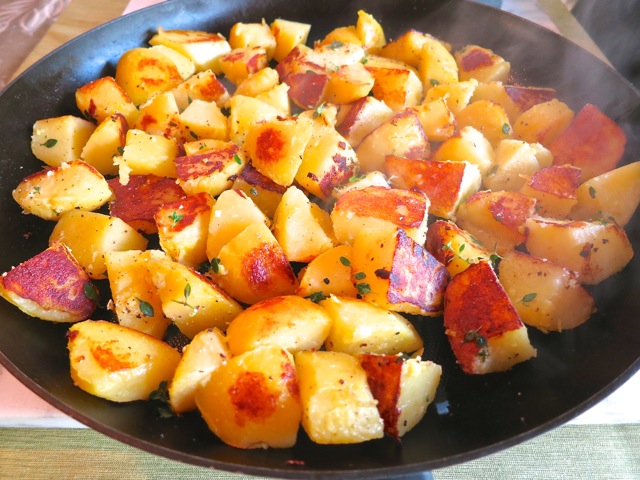
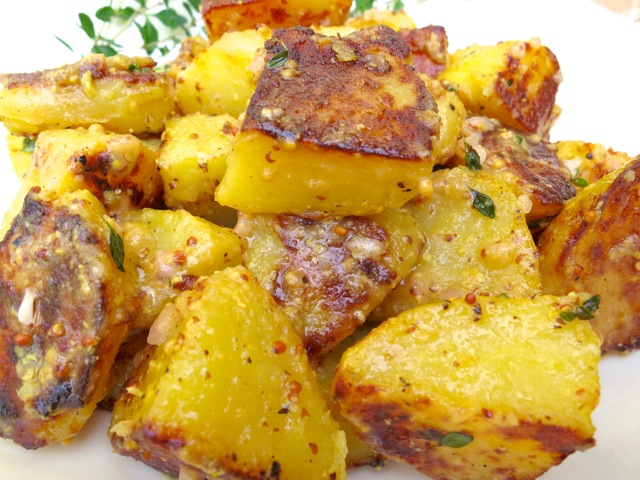
Fried Yukon GoldsThe cooked potatoes are fried for a short time until they become golden and crispy.

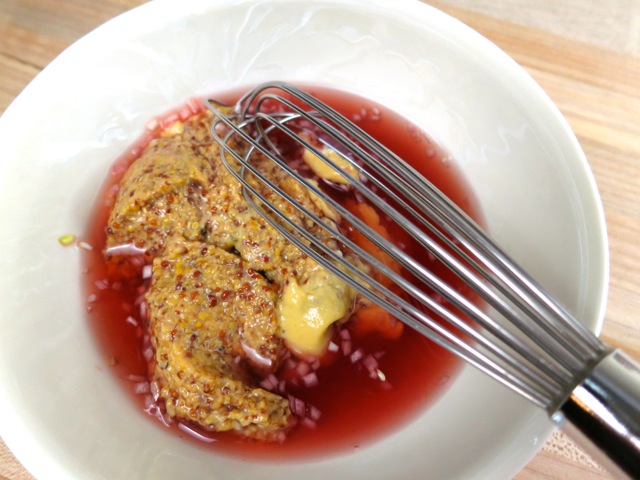
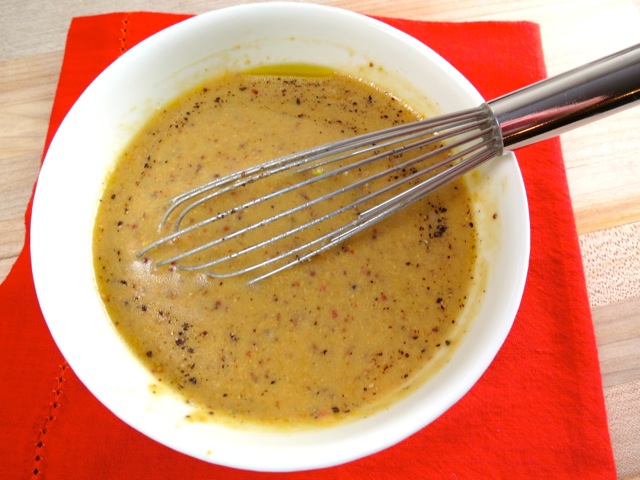
Whole Grain Mustard Dressing

Whole Grain Mustard DressingThis dressing couldn’t be simpler to make.  If I have leftovers I mix a bit with mayonnaise and slather it on good bread for ham or pastrami sandwiches.

Mustardy Fried Potato Salad

Mustardy Fried Potato Salad 

Adapted from Suzanne Goin ~ Food & Wine Magazine

Serves 6 – 8

Ingredients

2 1/4 pounds medium Yukon Gold potatoes (try to buy potatoes that are the same size)

1 teaspoon fresh thyme leaves

1 1/2 tablespoons finely diced shallot

2 tablespoons red wine vinegar

1 tablespoon Dijon mustard

2 tablespoons whole grain mustard (preferably homemade!)

1/4 cup plus 1 1/2 tablespoons extra virgin olive oil (1/4 cup for dressing, 1 1/2 tablespoons for frying the potatoes)

salt and pepper to taste

upland cress (optional)

Preparation

In a pot of salted boiling water, cook the potatoes until just tender (test with a thin knife) about 25 – 30 minutes.  Drain and let cool slightly.

Meanwhile, place the shallots and vinegar in a bowl and set aside for 10 minutes.  Whisk in Dijon, whole grain mustard, 1/4 c olive oil. Season with salt and pepper.  Set aside.

Once the potatoes are cool enough to handle, slip off their skins.  Cut potatoes into fairly large chunks, about 1 1/2 inch pieces.  In a large non-stick skillet, heat the remaining 1 1/2  tablespoons olive. Add the potatoes and thyme and season with salt and pepper. Cook, over moderately high heat, turning, until golden and crisp, about 6 – 7 minutes. Place warm potatoes in a large shallow bowl and drizzle some of the mustard dressing over the potatoes using as much as you like.  Toss gently.  Sprinkle upland watercress over the salad if using. Serve warm or at room temperature.


Dinner, Lactose Free, Recipes, Salad, Sauces, Side Dishes, Vegan, Vegetarian, Veggies

Asian Kale Salad

March 26, 2014

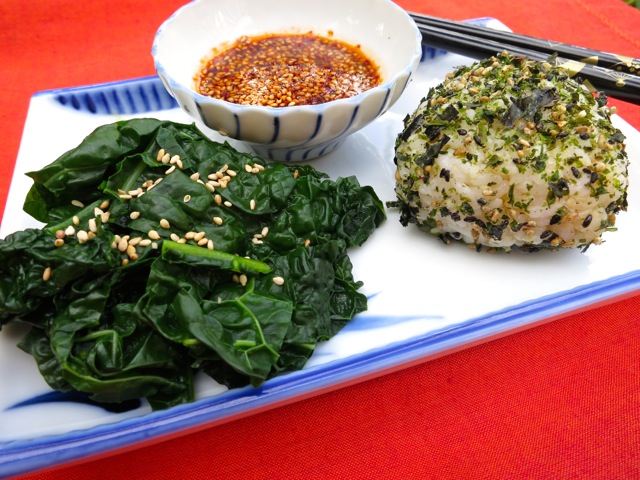
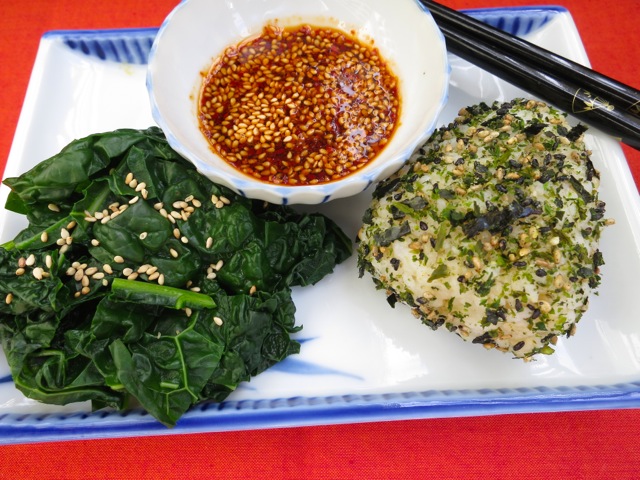
Asian Kale Salad with OnigiriThere is beautiful kale everywhere! I went to a farmers market upcountry in Kula and was surprised to see that so many of the vendors were selling some variety or other of kale.  That being said, I came home with a big bunch of kale along with some other delightful vegetables.

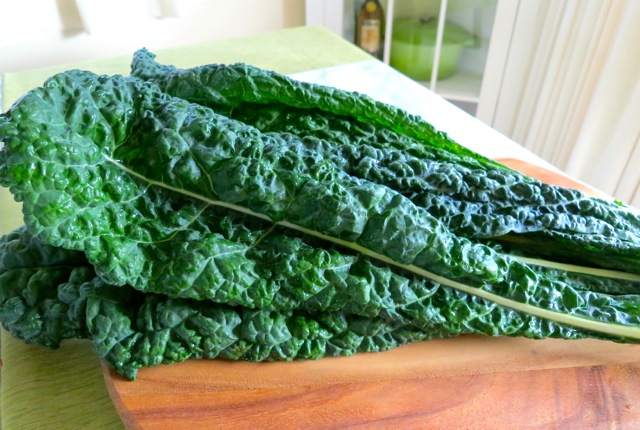
Tuscan KaleI am partial to Tuscan kale (also known as Dinosaur kale and Lacinto kale).  Their tall, slender, deep blue-green color is gorgeous and their hearty leaves retain their texture once cooked.  It’s just perfect for a tasty side dish.

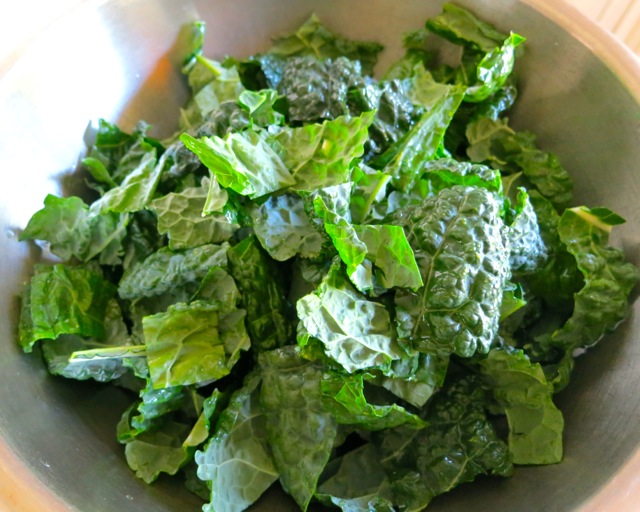
Chopped Tuscan Kale

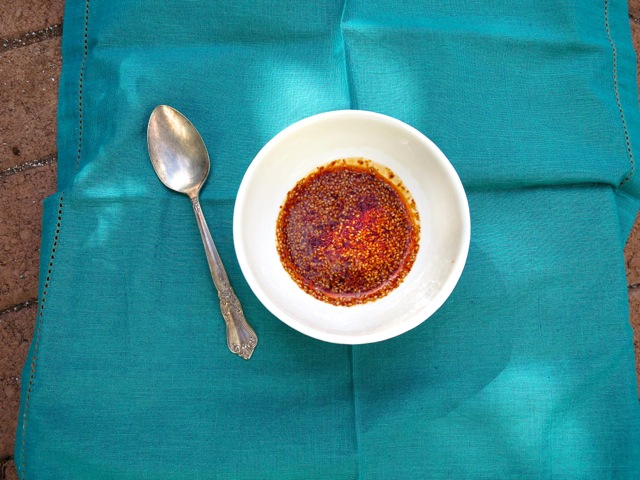
Asian Dressing for Kale SaladKorean chili pepper flakes are a mainstay in my pantry.  They have a vibrant red color, a bit of heat but not too much, and a hint of sweetness.  I am very happy with the quality of the Korean chili flakes I purchase from Whole Spice.

Asian Kale Salad with Onigiri

 Asian Kale

2 servings

Ingredients

1 pound Tuscan kale, ribs removed, leaves coarsely chopped

1 teaspoon canola oil

1 teaspoon minced garlic

1 teaspoon minced ginger

3 tablespoons soy sauce

1 tablespoon water

1 teaspoon sesame oil

1 teaspoon Korean chili flakes

2 teaspoons roasted sesame seeds

Preparation

Blanch kale in boiling salted water for 3 minutes.  Drain and rinse under cold water to stop the kale from cooking further.  Pat dry between paper towels.  Gently fluff the kale and place in a  small serving dish.

In a small skillet heat 1 teaspoon canola oil over medium low heat.  Add garlic, and sauté, stirring often for about 3 minutes.  Turn down the heat if necessary so the garlic doesn’t burn and turn bitter.  Remove from the heat and stir in the ginger, soy sauce, water, sesame oil, Korean chili pepper flakes and sesame seeds.  Stir to combine.  Drizzle sauce over kale before serving.

Fruit, Gardening, Lactose Free, Recipes, Salad, Side Dishes, Vegan, Vegetarian, Veggies

Lilikoi Vinaigrette

March 19, 2014

Lilikoi VinaigretteNow that the weather has turned a bit cooler, we have been enjoying Manoa and butter lettuce from the garden. During the summer it is impossible to grow lettuce in Kihei, it’s just too hot.  We also planted radishes that turned out to be a tasty addition to our salads.

Garden Radishes

Lilikoi Flower in BloomOur new lilikoi (the most fragrant of tropical fruits) are doing well.  Their vigorous vines quickly claimed the fence as their home with their tendrils grabbing on to anything within reach.  We even caught one reaching up to the sky and fastening itself to a mango branch.  Our first season of growing lilikoi yielded a small, healthy, crop of fruit that we quickly used to make the best jelly ever.  Lilikoi vinaigrette came to mind when I was picking those tender lettuce leaves from the garden.  So with the few fruits left on the vines, the juice was frozen in small containers and will be enjoyed throughout the next few months.

Lilikoi Tendril

Fresh Lilikoi from the GardenLilikoi makes everything better.

Collecting Lilikoi JuicePress the pulp to extract the precious juice.

Lilikoi Shells and Juice

Garden Salad with FetaManoa and butter lettuce with cucumbers, tomatoes, radishes, avocado and feta.

Garden Salad with Lilikoi Vinaigrette and Whole Grain Bread

Lilikoi Vinaigrette

Makes about 3/4 cup

1/2 cup fresh lilikoi juice

1/4 cup canola oil

2 tablespoons + 2 teaspoons rice vinegar (not seasoned)

2 teaspoons honey

1 teaspoon Dijon mustard

1 teaspoon finely minced shallot

kosher salt and pepper

Preparation

Combine all ingredients in a jar, shake well.


Follow

Get every new post delivered to your Inbox

Join other followers: