Browsing Category

Vegan

Appetizers, Dinner, Korean, Lactose Free, Recipes, Sauces, Tofu, Vegan, Vegetarian

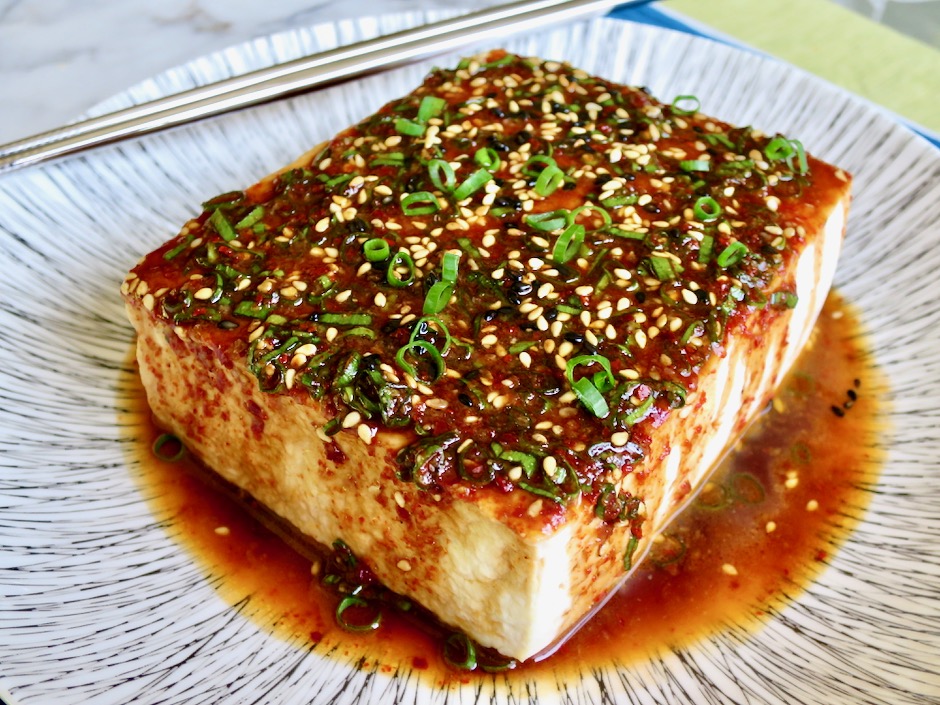
Warm Tofu with Spicy Sauce

September 4, 2020

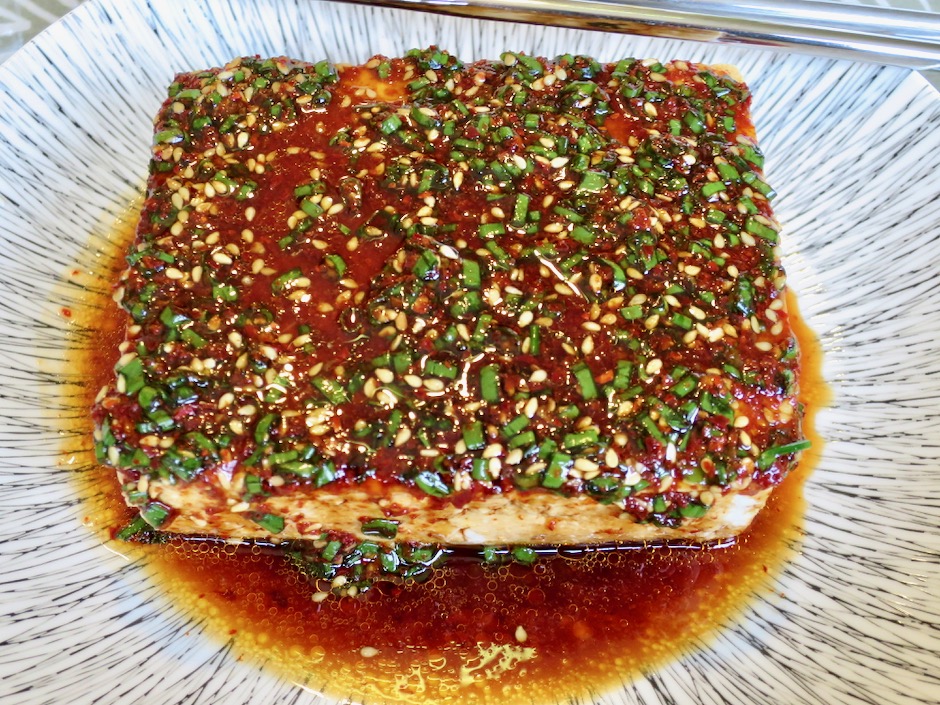
Warm Tofu with Spicy Dipping Sauce

I am a confirmed lover of tofu whether it’s baked, pan-fried, in miso soup, or simply served with grated ginger, slivered green onions and soy sauce.  I came across this recipe on Alexandra’s Kitchen blog recently.  The original recipe came from Ruth Reichl who was the Editor in Chief of the now defunct and beloved Gourmet magazine. It struck all the right notes: fast, savory and tasty.

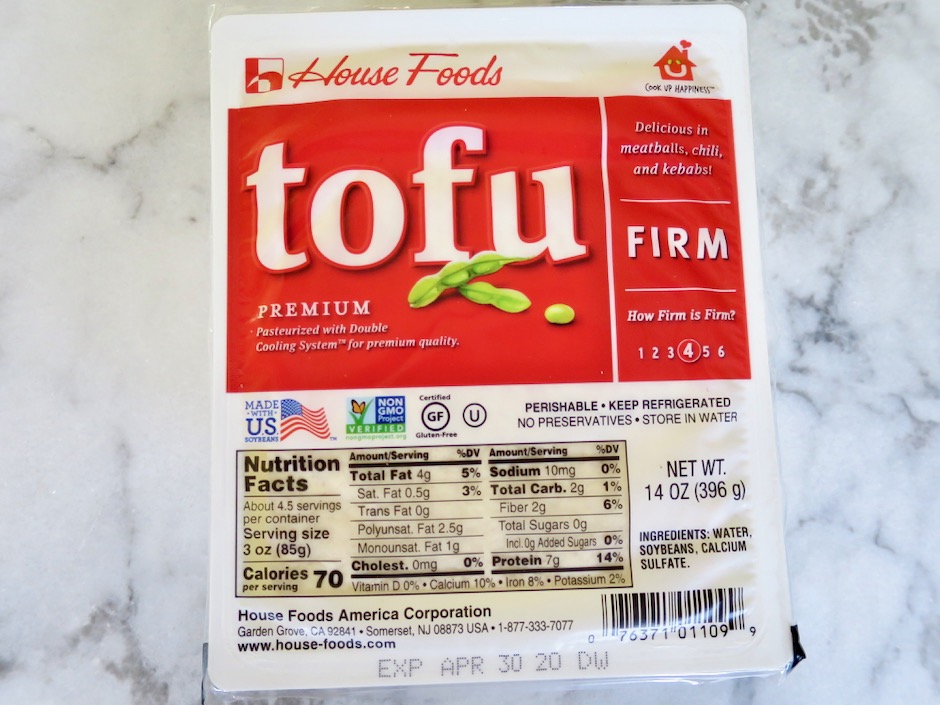
Firm Tofu

Firm tofu is the best option for this recipe as it keeps its shape when sliced.

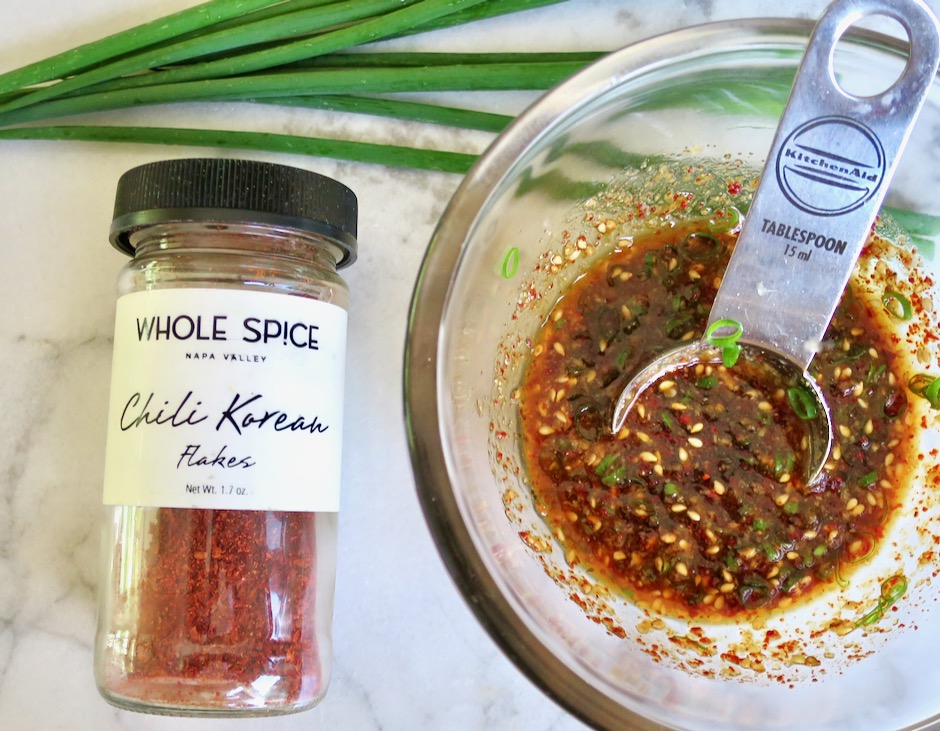
Gochugaru, Green Onions, Spicy Sauce

If you don’t have any gochugaru (Korean chili flakes) I suggest that you buy some right away.  With its gentle heat and smoky, fruity flavor, it’s the chili that I use most often.  I use gochugaru for Korean pan-fried steak, and in a dipping sauce for Korean pancakes and dumplings, as well as in kimchi.

Warm Tofu with Spicy Dipping Sauce

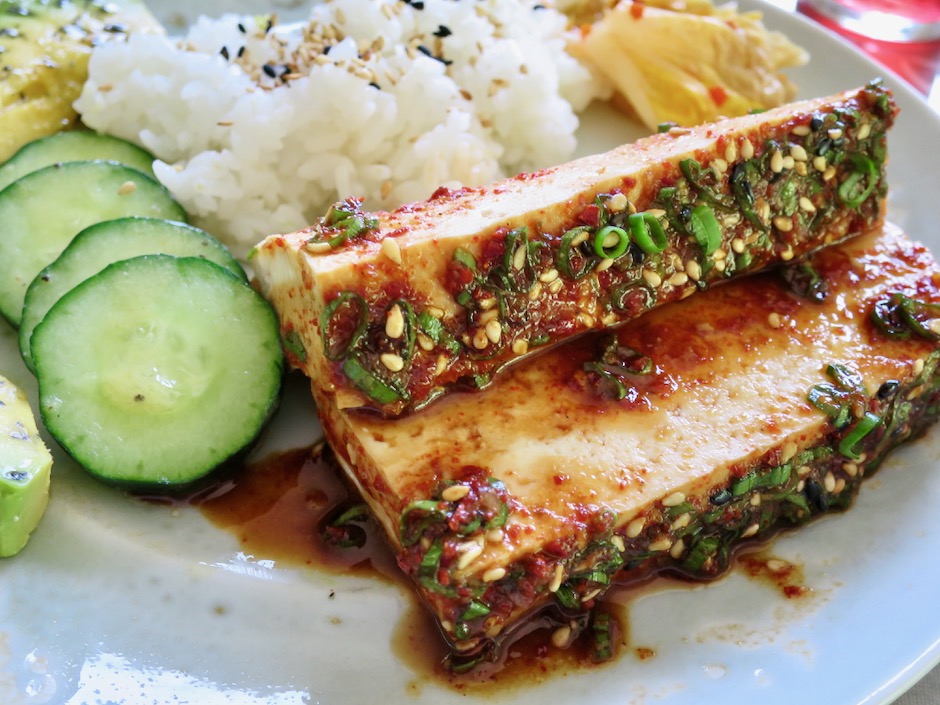
Serve the tofu with crispy cucumber slices, kimchi and Japanese rice.

Warm Tofu with Spicy Dipping Sauce

Warm Tofu with Spicy Sauce
 
Adapted from Alexandra's Kitchen blog & Gourmet Magazine
Author:
Serves: 2
Ingredients
  • 1 (14 ounce) package firm tofu
  • 1½ tablespoons soy sauce (Kikkoman recommended)
  • 1½ tablespoons low sodium soy sauce (Kikkoman recommended)
  • ½ teaspoon granulated sugar
  • 1 tablespoon roasted sesame oil (Kadoya recommended)
  • 1 teaspoon gochugaru (Korean chili flakes)
  • 2 teaspoons roasted sesame seeds (white or a mix of white and black)
  • ¼ - ½ teaspoon finely grated garlic
  • 3 tablespoons finely sliced green onions
Preparation
  1. Rinse the tofu, then cover with cold water in a medium saucepan. Bring to a simmer over medium-high heat. Turn heat down to keep warm.
  2. In a small bowl, combine the soy sauces and sugar. Mix until the sugar dissolves. Stir in the sesame oil, gochugaru, sesame seeds, garlic, and green onions. Set aside.
  3. Carefully drain water from pot and remove tofu to a paper towel-lined plate. Pat tofu dry. Transfer tofu to a shallow bowl and spoon some of the sauce over the top. Serve with Japanese rice and extra sauce on the side.


Dinner, Japanese, Lactose Free, Pasta, Recipes, Vegan, Vegetarian

Cold Miso Sesame Ramen

August 13, 2020

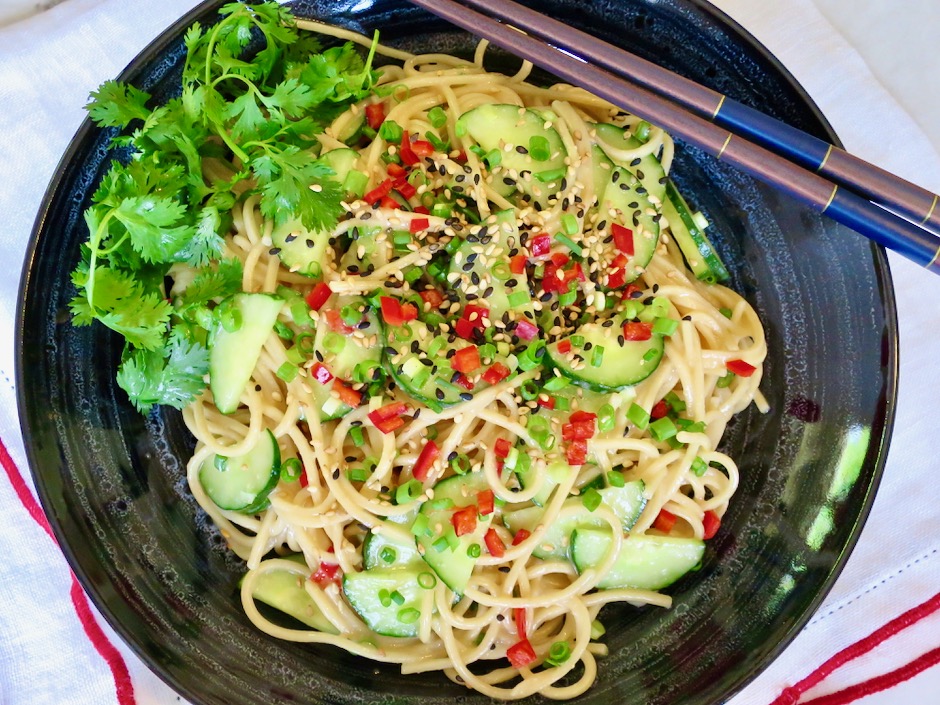
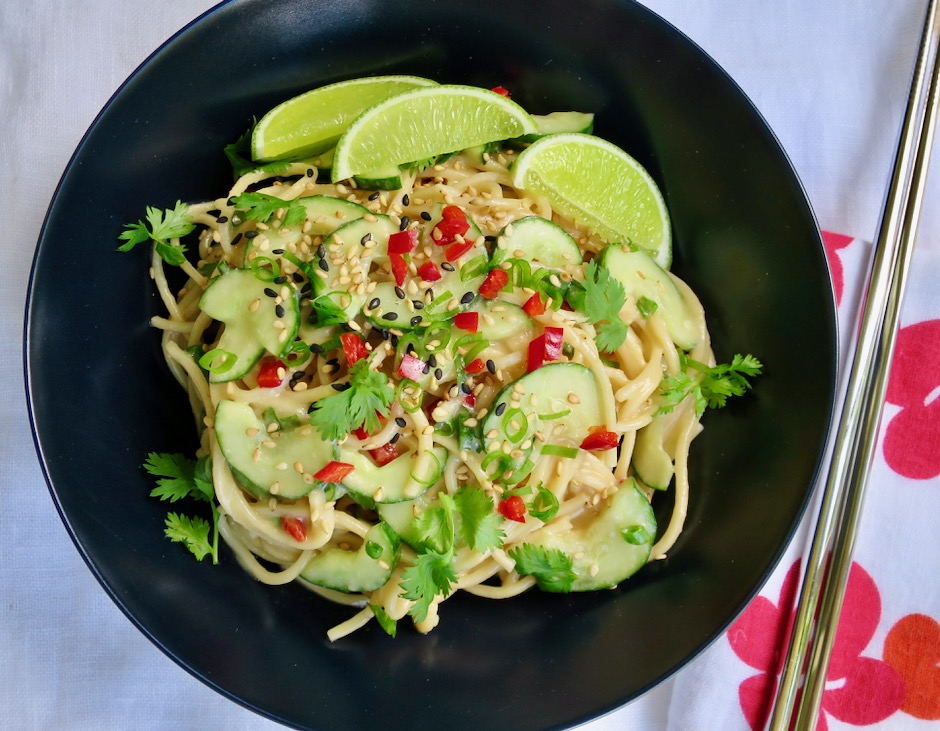
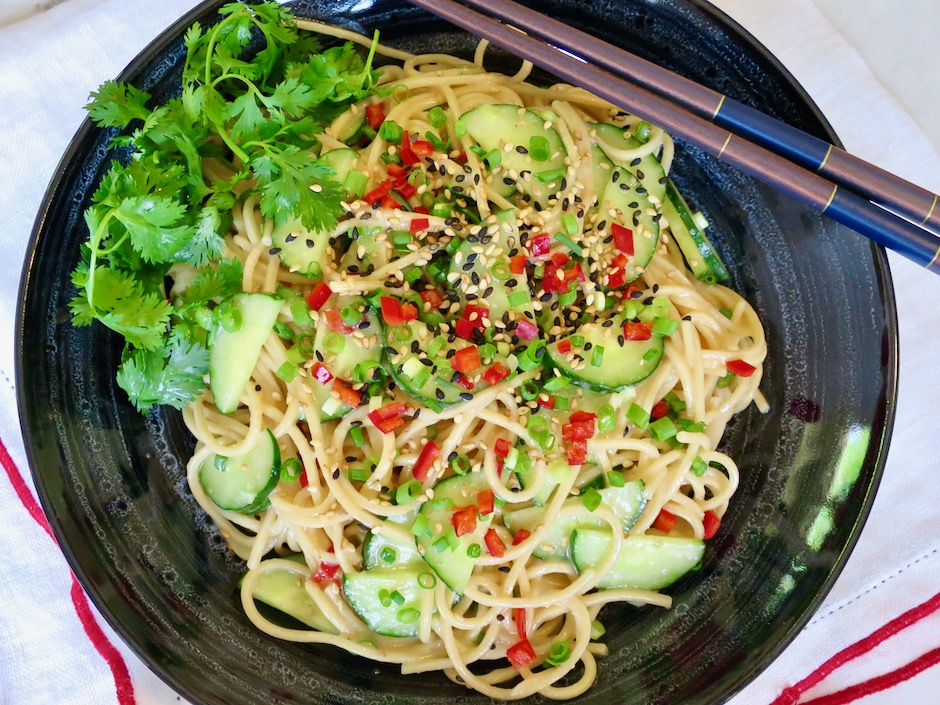
Cold Miso Sesame Ramen

Cold noodle dishes have always been a favorite of mine, especially during the summer when it is blazing hot.  Dressings and sauces made with light miso are always so tasty.  I enjoy its mild and slightly sweet flavor. This is such an easy meal to throw together if you are short on time.  You can make it in advance, just leave the dressing out until you are ready to serve it.

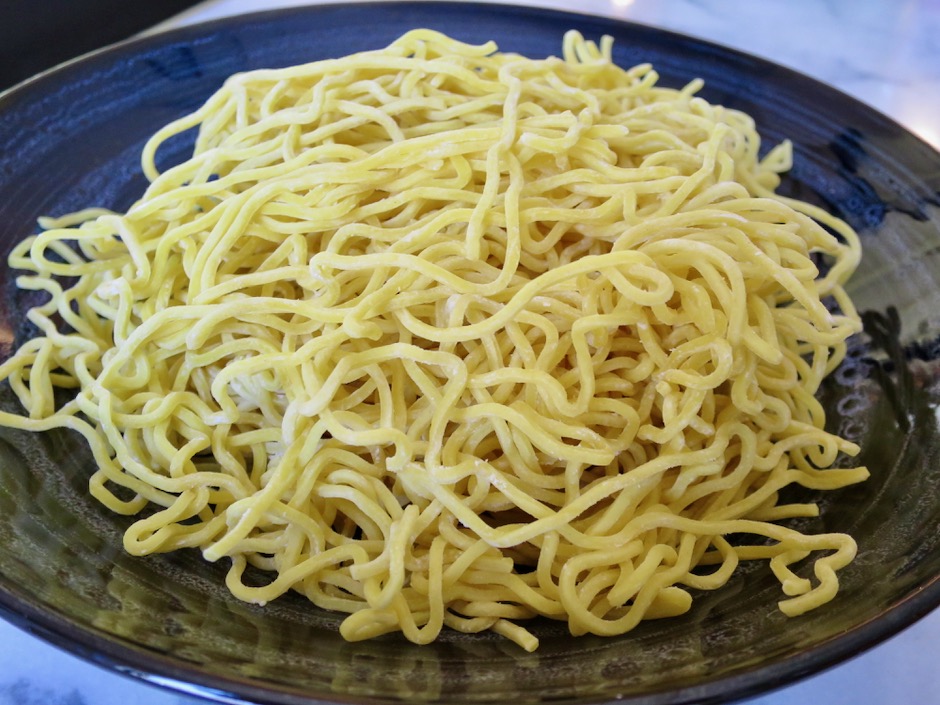
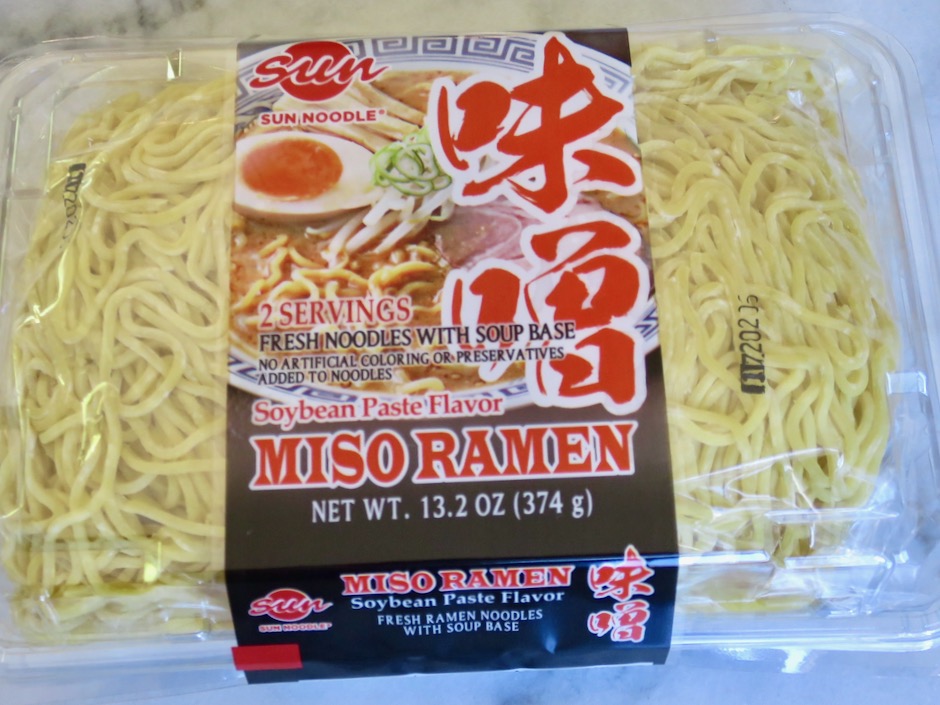
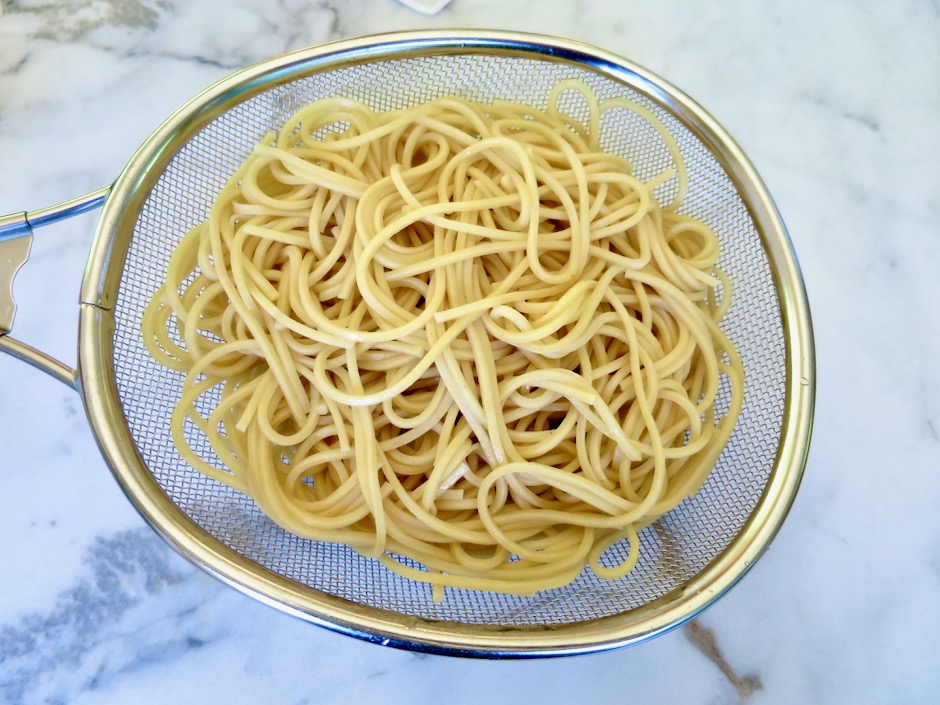
Hakubaku Ramen

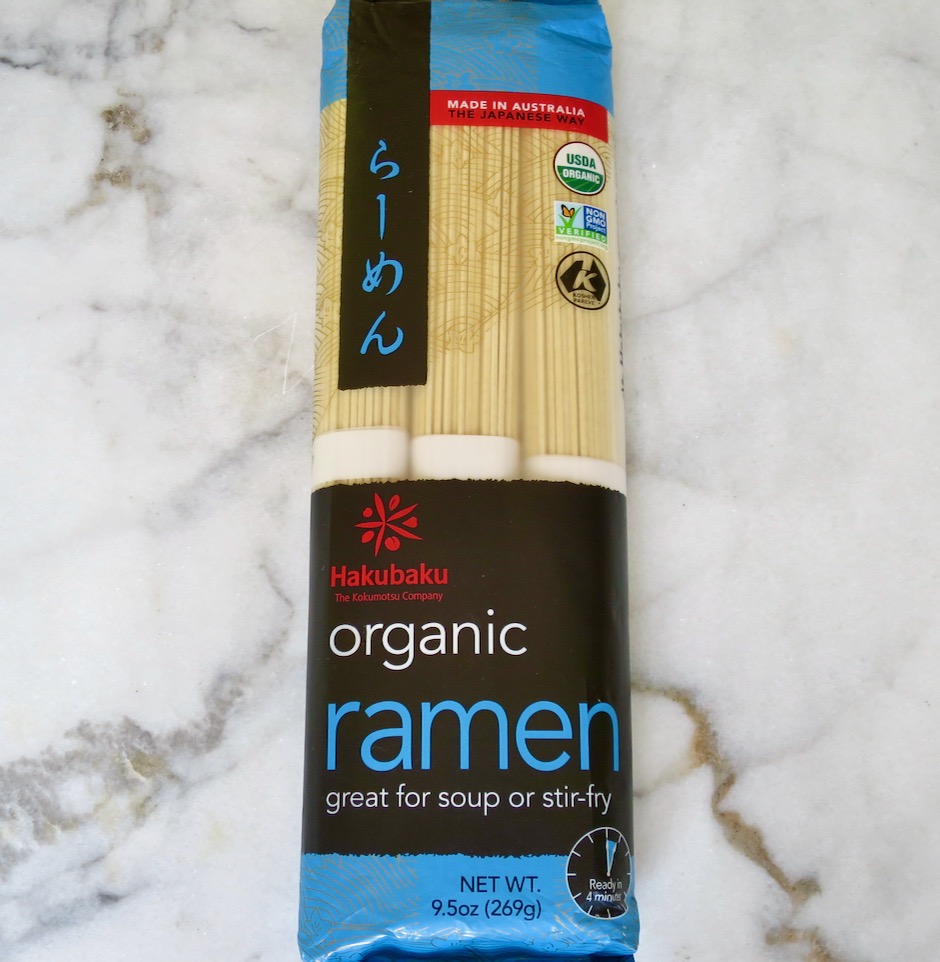
Hakubaku dried ramen is a good choice if you can find it.  Otherwise use your favorite ramen or substitute it with thin spaghetti.

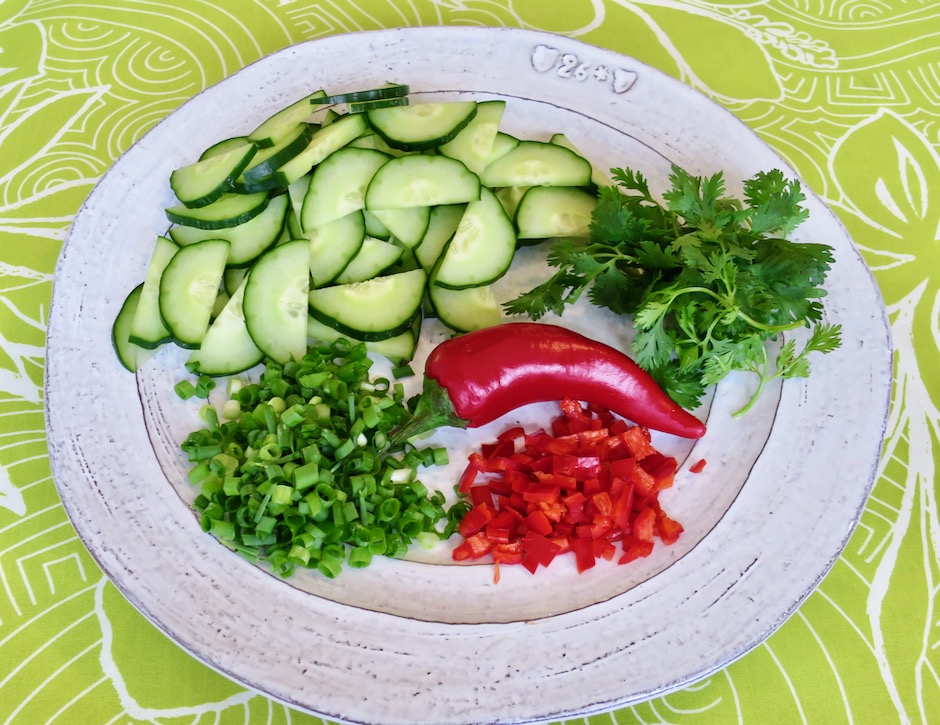
Cucumber, Cilantro, Fresno Pepper, Green Onions

With just a handful of ingredients, you can quickly put together a satisfying lunch.  The Fresno pepper adds a little bit of heat, and a beautiful firecracker red color.

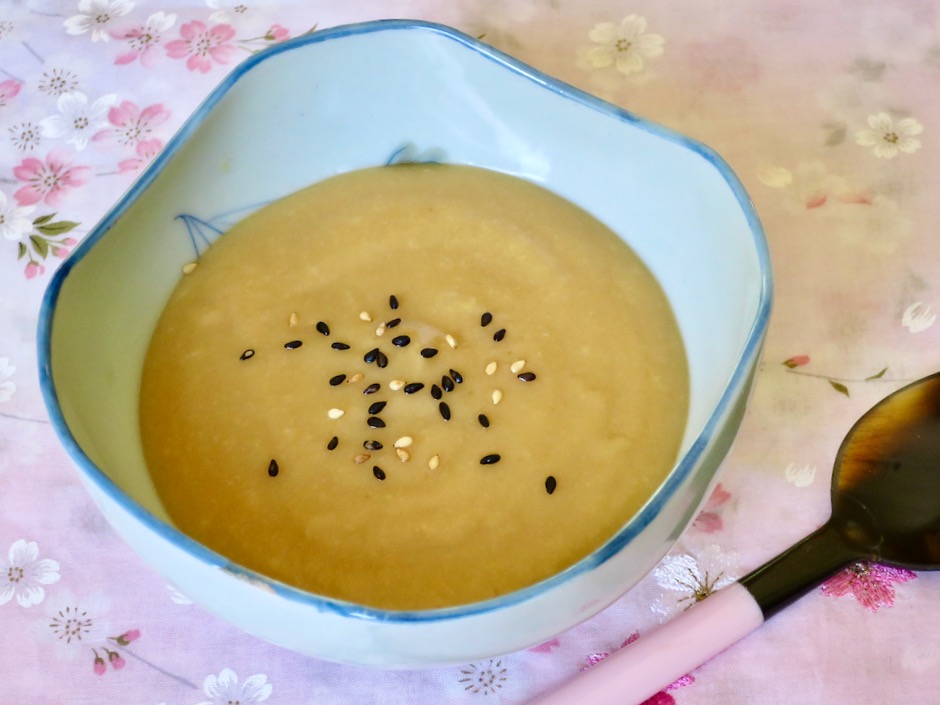
Miso Dressing

The miso dressing is also excellent tossed with crispy greens such as iceberg lettuce, watercress, red and green cabbage, carrots, cucumbers, and radishes.

Hakubaku Ramen

For its ease and flavor, this has become a new favorite dish of mine no matter what time of the year it may be.

Cold Miso Sesame Ramen

Cold Miso Sesame Ramen
 
Adapted from Bon Appetit magazine
Author:
Serves: 2
Ingredients
  • 1 small Fresno chile
  • 2 mini Japanese cucumbers
  • 2 - 4 green onions
  • cilantro (optional)
  • 2 limes (2 tablespoons + wedges for serving)
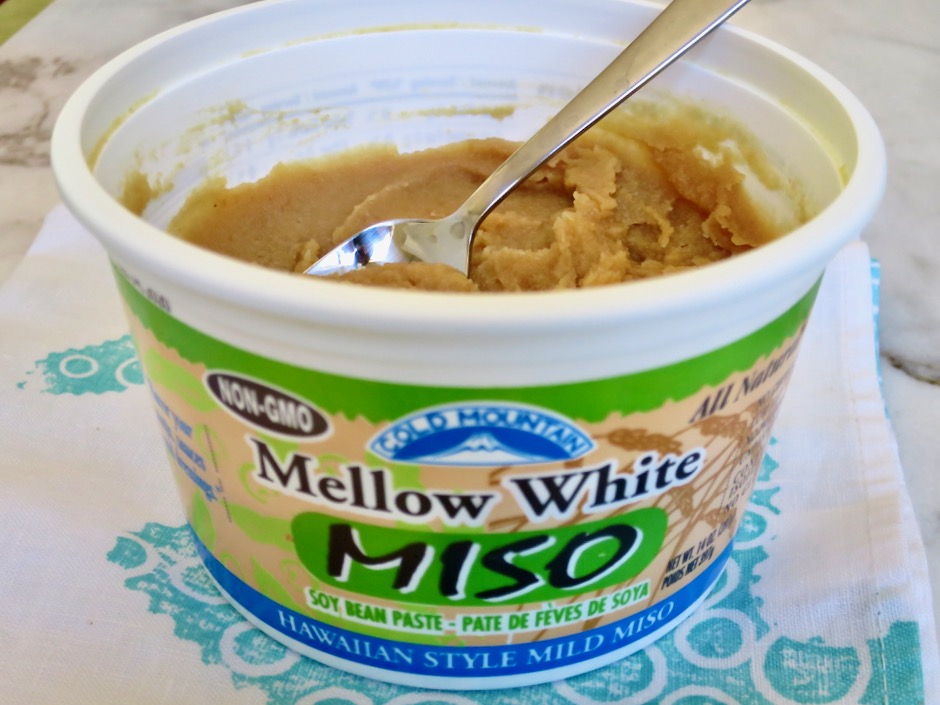
  • ¼ cup mild miso
  • 2 teaspoons roasted sesame oil
  • 2 teaspoons light brown sugar
  • 1 small garlic clove, grated
  • 2 tablespoons + 2 teaspoons grapeseed or canola oil
  • 8 ounces dry ramen
  • roasted sesame seeds for serving
  • cilantro sprigs for serving (optional)
Preparation
  1. Heat water for ramen in a large pot. Meanwhile, cut Fresno chile in half lengthwise (I use disposable gloves when handling chile peppers). Remove the ribs and seeds (leave ribs in for spicier flavor). Slice into strips and finely chop.
  2. Cut cucumbers in half lengthwise, then slice crosswise into ¼-inch thick half-moons. Thinly slice green onions.
  3. Cut ½ lime into wedges for serving. Juice the other half along with the second lime into a small dish, until you have 2 tablespoons.
  4. Whisk together 2 tablespoons lime juice, miso, sesame oil, brown sugar and garlic in a small bowl until smooth. Slowly whisk in grapeseed oil until dressing is smooth and thick. Whisk in water 1 tablespoon at a time until dressing is the consistancy of heavy cream (1½ - 2 tablespoons). Set aside.
  5. Cook ramen according to package instructions. Rinse under cold water and drain thoroughly, shaking off any excess water (excess water will dilute the dressing). Transfer noodles to a large bowl and toss with the sauce. Add chile, cucumbers, and green onions. Toss again. Divide noodles among shallow bowls. Top with roasted sesame seeds, sprigs of cilantro if using, and lime wedges.


Dessert, Fruit, Lactose Free, Recipes, Vegan, Vegetarian

Buttery Pineapple Crumble Bars

August 6, 2020


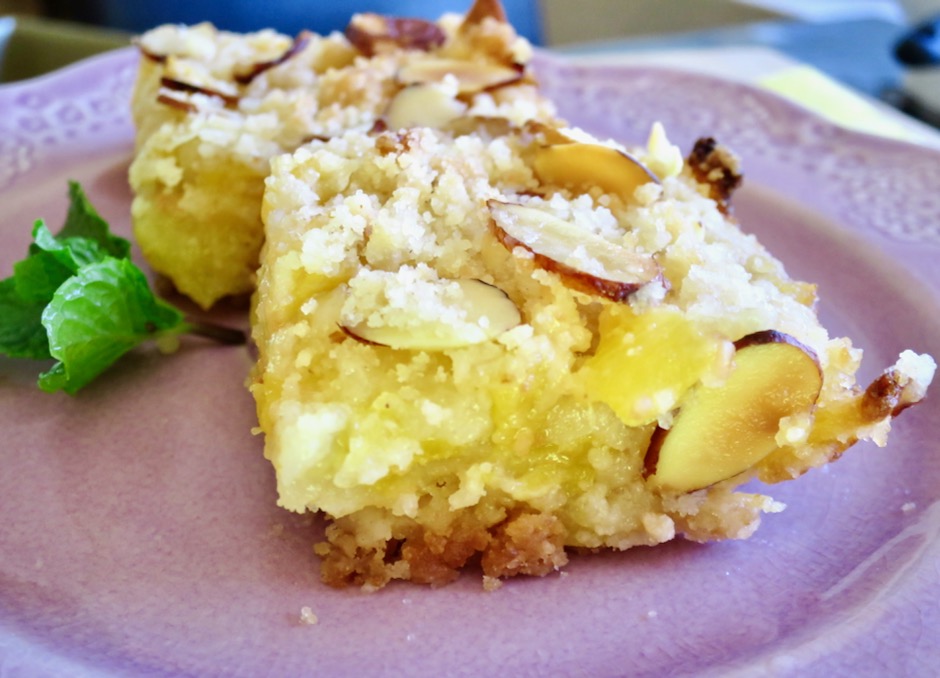
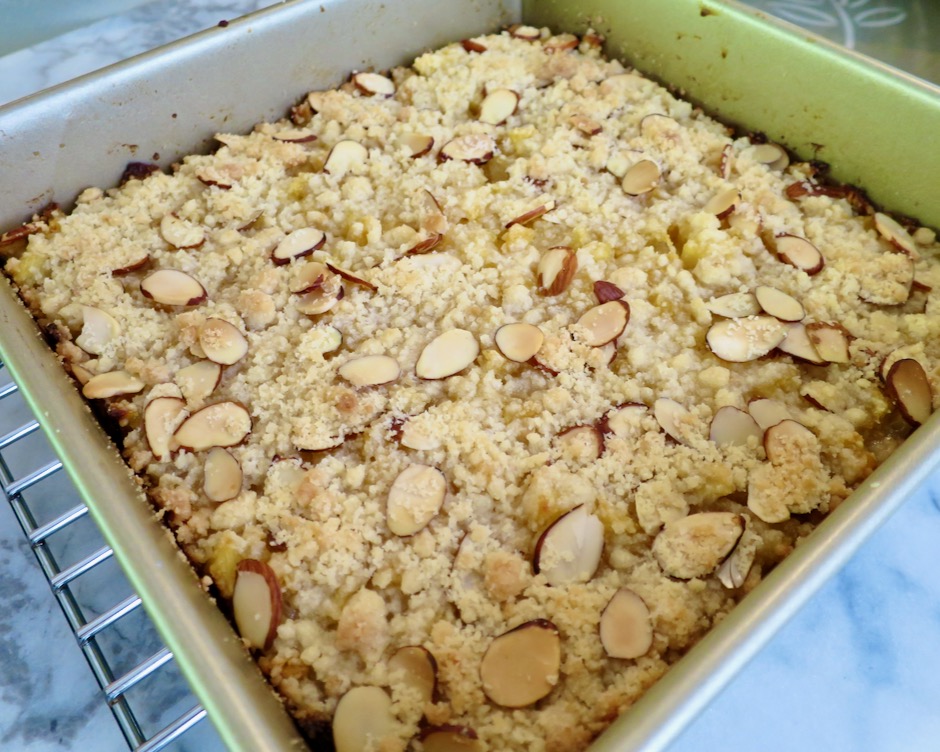
Baked Buttery Pineapple Crumble Bars

I received a gorgeous, ripe pineapple recently.  I thought about making more mango-pineapple jam but our mangos were not quite ready.  I found this recipe from Southern Living and thought it would be the perfect way to use up the entire pineapple.  The recipe turned out to be a real delight.  The pineapple really shines with its fresh sweet and tart flavor.

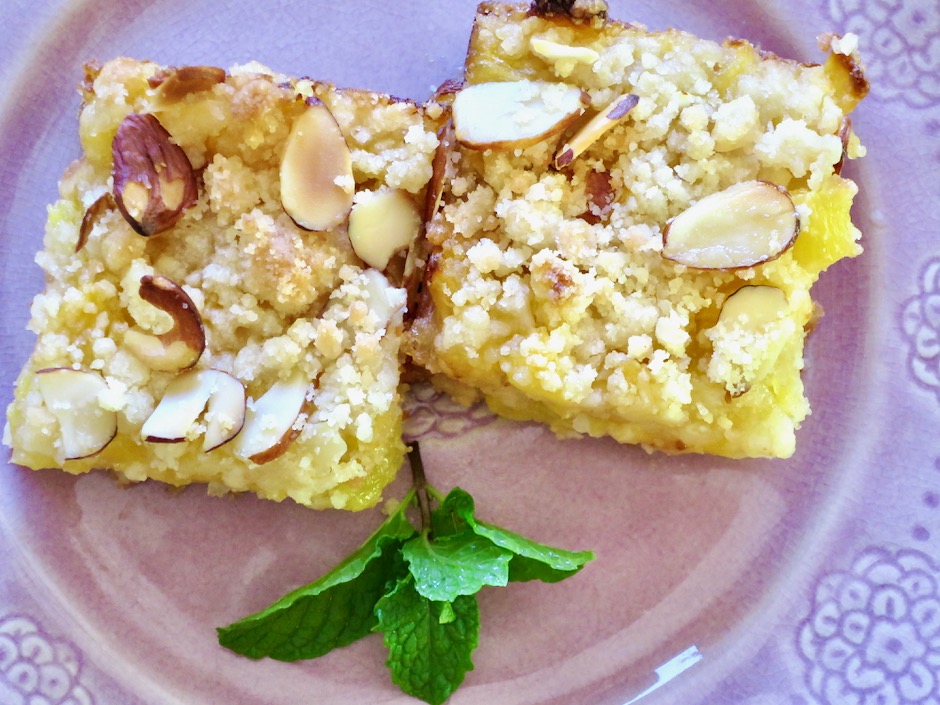
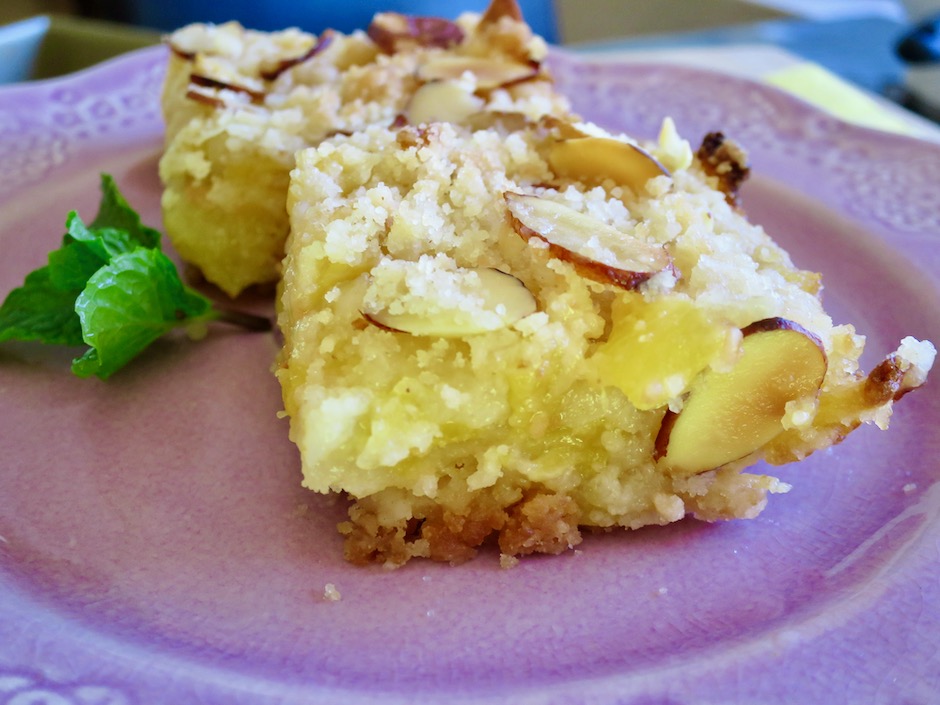
Buttery Pineapple Crumble Bars

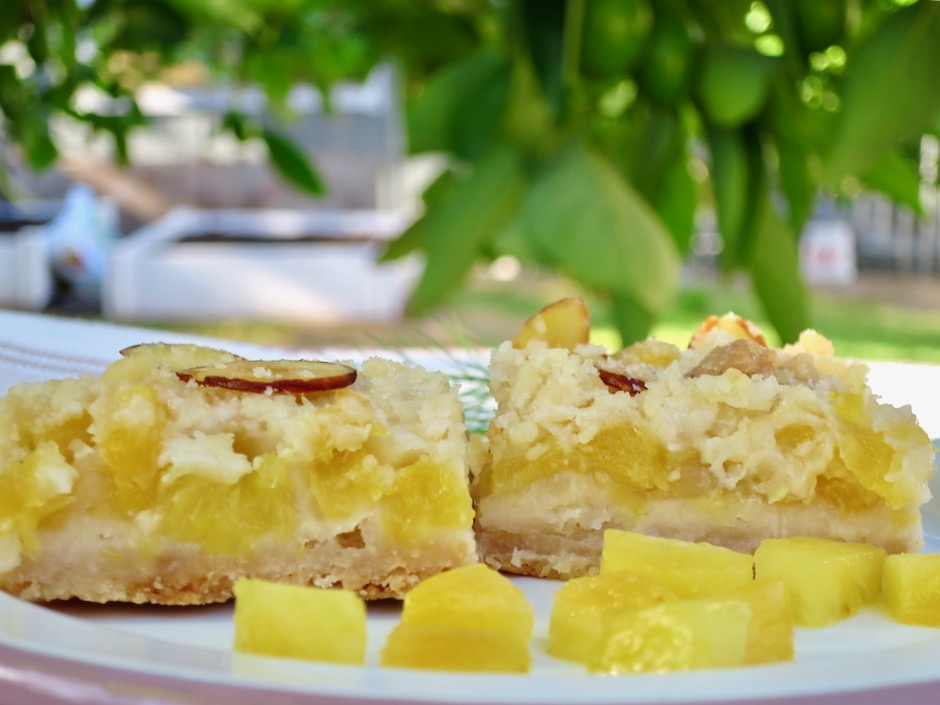
A crisp crust is layered with fresh chopped pineapple and crumb topping that includes sliced almonds.

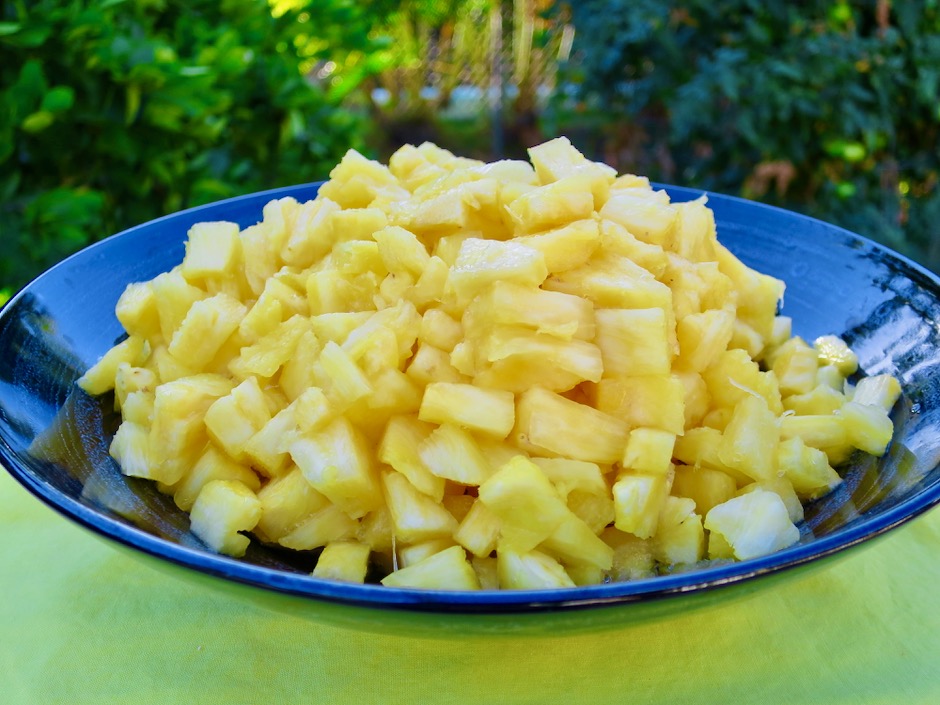
Perfectly Ripe Pineapple

A gorgeous pineapple perfectly ripe and ready to eat.

Fresh Pineapple

Buttery Pineapple Crumble Bar Crust

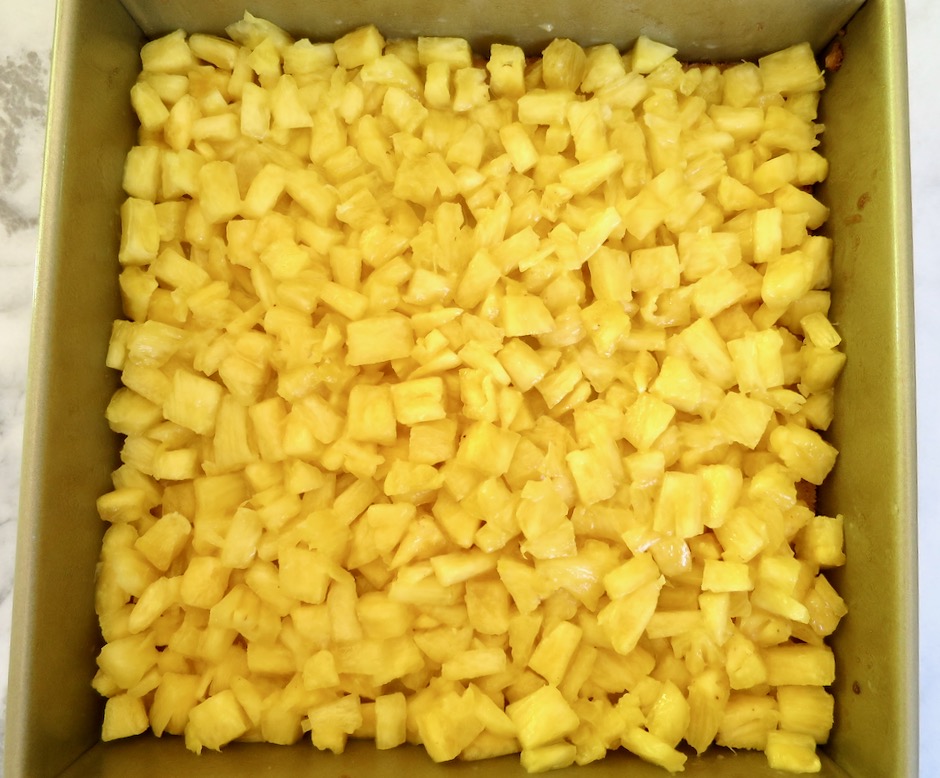
The crust is baked and cooled before the pineapple and crumb topping are added.  I used almost the entire pineapple as the recipe calls for 4 cups of chopped fruit.

Buttery Pineapple Crumble Bar Crust Topped with Fresh Pineapple

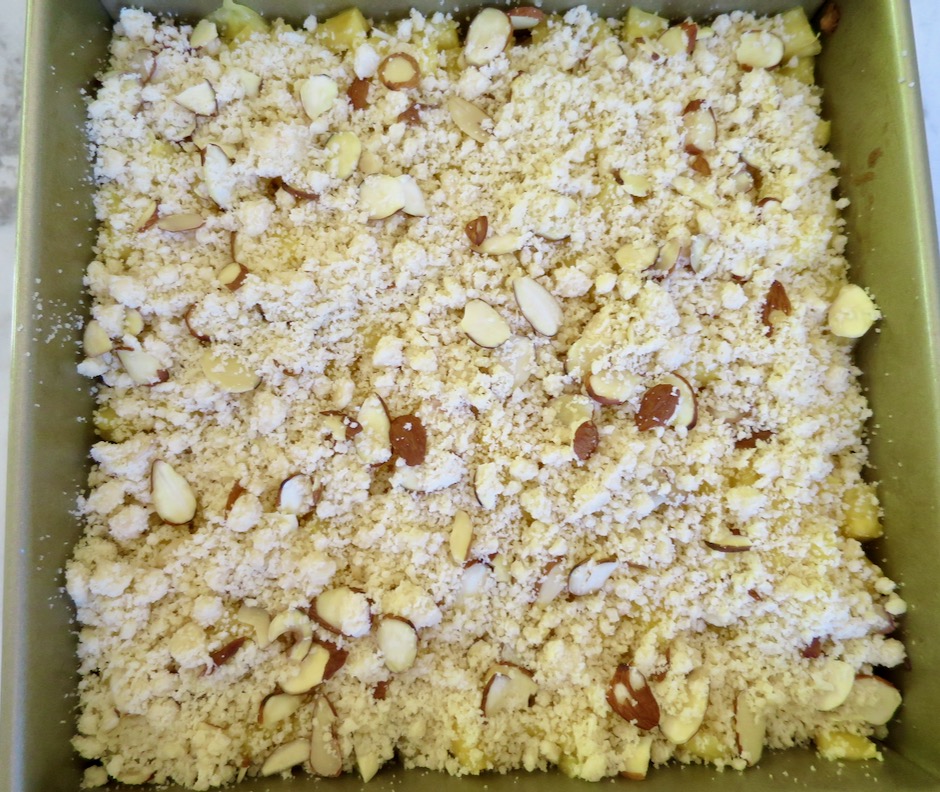
The pineapple mixture is spooned over the baked crust and the crumb topping sprinkled over it.

Buttery Pineapple Crumble Bar Crust Topped with Fresh Pineapple & Crumble Topping

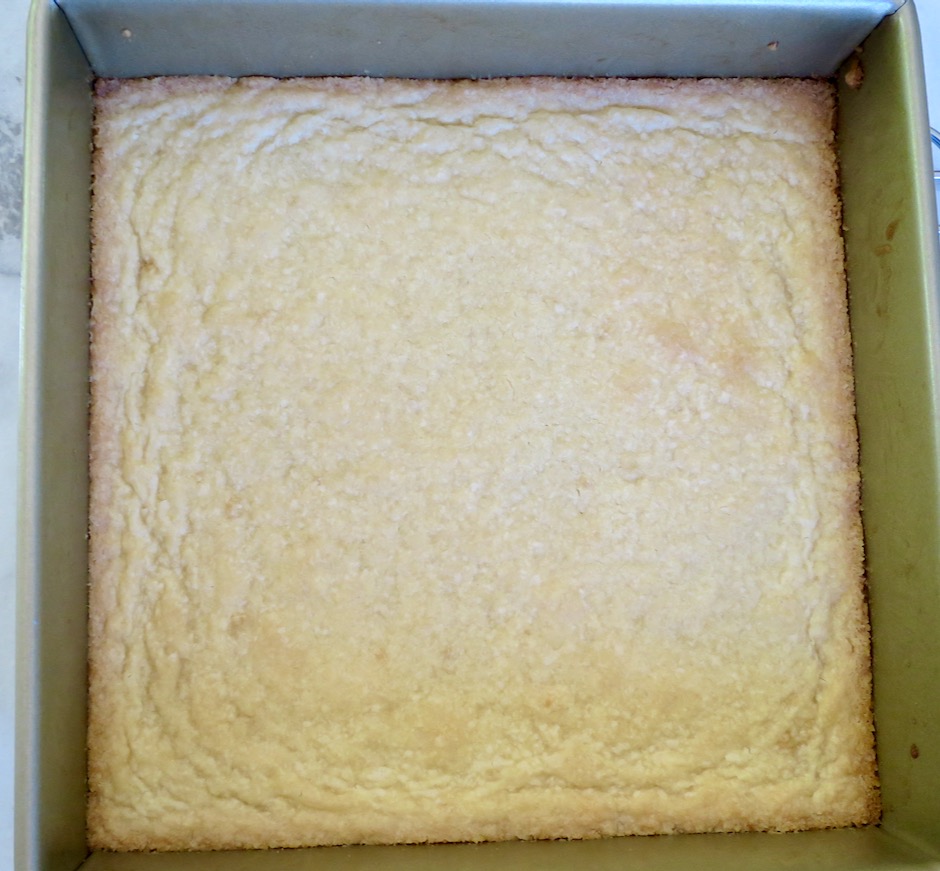
Once in the oven, the pineapple crumble will bake for 45-55 minutes.  The scent of fresh pineapple fills the air as it bakes.

Baked Buttery Pineapple Crumble Bars

Baked Buttery Pineapple Crumble Bars

Buttery Pineapple Crumble Bars
 
Adapted from Southern Living
Author:
Serves: 16
Ingredients
  • 2 cups (254g) all-purpose flour
  • ¾ cup Earth Balance Buttery Sticks, softened
  • ½ teaspoon vanilla extract
  • 1⅓ cups (200g & 66g) sugar, divided
  • ¼ teaspoon kosher salt
  • 4 cups (20 ounces or 570g) chopped fresh pineapple
  • ¼ cup (30g) corn starch
  • 1½ tablespoons fresh lemon juice
  • ¼ heaping cup (30g) slivered almonds
Preparation
  1. Preheat oven to 375 degrees. Line bottom of a 9-inch square baking pan with parchment paper. Lightly spray pan with cooking spray.
  2. Beat flour, butter, vanilla, 1 cup of sugar, and a pinch of kosher salt in a stand mixer fitted with a paddle attachment on medium speed until mixture resembles coarse crumbs, about 1 minute. Reserve 1 cup of the crumb mixture in a small bowl for the topping. Press the remaining crumb mixture evenly into bottom of prepared pan.
  3. Bake crust until golden brown, about 18 minutes. Transfer pan to a wire rack, and cool completely, about 45 minutes (preheat oven again to 375 degrees after 30 minutes cooling time)
  4. Meanwhile, gently stir together chopped pineapple, cornstarch, lemon juice, remaining ⅓ cup sugar, and ¼ teaspoon salt in a bowl until thoroughly combined. Spread pineapple mixture over cooled crust.
  5. Stir together the almonds and reserved crumb mixture in a small bowl. Sprinkle mixture evenly over pineapple mixture on crust. Bake at 375 degrees until the topping is lightly browned, about 45-55 minutes. Transfer to a wire rack. Cool completely, about 1 hour. Cut into 16 squares. Leftovers may be frozen. Separate layers with waxed paper.


Cookies, Dessert, Lactose Free, Recipes, Vegan

Cranzac Cookies

June 21, 2020

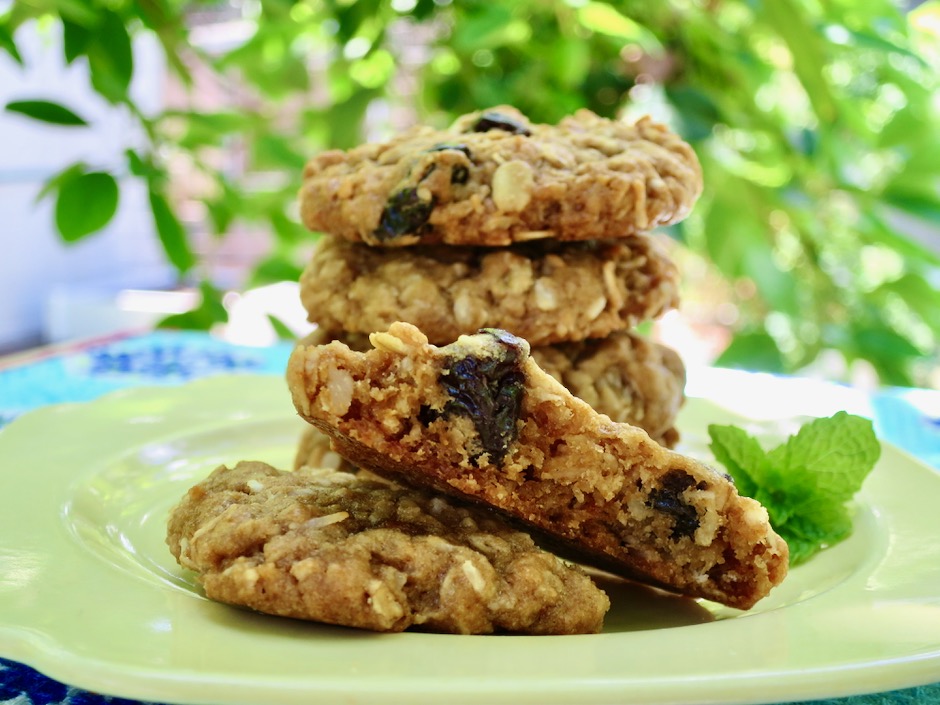
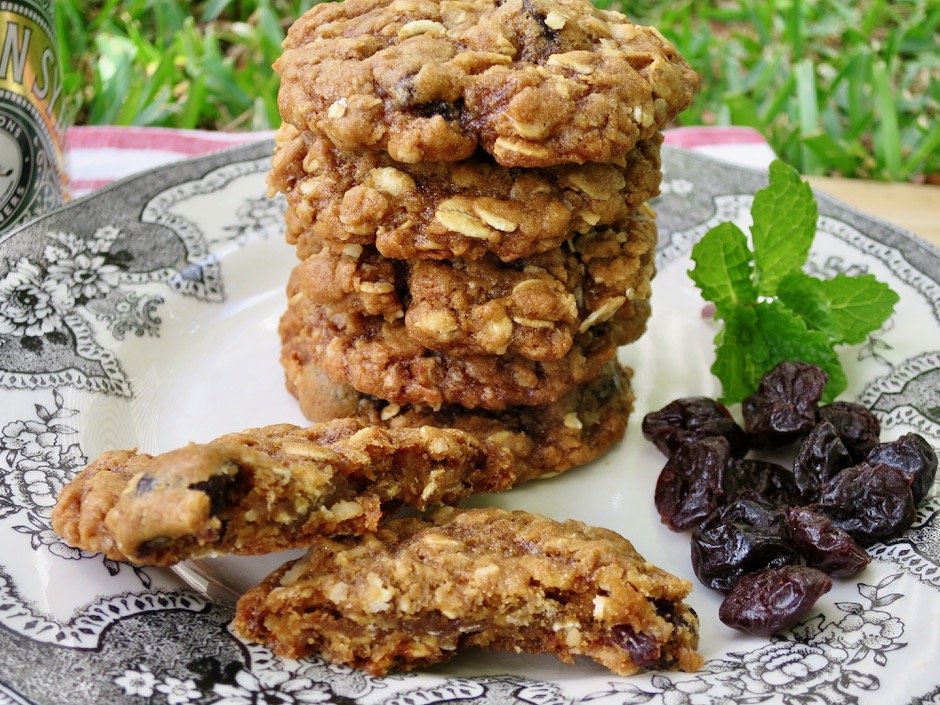
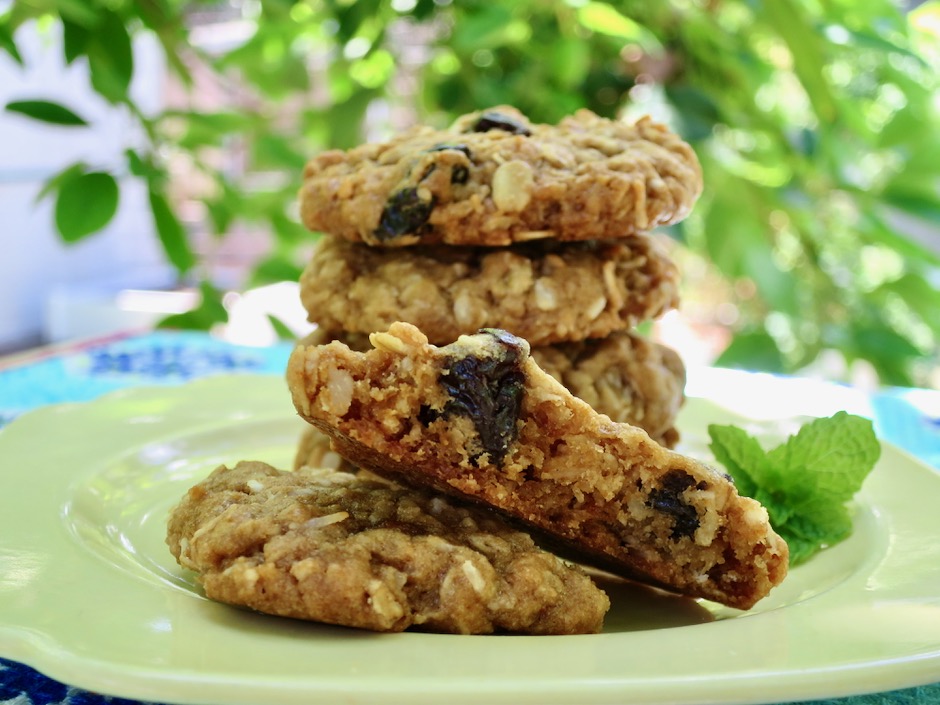
Cranzac Cookies

These “biscuits,” popular in Australia and New Zealand, are soft and chewy in the middle with crisp edges.  They are packed with oats, coconut and in this case tart dried cherries.  Some recipes call for cranberries, hence the name Cranzac biscuits.  Others call for sultanas (golden raisins), and many omit dried fruit.  The three things they all seem to have in common are oats, coconut, and Golden Syrup.  I first learned of these delightful cookies via David Lebovitz’s blog.  David’s explanation of how wonderful these cookies are, convinced me to order some Golden Syrup from Amazon so that I could make these as quickly as my order arrived.  And I did, two days in a row.

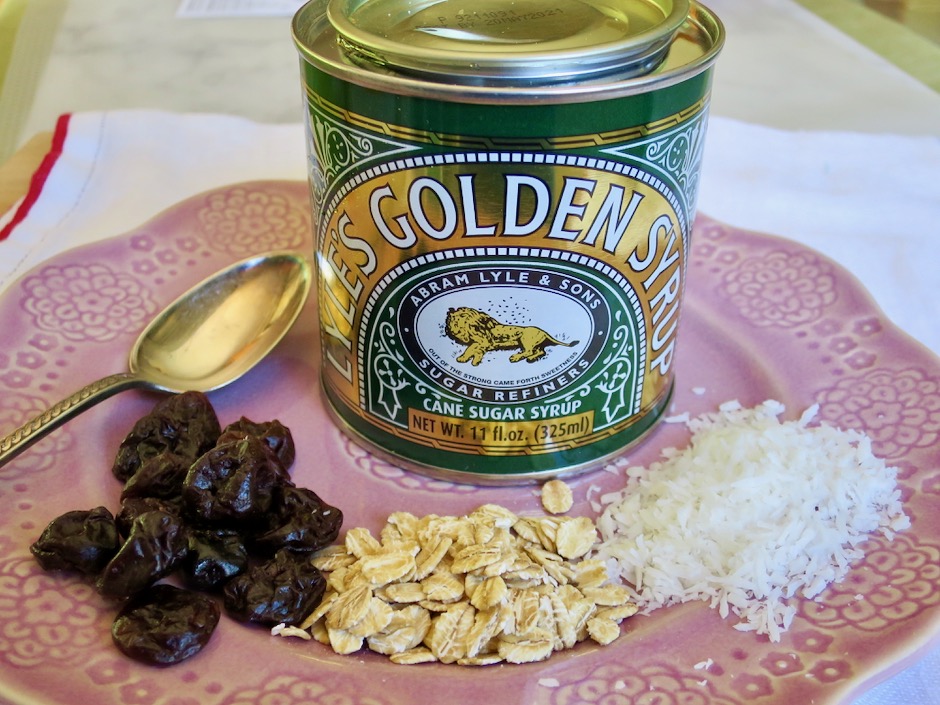
Lyle's Golden Syrup, Dried Tart Cherries, Unsweetened Coconut

Lyle’s Golden Syrup (also known as “light treacle”) is made from cane sugar and has a wonderful caramel flavor.  It is quite thick and sticky.  I used sweetened coconut flakes the first time I made the cookies (biscuits) since that was all I had on hand.  They tasted great.  But I wanted to try the recipe with unsweetened coconut so I bought a small bag at our local health food market.  I found that the coconut flavor really shines when using the unsweetened version.  So for a more detectable and bright flavor, use unsweetened shredded coconut.

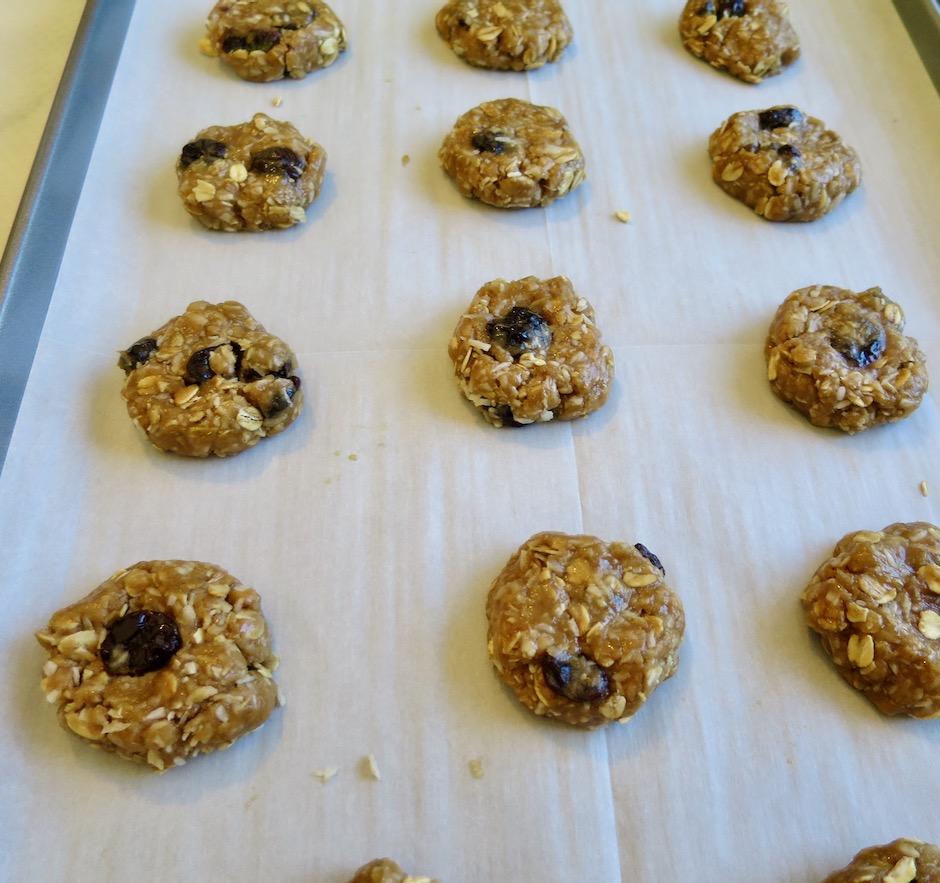
Cranzac Cookie Dough

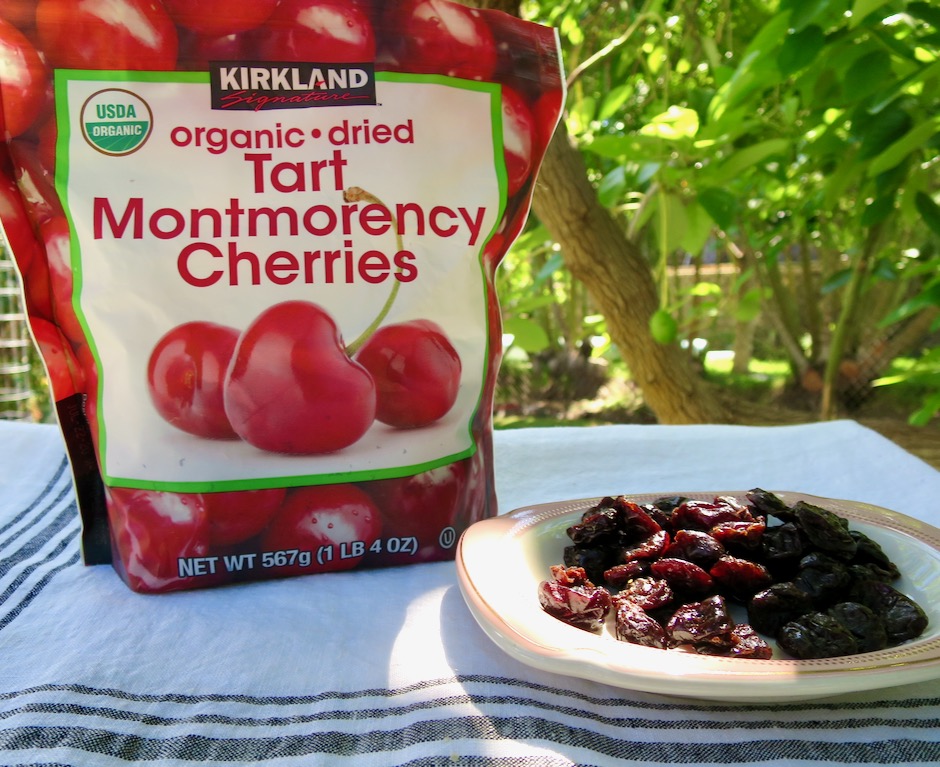
These tasty cherries are good addition to one’s pantry.  They are a nice snack served with nuts and cheese or baked in cream cheese scones.

Dried Tart Cherries

After baking two batches of these cookies I had a lot to share with family and friends.  Everyone thoroughly enjoyed them.

Cranzac Cookies

Cranzac Cookies
 
Adapted from David Lebovitz's recipe
Author:
Serves: 14
Ingredients
  • ⅓ cup (35g) old fashioned rolled oats
  • ½ cup packed (100g) dark brown sugar
  • ½ cup + 2 tablespoons (88g) all-purpose flour
  • ⅓ c (30g) unsweetened shredded coconut
  • ¼ cup + 2 tablespoons (55g) tart dried cherries
  • ¼ teaspoon baking soda
  • ⅛ teaspoon salt
  • 1½ tablespoons water
  • 2 tablespoons (30g) Earth Balance Buttery Sticks melted (or regular butter)
  • 2 tablespoons (30ml) Lyle's Golden Syrup
Preparation
  1. Preheat oven to 350 degrees with oven rack positioned in the middle. Line a baking sheet with parchment paper.
  2. In a large bowl, mix together the oats, brown sugar, flour, coconut, dried cherries, baking soda, and salt. Add the water, melted Buttery Sticks and golden syrup. Stir until everything is well combined.
  3. Shape dough into 14 small balls and place them evenly spaced apart (about 1") on the baking sheet. Use your hand to slightly flatten each ball so they are about half as high as they originally were.
  4. Bake cookies, rotating the baking sheet half way through, until the cookies are lightly browned, about 12 minutes. Remove from the oven and let cool on the baking sheet for a few minutes. Transfer cookies to a rack to cool completely.


Beans, Dinner, Lactose Free, Recipes, Vegan, Vegetarian

Falafel

June 7, 2020

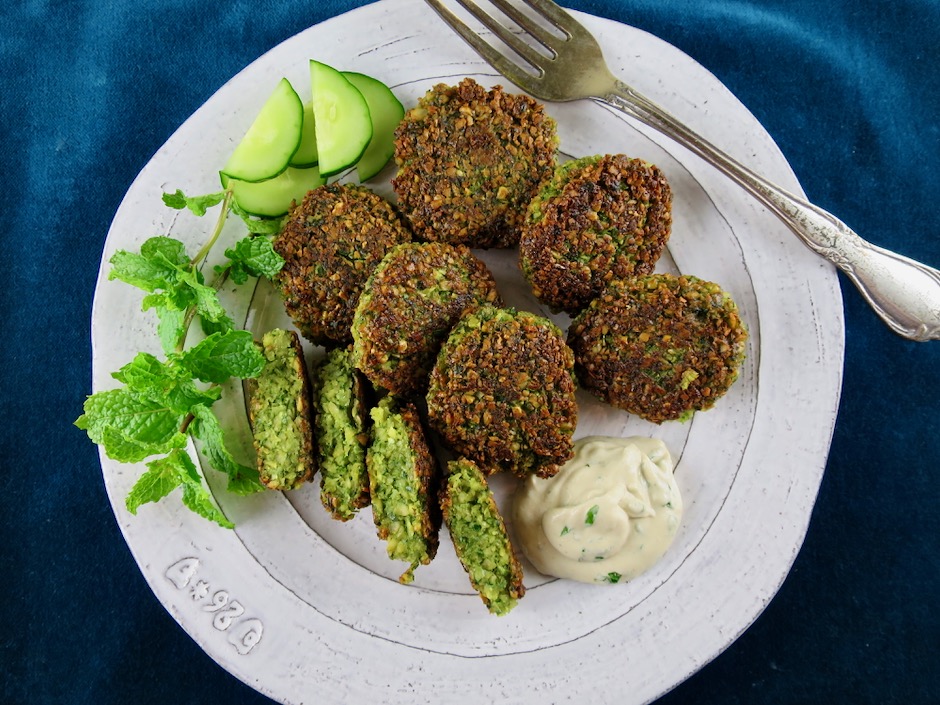
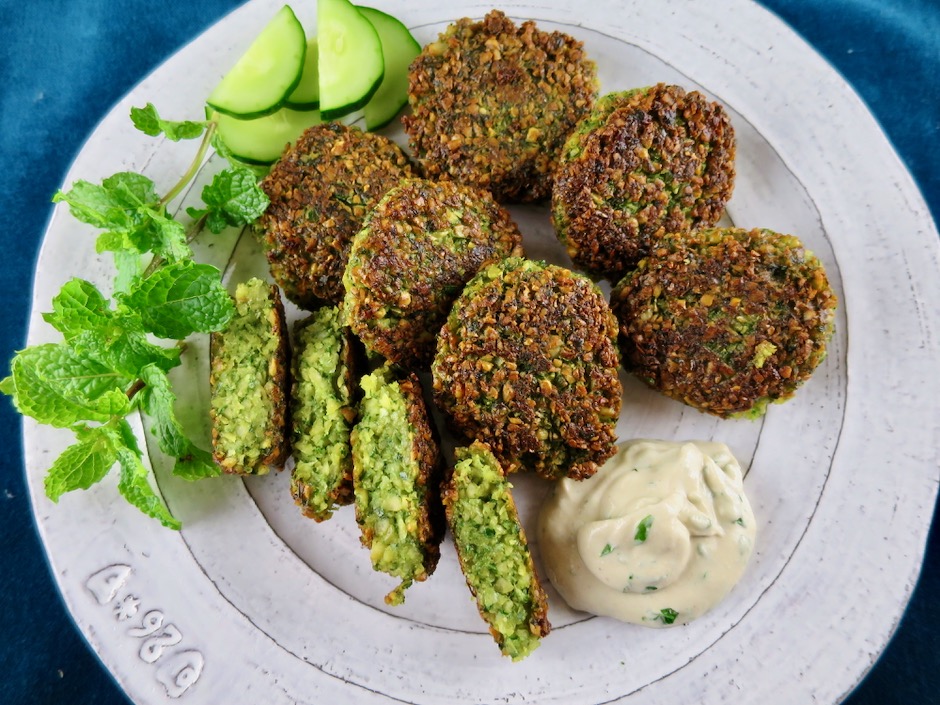
Beautiful Falafel

I have always loved falafel though it’s not something you find often in Hawaii, and especially where we live, Maui.  Cook’s Illustrated developed their recipe a few years back and I finally got around to making it.  Maybe it took so long because in my mind I thought it would be a time consuming and fussy recipe.  But once I made my own falafel, it was so delicious I was convinced that it was worth the effort and as it turned out, it’s not very fussy at all.

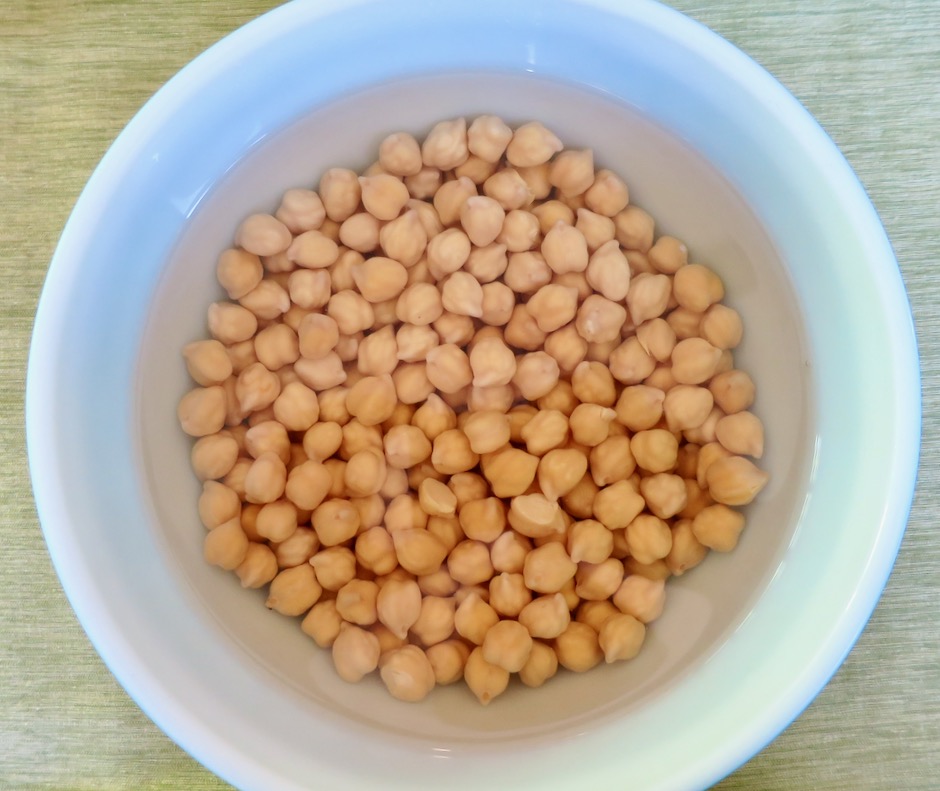
Soaking Dried Chickpeas

One of the important things to know is that dried chickpeas rule in this recipe.  I soak them in the evening before I go to bed, then drain them in the morning.

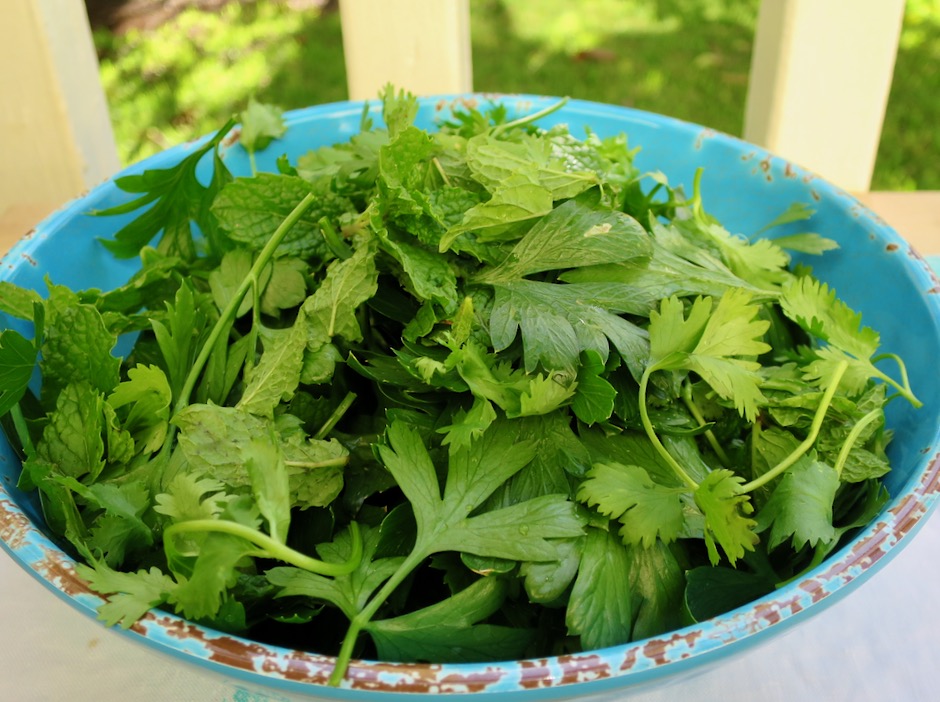
Fresh Parsley, Cilantro and Mint

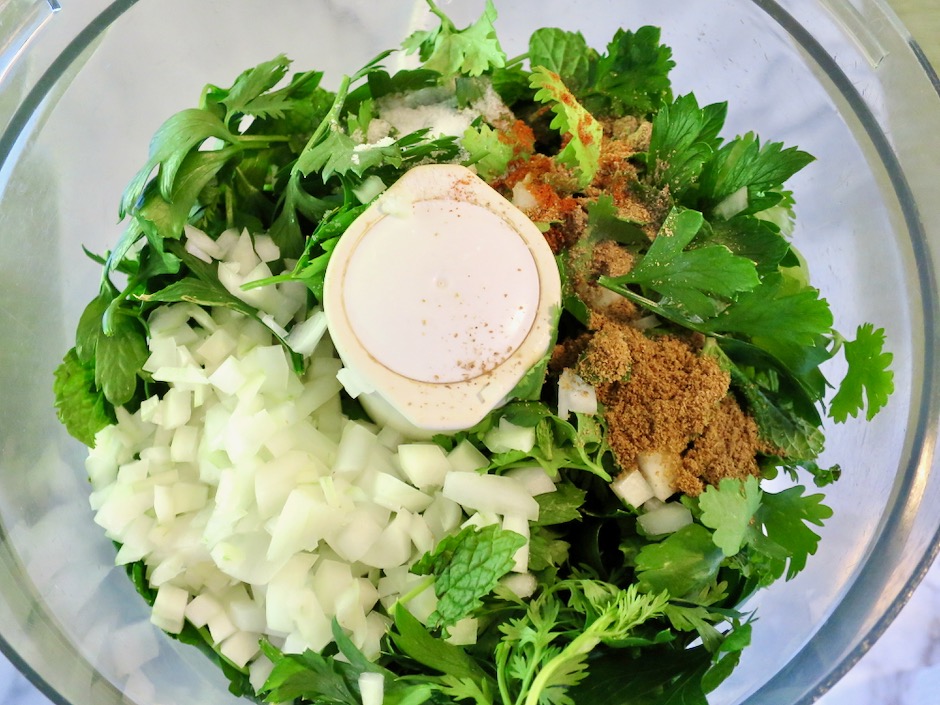
Good falafel is full of fresh herbs and spices like cumin, coriander and a bit of cayenne pepper.  The herbs make for a gorgeous color and terrific flavor in each bite.

Fresh Parsley, Cilantro, Mint, Onion, Garlic & Spices

Falafel Mix

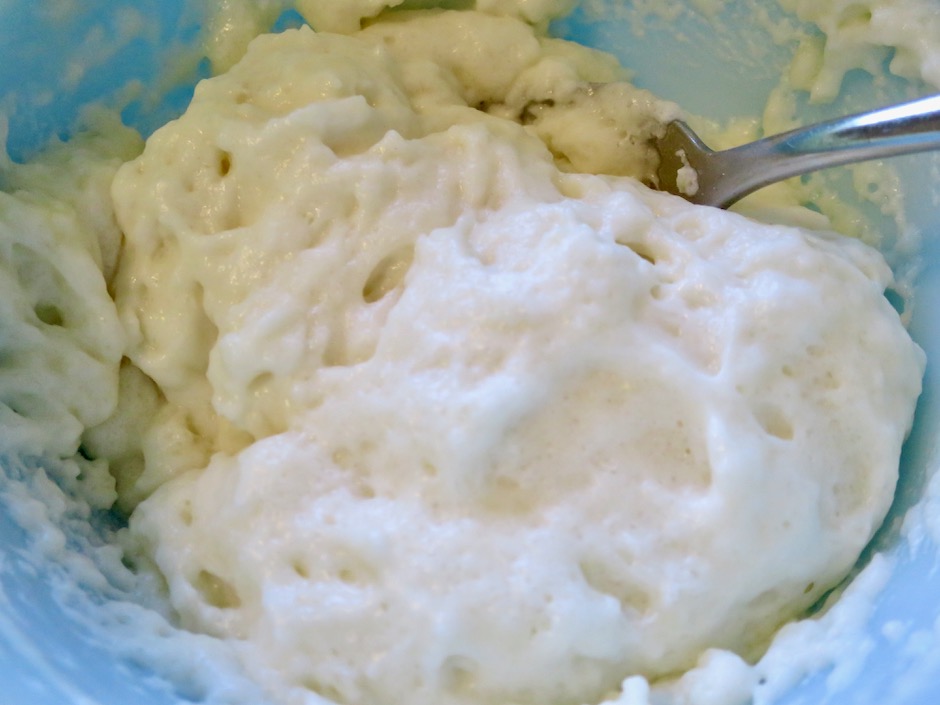
Cook’s Illustrated incorporated the Asian bread-baking technique of using tangzhong in their falafel. This helps to make a cohesive mixture that ensures the falafel is moist and tender once cooked.  The tangzhong for this recipe, consists of flour, water and baking powder.  Try to work quickly once the tangzhong is ready. The baking powder is full of life.

Tangzhong Paste

Beautiful Falafel

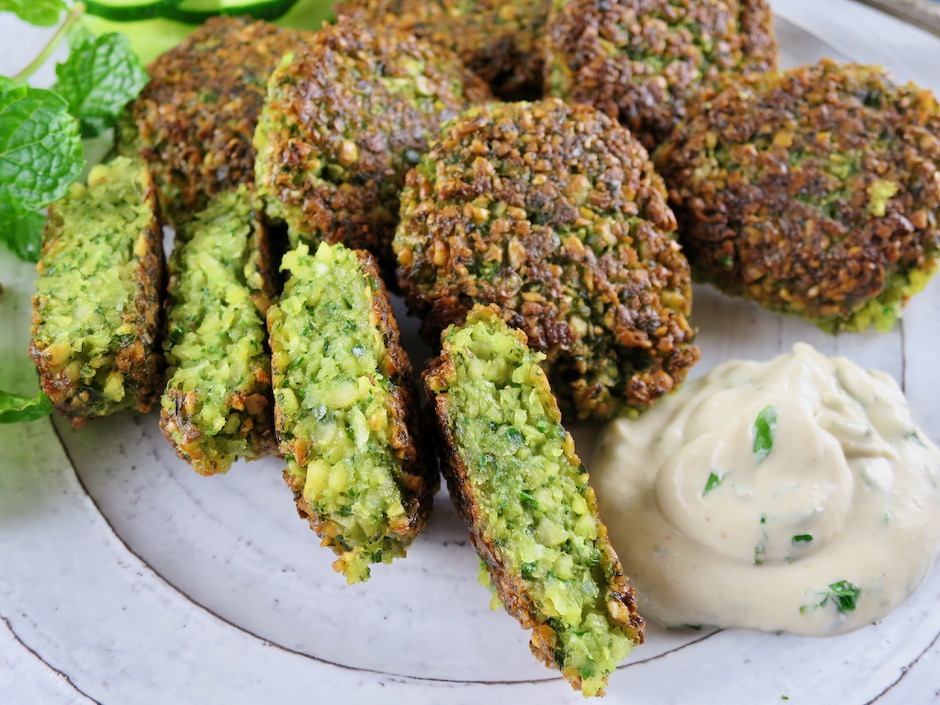
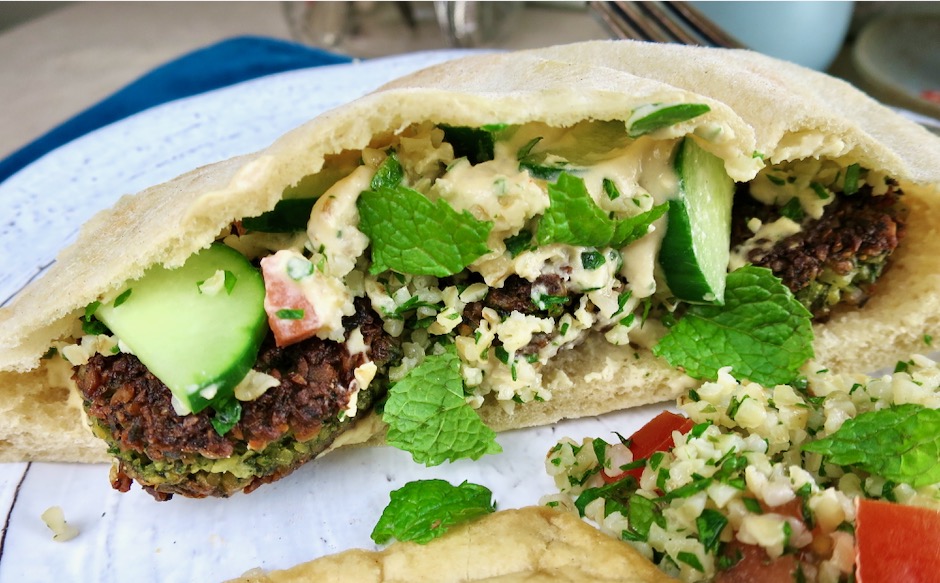
These beautiful falafel patties are crisp on the exterior with tender interiors.  They cook quickly and evenly and are easy to stuff into soft, warmed pitas.  I pan- fried my falafel in a bit of oil, however, the original recipe instructs you to deep fry the falafel.  You may prefer to follow this step if you shape your falafel into balls rather than patties. Serve the falafel with tahini sauce.

Falafel with Tahini Sauce in Pita Bread

Falafel with Tahini Sauce

Falafel
 
Delicious falafel adapted from Cook's Illustrated
Author:
Serves: 20
Ingredients
  • 8 ounces dried chickpeas, picked over and rinsed
  • 2 ounces fresh herbs: Italian parsley, cilantro and mint
  • ½ cup chopped onion (fine)
  • 2 garlic cloves, minced
  • ¾ teaspoon ground coriander
  • 1 teaspoon ground cumin
  • 1 teaspoon fine sea salt
  • ⅛ teaspoon cayenne pepper (up to ¼ teaspoon for spicier falafel)
  • ¼ cup all-purpose flour
  • 2 teaspoons baking powder
  • oil for shallow frying or more for deep frying
Preparation
  1. Place chickpeas in a large bowl and cover with water by 2 to 3 inches. Make sure your bowl has plenty of space for the chickpeas to expand. Cover and soak in the refrigerator for at least 8 hours or up to 24 hours.
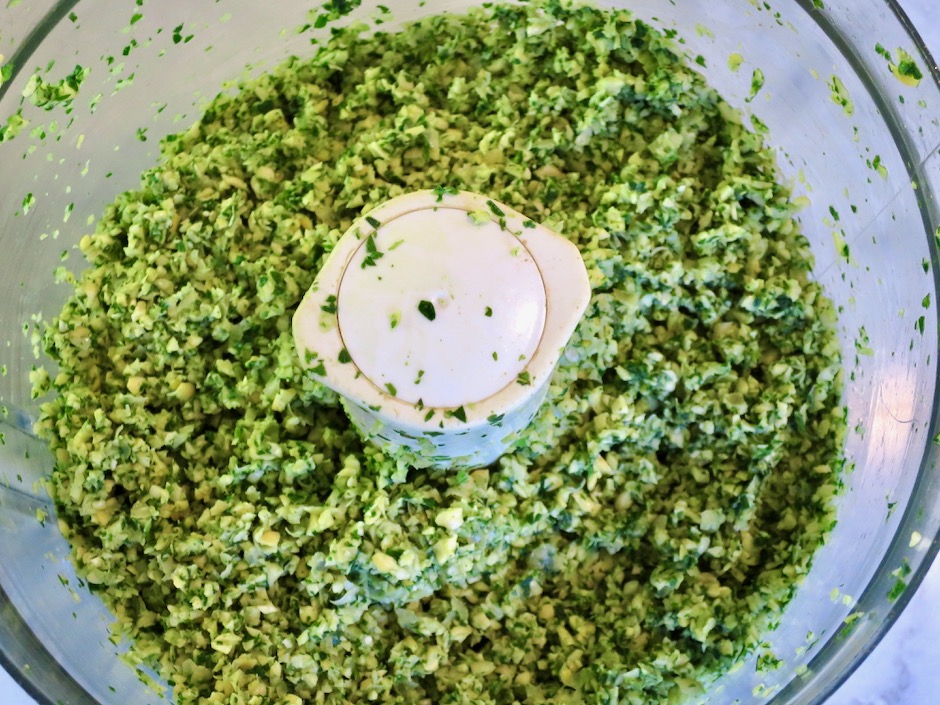
  2. Process Italian parsley, cilantro, mint, onion, garlic, coriander, cumin, salt and cayenne pepper in a food processor for 5 seconds. Scrape down the sides of the bowl. Continue to process until the mixture resembles pesto, about 5 seconds longer. Add drained chickpeas and pulse 6 times. Scrape down the sides of the bowl. Continue to pulse until the chickpeas are coarsely chopped and resemble sesame seeds, about 6-10 more pulses. Transfer mixture to a large bowl and set aside.
  3. Whisk flour and ⅓ cup water in a bowl until no lumps remain. Microwave, whisking every 10 seconds, until mixture thickens to stiff, smooth pudding-like consistency that forms a mound when dropped from end of whisk into bowl; 20-40 seconds. Stir baking powder into the flour paste.
  4. Add flour paste to chickpea mixture and using a rubber spatula, mix until fully incorporated. Divide mixture into 20 pieces (24 if forming balls) and gently form into a patty shape. If making balls, roll mixture into golf ball-size spheres. Transfer patties to a parchment paper-lined rimmed baking sheet. The formed falafel can be refrigerated for up to 2 hours, covered.
  5. Heat enough oil to reach ¼-inch up the sides of a wide high sided skillet (mine has 3" sides) over medium to medium-high heat. (If deep frying, heat oil in a Dutch oven over medium-high heat to 325 degrees and fry half at a time for about 5 minutes until deep brown in color). Once the oil is hot, add patties and fry, turning the falafel to ensure all sides have browned nicely. You may need to turn the heat down if it's too hot (medium). Transfer cooked falafel to a paper towel-lined baking sheet. Serve with tahini sauce (see link to recipe above).


Canning, Dinner, Gardening, Italian, Lactose Free, Pasta, Recipes, Sauces, Vegan, Vegetarian

Water Bath Safe Canned Roasted Tomato Sauce

May 24, 2020

Water Bath Canned Roasted Tomato Sauce

Last summer we had an incredibly large tomato harvest from just two Early Girl plants.  The fruit kept coming and soon they were piled high in baskets on our dining table.  Having made fresh sauce and freezing it on many occasions, our freezer was already maxed out with other foods with little room for more.  I was very happy to come across a water bath safe canned tomato sauce recipe.  This recipe is adapted from Jami Boys of An Oregon Cottage.  It is a great recipe and we are so happy to have found it.

Water Bath Safe Canned Roasted Tomato Sauce

Roasting the tomatoes gives the sauce a wonderful flavor and gorgeous color.  And being able to keep the jars shelf stable for 18 months is absolutely the way to go.  We regularly send care packages with homemade jams, peppers and pickles to our children.  We have increased our product selection with this terrific sauce.

Early Girl Tomatoes

Early Girls are amazing tomatoes.  They are juicy, meaty, and have a particularly deep red color.

Katana Beefsteak Tomatoes

This time we also harvested and used these beautiful Katana beefsteak tomatoes.

Katana Beefsteak Tomatoes in the Garden

Olive Oil, Balsamic Vinegar, Onion, Garlic & Dried Herbs

The halved and seeded tomatoes are placed in a pan with a bit of olive oil, dash of balsamic vinegar, onions, garlic, dried herbs and seasoning (salt & pepper) and roasted for about 40 minutes.

Halved and Seeded Tomatoes

I recommend using meaty tomatoes for a luscious, thick sauce.  If the tomatoes are more on the watery side, you may end up with mostly tomato skins once they have roasted.

Roasted Tomatoes

Roasted Tomatoes

The onions and herbs smell divine as the tomatoes roast.

Food Milling Tomatoes

The fastest and easiest way to remove the tomato skins is with a food mill.  Place a large pot under the food mill and process the tomatoes in batches.  If you don’t have a food mill, pinch off the skins then pulse the tomatoes a few times in a food processor.  Try to keep the sauce a little on the chunky side.  If you process the tomatoes too much, you will end up having to reduce the sauce quite a bit as it will be much thinner.

Water Bath Safe Canned Roasted Tomato Sauce

Water Bath Canned Roasted Tomato Sauce

Water Bath Safe Canned Roasted Tomato Sauce
 
Adapted from Jami Boys recipe
Author:
Serves: About 10 cups
Ingredients
  • 10 pounds meaty tomatoes (I used what we had growing in our garden; Early Girl and Katana)
  • 1½ cups diced onions
  • 2 - 3 large garlic cloves, finely chopped
  • 2 tablespoons extra virgin olive oil
  • 1 - 2 teaspoons balsamic vinegar (optional)
  • 3 teaspoons canning salt (or fine sea salt)
  • 2½ teaspoons dried oregano
  • 2 teaspoons dried basil
  • 1 teaspoon dried marjoram
  • ½ teaspoon freshly ground black pepper
  • citric acid (essential for canning safety): ¼ teaspoon per 16 ounce (pint) jar, ⅛ teaspoon per 8 ounce (1/2 pint) jar
Preparation
  1. Special equipment: Water bath canner, pint and/or half pint jars, lids and rings, 2 large roasting pans 14x10-inches, food mill for removing tomato skins, food processor or immersion blender.
  2. Preheat the oven to 425 degrees. Have 2 large 14x10-inch baking pans ready.
  3. Halving all ingredients to work in two batches, divide olive oil, balsamic vinegar, onions, garlic, dry herbs, salt and pepper between the two pans.
  4. Wash tomatoes and remove the cores. Cut each tomato in half, or if very large, cut into fourths. Gently squeeze the tomatoes to remove as many of the seeds as possible. Place seeded tomatoes cut side down on top of the ingredients in the prepared pans.
  5. Roast for 35-40 minutes, until most of the skins are a bit puffed and browned. Remove pans from the oven and let cool a bit. Transfer the tomatoes in batches to your food mill with a large pot underneath collecting the tomatoes and their juices. Using the large hole disk, process the tomatoes so the skins are left behind. Continue with all of the roasted tomatoes. Be sure to add all of the remaining pan juices and solids as well.
  6. You may keep the sauce chunky or pulse a few times with a food processor or an immersion blender to get to your desired consistency. If you do not have a food mill, pinch off the skins once the tomatoes are cool enough and pulse tomatoes in a food processor (just a few times for a nice thick sauce). Taste and adjust seasonings, adding more dried herbs or salt if needed. If the sauce is very thick, you may not need to reduce it. If you prefer a thicker sauce, bring sauce to a boil over medium-high heat, then lower the heat and simmer until sauce thickens. This could take anywhere from 20 - 45 minutes depending upon the type of tomatoes used. The tomato sauce must be hot before ladling into the jars.
  7. Prepare a water bath canner, wash jars and lids. Place clean jars into canner and bring to a simmer. Important safety step: Once jars are hot, remove all jars from the canner and add citric acid to each jar before continuing. Ladle hot tomato sauce into the hot jars one at a time, leaving ½-inch headspace.
  8. Wipe rims, attach lids and secure rings just finger tight. Place all jars back into the canner. Cover and bring to a boil. Once water is boiling process for 35 minutes. At the end of 35 minutes, turn off heat and let jars sit for 5 more minutes. Then remove jars to a cooling rack or towel-lined surface and let cool for 24 hours. Remove rings, check seals, label and store for 18 months. (The newer version of lids are good for 18 months). ***Do not replace dried herbs with fresh herbs. Using fresh herbs will change the pH (acidity)


Follow

Get every new post delivered to your Inbox

Join other followers: