Browsing Category

Vegan

Breakfast, Dinner, Recipes, Side Dishes, Vegan, Vegetarian, Veggies

Crash Hot Potatoes

February 4, 2013

Crash Hot PotatoesRoasted potatoes are always tasty, but these are even better.  The potatoes are flattened before roasting which produces more irresistible crispy edges.   This recipe comes from Jill Dupleix, a freelance food writer originally from Australia but now a resident of London.  Speaking of Australia, the people there are famous for their humorous slang.  Take Jill’s instructions for boiling the potatoes  “Just bung (throw) them into a pot of salted water” she says.  I love that.

Crash Hot Potatoes in to the Oven

Crash Hot Potatoes Ready to RoastThe potatoes are boiled until just cooked through without being soft.  Use a potato masher to squash the potatoes flat then brush with olive oil and sprinkle with coarse salt and black pepper.  Scatter some fresh thyme sprigs on the potatoes.

Crash Hot Potatoes with Thyme

Crash Hot Potatoes 

2 generous servings

Ingredients

1 1/2 pounds baby red potatoes

1 tablespoon extra virgin olive oil

coarse sea salt (Maldon works well)

freshly ground black pepper

thyme sprigs

Preparation

Heat the oven to 450 degrees

Scrub the potatoes and place in a pot of salted water.  Bring to a boil then simmer for about 12 minutes until just done.  The cooking time will depend on the size of your potatoes, check frequently so they don’t over cook.

Drain the cooked potatoes and arrange on a lightly oiled baking sheet.  Using a potato masher, flatten the potatoes until they are twice their original diameter.

Brush the tops with olive oil and sprinkle with coarse sea salt and pepper.  Scatter the thyme sprigs over the potatoes.

Bake for about 30 minutes or until they potatoes are crisp and golden.

Breakfast, Canning, Fruit, Jams & Jellies, Recipes, Vegan, Vegetarian

Lilikoi Jelly ~ Passion Fruit

January 26, 2013

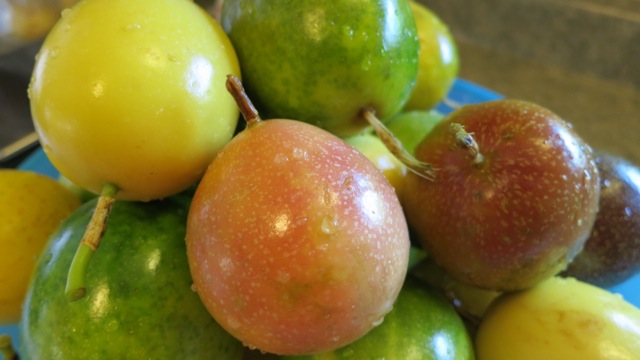
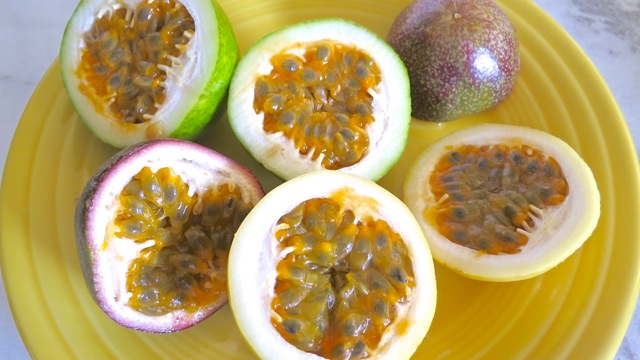
Colorful LilikoiPassion fruit, or lilikoi as we know it in Hawaii is a unique fruit with a pleasantly sweet and tart flavor.  The most common varieties are yellow and purple and they can be found in some of our health food stores on Maui.  They have a tough, waxy and smooth rind yet once you cut through the hard outer skin, the most amazing scent envelops the air.  Once cut in half, you might wonder what all the fuss is about.  Be patient.  You will find an aromatic gelatinous seed filled pulp with a fragrance that is hard to describe.  “Sublime” might hit the right note. An important step at the start of the jelly making process is to select a good recording of Beethoven’s Ninth Symphony and set the volume to “eleven” ala Spinal Tap!

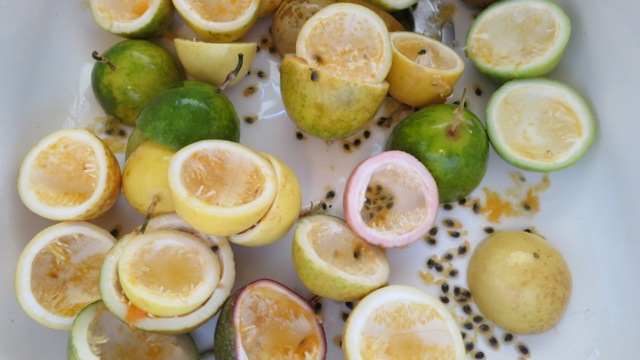
Cut LilikoiUsing a spoon remove the pulp from the rind.  You can strain the seeds out as we do to make juice for the jelly.  The pulp from the fruit can be eaten as is, seeds and all.

Lilikoi pulp

Oxo

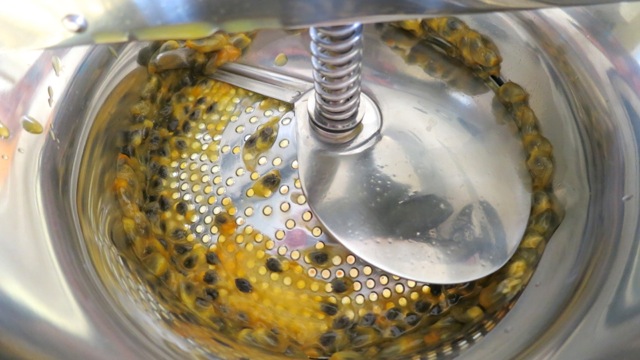
The best method to extract the juice is to first put all the pulp into a blender.  Then pulse it on low speed for 45 -60 seconds.  We turn our Vitamix to #3 setting.  This will separate the seeds from the pulp but won’t break the seeds.  If you have a food mill this is a good opportunity to use it.  Pour the contents of the blender into the mill and turn, turn, turn.  Soon you will have your 3 cups of lilikoi juice.

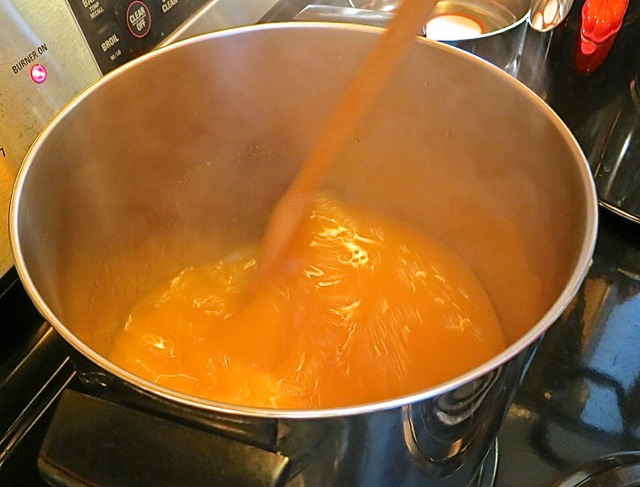
Boiling lilkoi juiceBring the mixture to a boil, stirring constantly with a long wooden spoon.

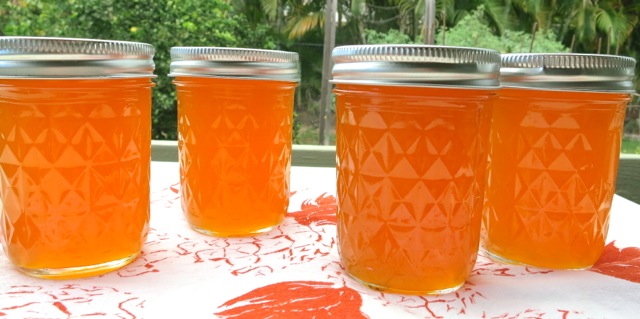
Lilikoi Jellies

Lilikoi ToastA few pats of butter on your favorite toast with a spoonful of lilikoi jelly.  It’s divine.

Lilikoi Jelly

Updated 1/15/20 (increased lilikoi juice to 3 cups)

Makes 8 half pint jars

Ingredients

3 cups lilikoi juice (about 5 pounds of fresh lilikoi) or frozen, unsweetened passion fruit pulp  (Goya brand)

1 cup water

7 1/2 cups sugar

6 ounces liquid pectin (2 pouches Certo brand)

Preparation

Prepare canner and canning jars.

Combine juice, water and sugar in a large, tall pot.  Bring to a boil over high heat, stirring constantly.  Immediately add liquid pectin and bring to a full, rolling boil.  Boil rapidly for 1 minute, stirring constantly.

Remove from the heat, skim off foam (use a small fine mesh strainer) and pour into sterilized jars leaving 1/4 inch space between the jelly and rim of the jar.  Secure 2 part lids and process for 10 minutes in boiling water canner.  Turn off heat and leave jars in canning pot for 5 more minutes before removing to cool.

***Basic canning instructions can be found here.

Dinner, Japanese, Recipes, Vegan, Vegetarian, Veggies

Cucumber & Carrot Namasu

December 5, 2012

Pickles are addictive.  Crunchy, tangy goodness in every bite.  Namasu is a simple Japanese pickle that’s ready in an hour.  Not only is it quick to make, there are just 6 ingredients.  It can double as a refreshing tangy-sweet salad.

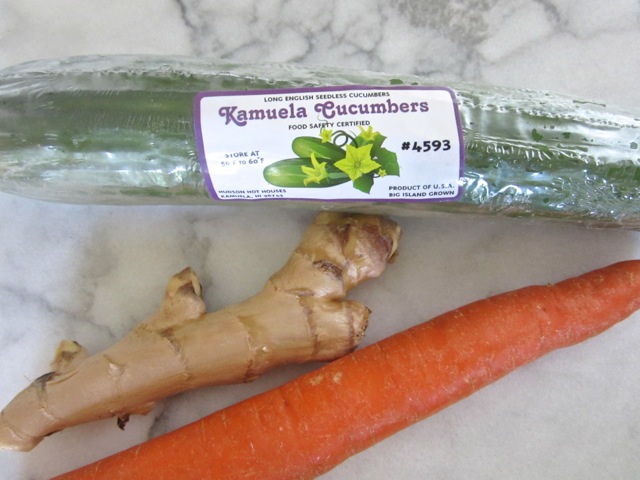
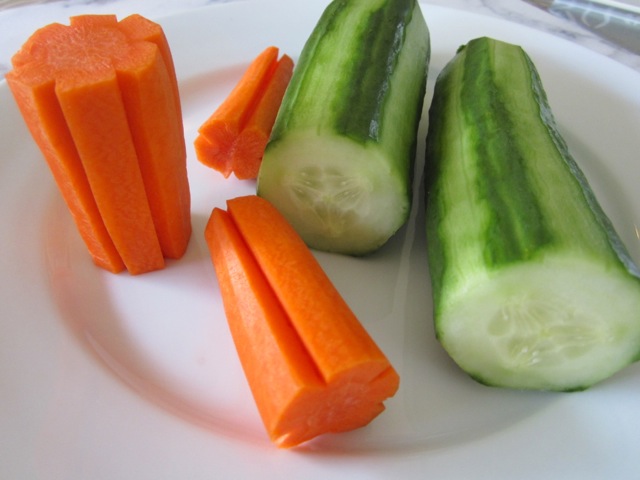
The first 3 ingredients – Cucumber, Ginger & Carrot.

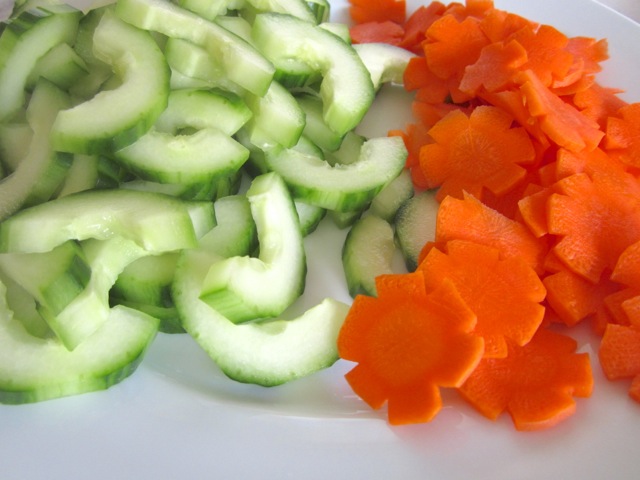
It’s easy to make attractive carrot florets with a knife and steady hand.

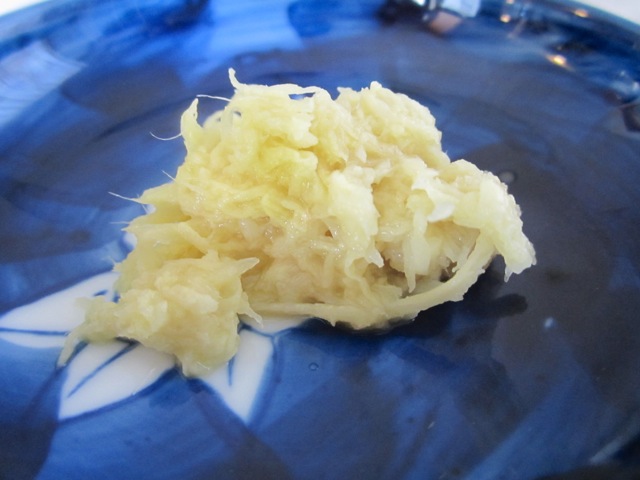
Grated ginger adds a refreshing flavor to the vegetables.

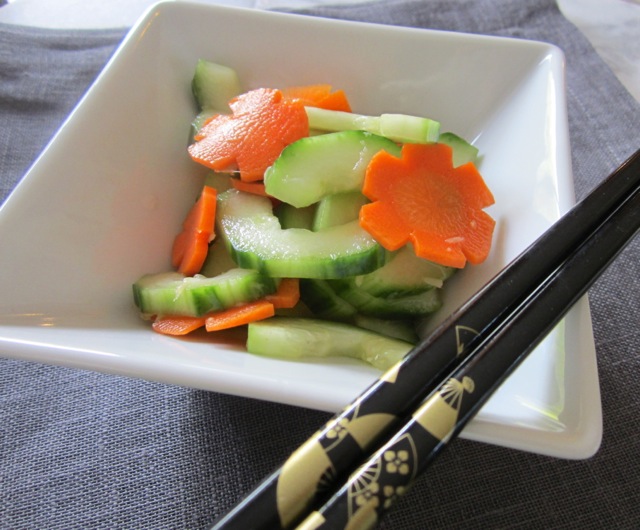
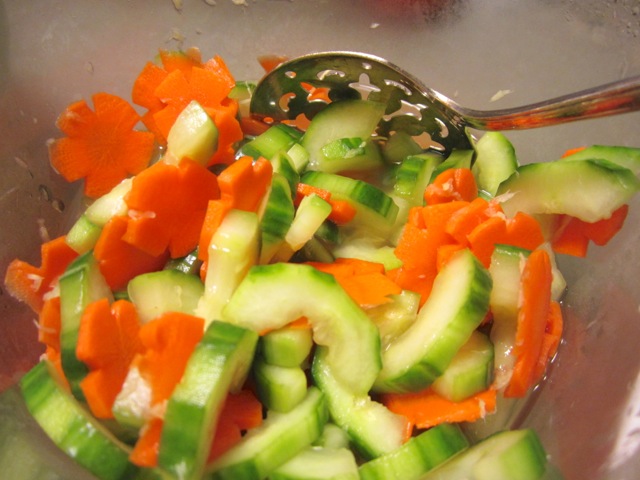
Beautiful pickles, Japanese style.

Cucumber & Carrot Namasu (Japanese pickles)

Ingredients

1 large English or 2 Japanese cucumbers

1 medium carrot

1/2 cup unseasoned rice vinegar

1/4 cup sugar

2 teaspoons grated ginger

1/4 teaspoon salt

Preparation

Cut the cucumber in half diagonally and peel thin strips of skin off of each half.  Cut each piece of cucumber in half, lengthwise.  Remove seeds.  Slice the cucumber into 1/4 inch pieces and set aside.

Peel the carrot and cut into thirds.  With a small, thin knife cut narrow lengthwise grooves in the carrot to make a floret shape (about 5 cuts if the carrot is thick, 4 if the carrot is very thin).  Using a mandoline or sharp thin knife slice the carrot into florets.

Peel ginger and finely grate, set aside 2 teaspoons.

Mix 1/2 cup unseasoned rice vinegar with 1/4 cup sugar and 1/4 teaspoon salt until sugar and salt has dissolved.  Add 2 teaspoons grated ginger.

Combine cucumbers, carrots and vinegar mixture in medium size bowl.  Cover and refrigerate for at least 1 hour.  Cucumbers and carrots will become delightfully crispy when chilled.   The pickles will keep well in the refrigerator for a couple of days.  These pickles go well with tofu or grilled teriyaki chicken.

Beef, Chicken, Dinner, Japanese, Recipes, Vegan, Vegetarian

Granny’s Teriyaki Sauce

November 20, 2012


A recipe named after “Granny” might not sound all that exciting but if you love homemade teriyaki sauce this is really delicious. My mom gave me her recipe card for this sauce a long time ago and she made a note on it “the best.”  She was right. It’s the best teriyaki sauce I have ever had.

The secret ingredient that makes this sauce so tasty is sherry.  So go ahead and buy a bottle of sherry.  Not the cooking sherry they sell in the condiment aisle, decent sherry like Hartley & Gibson’s Amontillado sherry which you can find at a full service grocery store or liquor store.  Stash the bottle in your cupboard until your next craving for really good teriyaki sauce, it will last indefinitely.

You can use this marinade for chicken, tofu, fish and beef.  I use part of the sauce to marinate whatever I’m cooking and simmer the rest of the sauce until it becomes thick and syrupy.  I drizzle this on grilled chicken, tofu or fish and finish with a few sliced green onions before serving.  Really good.

Granny’s Teriyaki Sauce

Ingredients

1/2 cup sugar

1/2 cup plus 2 tablespoons soy sauce (Kikkoman recommended)

4 tablespoons sherry (Hartley & Gibson’s or similar quality)

1 tablespoon canola oil

2 large garlic cloves chopped

green onions, sliced (use a good amount since they tend to shrink quite a bit once mixed into the sauce)

Preparation

Combine sugar with soy sauce and sherry until the sugar has dissolved.  Add oil, garlic and chopped green onions.

Use to marinate boneless chicken breasts chicken thighs, or your favorite cut of steak for about 3 hours.  For tofu and fish such as salmon or ahi marinate for just one hour or so.  Turn pieces occasionally.

Note: Prior to marinating your chicken, fish, beef or tofu reserve part of the sauce and simmer until syrupy, about 10 minutes on medium low heat.  Watch so the sauce does not boil and burn.  You can do this in advance, the sauce will thicken as it cools.  Drizzle over grilled chicken, fish, beef or tofu.  Sprinkle on green onions and roasted sesame seeds before serving. For a larger quantity of meat double the recipe.

Dinner, Italian, Pasta, Recipes, Vegan, Vegetarian

30 Minute Fresh Tomato Sauce

October 29, 2012

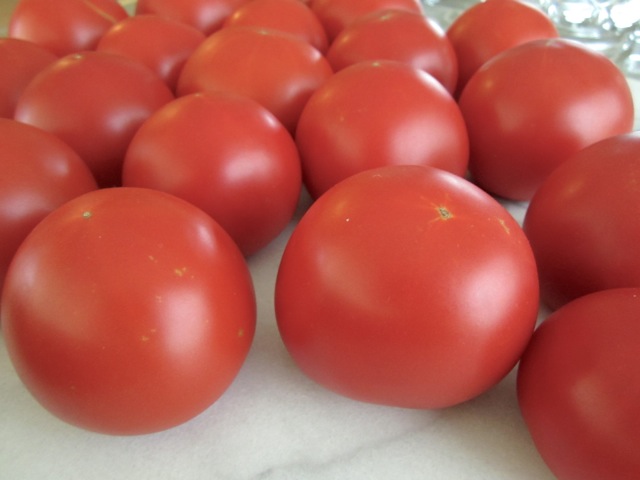
When your garden crop comes in droves it can make you feel overwhelmed.  The stories you hear about people who grow zucchini come to mind. Suddenly they have baskets full of them and they start dropping them off at their friend’s homes, and sometimes homes of people they never even considered to be their friends.  There’s the hilarious story I heard on NPR of zucchini growers leaving them in unattended cars just to get rid of them.  Anyhow, this is a story of tomatoes and I’m happy to say people don’t make fun of them like they do zucchini.  With that being said, we have lots of tomatoes in the garden and I’ve been making salsa, tomato sandwiches, roasted tomatoes, and today, a quick tomato sauce that is as good as those simmering for hours.  I was searching for a recipe and stumbled upon this one from Chez Pim.  The idea of removing the tomato pulp from the juice then adding it back once the juice thickens up caught my attention.  It works quite well and it’s quick.

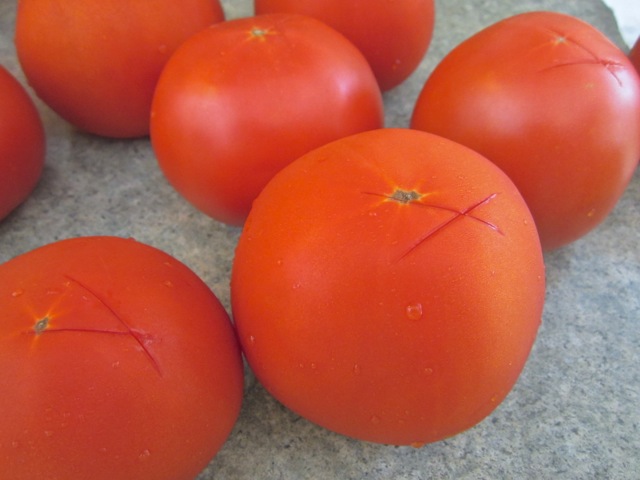
The easiest way to peel tomatoes is to dunk them in boiling water for about 10 seconds and transfer them to an ice bath.  The skins will come off effortlessly and you won’t waste a bit of the tomato.  It works like a charm.  Just make a cross at the bottom of the tomato before plunging them into boiling water.

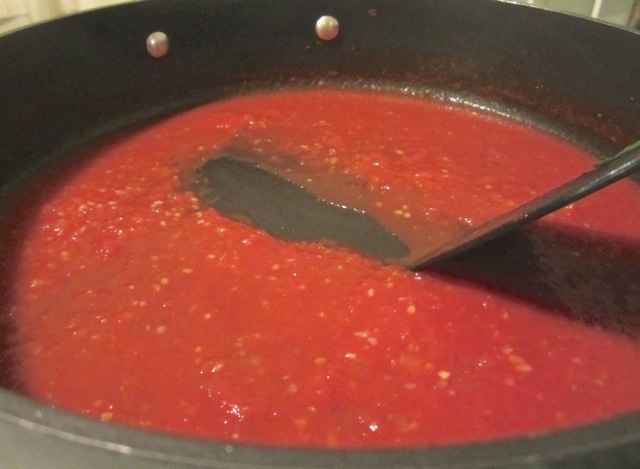
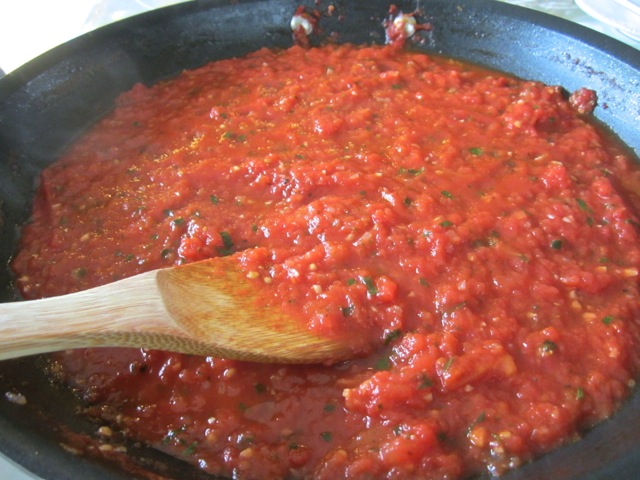
Reduce the sauce until it clears the pan with your spatula. 

The tomato pulp has been added back to the sauce and simmers briefly, becoming luxuriously thick and flavorful.

30 Minute Fresh Tomato Sauce

4 generous servings

Adapted from Chez Pim’s recipe

Ingredients

5 pounds ripe tomatoes peeled, seeds removed

2 tablespoons olive oil

1/2 cup minced onion

2 medium garlic cloves, minced

2 teaspoons kosher salt

1 teaspoon dried oregano

1 heaping tablespoon fresh chopped basil

Preparation

Prepare the tomatoes by removing the skin, cut them in half and remove the seeds.  Place halved tomatoes in a large bowl and crush with your hands to break up the tomatoes into very small chunks.

Heat olive oil in a large, deep skillet over medium low heat.  Add onions and sauté for about 5 minutes until softened but not browned.  Add minced garlic and sauté for another minute.

Turn the heat up to medium high. Add the crushed tomatoes to your pan, give everything  a stir and cook for about 10 minutes.

Transfer the tomato pulp to a bowl with a slotted spoon.  Continue to cook the tomato sauce for another 10 minutes until it has reduced and is fairly thick.  Test by scraping the pan with your spatula.  If the sauce clears the pan it’s time to add the tomato pulp back to the pan.

Turn the heat down to medium and add the salt and dried oregano to the tomato sauce.  Simmer for another 10 minutes.  Add the fresh basil, give the sauce a stir and adjust the seasoning if needed.

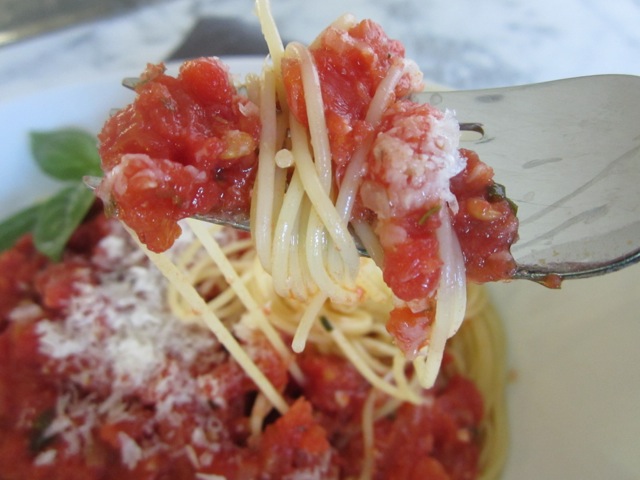
Serve with freshly grated Parmigiano-Reggiano or Pecorino Romano cheese.  The sauce freezes well and provides a quick and delicious meal on a busy work night.


Korean, Recipes, Tofu, Vegan, Vegetarian

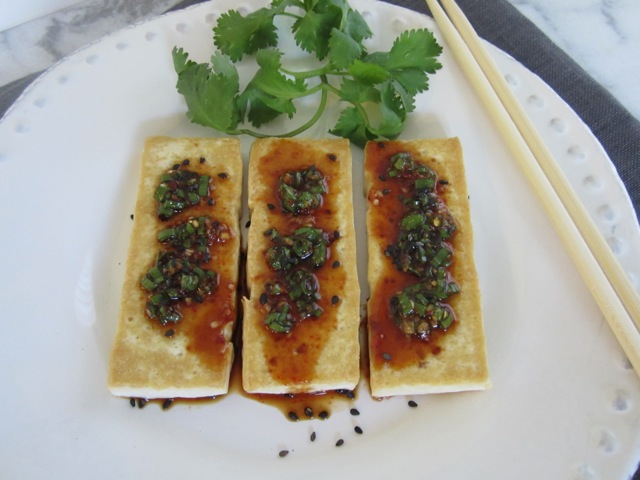
Korean-Style Fried Tofu with Green Onion Sauce

October 25, 2012

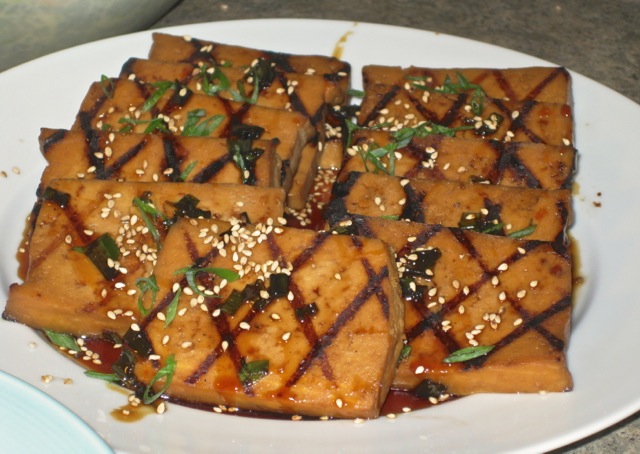
I have mentioned before that I love tofu in many forms.  Either frozen, defrosted, then baked with herbs or straight from the package with green onions, ginger and soy sauce.  Or even cut into cubes, baked  and tossed in nutritional yeast.  Here’s another tofu recipe that’s quick and easy. A friend at work adores this sauce.  He waits patiently for any leftovers I might have and drizzles it on his rice. It has the perfect balance of salty, garlicky, spicy kick to it.

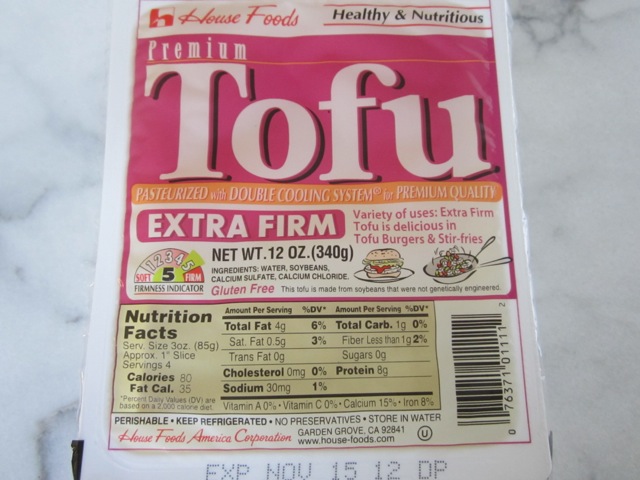
Firm or extra firm tofu works well for fried tofu.

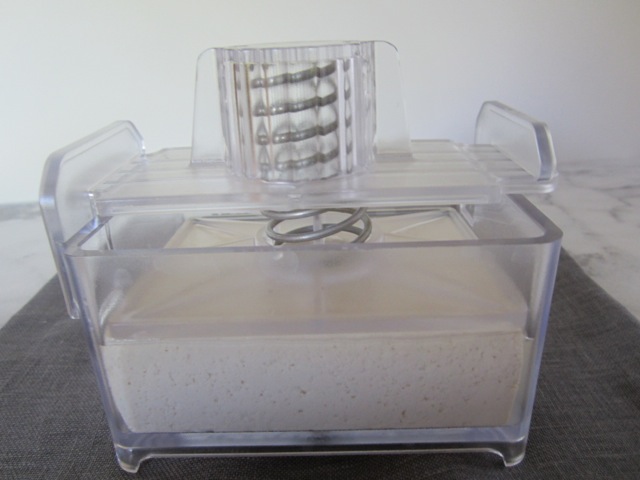
Tofu Xpress

I discovered an ingenious tofu press on a food blog one day.  This simple gadget works great.  Put your block of tofu in the container, press the spring-loaded top on it, place in your refrigerator for a half hour or so, and in no time most of the water will have been pressed out.  The days of wasting paper towels are over!

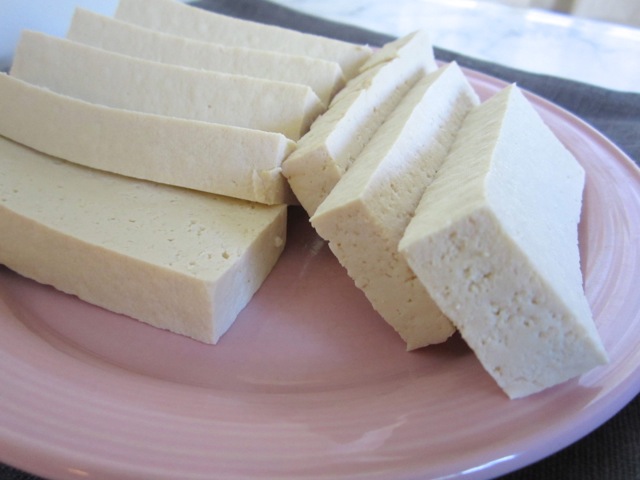
Slice tofu block into 8 pieces, about 1/4 inch thick.

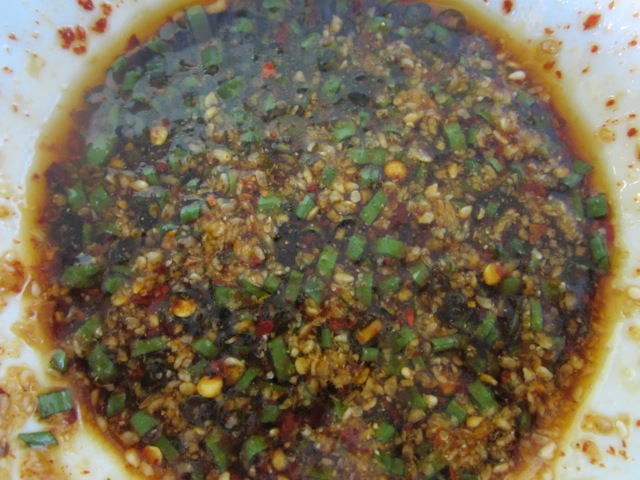
Korean-Style Tofu Sauce

Korean-Style Fried Tofu with Green Onion Sauce

Serves 2

Ingredients

1 block firm or extra firm tofu (12 oz.)

canola oil for frying

Sauce

2 tablespoons soy sauce

1/2 teaspoon sugar

2 teaspoons sesame oil

1/2 teaspoon minced garlic

1/2 teaspoon Korean chili powder flakes – optional (I bought Whole Spice Korean chili flakes in Napa Valley and it’s quite mild though it gives the sauce a splash of color).

1/3 teaspoon red chili flakes (more or less depending on how spicy you want the sauce to be).

2 tablespoons finely chopped green onions (or more if you prefer).

1 teaspoon ground sesame seeds (I use an electric  Zojirushi sesame grinder though for a few dollars you can purchase an inexpensive hand grinder at most Asian markets).

Roasted sesame seeds for sprinkling on the fried tofu (optional).

Preparation

Combine soy sauce, sugar, sesame oil, garlic, Korean chili flakes if using, red chili flakes, green onions and ground sesame seeds in a small bowl.  Mix ingredients to combine well.  Set aside.

Press tofu in Tofu Xpress for 1/2 – 1 hour in the refrigerator (alternately slice tofu and place between several layers of paper towels then put a cutting board on top and weight with a few cans or a large book on your counter for 15 – 30 minutes).

Remove tofu from Tofu Xpress and slice into 8 pieces (about 1/4 inch thick).

Place a skillet large enough to hold all of the tofu on medium heat with 2 – 3 teaspoons of canola oil.

Fry tofu for about 5 minutes, until lightly browned.  Flip tofu over and brown the other side for about 5 minutes.  Remove to a plate and drizzle sauce over the tofu.  Sprinkle with roasted sesame seeds (optional).

I make this the night before and take it for lunch the following day.  Gently reheat the tofu, drizzle with sauce and serve with rice.

Follow

Get every new post delivered to your Inbox

Join other followers: