Browsing Category

Vegan

Japanese, Recipes, Salad, Vegan, Vegetarian, Veggies

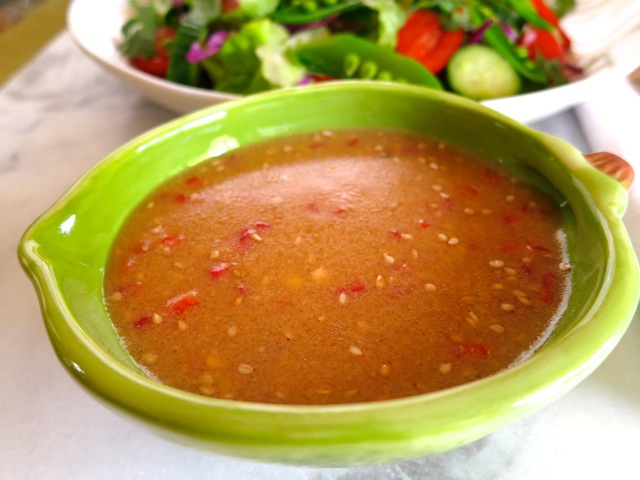
Sesame-Miso Vinaigrette

July 14, 2014

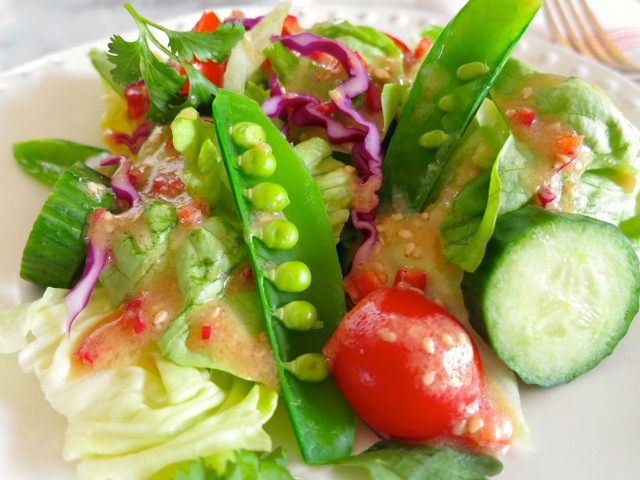
Sesame-Miso VinaigretteThe January 2014 issue of Bon Appétit included a “Food Lover’s Cleanse” article that highlighted a few of their favorite recipes to “help you balance the excesses of the holiday season.”  Well, now that it’s July, those days are long gone.  I’m not on a cleansing diet (though I can always use help “balancing excess!”).  I was intrigued by one of the recipes: Sesame-Miso Vinaigrette. I am particularly fond of roasted sesame seeds and miso, whether it be white, yellow, or red.

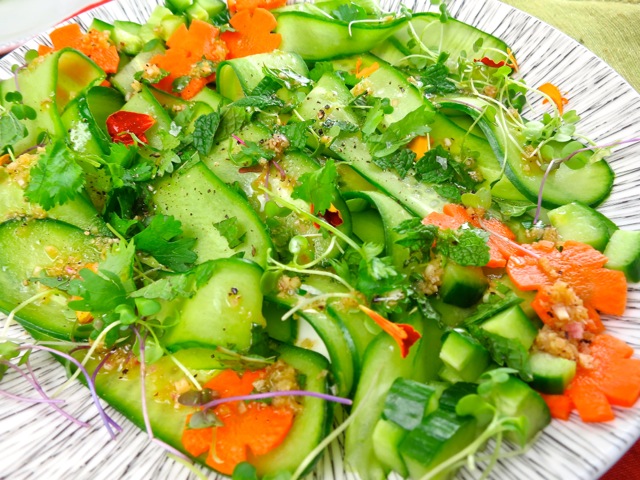
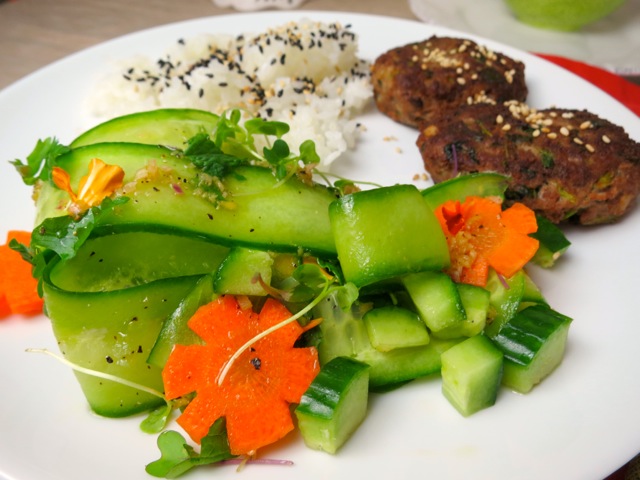
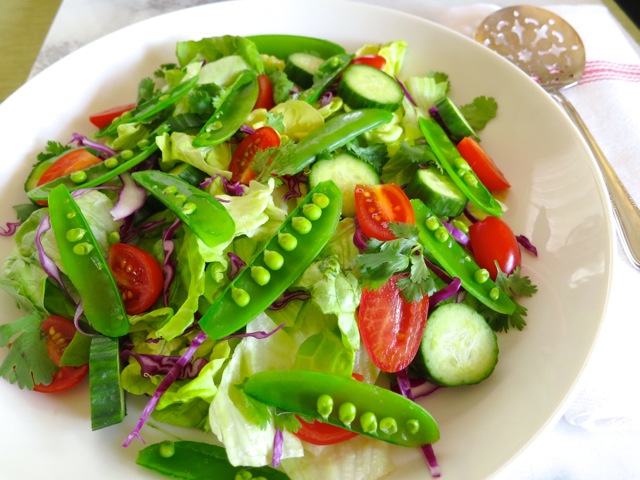
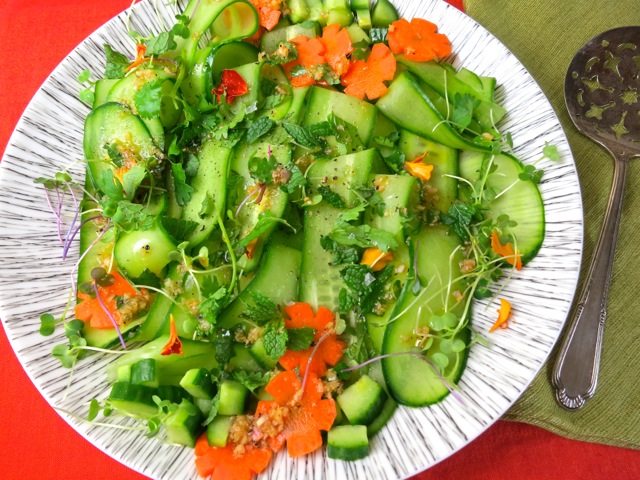
Butter Lettuce, Cucumbers, Tomatoes & Sugar Snap PeasThe vinaigrette is especially delicious on a salad with crunchy butter or iceberg lettuce, cucumbers and sugar snap peas.

Sesame-Miso Vinaigrette Salad

Sesame-Miso Vinaigrette

Adapted from Bon Appetit

Makes about 2/3 cup

Ingredients 

1 red Fresno chile, with seeds, finely chopped

3 tablespoons canola oil

2 tablespoons fresh lime juice

2 tablespoons white miso

1 tablespoon soy sauce

1 tablespoons unseasoned rice vinegar

1 teaspoon toasted sesame oil

1 teaspoons toasted sesame seeds

1/2 teaspoon grated peeled ginger

Preparation

Whisk all ingredients in a small bowl.  Vinaigrette can be made 3 days ahead.  Cover and chill before serving.


Fruit, Recipes, Vegan, Vegetarian

Pickled Mango

July 8, 2014

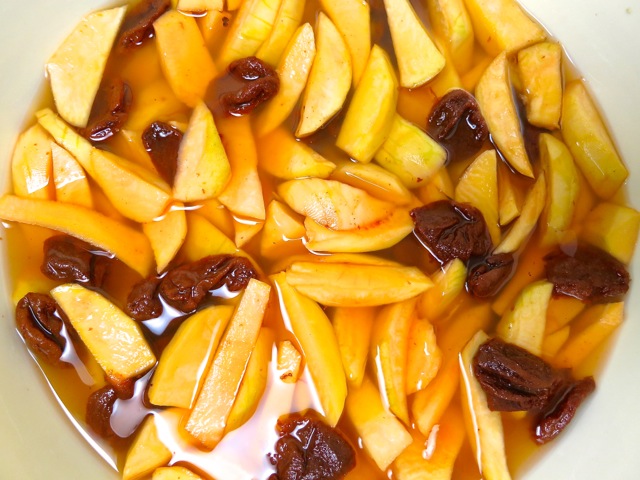
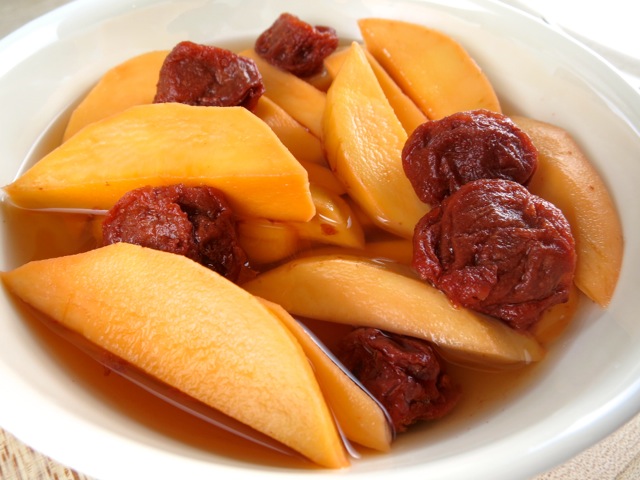
Pickled Mango with Dried PlumsMany of the world’s cultures have their own version of pickled mango.  In India they often use chiles, fenugreek and mustard seeds for a spicy pickled mango side dish.  Vietnamese- style pickled mango may include Thai chiles.  Here in Hawaii we make a brine of vinegar, sugar and salt and sometimes dried plums are added.

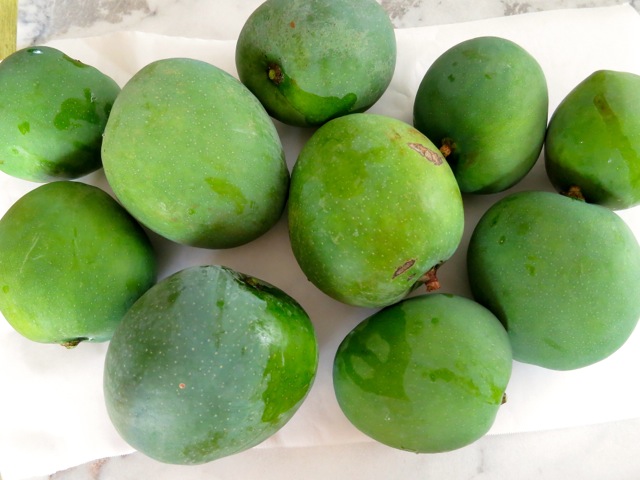
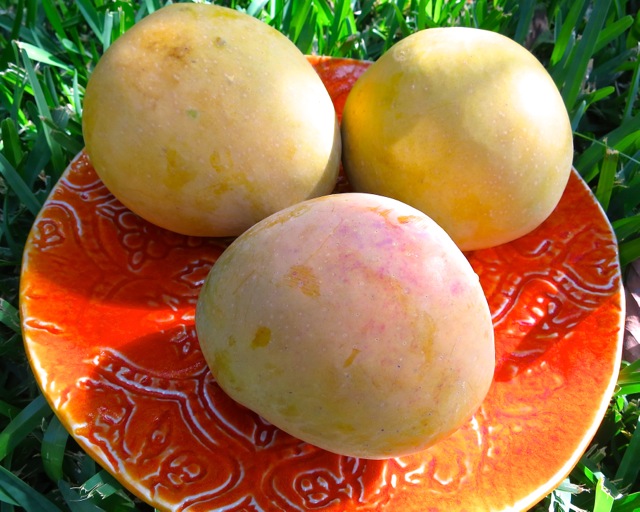
Green MangoesA few weeks ago strong trade winds knocked off a number of our White Pirie and Rapoza mangoes.  This could have been a tragedy, given how tasty these mangoes are when perfectly ripe.  So bucket in hand, I gathered up the fallen green mangoes and made a small batch of  pickled mango. All of my Maui friends love pickled mango!

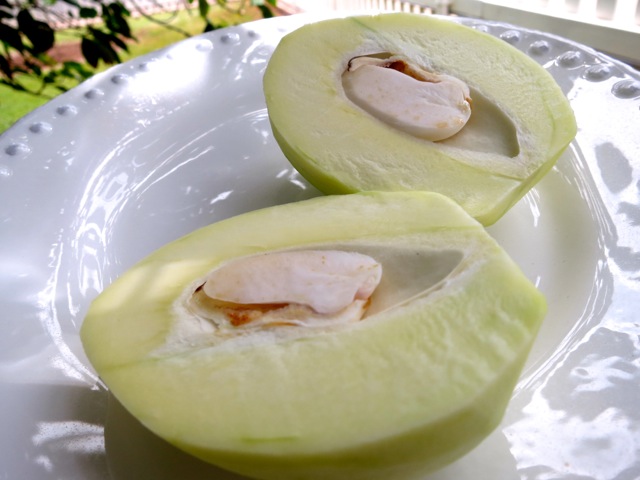
Young Green MangoThe seed of this green Rapoza mango is small and soft which makes it very easy to cut the mango into slices. This particular mango is all fruit and little seed.

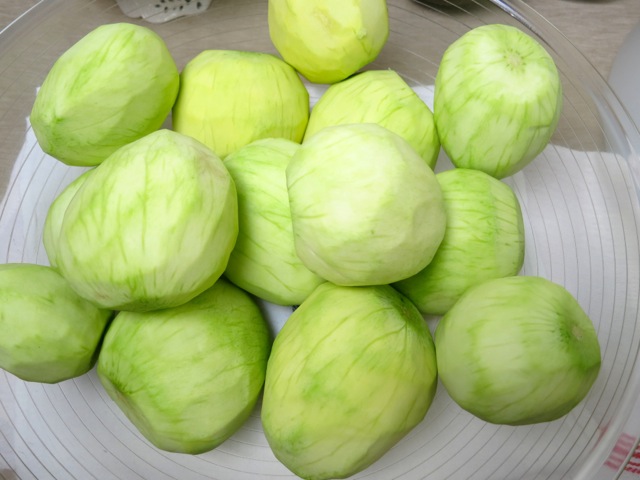
Peeled Green Mangoes

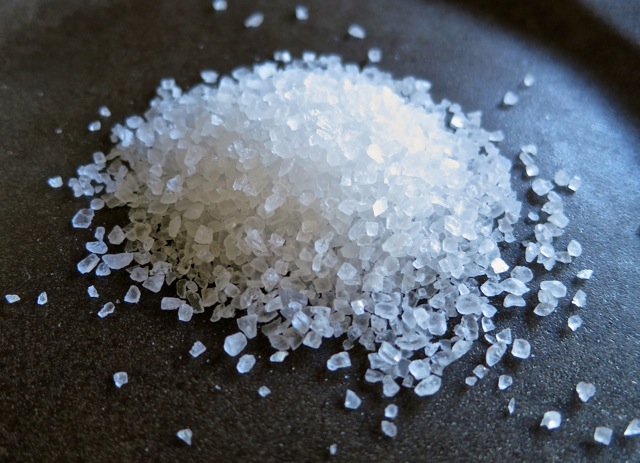
Hawaiian Salt

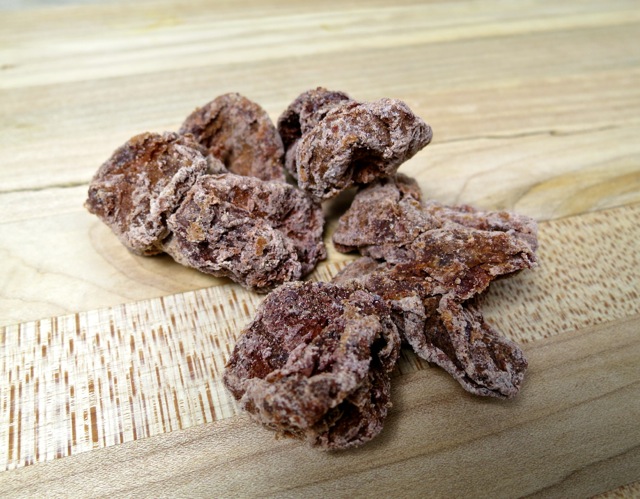
Dried Seedless PlumsAdding dried plums to the pickled mango is not essential however I usually include them.  They soak up all the tasty brine and add that extra “umami” flavor we all love.

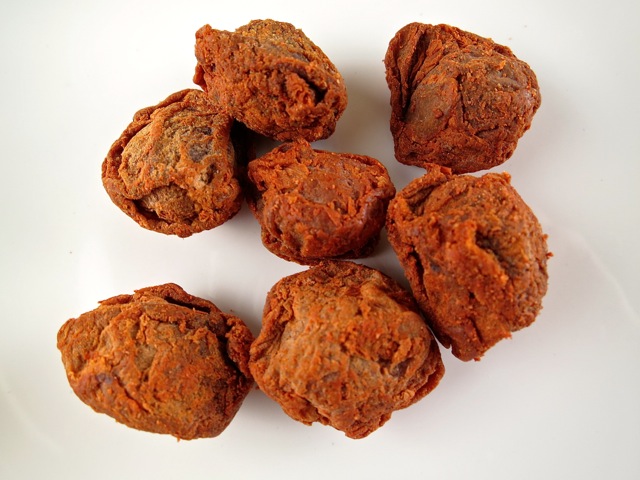
Li Hing Mui plums

Pickled Mango with Li Hing Mui

Pickled Mangoes

Pickled Mango

Makes about 11 cups

Ingredients

6 – 7 pounds green mangoes

2 1/2 cups white vinegar

3 cups filtered water

2 1/2 cups sugar

3 tablespoons Hawaiian salt or kosher salt

1/2 – 1 teaspoon li hing mui powder (optional)

20 li hing mui plum seed or dried seedless plums (optional)

Preparation

Combine vinegar, water, sugar, and Hawaiian salt in a 3-quart pot.  Bring to a simmer, stirring until the sugar and salt are fully dissolved.  If using li hing mui powder, add it now and stir to combine.  Remove from the heat and let mixture cool to room temperature.

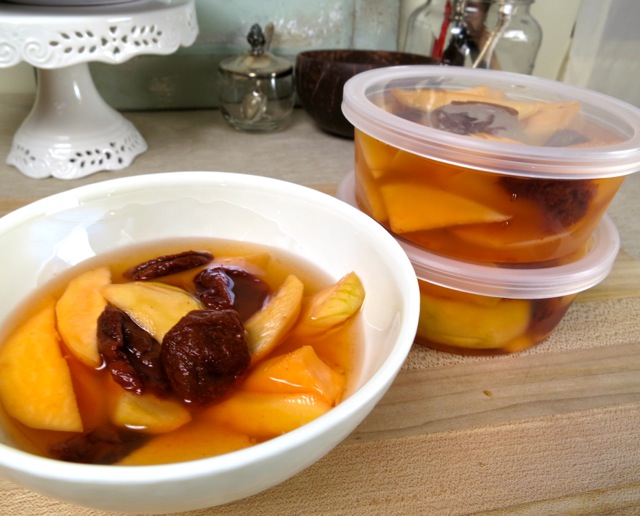
Peel mangoes and cut fruit away from the seed.  Slice into strips about 1/3-inch thick.  Place cut mangoes in a large bowl.  Add enough liquid to cover the mangoes.  Give it a stir, add dried plums/li hing mui if using.  Cover the bowl and refrigerate overnight, stirring occasionally.  The pickled mango tastes best after it has marinated for a few days in the delicious sweet-tart brine.  Pack in individual containers and store in the refrigerator.  Give them away as gifts, your friends will be forever grateful.


Dinner, Fish, Fruit, Recipes, Vegan, Vegetarian

Mango Salsa

July 2, 2014

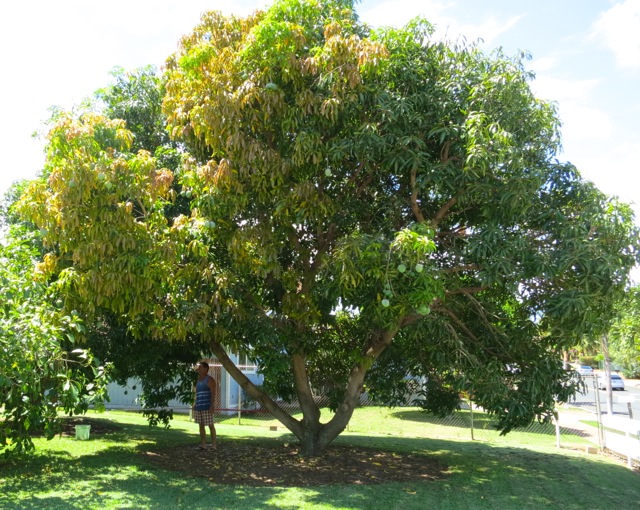
White Pirie MangoOur mango tree (White Pirie) provides us with the sweetest fruit imaginable.  These little, nondescript mangoes are a revelation to those who are not familiar with this particular variety.  I have to give credit to my mom who told me how delicious this mango is, and, that I should plant a White Pirie tree in my yard.  Now, more than 25 years later, this tree is the crown jewel of our garden.

White Pirie Mango Tree

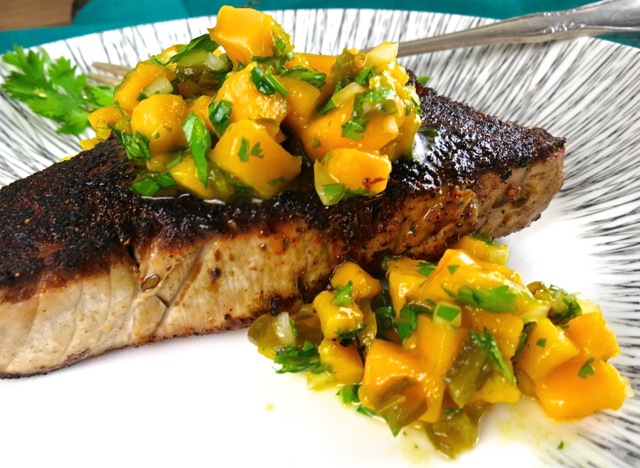
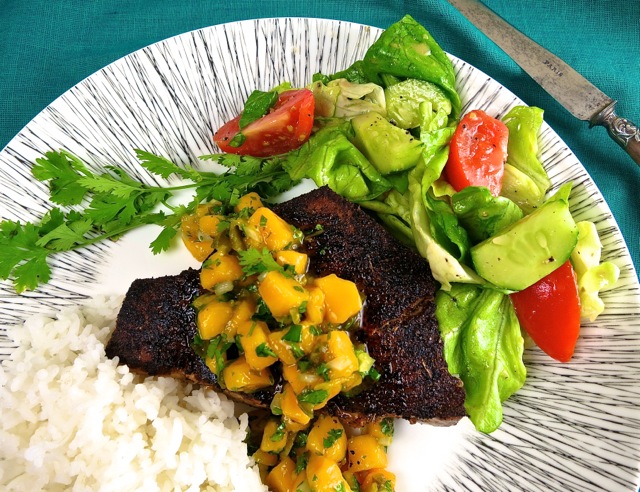
Blackened Ahi with Mango  Salsa

This is a quick salsa that is particularly good with grilled fish. It goes especially well with Cajun style blackened fish: it’s really the perfect summer meal.

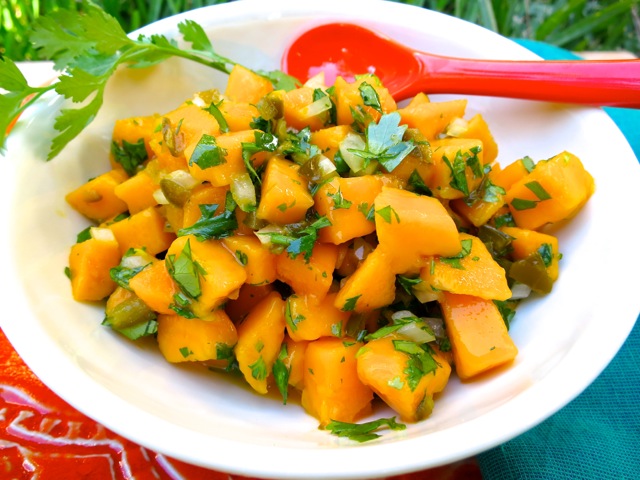
Mango Salsa During the summer months when mangoes are in season, there are a number of ways I like to use them. Sorbet, jam, pickled and occasionally a nice mango crisp for dessert.  This salsa recipe is one of the most delicious ways to enjoy this fruit.

Blackened Ahi with Mango  Salsa

Mango Salsa

2 generous servings

Ingredients

1 cup diced, sweet mango (ripe but not too soft)

2 tablespoons chopped cilantro

1 tablespoon finely chopped Maui onion

jalapeño to taste (I like to use our nacho jalapeños but feel free to use fresh jalapeños)

juice of 1/2 lime

Preparation

Combine mango, cilantro, onion and jalapeño in a medium bowl.  Squeeze lime juice over and toss very gently to combine ingredients.  Refrigerate until well chilled.  Serve over fresh, grilled fish or chicken.

*Salsa is best made within a couple of hours before serving.
Bread, Lactose Free, Recipes, Vegan, Vegetarian

Josey Baker’s Adventure Bread

June 19, 2014

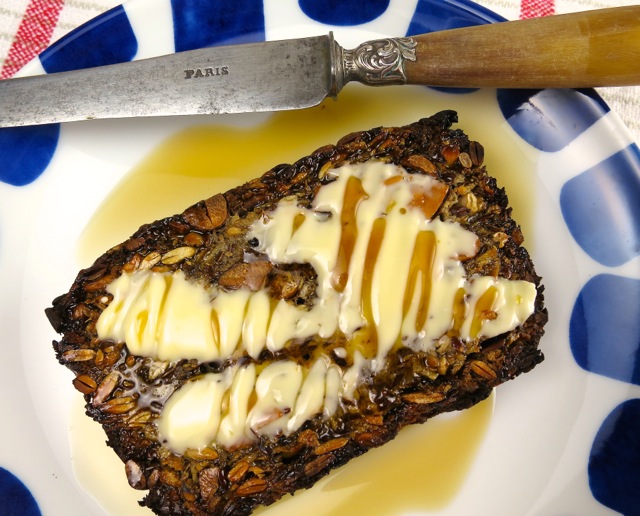
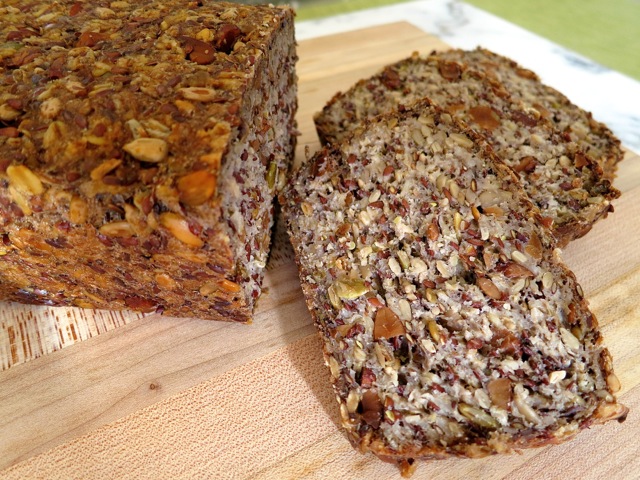
Toasted Adventure Bread with Maple SyrupAdventure bread.  What a clever name!  The moment I read David Lebovitz’ post about Josey Baker’s Adventure bread, chock-full of nuts, seeds, and oats, I knew I had to make it right away.

Adventure Bread

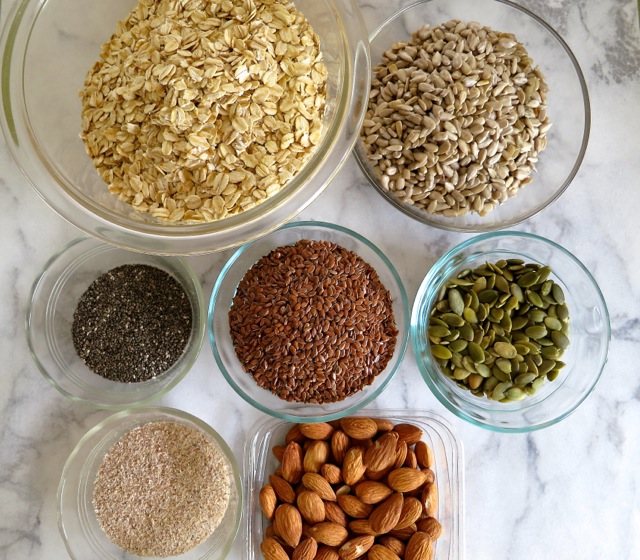
Psyllium Husks, Chia Seeds, Oats, Sunflower Seeds, Pumpkin Seeds, Almonds, Flax SeedsYou might wonder what holds this gluten and flour free, hearty loaf together.  The secret binder is psyllium husks.  This bread’s allure is hard to explain but you’ll fall in love with it as soon as you try it. Toasted until utterly crunchy and smothered with butter and honey or pure maple syrup, it is the perfect way to start (or end) your day.

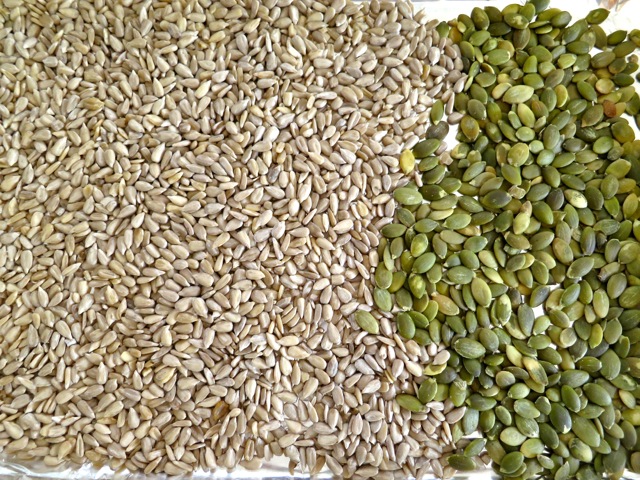
Sunflower & Pumpkin SeedsThere is an abundance of sunflower, pumpkin, and flax seeds, plus 3/4 cups toasted almonds and 2 1/4 cups of rolled oats. I was curious to know how much this loaf weighed.  I set the pan on my kitchen scale and found it weighed 3 1/2 pounds!  I knew I was in for a real treat when the loaf was baking and the scent of toasted almonds filled the air.

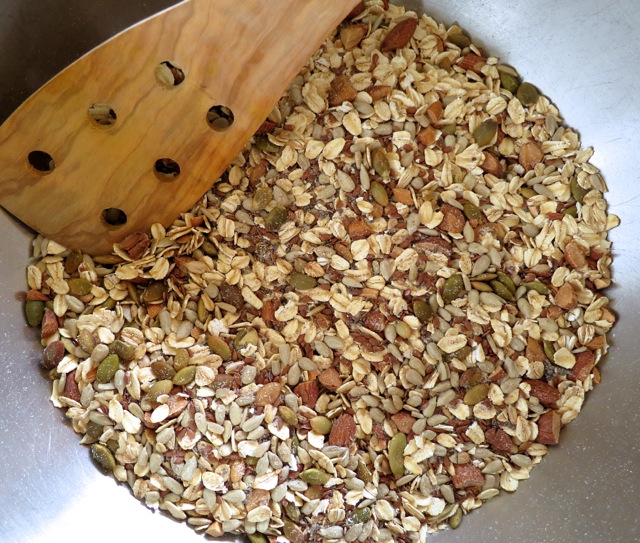
Adventure Bread Dry Ingredients

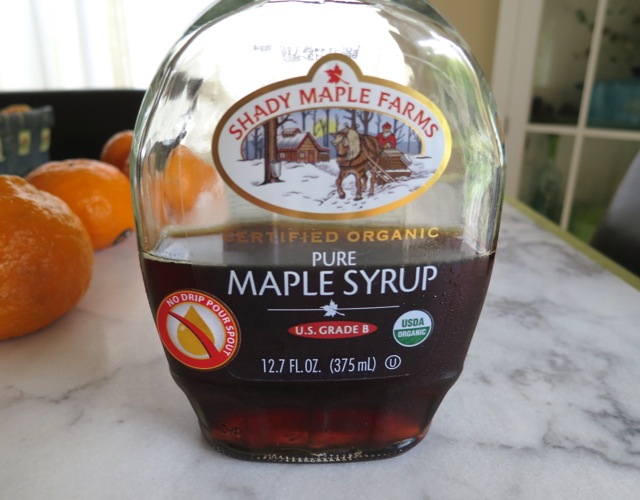
Organic Maple SyrupIt’s essential to use pure maple syrup.  No substitutions!

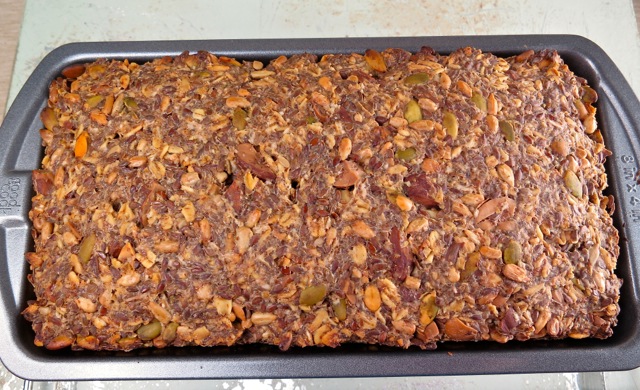
Baked Adventure Bread

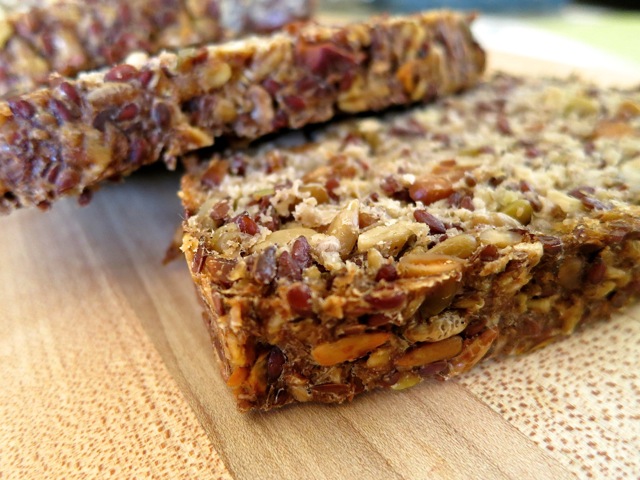
Sliced Adventure Bread

Josey Baker’s Adventure Bread

One eight-inch loaf pan

From David Lebovitz blog

Ingredients

Dry:

2 1/4 cups (235g) rolled oats

1 cup (160g) sunflower seeds (hulled)

1/2 cup (65g) pumpkin seeds (hulled)

3/4 cup (90g) almonds, toasted and coarsely chopped

3/4 cup (120g) flax seeds

1/3 cup (25g) psyllium husks

3 tablespoons (25g) chia seeds

2 teaspoons (12g) fine sea salt

Wet:

2 tablespoons (40g) pure maple syrup

1/4 cup (55g) olive oil

2 1/2 cups (600g) water

Preparation

Toast the sunflower and pumpkin seeds. Preheat your oven to 350ºF.  Spread the seeds on a baking sheet and toast until they start to brown, about 15 minutes, stirring halfway during baking.  Watch closely so they do not burn.  Toast the almonds for about 7 minutes. I used my toaster oven set to 300ºF.

Combine the dry ingredients in a large bowl.  Pour in the wet ingredients, and as Josie instructs, “mush up your dough real good with strong hands or a big spoon.”  Since this is all the handling your dough will encounter, mix it well.   Scoop the dough into your oiled pan and smooth out the top.  Place the pan in your refrigerator for at least a few hours, or up to a whole day.

Remove the bread from the refrigerator and let it come to room temperature.  Put a rack in the middle of the oven and preheat to 400ºF.  Bake the bread for about an hour, then take it out and gently remove the loaf from the pan.  Let it cool on a rack for at least 2 hours, or until completely cool.  Josie says not to rush this step.

The bread is best sliced thin (about 1/2 inch) and then toasted until crunchy edges form.  I use my toaster oven and toast the slices for at least 8 – 10 minutes.  Spread with butter and drizzle with honey, or top with your favorite jam, jelly, or maple syrup.

*The bread freezes nicely.  Slice and freeze in a Ziplock bag.


Dessert, Fruit, Lactose Free, Recipes, Vegan, Vegetarian

Blueberry Tart

May 11, 2014

Blueberry Tart I’ve been enjoying fresh blueberries for months, adding them to my yogurt at breakfast, in weekend griddle cakes, and sometimes eating handfuls for a quick snack.  My friend Shanna recently sent me a recipe link for this blueberry tart.  The following week while at Costco I found some gorgeous blueberries so I bought a couple of containers with this Alice Medrich recipe in mind.  Posted by ABC News, as sometimes happens with recipes, there were two important pieces of information left out; tart pan size and oven temperature for the crust.  I only have one tart pan (9-inch) which meant the first problem was solved.  The oven temperature was easy to find after a quick search on the internet. Voila!  Time to make a blueberry tart.

Tart CrustThe dough was quite soft as the recipe mentioned it might be, but that actually made it easy to press into the tart pan.

Baked Tart CrustBaked to a beautiful golden color the crust did shrink quite a bit from the top edge of the tart pan.  I thought it might be too shallow but it worked out perfectly.

Lemon Zest

Blueberries, Water, Sugar, Flour, Lemon ZestBlueberries, sugar, water, flour, lemon zest and a dash of salt are combined and heated briefly on the stove.

Cooked Blueberries

Fresh Blueberries in Tart CrustHalf of the fresh blueberries are set aside and sprinkled over the baked crust before adding the cooked berries.

Blueberry TartThis recipe is so easy to prepare.  It is the perfect dessert for a small party.  The tart is chilled thoroughly before serving and that means you can make it in advance.  The recipe mentioned the tart is best eaten the first day however I found it is just as good the following day.

Crispy Tart CrustDelicious, crisp, crust.

Blueberry Tart Plate

Blueberry Tart

Alice Medrich’s Easy Blueberry Tart

Adapted from ABC News

Makes one 9-inch tart

Ingredients

For the crust:

10 tablespoons (5 ounces) unsalted butter, melted (I used Earth Balance Buttery Sticks)

1/4 cup (1.75 ounces) sugar

1 teaspoon vanilla extract

1/4 teaspoon salt

1 1/4 cups + 1 tablespoon (5.75 ounces) unbleached all-purpose flour

1/4 teaspoon baking powder

For the filling:

4 cups fresh blueberries (1 1/2 pounds)

3/4 cups (5.25 ounces) sugar

1/3 cup water

2 tablespoons unbleached all-purpose flour

1/8 teaspoon salt

grated zest of 1 small lemon

Preparation

Preheat oven to 350 degrees.

To make the crust: Combine butter, sugar, vanilla, and salt, in a medium bowl.  Mix the flour and baking powder together thoroughly, add to the butter mixture, and mix just until well blended.  If the dough seems too soft, let it stand for a few minutes to firm up.

Press the dough over the bottom and up the sides of a 9-inch tart pan to make a thin, even layer making sure to press the dough uniformly around the edges of the pan to avoid extra-thick edges. (The crust can be prepared up to 2 days in advance.  Wrap well and refrigerate until ready to use.  Bring to room temperature before baking).  Place tart pan on a baking sheet and bake for 22 – 25 minutes, until the crust is fully golden brown all over.  If the crust puffs up during baking, gently press it down with the back of a fork and prick it a few times.  Set the baked crust aside while you prepare the filling.

Combine 2 cups of blueberries with the sugar, water, flour, salt, and lemon zest in a medium saucepan and bring to a simmer over medium heat, stirring frequently.  Then simmer, stirring, until the filling is thickened and translucent, about 3 more minutes.

Spread the remaining 2 cups of uncooked blueberries in the tart crust.  Spoon the hot blueberry mixture into the crust, covering the raw blueberries evenly.  Spoon enough liquid into the tart so that it just comes up to the edge of the crust.  Discard excess liquid.  Let cool, then refrigerate for at least 2 hours, until the filling is set.

Serve the tart cold. Remove the sides of the pan and transfer the tart to a serving platter. The tart keeps well, covered, in the refrigerator for up to 2 days.


Japanese, Pickles, Recipes, Side Dishes, Vegan, Vegetarian, Veggies

Homemade Takuan

May 4, 2014

Takuan BowlMy friend Tomoe always has a treat to give me when I stop by now and then to deliver tomatoes or avocados from our garden.  I never leave her home without a gift of her delicious mango bread, lilikoi jelly or in this case takuan.  I have never thought of making takuan since I only eat it occasionally and it’s readily available in the markets here.  After taking a jar of Tomoe’s homemade takuan home and tasting it, I decided it was about time to make my own.  Her little yellow pickles were so tasty, crunchy, sweet and salty with just a hint of tartness (much superior to the commercial brands)  and, oh so delicious with a bowl of steaming hot rice.

Peeled DaikonDaikon are not the most attractive vegetable.  In fact, with their pale color and gangly shape, they are quite homely.  However once you add a bit of seasoning to daikon, they transform into some of the best pickles you can imagine.  A case in point is Vietnamese pickles (Do Chua).  I adore these pickles piled high in a banh mi. Takuan pickles are delicious served as a side dish with rice and grilled fish, chicken or even tofu.  In fact I enjoy just a bowl of hot rice and takuan.

Sliced Daikon

Daikon WaterAfter mixing the daikon with sugar, let it sit for an hour or two.  You’ll end up with quite a bit of liquid in the bowl.

Japanese ColoringThough these pale radishes don’t need to be tinted a bright yellow, their color is actually part of their identity and what we grew up with.  Tomoe goes to Japan every year and buys powdered coloring.  I have no idea what the box says but it worked.

Yellow Food Color

Hawaiian Salt

Takuan with ColorIt takes about a week for the daikon to absorb the pretty yellow color and flavor of the brine.  After 2 weeks the pickles are ready to eat.

Musubi 2Onigiri goes hand in hand with takuan pickles!

Takuan and Musubi

Homemade Takuan

Adapted from Tomoe’s recipe

Makes 2 quart jars

Ingredients

3 1/2 pounds long daikon

2 cups + 1 tablespoon sugar

1/4 cup Hawaiian sea salt (kosher or other coarse salt if Hawaiian sea salt is not available)

1/4 cup + 3 tablespoons rice vinegar

yellow food coloring

Preparation

Peel daikon and cut into 2 inch length pieces about 1/3 inch thick.  Place in a large bowl and toss with sugar.  Let stand for 1 – 2 hours, tossing occasionally. Do not discard liquid.

Add Hawaiian salt and rice vinegar to the bowl of daikon.  Toss to coat well.  Add yellow food coloring being very careful not to add too much.  You can always add more if the color is not what you expected.  Cover bowl well, and refrigerate for 2 weeks, tossing pickles every few days.   The amount of liquid from the daikon will vary.  Taste and adjust seasoning as needed. Transfer pickles to quart jars and cover tightly.  Takuan pickles will last for months stored in the refrigerator.


Follow

Get every new post delivered to your Inbox

Join other followers: