This is a beautiful and versatile dressing. It’s delicious with chopped iceberg lettuce and cucumbers, or drizzled over a crisp watercress salad. It’s the perfect match for a cool summer soba salad with finely shredded red cabbage and pan-fried tofu.
This Hawaiian Style Mellow White Miso is perfect for this dressing. It has a semi-sweet flavor that compliments the rest of the ingredients.
The dressing can be prepared in less than 10 minutes. All the ingredients are whisked together in a small bowl. That’s it! It will keep nicely in the refrigerator for 3 – 4 days.
Whisk together all ingredients in a small bowl. Serve over crisp salad greens such as iceberg lettuce, watercress, chopped cabbage or use as a dressing for soba salad.
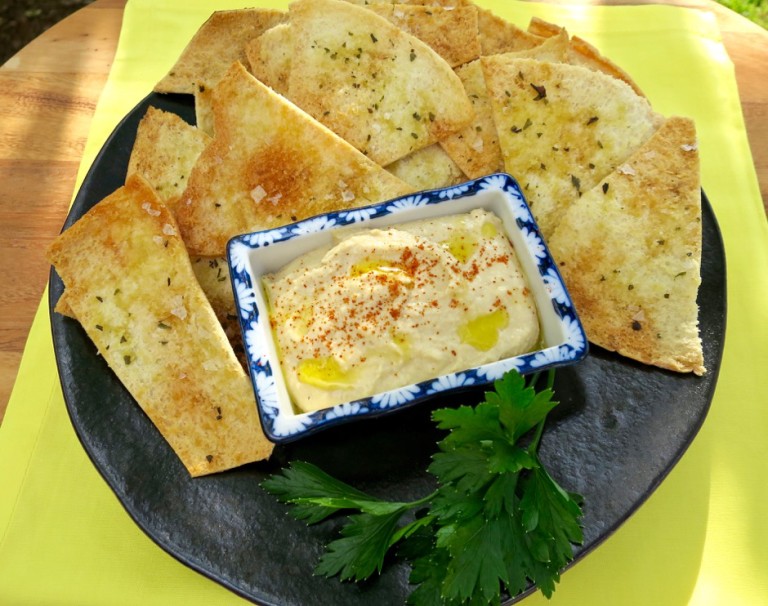
Having recently discovered the superlative quality of homemade hummus as opposed to the store-bought version, I thought why not make my own pita chips too? They are one of the simplest snacks to make and all you need is a bag of pita bread plus olive oil and salt, items that we all have in our pantries.
You can opt to use all the pita breads in the package, or make a smaller batch using just three. The pita chips bake for just 10 minutes and come out of the oven perfectly golden brown.
I tried splitting the pita bread, and not splitting the pita bread. Conclusion – splitting the pita bread is the way to go if you want thin and crispy chips. The pita chips that were not split were a bit tough and didn’t seem to hold their crunchy texture for very long, which brought to mind the time I purchased a bag of Stacy’s Pita Chips at Mana Foods. They were nice and crisp. Later, I saw a giant bag at Costco so I bought it, after all it was a good deal. Once I took a bite of Stacy’s Costco version, I was sorely disappointed. The chips were really hard and not delicately crispy as I had expected them to be. Curious about why there was such a variation of the two bags, I contacted Stacy’s customer service department and was informed that the pita chips sold at Costco (in the giant bag that’s such a deal) are not split, and the ones at the market are. So there you have it!
Brush or dab a little olive oil on the rough side of the pita bread. Sprinkle with flaky sea salt, such as Maldon. I like to sprinkle a bit of dried oregano over the pita bread but it is optional. You could also season the pita chips with pepper, or other dried herbs. Bake until completely crisp.
Hummus and pita chips are a great snack any time of the day. I have purchased hummus from our local markets in the past, but I’m always disappointed. Most of the time it’s because there’s too much garlic in the hummus for my taste. When it comes to using raw garlic, especially in hummus and pesto, I prefer a light garlicky flavor, just enough to give the dish a nice zing, but also allowing the other flavors to shine. This simple recipe does just that. You taste the chickpeas, tahini, lemon juice, cumin, and a bit of garlic. A few dashes of cayenne pepper adds a delightful touch of heat. This snack will take you just 10 minutes to whip up in your food processor.
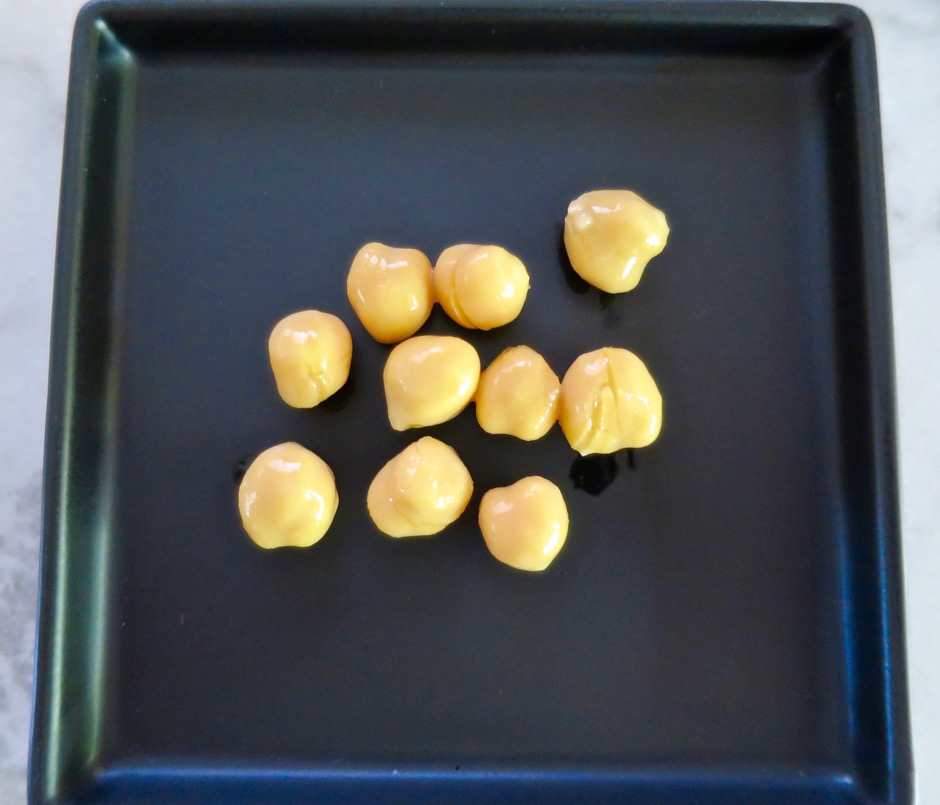
I’ve tried a number of brands of canned chickpeas (also known as garbanzo beans) and finally decided that I like Eden the best (so far). The beans have a nice color and a good texture.
1 15 ounce can of chickpeas drained, 2 tablespoons of liquid reserved (you may reserve a few beans to sprinkle over the hummus)
¼ cup tahini
2 tablespoons extra virgin olive oil
¼ cup fresh lemon juice
1 - 2 tablespoons reserved liquid from the beans
1 very small garlic clove, pressed (scant ¼ teaspoon)
¾ teaspoon kosher salt
few grinds of black pepper
few dashes of cayenne pepper
Preparation
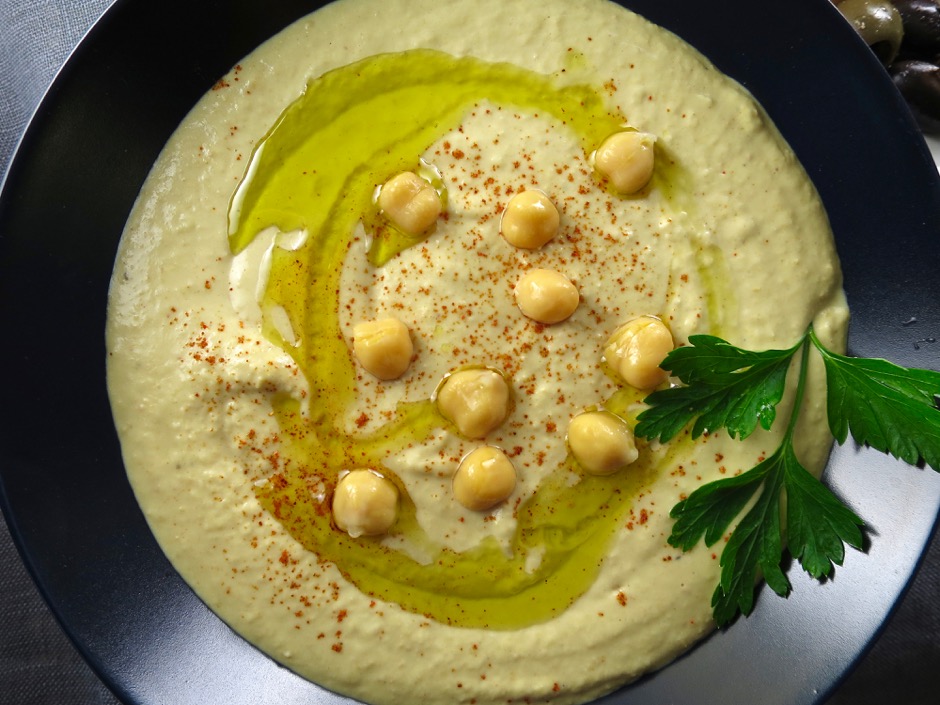
Place chickpeas, tahini, olive oil, lemon juice, 1 tablespoon reserved bean liquid, garlic, salt, black pepper and cayenne pepper in a food processor. Process until smooth, scraping down the sides as needed. If the hummus seems too thick, add the other tablespoon of reserved bean liquid and process for a few seconds. Taste and add more salt and cayenne pepper if you desire.
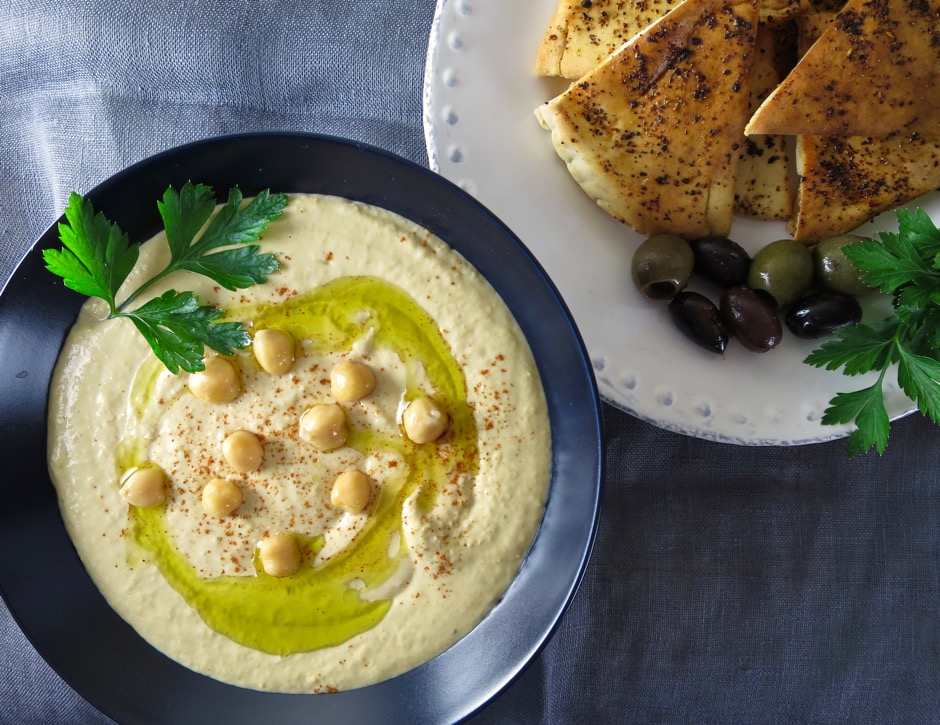
Before serving, drizzle a little olive oil over the hummus and sprinkle with a bit of cayenne pepper or paprika and reserved garbanzo beans. Serve with pita chips.
In earlier posts, I’ve mentioned that we love virtually all forms of pickles. These refrigerator dill pickles are scrumptious. Crunchy with a little heat from the Aleppo pepper flakes, they are ready to eat in just an hour. John, always on the lookout for different pickles, found the recipe in my Bon Appetit magazine and quickly ordered Aleppo pepper from Amazon knowing we wouldn’t be able to find it here on Maui. Featuring large flakes with a beautiful deep red color and medium heat, it is widely used in Middle Eastern cooking. This is our new favorite savory pickle.
The original recipe called for Persian cucumbers which are difficult to find here on Maui. These beautiful Keiki Cukes are readily available at our local Costco and they are perfect for pickles.
If you are in the mood for pickles, go ahead and make a batch of these crunchy dills. Once you taste them you will want to have a jar in your refrigerator at all times. Sprinkle on za’atar for a delicious finishing touch just before serving the pickles.
Updated 2/07/16: I reduced the salt from the original recipe.
Author: Kiyo Miller
Ingredients
8 Keiki Cukes or Persian cucumbers (about 1¼ pound) quartered lengthwise
¼ cup coarsely chopped fresh dill
2⅓ cups distilled white vinegar
⅓ cup sugar
1 medium garlic clove, finely grated
1 tablespoon Aleppo pepper
1 tablespoon fresh lemon juice
2 teaspoons kosher salt
1 teaspoon red pepper flakes
1 teaspoon freshly ground black pepper
Za'atar and flaky sea salt (for serving)
Preparation
Pack cucumber spears and dill into a large heatproof jar.
Bring vinegar, sugar, garlic, Aleppo pepper, lemon juice, kosher salt, red pepper flakes, and black pepper to a boil in a medium saucepan, stirring to dissolve sugar. Let cool slightly, then pour brine over cucumbers to submerge. Seal jar and chill at least 30 minutes.
To serve, remove cucumber spears from brine, lightly shaking off excess liquid but leaving on any seasonings. Sprinkle with za'atar and sea salt.
Our poor Sharwil avocado tree has dropped most of its fruit before their usual December season due date. We attribute this to the extremely hot and humid weather we experienced this summer. It was quite unbearable for us humans, and so we expect the poor plants were suffering as well. In any case, we had to throw many away but the most recent ones that have fallen off the tree have been ripening nicely and are quite good. I’m always searching for new ways to use our homegrown fruit. This avocado pesto recipe from Eating Well magazine sounded delicious so I whipped up a batch for lunch.
The one plant that never suffers from too much heat is basil. It just thrives in our garden.
Hemp seeds are quite delicious. I sprinkle them on salads and now use them in place of pine nuts for pesto.
Author: Kiyo Miller adapted from Eating Well magazine
Serves: 4 about 1⅔ cups
Ingredients
1 large bunch fresh basil (about 2 cups lightly packed)
2 medium-sized ripe avocados
⅓ cup hemp seeds (or walnuts)
2 tablespoons fresh lemon juice
1 large garlic clove, minced
¾ teaspoon kosher salt
½ cup extra-virgin olive oil
freshly ground black pepper
Preparation
Place basil leaves, avocados, hemp seeds, lemon juice, garlic and salt in a food processor. Pulse until finely chopped, scraping down the sides as necessary. Add oil and process to form a thick paste. Season with pepper and additional salt if needed.
Toss the pesto with your favorite pasta. I love the way the pesto coats the long, flat strands of linguine.
Pesto is best eaten the day you make it as the avocado pesto will brown slightly if made in advance.
I bumped into a friend of ours, Lisa Tamaki, with whom I have a shared interest in cooking as well as home canning. She told me about a new salad recipe she thought I would enjoy. The dressing has nutritional yeast in it, one of my favorite foods. Lisa’s enthusiasm about the “Glory Bowl Salad” (named for a top ski bowl in Canada) made me eager to try it out right away. Thank you, thank you!
The original recipe comes from Shelley Adams who once owned Whitewater Ski Resort in Canada. This salad is one of her most requested recipes. Rachel also posted Sami’s version of this delicious salad. I followed her suggestion of seasoning the tofu with sesame oil and soy sauce before baking and it adds a wonderful flavor to the tofu. You can use almost any vegetables you want to in this salad. I opted for colorful red cabbage, crunchy snap peas, cucumbers, carrots and edamame. Don’t skip the toasted almonds. They are super in this salad. The dressing has a fantastic umami flavor due to the generous amount of nutritional yeast and soy sauce, so good you’ll be looking for things to pour it on once your salad is long gone.
I use my TofuXpress often. It presses out the water quickly. No more wasting paper towels!
It’s best to serve the baked tofu once cooled, however, you may bake it in advance and refrigerate it until ready to use. The texture won’t be quite the same (it softens once refrigerated) but it will still taste delicious. Just bring it to room temperature before serving.
Glory Bowl Salad
Adapted from Whitewater Cooks & The Conscious Dietician blog
Two generous salad bowl servings and 1 cup dressing
Ingredients
Salad Bowl:
1 cup short or medium grain brown rice
1/3 cup toasted slivered almonds (bake in toaster oven at 300° for about 5 minutes – watch so they do not burn)
1 package (14 ounce) extra firm tofu (Wildwood recommended) water pressed out
2 teaspoons sesame oil
2 tablespoons soy sauce
2 ounces sliced cucumber
1 ounce shredded carrot
1/3 cup cooked edamame
3 ounces snap peas
1 ounce shredded red cabbage
roasted black sesame seeds – optional
Dressing:
1/4 cup + 2 tablespoons nutritional yeast
3 tablespoons water
3 tablespoons soy sauce
3 tablespoons apple cider vinegar
1 clove garlic, crushed
1 1/2 tablespoons tahini paste
1/4 cup extra virgin olive oil
1/4 cup canola oil
freshly ground black pepper
Cook brown rice according to package directions. Set aside.
Toast slivered almonds for a few minutes to crisp up.
Press out water from tofu using the TofuXpress or a clean dish towel or paper towels (weighted down). Cut tofu into rectangles about 1/2 inch thick. Combine sesame oil and soy sauce in a small bowl. Brush mixture over tofu slices, or toss to coat well. Place tofu on a foil lined baking sheet and bake at 350°F for 25 minutes (I use my toaster oven).
Using an immersion blender combine nutritional yeast, water, soy sauce, apple cider vinegar, garlic, tahini paste, extra virgin olive oil, and canola oil. Or whisk by hand until all of the ingredients are well incorporated. Season to taste with freshly ground black pepper.
Assemble your salad by placing the rice on the bottom of your bowl, adding the vegetables and tofu over the rice. Drizzle a generous amount of the dressing over the salad. Sprinkle toasted almonds and roasted sesame seeds over the top and serve with extra dressing.
 This is a beautiful and versatile dressing. It’s delicious with chopped iceberg lettuce and cucumbers, or drizzled over a crisp watercress salad. It’s the perfect match for a cool summer soba salad with finely shredded red cabbage and pan-fried tofu.
 This Hawaiian Style Mellow White Miso is perfect for this dressing. It has a semi-sweet flavor that compliments the rest of the ingredients.

 The dressing can be prepared in less than 10 minutes. All the ingredients are whisked together in a small bowl. That’s it! It will keep nicely in the refrigerator for 3 – 4 days.