Browsing Category

Vegan

Appetizers, Dinner, Japanese, Lactose Free, Recipes, Rice Dishes, Side Dishes, Summertime Meal, Tofu, Vegan, Vegetarian

Inari Sushi

January 21, 2025

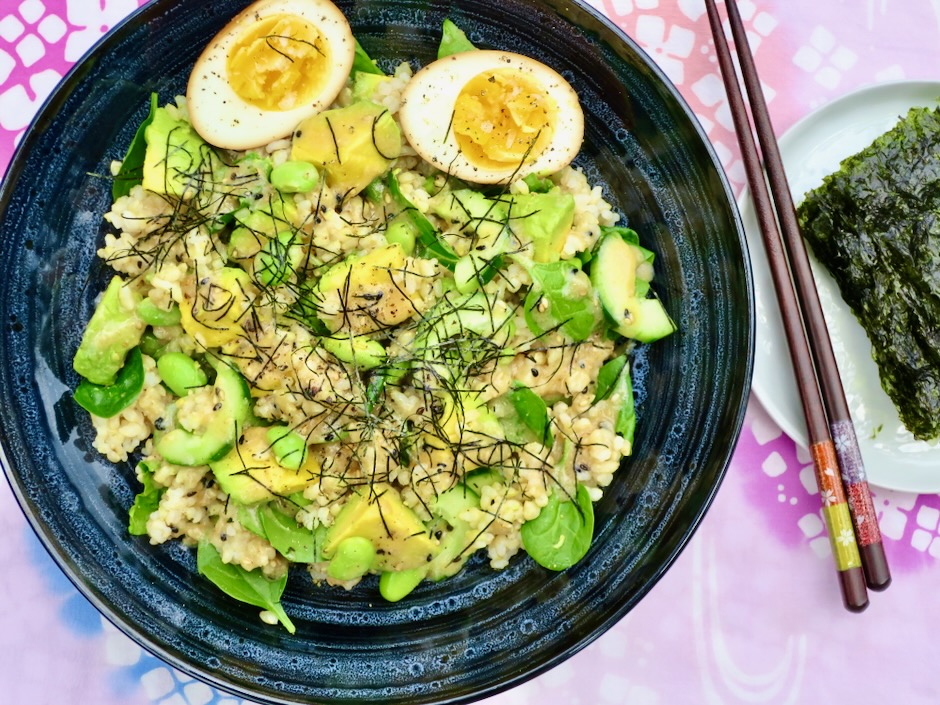
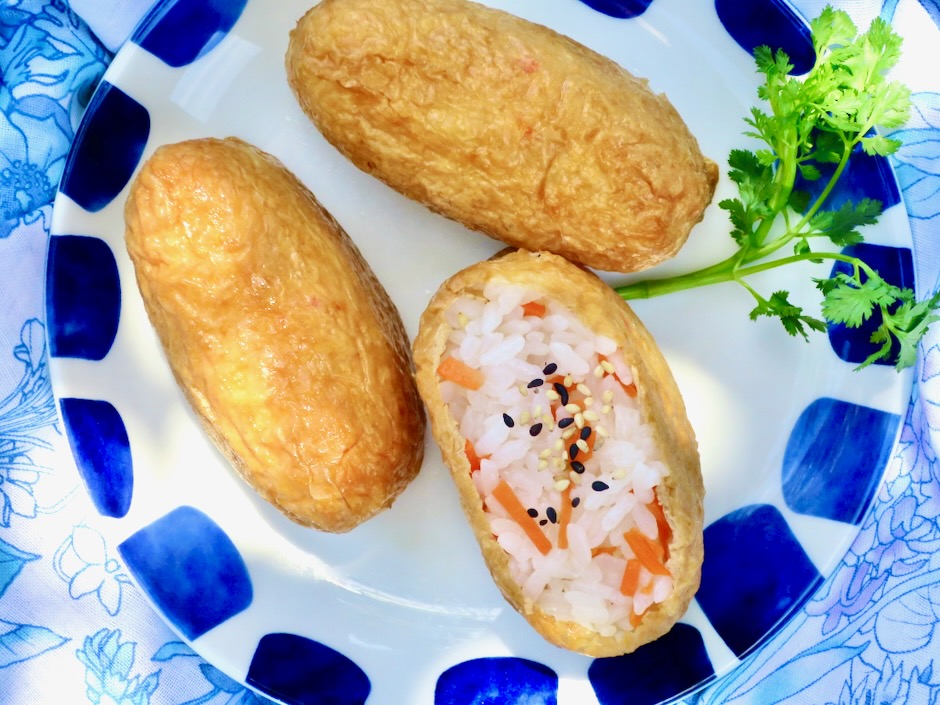
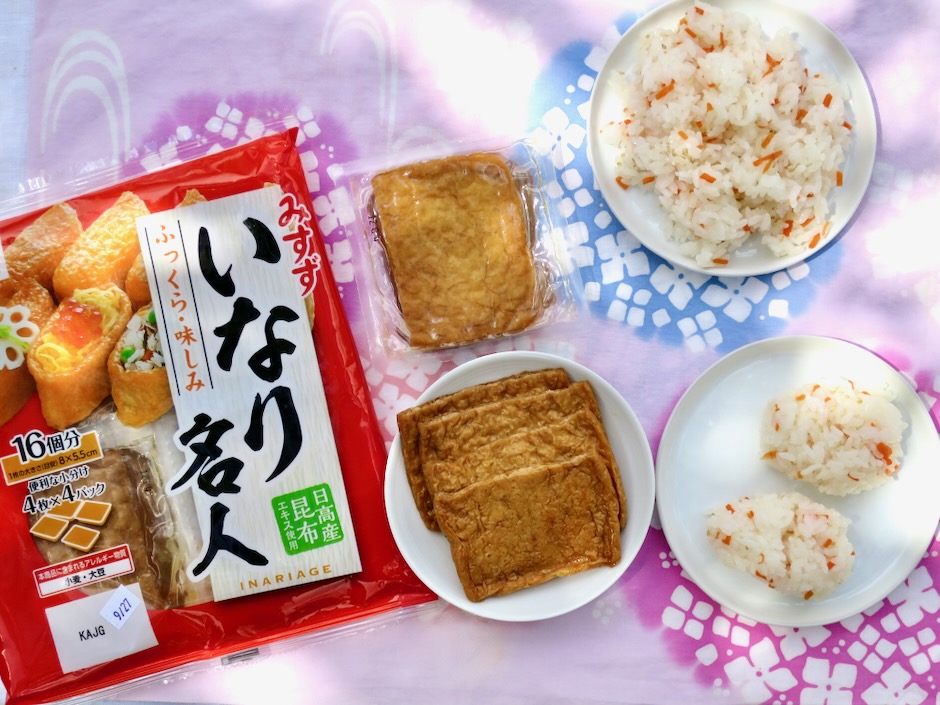
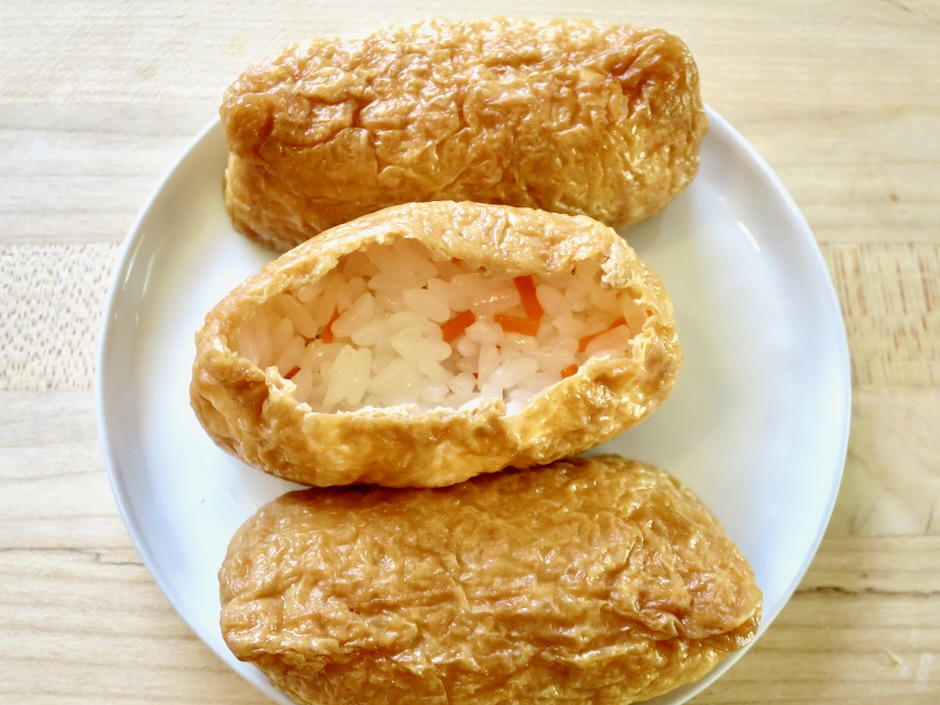
Inari sushi is a local island favorite, known in Hawaii as cone sushi. These compact tofu pouches are filled with seasoned rice and are perfect for sharing with family and friends. The combination of savory, sweet and tender tofu pouches (inari age) along with a tasty vinegared rice makes a delightful snack or side dish for any occasion.

This simple style of sushi is uncomplicated making it especially easy to put together with just a few ingredients. Refrigerated inari sushi holds up quite well if you happen to have any leftovers and can be consumed the following day or two.

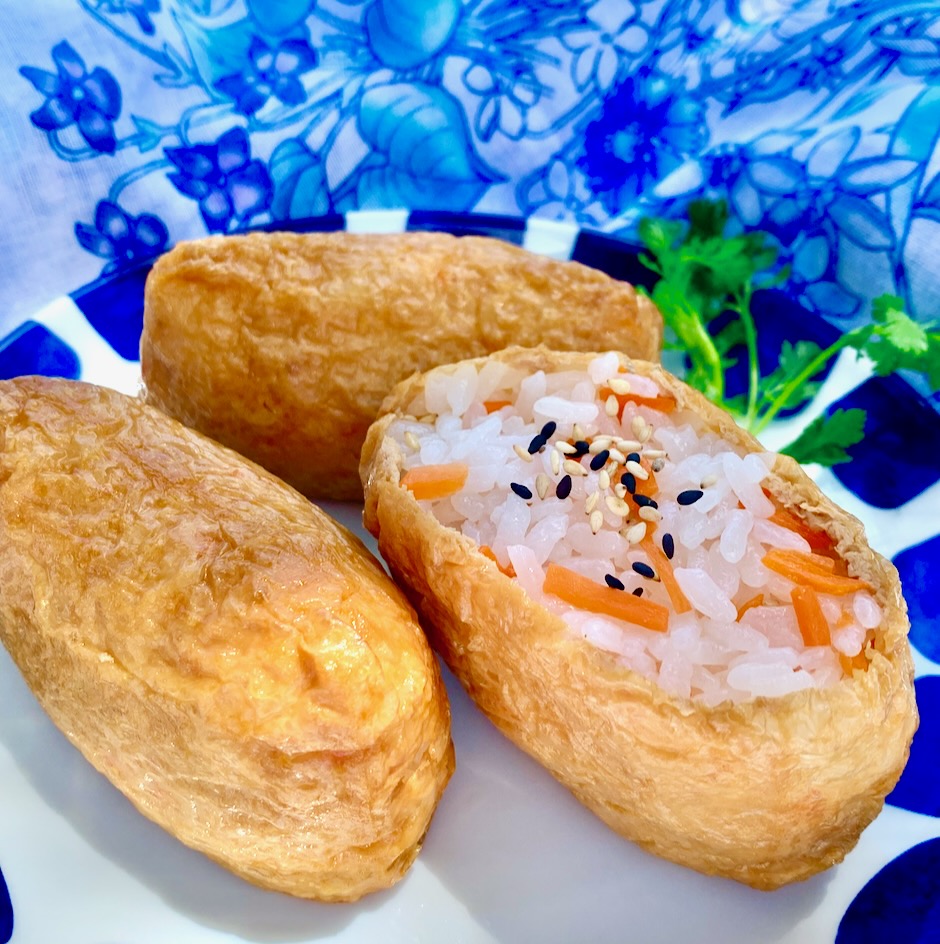
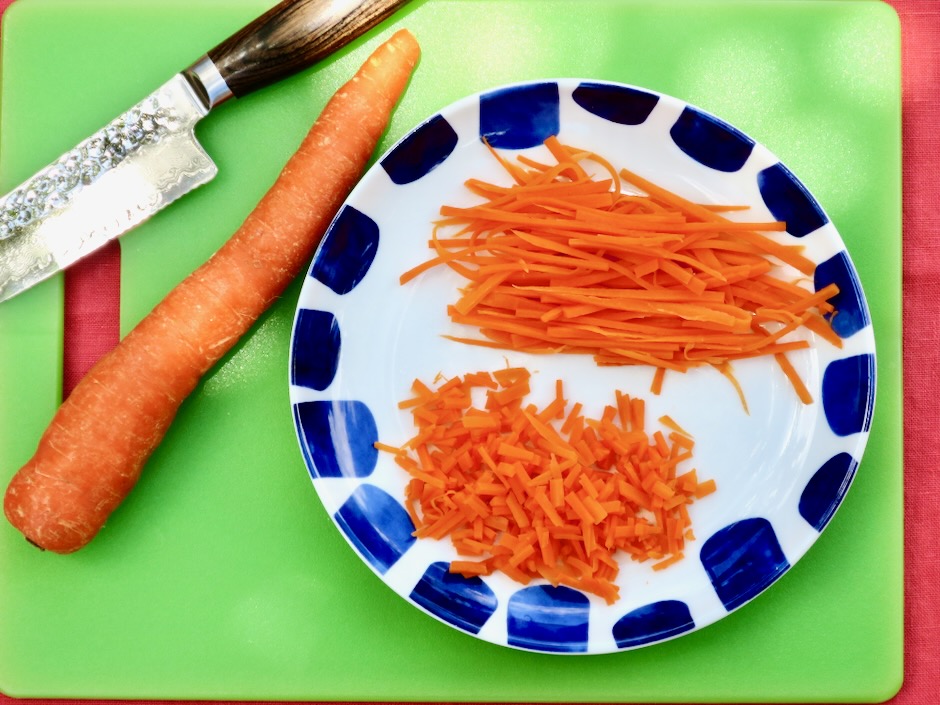
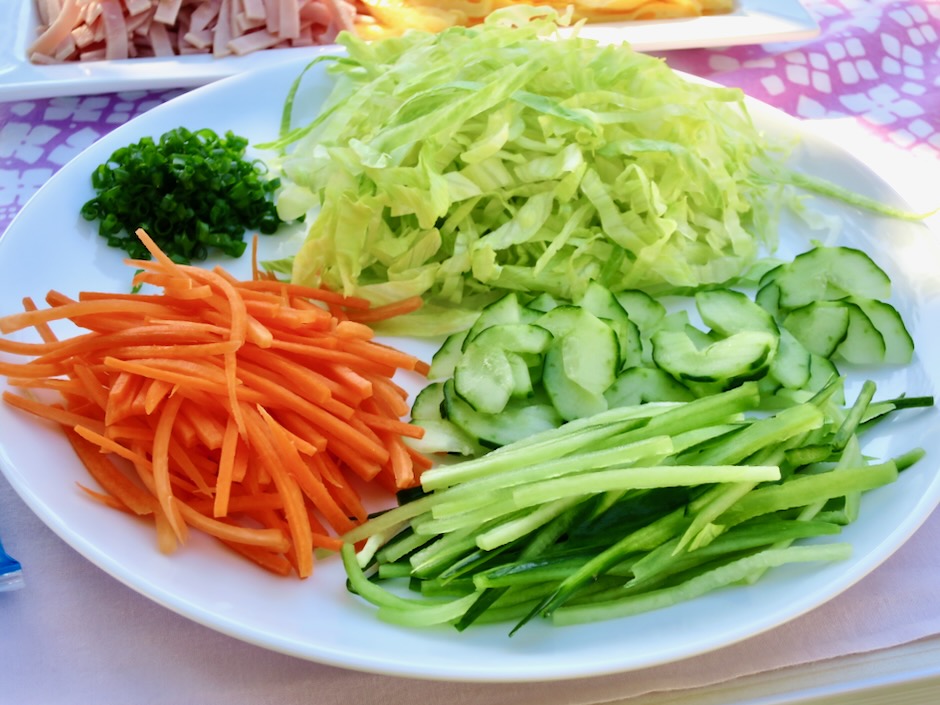
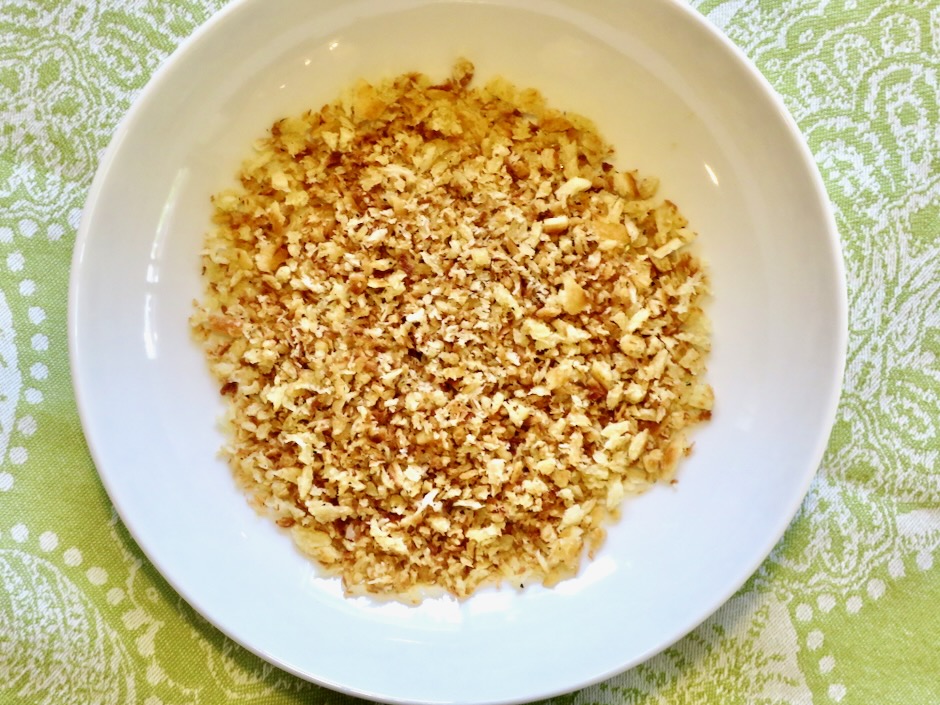
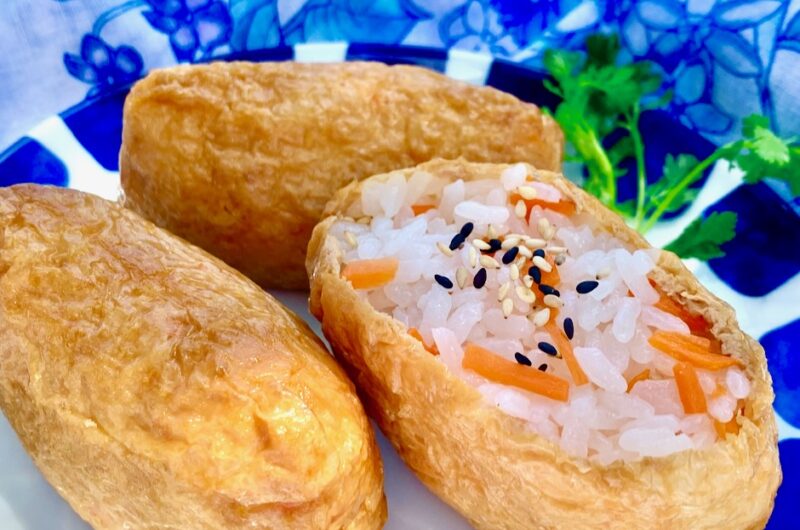
Blanched and lightly seasoned carrots add color and texture to the rice. You may also add toasted sesame seeds which will give the sushi an aromatic aroma and nutty flavor.

I used seasoned inari age that I purchased at Nijiya market on Oahu. Most markets in Hawaii sell them. If you live elsewhere, check your local Asian markets (refrigerated section). These little tofu pouches can also be frozen which makes it very handy when inari sushi cravings pop up unexpectedly.

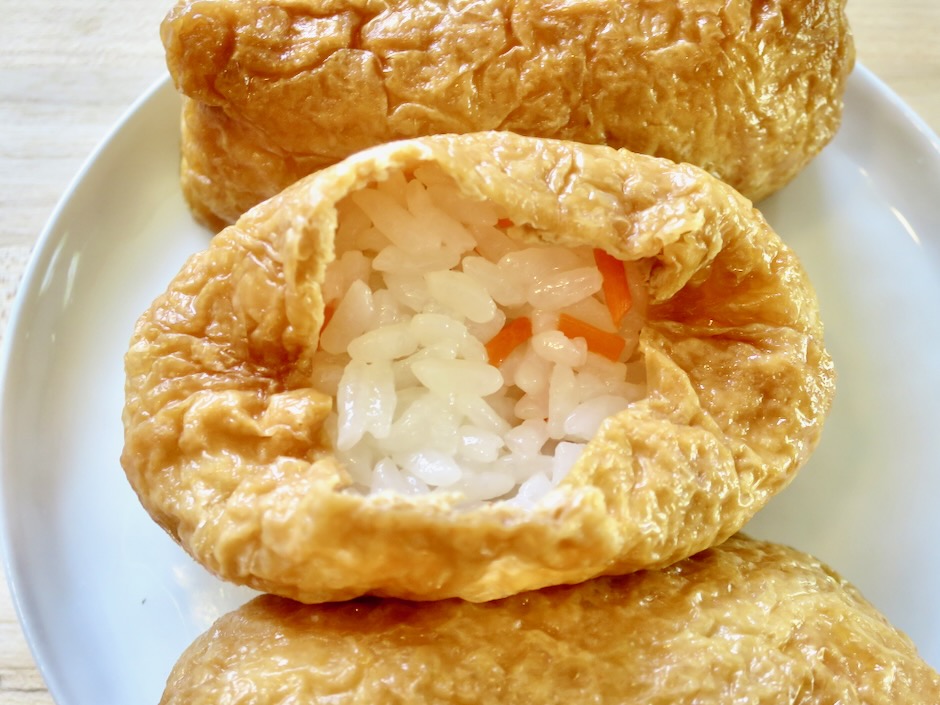
Gently but firmly stuff the tofu pouches with rice, filling them near to the top leaving space to fold the pouches and enclose the rice.

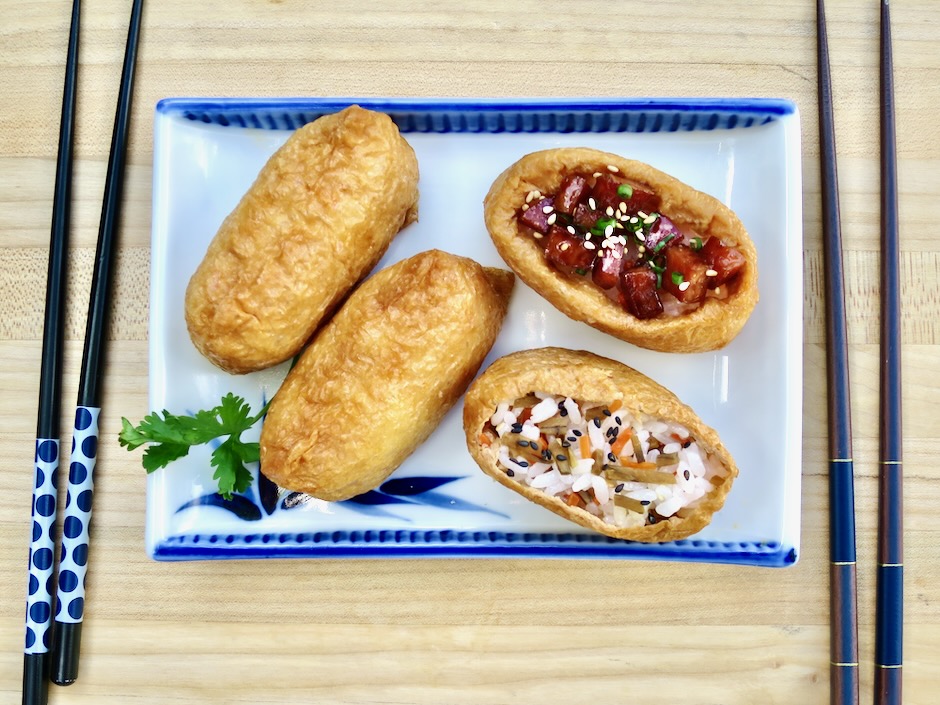
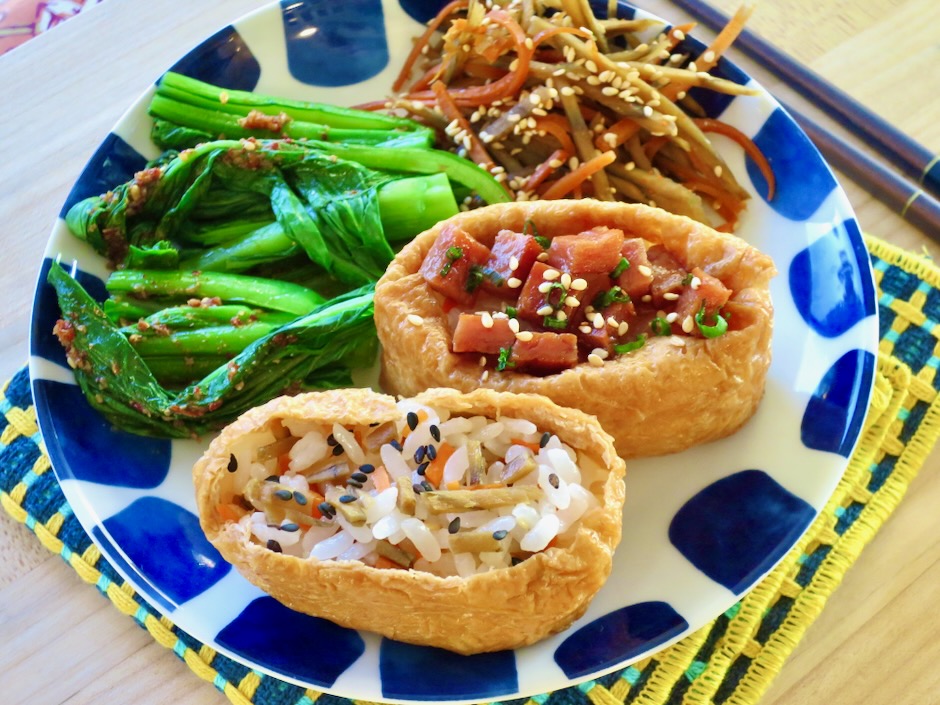
You may also choose to add various toppings leaving the pockets open to show off the tasty fillings.

Inari Sushi

Recipe by Kiyo

12-16

pieces

Easy, delicious homemade sushi!

Ingredients

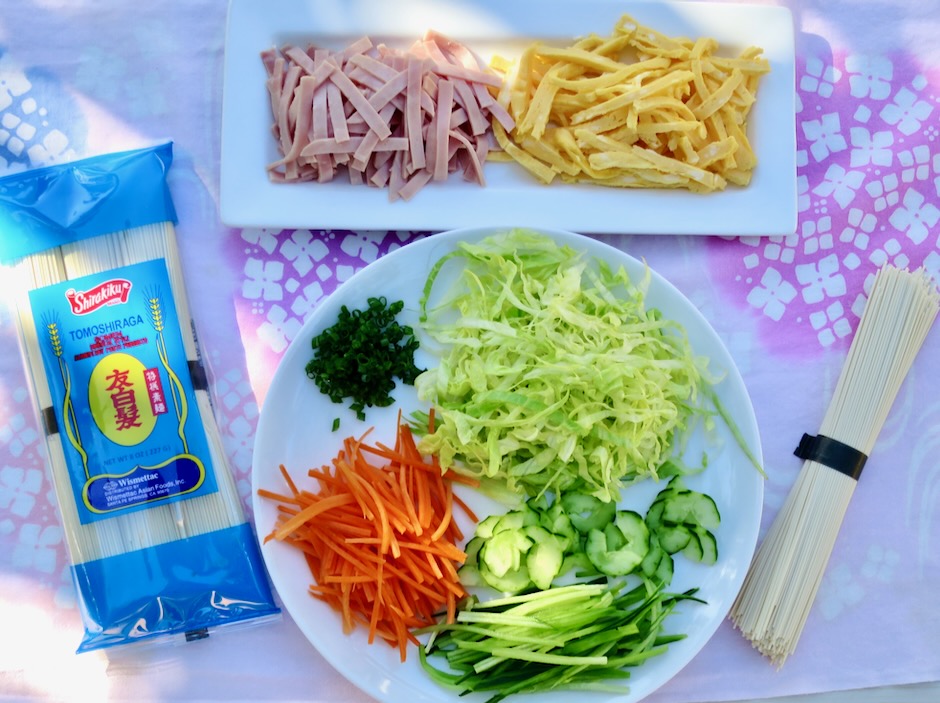
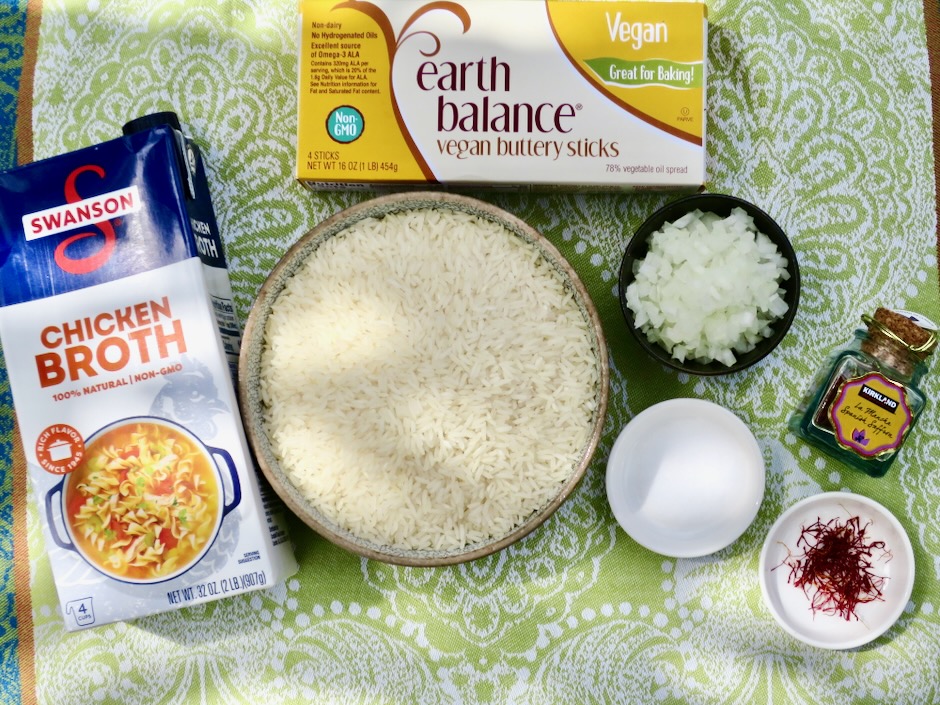
  • 2 rice cooker cups Japanese short grain white rice

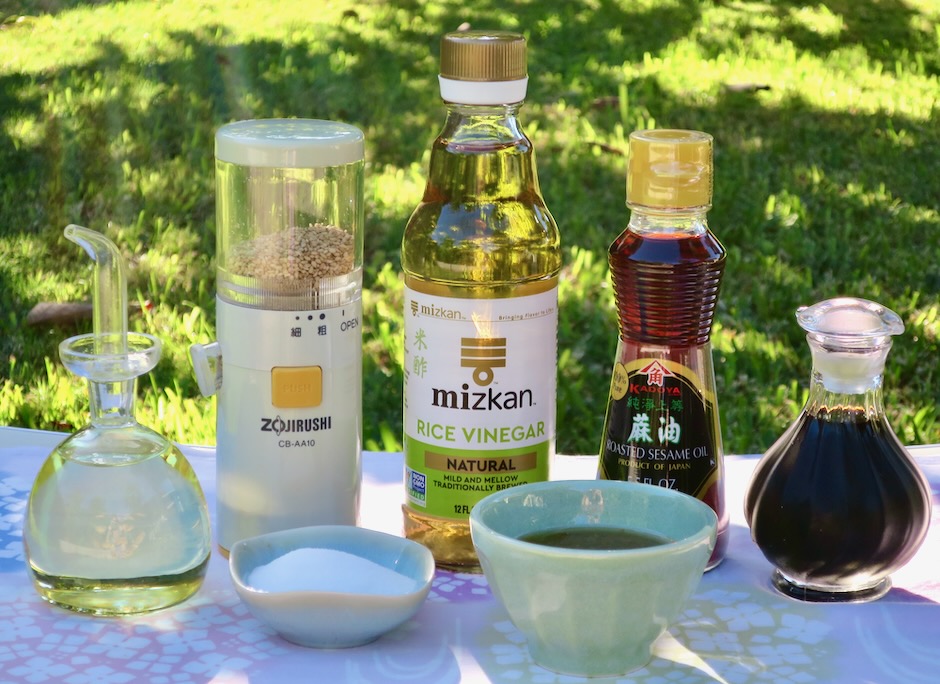
  • 1/3 cup unseasoned rice vinegar

  • 1/3 cup granulated sugar

  • 1 1/2 teaspoons fine sea salt

  • 1 package prepared inari age pouches (12-16)

  • 3 tablespoons finely chopped blanched carrots (optional)

  • 1 – 2 teaspoons roasted white sesame seeds

Directions

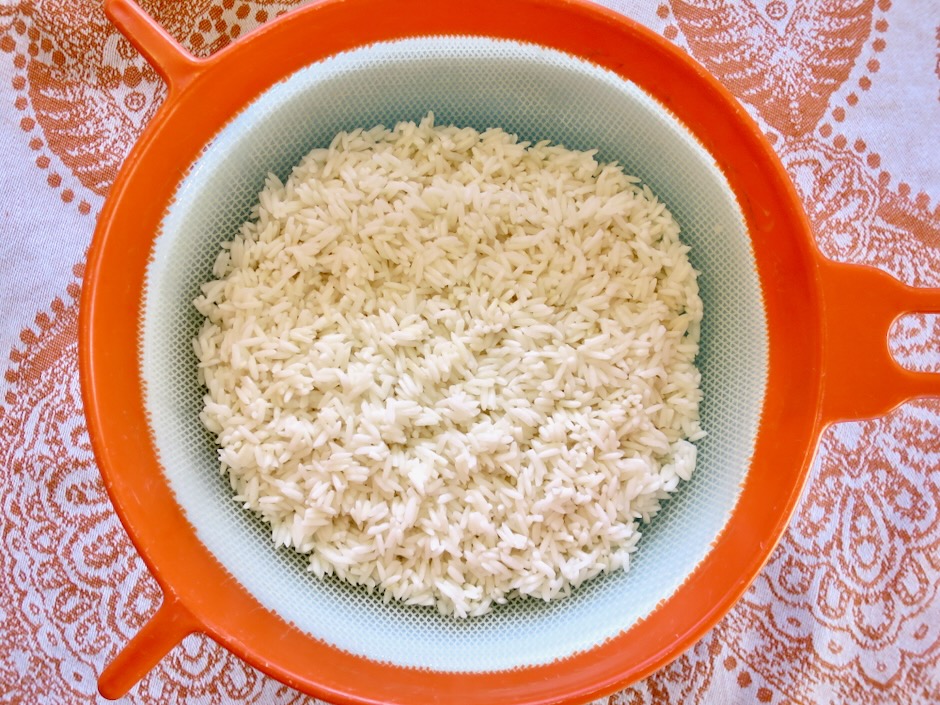
  • Cook rice according to rice cooker instructions, preferably the sushi rice setting if available.
  • Meanwhile, combine rice vinegar, sugar and salt in a measuring cup. Give it a quick stir, then microwave for 20 seconds. Remove and stir until the sugar and salt dissolve and the mixture turns clear, about 1 minute or so. Set aside.
  • If using carrots, julienne 1 1/2 ounces of carrots. Bring 1 cup water, 2 teaspoons sugar, a dash of lite soy sauce and 1/2 teaspoon salt to a boil in a small pot. Add carrots and blanch for 1 minute. Drain and chop carrots into small pieces.
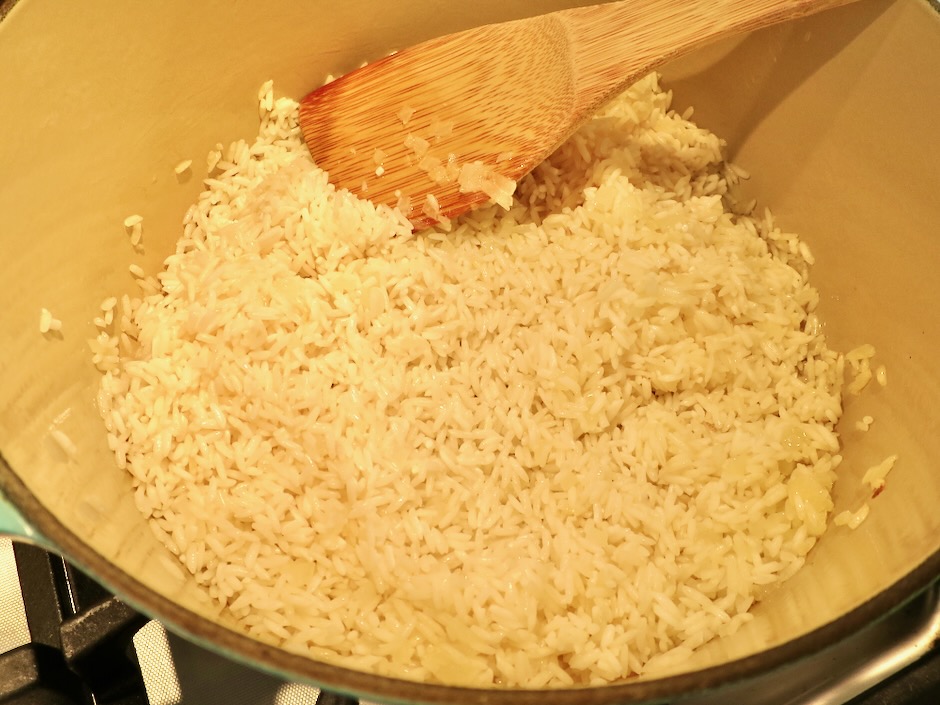
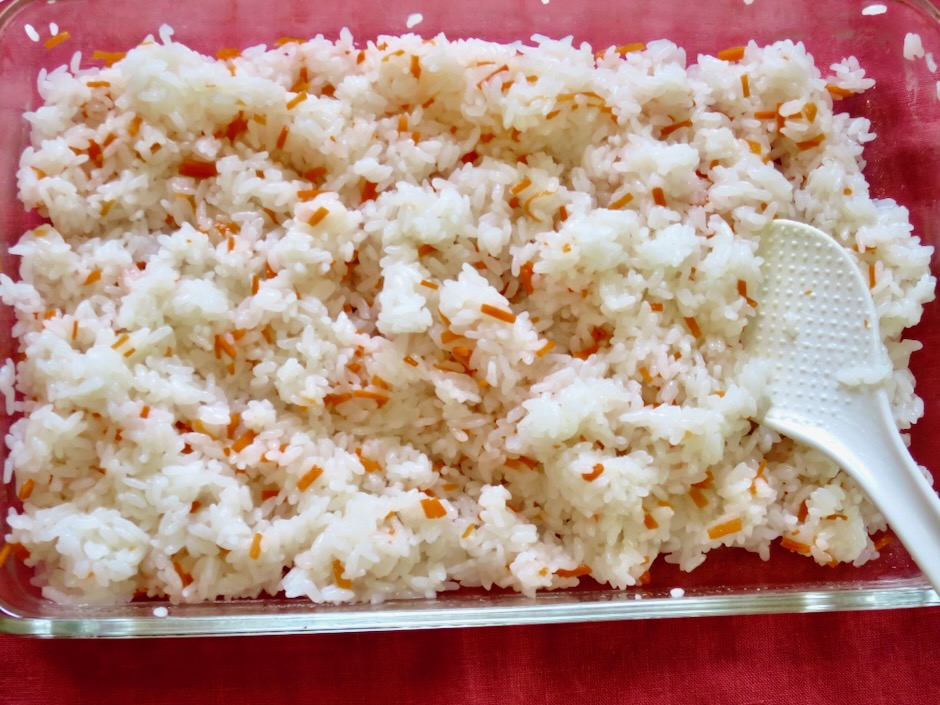
  • Transfer hot cooked rice to a wide shallow bowl (helps the rice cool quickly) rubbed with a bit of water (rice will be less likely to stick to the bowl). Gently break up any large clumps of rice. Add carrots and sesame seeds if using. Drizzle half of the sushi vinegar mixture over the hot rice and using slicing motions fold the rice, flipping the rice between each stroke to incorporate the vinegar mixture. Continue with the remainder of the vinegar mixture. Fan the rice as you mix in the vinegar mixture. If you have a very small table fan place it on the counter and aim it towards the rice bowl or use a hairdryer on the cool/fan setting. This helps the liquid to evaporate quickly and also gives the rice a beautiful sheen. The goal is to coat each grain of rice without mashing the rice. Cover the warm rice with a damp kitchen towel. Use rice within 1 1/2 hours.
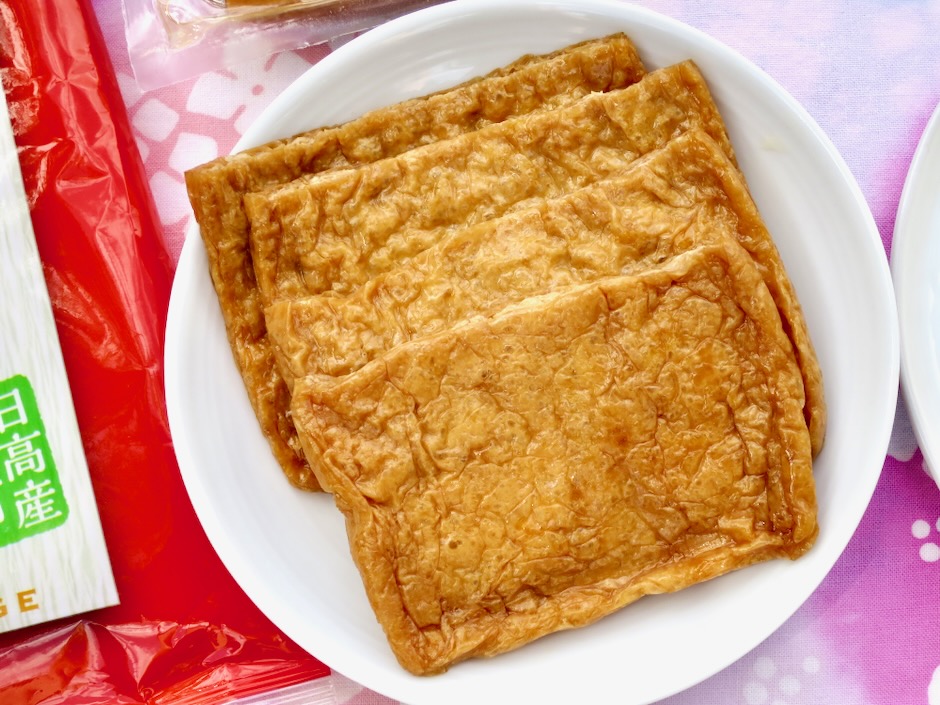
  • Gently pat extra moisture off of inari age pouches (I use double layers of paper towels). You may dip your fingers in water or wear disposable gloves to keep rice from sticking to your hands while stuffing the pouches. Gently push rice into tofu pouches starting at the bottom (be sure to push gently into the corners) leaving space at the top to fold over the rice. You may also pre-form ovals of rice to place in the pouches. The rice should be securely tucked into the pouches (not too loosely) so that it holds together when eating. Transfer stuffed pouches to an airtight container and store in the refrigerator until ready to serve.

Notes

  • Leftover inari sushi can be wrapped in plastic wrap and placed in a zip top bag or plastic container. Store in the refrigerator and consume the following day.
Dinner, Japanese, Lactose Free, Pasta, Ramen, Recipes, Salad, Side Dishes, Summertime Meal, Vegan, Vegetarian, Veggies

Aunty Ruby’s Somen Salad

December 21, 2024

Perfect for a New Year’s Eve Potluck or New Year’s Day Lunch

Around a dozen years ago I posted a recipe for this refreshing cold noodle salad. The recipe was created by my aunt Ruby who was a fantastic cook and it is one of my favorite dishes. This noodle dish is eye catching with its layered rainbow of bright colors. Crispy carrots, cucumbers, ham, and slivered scrambled eggs atop delicate somen noodles are tossed with a tangy umami dressing just before serving.

The dressing is a perfectly balanced combination of rice vinegar for tanginess, soy sauce for a salty umami flavor, fragrant sesame oil and neutral canola oil, sugar to balance the salty soy sauce, and ground sesame seeds for a rich nutty flavor. It smells divine as you whisk it up in the bowl.

Long ago I splurged and bought a Zojirushi sesame seed grinder after seeing it being used at a sushi restaurant. I have gotten a lot of good use from this little kitchen gadget. There are many other options for grinding sesame seeds. Small hand held grinders are available online and at some Asian markets. You can also crush the seeds in a mortar and pestle if you have one.

All the toppings should be thinly sliced. If you are using smaller Japanese cucumbers they can be julienned or sliced thinly.

A solid choice in a pinch is this Oscar Mayer ham (available at Times on Maui). It’s very easy to cut into thin strips since it is neatly stacked. Any type of thinly sliced ham will work.

Take care not to overcook the somen noodles. Drain immediately and rinse with cold water and ice cubes or place in a large bowl with ice water. The noodles should retain their springy texture and not be mushy.

Everyone will fall in love with this somen salad, and for good reason. It can be made a day in advance, is perfect for a potluck (New Year’s Eve!), is budget friendly and most of all it is plain delicious.

Tips for making the best somen salad:

*Use a large tall pot to boil the noodles as they have a tendency to foam up so you need that extra space!

*Watch over the stove when boiling the noodles and cook for exactly 3 minutes or according to package directions stirring occasionally. Immediately drain the noodles and run under cold running water with a cup of ice. Swish the noodles around the ice to cool completely. Or drain noodles and quickly place them in a large bowl of ice water. Have the ice cubes or ice bath ready before the noodles are done cooking. The noodles are very thin so any additional time they remain in the hot water means they will continue to cook.

*Slice the vegetables, egg and ham thinly so they are approximately the same size. I used packaged ham because it is so easy to slice since it is already stacked neatly. Any type of thinly sliced ham works.

*For a vegetarian version omit the ham. You can add thinly sliced pan-fried tofu strips to the salad. For a vegan version, omit the eggs and ham and add tofu as mentioned above. Or simply serve the salad with lots of crunchy veggies.

*Crispy vegetables are the key to making this noodle salad so satisfying. Quickly blanched and lightly salted bean sprouts, thinly sliced celery or daikon can be used.

*You may not need all of the dressing so it’s better to add spoonfuls as you toss the salad together.

Aunty Ruby’s Somen Salad

Recipe by Kiyo
Servings

3-4

servings

Ingredients

  • Dressing
  • 1 1/2 tablespoons granulated sugar

  • 4 1/2 tablespoons unseasoned rice vinegar

  • 4 1/2 tablespoons soy sauce

  • 3 tablespoons canola or vegetable oil

  • 1 1/2 tablespoons sesame oil

  • 1 tablespoon ground sesame seeds

  • Salad
  • 1 package somen noodles (3 bundles, 8 ounces) somen noodles

  • 3 cups finely sliced iceberg lettuce

  • 2 medium carrots, julienned

  • 2 small or 1 medium Japanese cucumber, julienned or thinly sliced (seeds removed)

  • 4 ounces thinly sliced ham

  • 2 large eggs, whisked and fried in a thin layer, cooled and sliced into strips (use low heat, cooked eggs should not be browned)

  • Finely sliced green onions (optional)

  • Roasted black sesame seeds for topping salad (optional)

Directions

  • Combine sugar, rice vinegar and soy sauce in a medium bowl. Stir to dissolve the sugar. Add canola or vegetable oil, sesame oil, and sesame seeds. Set aside. The dressing can be made up to 2 days in advance. Store in the refrigerator.
  • Have all the topping ingredients ready to go (vegetables, sliced ham, cooked and sliced egg). This can be done the same morning you are planning to serve the somen salad. Keep refrigerated.
  • Cook the somen for exactly 3 minutes (or even a few seconds less) or according to package directions. Immediately drain and place the noodles in an ice bath or run cold water and ice cubes over the noodles to cool quickly. Drain the somen well in a colander. With a double layer of paper towels in one hand, lift some of the noodles with the other hand and gently dab off excess water that may be dripping from the noodles (don’t leave noodles on towels as they tend to stick). Continue with the rest of the noodles transferring them to a low sided serving bowl as you go. This will ensure there is no excess water in the serving bowl.
  • Layer with toppings: iceberg lettuce, carrots, cucumbers, ham, egg. Sprinkle with green onions and sesame seeds if using. You can chill the salad until ready to serve. The noodles should be very cold, not room temperature. If serving right away, make sure to chill the noodles in an ice bath before continuing with layering the topping ingredients. Spoon some of the dressing over the noodles right before serving. Toss, adding more as needed. The noodles should be well coated with the delicious dressing.

Notes

  • Recipe can be doubled (or more) to feed a larger group of people.
Dinner, Lactose Free, Recipes, Rice Dishes, Side Dishes, Vegan, Vegetarian

Saffron Rice

September 20, 2024

A little pinch of saffron is all it takes to make this gorgeous golden rice. It’s a terrific accompaniment to fish and chicken. Its striking color and fragrant flavor make this one of the most beautiful rice side dishes you can serve to dinner guests.

Describing the flavor of saffron can be tricky. The fiery crimson threads that come from the Crocus Sativus flower are most often described as having a slightly earthy and grassy flavor as well as being subtly sweet and floral. One thing I am certain about is that it lends itself beautifully to any dish it’s used in. It adds a depth of flavor that is unique.

If you don’t have saffron in your pantry, you can order it online or head to Costco and purchase their Spanish saffron. The tiny jar will last a very long time since you only need a pinch here and there.

Basmati rice is rinsed, soaked for 20 minutes and drained well prior to cooking it.

Finely diced onion is sautéed in butter for a few minutes before the rice is added.

Chicken broth, salt and crumbled saffron threads are stirred into the rice before putting the lid on. Cooking time is just 20 minutes. Let the rice sit undisturbed with the lid on for another 15 minutes or so before fluffing the rice with a fork.

Saffron rice is well suited to accompany many different cuisines. One of my favorite ways to serve saffron rice is with fish, lemon and capers or macadamia nut crusted fish with cilantro pesto sauce. A roasted chicken served with saffron rice would be divine. For a vegetarian version serve the rice with curry, grilled vegetable platter, baked tofu or a hearty salad with chickpeas.

Saffron Rice

Recipe by Kiyo
Servings

6

servings

Ingredients

  • 2 cups basmati rice

  • 2 tablespoons Earth Balance Buttery Sticks (lactose free, vegan) or your favorite butter

  • 1/4 cup + 2 tablespoons finely diced white onion

  • 3 cups chicken broth (for vegetarian version use vegetable broth or water)

  • 1 teaspoon fine sea salt

  • few big pinches saffron threads, crumbled finely between your fingers

Directions

  • Place rice in a sieve and wash several times to remove excess starch. Drain well making sure there is no residual water from rinsing (I tap my sieve on the bottom to help drain the water then place the sieve on a clean kitchen towel to help absorb any remaining water).
  • Meanwhile, in a medium pot with a lid, preferably one that has a wide bottom such as a Dutch oven, melt butter over medium heat. Add onions and sauté for a few minutes just until the onions are slightly soft. Add drained rice and stir to coat the rice with the onions and butter. Add chicken broth (vegetarian version substitute with vegetable broth or water), salt, and a few pinches of saffron (rub the saffron threads between your fingers to crumble into very small pieces). Turn heat up to high and bring to a boil. Immediately lower heat to low setting, cover pot and set timer for 20 minutes.
  • Once the 20 minutes cooking time has passed, turn off heat and let rice rest undisturbed (do not uncover pot) for 15 minutes. There will be quite a bit of condensation on the inside of the lid. Quickly flip the lid over when removing it from the pot to avoid liquid dripping into the rice. Fluff rice with a fork and serve.

Notes

  • Rice freezes well for a few months.
Appetizers, Bread, Italian, Lactose Free, Recipes, Sandwiches, Side Dishes, Summertime Meal, Vegan, Vegetarian, Veggies

Artichoke Bruschetta with Capers & Tomatoes

August 11, 2024

Bruschetta! If there’s a simple way to enjoy juicy summer tomatoes this is it. This is a jazzed up version of the classic tomato and basil bruschetta with savory olives, capers and artichoke hearts. It’s one of the easiest and most delicious appetizers you can serve at your next summer gathering.

Use ripe and juicy tomatoes either cherry or larger ones diced into bite-size pieces. The key is to use good tomatoes and avoid those with mealy interiors.

All the ingredients are tossed in a bowl. Easy!

I highly recommend using good country bread and grilling it with a bit of olive oil. Grilled bread has a slightly smoky flavor and crispy browned edges that deliver the most delicious flavor.

These are seriously yummy toasts.

Artichoke Bruschetta with Capers & Cherry Tomatoes

Recipe by Kiyo
Servings

2-4

servings

Ingredients

  • 1 cup coarsely chopped drained oil-packed artichoke hearts (such as Cara Mia Marinated Artichoke Hearts)

  • 1 cup quartered cherry tomatoes or larger tomatoes, chopped

  • 1/4 cup extra virgin olive oil

  • 2 tablespoons balsamic vinegar

  • 1 tablespoon red wine vinegar

  • 1 teaspoon finely minced garlic (or to taste)

  • 2 tablespoons finely chopped basil

  • 2 tablespoons coarsely chopped Italian parsley

  • 2 tablespoons coarsely chopped green olives

  • 2 tablespoons finely chopped red onion

  • 1 tablespoon brined capers, drained (coarsely chopped if capers are large)

  • Kosher salt and freshly ground black pepper

  • 4 slices sourdough or ciabatta, lightly brushed with olive oil, grilled or pan fried with olive oil until golden and crunchy

  • Flaky sea salt, such as Maldon

Directions

  • Toss together the artichoke hearts, cherry tomatoes, olive oil, balsamic vinegar, red wine vinegar, garlic, basil, parsley, olives, onion, and capers in a medium bowl. Season to taste with kosher salt and black pepper. Set aside while you grill the bread.
  • Turn your gas grill to high heat and allow to preheat for about 10 minutes. Brush olive oil on both sides of bread and grill, turning a few times until you have the desired grill marks and bread has a few charred marks. Remove bread to a plate and season with a few pinches of Maldon salt (if grilling is not an option, pan fry the bread brushed with olive oil, on both sides until golden and crunchy). Top with artichoke bruschetta and serve.

Notes

  • The artichoke bruschetta is equally delicious tossed with your favorite short pasta (farfalle, fusilli, cavatappi, penne) and served cold or at room temperature as a side dish.
Dinner, Italian, Lactose Free, Pasta, Recipes, Sauces, Summertime Meal, Vegan, Vegetarian

Spaghetti with Sun-Dried Tomato Almond Pesto

August 2, 2024

With a very short list of savory ingredients and little effort, this dairy free pesto is a breeze to make. The sun-dried tomatoes lend an intense sweet-tart flavor to this dish and fresh, crispy seasoned bread crumbs take it over the top.

Seven ingredients are all you’ll need for this recipe. Fresh breadcrumbs are recommended though panko would be a fine substitute if you’re short on time. Use bronze die cut pasta such as Rao’s or De Cecco for the best result. Pastas that are extruded using bronze dies have a rougher, more porous texture than ones that are extruded with Teflon dies (slick surface). With bronze die cut pasta, sauces cling to noodles beautifully meaning each forkful is full of rich flavor.

Sun-dried tomatoes are pulsed in a food processor along with the almonds, garlic and olive oil to make a thick pesto. A bit of the starchy pasta water and olive oil will be added to the pesto to bring the sauce to the perfect consistency.

Toasting fresh bread crumbs in olive oil is the key to the much desired crispy, well-seasoned topping for this dish. You won’t notice the absence of cheese.

This sweet and savory pesto with its crispy breadcrumb topping and intense red color makes a thoroughly satisfying meal and one that is easy enough to whip up for unexpected guests.

Spaghetti with Sun-Dried Tomato Almond Pesto

Recipe by Kiyo
Servings

4

servings

Recipe adapted from Food & Wine magazine

Ingredients

  • 1/2 cup drained oil-packed sun-dried tomatoes

  • 1/3 cup salted roasted almonds

  • 1 large garlic clove

  • 1/2 cup extra-virgin olive oil

  • Kosher salt and freshly ground black pepper

  • 3/4 cup fresh bread crumbs (use 1 large or 2 small slices of bread without seeds or nuts, crusts included, torn into small pieces pulsed in food processor to make small crumbs. Measure out 3/4 cup. Or substitute with 1/3 cup panko with 1 tablespoon oil)

  • 12 ounces spaghetti

  • 1 tablespoon chopped parsley

Directions

  • In a food processor, pulse the tomatoes, almonds and garlic. Add 1/4 cup of the oil and puree. Season with salt (about 1/2 teaspoon Diamond Crystal or 1/3 teaspoon Morton’s kosher salt or to taste) and a few grinds of black pepper.
  • In a medium skillet, toast the bread crumbs in 2 tablespoons of the oil over medium heat, stirring until golden. Transfer the crumbs to a plate; season with salt and pepper. If using panko, toast 1/3 cup in 1 tablespoon oil over medium low heat for 1 -2 minutes or until lightly browned (stir continuously and lower heat if needed to avoid burning the panko).
  • In a large pot of boiling salted water, cook the pasta until al dente. Drain, reserving 1/2 cup of pasta water. In the pot, toss the pasta with the pesto, reserved pasta water and remaining 2 tablespoons of olive oil until the sauce clings to the pasta. Transfer the pasta to bowls, sprinkle with the bread crumbs and parsley and a drizzle of olive oil. Serve immediately.

Notes

  • Sprinkle bread crumbs over pasta right before serving so they stay crispy.
  • Pesto can be frozen for a few months.
Dinner, Dressing, Japanese, Lactose Free, Recipes, Rice Dishes, Salad, Vegan, Vegetarian, Veggies

Sushi Salad

July 23, 2024

Rice is without a doubt my favorite food (followed by eggs). It’s easy to prepare, versatile, and such a beautiful grain to show off in a salad such as this one. Short grain brown rice works well for this salad. Its hearty texture stands up nicely to the other components and dressing. If brown rice is not your thing, substitute short or medium grain white rice.

The assortment of green ingredients above contributes to this stunning rice bowl. Feel free to switch up with whatever you may have available in your refrigerator. Chopped red cabbage, sautéed carrots, peas, corn, steamed broccoli or roasted veggies would all be tasty additions.

Light miso paste has a slightly sweet and delicate flavor which makes it ideal for dressings.

With slightly earthy notes and a subtle nutty flavor, short grain brown rice is the perfect foil for velvety avocados, crispy cucumbers, edamame, spinach and the umami rich miso dressing.

Serving soy sauce eggs with the salad is a must for me. It brings the entire dish together and makes for a hearty lunch. The various textures and shades of green turn these humble ingredients into a striking and delicious meal. Oishii!

Sushi Salad

Recipe by Kiyo
Servings

4

servings

Recipe adapted from Hetty McKinnon

Ingredients

  • Miso Dressing
  • 2 1/2 tablespoons light miso paste

  • 1 tablespoon toasted sesame oil (Kadoya recommended)

  • 1 1/2 tablespoons mirin

  • 1 1/2 teaspoons sugar

  • 2 teaspoons roasted sesame seeds (white, black, or both)

  • Rice Salad
  • 4 cups cooked short grain brown rice, room temperature (or substitute with short or medium grain white rice)

  • 1 cup boiled edamame beans, cooled

  • 2 small Japanese cucumbers sliced into thin half moons

  • 2 small avocados, diced into large pieces

  • 2 handfuls baby spinach leaves

  • Kizami (shredded) nori for topping (or a toasted nori sheet cut into thin strips)

  • Kosher salt

  • Freshly ground black pepper

  • 4 soy sauce eggs for serving (optional but recommended)

Directions

  • Whisk together the miso paste, sesame oil, mirin, sugar, and 2-3 tablespoons of water until well combined. Stir in sesame seeds. Set aside or refrigerate until ready to serve if making in advance.
  • In a large bowl, combine the cooled rice, edamame, cucumber, avocado, and baby spinach and toss together gently. Transfer salad to 4 bowls, drizzle over some of the miso dressing. Place halved soy sauce eggs in each bowl and season eggs with salt and black pepper. Sprinkle nori strips over the top just before serving. Serve with extra dressing on the side.

Notes

  • Miso dressing can be made up to 5 days in advance of serving
Follow

Get every new post delivered to your Inbox

Join other followers: