Browsing Category

Sous Vide

Chicken, Dinner, French, Lactose Free, Recipes, Sandwiches, Sous Vide

Tarragon Chicken Salad

June 25, 2023

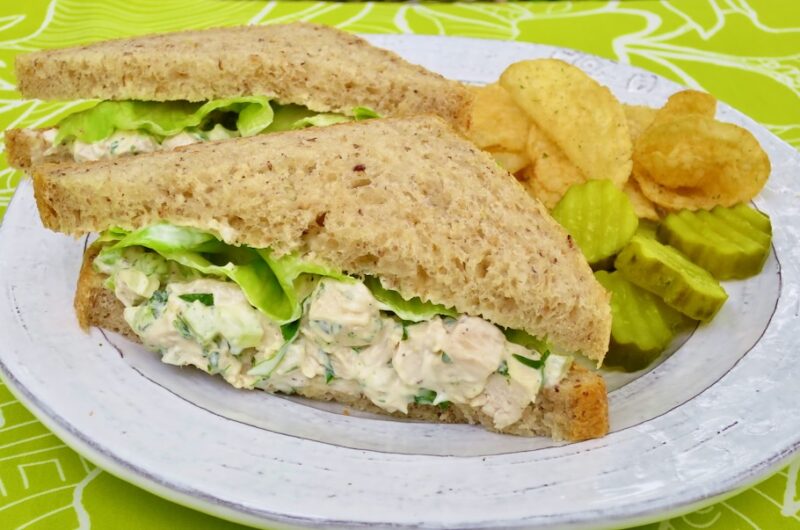
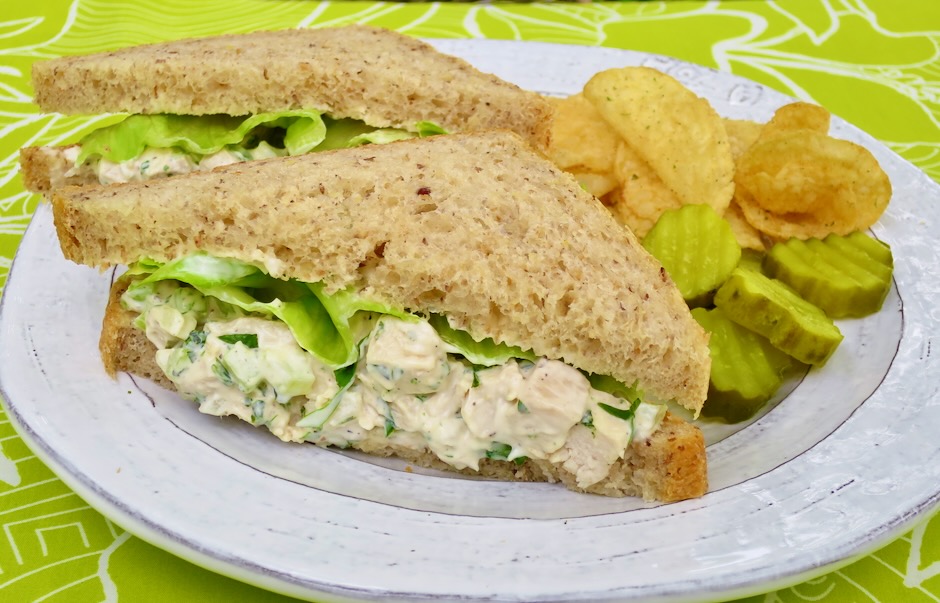
What to do with leftover chicken? In our case, we had extra roast chicken and decided on chicken salad sandwiches. A good sandwich is something I really enjoy, whether it’s tuna, smoked turkey, ham, pastrami, or egg. And since I’m a big fan of tarragon, I decided to expand my sandwich repertoire with this tarragon chicken salad. Tarragon takes chicken salad to a new level.
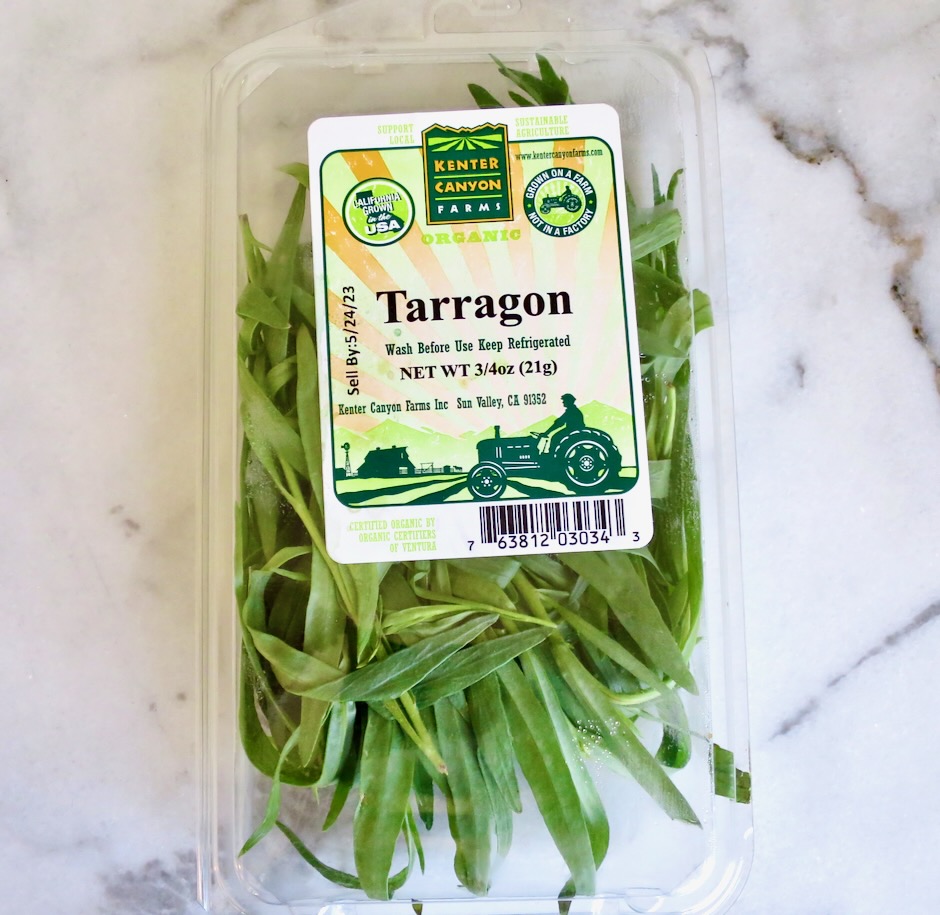
We occasionally grow French tarragon in a large planter pot in the garden, however, it is quite difficult to maintain. Fortunately I’m able to find it at our local Whole Foods market. It is a beautiful herb with slender green, fragrant leaves that have a slight anise-like flavor. It is a mainstay in French cooking and is an essential ingredient in béarnaise sauce. It pairs well with chicken, fish, salad dressings, sauces, and eggs.
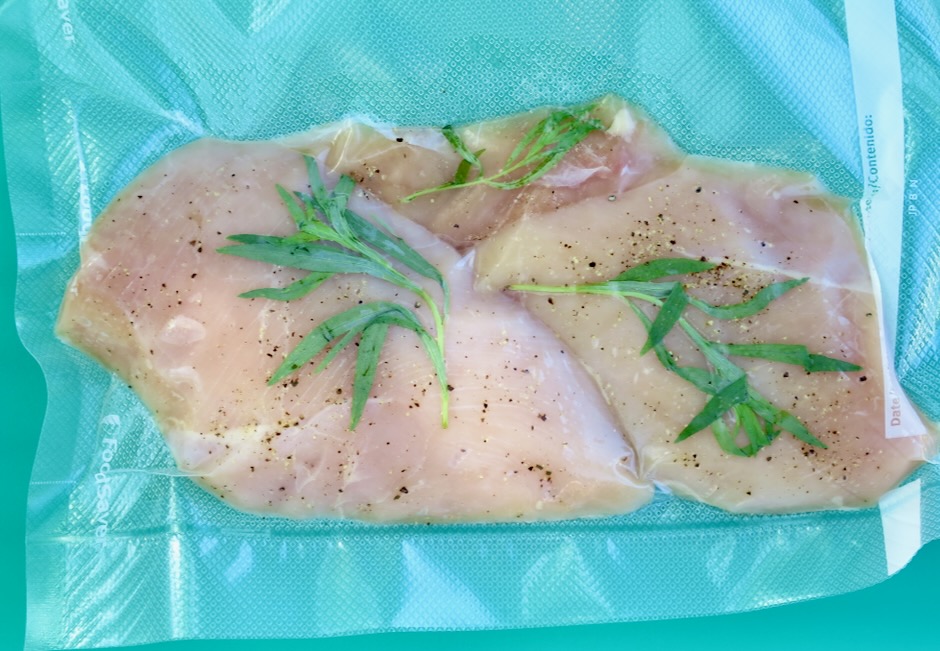
Since the sandwich was so good and I didn’t have any leftovers, I decided to sous vide chicken breasts just for this salad. It is a foolproof method to cook chicken with perfect results. If you don’t have a sous vide tool, you may choose your favorite way to prepare chicken breasts. Use a slow cooker, or poach or bake your chicken breasts. If you’re short on time you can use rotisserie chicken.
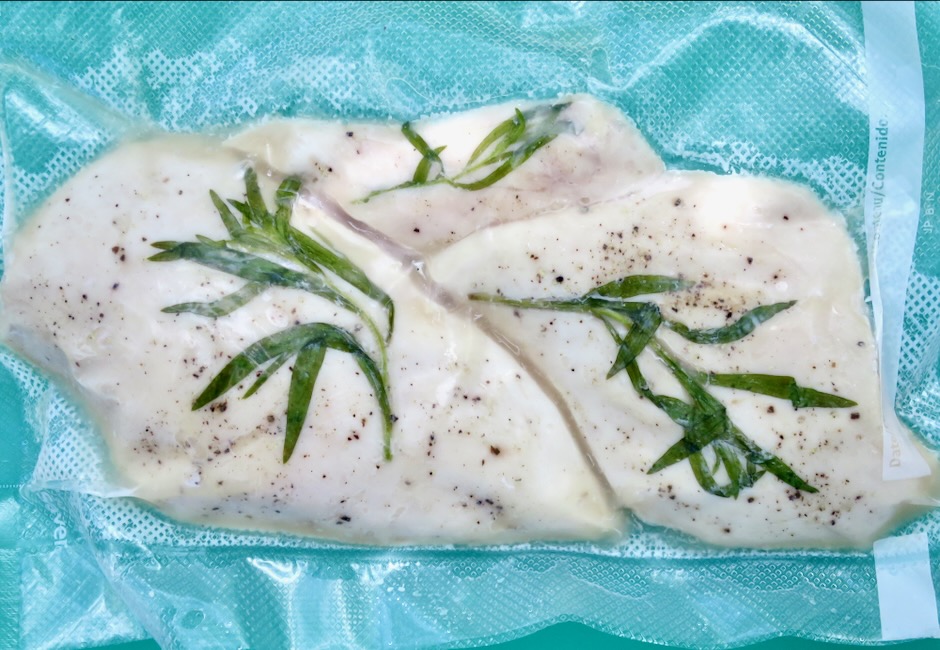
The chicken breasts were seasoned with kosher salt, pepper and a few sprigs of tarragon before being cooked.
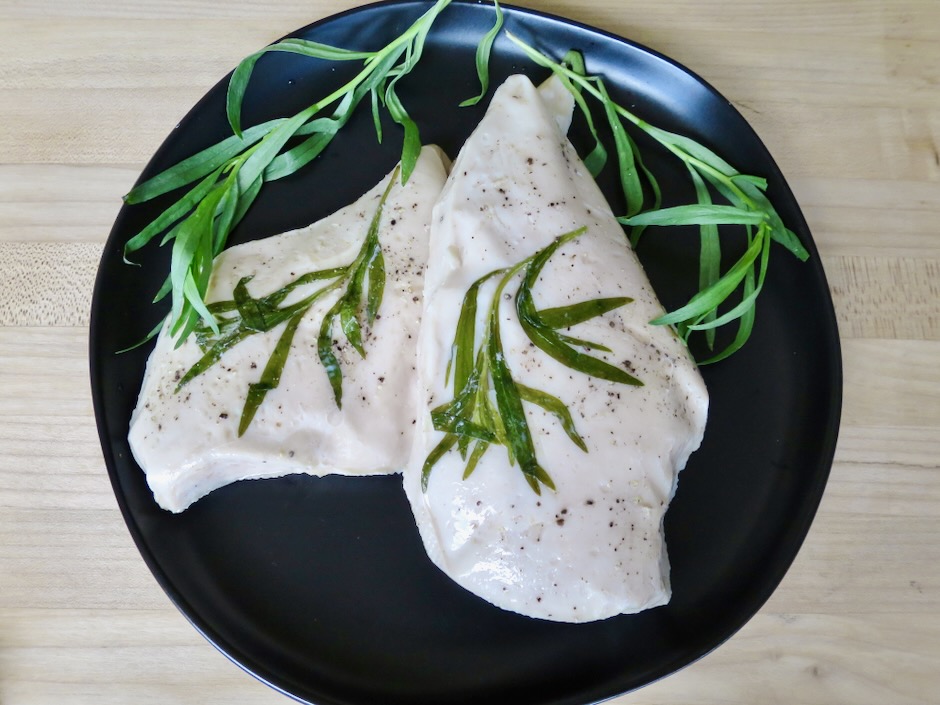
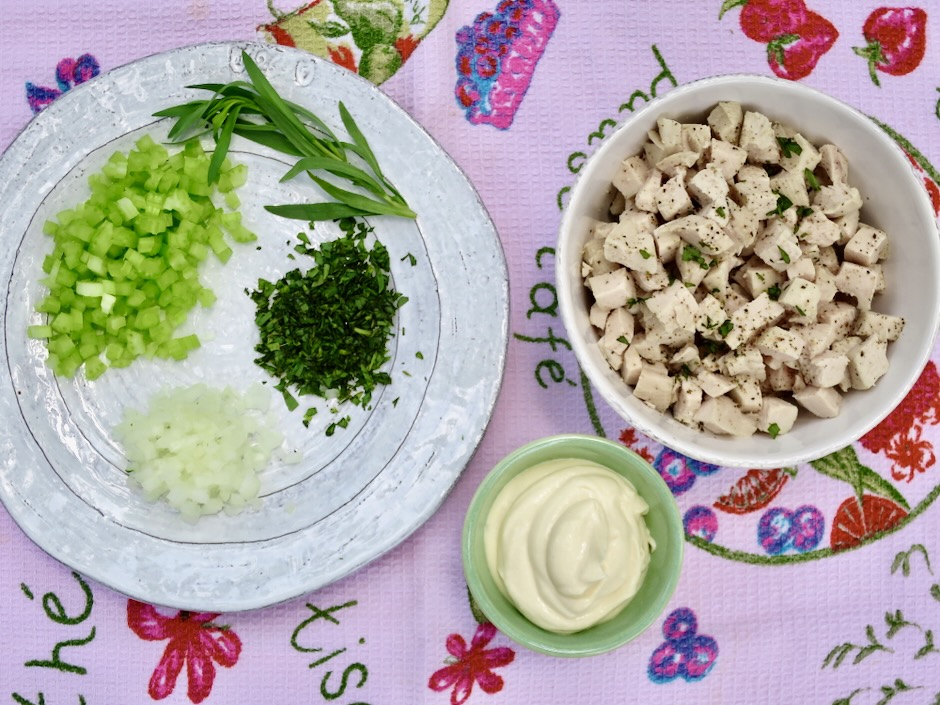
The only special ingredient you need is tarragon. It is not commonly found in stores here on Maui except at Whole Foods. When I see it, I buy it. It will last for a week and before that time is up, I’ve already planned on what I’m going to make with it.
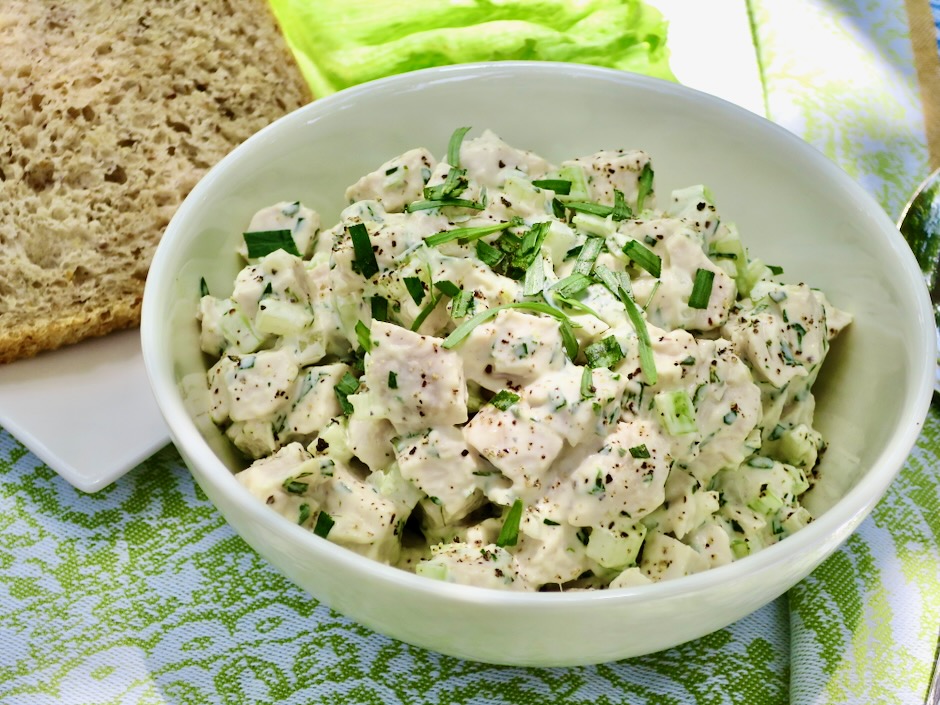
Once you have a taste of this chicken salad, I’m confident you will enjoy it as much as I do.
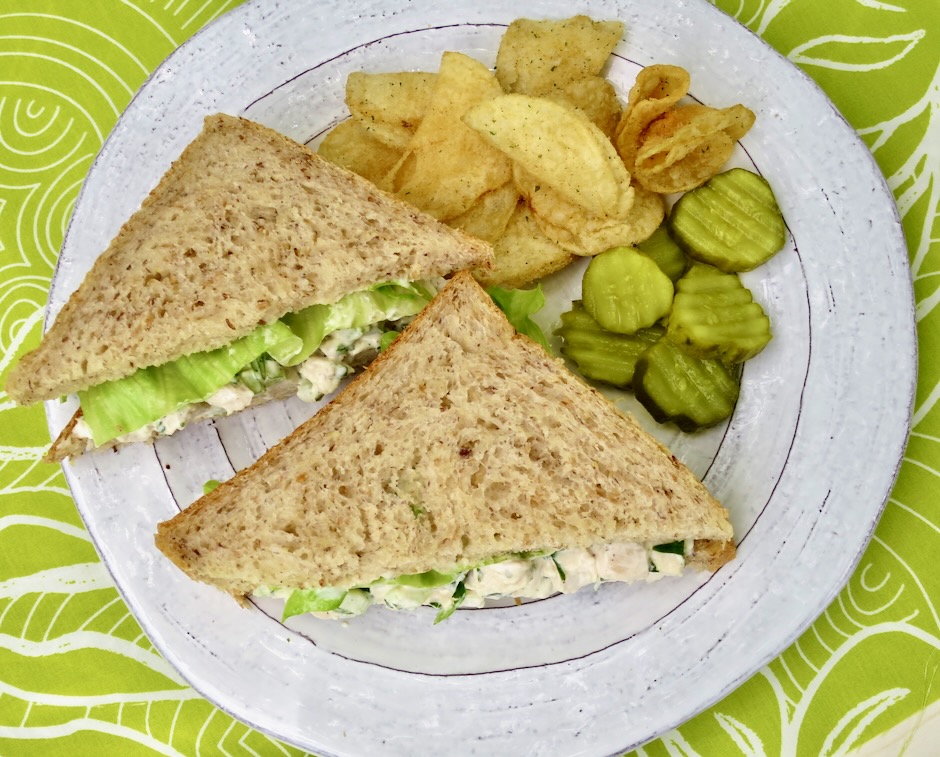
Tarragon Chicken Salad

Recipe by Kiyo
Servings

4

servings

Ingredients

  • 2 cups cooked chicken, chopped

  • 1/3 cup (1 stalk) chopped celery

  • 2 tablespoons diced sweet onion

  • 1 1/2 – 2 tablespoons chopped fresh tarragon

  • 1/3 cup mayonnaise

  • 1 1/2 teaspoons Dijon mustard

  • salt and pepper to taste

  • Sandwich bread, butter, mayonnaise, lettuce

Directions

  • To sous vide chicken, season 1 pound chicken breasts (2 pieces) with kosher salt and freshly ground black pepper. Place a small sprig of tarragon on each piece of chicken. Vacuum seal chicken in bags, or use a Ziploc freezer bag and the water displacement method. Sous vide at 158 degrees for 1 1/2 hours and up to 4 hours. Transfer bag to an ice water bath to chill thoroughly before using in recipe.
  • Chop chicken breasts (sous vide, slow cooker, roasted, baked, rotisserie) into small cubes. Place in a medium bowl. Add diced celery, chopped onions, and tarragon. Give the chicken a quick stir. Combine mayonnaise and Dijon in a small bowl. Stir into chicken mixture and season with salt and pepper to taste.
  • Butter one side of sandwich bread and spread a thin layer of mayonnaise on the other side. Scoop chicken salad onto buttered side, top with crispy lettuce and place remaining slice of bread on top. Slice sandwich in half, serve with chips and pickles.

Notes

  • Tarragon chicken salad is best eaten the day it is made but can be stored in the refrigerator for up to 1 day.
Appetizers, Gardening, Italian, Lactose Free, Recipes, Side Dishes, Sous Vide, Vegan, Vegetarian, Veggies

Sous Vide Giardiniera

November 5, 2022

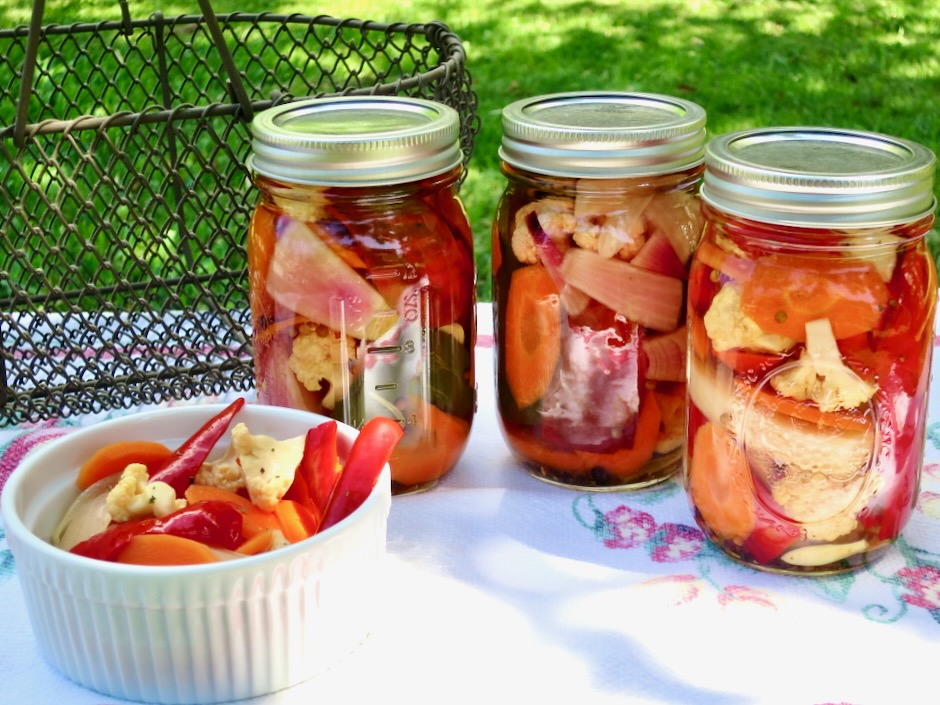
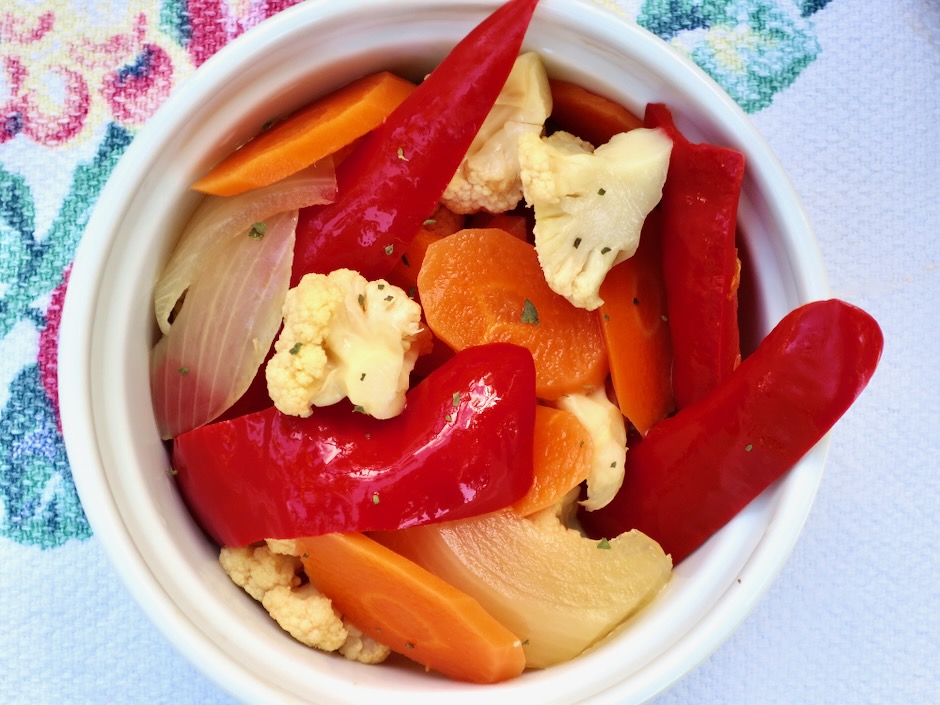
Giardiniera (Italian for pickled vegetables from the garden) are a delightful treat to serve alongside sandwiches or as part of an appetizer plate with salami, cheese and crackers. You will find it difficult to stop once you take a bite of these gorgeously colored, crispy vegetables. The sous vide method ensures the vegetables retain their crisp texture.

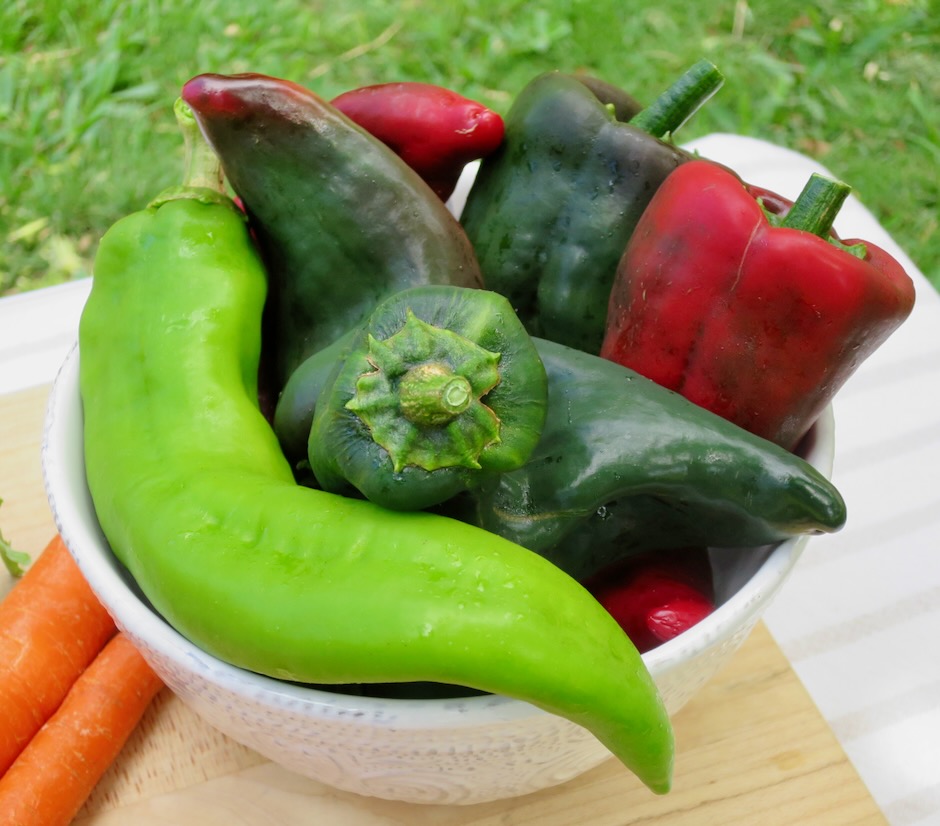
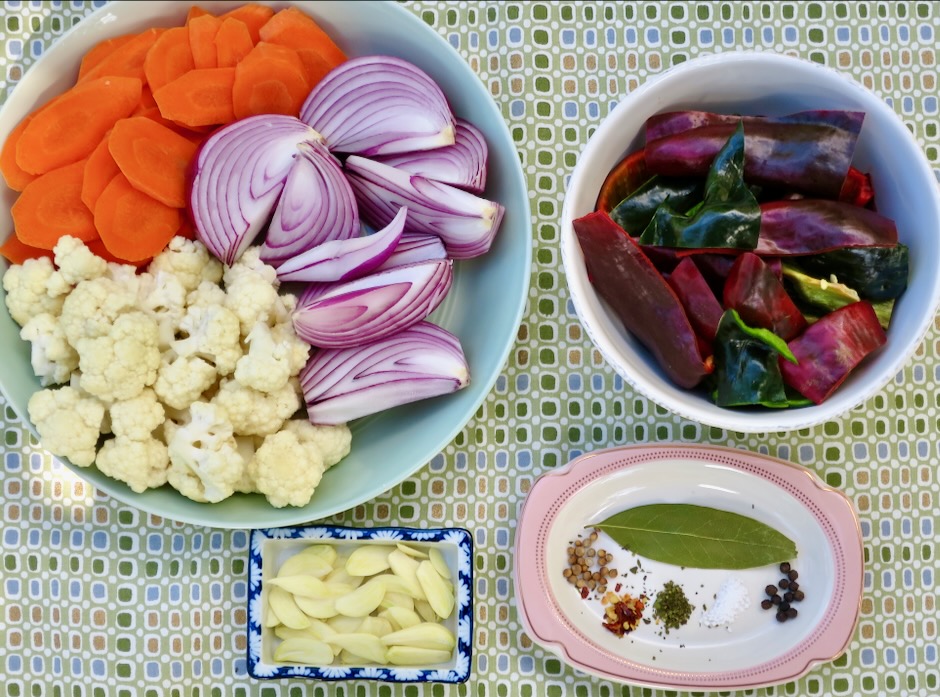
It all started with our homegrown poblano and anaheim peppers. I used some of the peppers for chile verde but we still had quite a few growing on the plants so the idea of pickling them came to mind.

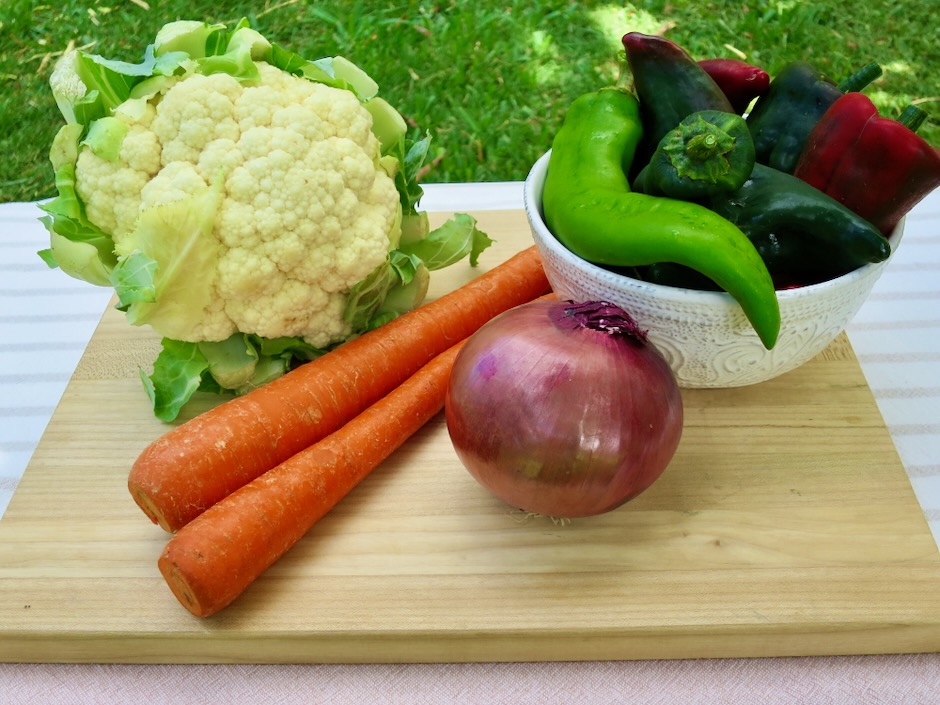
You’ll find that cauliflower, carrots, peppers (hot or mild), celery and onions are most commonly used in giardiniera. However, you can also use green beans, fennel, olives, or any other type of vegetable that will hold its shape well.

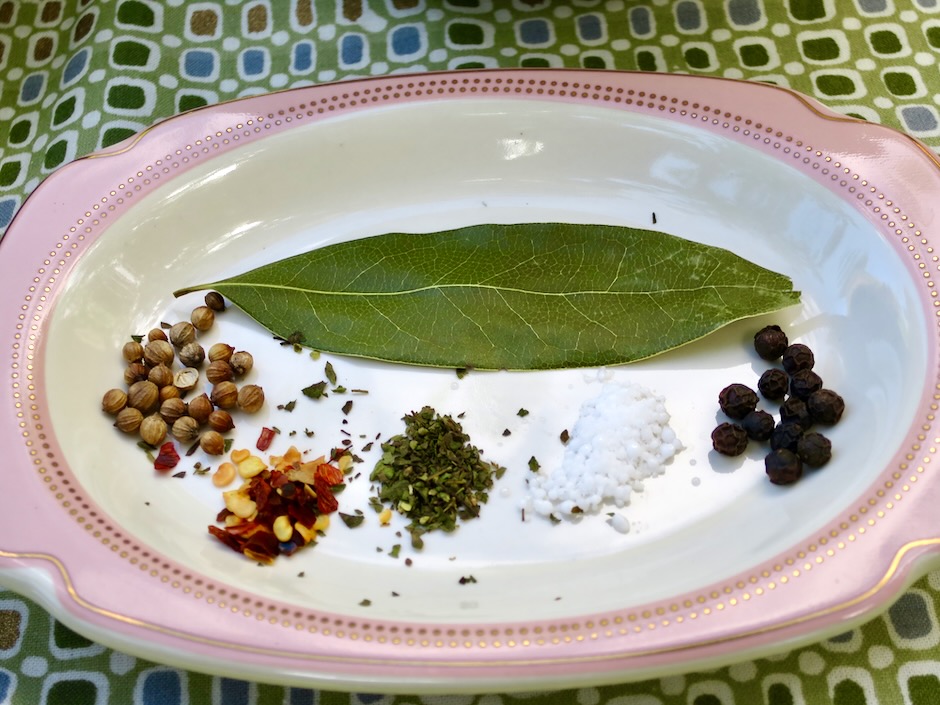
The seasoning for the brine is quite simple. Fresh garlic, bay leaf, whole coriander seeds, red pepper flakes, dried oregano, calcium chloride (for keeping pickles crisp), and black peppercorns.

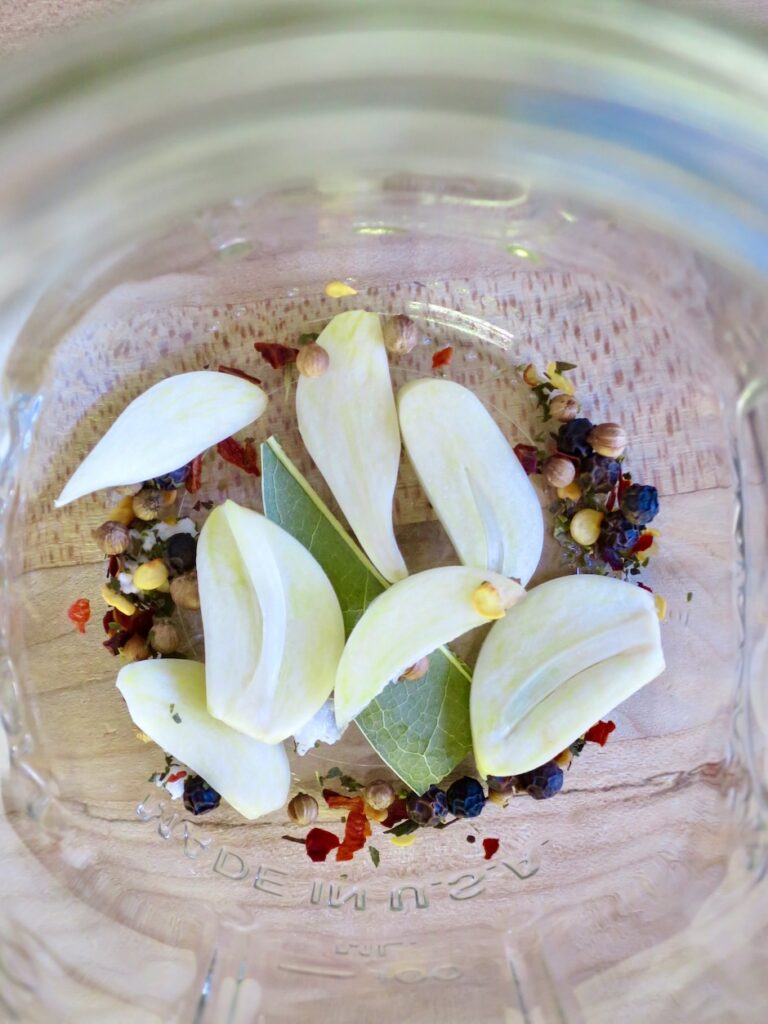
The seasonings are divided equally into 4 pint canning jars.

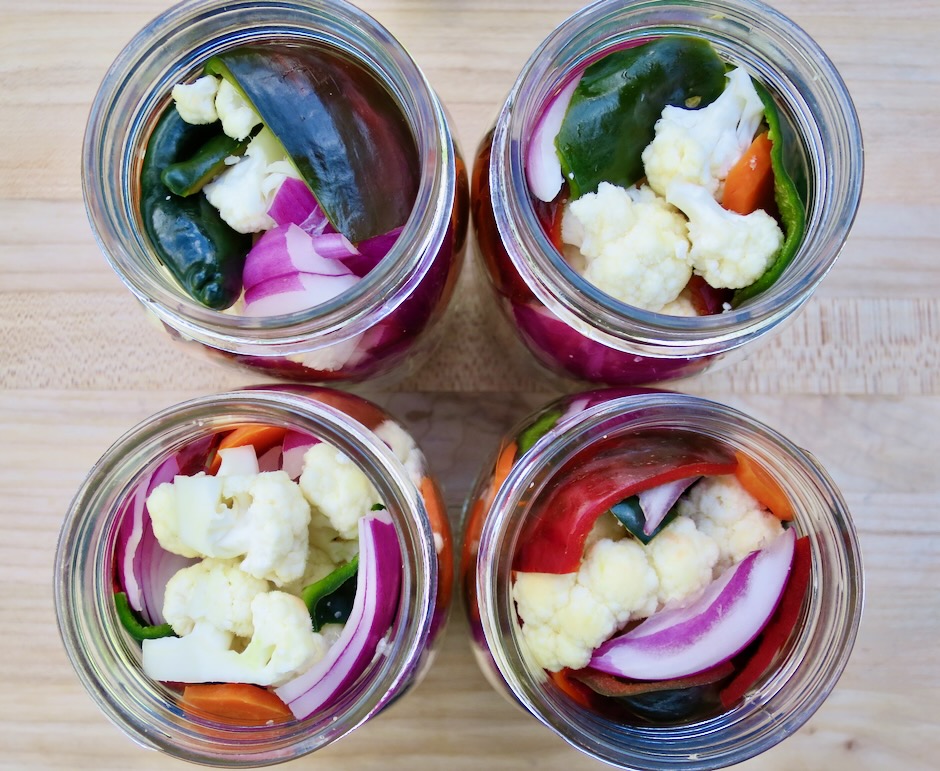
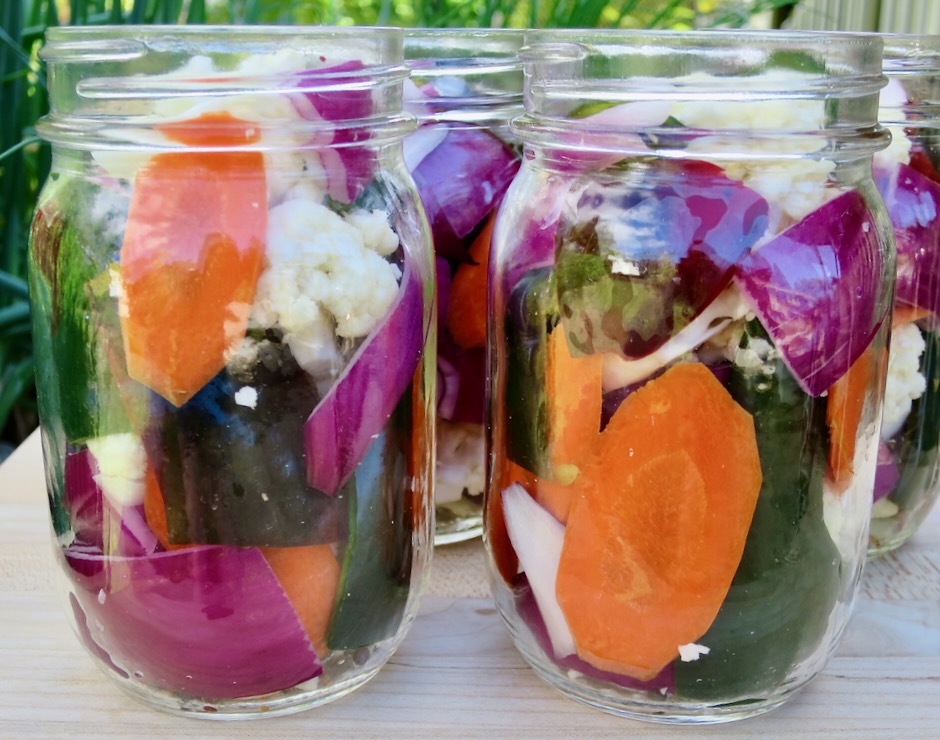
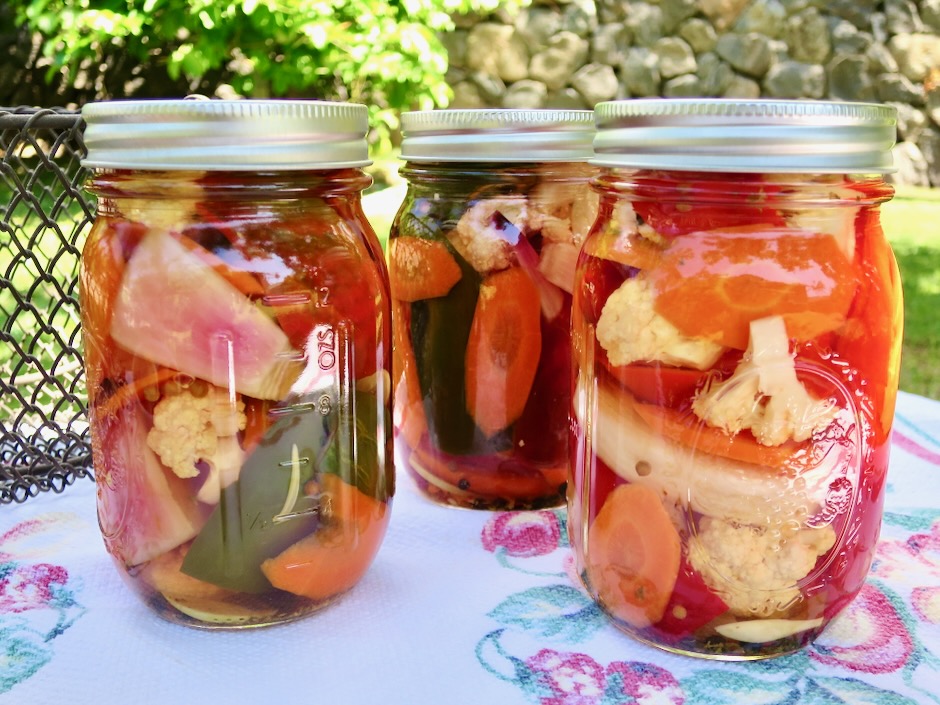
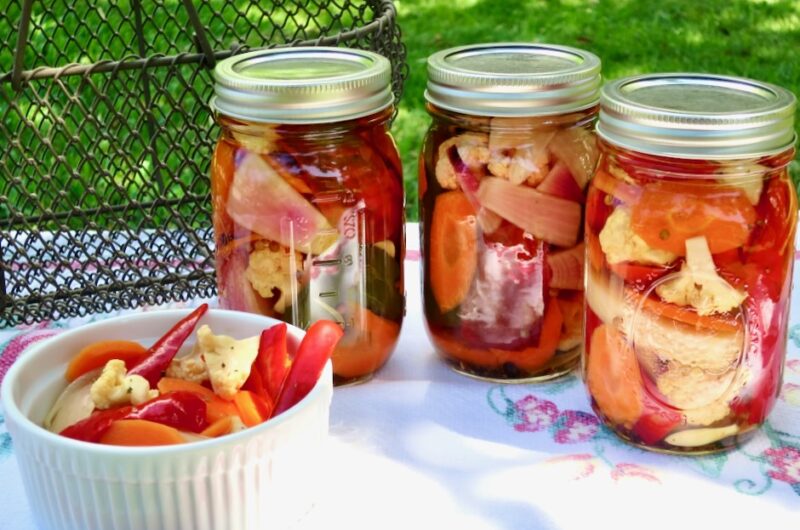
The jars are packed with the vegetable assortment before the brine is added. They are so colorful!

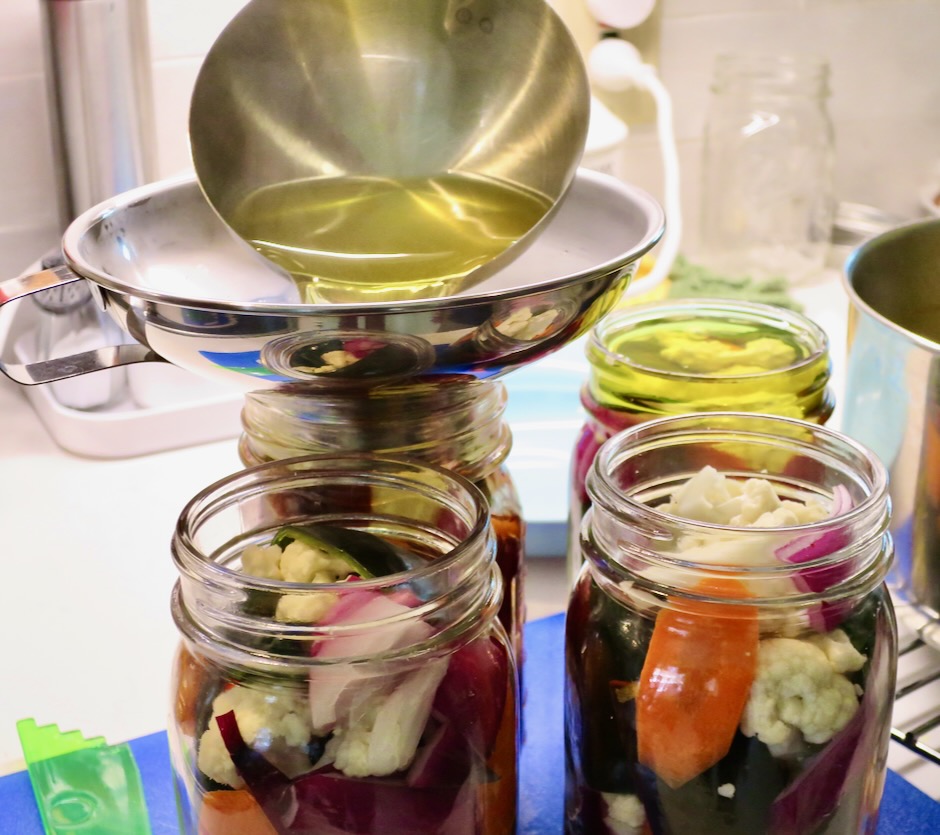
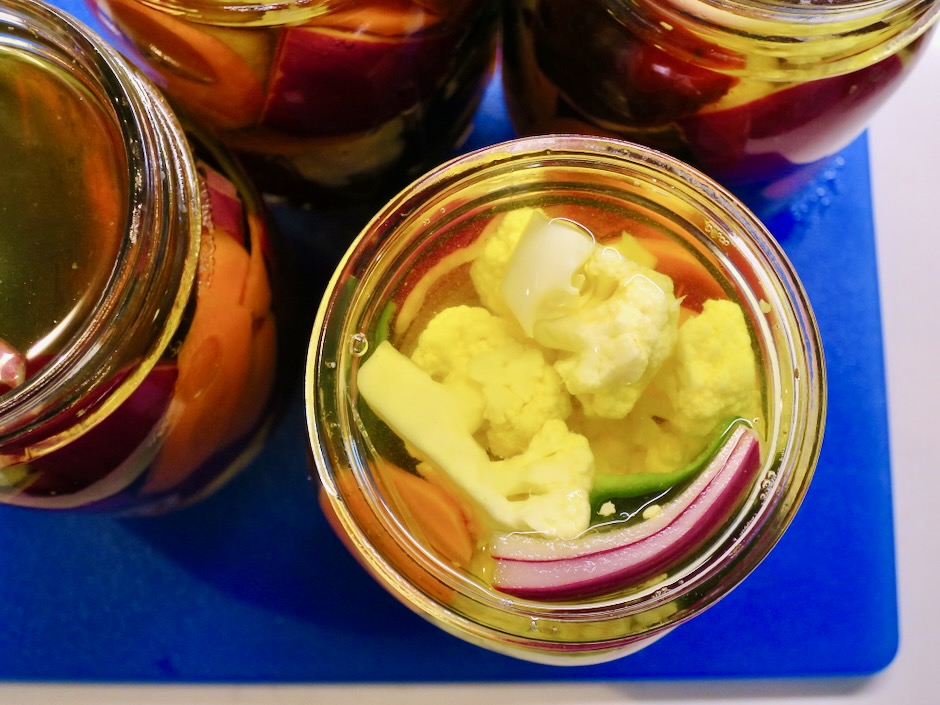
Hot brine is added to the jars before the sous vide process begins.

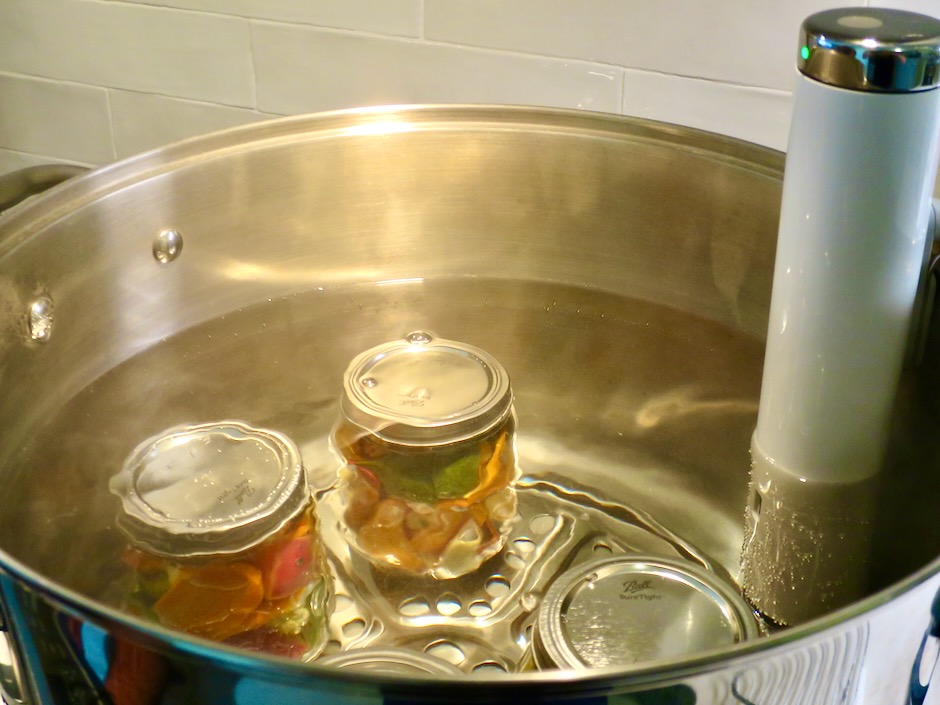
The giardiniera is canned via the sous vide pasteurization process for 30 minutes at 190F.

The finished product turned out to be one of our new favorite snacks. The assortment of vibrant colors and various shapes of the vegetables makes a beautiful jar of homemade pickles.

Sous Vide Giardiniera

Recipe by Kiyo
Servings

4

servings

Special Equipment: Sous Vide Precision Cooker (we use Joule), 4 1-Pint Canning Jars, Canning Pot
Recipe adapted from America’s Test Kitchen

Ingredients

  • Vegetables
  • 1 head cauliflower (about 1 3/4 pounds, 1 pound trimmed) cut into bite-sized pieces

  • 1 large carrot (6 ounces), thinly sliced on the diagonal

  • 1 red onion (10 ounces), peeled and cut into thick wedges

  • 10 ounces poblano or anaheim peppers red and green preferred, cut into short strips (substitute with bell peppers for very mild flavor or jalapeño peppers for spicy version or a combination)

  • Seasonings per jar
  • 1/4 teaspoon black peppercorns

  • 1/4 teaspoon whole coriander seeds

  • 1/4 piece bay leaf (from one whole bay leaf)

  • 1/8 teaspoon dried oregano

  • 1/4 teaspoon chili pepper flakes (optional depending on pepper heat)

  • 1/8 teaspoon calcium chloride (optional but recommended for crispness)

  • 1 medium garlic clove, thinly sliced

  • Brine
  • 2 1/2 cups distilled white vinegar

  • 2 1/2 filtered water

  • 2 tablespoons pickling salt (substitute kosher salt 2 tablespoons + 1 1/2 teaspoons, do not use salt that has additives)

  • 3 tablespoons granulated sugar

  • dash of turmeric

Directions

  • Cut vegetables as described above, set aside.
  • Wash and dry 4 pint sized canning jars. Place seasonings in each jar. Begin adding vegetables into each jar, pressing down firmly leaving 3/4-inch headspace. Set aside.
  • Fill canning pot with hot water to cover jars by at least 1-inch. Place pot on stove and heat to about 190F, checking with a digital thermometer. This is optional but gives you a head start to heating up the large pot of water. Once up to temperature turn off stove burner. Connect sous vide device to the pot and set temperature to 190F.
  • Meanwhile, in a medium saucepan, combine brine ingredients. Bring to a boil over medium-high heat, stirring until salt and sugar has dissolved. Pour the hot brine over the vegetables, leaving 1/2-inch headspace from the rim of the jar. Add lids and screw on rings until finger tight. Do not over tighten. Place jars in canner and set timer for 30 minutes when water temperature is 190F.
  • Once 30 minutes has passed, turn off sous vide device and let jars sit in the water for 5 more minutes. Remove jars to a cooling rack and let sit undisturbed for 24 hours.
  • Remove rings, check seals (unsealed jars should be refrigerated). Jars can be stored in your pantry for 1 year.
Dinner, Duck, French, Lactose Free, Recipes, Sous Vide

Sous Vide Duck Confit

October 6, 2019

Sous Vide Duck Confit

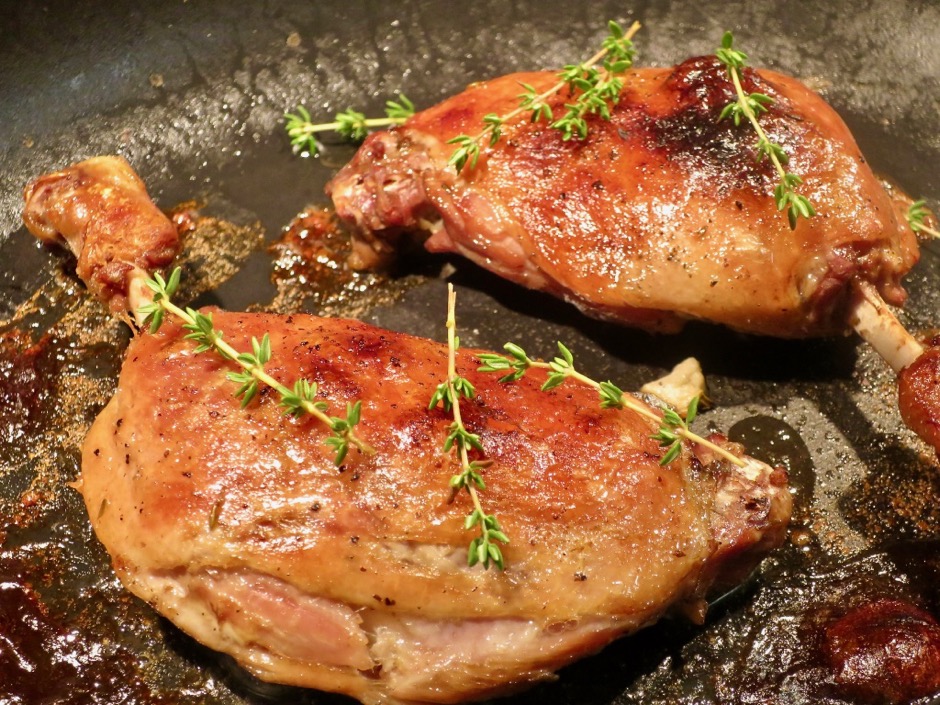
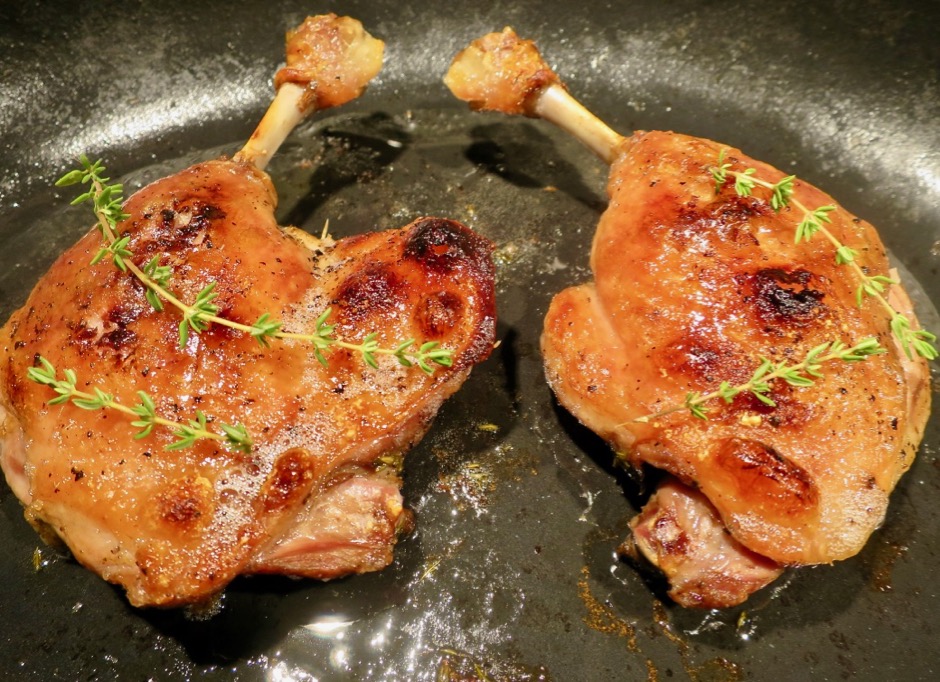
Without a doubt, my favorite classic French dish is duck leg confit. I’ve had this dish every year at Fringale, a small French bistro in San Francisco. It is the one meal I always look forward to each time we are there.  Duck confit is one of those dishes that takes a lot of patience because of the lengthy process of preparing it.  The duck is salt cured and then cooked slowly in lots of duck fat.  The problem of doing this the traditional way, is that you need quite a bit of duck fat as the duck legs need to be submerged in it, then slowly cooked for several hours.  Sous vide duck confit on the other hand allows the home cook to replicate this dish without requiring all that duck fat.  The duck legs are cooked in a sealed bag that holds the small amount of fat that renders from the duck legs, reproducing the submerged effect of the classic method. The first time we made it I thought the 36 hour cooking time would never end.  But it did, and the outcome was fantastic.  When you sous vide meat the first thing you’ll notice is that it looks quite drab.  There’s no browning (yet) but the meat is cooked to perfection.  In this recipe the duck is finished for 7-8 minutes under the broiler until the skin is gloriously browned and crisp.

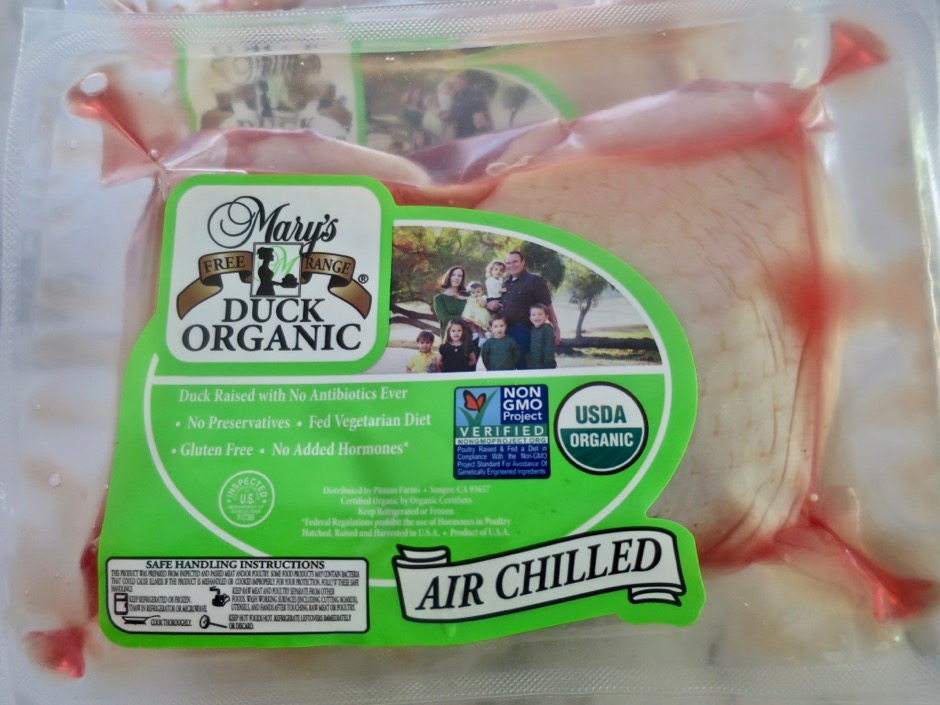
Mary's Organic Duck Legs

Fortunately we can find good duck legs at our local Whole Foods market.  We buy 3 packs of two legs each and sous vide them all at once then vacuum seal and freeze the ones we don’t eat right away.

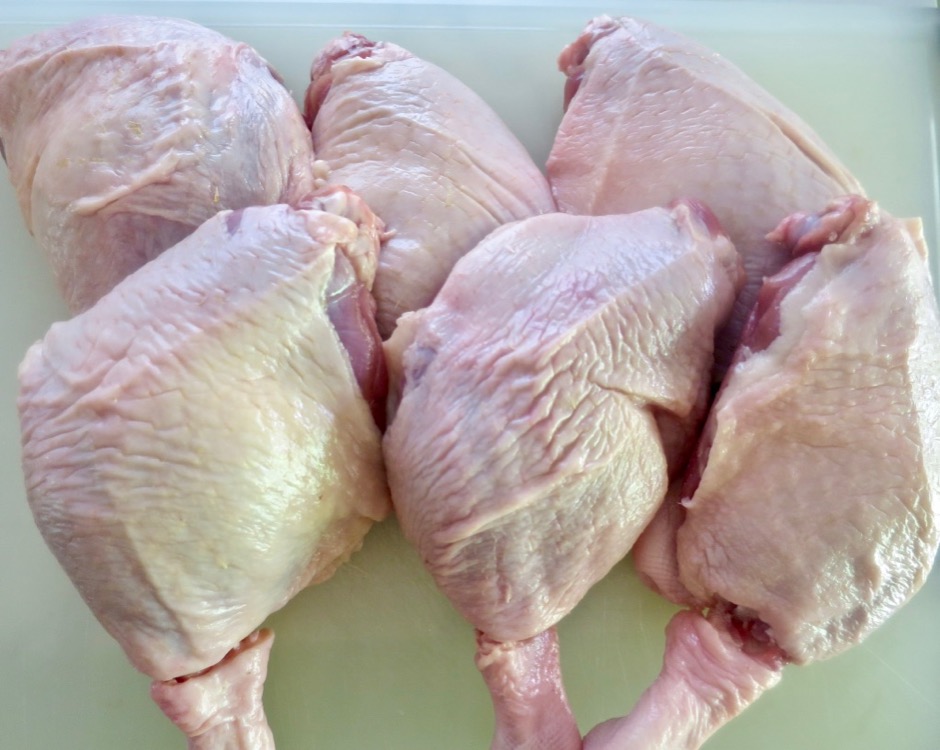
Mary's Organic Duck Legs

Frenching the duck legs (cutting away the meat from the bone) makes for an elegant presentation.  I also trimmed off some of the thick, excess fat from the duck.

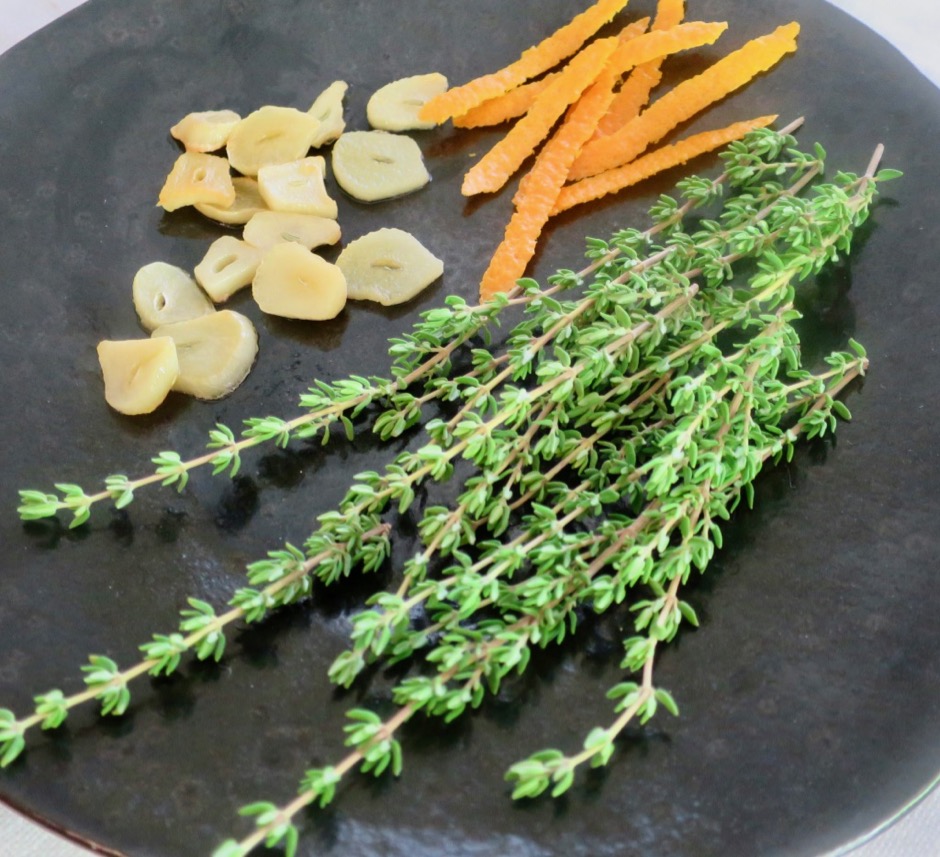
Fresh Thyme, Garlic & Orange Peel

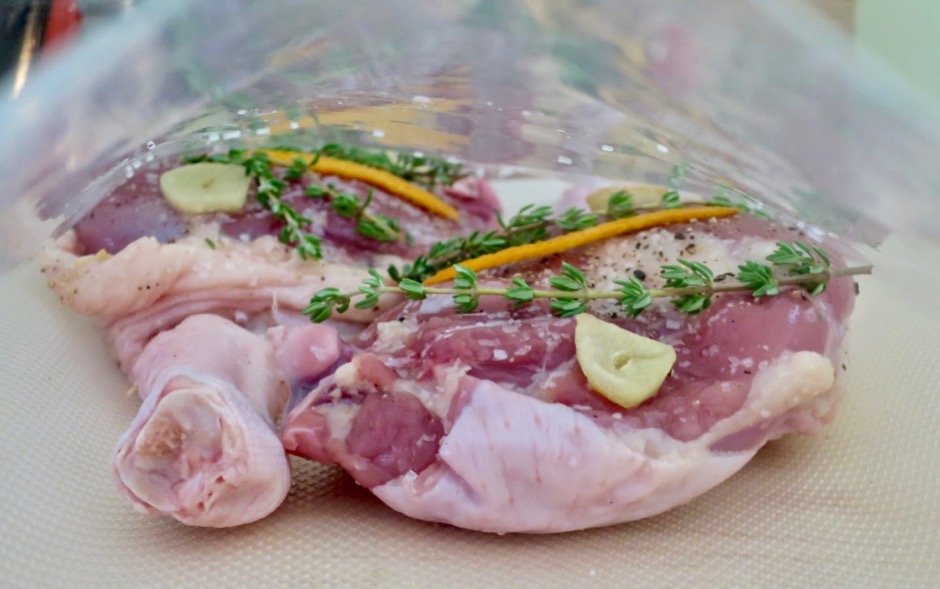
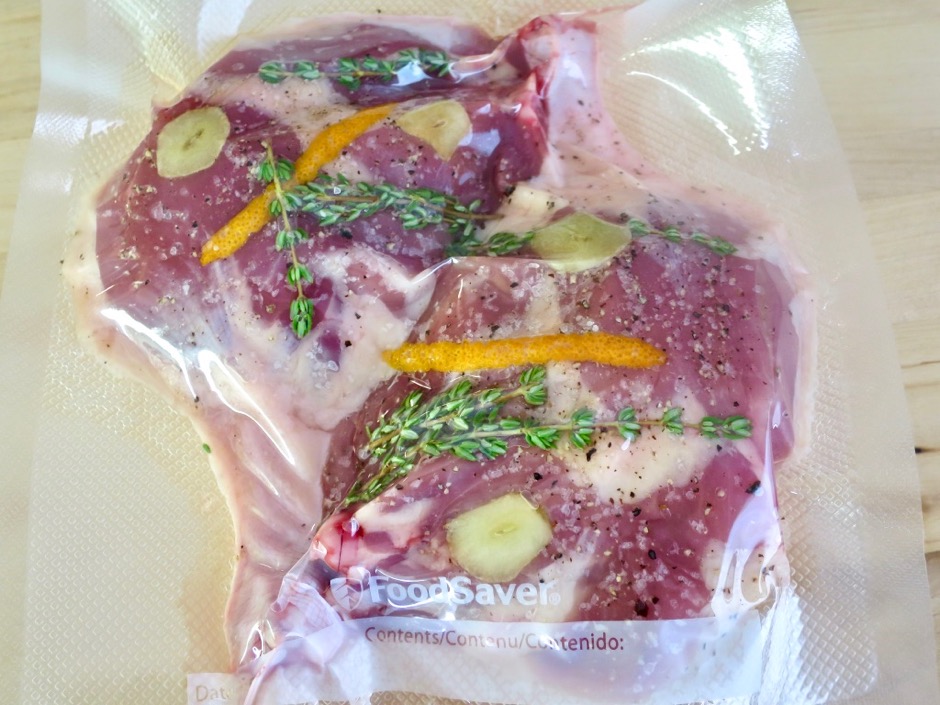
The duck legs are generously salted then sealed in an airtight bag with thyme, garlic and orange peel (optional) and torn bay leaves if you prefer.  There is some discussion as to whether or not using raw garlic at low cooking temperatures is safe. To err on the side of caution, I slice the garlic and gently pan-fry each piece before they go into the sous vide bag with the duck legs.  Alternatively, you can substitute dried minced garlic.

Mary's Organic Duck Legs

Mary's Organic Duck Legs

Joule Sous Vide

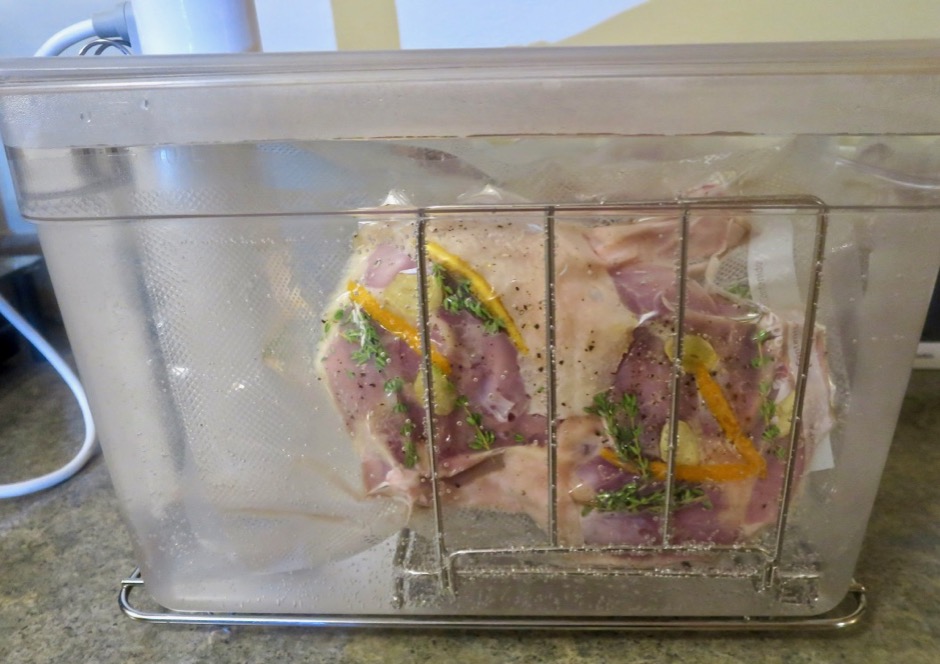
Let the 36 hour timer begin!  Our favorite sous vide device is the ChefSteps Joule.  You may have seen some very large and heavy sous vide machines at various stores.  The Joule is small, light weight and controlled through their app on your phone.

Sous Vide Duck Legs

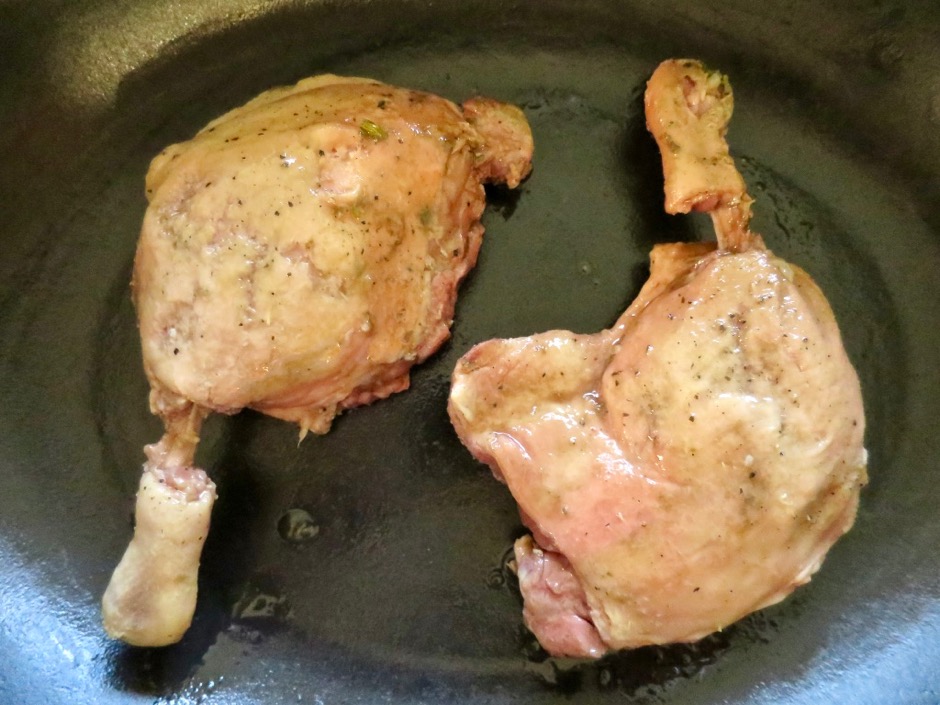
Once the duck leg’s 36 hour sous vide time is up, they are gently wiped clean of any herbs and excess duck fat.  You can clearly see that the duck legs are pale and not very attractive at this point. But they are perfectly cooked and fall off the bone tender.

Sous Vide Duck Confit

The duck legs are placed in a roasting pan (we use a higher sided pan as the duck can splatter a bit) and one that is safe to use under the broiler.  We use a heavy enameled cast iron pan.

Sous Vide Duck Confit

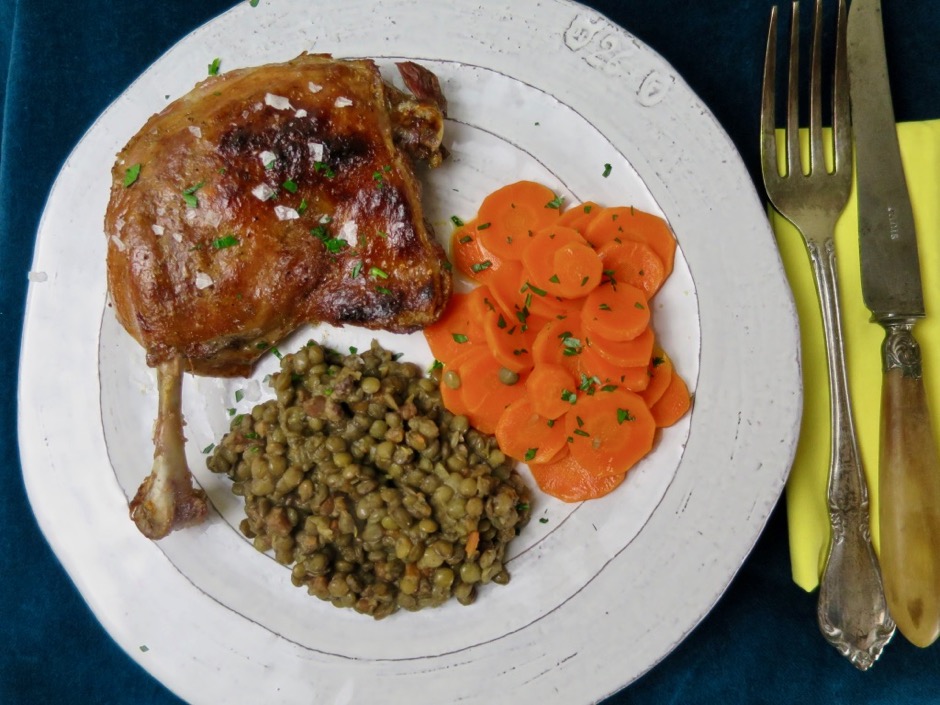
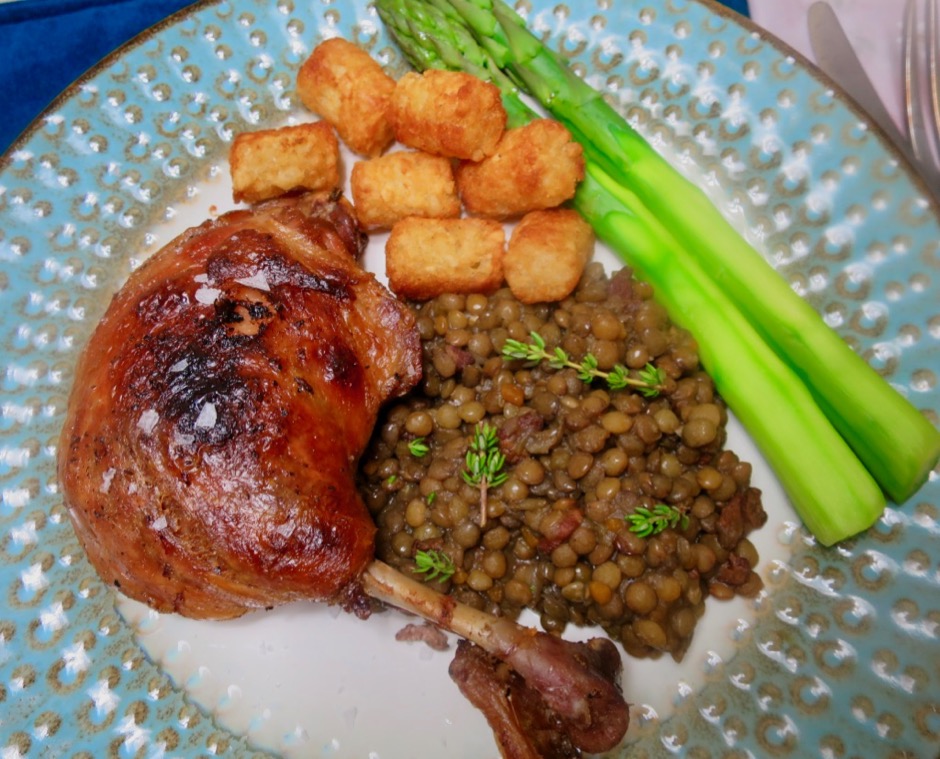
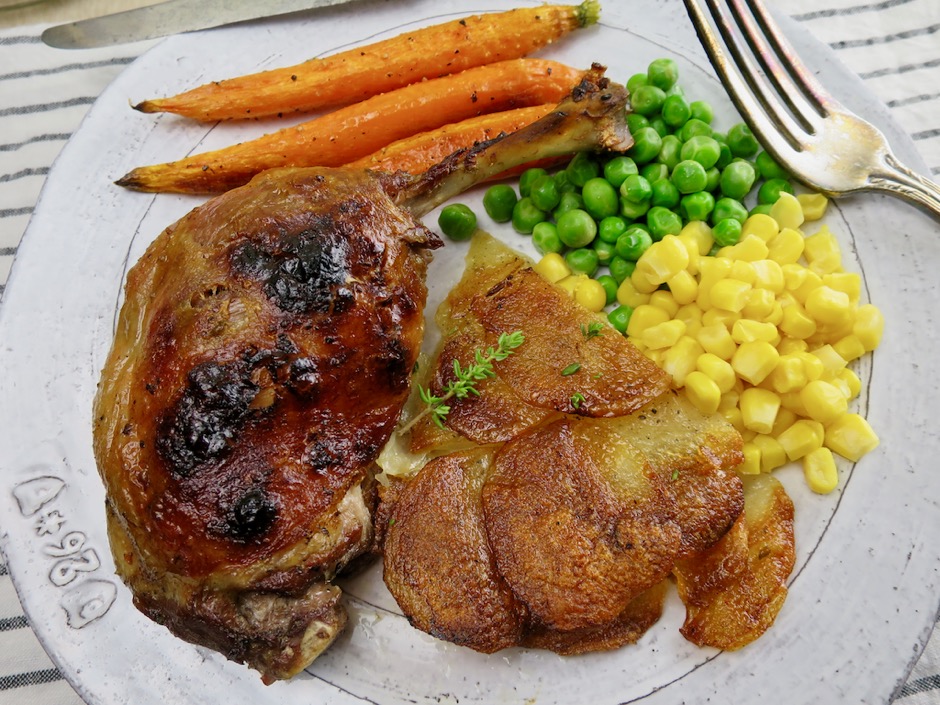
I like to serve this with braised lentils though sometimes you need a quick fix which means any type of potato (even tater tots are welcome) will be just fine. Sometimes you get both.

Sous Vide Duck Confit

Sous Vide Duck Confit

Sous Vide Duck Confit
 
Adapted from Serious Eats & ChefSteps
Author:
Serves: 6
Ingredients
  • Special equipment: Sous vide immersion circulator, vacuum sealer and bags (or Ziploc freezer bags), large pot or dedicated sous vide container with lid (to prevent excessive evaporation)
  • 6 fresh duck legs, trimmed of excess fat
  • kosher salt
  • freshly ground black pepper
  • 2 garlic cloves sliced thin, pan-fried on low heat
  • fresh thyme sprigs
  • slivers of orange peel (optional)
  • 2 bay leaves, torn (optional)
Preparation
  1. Heat water to 155 degrees
  2. Generously salt both sides of the duck legs. Grind fresh pepper over each side (to taste).
  3. Place thyme sprigs, garlic, and orange peel and bay leaf (if using) on meaty side of the duck legs. Place 2 duck legs in each vacuum bag and seal according to vacuum sealer manufacturers instructions (or use 3 separate Ziploc freezer bags using water displacement technique to remove air).
  4. Place sealed bags in preheated water bath. If the bags float, weigh them down. Set timer for 36 hours.
  5. When finished, remove bags from water (If not eating all of the duck right away, transfer to an ice water bath to cool quickly. Then freeze for up 4 months).
  6. Remove duck legs from plastic bags and scrape away thyme, orange peel, bay leaves, excess fat and garlic. Heat broiler to high heat. Place duck legs in oven proof skillet or roasting pan and broil on the second shelf down from the top for 7-8 minutes or until the skin is nicely browned. Serve with braised lentils.


Beef, Dinner, Lactose Free, Recipes, Sandwiches, Smoker, Sous Vide

Best Homemade Pastrami

January 30, 2019

Several years ago, we took a trip to the Big Apple and, of course, we had to try the renowned pastrami sandwich at Katz’s Deli.  It was as good as advertised.  Since that visit, John has been on a quest to make a pastrami that would rival that of Katz’s, Langer’s in L.A., and Wise Sons in San Francisco.  With this recipe, we think we have succeeded.  We tried using the traditional brisket (sometimes difficult to find here), but after seeing a post by Kenji Lopez-Alt, we decided to use a tri-tip and have never turned back. We buy the 2-pack from Costco (about 4 pounds), either prime or choice (prime is a bit richer).  It requires little if any trimming and is very evenly marbled, unlike brisket.  After several less than satisfactory attempts, John discovered a recipe by the ChefSteps crew who created the Joule precision circulator (sous vide device).  This recipe turns out perfect pastrami.  We reduced the recipe by 2/3’s and substituted tri-tip for the short ribs they use.

Best Homemade Pastrami

The gallon of cure/brine is just right for 4 pounds of tri-tip.  Mix everything together and refrigerate until it is below 40 degrees.  The Briner Jr. bucket is perfect for this recipe.  Add the meat to the brine after it has thoroughly chilled and return it to the refrigerator.  Let the meat cure for 7 days, stirring once per day.  After the meat has cured,  you are ready to smoke.
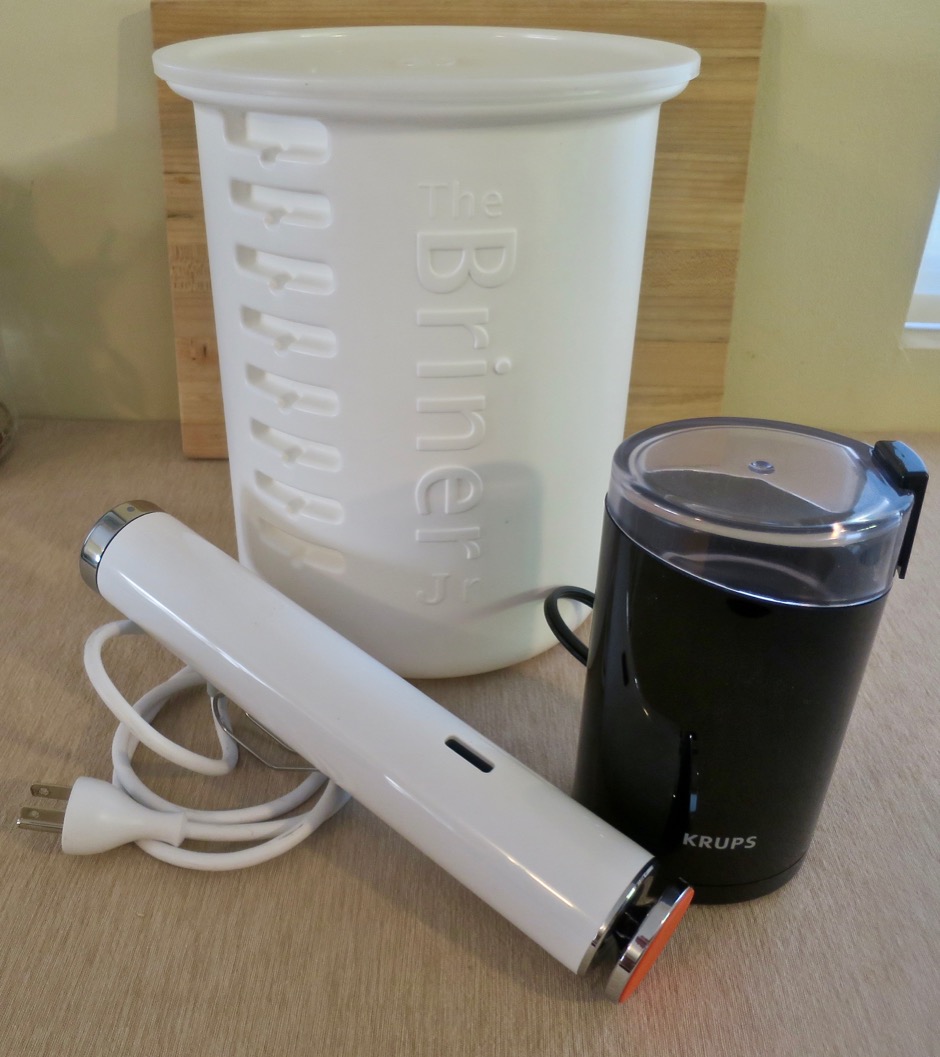
Joule Precision Circulator, Briner Jr. Brining Bucket, Spice Grinder

Here is some of the special equipment you will need.
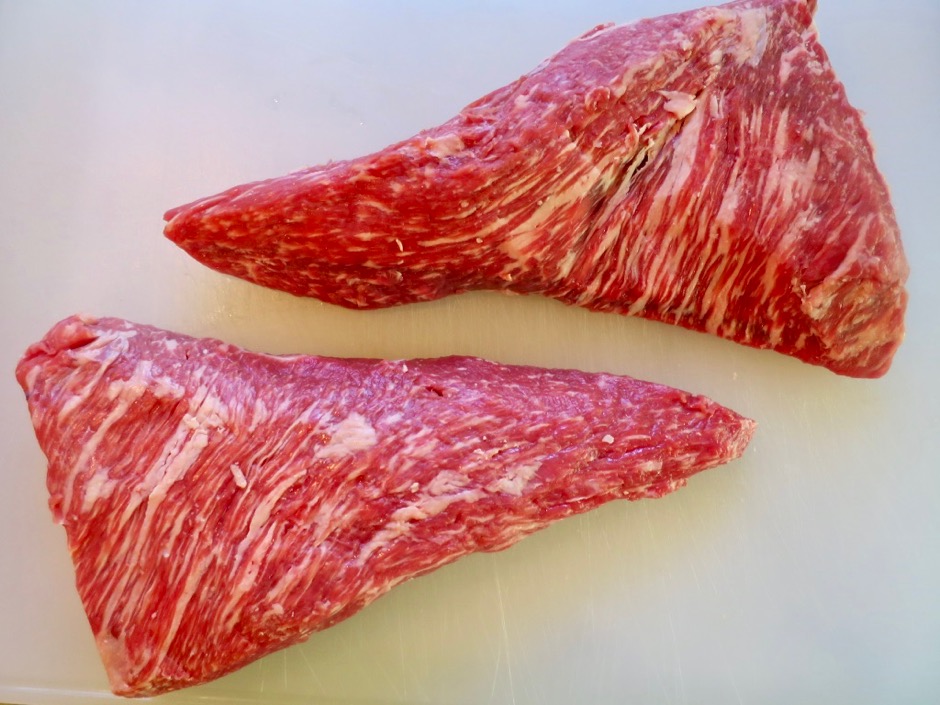
Prime Tri-Tip

These are the prime grade tri-tips we bought from Costco.  You can see how marbled they are.  If you prefer a richer cut of pastrami these are the way to go.

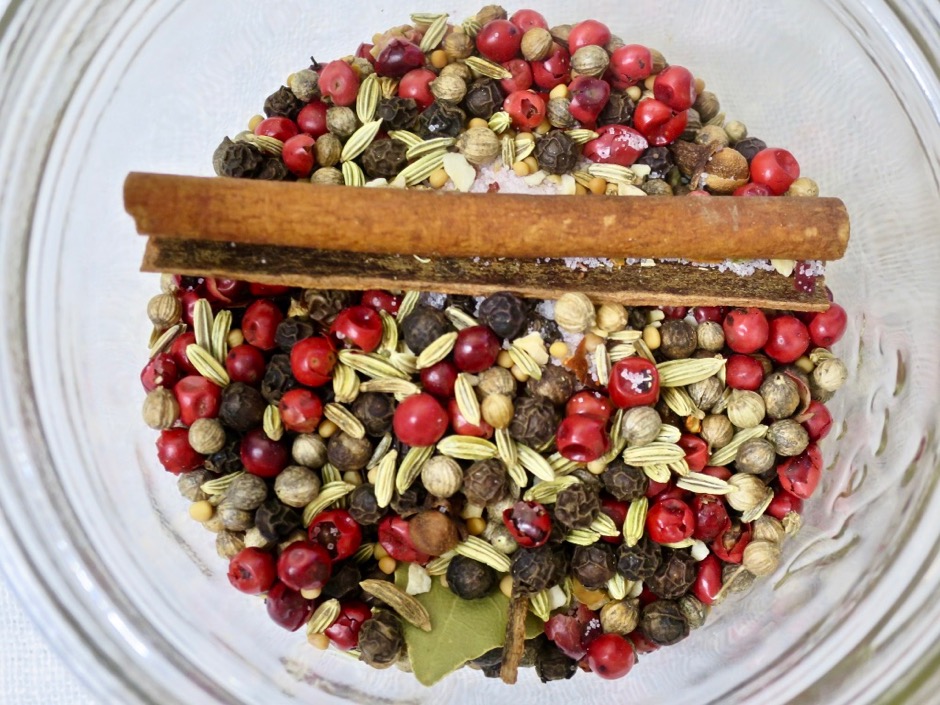
Brining Spices

These are the brine spices.

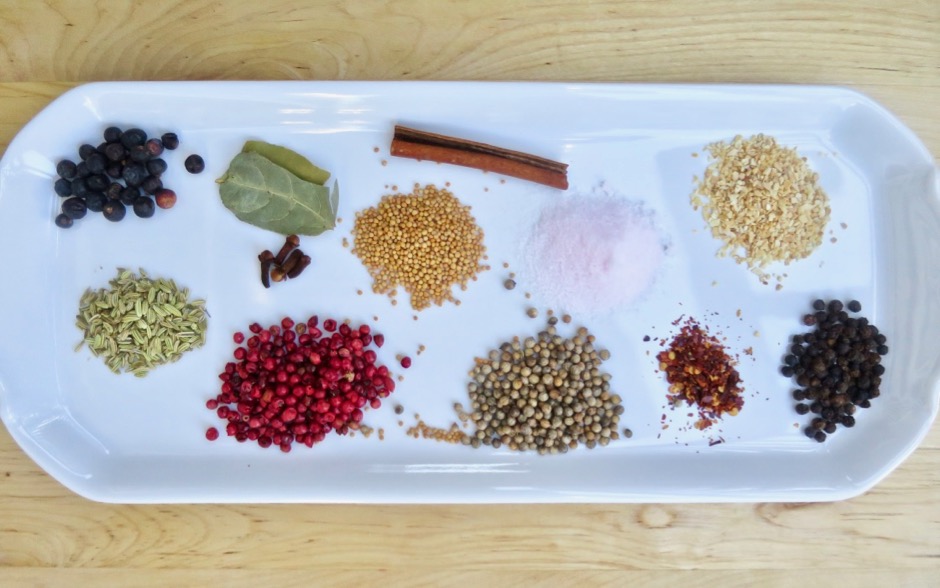
Spices & Seasoning for Brine & Dry Rub: Juniper Berries, Bay Leaves, Mustard Seeds, Cinnamon Stick, Pink Salt, Granulated Garlic, Fennel Seeds, Cloves, Pink Peppercorns, Coriander Seeds, Chili Pepper Flakes, Black Peppercorns

Here are some of the various spices and seasonings used for the brine and the dry rub.

Dry Rub Applied, Time to Smoke

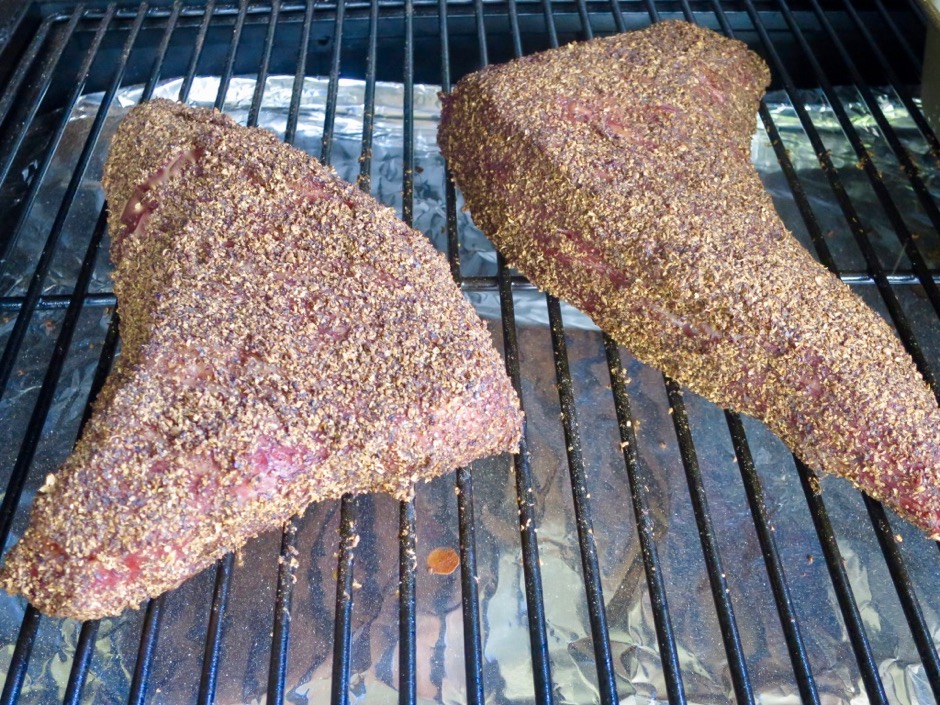
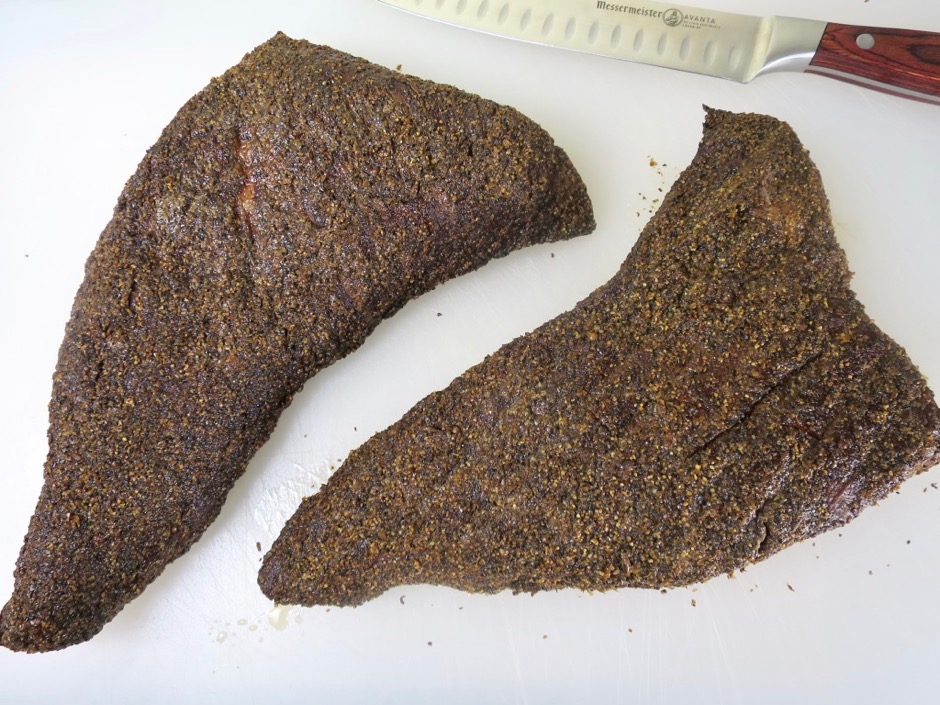
The dry rub has been applied to the meat that will smoke for 7 hours.  Once out of the smoker, the meat will sous vide for 48 hours.  
Ready to Slice

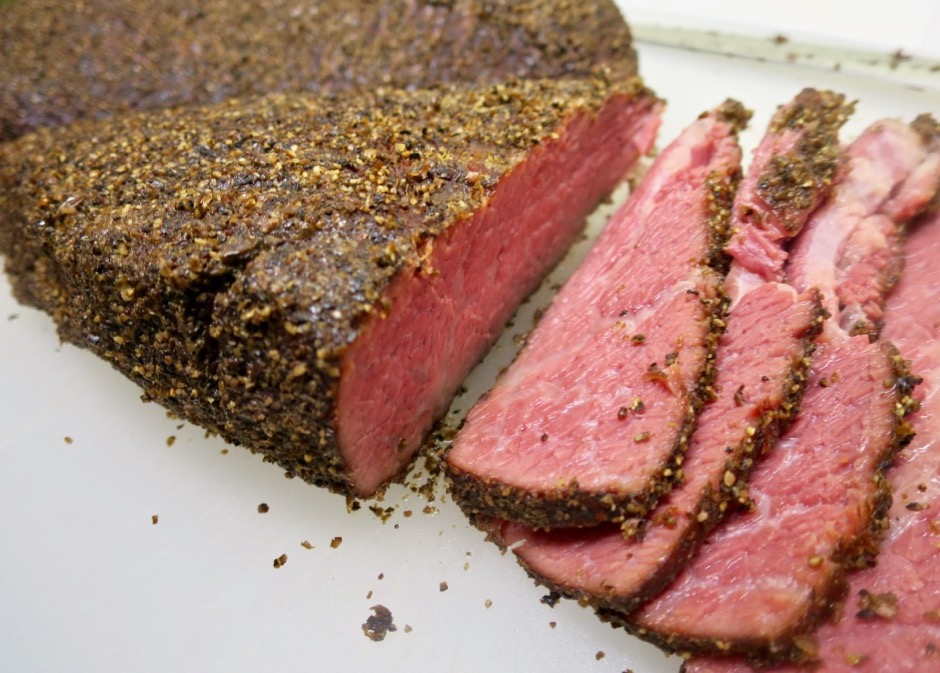
Here it is after 48 hours sous vide, moist and tender and ready for slicing.  Typically authentic pastrami is finished by steaming for several hours.  We prefer the sous vide method as it makes for a consistently tender result.

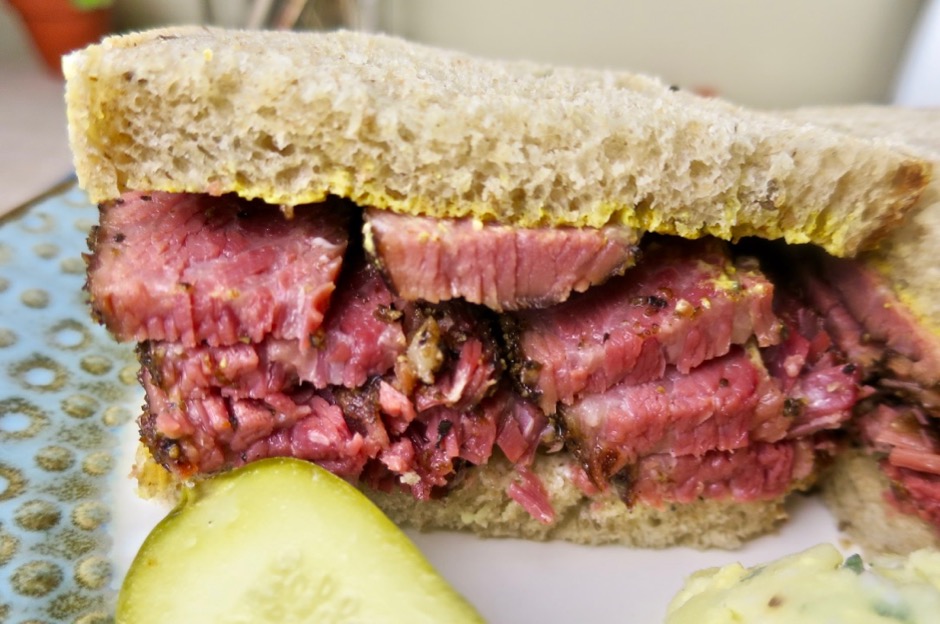
The Perfect Sandwich

Here is the ultimate reason for all of this effort: the perfect pastrami sandwich!

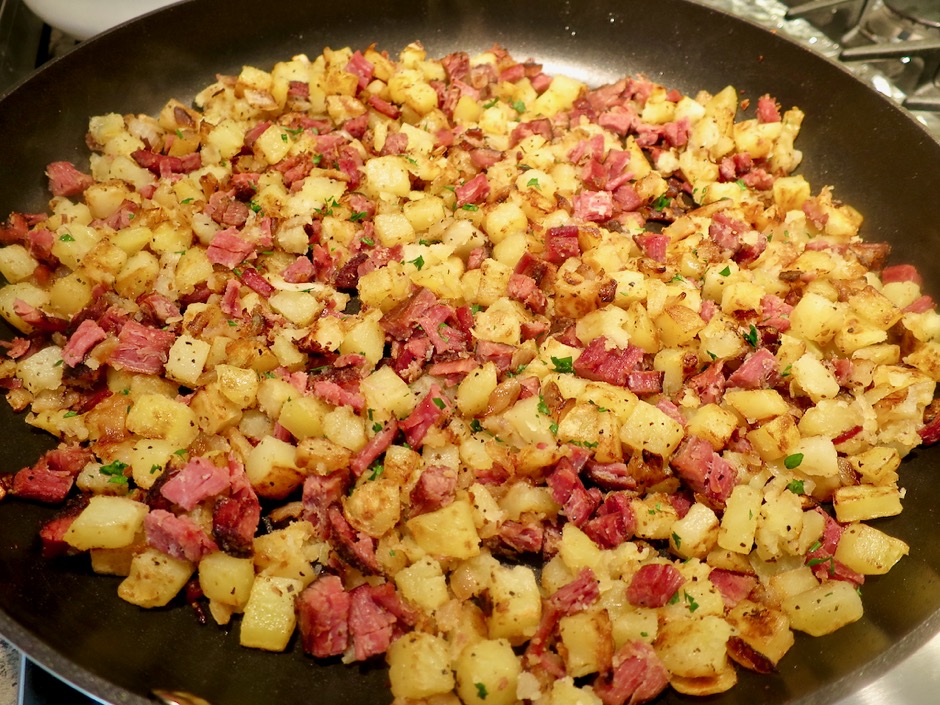
Pastrami Hash

Corned beef hash is a wonderful breakfast dish, however, pastrami hash is over the top.  So save some of your pastrami for this terrific treat. 
Pastrami Hash with Poached Egg

Pastrami hash with a poached egg.  Divine.


Best Homemade Pastrami
 
Special Equipment: Briner Jr. bucket or equivalent, spice grinder, smoker (we use CampChef Pellet Grill), sous vide precision cooker (we like Joule), vacuum sealer and bags, large canning pot (for sous vide)
Author:
Ingredients
  • 2 Tri-Tips (4 pounds total)
  • For the Brine
  • 1 gallon water
  • 1½ cups brown sugar, packed
  • 5 tablespoons fine sea salt or pickling salt
  • 4 teaspoons #1 Prague Powder (pink/curing salt - sodium nitrite)
  • 1 tablespoon whole black peppercorns
  • 4 teaspoons whole coriander seeds
  • 1½ teaspoons yellow mustard seeds
  • 1 tablespoon whole pink peppercorns
  • 1 teaspoon whole fennel seed
  • ½ cinnamon stick
  • ½ teaspoon chili pepper flakes
  • 4 whole cloves
  • 2 small bay leaves
  • 1 teaspoon minced dried garlic
  • For the Dry Rub
  • 2 tablespoons brown sugar
  • 2 tablespoons fine sea salt or pickling salt
  • ¼ cup whole black pepper corns
  • ¼ cup whole coriander seed
  • 1 teaspoon garlic powder
  • 2 teaspoons whole juniper berries
  • 1½ teaspoons chili pepper flakes
Preparation
  1. Mix all the of brine ingredients together in your Briner Jr. bucket or equivalent. Refrigerate until the brine is below 40 degrees. Add the meat to the bucket, cover and return to the refrigerator. Let the meat cure for 7 days, stirring once per day.
  2. To make the dry rub, combine black pepper corns, coriander seed, and juniper berries. Grind to medium-fine consistency in your spice grinder. If you do not own a spice grinder you can substitute ground spices. Combine all dry rub ingredients.
  3. After the meat has cured, you are ready to smoke. Remove the meat from the brine, pat dry, and generously apply the dry rub to all sides. Set your smoker on it's low setting (ours is in the 160 degree range). John added a bread pan filled with ice to maintain a moist environment. Smoke the meat for 7 hours. Once smoked, the meat should be vacuum sealed. If you do not own a vacuum sealer, place the meat in 2 gallon Ziploc freezer bags and use the water displacement method to remove the air from the bags.
  4. Fill your large capacity pot with water within 4-inches of the rim (we use a 21 quart canning pot). Attach your sous vide device to the pot and set to 149 degrees. Once up to temp, add the meat to your sous vide set up and set the timer for 48 hours. It's a good idea to cover the pot opening with plastic wrap for the 48 hour cook, to avoid evaporation.
  5. Once finished, the meat can stay in the water bath for another hour or so, until you are ready to serve it. Otherwise, it can be removed, sliced, and refrigerated or frozen, then later steamed prior to serving. We usually trim off the narrow points of the tri-tips for later use in pastrami hash, one of the greatest breakfast dishes imaginable.


Follow

Get every new post delivered to your Inbox

Join other followers: