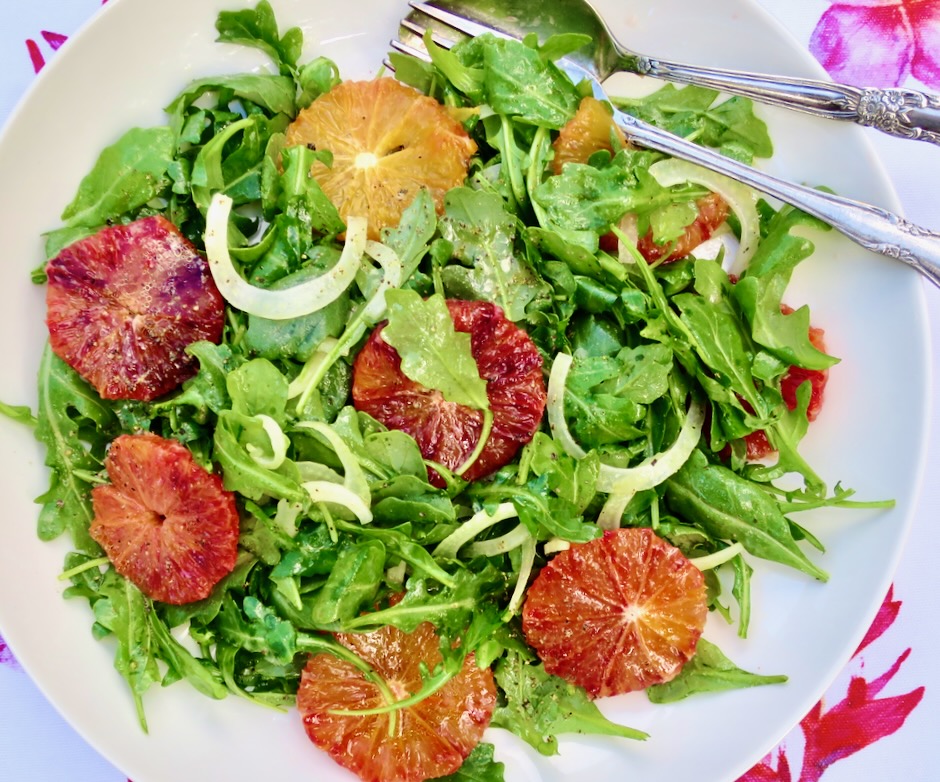
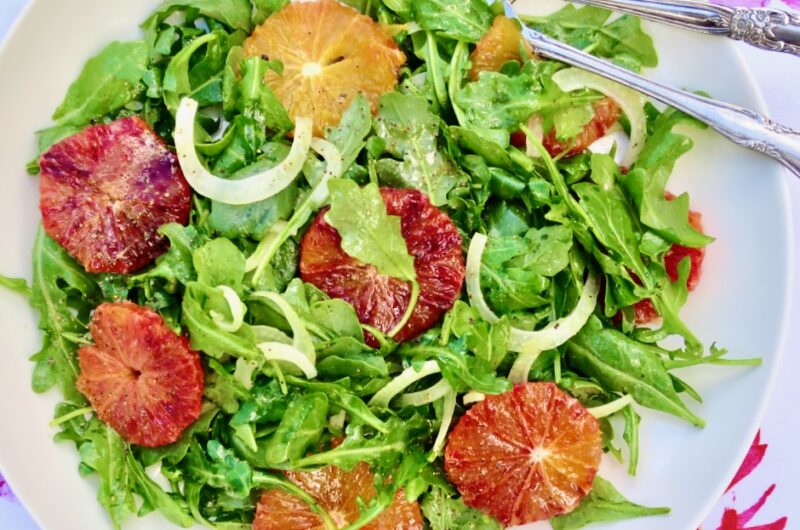
Peppery arugula, anise flavored fennel, and sweet blood oranges make a delicious and gorgeous salad. The champagne vinegar, Dijon and honey vinaigrette compliments the bold flavor of arugula and brings out the sweetness of the fennel and oranges. You can find blood oranges during the months of December through April. On Maui, I was lucky to find them at Whole Foods. They are worth the drive no matter where you live!
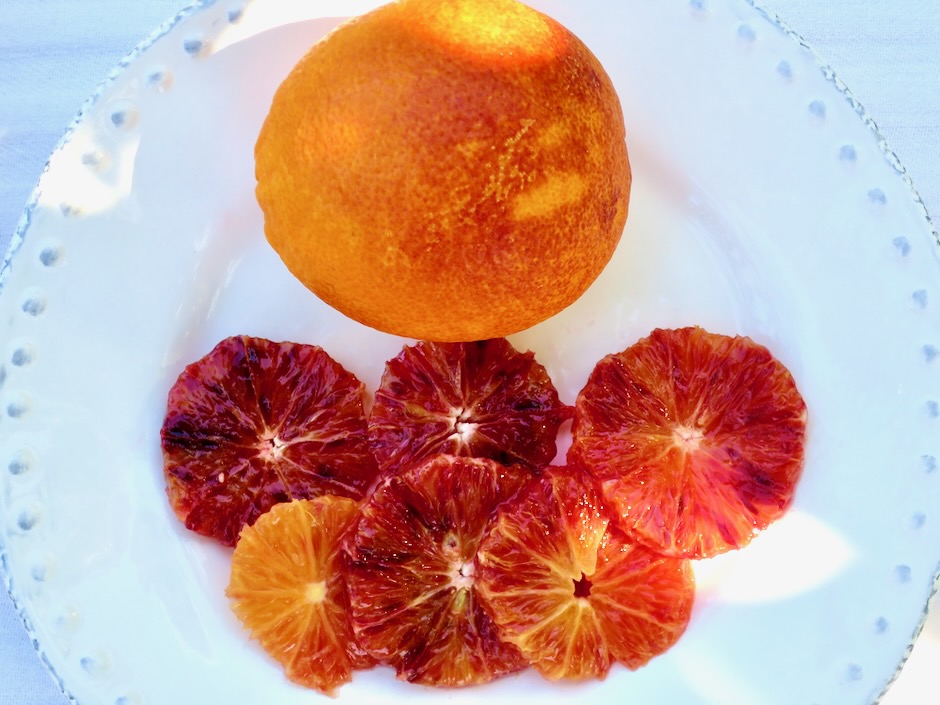
Blood oranges are much more petite than navel oranges. They are super sweet and the colors are stunning.
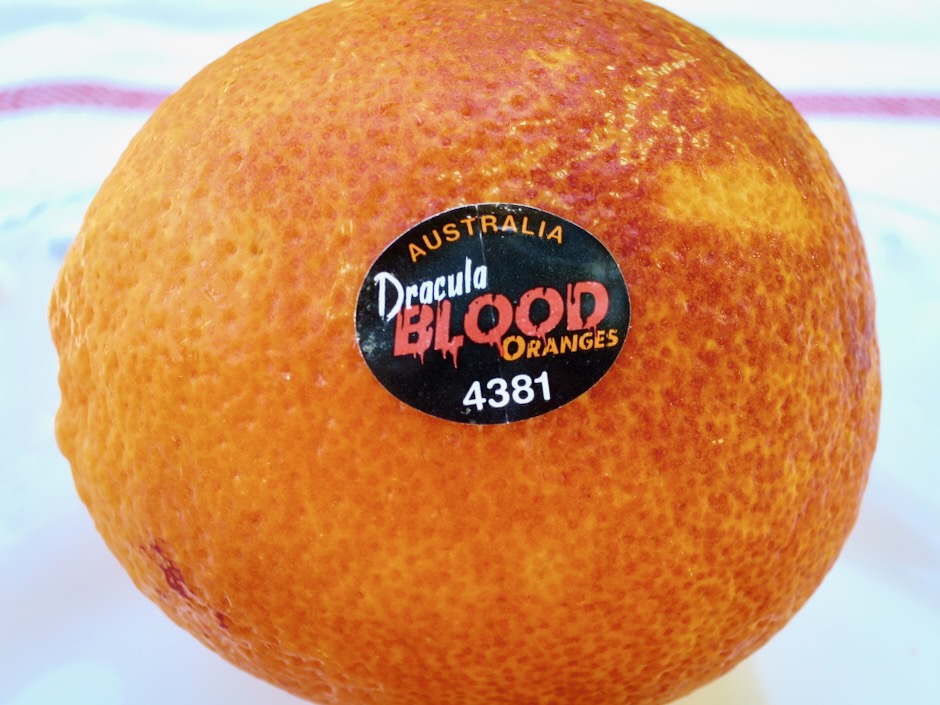
I usually don’t pay much attention to produce labels. But in this case, it caught my eye. Thank you Australia for growing these delightful “Dracula” blood oranges….

Fennel has a distinctive flavor that can be described as anise-like, sweet and perfumy. The texture of raw fennel is crispy, similar to celery. If you haven’t yet tasted fennel, give it a try. You’ll be surprised how delicious it is whether you eat it raw in salads like this one, or cooked as in this dish, which mellows the flavor a bit. To make the fennel slices extra crisp, soak in an ice water bath for about 10 minutes before adding to the salad.
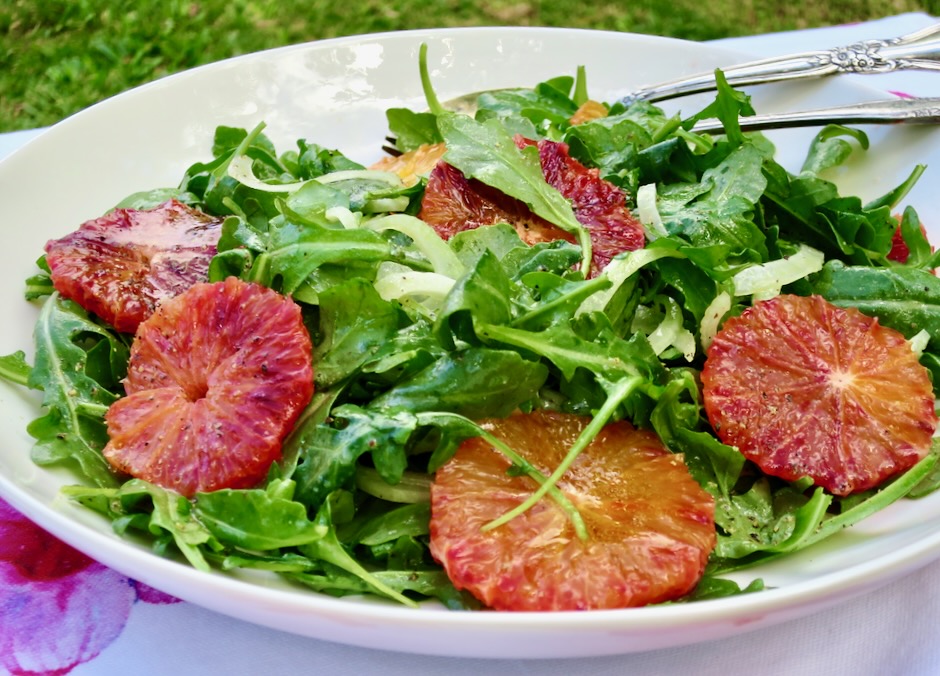
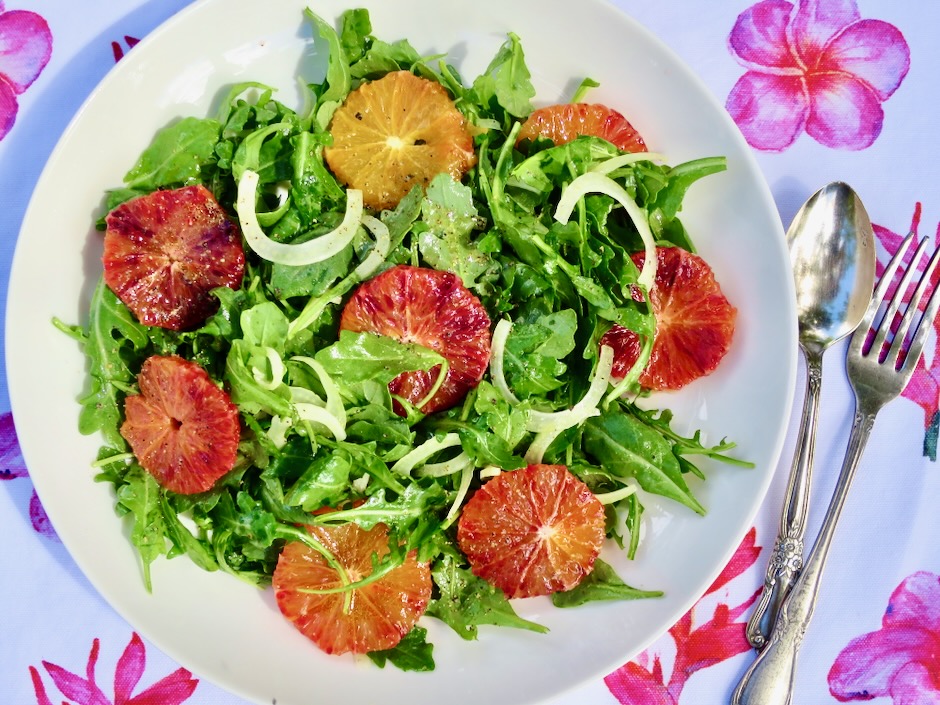
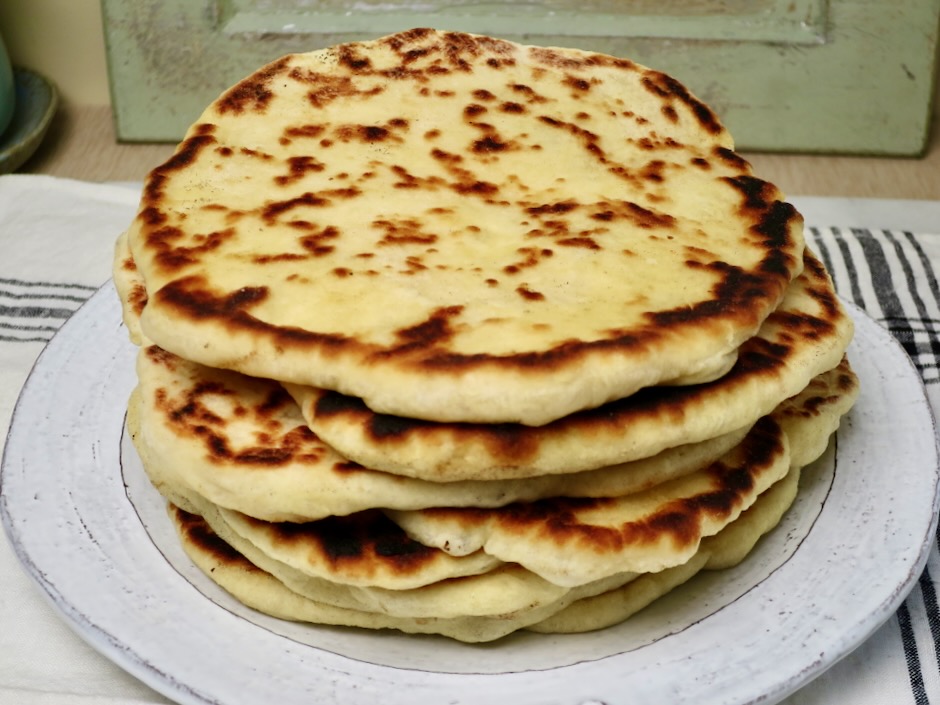
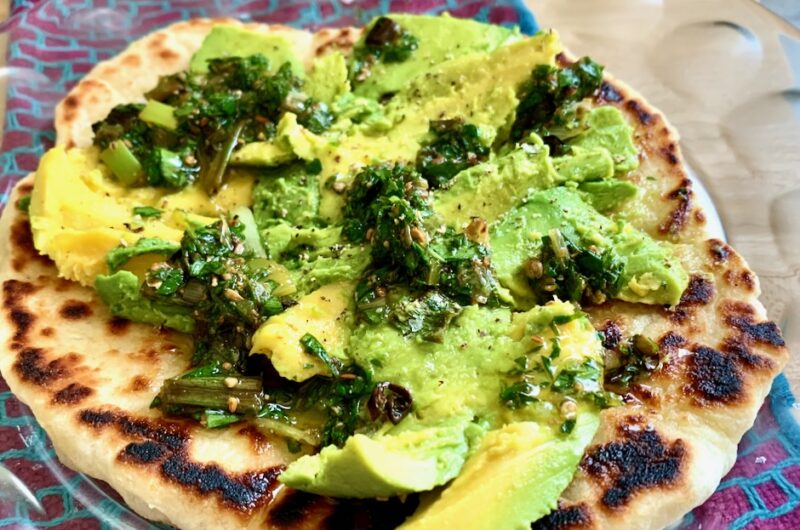
This beautiful salad deserves to be a feature on your seasonal menu. The three main ingredients are flawless together. It can be served alongside a main dish, or as the main dish itself along with yogurt flatbread, baked feta and roasted tomatoes. If you can’t find blood oranges, feel free to use regular oranges cut into segments.

Ingredients
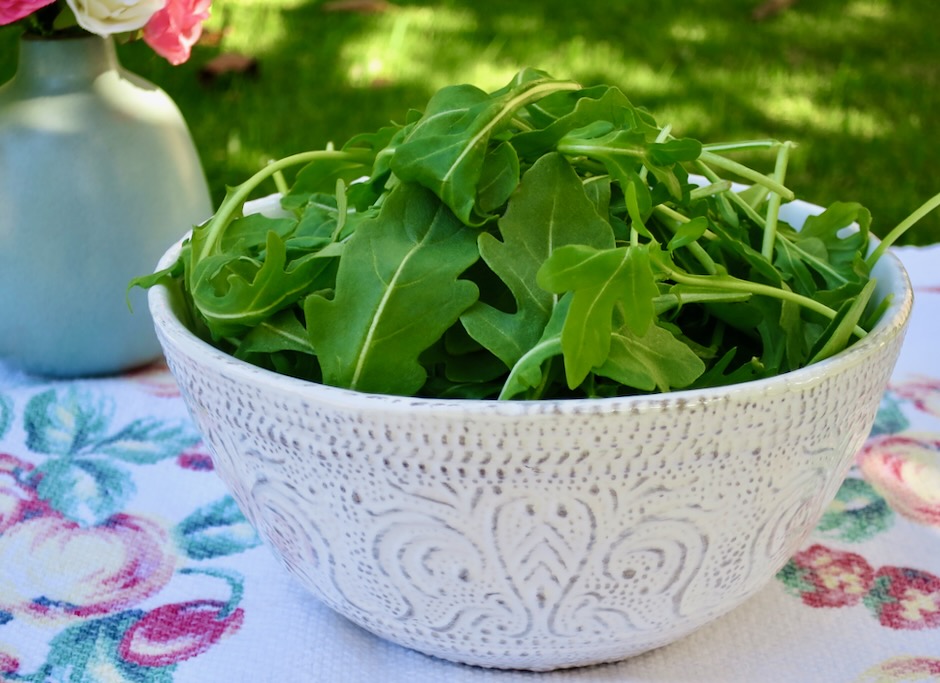
6 ounces (about 8 cups lightly packed) arugula
1 pound (about 3 medium-sized) blood oranges, peeled and sliced into rounds
8 ounces (1 large bulb) fennel, cut in half lengthwise, core removed. Cut the bulb halves crosswise into very thin slices (for extra crispy texture, soak slices in ice water bath for 10 minutes)
2 teaspoons Dijon mustard
1 1/2 teaspoons honey
1/4 cup champagne vinegar
2 tablespoons fresh orange juice
1/4 cup extra virgin olive oil
kosher salt and freshly ground black pepper
Directions
- Place the arugula in a large bowl. Scatter fennel slices into the bowl. Set aside
- Peel and slice the blood oranges. Set aside.
- In a small bowl, whisk together the mustard and honey. Whisk in the vinegar and orange juice. Once the ingredients are incorporated, slowly whisk in the olive oil. Add salt and pepper to taste.
- Just before serving, spoon a generous amount of the dressing over the arugula and fennel. Toss well so the dressing is nicely distributed. Add kosher salt to taste and toss again. Transfer to a large, low-sided platter. Place blood orange slices on and around the salad. Drizzle a bit of dressing on the orange slices. Finish with a few grinds of black pepper. Serve immediately.
Notes
- The dressing can be made a day in advance, bring to room temperature before using.