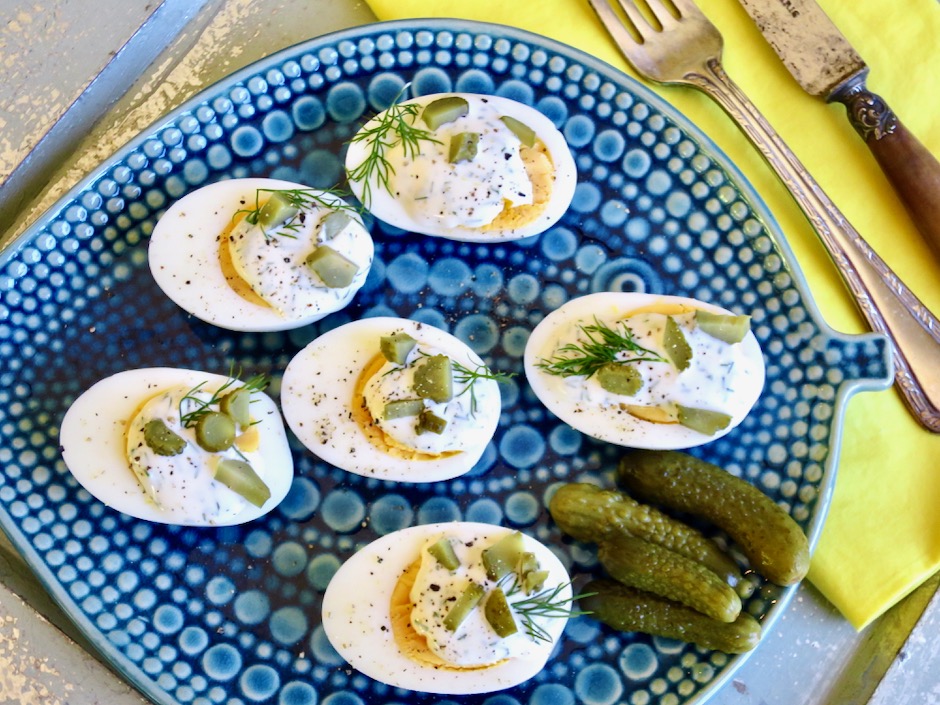
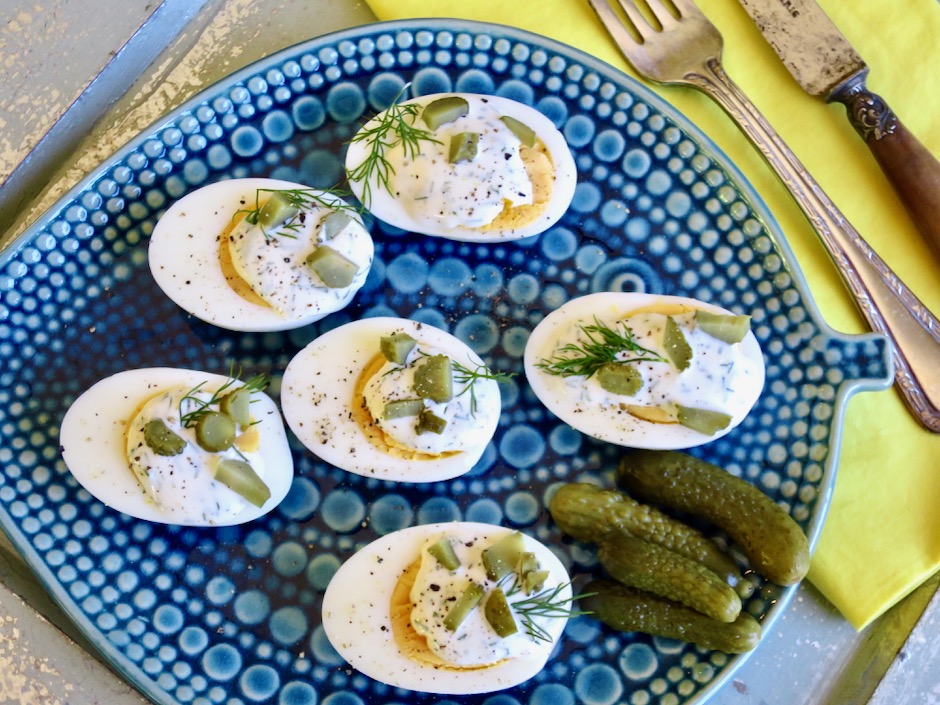
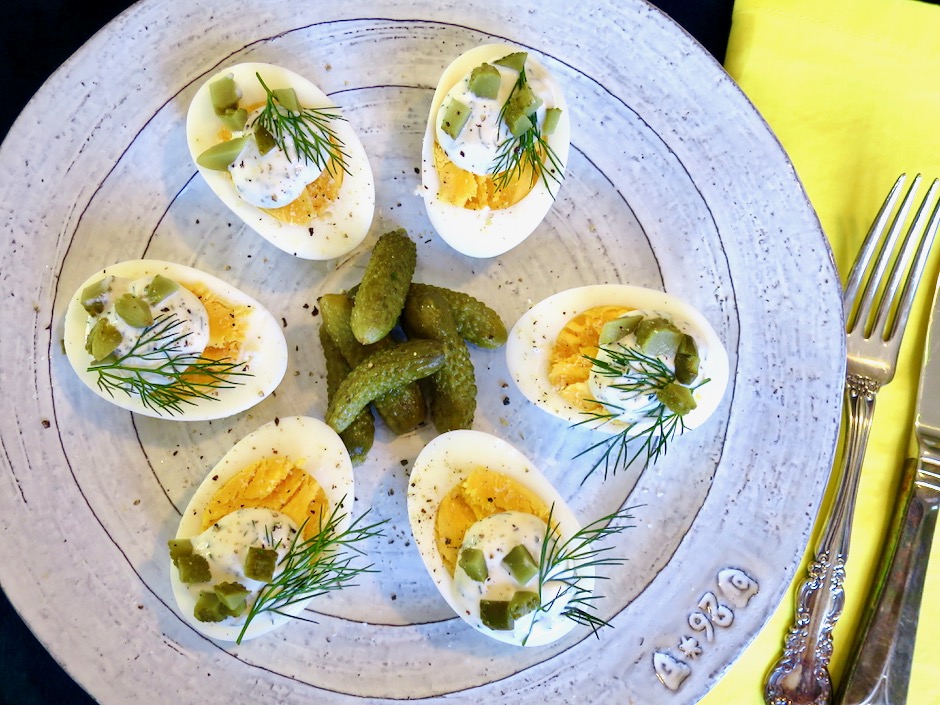
Oeufs Mayonnaise is a classic French dish served as an appetizer in many Parisian bistros. This version with fresh dill and tart, crisp cornichons, is an elevated version of the classic recipe. It is a breeze to put together and the result is the tastiest hors d’oeuvre you can imagine.
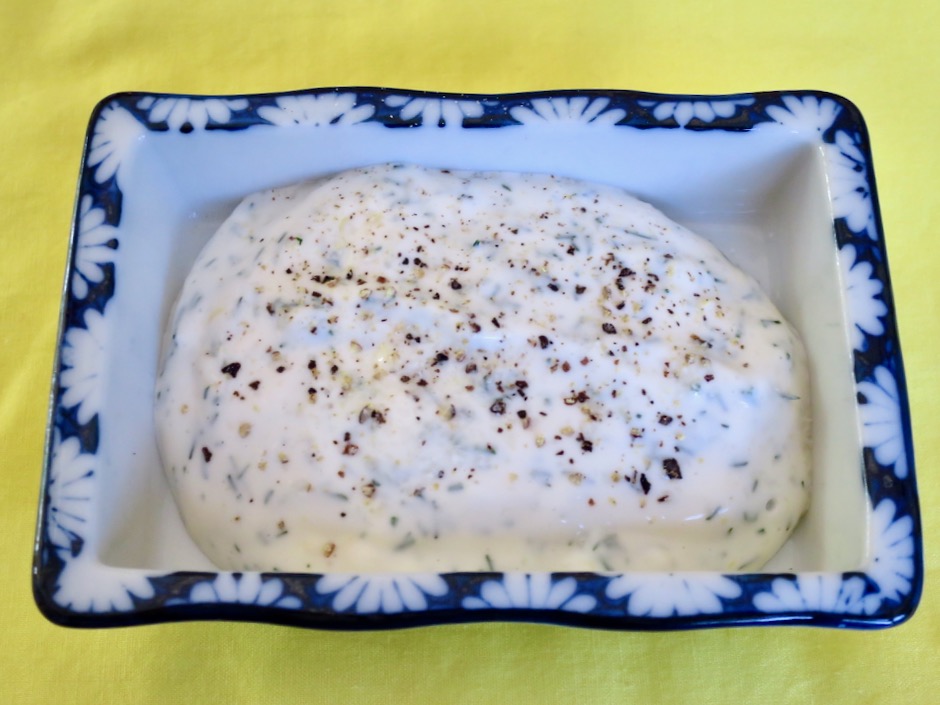
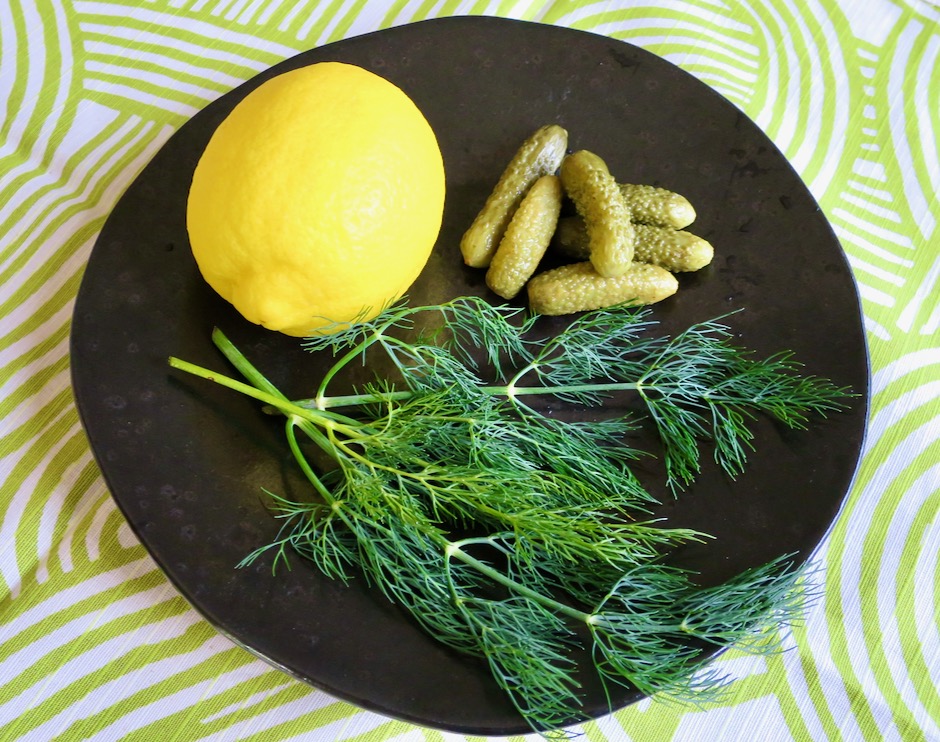
The mayonnaise mixture couldn’t be easier to whip together. Fresh dill and crisp cornichons are essential for the sauce.
You will have a bit of dill mayonnaise leftover that you can serve alongside the eggs.
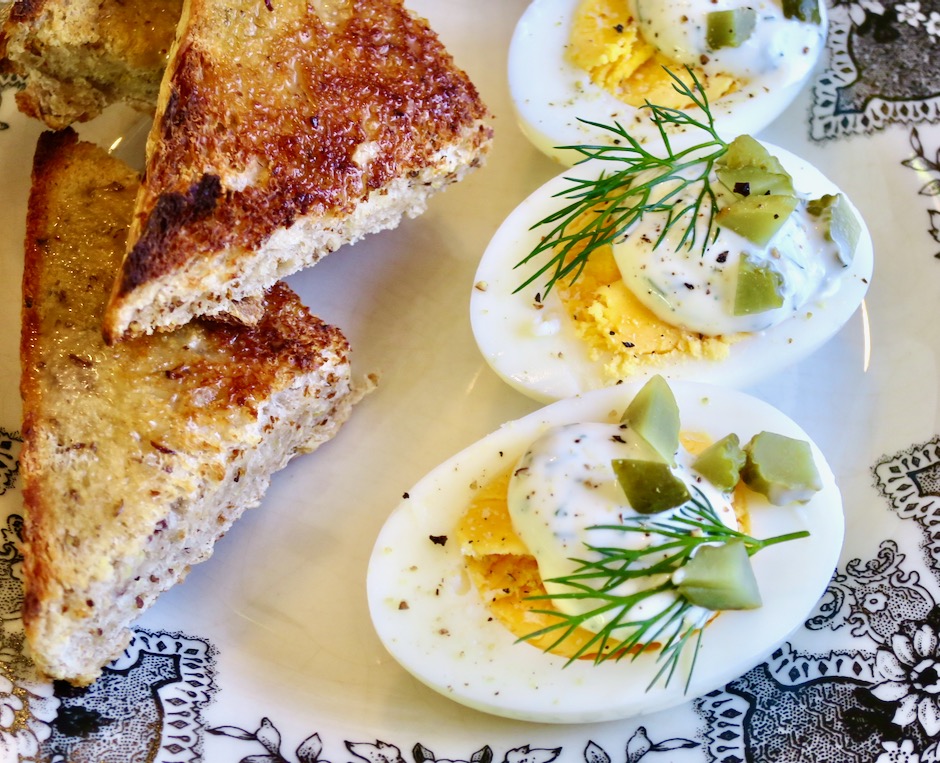
Accompanied by a slice or two of rustic bread or buttered toast, the eggs cornichon will also make a satisfying light lunch.
I love these tasty eggs and could easily eat them every day.
1 tablespoon finely chopped fresh dill, more for garnish
zest of half a small lemon
fine sea salt and freshly ground black pepper
1½ tablespoons cornichons, chopped and whole cornichons (optional) for serving with eggs
Preparation
Fill a medium pot with water and bring to a rolling boil. Meanwhile, fill a medium bowl with ice water. Carefully lower the eggs into the boiling water, and cook at a gentle boil, adjusting the heat as necessary. Cook for 10 minutes. Immediately transfer the eggs to the ice bath. Cool for 5 minutes. Peel the eggs and halve lengthwise.
In a small bowl, combine the mayonnaise, cornichon brine, dill and lemon zest. Season to taste with salt and pepper. Mix until well blended.
Place the halved eggs on a small serving plate. Sprinkle a bit of salt over the eggs. Dollop the eggs with the mayonnaise mixture, and top each with chopped cornichons, a few grinds of pepper, and more dill. Serve with whole cornichons and extra mayonnaise on the side.
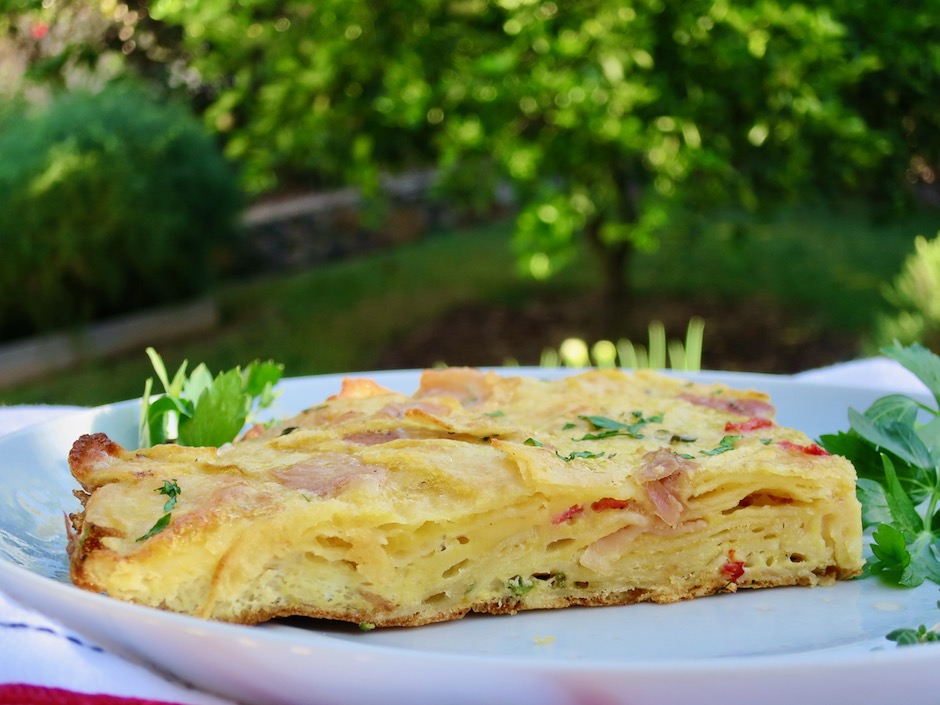
Who would have thought that using potato chips in a Spanish tortilla would produce a perfect version of this traditional dish? Thanks to Food52 for posting this terrific recipe from Ferran Adria. Adria was the genius Chef at the acclaimed El Bulli restaurant in Spain. I find it amusing that a 3-star Michelin Chef who was at the forefront of the molecular gastronomy movement would come up with such a simple recipe. But then molecular gastronomy is all about experimentation.
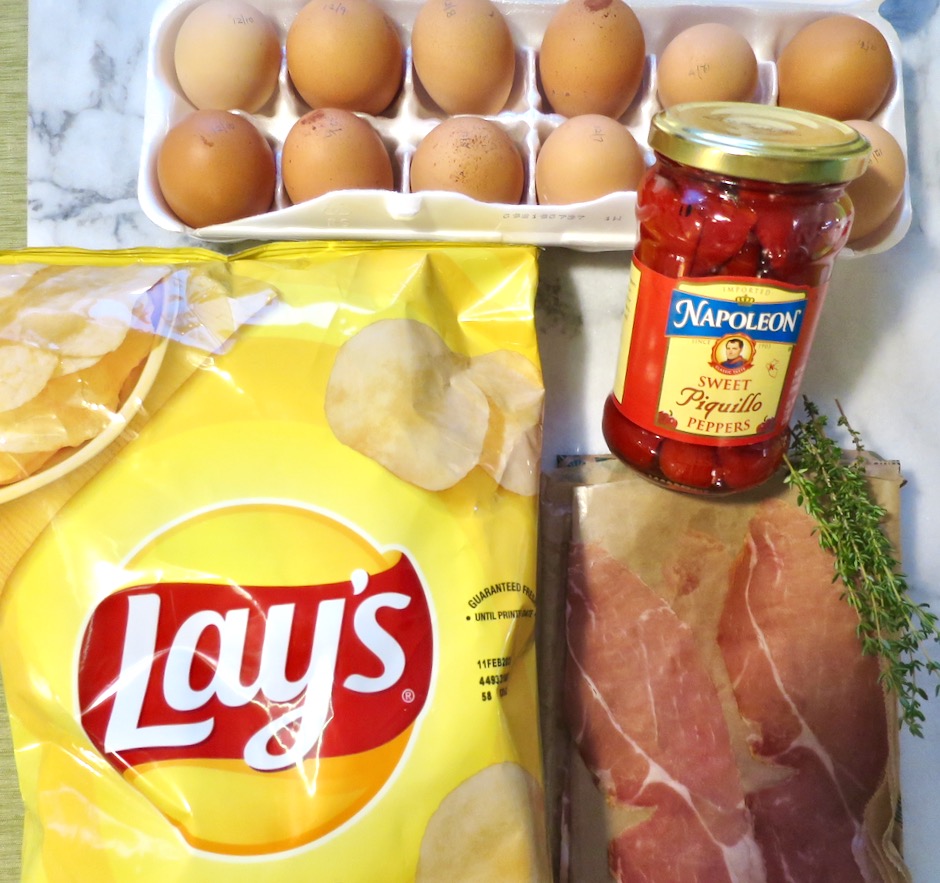
According to Senior Editor at Food52 Kristen Miglore, she prefers thin potato chips such as Lay’s rather than kettle-style chips. Out of curiosity, I tried both Lay’s and those scrumptious thick, kettle-style Maui potato chips that I love dearly. But Lay’s was the clear winner for me as well. The tortilla made with the thinner chips was toothsome yet tender. By comparison, the tortilla made with the kettle-style chips was noticeably more dense and a bit dry, likely due to the egg mixture not softening the thicker chips as well as the thinner ones. I suppose you could leave the chips in the egg mixture longer, but this is supposed to be a quick recipe that takes less than 20 minutes from start to finish.
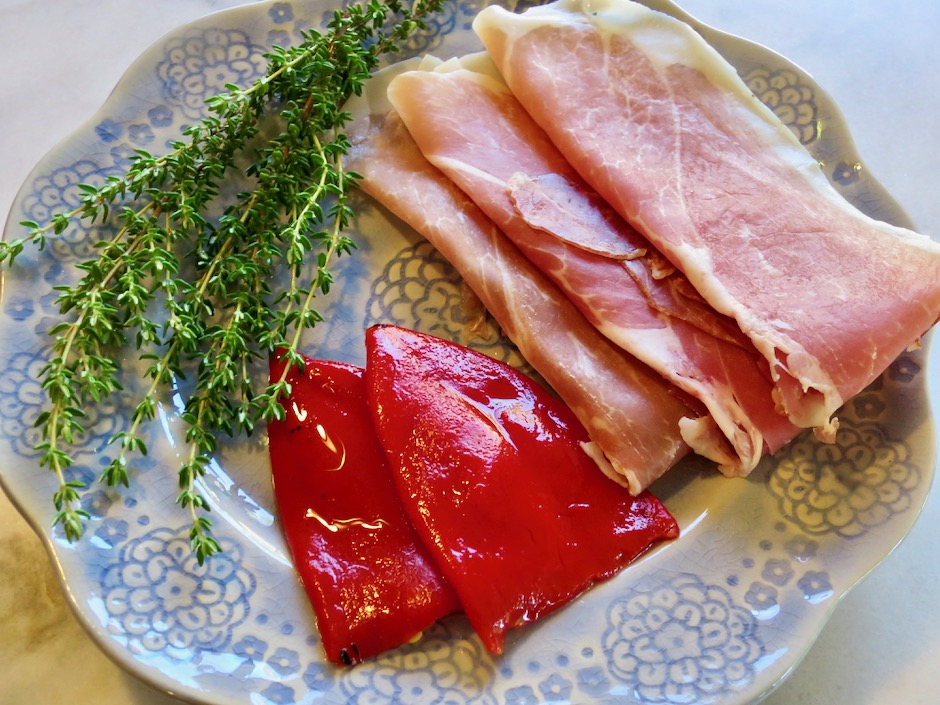
The original recipe from Food52 recommends either serrano ham or prosciutto. I went with the serrano ham and it was a winner. Our local Whole Foods market will slice the ham according to your request. They also stock jarred piquillo peppers that are just gorgeous. You may substitute pimentos if you are unable to find these. They add beautiful specks of color and are mild in flavor.
I bought a broiler-safe ceramic pan just for this recipe. It was relatively inexpensive which made it easier to click the Buy Now button on Amazon. Can one ever have too many pans in the kitchen?
The potato chips soak up the egg mixture and become a glorious tortilla with bits of ham, peppers and thyme. The fresh thyme compliments the other ingredients and should not be left out. I like to serve it with sliced tomatoes, avocado and a slice or two of good bread.
Position the rack in the upper third of the oven (about 6 inches from the heat source).
Heat the broiler to high.
Combine the potato chips, serrano ham, piquillo peppers, thyme, eggs, and salt and pepper in a large bowl and let sit to allow chips to soften in the eggs, about 6 minutes, stirring occasionally.
Heat the oil in a 10-inch broiler-safe skillet over medium heat. Add the egg mixture and cook without stirring, until the bottom begins to brown, about 3 minutes. Transfer pan to the broiler, and broil until the top is set but still slightly jiggly on top, about 2 minutes. Transfer tortilla to a plate and cut into wedges. Serve warm or at room temperature.
Homemade hummus is the best. It is so easy to prepare and the end product is certainly worth the 30 minutes you spend making it. All the ingredients except for the herbs and pistachios go into the food processor. Blitz away until the mixture is as smooth as you want it to be. We enjoy eating hummus with homemade pita chips and falafel. Hummus keeps well in the refrigerator and makes a great snack for home or work.
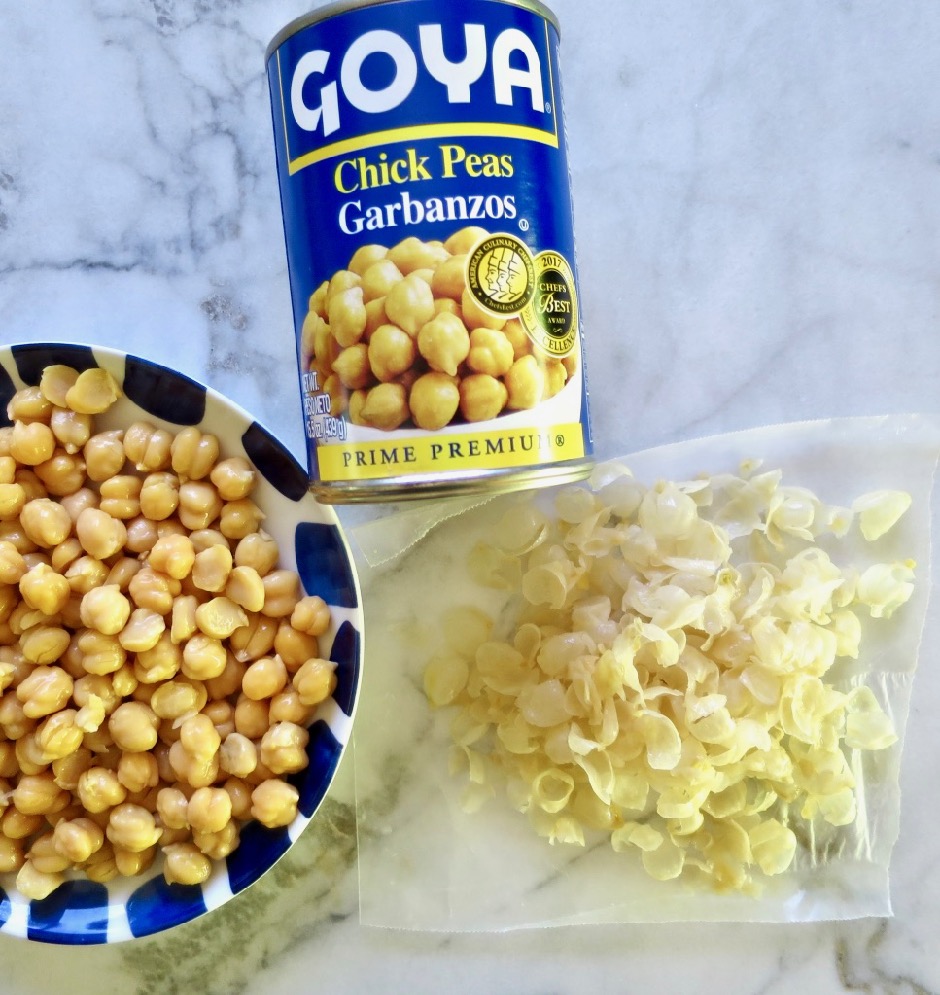
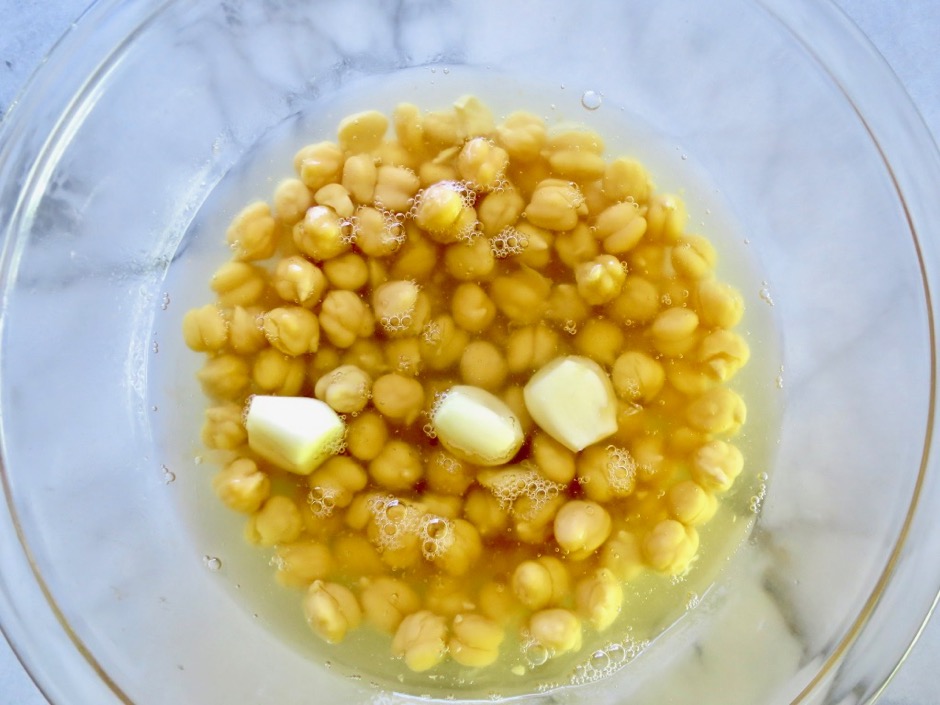
This time around I decided to remove the skins from the chickpeas. It took me about 9 minutes to pinch off the skins from a can of beans. I didn’t mind the extra step since I enjoy spending time in the kitchen. Of course this is optional, but I found the hummus to be magnificently smooth. I came upon a curious recipe from the Minimalist Baker blog. The undrained chickpeas and garlic cloves are heated in the microwave for a few minutes making the chickpeas very smooth and creamy when blended together with the other ingredients. The garlic mellows a bit which makes for a well-balanced hummus.
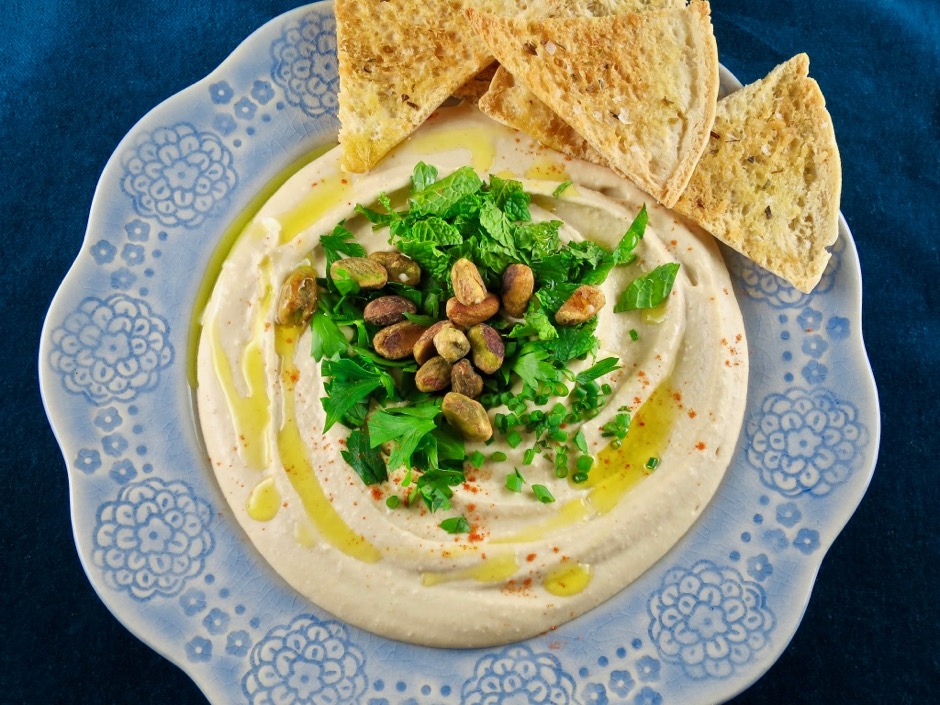
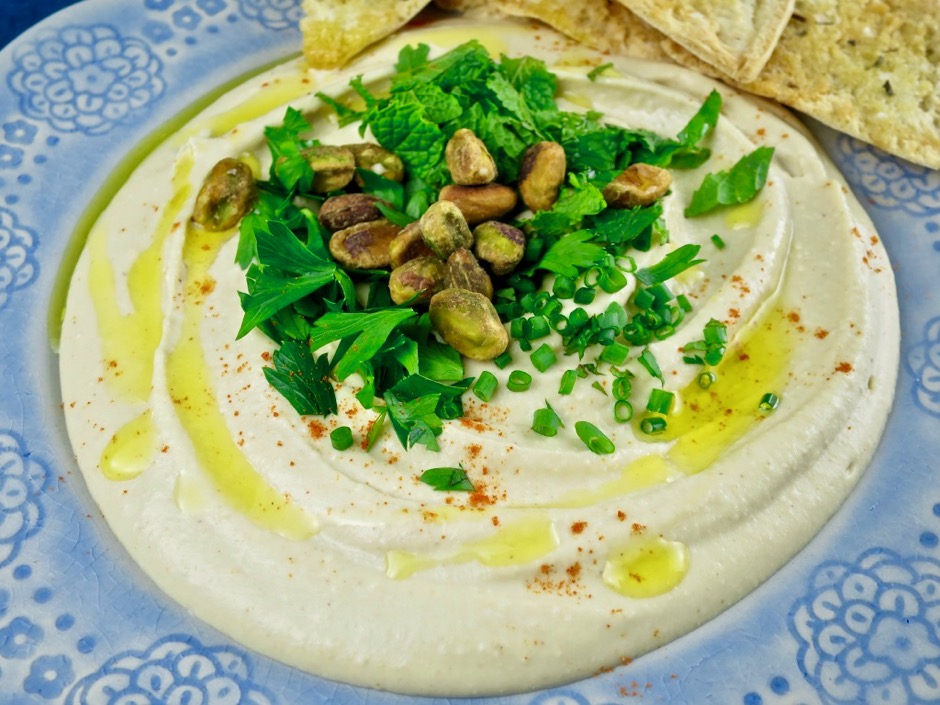
When you microwave the chickpeas use a large bowl since the chickpea liquid tends to expand. I cover the bowl with plastic wrap leaving a small vent for air to escape. Once the chickpeas come out of the microwave I drain them, saving just a few tablespoons of the liquid for later. Then everything goes into the food processor until smooth and creamy. Place the warm hummus in a container and refrigerate until cool. Transfer the cooled hummus to a serving plate, add your favorite fresh herbs, pistachios, and a swirl of olive oil. Dust with cayenne pepper and serve with pita chips.
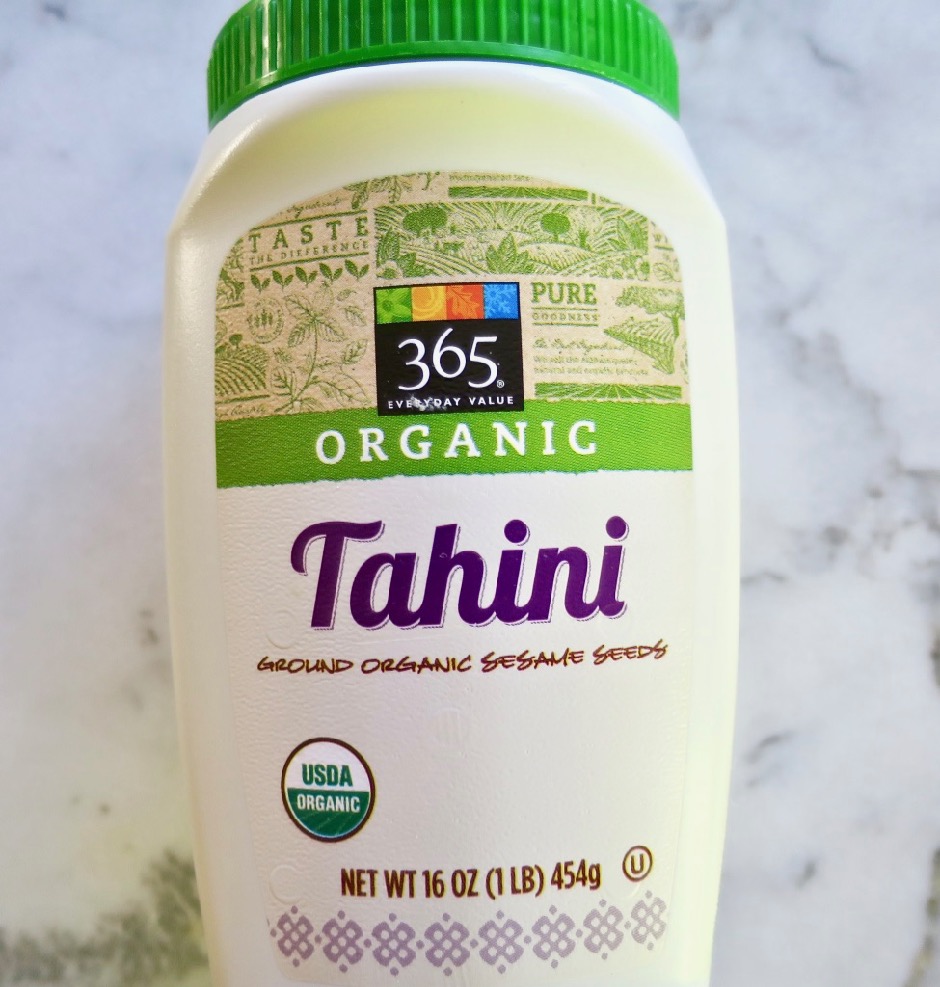
It’s really a chore to stir tahini in the container or jar that it comes in. The bottom of the container usually has solid pieces of tahini that are hard to get at. These days I just pour the entire container into a bowl and whisk away until the tahini is mixed to perfection. The thought of having to clean another bowl might discourage you but you will save a lot of frustration. It only takes a minute to wash the bowl!
1 can (15 ounce) chickpeas, drained with liquid reserved, skins removed (optional)
3 medium garlic cloves, peeled
¼ cup + 1 tablespoon well stirred tahini
2½ - 3 tablespoons fresh lemon juice
¾ teaspoon kosher salt
2-3 tablespoons cold water
1-2 tablespoons reserved chickpea liquid
¼ teaspoon ground cumin
⅛ teaspoon cayenne (optional) + more for serving
2 tablespoons extra virgin olive oil + more for serving
handful of fresh herbs
pistachios, salted and shelled
Preparation
Drain and reserve the liquid from the chickpeas. Pinch off the skins from the chickpeas
Transfer chickpeas, reserved liquid and 3 garlic cloves to a large bowl. Cover with plastic wrap leaving a small vent for the air to escape. Microwave for 3½ - 4 minutes.
Drain chickpeas, reserving 2 tablespoons of liquid. Transfer chickpeas to a food processor along with the garlic cloves, tahini, lemon juice, salt, 2 tablespoons cold water, 1 tablespoon chickpea liquid, cumin, cayenne and olive oil. Process until mixture is smooth, scraping down the sides as needed. If the hummus is too thick, add water or chickpea liquid until it is the texture you prefer. Keep in mind the hummus will thicken a bit once refrigerated. Transfer mixture to a container and refrigerate until chilled.
When ready to serve, spoon hummus onto a serving plate. Place fresh herbs in the center and top with pistachios. Drizzle olive oil over hummus and sprinkle a bit of cayenne over the top. Serve with pita chips.
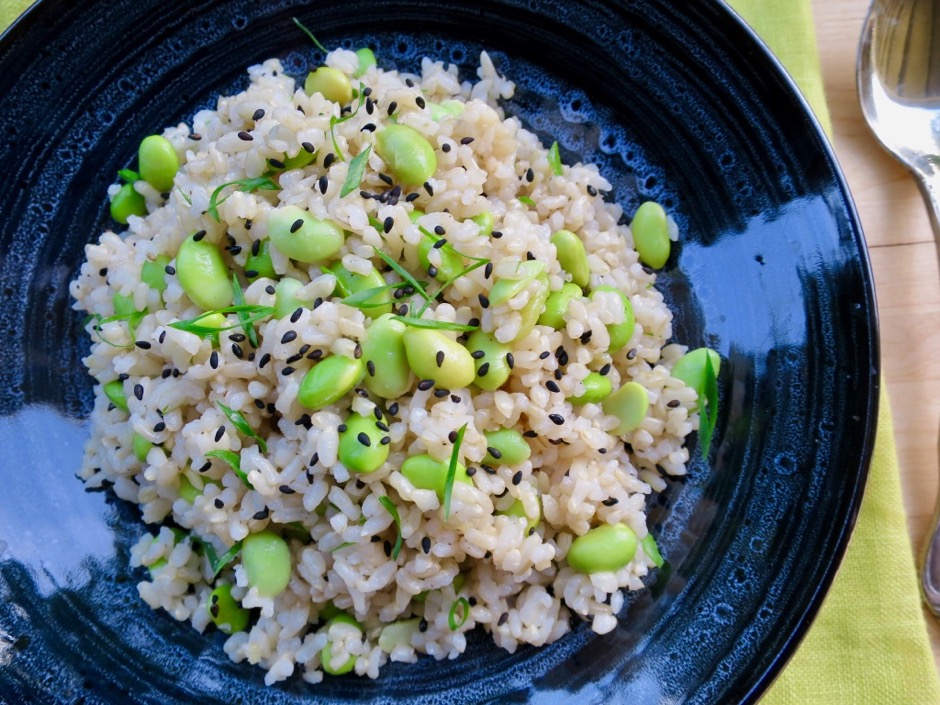
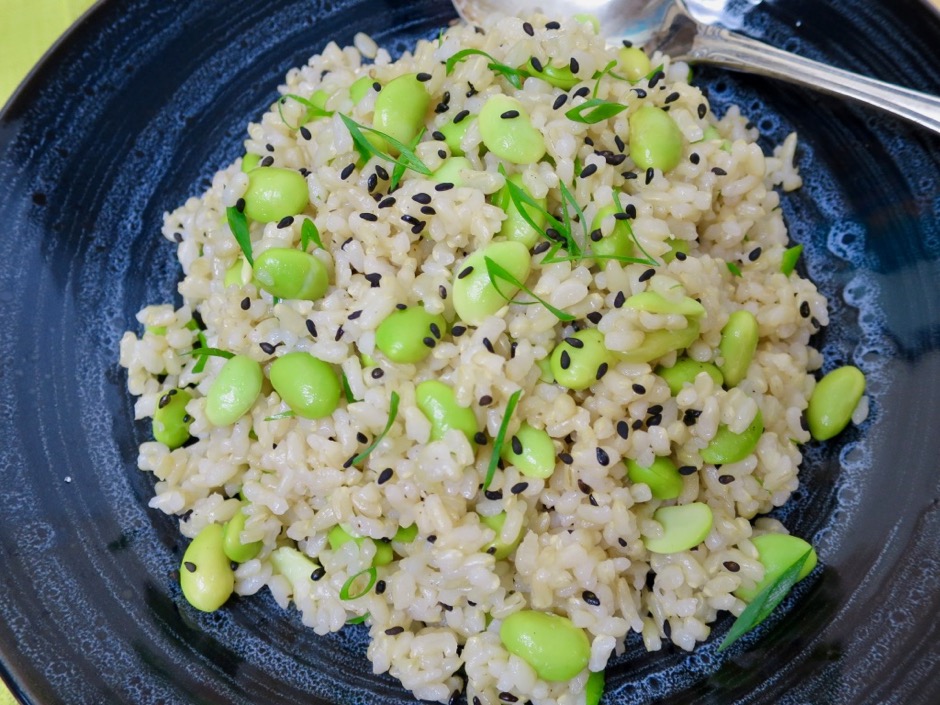
If I had to compile a list of my favorite foods, rice (and eggs) would be at the top. This humble grain is simple to prepare, can be an accompaniment to a number of dishes including tempura or seared ahi, or it can be turned in to something show stopping like this dish. Here is a healthy and flavorful rice dish that is a snap to make. The edamame mix beautifully with the cooked brown rice and sesame seeds.
Brown rice can take a while to cook so plan ahead. You can make this in the morning, cover and refrigerate then heat slightly before serving. This dish is best served at room temperature.
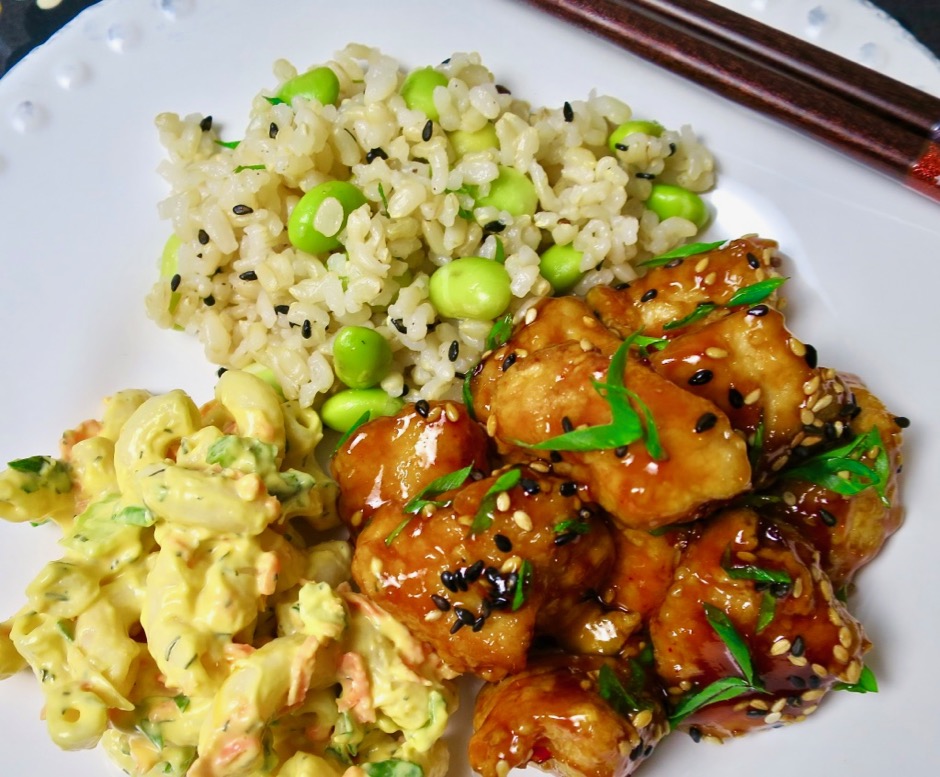
This rice goes well with orange chicken, grilled teriyaki salmon, and all types of tofu dishes. I can be thoroughly content eating this rice with a side of kimchi or Japanese pickles.
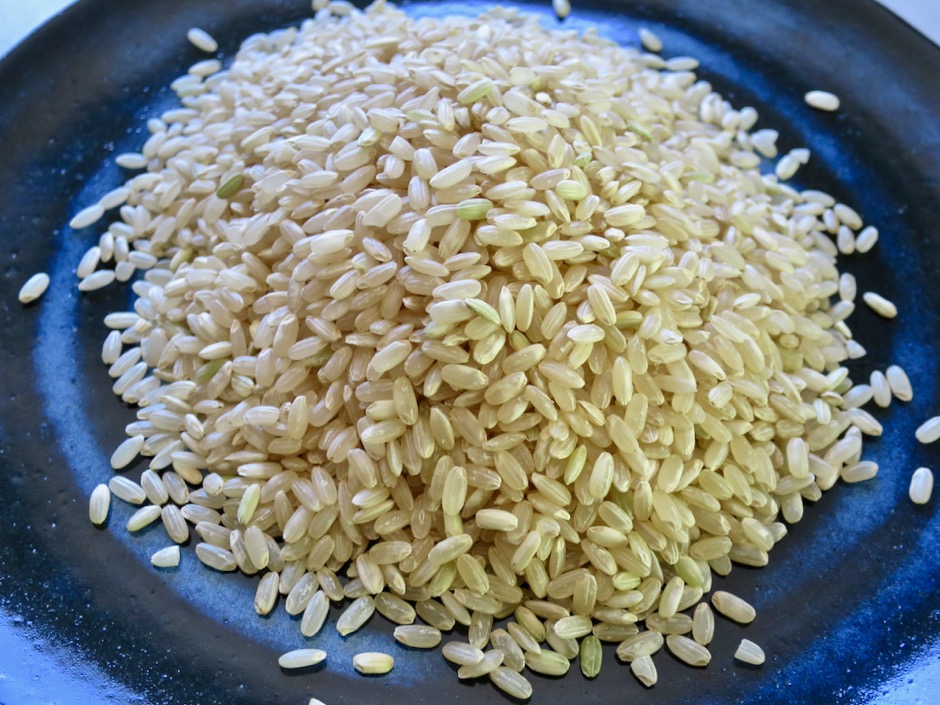
1 cup medium grain brown rice, cooked according to package directions
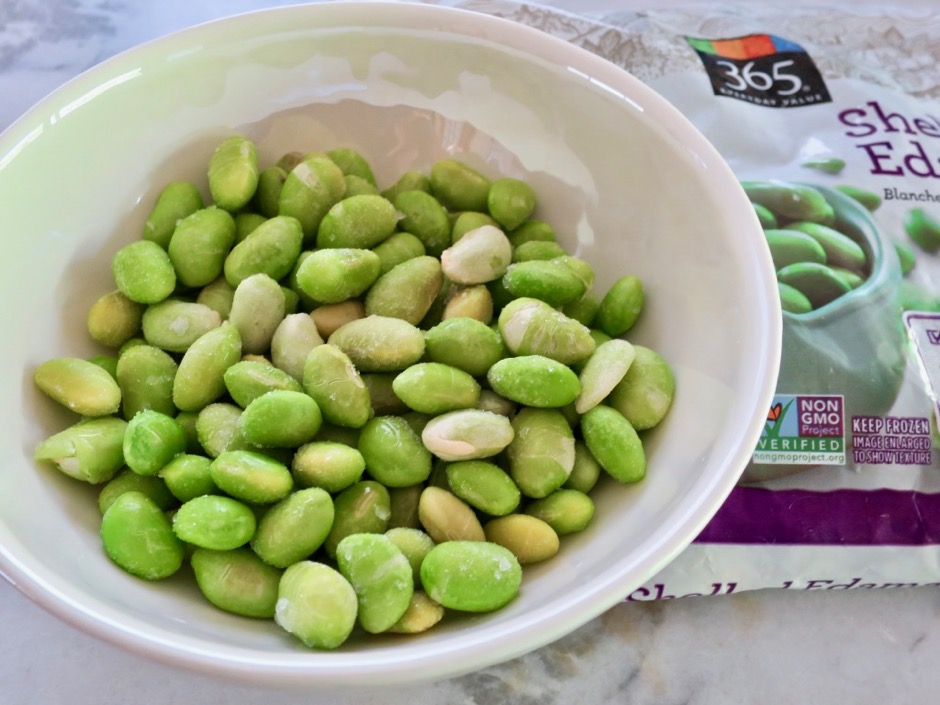
1 cup frozen shelled edamame
½ teaspoon sugar
1 tablespoon fresh lime juice
1 tablespoon unseasoned rice vinegar
1 teaspoon sesame oil
kosher salt
2 scallions thinly sliced on the diagonal
black roasted sesame seeds
Preparation
Cook rice in a rice cooker or on the stovetop according to package directions.
Cook frozen edamame in a small pot of boiling water for 4-5 minutes. Drain well.
In a small bowl, dissolve sugar in lime juice and rice vinegar. Add sesame oil and stir to combine. Set aside.
Transfer rice to a medium bowl. Fluff rice with a fork. Sprinkle ¼ teaspoon of kosher salt and stir into the rice . Add edamame, dressing and sesame seeds. Stir well to combine the flavors, adding more salt to taste. Sprinkle scallions over the rice before serving.
During a recent trip to Seattle to visit family, we baked up some Enchiladas Suizas for a luncheon one afternoon. My stepdaughter Jessica made a delicious cilantro rice side dish she had recently discovered on What’s Gaby Cooking blog. Generally there’s no middle ground on the subject of cilantro. You either love or hate it. Even though she may not yet be a fully converted cilantro lover, I’m happy she shared this recipe with us. It’s truly delicious.
Besides waiting for the brown rice to cook, the only other step that takes a few minutes to complete is removing the stems from the cilantro sprigs. Otherwise, it’s a snap to make. I used our immersion blender the first time I made the cilantro dressing. It did a decent job but our Vitamix turned out perfectly pureed ingredients in just a few seconds.
The rice makes a wonderful side dish for any Mexican meal or as a meal of its own served with avocado and crispy cucumbers. Mexican Style Grilled Chicken is the perfect main dish to serve with this rice.
¼ teaspoon red pepper flakes (more if you prefer a spicier flavor)
⅓ scant cup mild olive oil, or a mix of canola and extra virgin olive oil
2 tablespoons red wine vinegar
1 teaspoon kosher salt
Preparation
Cook brown rice in a rice cooker or on the stove top according to package directions.
Combine shallot through salt in a blender (Vitamix or other high-powered blender works best). Blend ingredients for about 20 seconds. Scrape down the sides as needed. Blend another 15 seconds, or until the cilantro dressing is very smooth.
Place cooked brown rice in a large serving bowl. Pour cilantro dressing over the rice and toss to coat well.
The rice is best eaten when warm. You may reheat the rice if made in advance or if frozen, defrost in the refrigerator and reheat gently.
When visiting San Francisco, I always return to Fringale restaurant for their duck confit and French lentils (we have successfully made sous vide duck confit at home which I will cover in a future post). You may serve duck confit with side dishes other than lentils, but to me, there is nothing that compliments the savory duck as well. French lentils are small so they cook very quickly but unlike other lentils they hold their shape extremely well. But cooking quickly does not mean they aren’t full of flavor. Mirepoix, the foundation for many French dishes, is a combination of carrots, onions and celery that are finely diced and sautéed gently in olive oil or butter. Mirepoix will add aromatic flavor to your dish as they do here, without being too bold. All of the elements meld together to make a delicious meal.
French lentils, which are a must for this dish, can be found packaged or in the bulk section of many markets. For a real treat buy French lentils du Puy. Wash them well in a sieve before using them in any recipe. The rinsed and drained lentils are added to the pot along with chicken broth. They will braise in the liquid and aromatics for about 45 minutes. Then they are ready to serve.
The mirepoix consists of onion, carrots and celery. Fresh thyme, garlic and bay leaf also contribute to the flavor of the braised lentils.
One of the highlights of this recipe is bacon. Not only does bacon smell divine when it’s cooking, it adds so much flavor to this humble dish. The vegetables are sautéed just until they soften a bit. The idea is to coax out the flavors without browning them too much. They should me meltingly tender and sweet.
A bit of garlic goes in the pot along with a bay leaf and fresh thyme, followed by Sherry to deglaze the pan. You could also use red wine, however, there’s something about Sherry that is magical. It’s the secret ingredient in Granny’s Teriyaki Sauce. Be sure to use the real deal Sherry from Spain. One that we like to use is Hartley & Gibson’s Blend of Amontillado Medium Sherry. It’s not expensive and relatively easy to find in larger supermarkets or local wine stores.
⅓ cup sherry (Hartley & Gibsons Amontillado Medium Sherry recommended)
2¾ cups chicken broth
few grinds of pepper (optional)
Preparation
Wash lentils and drain in a sieve.
In a medium saucepan (I use my Le Creuset 3½ quart Dutch oven) cook diced bacon until crisp and rendered. If there is too much bacon fat in the pan you may pour off some of it. Once the bacon is crisp, turn heat down to medium-low and add mirepoix. Sauté gently (do not brown) until vegetables soften a bit, about 5 minutes. Add minced garlic, bay leaf and thyme stirring continuously for 1 minute.
Deglaze pan with the Sherry, scraping the bottom of the pan with a wooden spoon. Add lentils and chicken broth to the pan. Bring to a simmer, cover the pan and cook for about 45 minutes, or until the lentils are just tender. Check the lentils occasionally making sure they are not boiling. Adjust the heat as necessary. I usually have the heat set to low allowing the lentils to simmer gently.
The lentils are done when just tender. You may uncover the pan for a few minutes if there is too much liquid (the lentils should not be dry). Keep in mind the lentils will absorb some of the liquid once refrigerated.