Browsing Category

Recipes

Breakfast, Dessert, Fruit, Lactose Free, Recipes

Mango Streusel Muffins

September 8, 2019

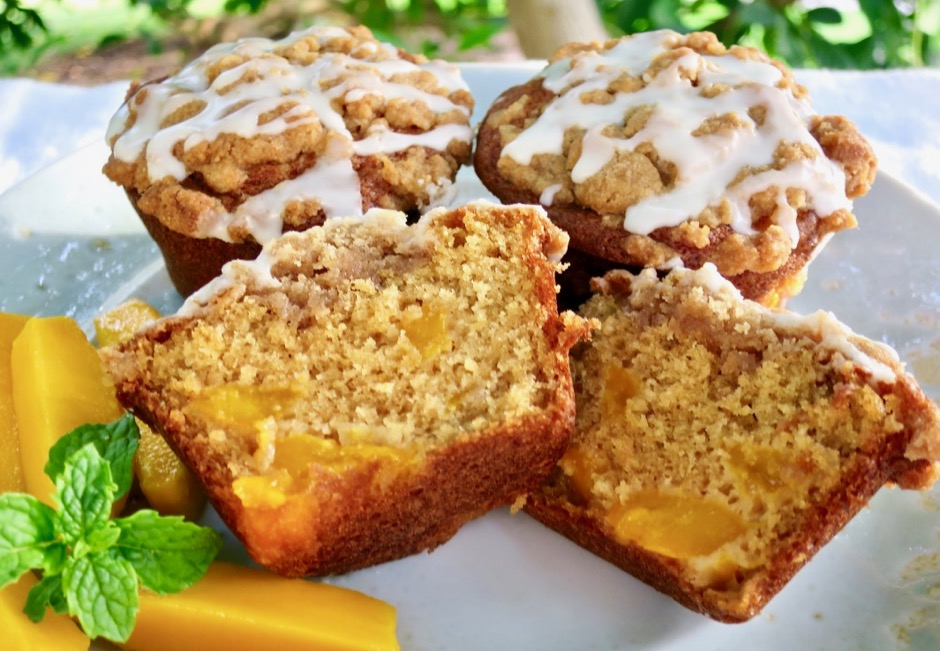
Mango Streusel Muffins

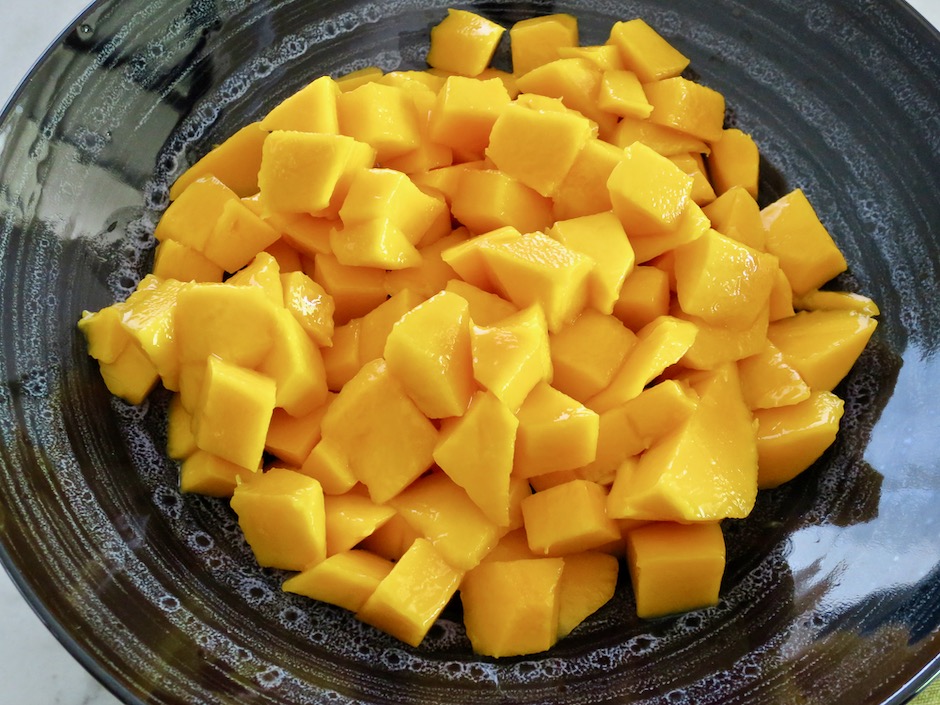
I can’t imagine a better tasting fruit than one of our homegrown mangoes.  We have two varieties, White Pirie and Rapoza.  They both have their own qualities that make each one special. The White Pirie mango is firmer in texture which makes it perfect for baking.  It makes the most delicious jam.  The Rapoza is a very large mango, sometimes weighing up to 3 pounds.  They are best chilled, cut into slices or chunks and eaten as is. Mango season is nearly over so I have been busy in the kitchen making muffins, tarts, jam, bread, salsa, and ice cream.

Fresh White Pirie Mango

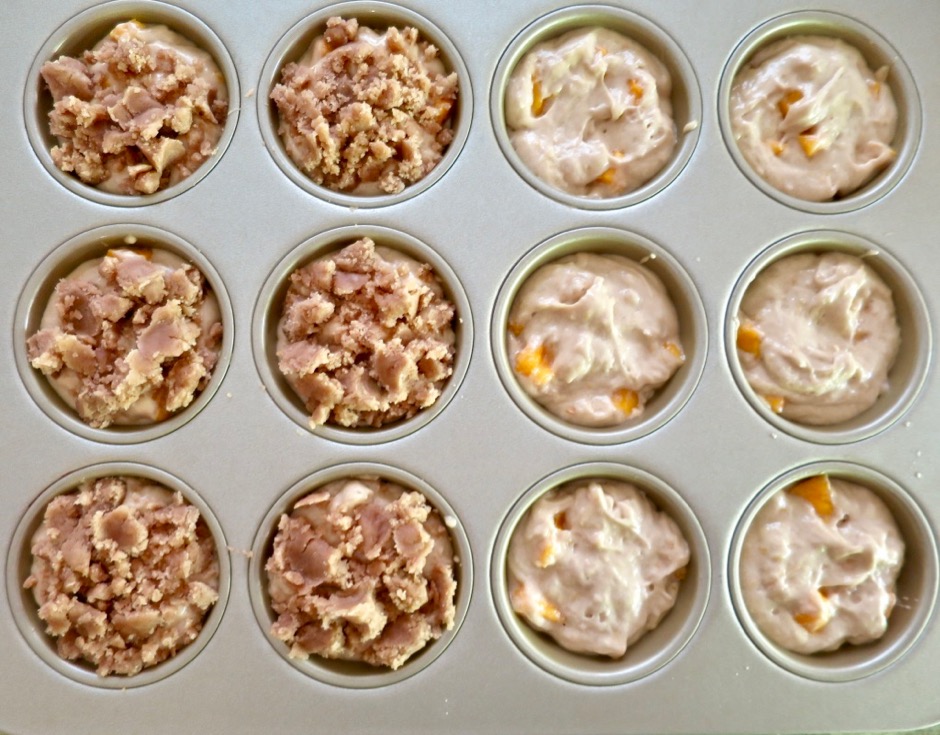
Mango Muffin Batter & Streusel Topping

This delightful recipe comes from Sally’s Baking Addiction blog.  I just switched out the peaches for mangoes.  I’ve made them multiple times and they always turn out so well.  I also used lactose free ingredients but feel free to use regular butter, milk and yogurt.

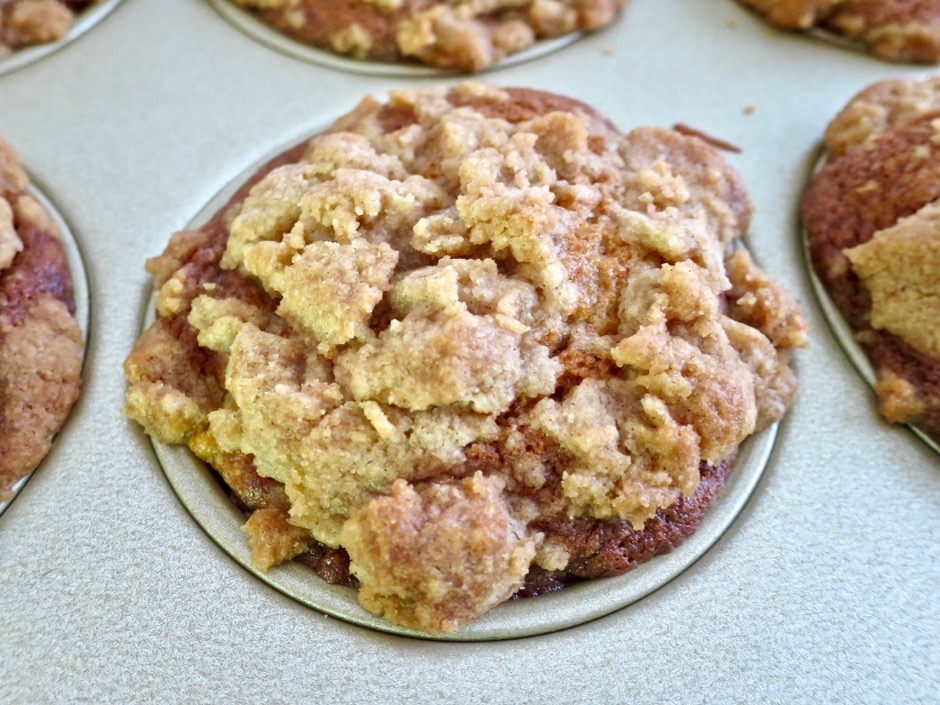
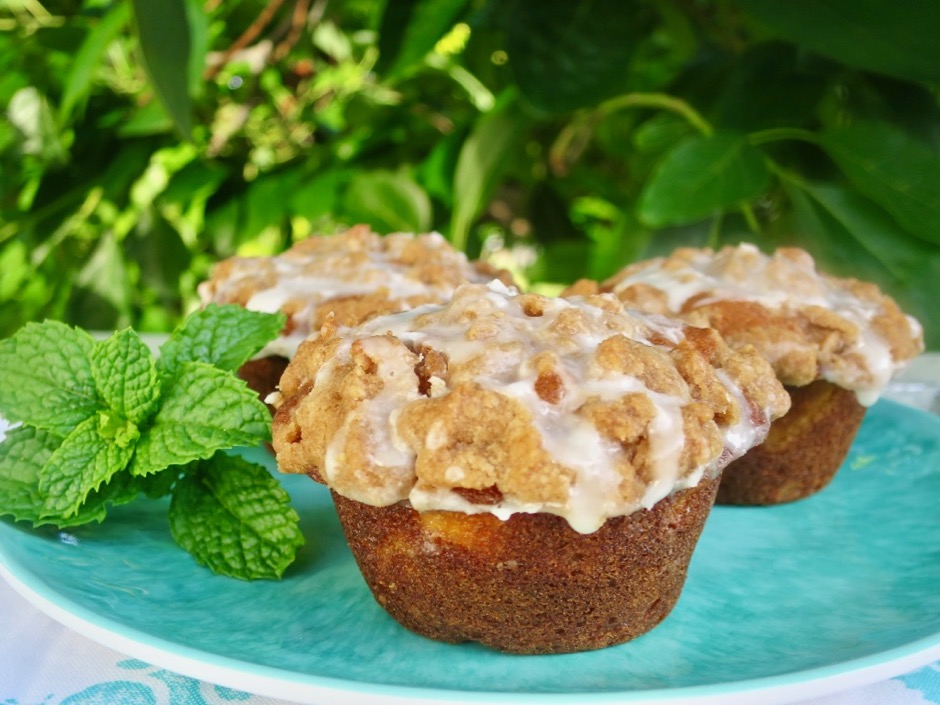
Mango Streusel Muffins

Mango Streusel Muffins

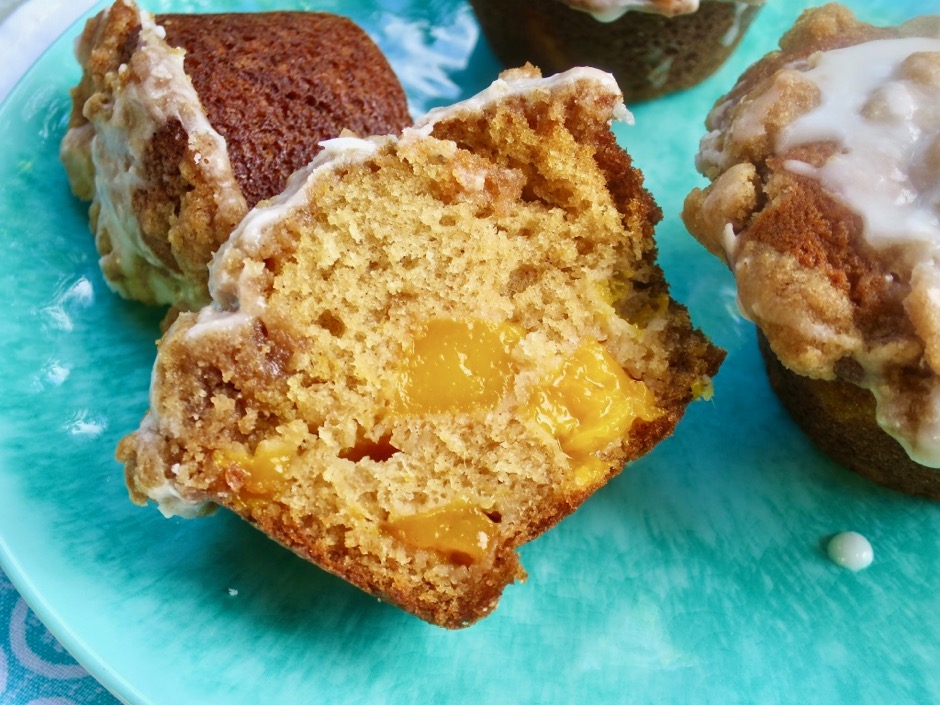
These are just divine.  Sometimes I add a pat of Earth Balance Buttery Spread to the split muffin. That bit of saltiness goes so well with the sweet streusel topping.

Mango Streusel Muffins

Mango Streusel Muffins
 
Adapted from Sallys' Baking Addiction blog
Author:
Serves: 12
Ingredients
  • Crumb Topping
  • ⅓ cup (67g) packed light brown sugar
  • 1 tablespoon (15g) granulated sugar
  • 1 teaspoon ground cinnamon
  • ¼ cup (60g) Earth Balance Buttery Sticks, melted (or regular butter)
  • ⅔ cup (84g) all-purpose flour
  • Muffins
  • ½ cup (115g) Earth Balance Buttery Sticks at room temperature (or regular butter)
  • ½ cup (100g) packed light brown sugar
  • ¼ cup (50g) granulated sugar
  • 2 large eggs, room temperature
  • ½ cup (120g) plain Green Valley lactose free yogurt (or regular yogurt)
  • 2 teaspoons vanilla extract
  • 1¾ cups (220g) all-purpose flour (If you do not have a scale use the spoon and sweep method. Spoon flour into measuring cup and use a straight-edged knife to level the flour so that it is even with the top of the measuring cup).
  • 1 teaspoon baking soda
  • 1 teaspoon baking powder
  • ½ teaspoon ground cinnamon
  • ⅛ teaspoon allspice (optional)
  • ¼ teaspoon salt (1/2 teaspoon if using unsalted butter)
  • 3 tablespoons (45ml) lactose free milk (low-fat or regular)
  • 1¾ cups diced mango, drained if very juicy
  • Glaze
  • 1 cup (120g) confectioner's sugar
  • 3 tablespoons (45ml) lactose free half and half or milk (or regular milk, half and half, or cream)
  • ½ teaspoon vanilla extract
Preparation
  1. In a medium bowl, combine sugars, cinnamon and melted Buttery Sticks. Using a small rubber spatula, stir in the flour. The crumb topping will be thick and crumbly. Set aside.
  2. Preheat oven to 425 degrees. Spray a 12-count muffin pan with non-stick spray.
  3. In a medium bowl using a handheld mixer, beat the Buttery Sticks on medium-high speed until smooth and creamy, about 1 minute. Add the sugars and beat on medium-high until creamed, about 2 minutes. Scrape down the sides and bottom of the bowl as needed.
  4. Add the eggs, yogurt, and vanilla extract. Beat on medium speed for 1 minute, then turn up to medium-high speed and beat until the mixture is combined and uniform in texture.
  5. In a large bowl toss together the flour, baking soda, baking powder, cinnamon, allspice, and salt. Pour the wet ingredients into the dry ingredients and slowly mix with a whisk. Add the milk, gently whisking until combined. Fold in the mangoes with a spatula.
  6. Spoon the batter evenly between 12 muffin tins, filling nearly to the top (you may end up with a bit of leftover batter). Press a handful of the crumb topping into the top of each (use all the topping).
  7. Bake for 5 minutes then lower the temperature to 350 degrees and bake another 15 minutes or until a toothpick inserted in the center comes out clean. Let muffins cool in pan for at least 15 minutes before removing to a rack.
  8. While the muffins are cooling whisk together the glaze ingredients. Drizzle over the warm muffins. If you prefer the glaze to be thicker, drizzle over cooled muffins. You may not need all of the glaze.
  9. These are delicious, moist muffins that keep well in the refrigerator for a few days, They freeze beautifully.



Bread, Dinner, Japanese, Lactose Free, Pork, Recipes, Sandwiches

Katsu Sando

August 18, 2019

Katsu Sando

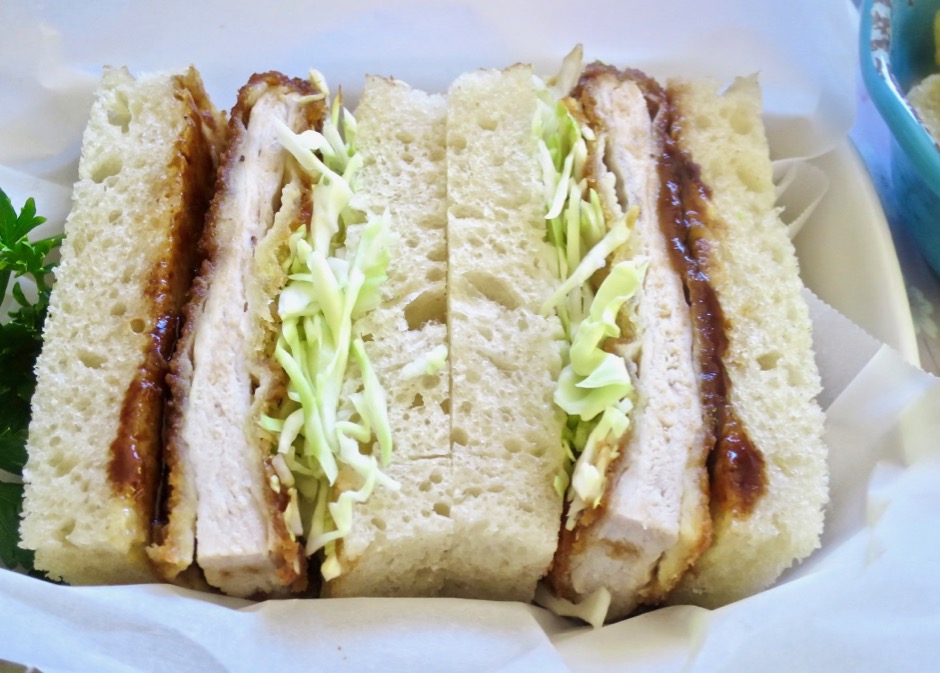
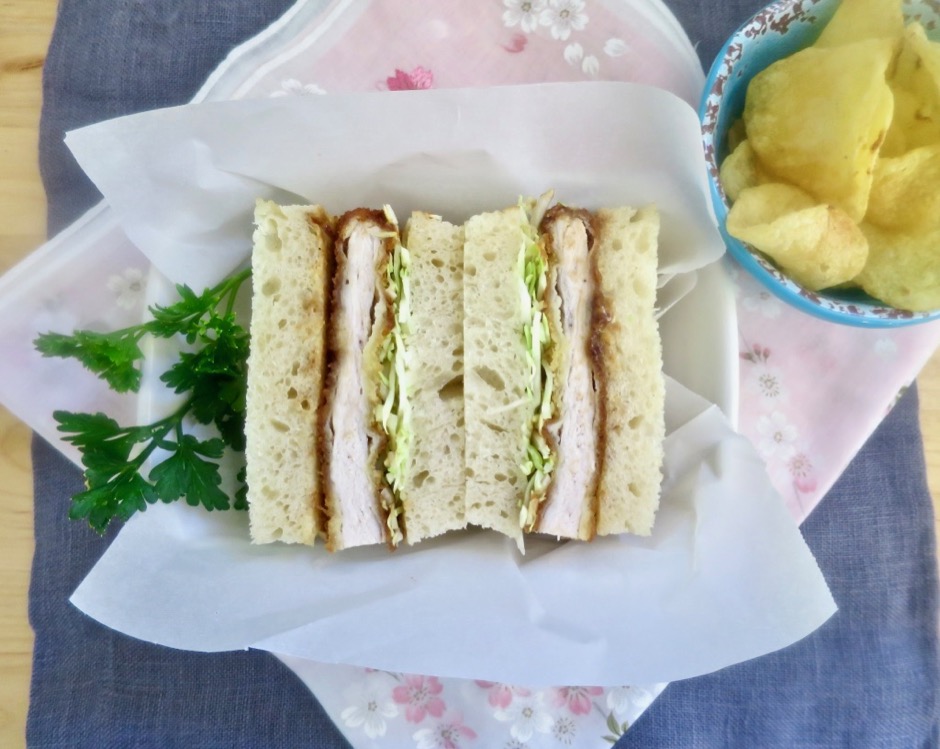
Tonkatsu is without a doubt one of my favorite dishes.  When we visited Japan in 2018 we went to the original Ginza Bairin inTokyo for tonkatsu.  They don’t take reservations, which means the line of patrons starts forming at least 30 minutes prior to opening.  We were pretty deep in the line, but luckily for us, we got the last two seats for the first seating.  The tonkatsu did not disappoint.  When we have a craving for katsu we make our own with pork or sometimes chicken.  Both are equally delicious served with rice, macaroni salad, shredded cabbage and namasu.  Katsu sando’s (the Japanese term for tonkatsu sandwiches) are another terrific way to serve the crunchy pork cutlets.  These sandwiches are compact, beautiful and tasty.

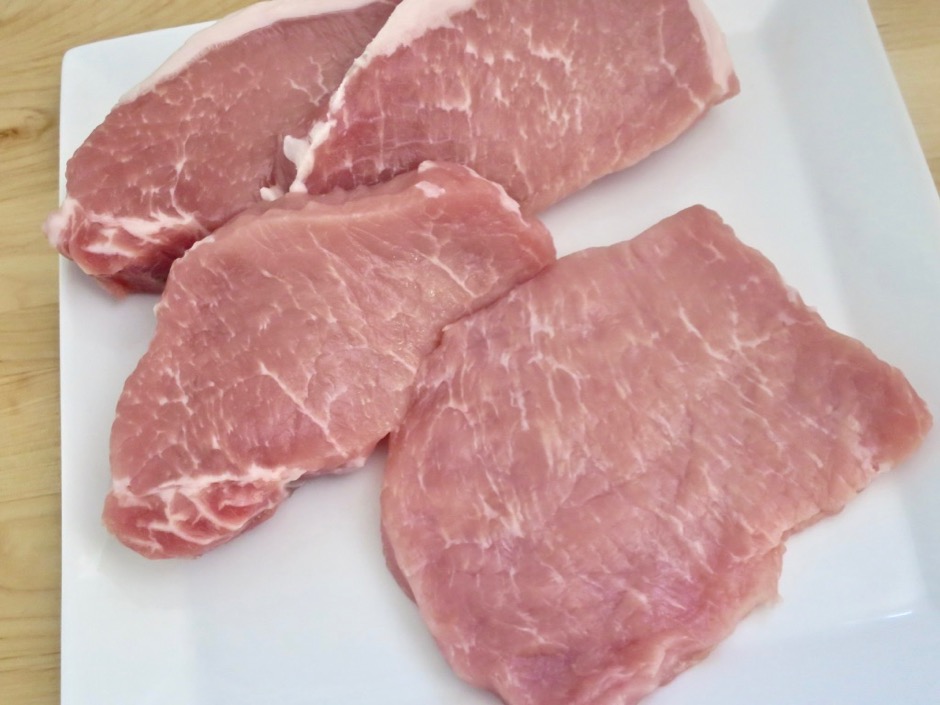
Pork Cutlets From Top to Bottom: Out of the Package, Trimmed, Pounded

Boneless pork loin chops are quite reasonably priced.  I bought a 4-pack that cost me under $6.00.  Once I got home from the market, I trimmed off the small amount of fat and pounded the pork to an even thickness of about 1/3-inch which also tenderizes the meat.

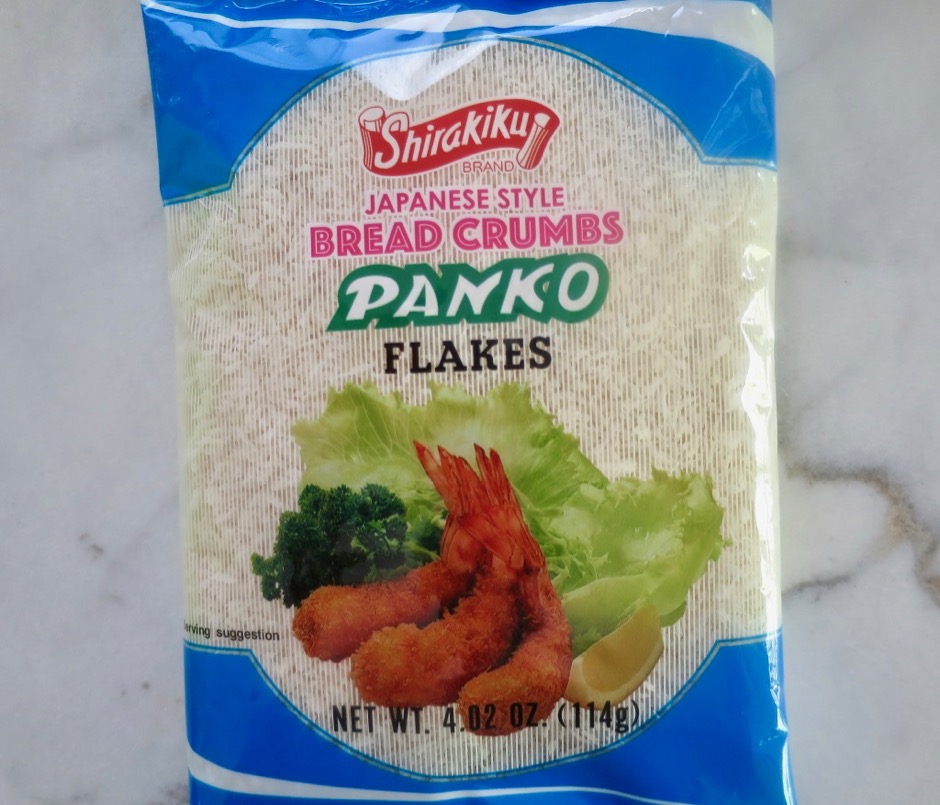
Panko

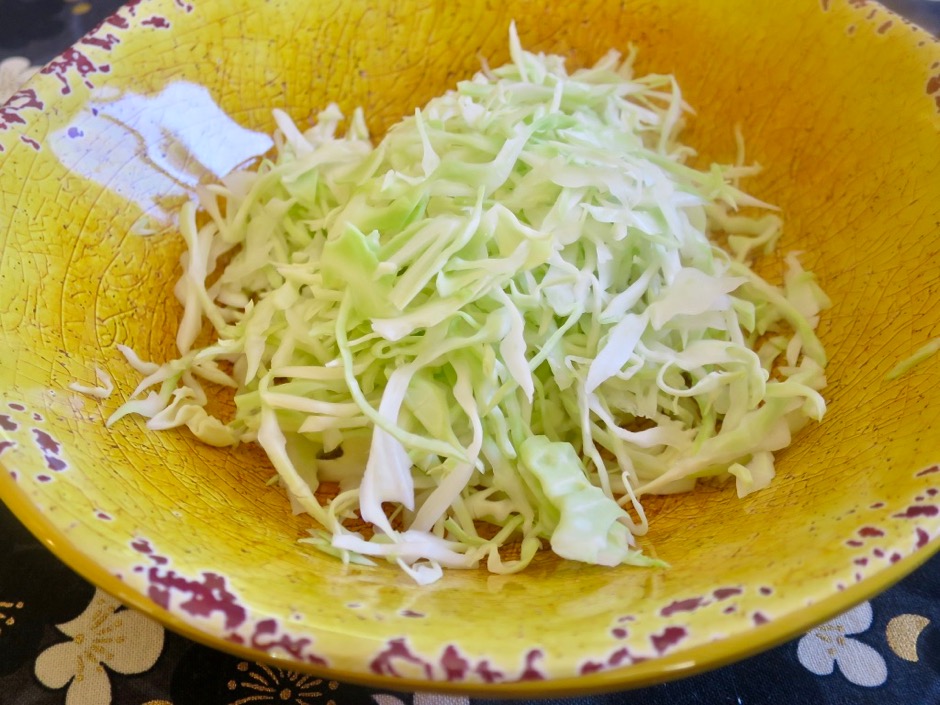
Crispy Shredded Cabbage

Shredded cabbage is a must with this sando,  The crispy cabbage enveloped in the soft bread and fried pork with savory tonkatsu sauce is absolutely the best sando you can imagine.

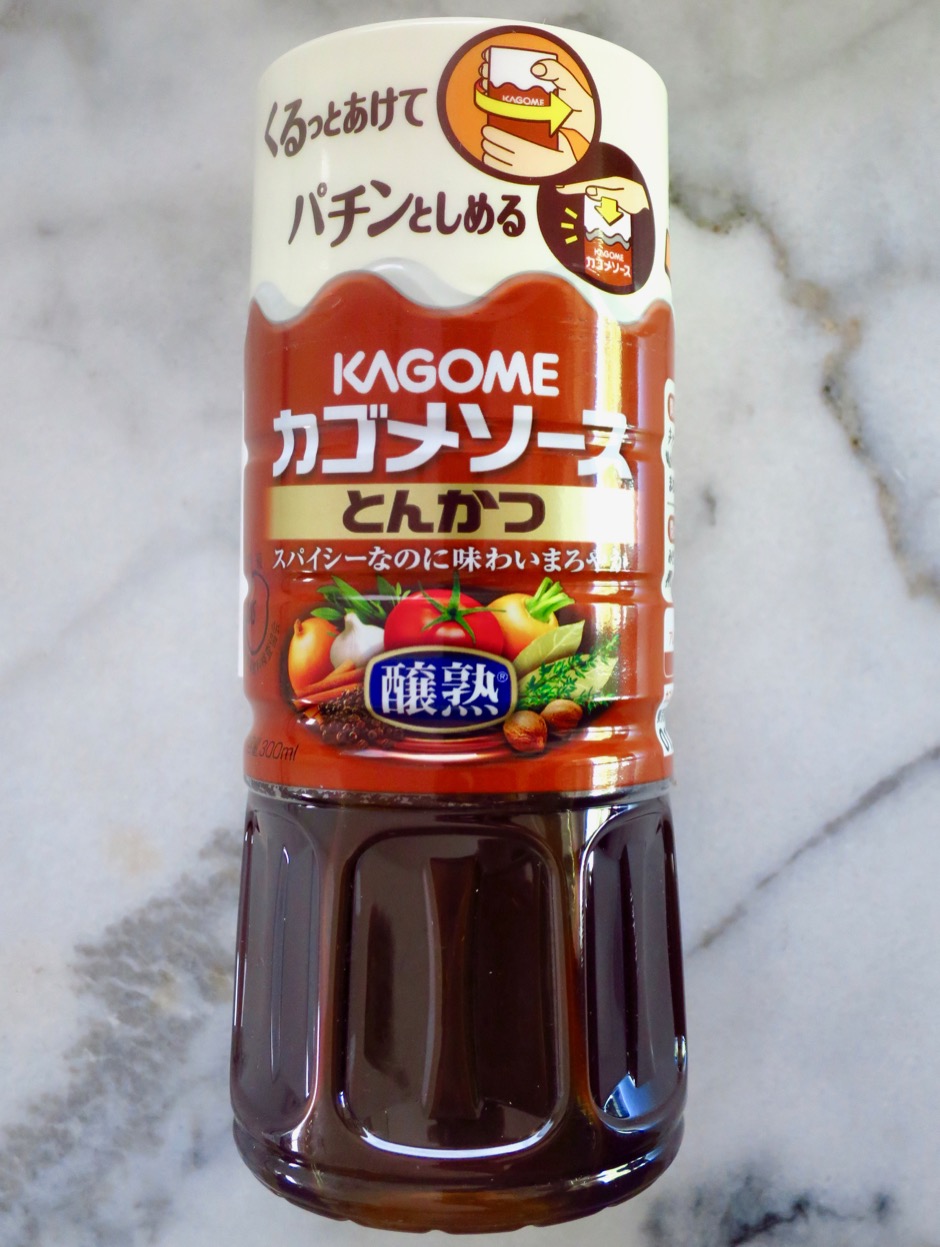
Tonkatsu Sauce

There are so many brands of tonkatsu sauce available.  My favorite is Kagome.  If you can find it, give it a try.  Good katsu sauce = tasty sando.

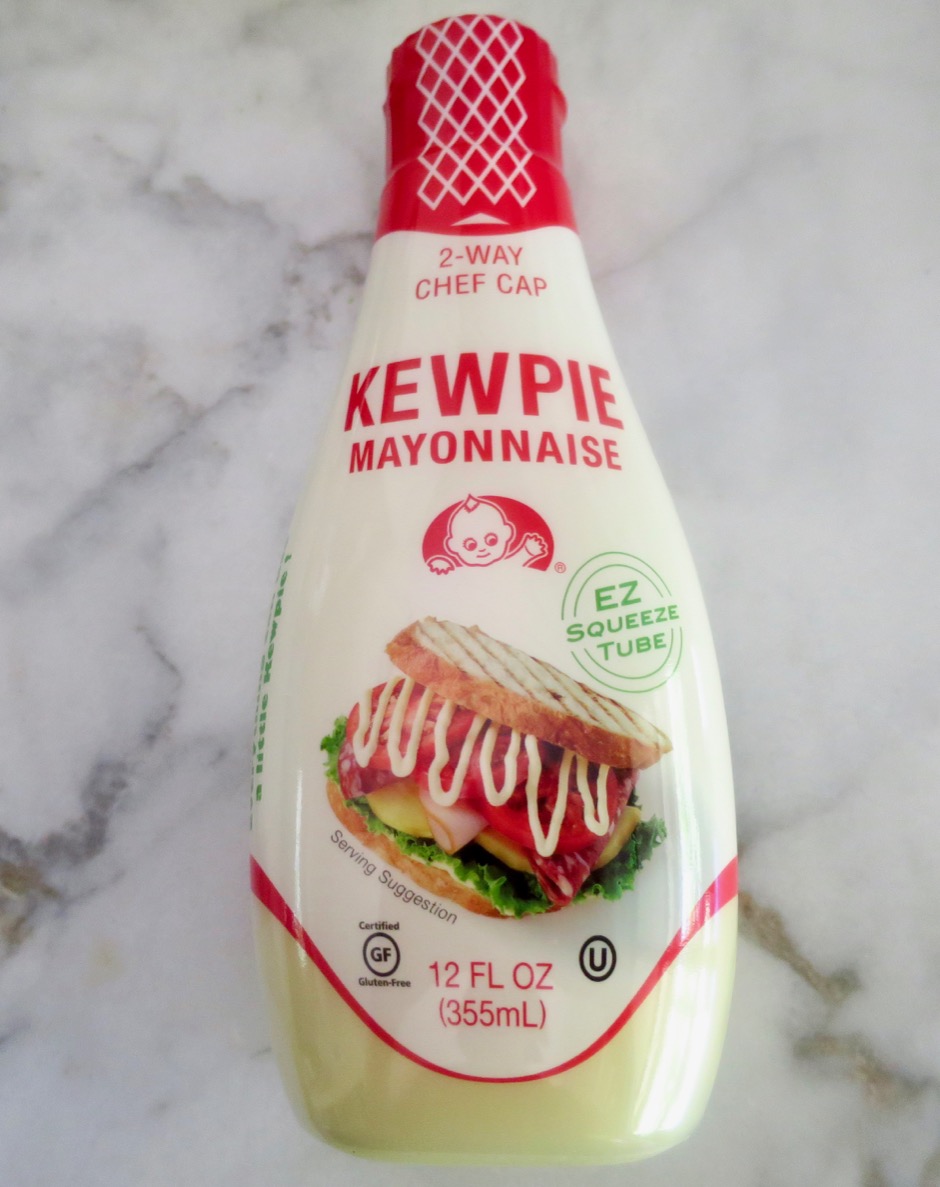
Kewpie Mayonnaise

Kewpie mayonnaise can be found at most markets these days and on-line.  Of course regular mayonnaise will do just fine, especially since it is not the star of the sandwich. But I like to go Japanese all the way when making this.  Most use Japanese milk bread for the sandwiches.  Since John makes all of our bread, he made this white loaf just for katsu sando and it turned out to be a keeper.

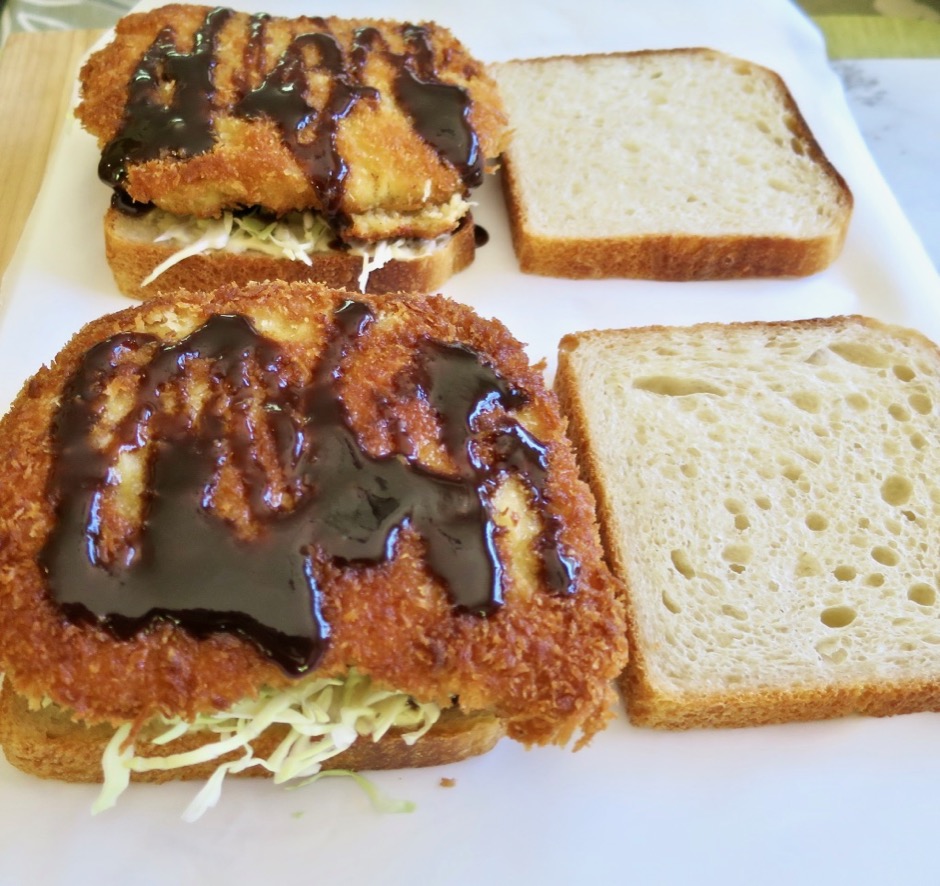
The Beginning of the Best Sando

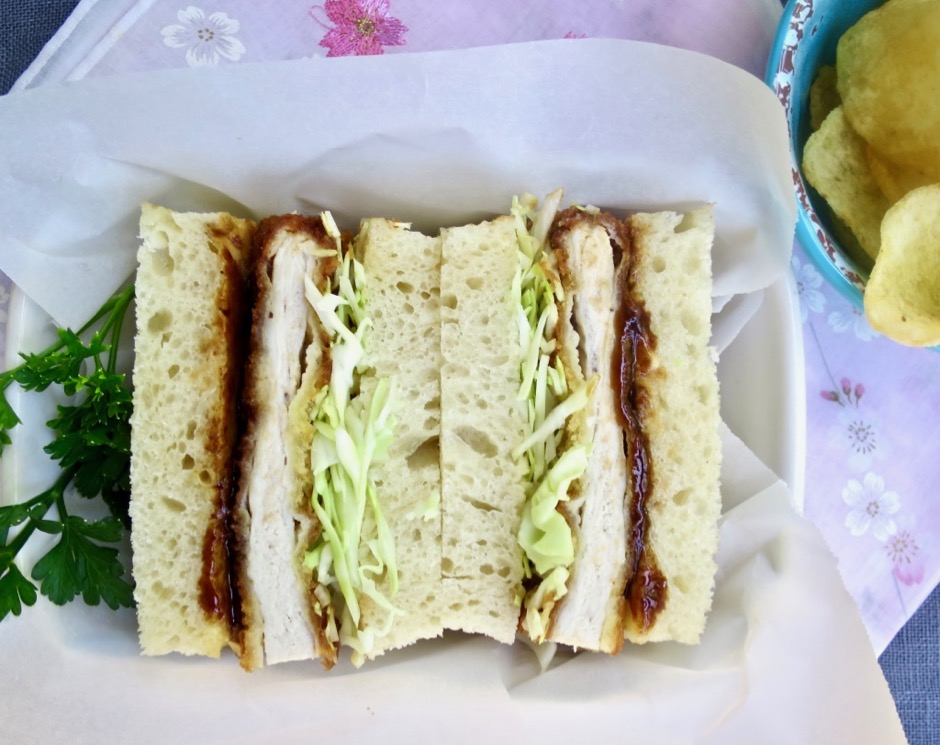
Katsu Sando

Gazing at this photo of the Katsu Sando makes me want to eat one right now!

Katsu Sando

Katsu Sando
 
Author:
Serves: 4
Ingredients
  • 4 boneless pork chop cutlets (about 5 ounces each) trimmed of fat and pounded to ⅓-inch thick
  • ⅓ cup all-purpose flour
  • 2 large eggs
  • 1 tablespoon sour cream (optional)
  • 1½ cups panko
  • salt and pepper
  • canola oil for frying pork
  • 8 slices white bread
  • butter (we use Miyoko's vegan butter)
  • tonkatsu sauce (Kagome brand is our favorite)
  • Kewpie mayonnaise or regular mayonnaise
  • 1 cup shredded cabbage
Preparation
  1. Pork should be pounded to ⅓-inch thick or up to ½-inch if you prefer thicker pieces. Salt and pepper both sides of pork cutlets.
  2. Place flour and panko on separate large plates. Mix eggs with 1 tablespoon sour cream if using, in a wide shallow bowl.
  3. Dredge each piece of pork in flour, shaking off excess. Dip pieces in egg mixture. Allow remaining egg to drip back into the bowl. Place pork in panko and spread panko over the top. Press firmly so the panko adheres to the pork. It's best to use a dry, clean hand so the panko doesn't clump and fall off.
  4. Heat a large skillet preferably with high sides over medium to medium-high heat with enough oil to reach ¼-inch up the sides of the pan. Once the oil is hot, fry pork in two batches, until nicely browned and the internal temperature reaches 145 degrees. Transfer fried pork to a rack or plate. Continue frying the other two pieces of pork.
  5. To make the sandwich, butter 4 slices of bread. Spread tonkatsu sauce over the butter. Set aside.
  6. Spread mayonnaise on the other four slices of bread. Add shredded cabbage on the mayonnaise, followed by tonkatsu sauce. Place a fried pork cutlet on top and drizzle more tonkatsu sauce over the pork. Place buttered bread slices on top of the pork. Using a sharp knife, cut off the crusts and any extra pork to make a uniform sandwich. Cut each sandwich in half. Serve with chips and extra tonkatsu sauce.


Cookies, Dessert, Lactose Free, Recipes

Levain Bakery Style Chocolate Chip Cookies

July 29, 2019

Levain Bakery Style Chocolate Chip Cookies

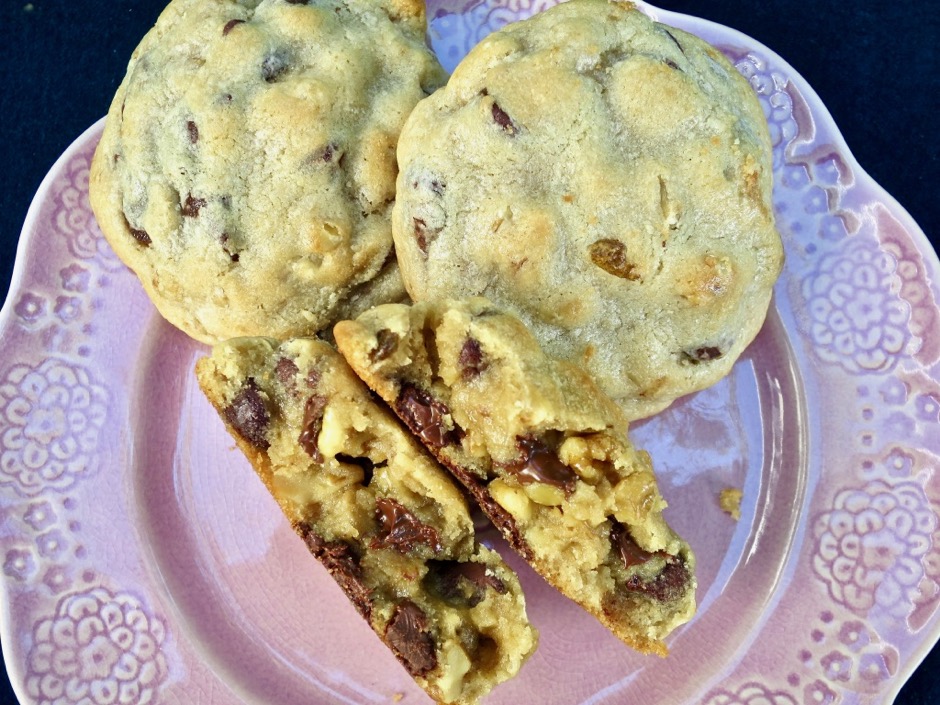
The perfect chocolate cookie probably doesn’t exist.  There are so m any different styles, so why limit yourself to just one? Thin and crispy cookies are one of my favorites, but these thick, chewy cookies packed with chocolate chips are truly delectable. I’ve made them numerous times and always have some stashed in the freezer for that moment when I crave a quick dessert.  I adapted the recipe from Melissa at Modern Honey.  Melissa makes 8 big cookies like the ones they sell at Levain Bakery in Manhattan.  I divided the dough into 12 portions and I can barely finish one of these cookies by myself.

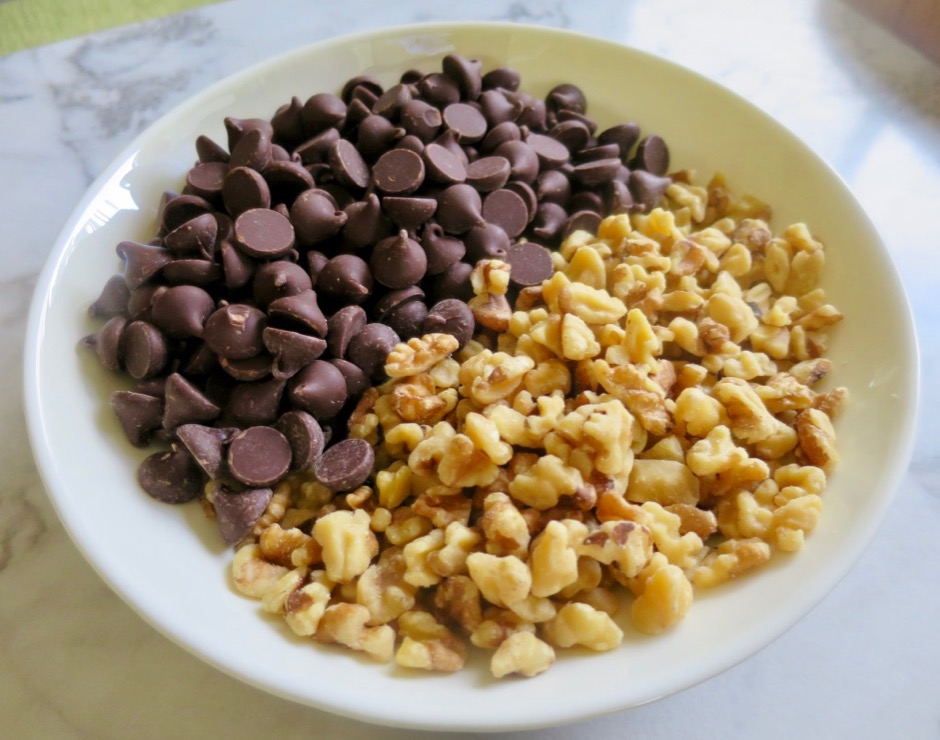
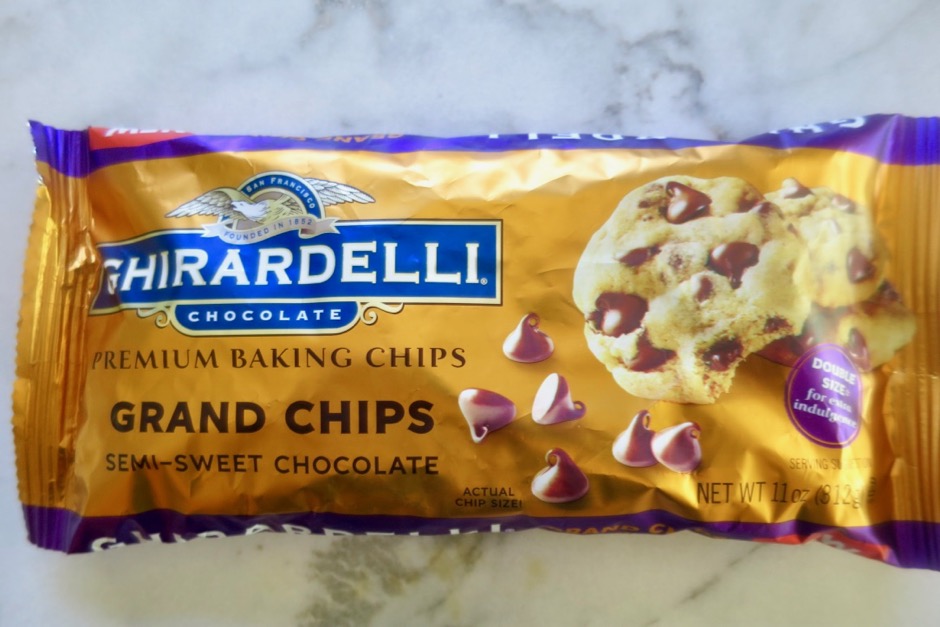
Ghiradelli Grand Chips & Walnuts

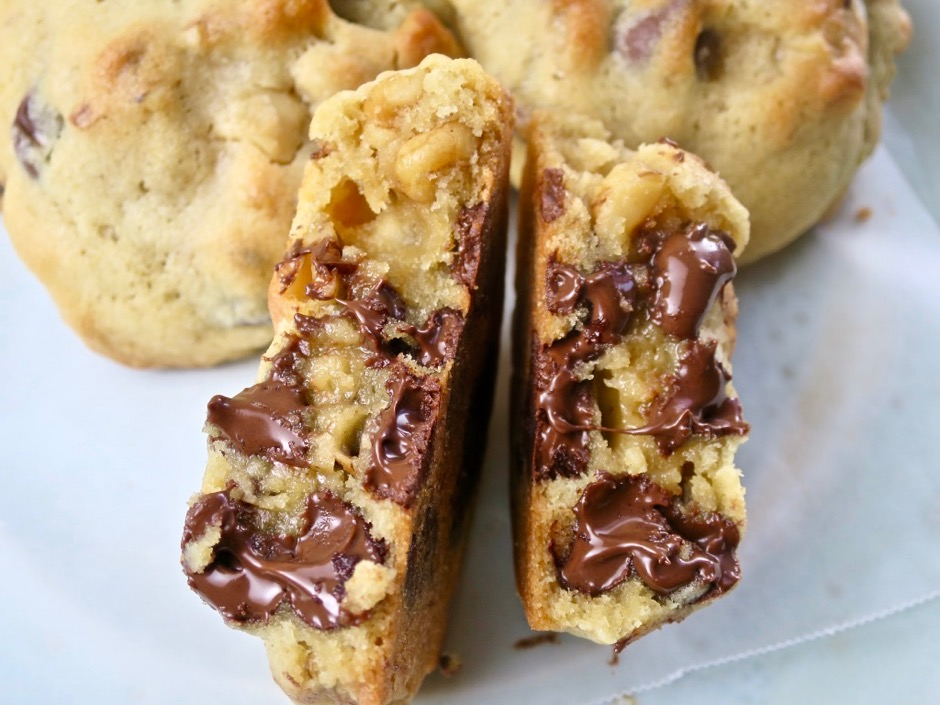
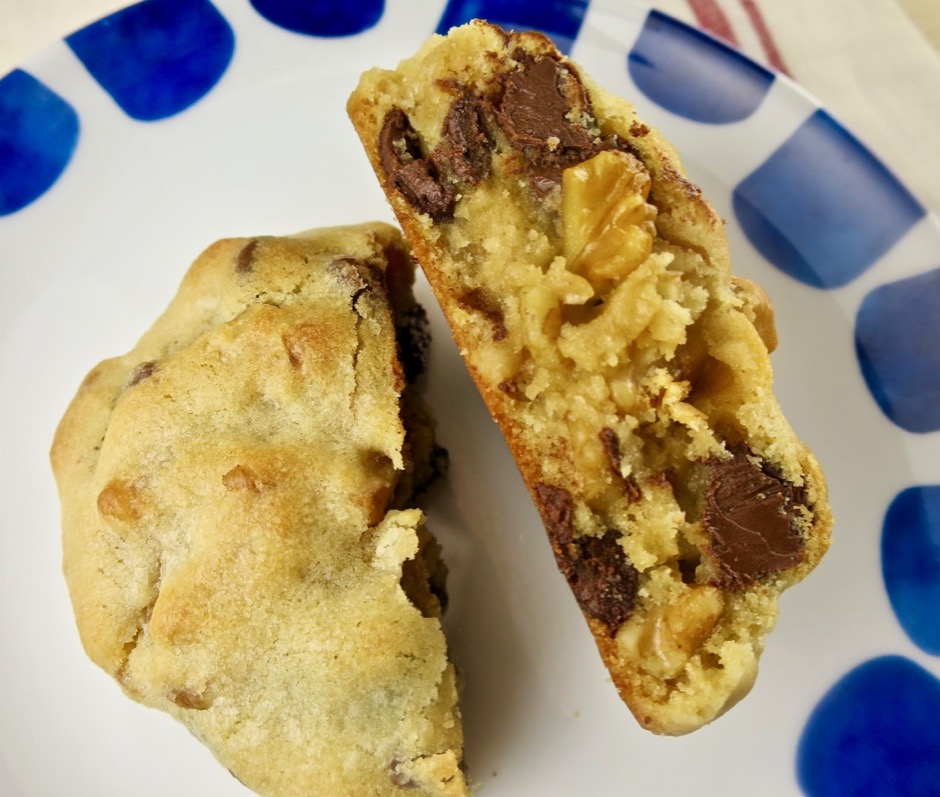
The cookie dough has more than a pound of chocolate chips and nuts combined which makes these cookies particularly delicious.

Ghiradelli Grand Chips

What’s so cool about these cookies is that there are no specialty ingredients needed and you can make these on the fly because you use cold butter and not butter that needs to sit out for an hour to soften.  I do like to use the larger baking chips although regular sized chips will work just fine.  I suggest using heaping (rather than level) cups of chocolate chips so that each bite delivers that chocolate experience you would expect in a really good chocolate chip cookie.

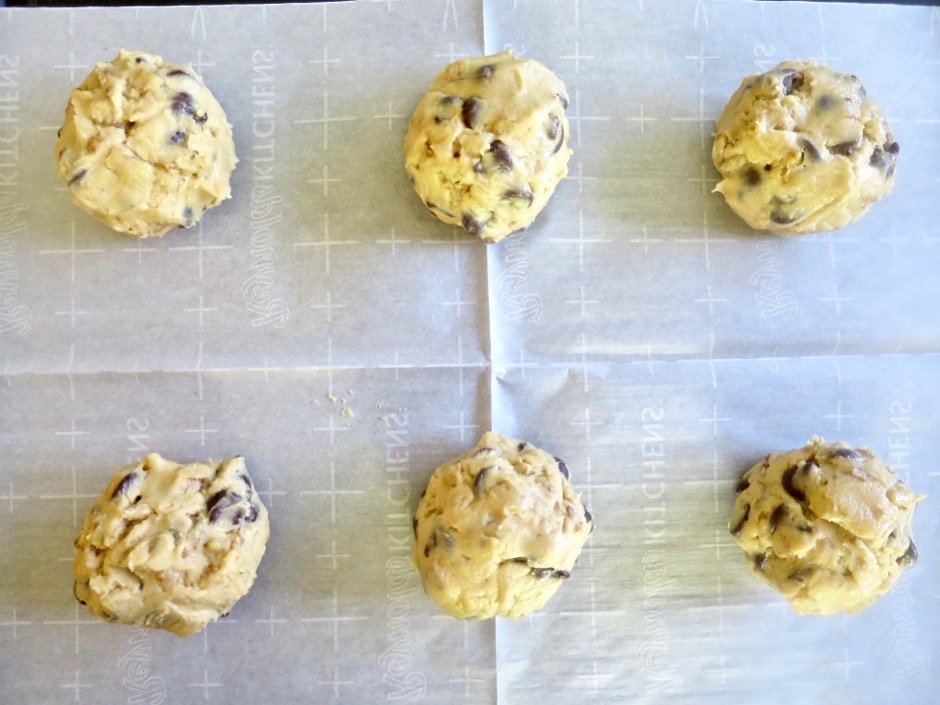
Levain Bakery Style Chocolate Chip Cookie Dough

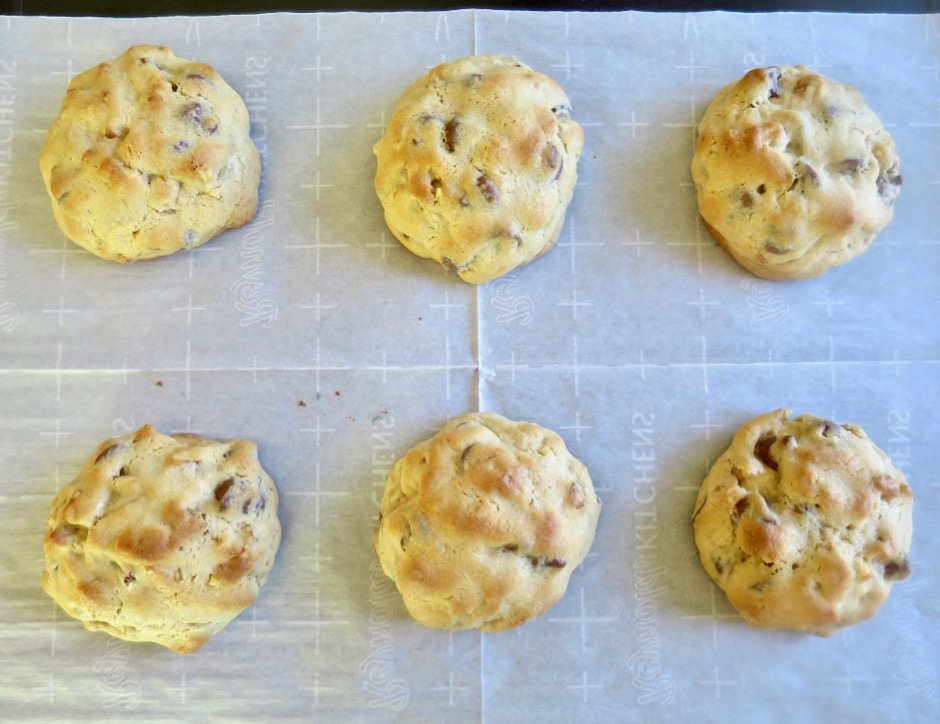
Levain Bakery Style Chocolate Chip Cookies

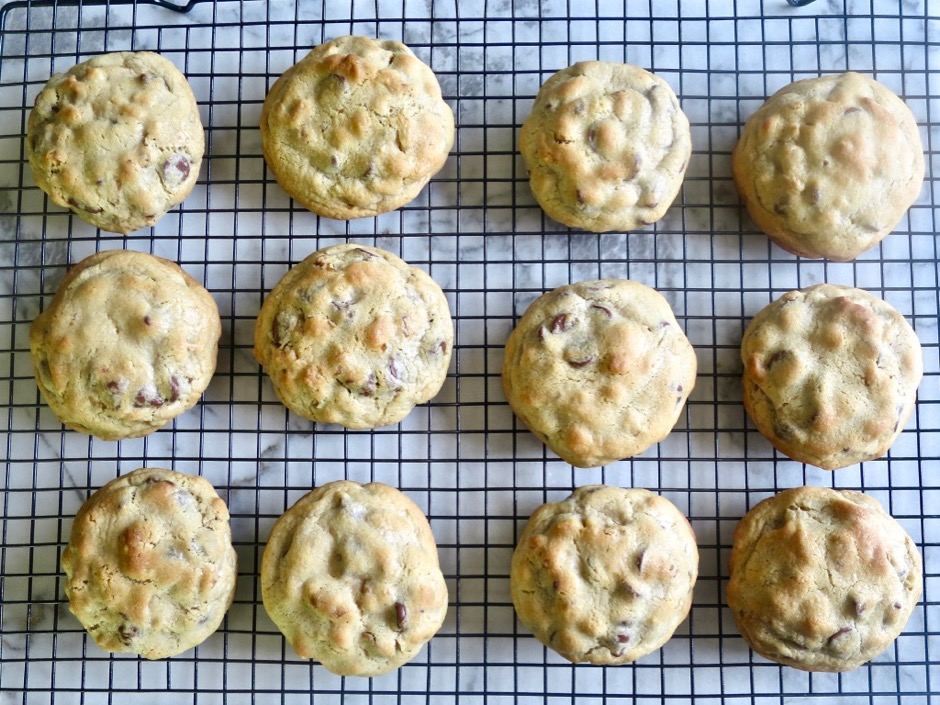
The cookie tops are golden brown when done.  They smell divine when they come out of the oven.  Do your best to resist eating them until they cool down a bit for the perfect cookie texture.

Levain Bakery Style Chocolate Chip Cookies

Levain Bakery Style Chocolate Chip Cookies

Levain Bakery Style Chocolate Chip Cookies
 
Author:
Serves: 12
Ingredients
  • 1 cup cold Earth Balance Buttery Sticks (or regular butter) cut into small cubes
  • 1 cup (145g) light brown sugar, lightly packed
  • ½ (99g) cup granulated sugar
  • 2 large eggs
  • 1½ cups (160g) cake flour
  • 1½ cups (190g) all-purpose flour
  • 1 teaspoon cornstarch
  • ¾ teaspoon baking soda
  • ½ teaspoon (scant) salt or ¾ teaspoons if using unsalted butter
  • 2 heaping cups (368g) chocolate chips
  • 2 cups (215g) walnuts, roughly chopped
Preparation
  1. Preheat oven to 400 degrees.
  2. Line two cookie sheets with parchment paper.
  3. With a hand held mixer or stand mixer, cream together the cold butter cubes with the brown and white sugar for about 3 minutes until creamy.
  4. Add eggs one at a time, mixing well between each addition.
  5. Stir in cake and all-purpose flour, cornstarch, baking soda and salt. Mix until just combined. Stir in chocolate chips and walnuts.
  6. Lightly form 12 balls and place 6 on each cookie sheet. Each one should weigh about 4⅛ ounces.
  7. Bake one pan at a time for about 9 minutes, or until the tops of the cookies are light golden brown. Remove from the oven and let cookies rest on the baking sheet for 10 minutes to firm up before transferring to a cooling rack. Repeat with the second batch of cookies.


Dinner, Japanese, Lactose Free, Recipes, Vegetarian, Veggies

Sesame Broccoli Salad

July 11, 2019

Sesame Broccoli Salad

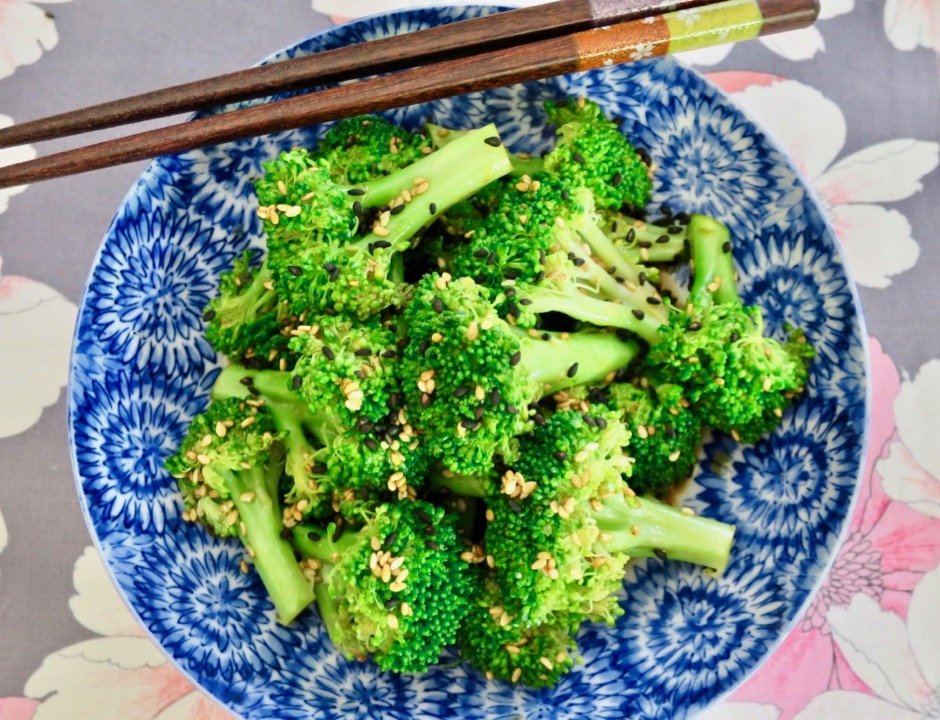
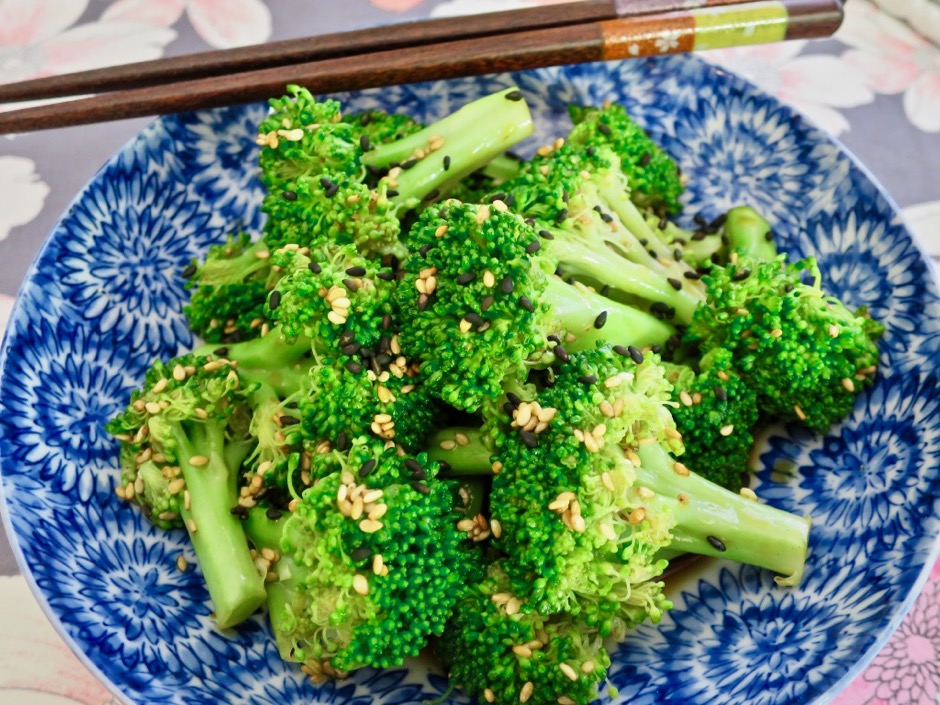
This is a refreshing and healthy salad that is perfect to serve during the warm summer months.  The broccoli is quickly steamed until crisp and tender then drizzled with a tasty dressing.  You can serve it chilled or at room temperature.

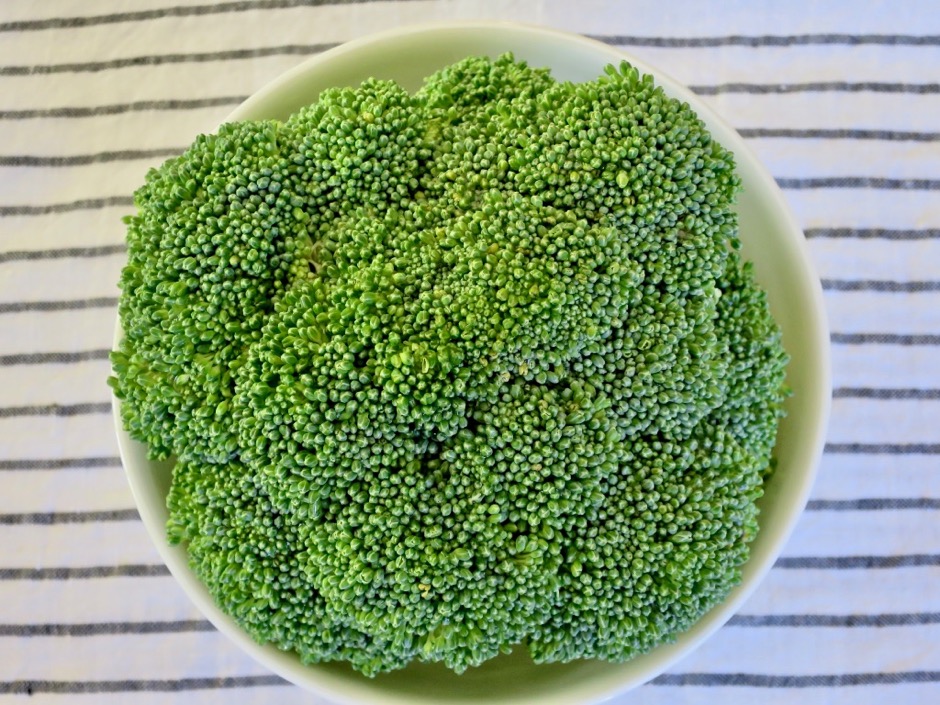
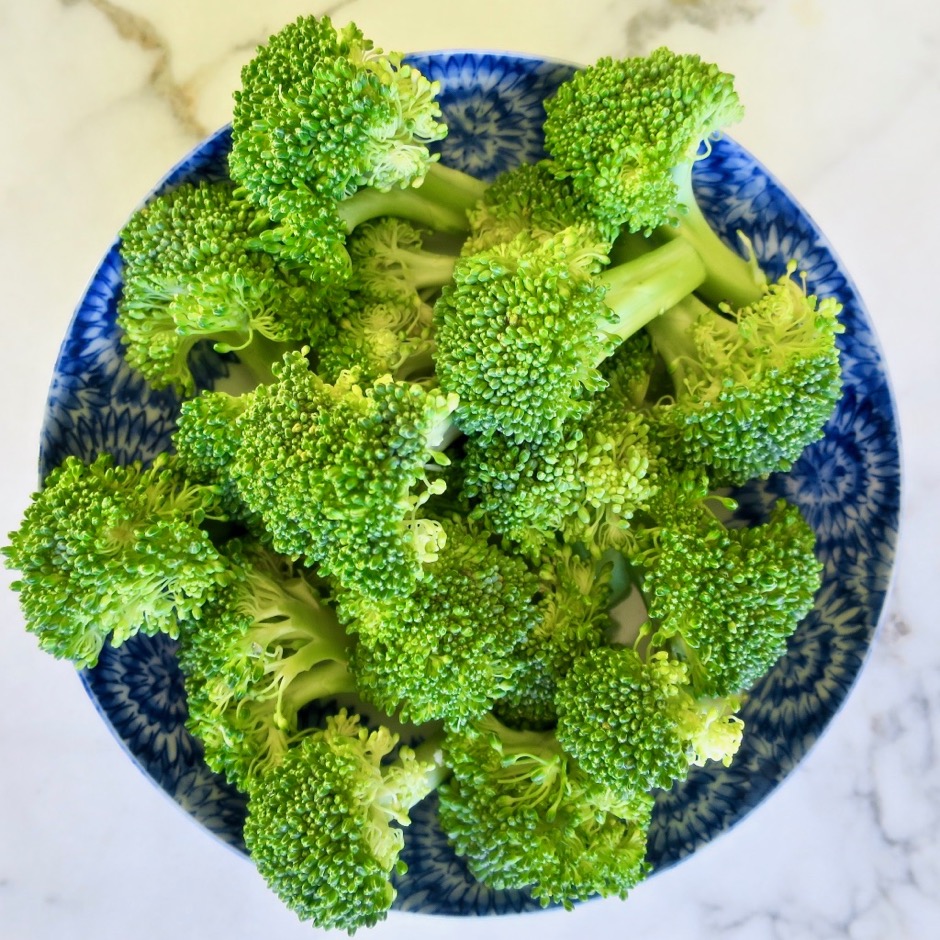
Broccoli

Broccoli Florets

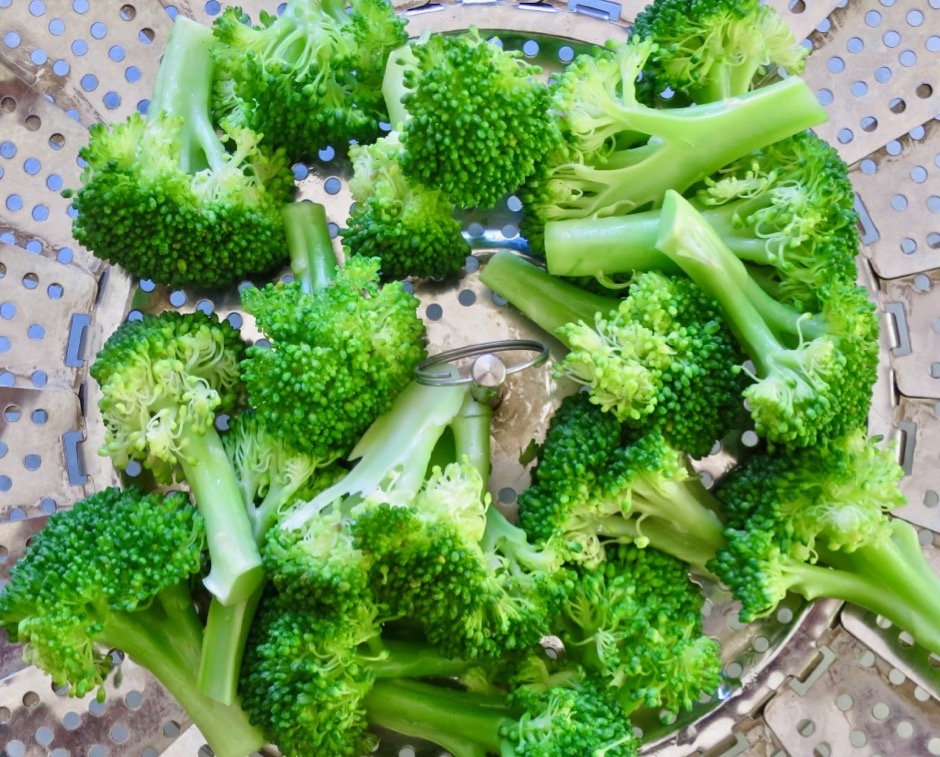
Cut the broccoli into bite-sized (not too small) florets.  Steam the broccoli just until crisp and tender.

Steamed Broccoli Florets

Chill the broccoli while you make the dressing.  If I’m in a rush, I place the steamed broccoli on a plate and put it in the freezer for a few minutes.

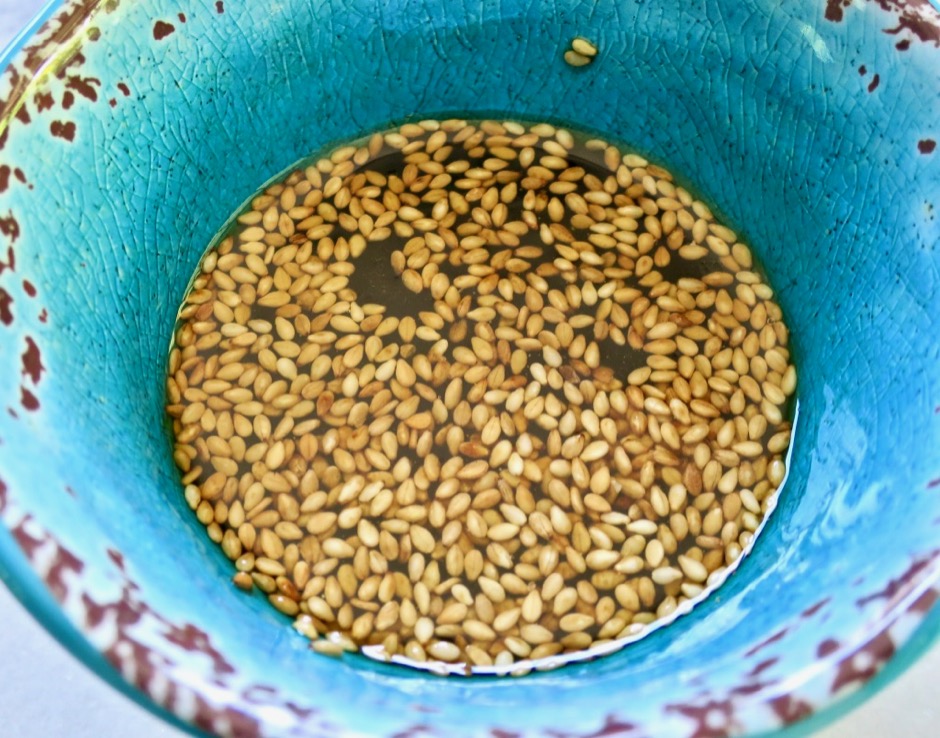
Broccoli Salad Dressing

The dressing is a snap to prepare.  Mix the soy sauce, rice vinegar, sesame oil and honey together in a small bowl.  Throw in a spoonful of roasted sesame seeds and you will end up with a well- balanced, flavorful sauce for the broccoli.

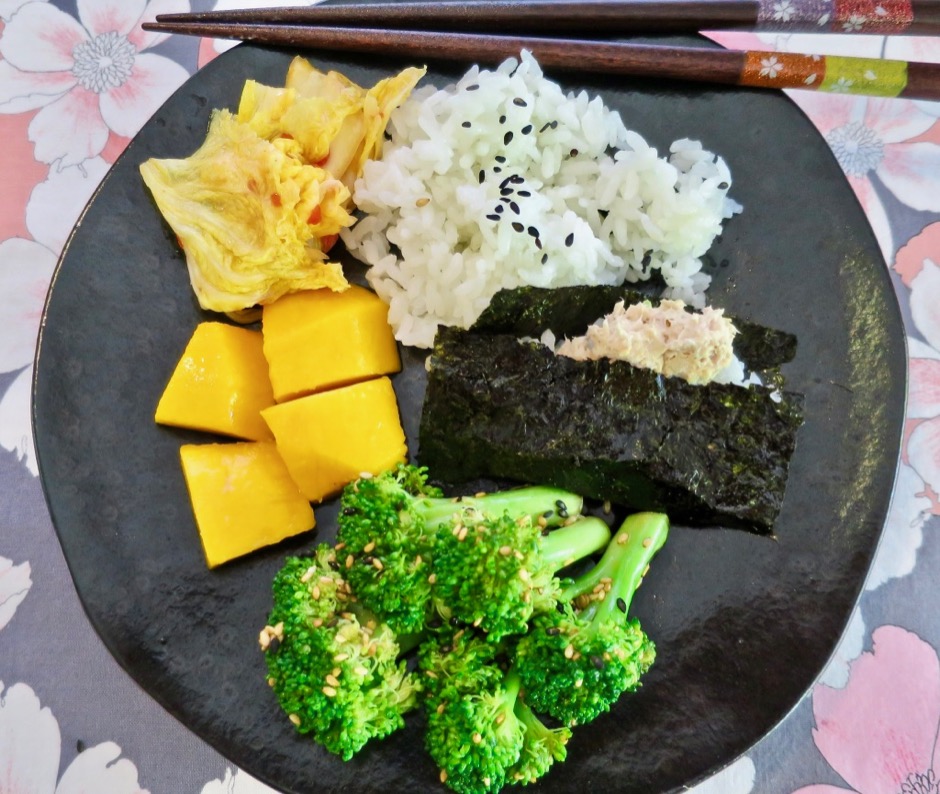
Sesame Broccoli Salad with Rice, Nori & Tuna Salad, Mango & Kimchi

My favorite accompaniments with this broccoli salad are steamed Japanese rice, crispy nori with tuna salad, kimchi and fruit.  It is the perfect summer lunch.

Sesame Broccoli Salad

Sesame Broccoli Salad
 
Adapted from epicurious.com
Author:
Serves: 6
Ingredients
  • 2 tablespoons soy sauce (Kikkoman recommended)
  • 2 tablespoons unseasoned rice vinegar
  • 2 tablespoons sesame oil (Kadoya recommended)
  • 2 tablespoons honey
  • freshly ground black pepper (optional)
  • 2 tablespoons roasted sesame seeds, divided
  • 1 pound (about 8 cups) broccoli florets
Preparation
  1. Steam the broccoli florets until crisp-tender, about 5 minutes. Cool on a plate in the refrigerator for about 5 minutes or so.
  2. Whisk soy sauce, rice vinegar, sesame oil, honey and a few grinds of fresh black pepper in a small bowl. Add 1 tablespoon of roasted sesame seeds. Set aside.
  3. In a large shallow bowl, toss broccoli with dressing (you may not need all of the dressing). Toss to coat all of the florets. Let marinate at room temperature for 30 minutes or cover and refrigerate if you prefer to serve it cold, or at a later time during the day. When ready to serve, toss once again then transfer the broccoli to a large low-sided serving bowl. Pour the dressing over the broccoli and sprinkle the remaining sesame seeds over the top.


Dinner, Dressing, Lactose Free, Mexican, Recipes, Rice Dishes, Salad, Side Dishes, Vegan, Vegetarian

Cilantro Brown Rice

June 28, 2019

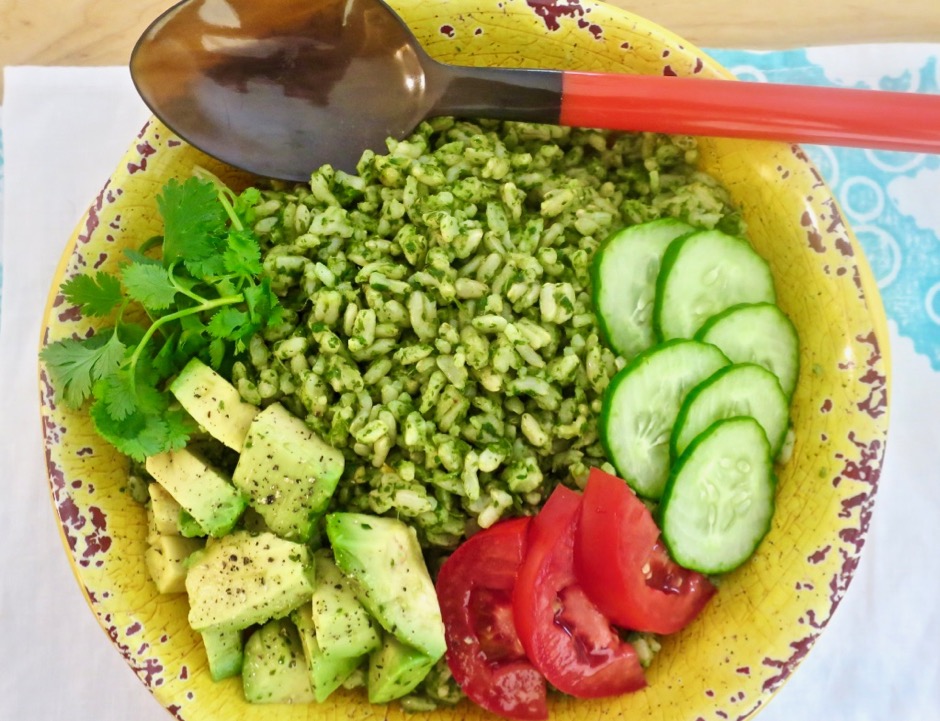
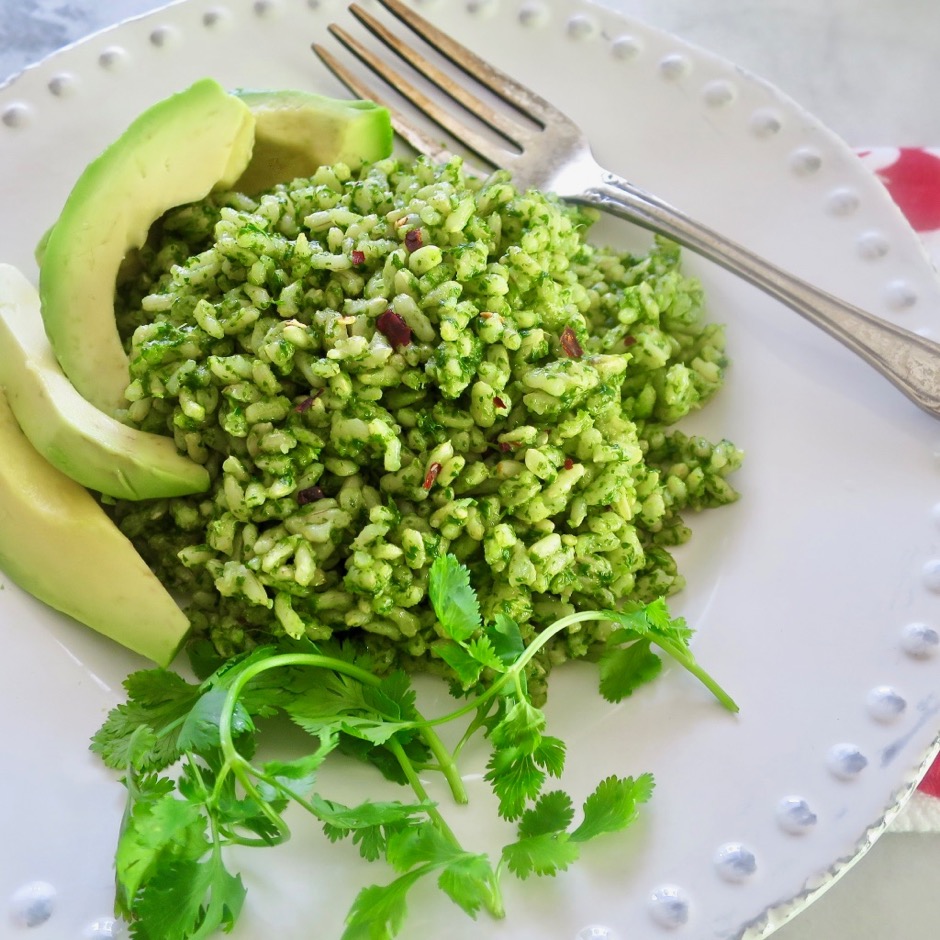
Cilantro Brown Rice Bowl with Avocado, Tomato & Cucumbers

During a recent trip to Seattle to visit family, we baked up some Enchiladas Suizas for a luncheon one afternoon.  My stepdaughter Jessica made a delicious cilantro rice side dish she had recently discovered on What’s Gaby Cooking blog.  Generally there’s no middle ground on the subject of cilantro.  You either love or hate it.  Even though she may not yet be a fully converted cilantro lover, I’m happy she shared this recipe with us.  It’s truly delicious.

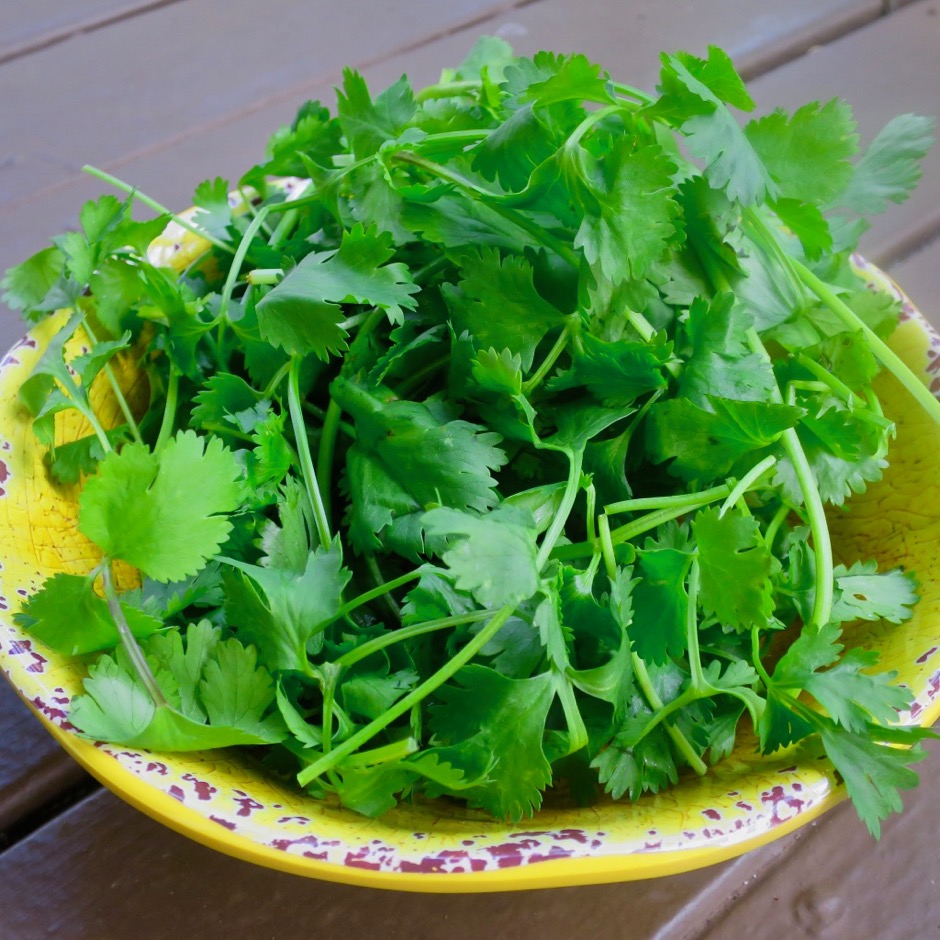
Fresh Cilantro

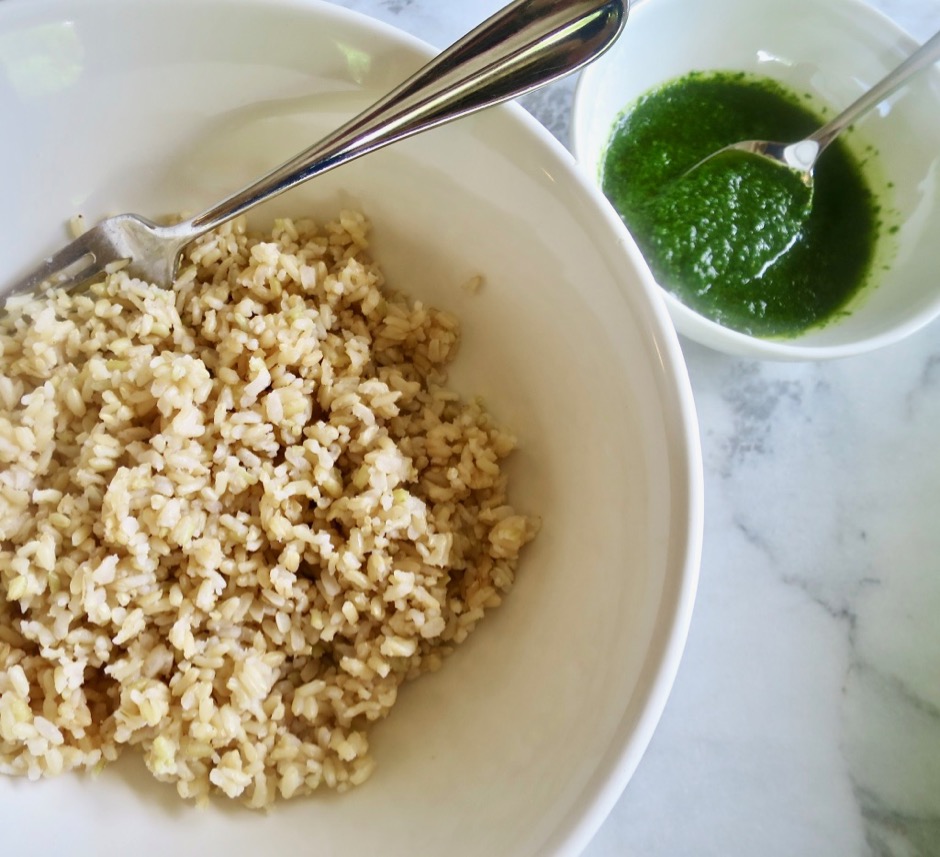
Besides waiting for the brown rice to cook, the only other step that takes a few minutes to complete is removing the stems from the cilantro sprigs. Otherwise, it’s a snap to make.  I used our immersion blender the first time I made the cilantro dressing. It did a decent job but our Vitamix turned out perfectly pureed ingredients in just a few seconds.

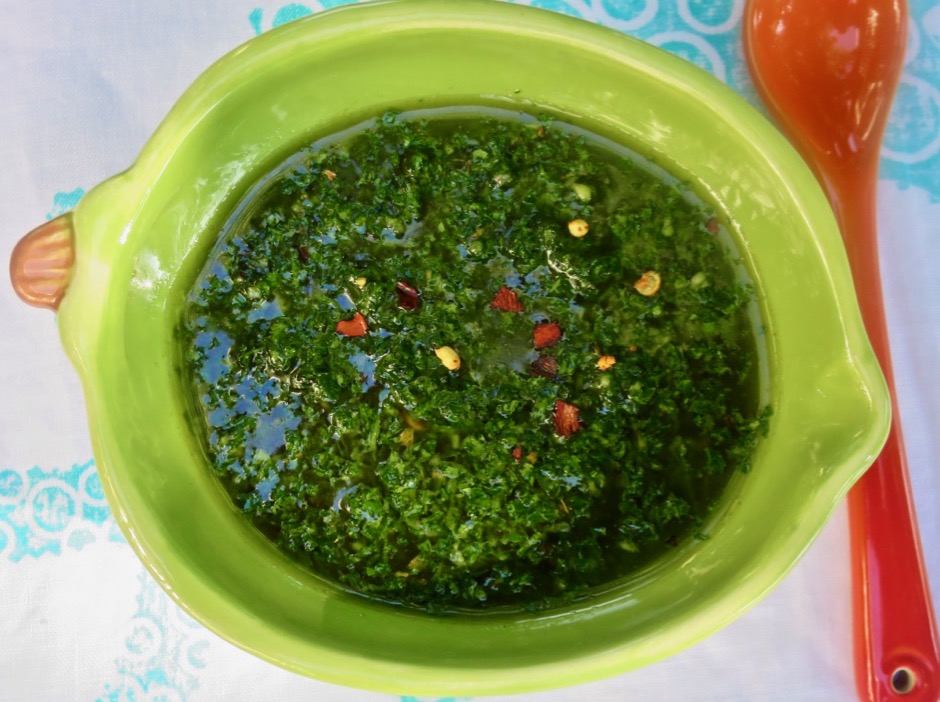
Cilantro Dressing

Brown Rice & Cilantro Dressing

The rice makes a wonderful side dish for any Mexican meal or as a meal of its own served with avocado and crispy cucumbers.  Mexican Style Grilled Chicken is the perfect main dish to serve with this rice.

Cilantro Brown Rice

Cilantro Brown Rice
 
Adapted from What's Gaby Cooking
Author:
Serves: 6
Ingredients
  • 2 cups long grain brown rice
  • 2 tablespoons roughly chopped shallot
  • 2 cups tightly packed fresh cilantro, tough stems discarded
  • 1 medium garlic clove
  • ¼ teaspoon red pepper flakes (more if you prefer a spicier flavor)
  • ⅓ scant cup mild olive oil, or a mix of canola and extra virgin olive oil
  • 2 tablespoons red wine vinegar
  • 1 teaspoon kosher salt
Preparation
  1. Cook brown rice in a rice cooker or on the stove top according to package directions.
  2. Combine shallot through salt in a blender (Vitamix or other high-powered blender works best). Blend ingredients for about 20 seconds. Scrape down the sides as needed. Blend another 15 seconds, or until the cilantro dressing is very smooth.
  3. Place cooked brown rice in a large serving bowl. Pour cilantro dressing over the rice and toss to coat well.
  4. The rice is best eaten when warm. You may reheat the rice if made in advance or if frozen, defrost in the refrigerator and reheat gently.
 

Bread, Breakfast, Lactose Free, Recipes

Favorite English Muffins

June 16, 2019

Favorite Homemade English Muffins

Homemade English muffins have been something we have wanted to make for years. Recently John came upon a recipe in Cook’s Country magazine that inspired him to give it a try.  After the first batch and a few adjustments to the recipe, we were hooked.  We always keep our freezer stocked with these beauties.  We enjoy eating them toasted with butter and jam as well as with our favorite eggs Benedict with avocado hollandaise.  The nice thing about these English muffins is that they don’t take very long to make and the finished product is far superior to any commercial product.
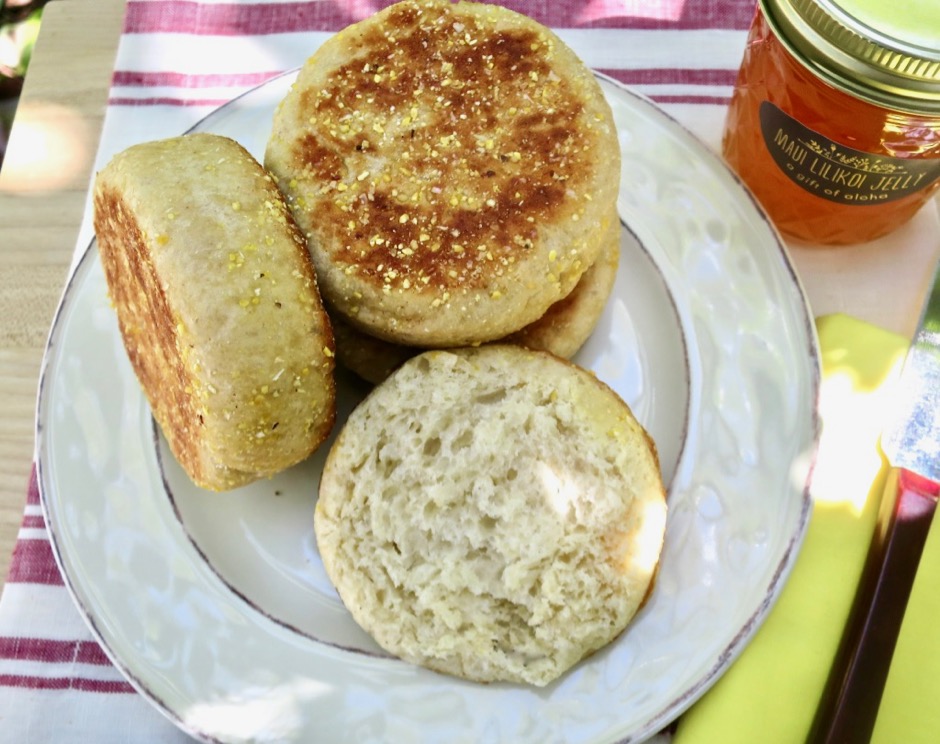
Favorite Homemade English Muffins - Fork-Split

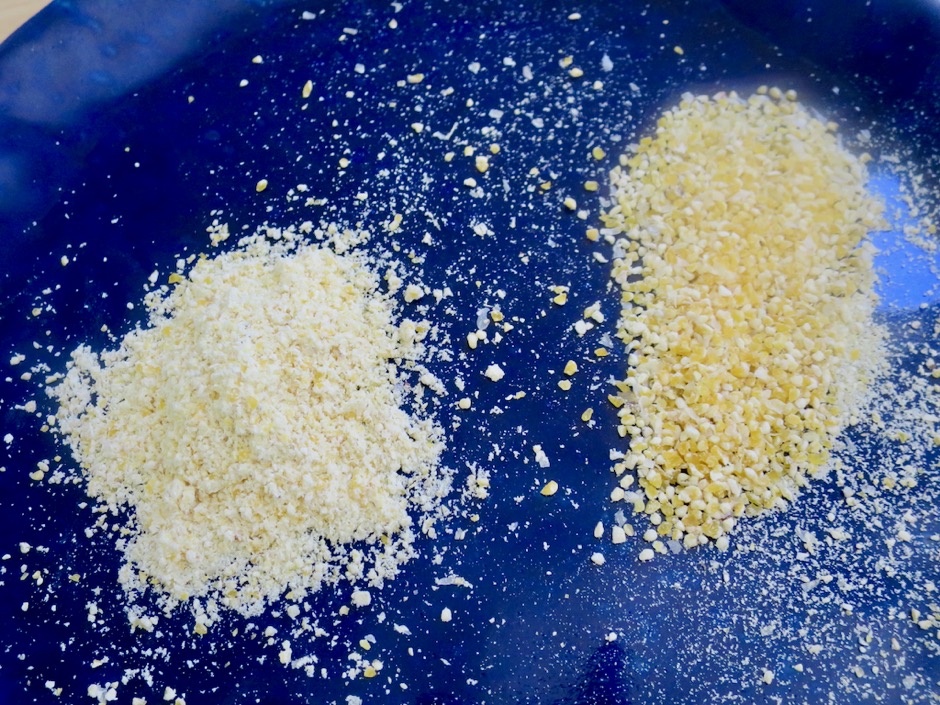
Cornmeal Sifted

If your cornmeal is on the coarse side, you may want to sift out the large, gritty pieces which can become very hard upon toasting the muffins.

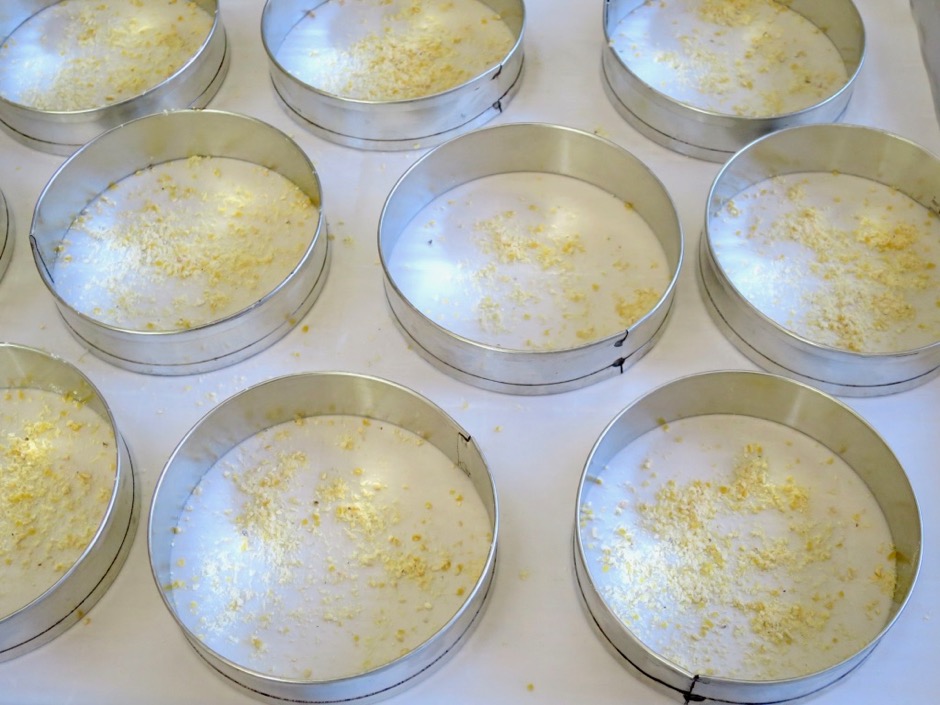
Muffin Rings with Cornmeal

Dough rings help to ensure perfectly tall, well-shaped muffins. We had purchased a dozen rings for another recipe so we were thrilled to be able to make use of them for this recipe.  Sprinkle cornmeal into each muffin ring before placing dough inside.

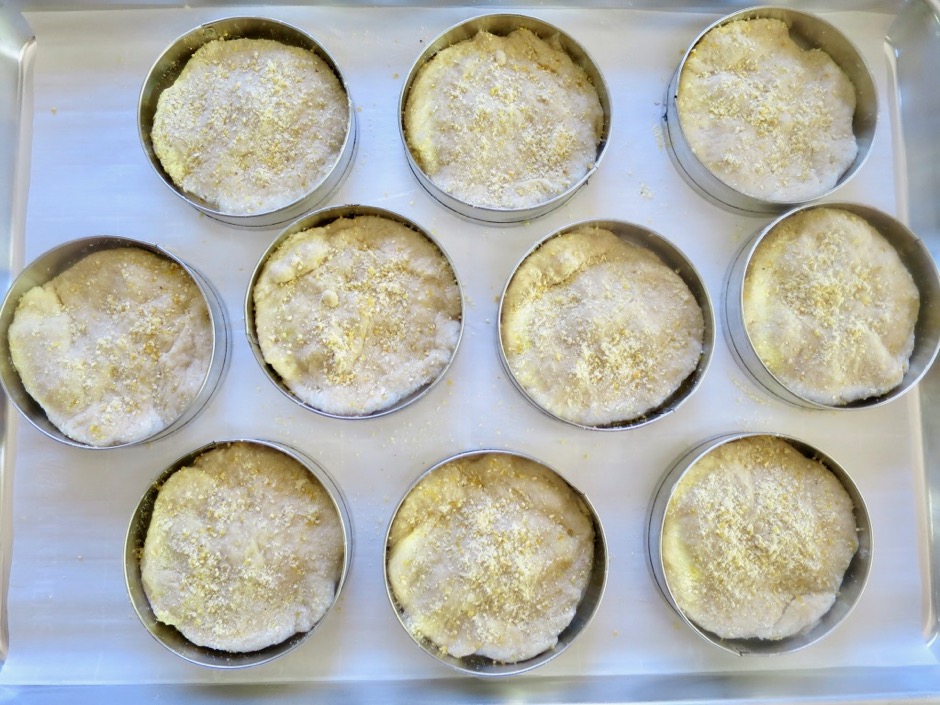
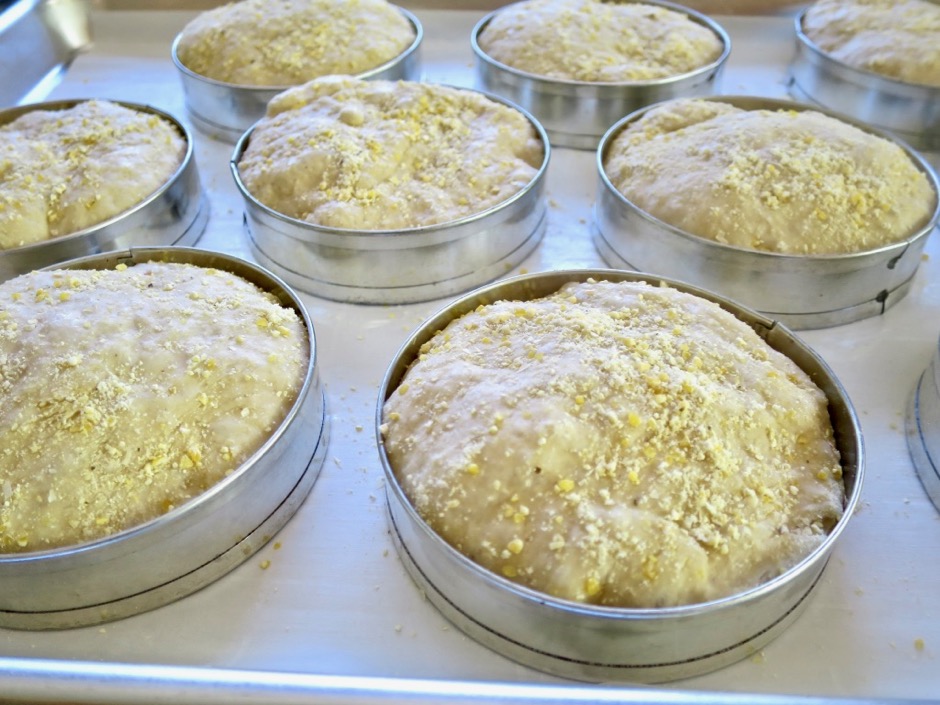
Muffin Rings Filled with Dough & Topped with Cornmeal

After the dough rounds go into the rings, sprinkle more cornmeal over the top and press lightly into the dough.

Muffin Dough Rising

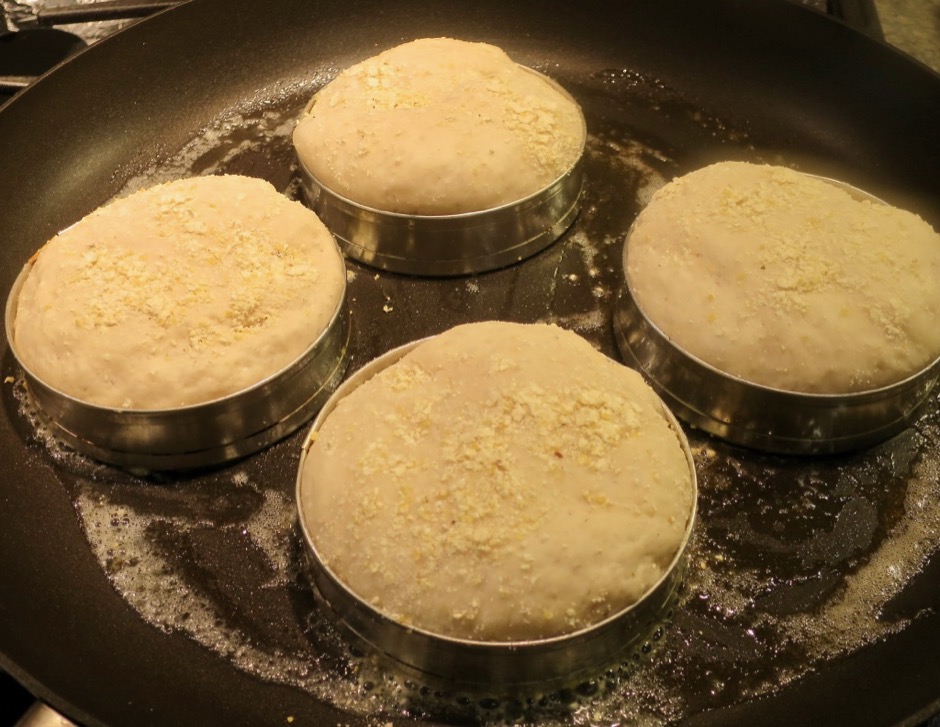
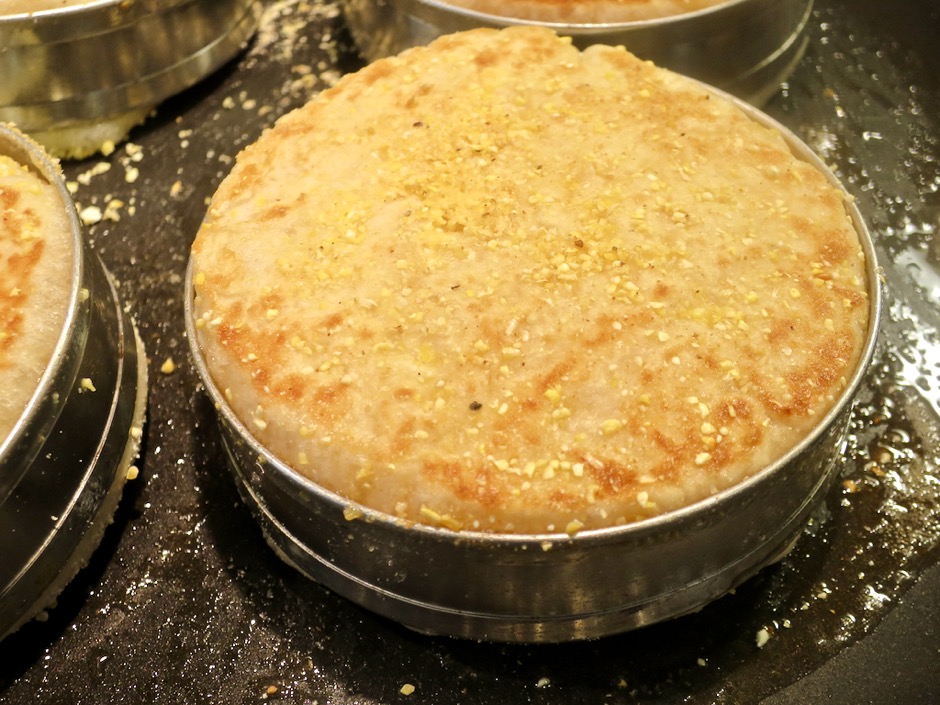
The dough will rise for 1 hour before being fried in butter for a quick 30 seconds or so on each side.  If you don’t mind a chewier and darker crust, they can be fried longer (up to 2 minutes per side).

Frying Muffins Before Baking

Frying Muffins Before Baking

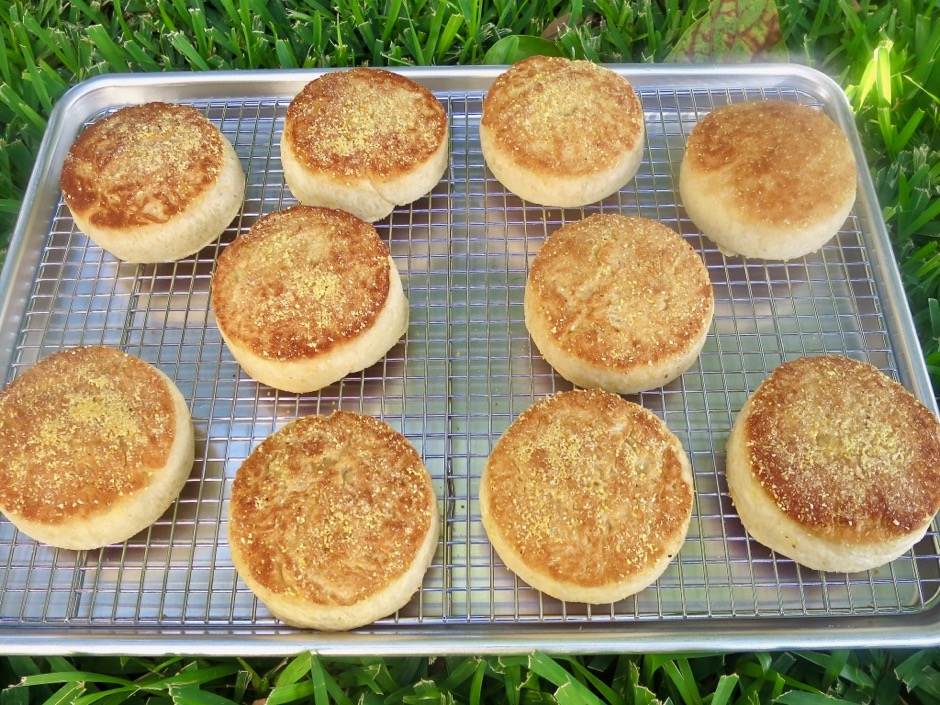
Once all of the dough has been fried they go into the oven to bake.

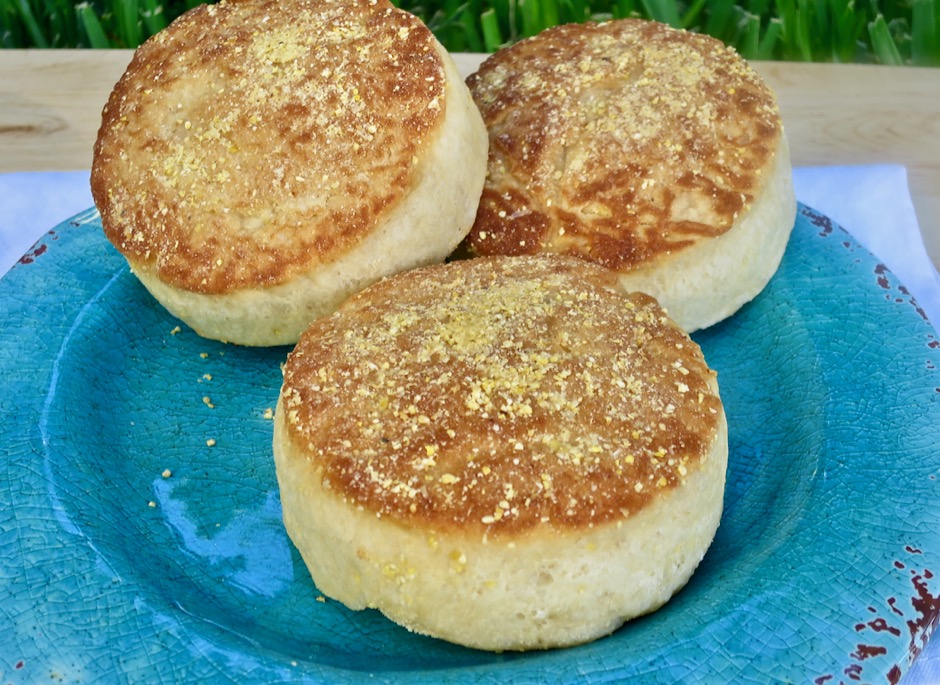
Favorite Homemade English Muffins

Beautiful English muffins cooling on a wire rack.

Favorite Homemade English Muffins

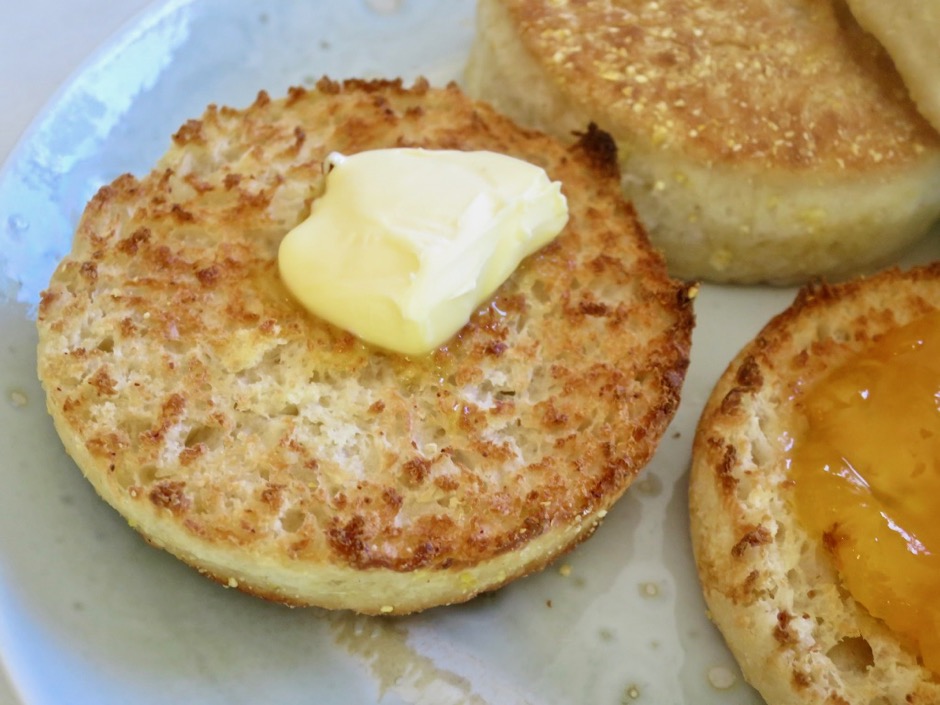
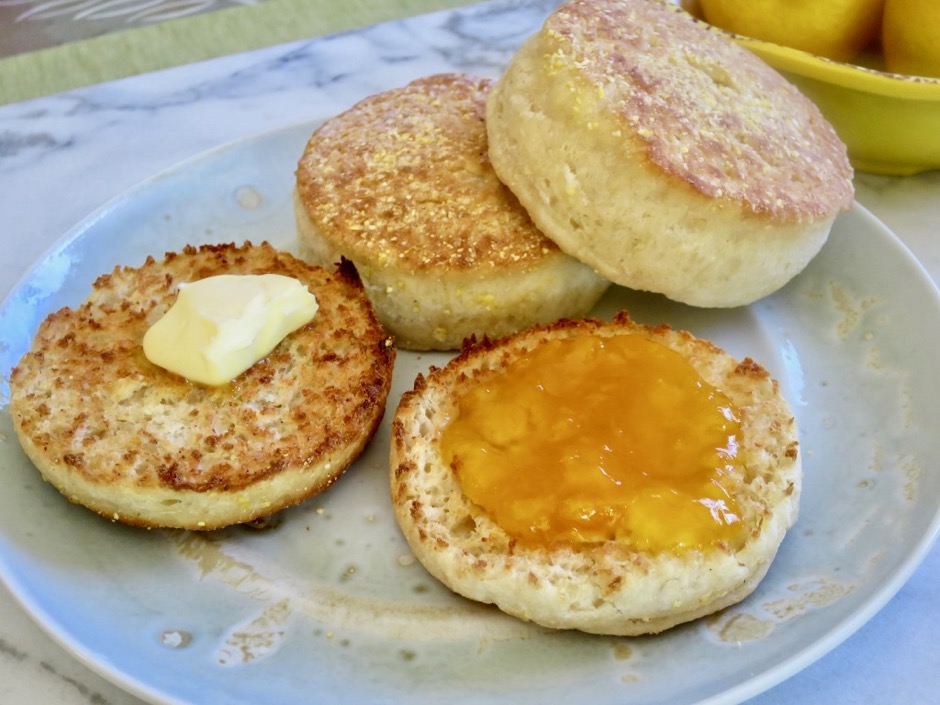
Fork-splitting the muffins rather than slicing them with a knife will ensure little nooks and crannies that not only produce beautiful crispy edges when toasted, but also allow the toppings such as butter and jam to sink in to all the crevices. Yum.

Favorite Homemade English Muffins with Butter & Mango Jam

Favorite English Muffins
 
Adapted from Cook's Country
Author:
Serves: 10
Ingredients
  • 1 cup + 6 tablespoons of warm whole lactose free milk or regular whole milk,110 degrees (312 grams/11 oz.)
  • 2 tablespoons honey (40 grams)
  • 2¾ cups bread flour (428 grams/15⅛ oz.)
  • 1 tablespoon instant or rapid rise yeast (11 grams)
  • 1¼ teaspoons table salt (7 grams)
  • ⅓ cup cornmeal (sifted if very coarse)
  • 2 tablespoons + butter (we use Miyoko's vegan butter)
Preparation
  1. Special equipment: 10 muffin rings 3½-inch size (recommended for perfectly shaped, tall muffins), 2 half-sheet pans, 2 silicone baking mats or parchment paper
  2. Combine milk with honey in a large bowl. Heat in microwave to 110 degrees but no more (about 20 - 30 seconds). A digital thermometer is useful here. We like the Thermapen. Whisk warm milk and honey together.
  3. In a separate smaller bowl, whisk dry ingredients (flour, yeast and salt) together. Combine wet and dry ingredients together in first bowl. Mix thoroughly (we like to use a Danish dough whisk). Cover the bowl and proof for 1 hour. Do one set of stretches and folds after 30 minutes of proofing.
  4. Line a half sheet pan with a silicone baking mat or parchment paper. Place 10 muffin rings on pan. Spray thoroughly with cooking spray making sure the ring interiors are well coated. Sprinkle corn meal inside the rings.
  5. Once dough has proofed, divide into 10 equal pieces (about 79 grams each). Round each piece slightly on a floured surface then flatten the dough pieces until approximately the diameter of the rings. Press the dough gently into the rings. Sprinkle corn meal over the top and press into the dough with your fingers. Cover the pan with a second sheet pan. Proof for about 1 hour or until doubled in size.
  6. Preheat oven to 375 degrees once dough has proofed for 50 minutes.
  7. Once dough has proofed for 1 hour, heat a 12" non-stick skillet on medium to medium-low heat with 1 tablespoon of butter. In batches of up to four, add dough (in rings) to the skillet and cook for 30 seconds on each side, or until lightly browned. Add more butter to the pan for each batch. Transfer fried muffins to second silicone baking mat or parchment lined half sheet pan. Continue frying until all 10 are done. Transfer pan to oven and bake for 12-13 minutes, or until centers register 205-210 degrees.
  8. Remove rings and let muffins cool completely on a wire rack. Fork-split muffins before toasting. Muffins freeze well.


Follow

Get every new post delivered to your Inbox

Join other followers: