Homemade hummus is the best. It is so easy to prepare and the end product is certainly worth the 30 minutes you spend making it. All the ingredients except for the herbs and pistachios go into the food processor. Blitz away until the mixture is as smooth as you want it to be. We enjoy eating hummus with homemade pita chips and falafel. Hummus keeps well in the refrigerator and makes a great snack for home or work.

This time around I decided to remove the skins from the chickpeas. It took me about 9 minutes to pinch off the skins from a can of beans. I didn’t mind the extra step since I enjoy spending time in the kitchen. Of course this is optional, but I found the hummus to be magnificently smooth. I came upon a curious recipe from the Minimalist Baker blog. The undrained chickpeas and garlic cloves are heated in the microwave for a few minutes making the chickpeas very smooth and creamy when blended together with the other ingredients. The garlic mellows a bit which makes for a well-balanced hummus.

When you microwave the chickpeas use a large bowl since the chickpea liquid tends to expand. I cover the bowl with plastic wrap leaving a small vent for air to escape. Once the chickpeas come out of the microwave I drain them, saving just a few tablespoons of the liquid for later. Then everything goes into the food processor until smooth and creamy. Place the warm hummus in a container and refrigerate until cool. Transfer the cooled hummus to a serving plate, add your favorite fresh herbs, pistachios, and a swirl of olive oil. Dust with cayenne pepper and serve with pita chips.
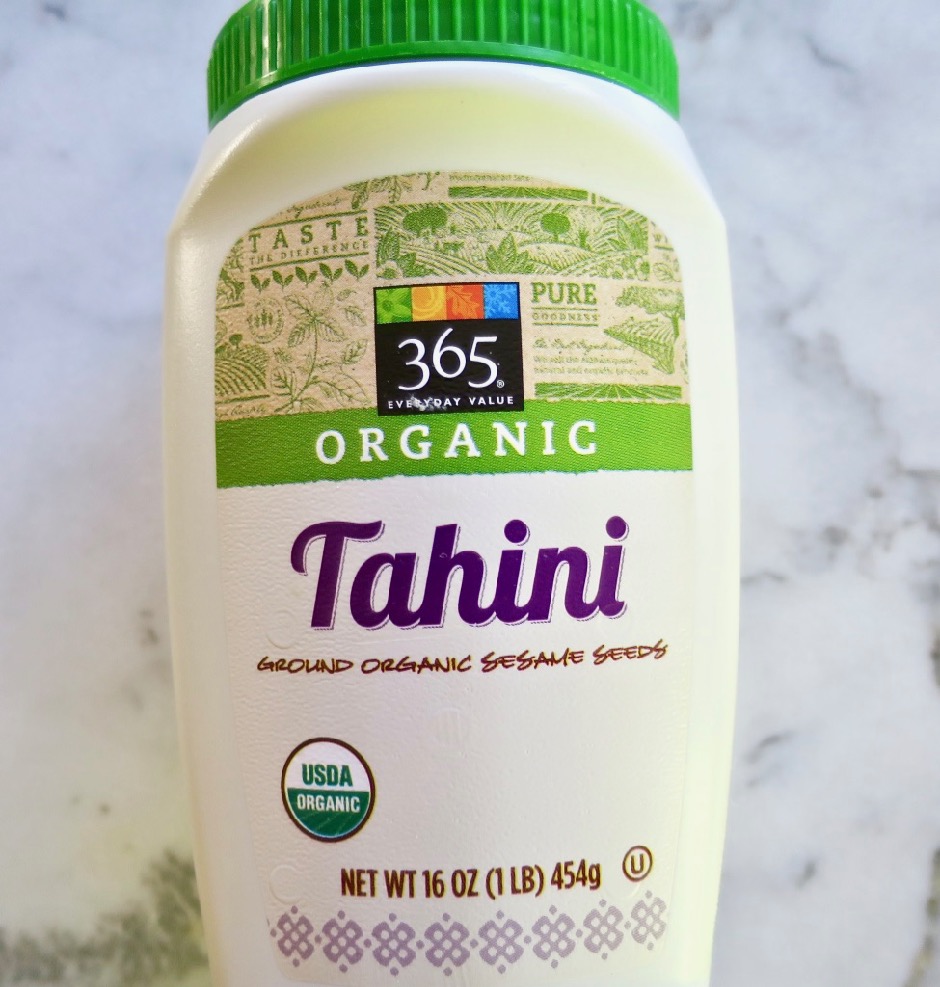
It’s really a chore to stir tahini in the container or jar that it comes in. The bottom of the container usually has solid pieces of tahini that are hard to get at. These days I just pour the entire container into a bowl and whisk away until the tahini is mixed to perfection. The thought of having to clean another bowl might discourage you but you will save a lot of frustration. It only takes a minute to wash the bowl!

- 1 can (15 ounce) chickpeas, drained with liquid reserved, skins removed (optional)
- 3 medium garlic cloves, peeled
- ¼ cup + 1 tablespoon well stirred tahini
- 2½ - 3 tablespoons fresh lemon juice
- ¾ teaspoon kosher salt
- 2-3 tablespoons cold water
- 1-2 tablespoons reserved chickpea liquid
- ¼ teaspoon ground cumin
- ⅛ teaspoon cayenne (optional) + more for serving
- 2 tablespoons extra virgin olive oil + more for serving
- handful of fresh herbs
- pistachios, salted and shelled
- Drain and reserve the liquid from the chickpeas. Pinch off the skins from the chickpeas
- Transfer chickpeas, reserved liquid and 3 garlic cloves to a large bowl. Cover with plastic wrap leaving a small vent for the air to escape. Microwave for 3½ - 4 minutes.
- Drain chickpeas, reserving 2 tablespoons of liquid. Transfer chickpeas to a food processor along with the garlic cloves, tahini, lemon juice, salt, 2 tablespoons cold water, 1 tablespoon chickpea liquid, cumin, cayenne and olive oil. Process until mixture is smooth, scraping down the sides as needed. If the hummus is too thick, add water or chickpea liquid until it is the texture you prefer. Keep in mind the hummus will thicken a bit once refrigerated. Transfer mixture to a container and refrigerate until chilled.
- When ready to serve, spoon hummus onto a serving plate. Place fresh herbs in the center and top with pistachios. Drizzle olive oil over hummus and sprinkle a bit of cayenne over the top. Serve with pita chips.