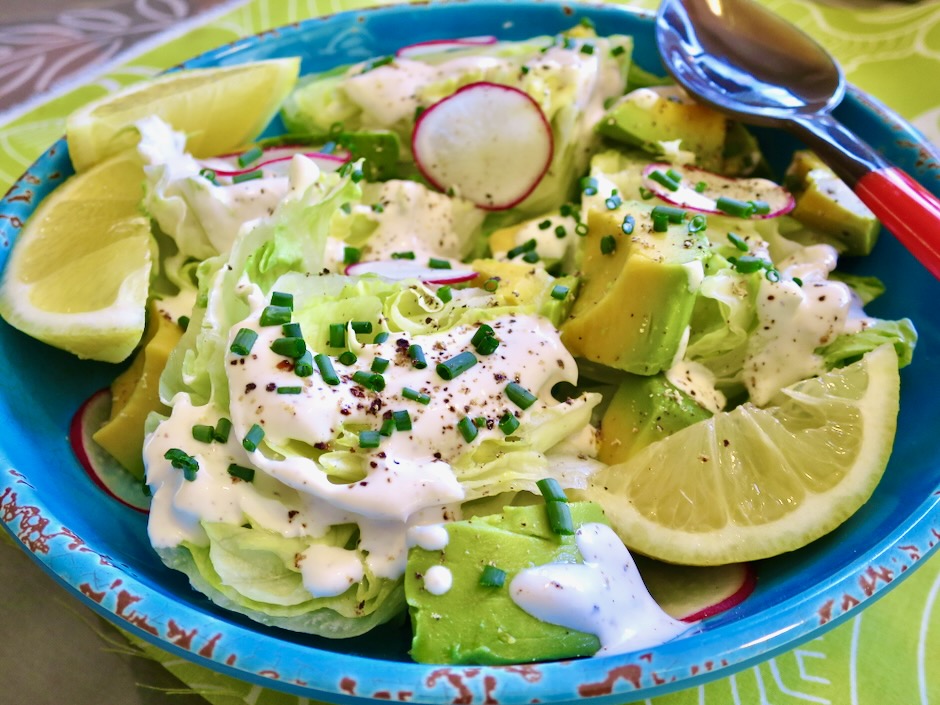
There’s nothing like biting into a crispy iceberg lettuce salad. Cutting it into wedges intensifies that desirable crisp factor. This wedge salad with sour cream dressing reminds me of summer, however, by all means make it all year long.
When shopping for iceberg lettuce I try to select one that is not too heavy. My thought is that a medium to light weight head of iceberg has more of those delightful wavy interiors between each leaf and that means extra crispy. If the lettuce is heavy the leaves tend to be very compact (like cabbage) and I find that indicates denser lettuce with less crunch.
Avocado adds a bit of richness to this wedge salad and radishes add color and more crunch. Slicing the radishes in thin rounds and soaking them in an ice water bath transforms them into radish chips. The dressing for this salad can be made in a jiffy. You can even make it a day in advance if you prefer. Bon appetit!
3/4 cup sour cream (I use Green Valley lactose free)
1/4 cup mayonnaise
1 small garlic clove, finely grated (microplane works great)
2 teaspoons finely grated lemon zest
3 tablespoons fresh lemon juice
3/4 teaspoon kosher salt
1/2 teaspoon freshly ground black pepper + more for serving
1 head iceberg lettuce (about 1 pound)
2 small avocados, halved and diced (large dice)
2 medium radishes, sliced very thin, chilled in ice water bath for 5 minutes (optional)
2 tablespoons minced chives
Directions
Whisk together sour cream, mayonnaise, garlic, lemon zest, lemon juice, salt and pepper in a medium bowl. Add more salt and pepper to taste. Dressing can be made 1 day ahead, cover and chill.
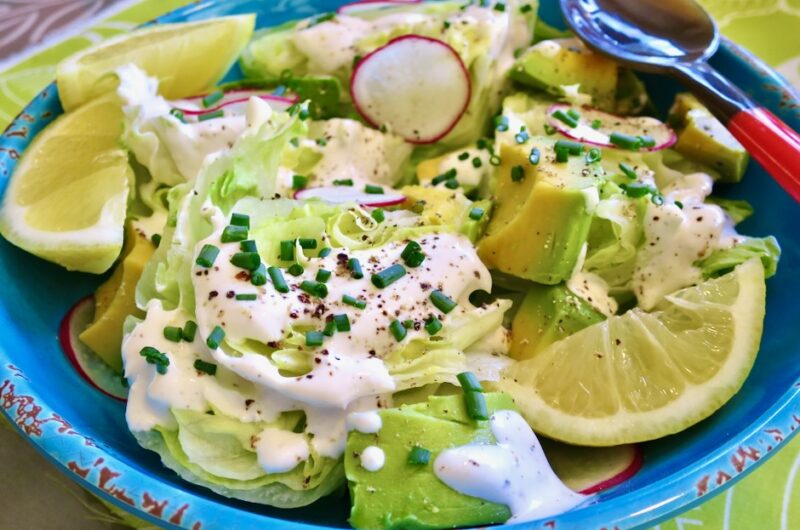
Trim root end of lettuce; discard any wilted outer leaves. Cut into quarters lengthwise, then cut each quarter into 3-inch pieces being careful not to separate the wedges into leaves. Transfer to a large platter. Tuck avocado pieces and radish slices if using, among the lettuce.
Spoon half of the dressing over the salad and top with chives; season with pepper. Serve with remaining dressing alongside.
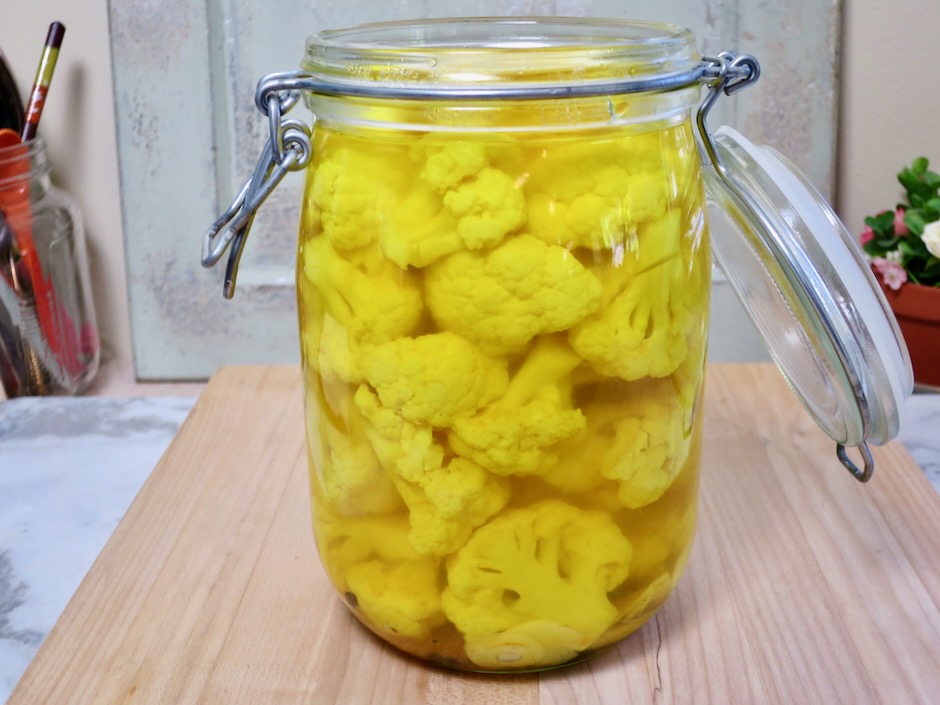
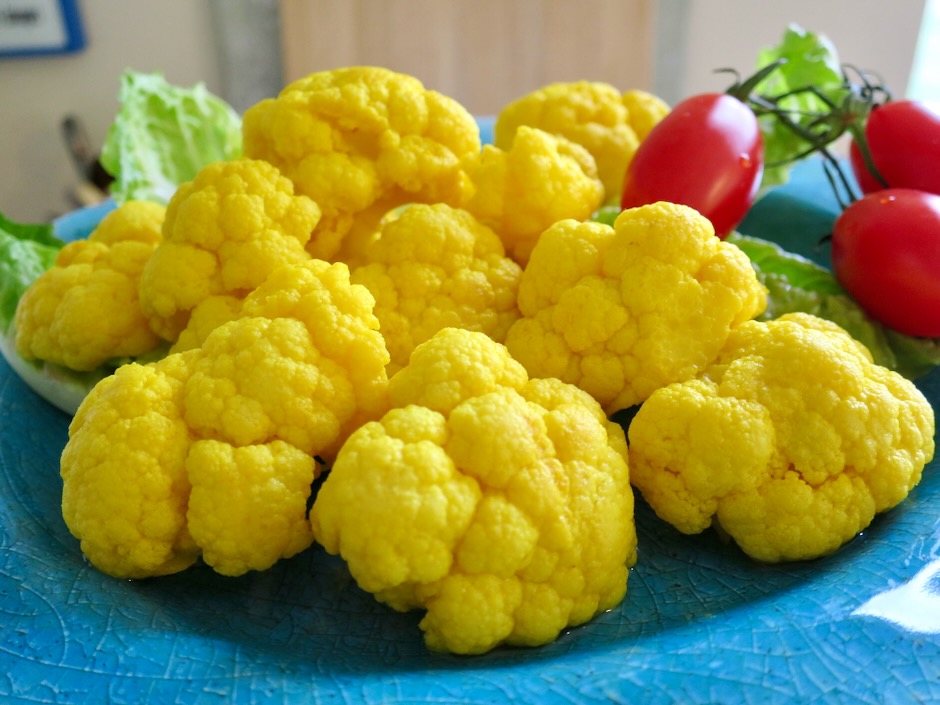
These crunchy cauliflower pickles are now a staple alongside the cucumber and green bean pickles we regularly make. Their crisp texture and tangy flavor are addictive. Our homemade sandwiches are always served with a side of pickles.
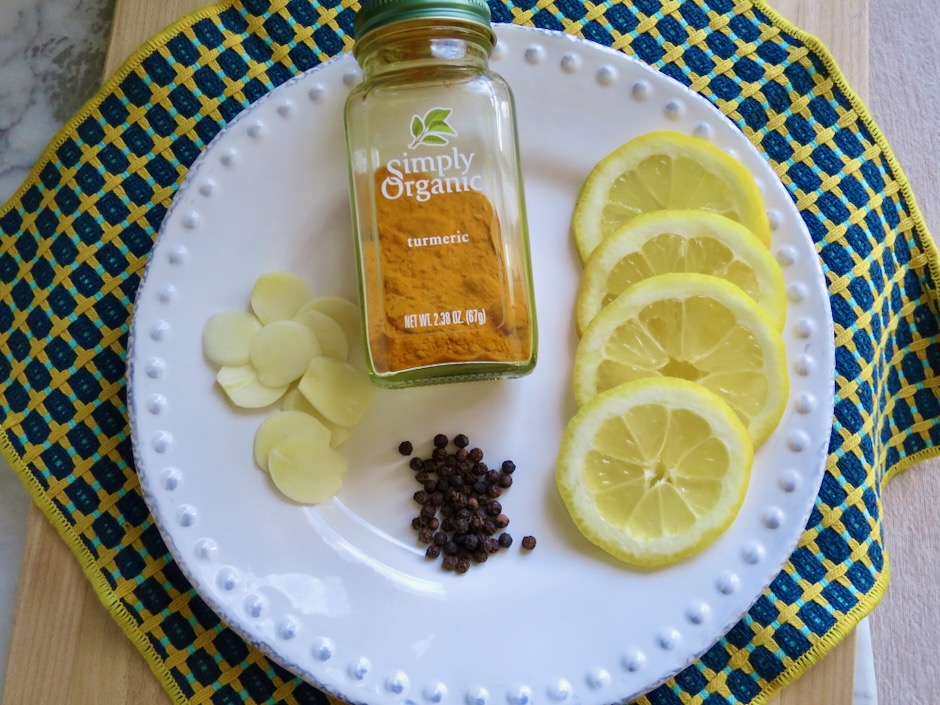
Turmeric gives these cauliflower pickles their vibrant color. Not only are they beautiful to look at, they are incredibly tasty. With just a few ingredients and a bit of patience, these crunchy pickles will become a favorite of yours.
A little turmeric goes a long way. Be careful when using turmeric with plastic and rubber utensils as the turmeric can stain them. If you have a light colored work surface it is best to place a mat or cutting board on your counter to avoid the risk of staining them. Sometimes I use a clean paper grocery bag as my work surface. It will soak up small drips that may have accidentally have fallen when transferring the cauliflower and brine to the pickle jar.
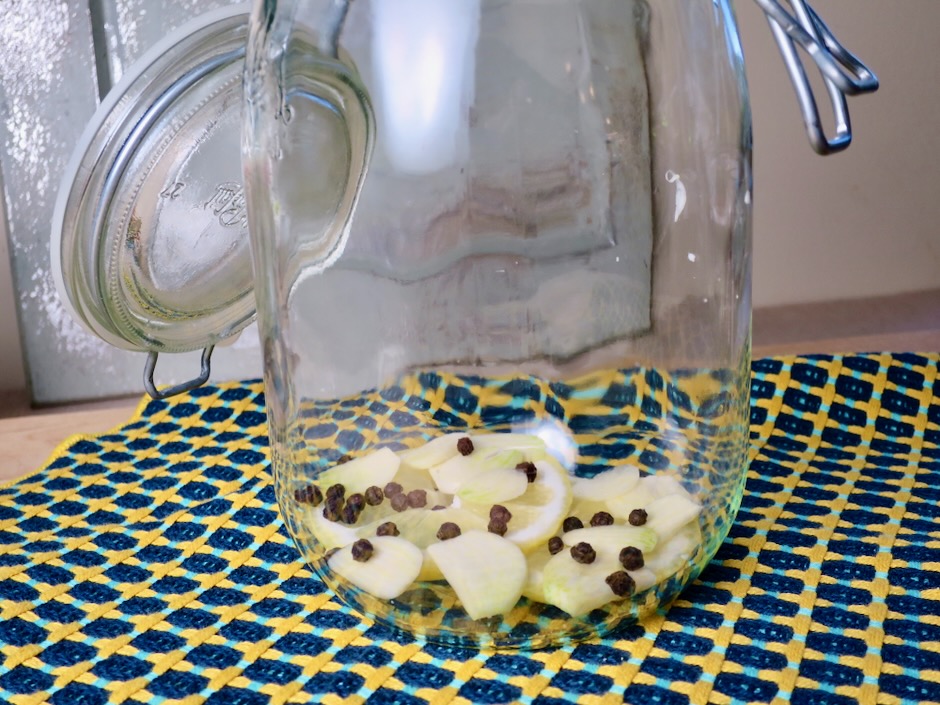
Thinly sliced garlic, a few lemon slices, and black peppercorns are placed on the bottom of the jar before adding the cauliflower and brine.
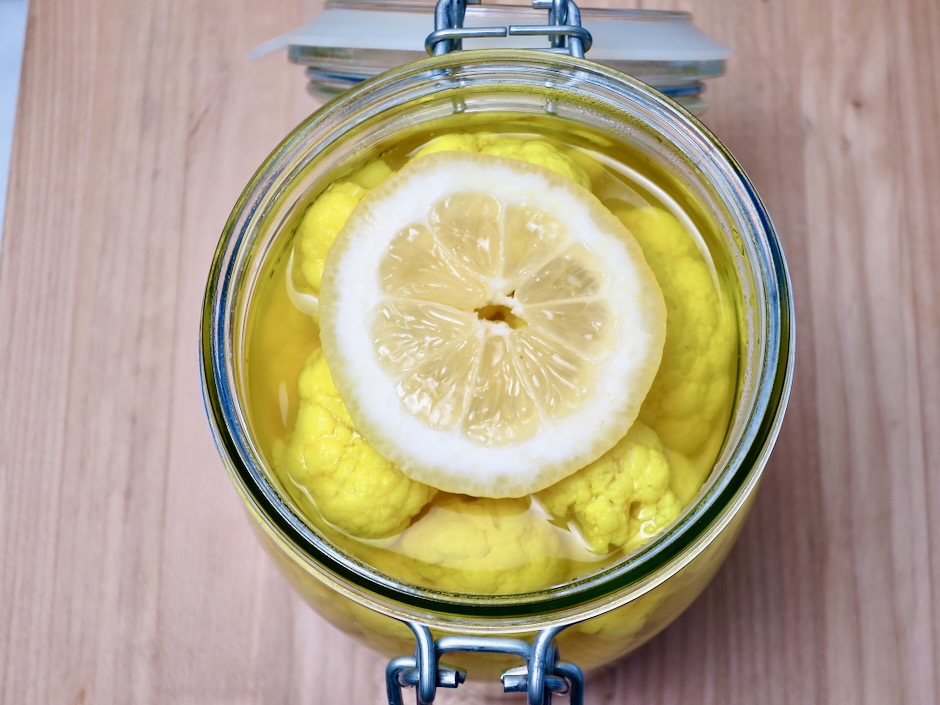
Top the cauliflower with a slice or two of lemon. Let cool for a bit, cover and refrigerate until thoroughly chilled.
These beauties are perfect to serve as an appetizer with cheese, salami and crackers or simply served with your favorite sandwich.
Recipe adapted from Vanns Spices. Makes approximately 1 quart.
Ingredients
1 medium head cauliflower, about 1 3/4 pounds
1 1/2 cups distilled white vinegar
1 1/2 cups filtered water
1 1/2 teaspoons ground turmeric
2 teaspoons kosher salt
2 teaspoons granulated sugar
4 lemon slices
3/4 teaspoon whole black peppercorns
2 medium garlic cloves, peeled and thinly sliced
Directions
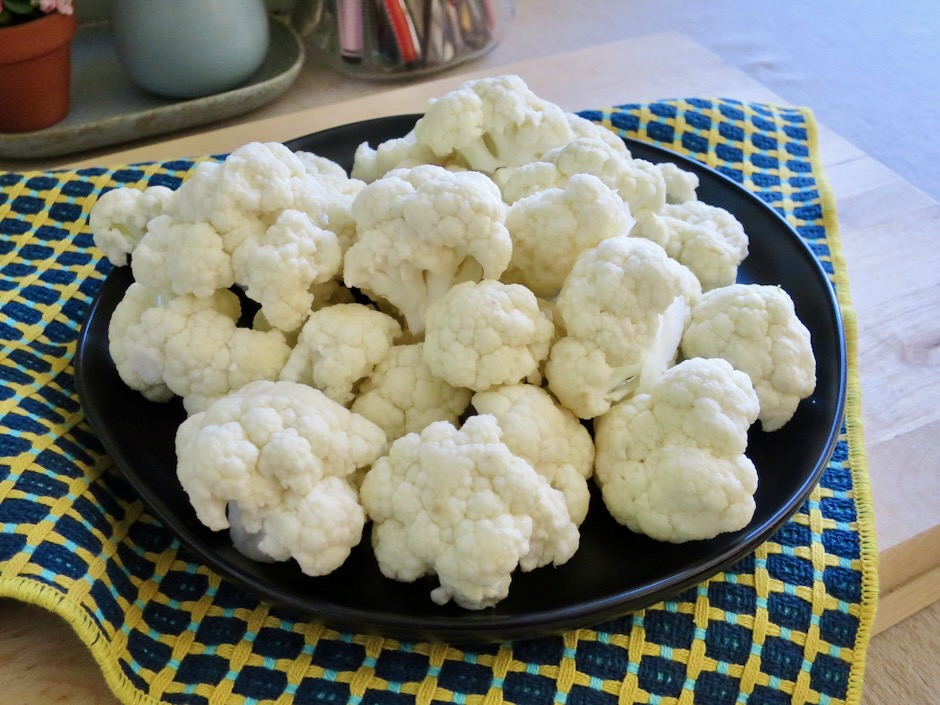
Rinse cauliflower and cut into small florets. Remove as much of the stem as possible.
Combine vinegar, water, turmeric, salt, and sugar in a medium saucepan (large enough to hold the cauliflower florets) and bring to a boil over medium-high heat.
Place two slices of lemon on the bottom of a clean quart jar, followed by the garlic and peppercorns.
When the brine comes to a boil, add the cauliflower and stir, trying to get as much of the cauliflower submerged in the brine as possible. Bring back to a rolling boil. Turn off heat, and transfer cauliflower florets to the jar using tongs (A canning funnel works great if you have one).
If you prefer a clearer brine, strain it using a double layer of cheese cloth placed over a small strainer. Pour brine into the jar making sure all of the cauliflower is submerged. Top with the remaining two slices of lemon.
Cap the jar and allow to sit on the countertop until cooled to warm or room temperature. Transfer to the refrigerator. The pickles will be ready to eat in 24 hours.
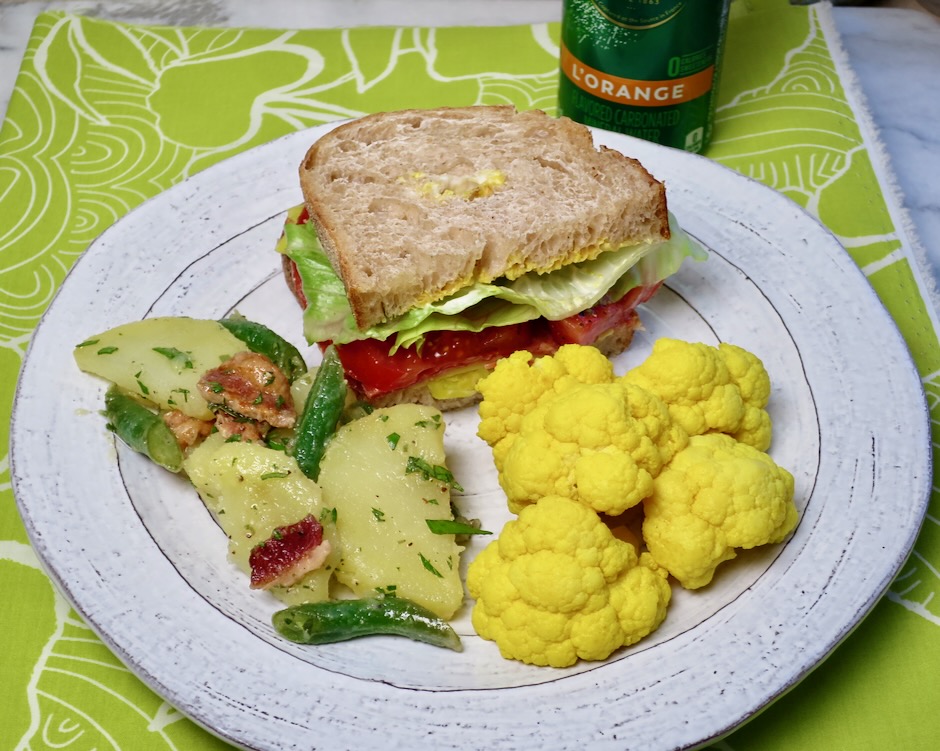
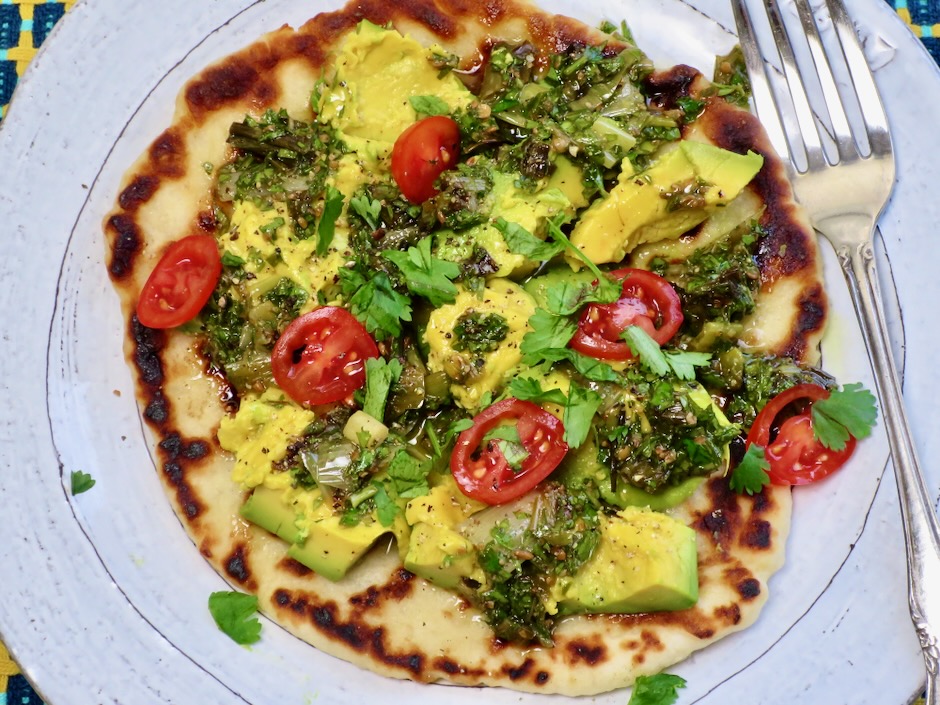
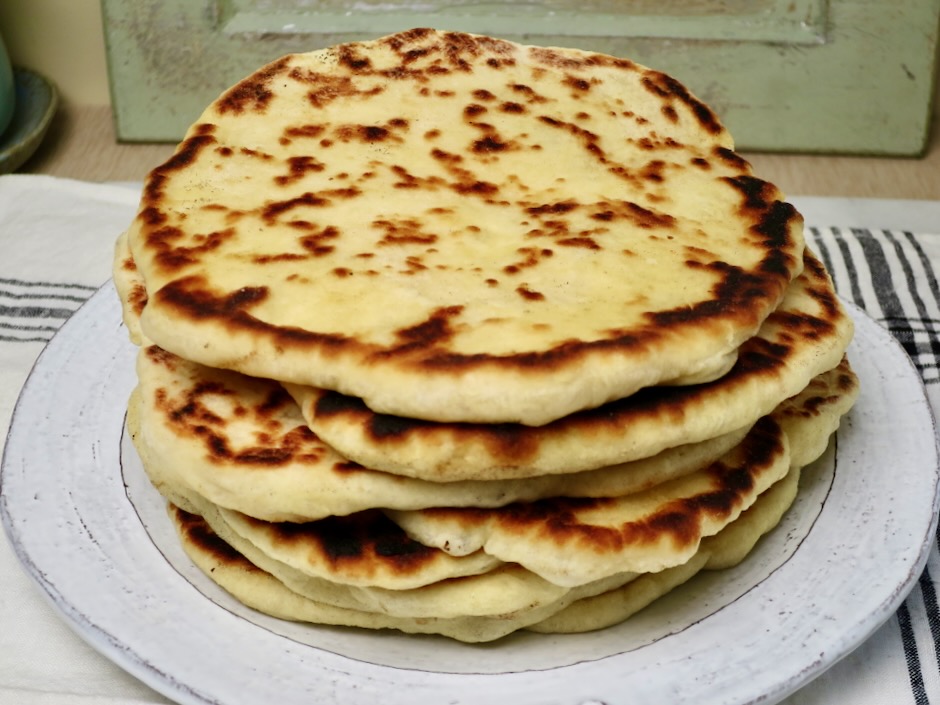
Soft interiors with crisp and charred exteriors, these little flatbreads are excellent topped with avocado, hummus, tuna salad, or simply eaten with a few pats of butter. And, they are very simple to make. For those of you who have never made bread from scratch, do not hesitate to try this recipe. The dough is rustic and very forgiving. The end result is a pillowy, warm and tender bread that fills your house with the aromas of a bakery.
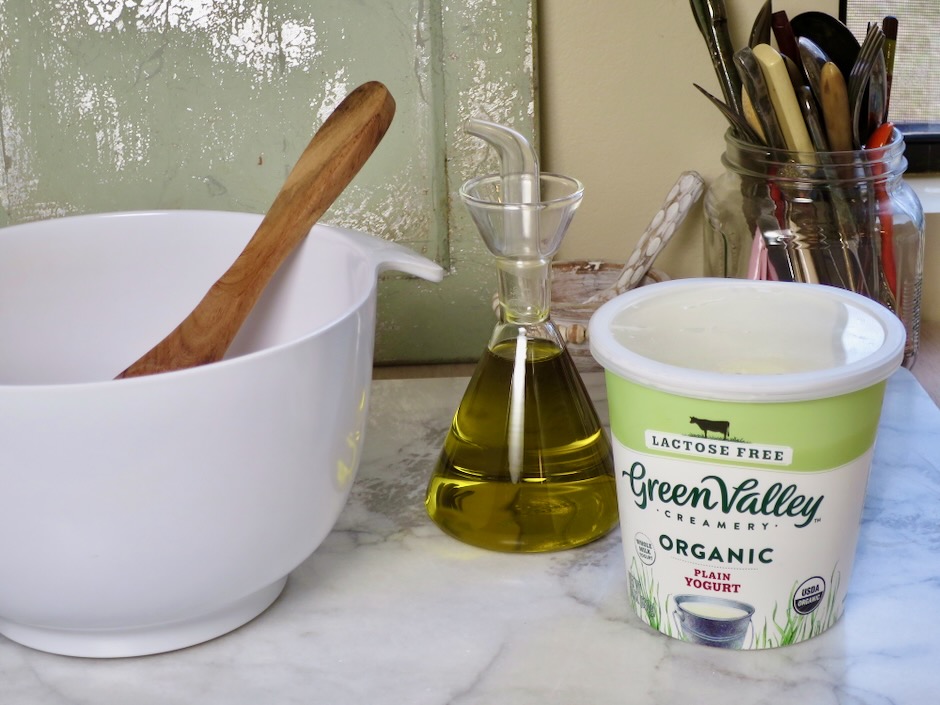
You may need to make a quick visit to the market if you don’t have yogurt or instant yeast on hand, but everything else is likely in your cupboard. For those of us who are lactose intolerant, Green Valley makes terrific whole milk plain yogurt.
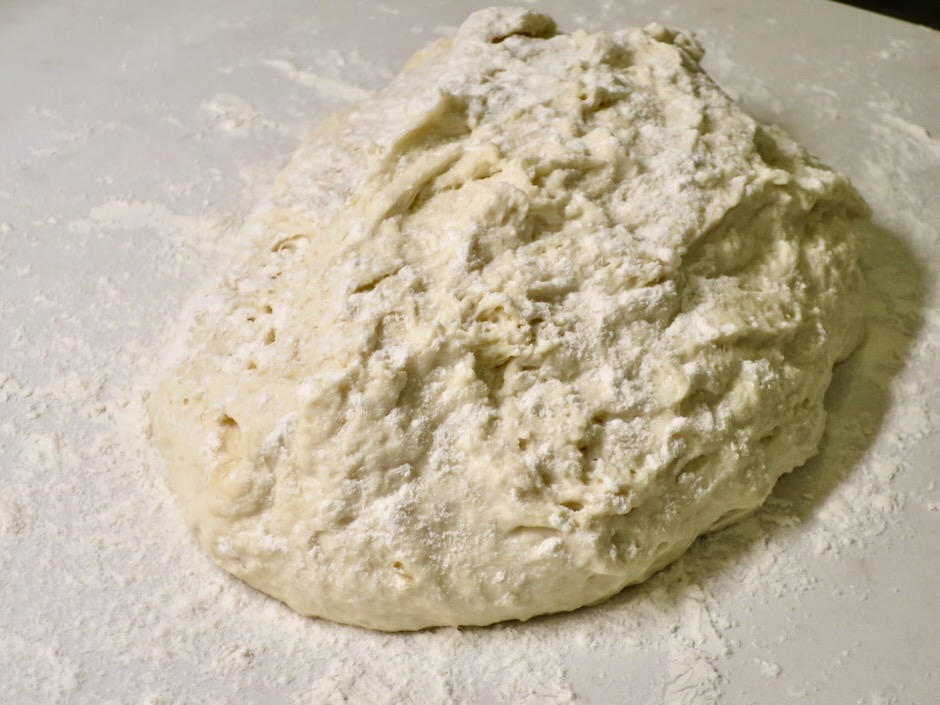
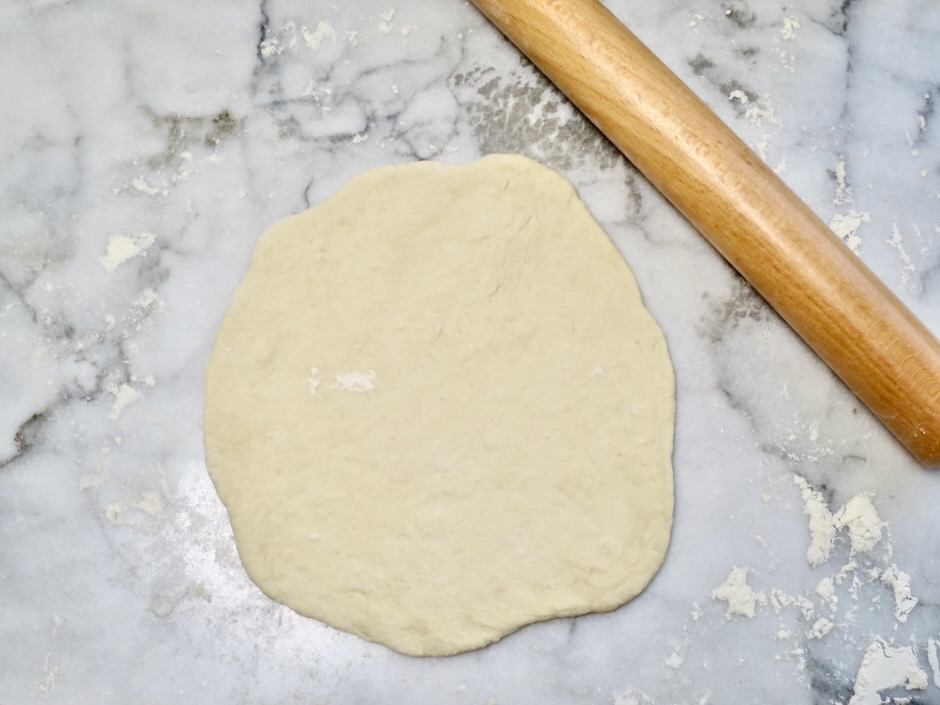
This recipe comes from Bon Appetit magazine. The original recipe calls for turning the dough out onto a lightly floured surface, but I find the dough to be quite wet so I sprinkle a generous amount of flour on my work space and a bit on top of the dough. Otherwise I end up with a sticky mess of dough on my hands when shaping into balls.
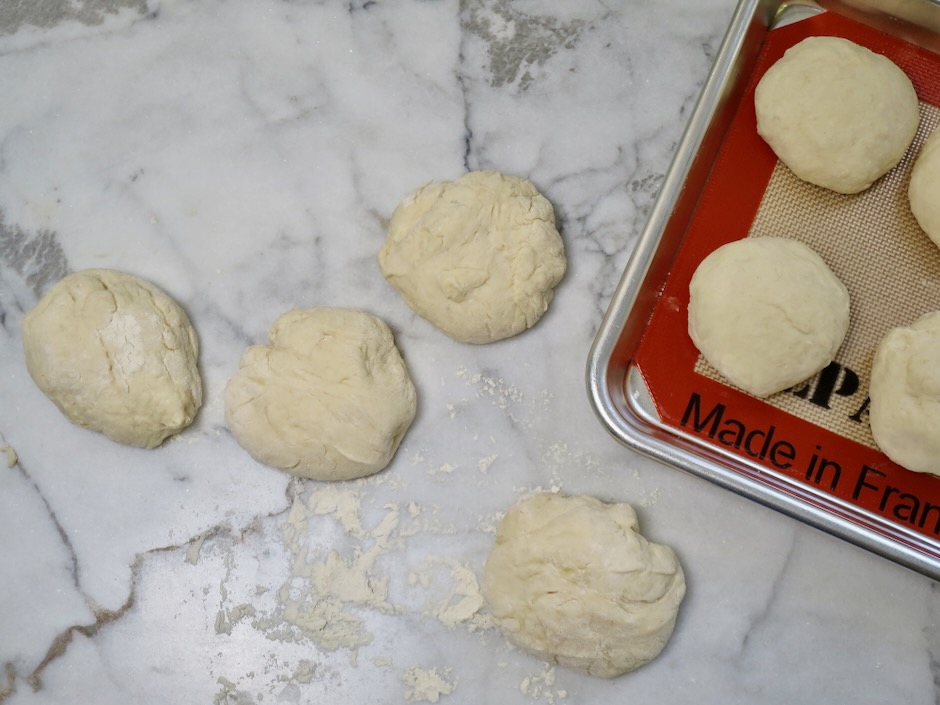
If you have a scale, weigh the dough and divide into equal portions. If you don’t have a scale, divide the dough in half, then divide each half into four equal portions.
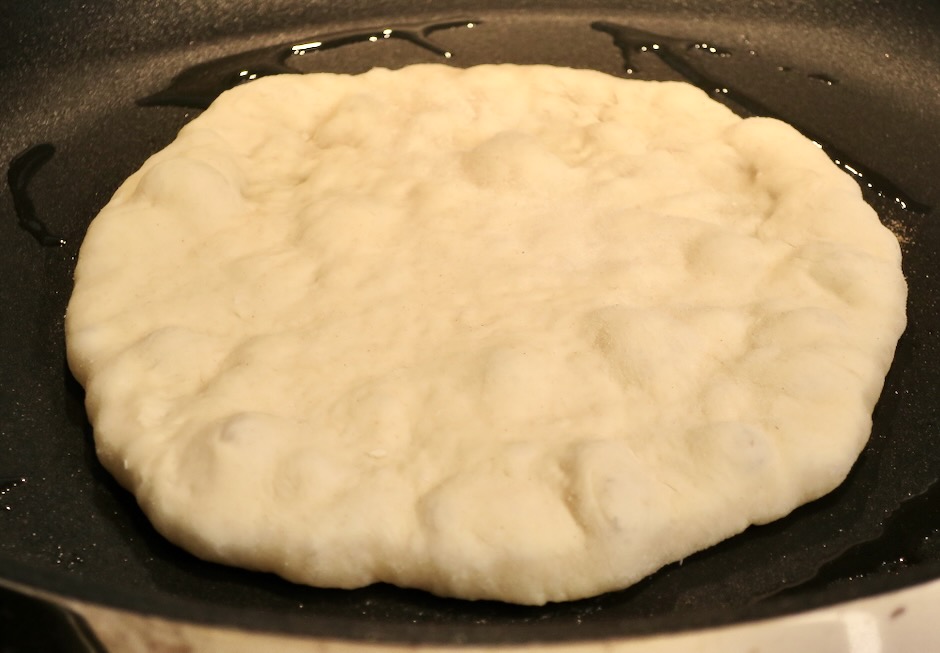
Once your pan is hot, add a teaspoon of olive oil. Add the rolled out dough and wait until bubbles appear on the surface, about 1 minute. Then flip the dough over and cook for another minute. Both sides of the flatbread should have nice brown marks with some charred edges. Remove the flatbread to a plate and wrap with a kitchen towel to keep warm while you cook the rest of the bread.
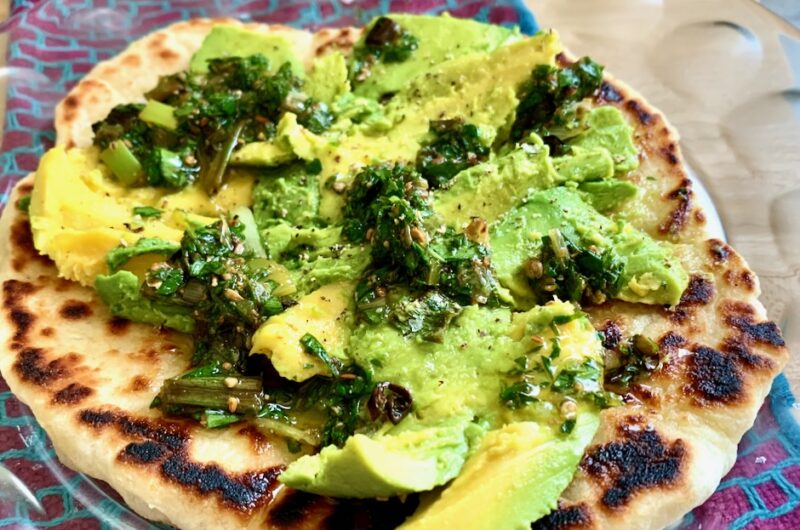
There are many options for flatbread toppings. Avocado, tomatoes and salsa with cilantro makes for a perfect lunch.
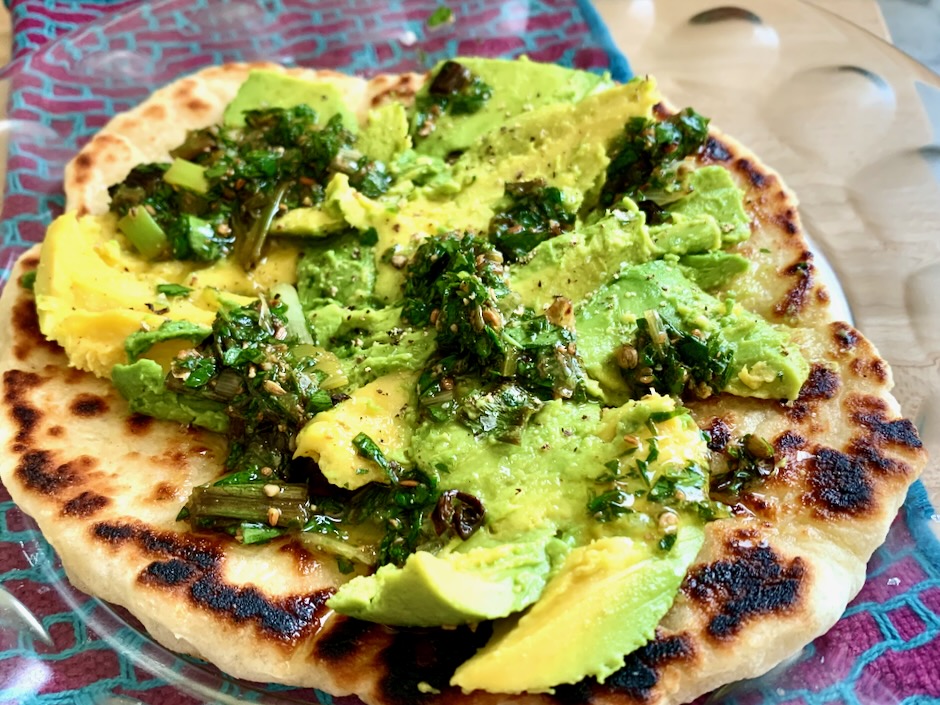
Avocado with scallion salsa comes from the original recipe. The charred scallions add a depth of flavor to the creamy avocado slices.
Adapted from Bon Appetit, this pillowy, soft flatbread can be served with a multitude of toppings. Make a sandwich with tuna salad or ham and cheese, serve it warm with hummus or your favorite dips.
1/2 cup plain whole milk yogurt (I use lactose free yogurt)
Directions
In a large bowl, whisk together sugar, yeast, salt and flour.
Combine 2 tablespoons olive oil with 3/4 cup warm water.
Add water/olive oil mixture and yogurt to flour mixture. Using a wooden spoon or firm spatula, mix together until a shaggy dough forms (don’t worry about any dry or unincorporated bits). Cover bowl with plastic wrap and place in a warm, dry area (I placed my dough in a shaded area on the deck) until it has doubled in size, about 1 hour.
Turn out dough onto a generously floured surface (lightly floured surface if your dough is not very sticky) and divide into 8 equal pieces. If you have a scale, weigh the dough, otherwise do your best to divide into equal portions. Form dough pieces into balls and roll out into 6-inch rounds about 1/4-inch thick.
Heat a large non-stick skillet (11-inch skillet works great) over medium-high heat. Once heated, add 1 teaspoon olive oil to pan. Working one at a time, cook flatbread until bubbles appear over the surface, about 1 minute. Flip and cook until cooked through, about 1 more minute. Adjust heat as necessary if too high. Flatbread should have brown spots on both sides with slightly charred edges. Transfer to a plate and wrap with a clean kitchen towel to keep warm. Continue adding 1 teaspoon of olive oil to the pan each time you cook another flatbread.
Serve warm flatbread with your favorite toppings. Let flatbread cool to room temperature if using with sandwich toppings such as tuna salad, ham and cheese, or other deli items.
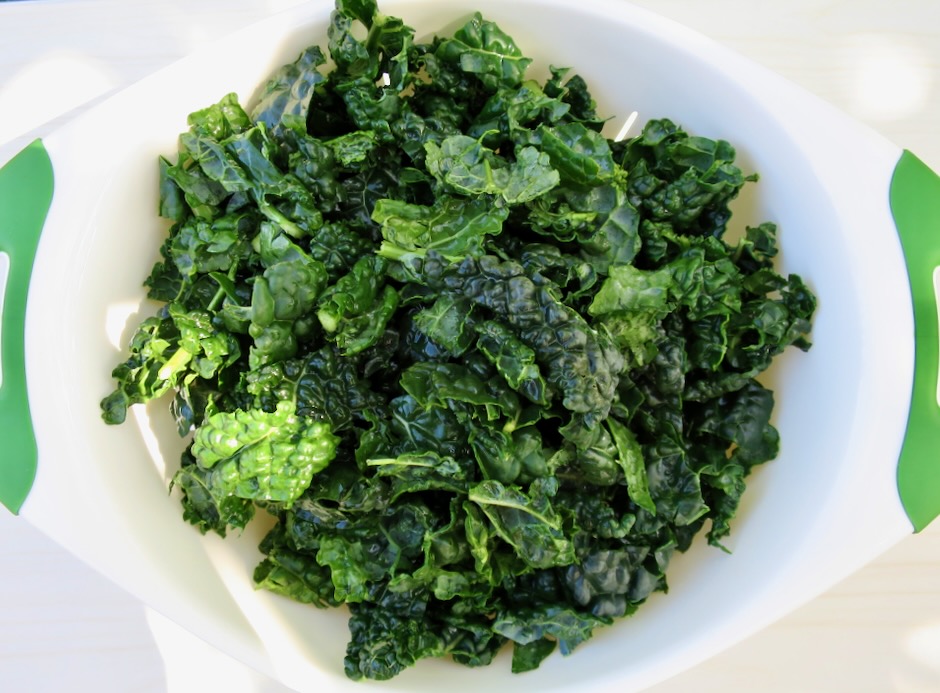
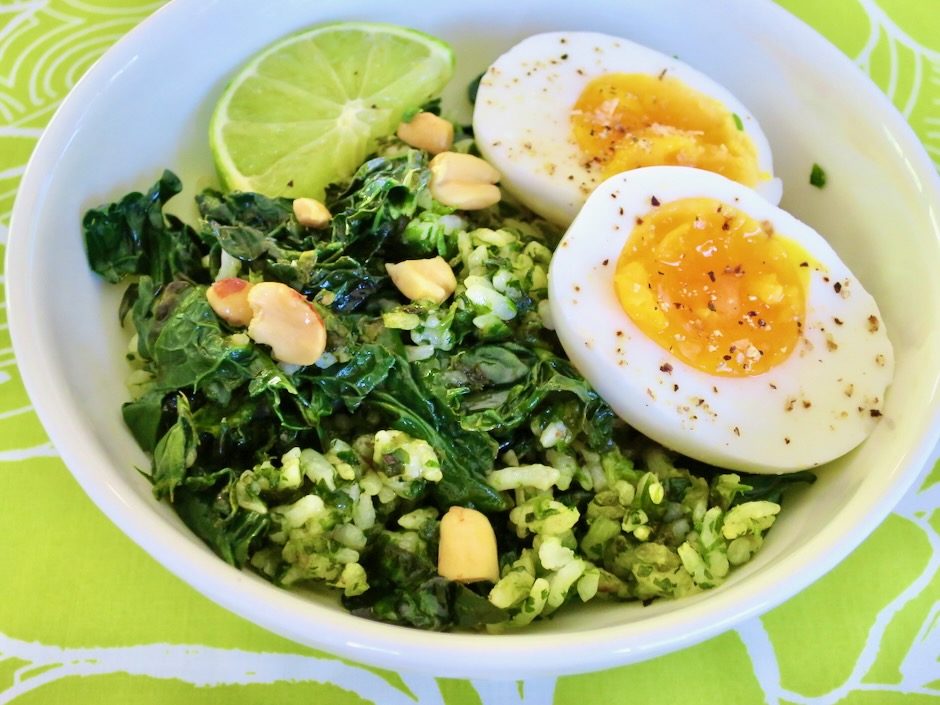
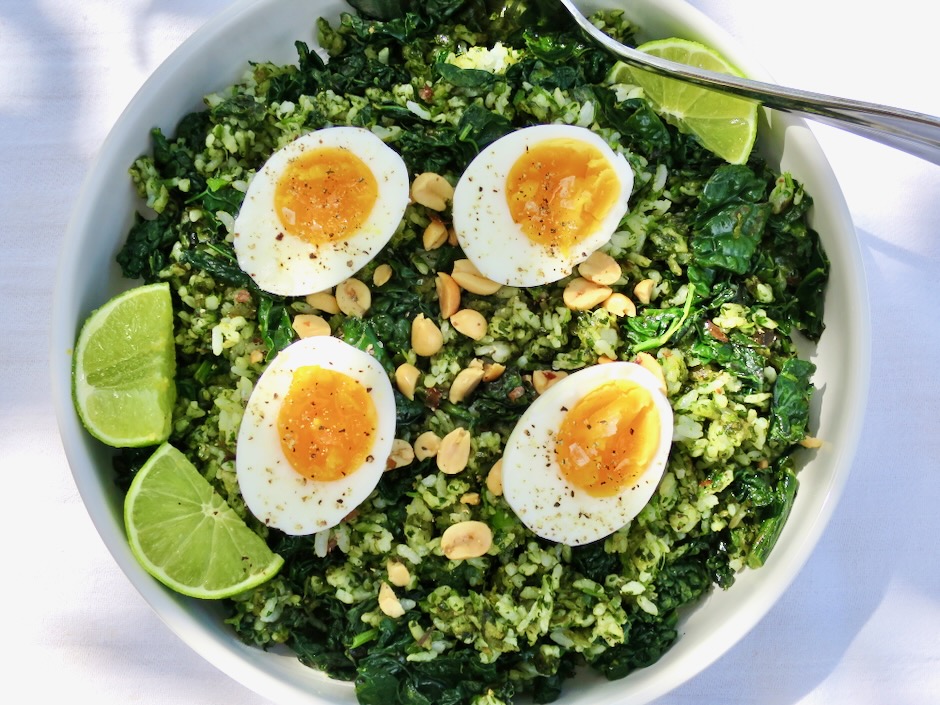
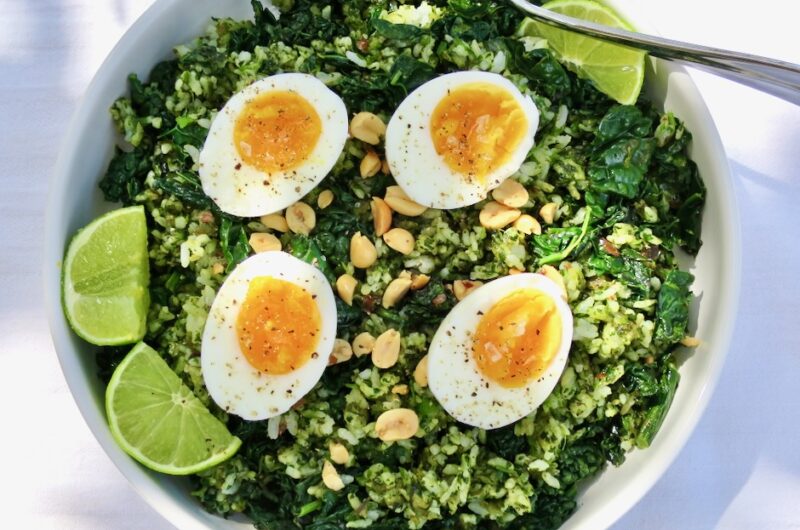
This herby rice bowl is tasty, satisfying and beautiful. It’s loaded with fresh herbs and a smidgen of jalapeño which adds just the right amount of heat. The jammy eggs are scrumptious sprinkled with freshly ground pepper and flaky Maldon salt. I am happy to eat eggs and rice anytime, no matter what the preparation might be.
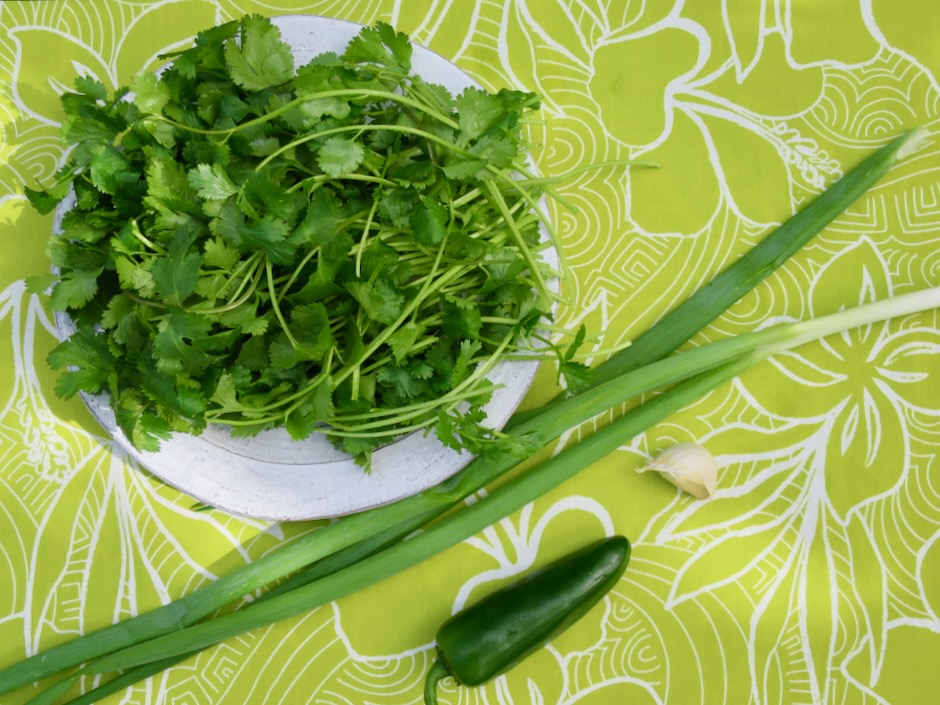
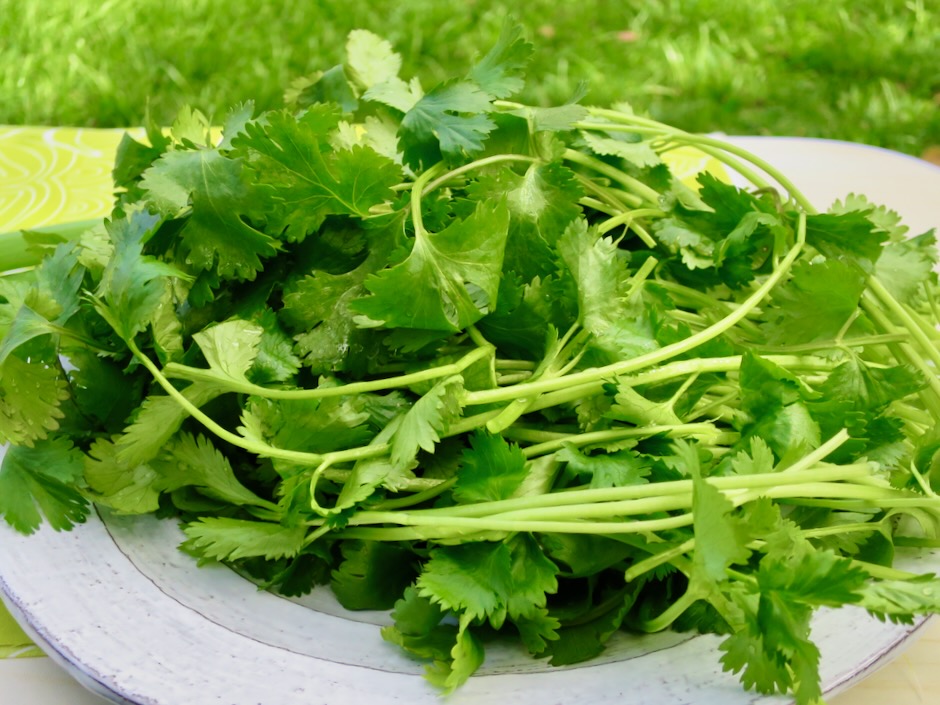
The principal herb for this dish is cilantro. I know there are many of you who cringe when you hear the word. Don’t give up yet! You can substitute parsley if cilantro is not to your liking. But if you’re willing to try cilantro just one more time (hint), use half cilantro and half parsley.
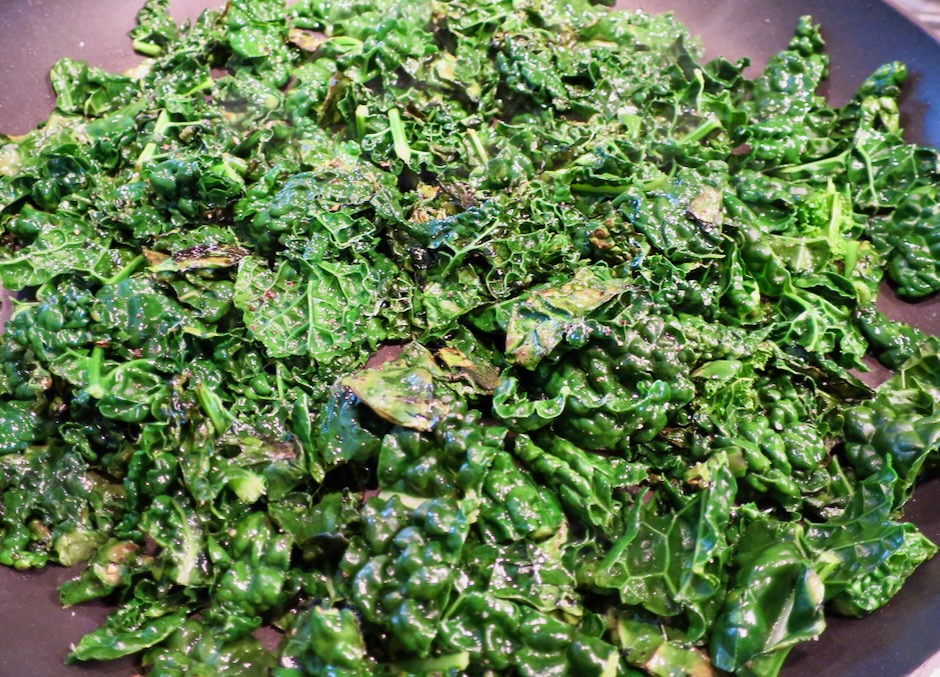
Torn kale is wilted and charred before adding it to the rice. The charred edges of the leaves add lots of flavor to this dish.
The finely chopped herbs are mixed in with the rice before heading to the fry pan.
The rice is then crisped up over medium-high heat. The same technique is used when making bibimbap. The crispy pieces of rice are yummy!
Adapted from Food52, this beautiful rice bowl hits all the right notes
Ingredients
1/2 large bunch cilantro, leaves and tender stems (about 3 ounces) 4 green onions, white and green parts
1/4 jalapeno, seeds removed (more if you want a spicier rice)
1 small garlic clove, smashed
3 cups cooked and cooled medium grain white rice
kosher salt and freshly ground black pepper
4 large eggs
4 tablespoons extra virgin olive oil
1 bunch lacinato kale (dinosaur, tuscan) about 3/4 pound, leaves stripped from stems and torn into pieces
1 lime
roasted salted peanuts
Directions
Roughly chop the cilantro (or parsley) and green onions, then place in the bowl of a food processor along with the jalapeño and garlic. Pulse a few times, until the mixture is very finely chopped but not a paste (alternatively, finely chop everything by hand). Scrape all but 2 tablespoons of the mixture into a large bowl. Add the cooked rice and season with a big pinch of salt and lots of black pepper. Toss well to combine and set aside.
Bring a small pot of water to a boil over high heat. Carefully lower the eggs into the pot, lower the heat slightly, and boil for 7-8 minutes. Transfer the eggs to a bowl of ice water to stop the cooking, remove after a few minutes and set aside.
Heat 2 tablespoons of the oil in a large nonstick or well-seasoned cast iron skillet over medium-high heat until the oil shimmers and you see a few wisps of smoke. Add half of the kale and season with salt and pepper and quickly toss to coat. Let char, undisturbed, for 3-4 minutes. Stir in the remaining kale and cook for another 3-4 minutes, until mostly wilted and charred in some places. Season with additional salt and pepper to taste. Remove from the heat and transfer to a plate.
Heat remaining 2 tablespoons of oil in the same skillet over medium-high heat. Scrape the rice mixture into the pan and press it down firmly with a spatula. Reduce the heat to medium and cook until the rice starts to crisp on the bottom, about 5 minutes. Toss and cook for another 4-6 minutes, until warmed through and slightly crisped. Return to the large bowl, then toss in charred kale.
Using a Microplane or fine grater, zest the lime into the rice mixture. Halve the lime and juice half over the rice. Stir in the reserved raw herb mixture. Peel and halve the eggs, season with Maldon salt (or other flaky sea salt) and freshly ground black pepper. Divide the rice between bowls, top each with two egg halves. Serve with chopped peanuts and lime wedges.
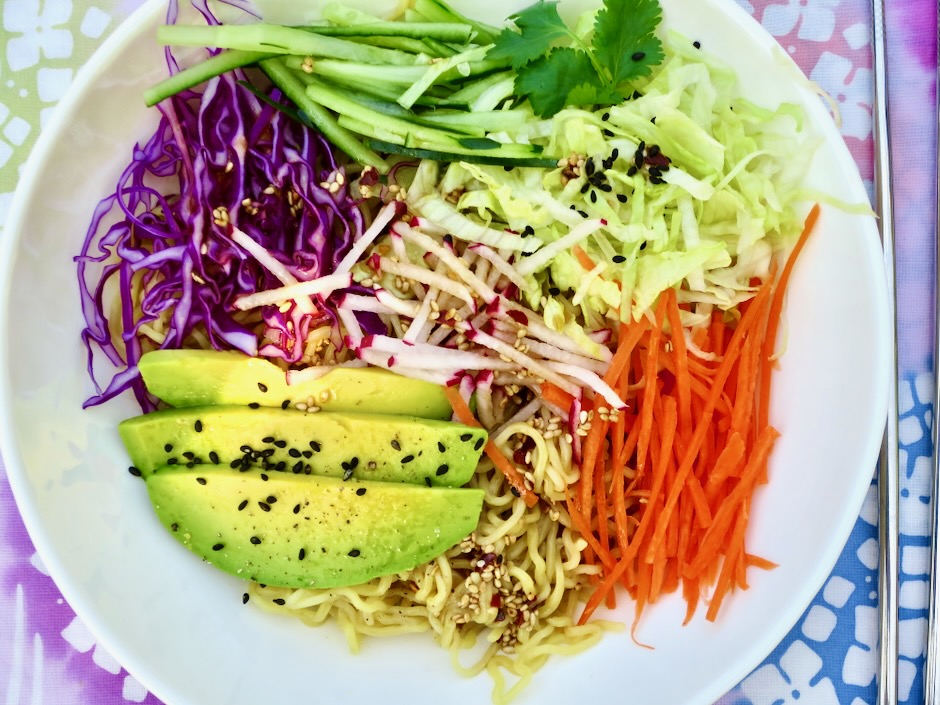
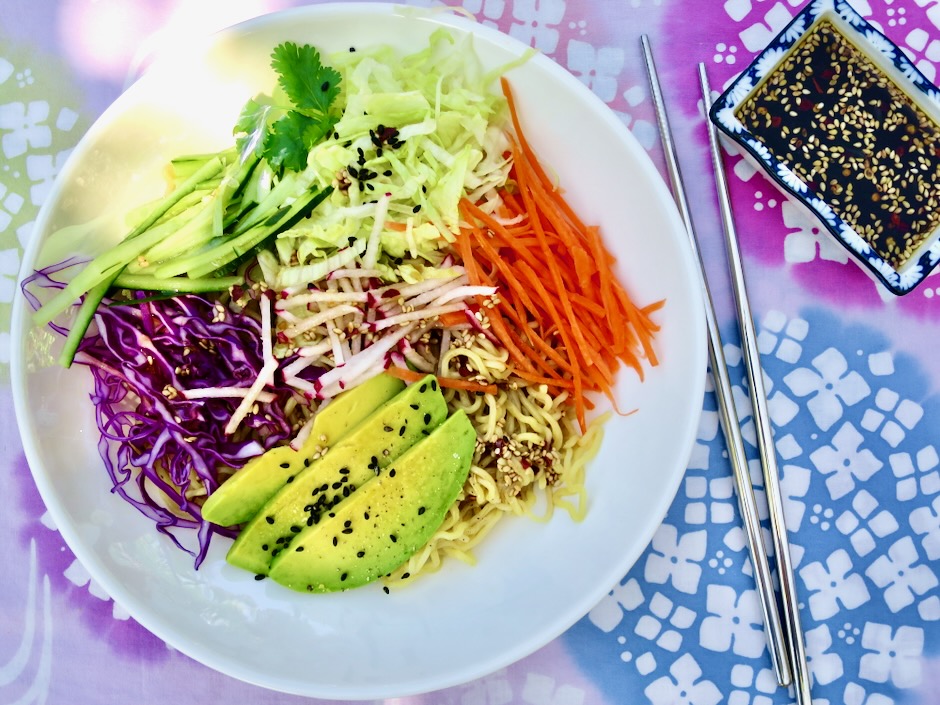
I can’t think of a more refreshing and satisfying combination than crisp vegetables served over ramen, drizzled with a tangy dressing. Although we usually think of ramen served in a steaming hot broth, it can also be used in cold or room temperature dishes like this one. The colorful vegetables are served on a bed of toothsome noodles that make for a delightful lunch.
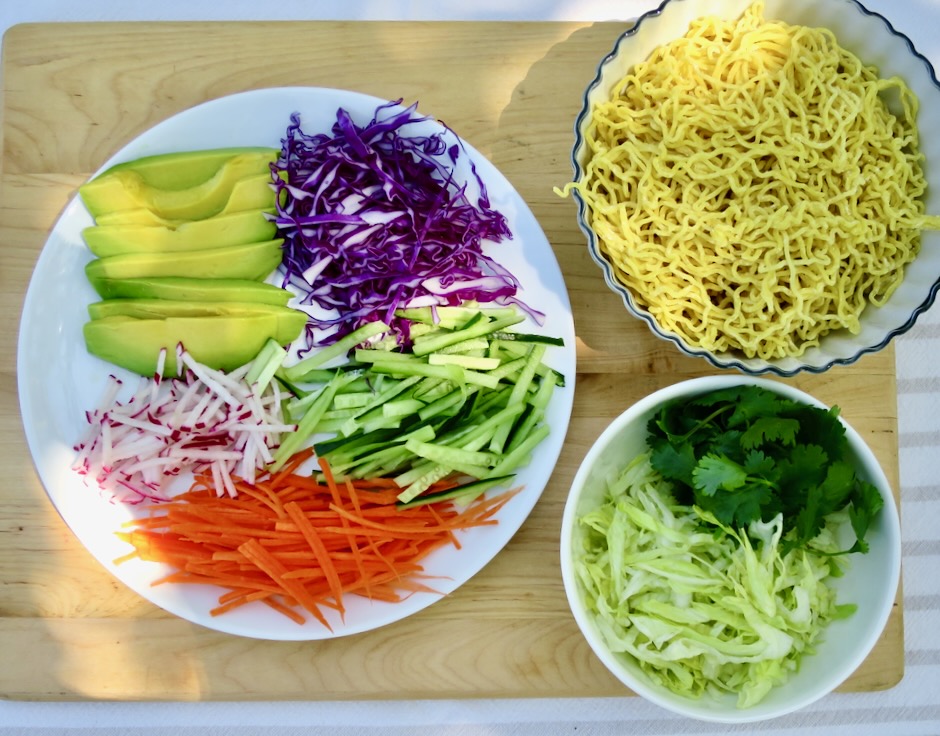
All the vegetables for this dish as well as the dressing can be prepared the night before you plan to serve it (except for the avocado). If you can’t find fresh ramen you may use dried noodles. I used fresh Sun Noodle ramen this time, however, Hakubaku brand dried ramen is a good choice if fresh is not available. If you prefer a wavy noodle, you might choose Ichiban dried ramen. Just be careful not to overcook the noodles so they retain their chewy texture. The noodles are best cooked just before serving.
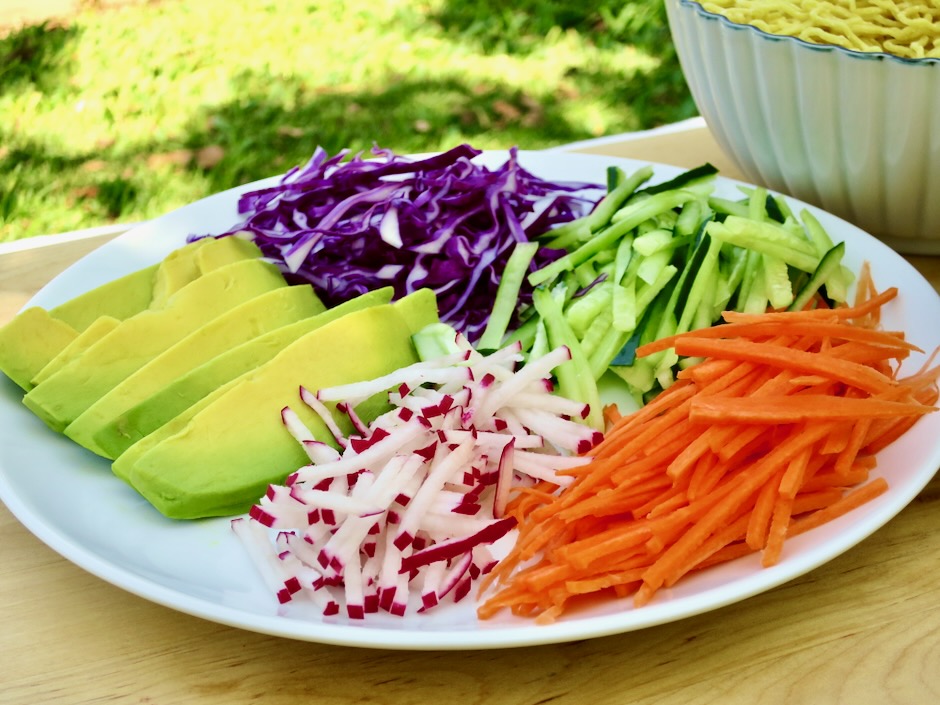
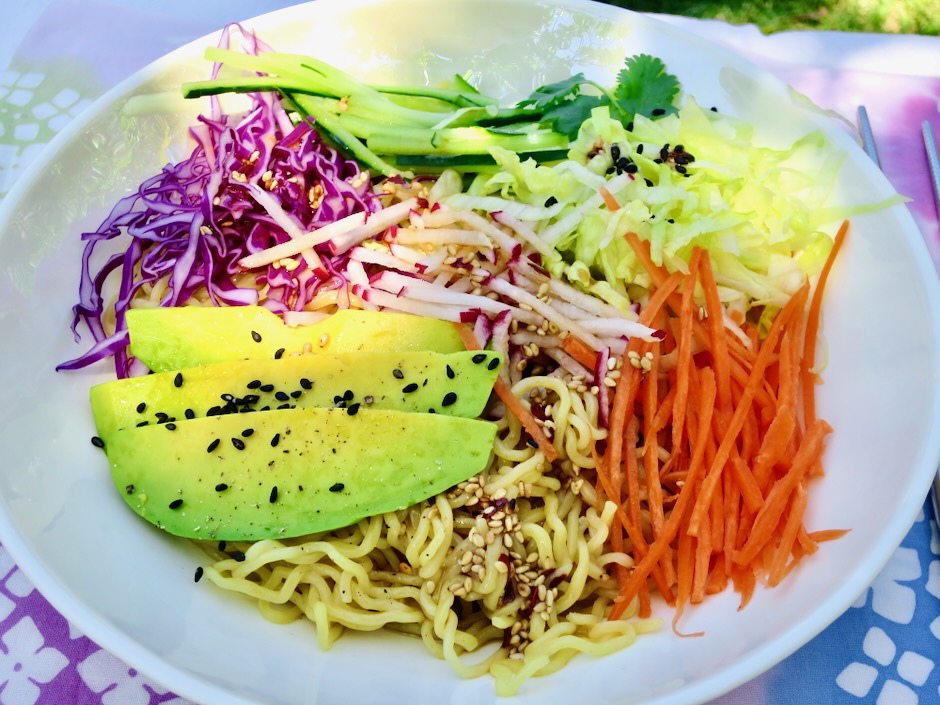
There are lots of options for the salad toppings. I used cabbage, cucumbers, carrots, radishes, and avocado. Other good choices would be watercress, summer squash, green onions. Make your dish colorful.
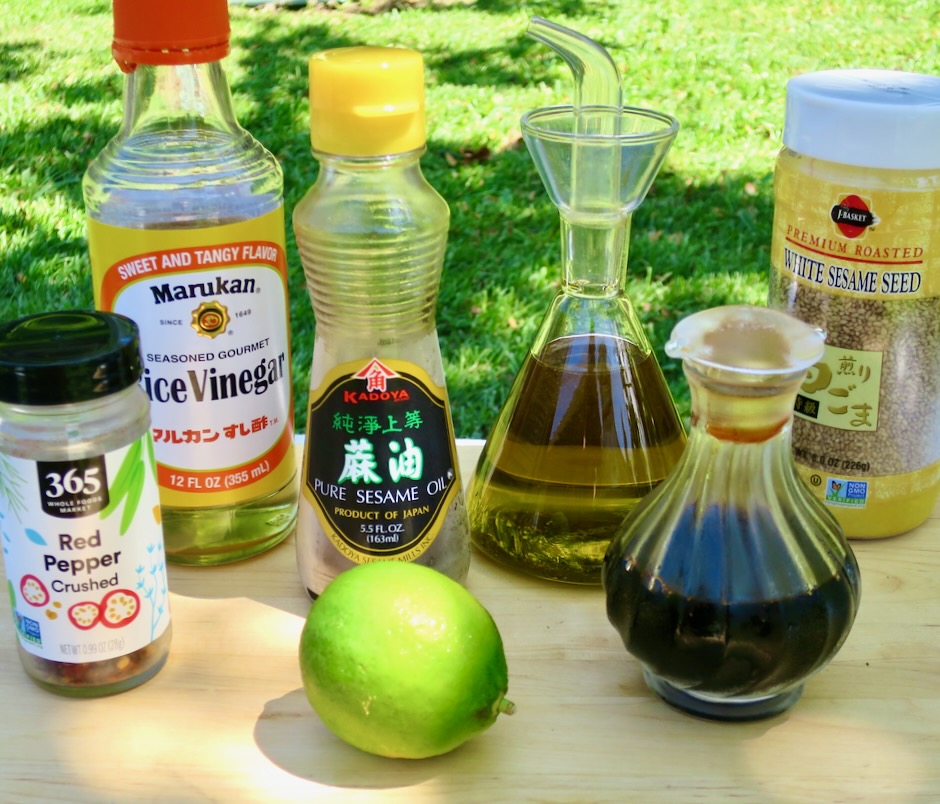
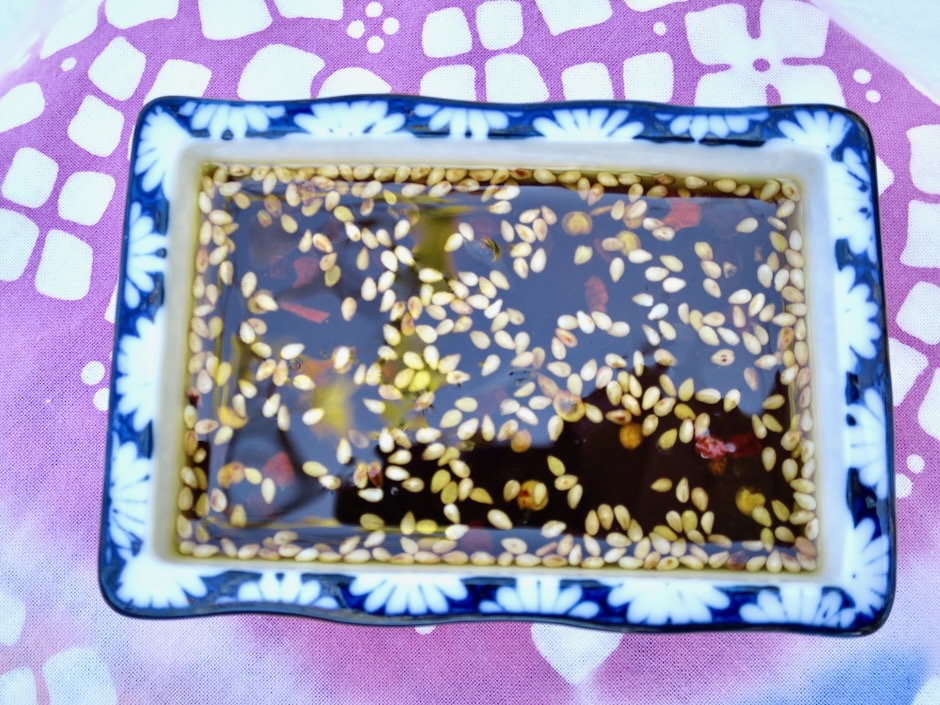
The dressing for this salad uses ingredients that are not difficult to find at your local market. The fresh lime juice makes this dressing pop!
This is a one bowl meal that really hits the spot especially this time of the year when temperatures are soaring.
A refreshing ramen salad perfect for a summer meal
Ingredients
1/4 cup seasoned rice vinegar
2 tablespoons extra virgin olive oil
1 1/2 tablespoons fresh lime juice
2 tablespoons low sodium soy sauce
1 tablespoon roasted sesame seeds
1/2 teaspoon red pepper flakes
1 teaspoon roasted sesame oil
10 ounces fresh or 6 ounces dried ramen noodles
2-3 cups shredded or julienned vegetables (radishes, iceberg lettuce, red cabbage, cucumber, summer squash, carrots, scallions, avocado
Directions
Combine seasoned rice vinegar through sesame oil in a jar. Shake and set aside.
Cook noodles according to package directions until just al dente. Immediately drain the noodles in a colander and rinse under cold water to stop the cooking. Transfer to a medium bowl, toss with half of the dressing.
Divide the noodles between bowls. Arrange vegetables over the ramen and serve with remaining dressing.
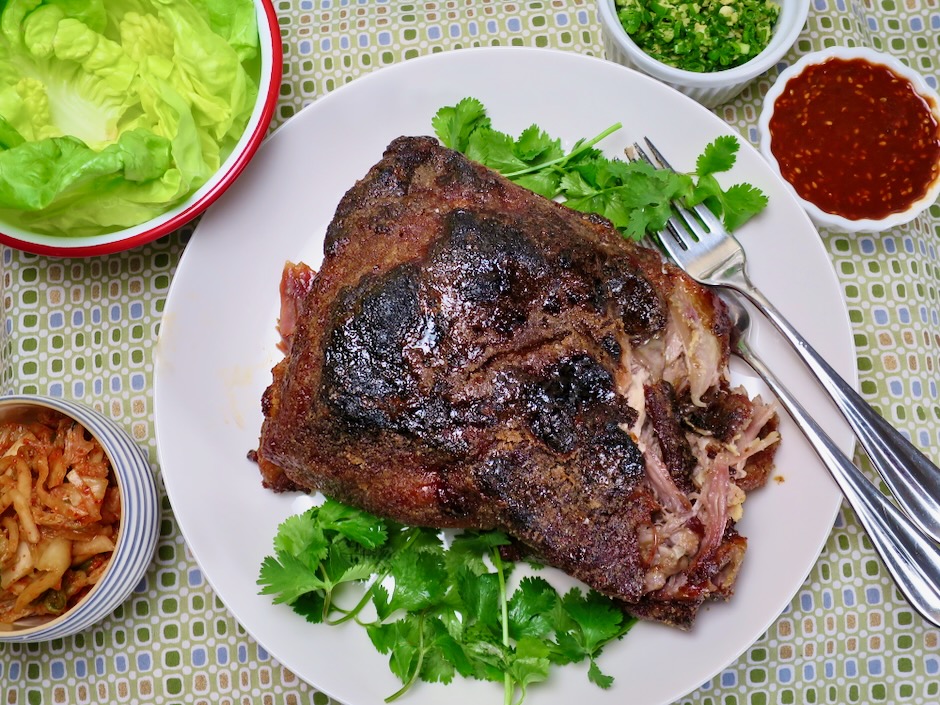
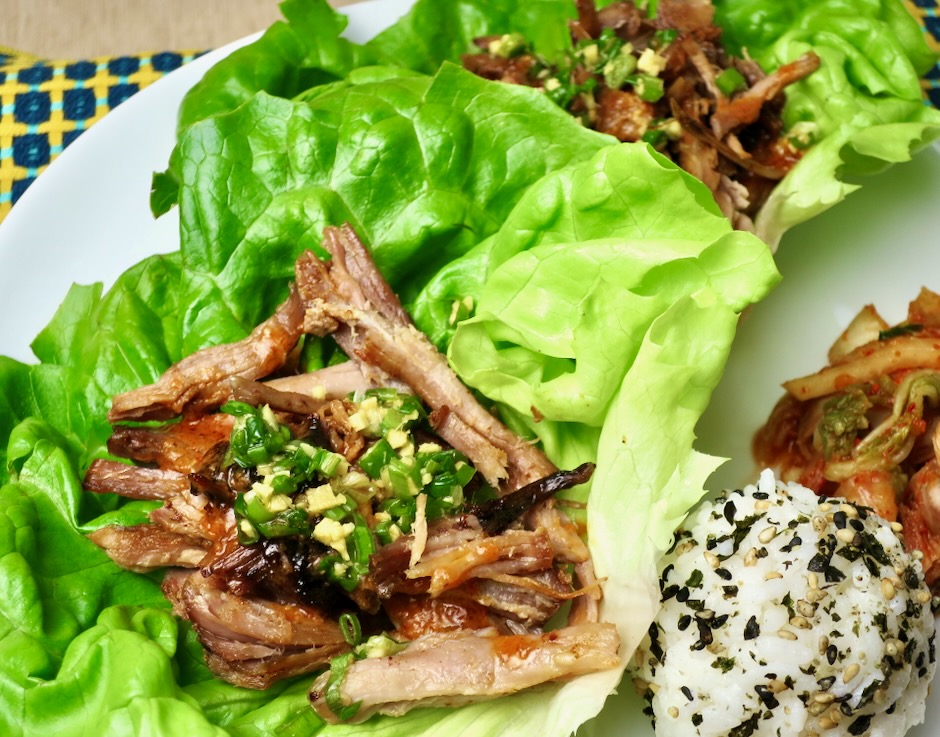
Bo Ssam is the ultimate dinner party centerpiece. It is a popular Korean pork dish that once cooked, is shredded and wrapped in vegetables (ssam) in this case, butter lettuce leaves. The slow roasted pork butt (shoulder) comes out of the oven with a crisp exterior and meltingly tender, shreddable interior. When brought to the table, all eyes will be focused on the Bo Ssam as it is absolutely stunning. Mahalo to David Chang for sharing his recipe on the NYT Cooking site which inspired me to make this dish (numerous times).
The pork and sauces are wrapped in a crisp lettuce leaf then folded before consuming. Steamed white rice or onigiri and kimchi are the perfect sides to go along with this dish.
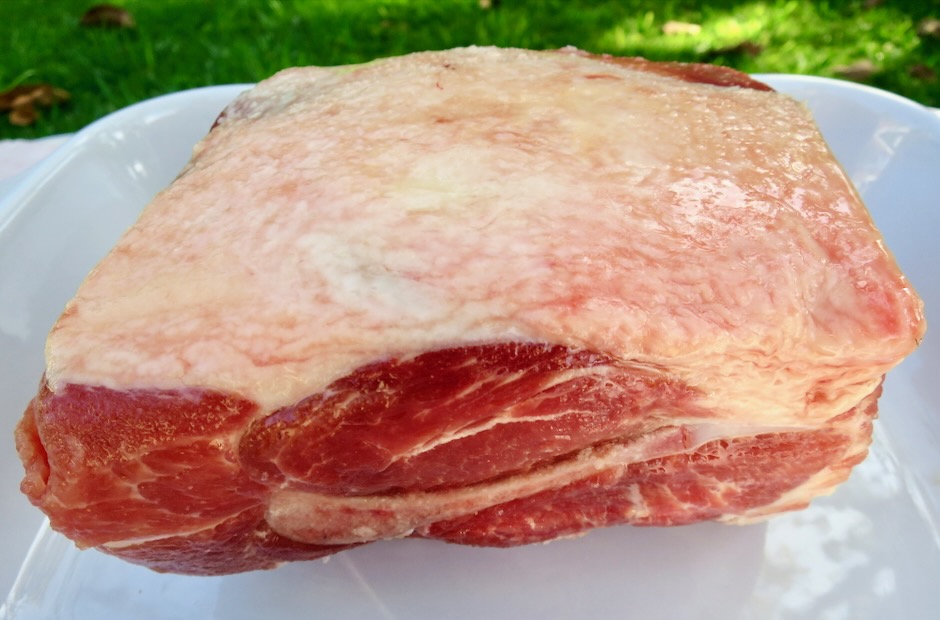
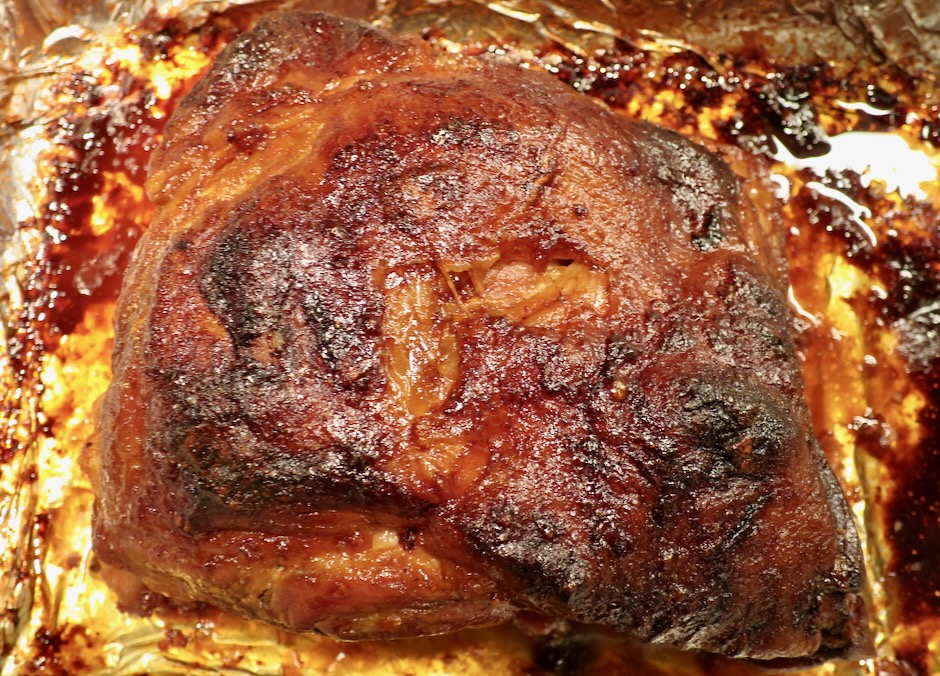
For this recipe you’ll want to have a nice layer of fat on one side of the pork. If you purchase one that has an extra thick layer of fat, trim some of it off. The pork cooks fat side up and becomes the most delicious, crispy, salty and sweet crust you will ever encounter.
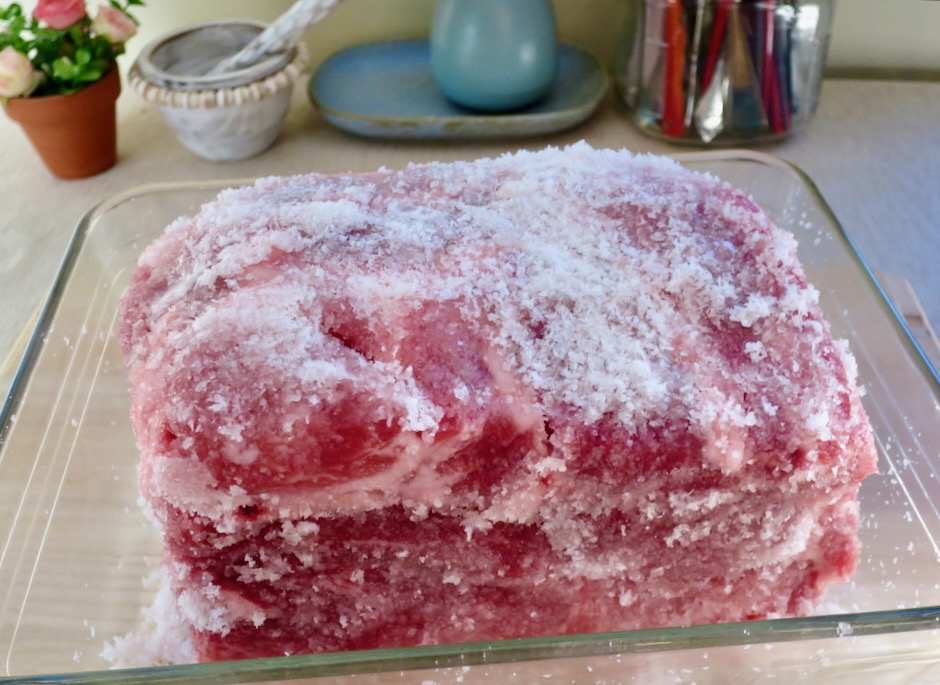
The pork is cured in a mixture of kosher salt and white sugar. This will create a very moist and flavorful Bo Ssam. Plan a bit in advance as the pork needs to be cured overnight (minimum 6 hours).
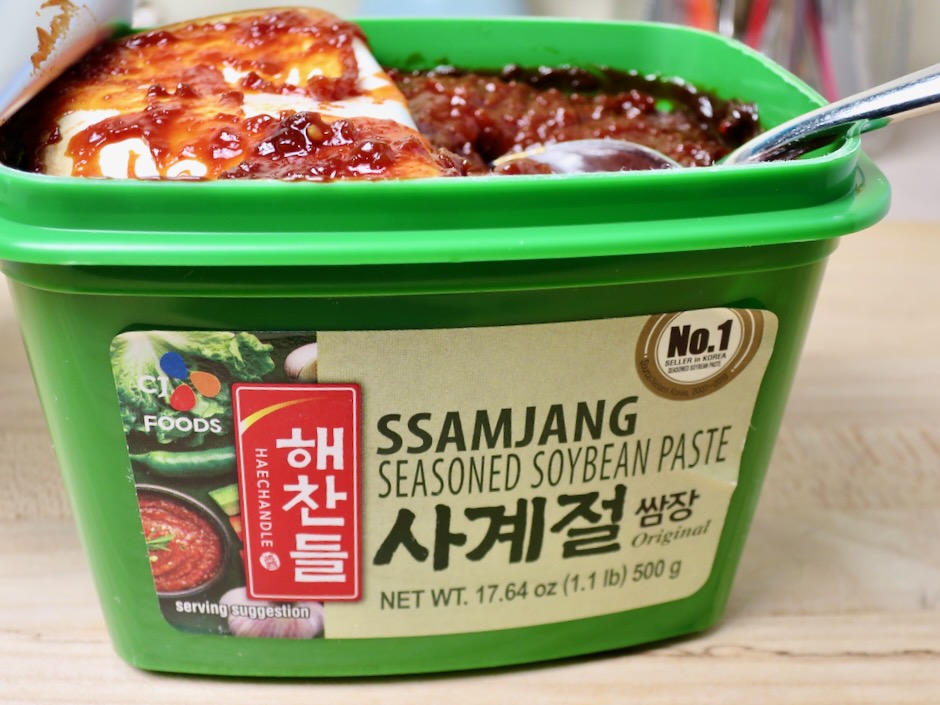
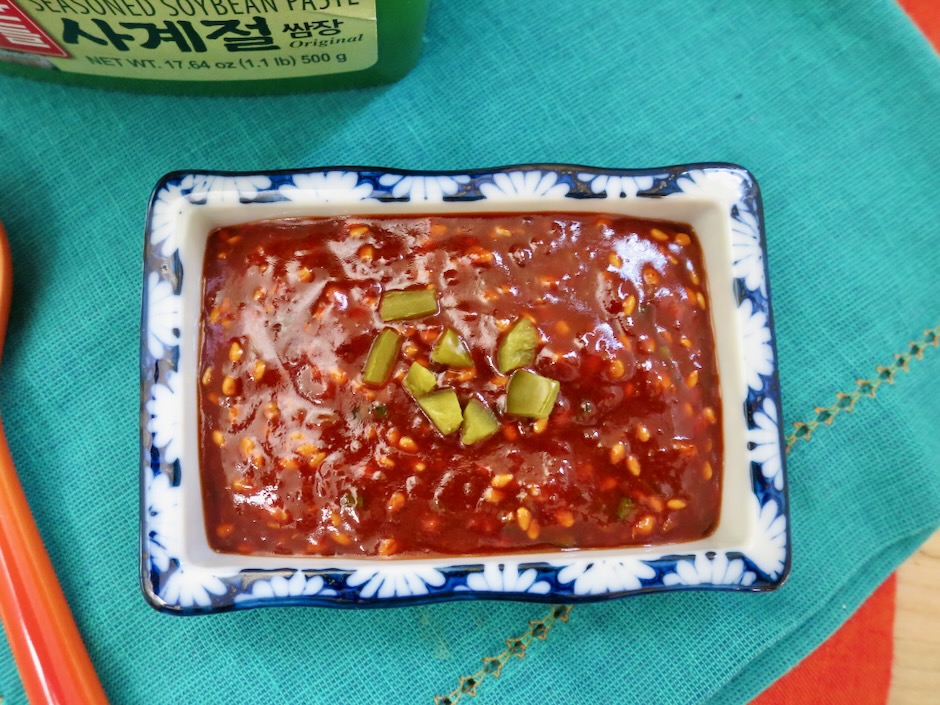
Ssamjang is a Korean soybean paste and is the basis for the Ssam sauce. I once tried replacing it with miso paste since I did not have ssamjang on hand. It was fine but after making the sauce with ssamjang I understood how important this ingredient is in order to create an authentic sauce for the Bo Ssam. All Korean markets as well as Amazon carry ssamjang.
While the pork is roasting and filling your home with the most incredible aroma, prepare your sauces for the table.
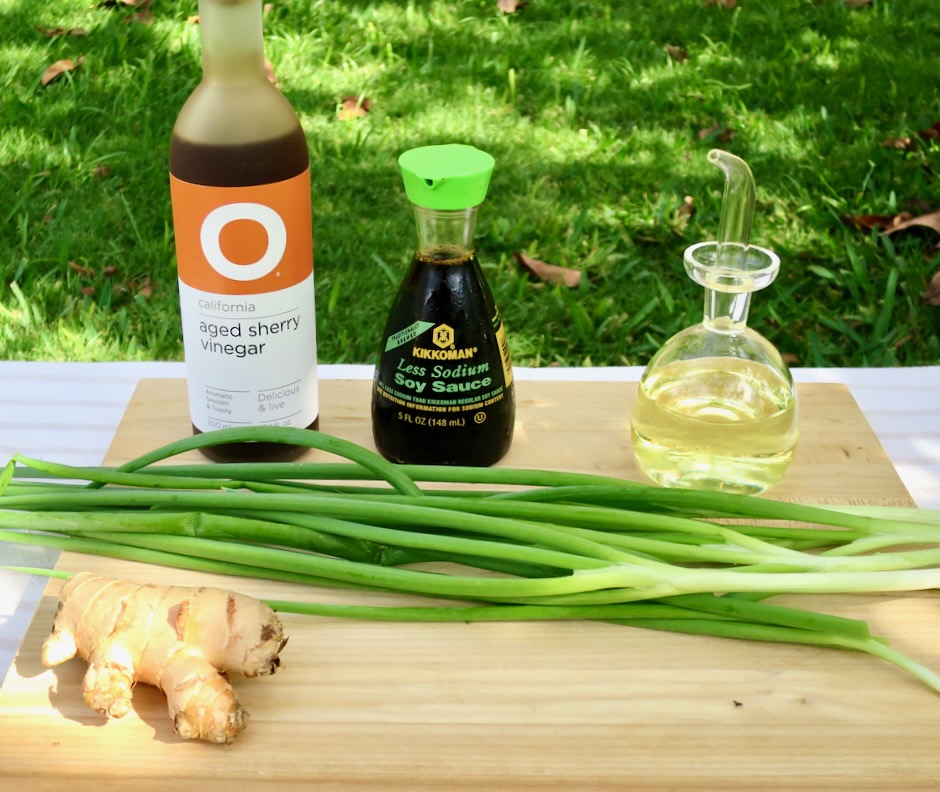
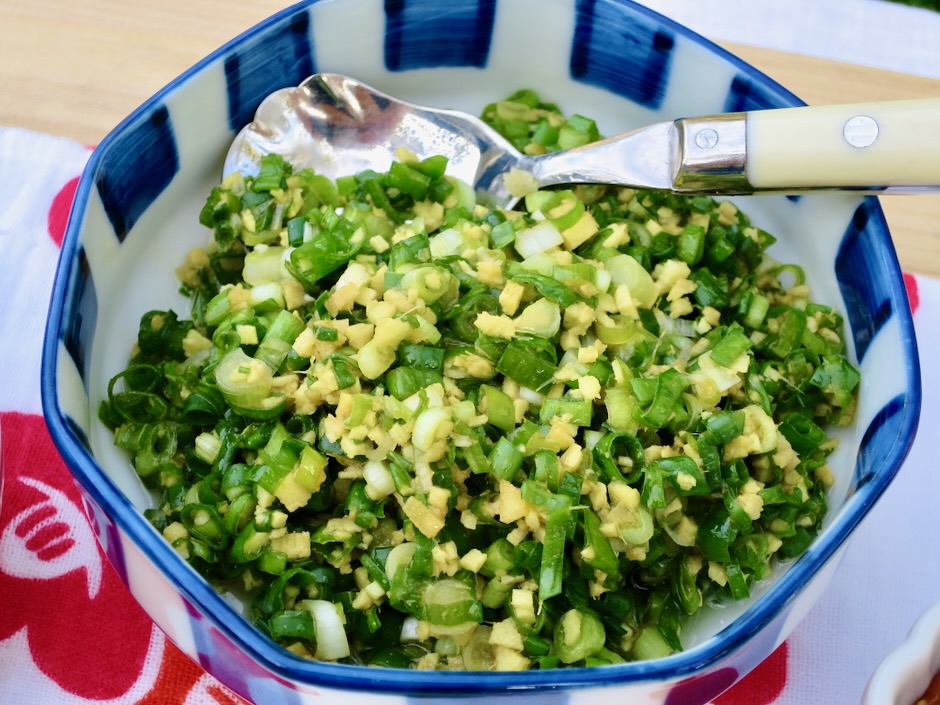
The scallion ginger sauce is so refreshing. It is the perfect accompaniment to the rich, flavorful pork. Make a double batch for leftovers.
Look at this gorgeous pork roast. Can’t wait to eat!
I found these little bao buns at Island Grocery here on Maui. Many Asian markets carry them either stored in the freezer or fresh on the display counter. They are optional for this meal but make for a tasty addition to lettuce. However, butter lettuce is essential so purchase the freshest available. Crisp them up in an ice water bath if you feel they need a quick refresh.
Pork Butt: 4-5 pound bone in pork butt (pork shoulder)
⅓ cup kosher salt (I used Diamond Crystal)
⅓ cup white sugar
3 tablespoons light brown sugar
Ginger-Scallion Sauce: 1¼ cups thinly sliced scallions, both green and white parts
¼ cup very finely minced fresh ginger
2 tablespoons neutral oil
¾ teaspoon soy sauce
1 scant teaspoon sherry vinegar
¼ teaspoon kosher salt
Ssam Sauce: 4 tablespoons ssamjang paste
2 tablespoons gochujang
1 tablespoon honey
1 tablespoon sesame oil
2 teaspoons sherry vinegar
2 scallions, thinly slcied
1 small garlic clove, finely minced
2 teaspoons roasted sesame seeds
Accompaniments: steamed short or medium grain white rice
butter lettuce, leaves separated, washed and dried
steamed bao buns (optional)
kimchi
Preparation
Special ingredients: Ssamjang paste, sherry vinegar
Place the pork in a large, shallow glass baking dish. Mix the salt and white sugar together in a small bowl. Rub the mixture all over the pork. Cover with plastic wrap and place in the refrigerator for at least 6 hours, or overnight. I put my pork in the refrigerator the evening before I served it, for a total of about 14 hours.
When you are ready to cook the pork, heat oven to 300 degrees. Remove the pork from the refrigerator and brush off any excess sugar and salt mixture with paper towels. Discard juices collected in the pan. Place pork skin side up in a roasting pan (heavy duty foil lined pan makes for easy clean up). Cook for 6 - 6½ hours, basting hourly with pan juices. The cooking time will depend on the size of your pork. The meat should easily pull apart with the tines of a fork when done. At this point, you may remove the meat from the oven and allow to rest for up to an hour.
Meanwhile, make the ginger-scallion and ssam sauces. Combine sliced scallions, minced ginger, oil, soy sauce, sherry vinegar, and salt in a medium bowl. Cover and refrigerate until ready to serve. For ssam sauce, whisk together the ssamjang and gochujang paste, honey, sesame oil, and sherry vinegar. Stir in the scallions, garlic and sesame seeds. Cover and refrigerate until ready to serve.
Just prior to serving, set oven rack to middle position and preheat to 500 degrees. Rub the brown sugar all over the cooked pork. Place in the oven for about 6-8 minutes, or until a dark caramel crust has developed (watch for burning). Transfer to a large platter. To serve, shred some of the pork and place on the side of the platter. Allow everyone to make their own lettuce (and bao buns if using) wraps with pork and sauces. Serve steamed white rice and kimchi on the side.