Browsing Category

Pickles

Appetizers, Lactose Free, Pickles, Recipes, Side Dishes, Vegan, Vegetarian, Veggies

Refrigerator Pickled Beets

June 30, 2024

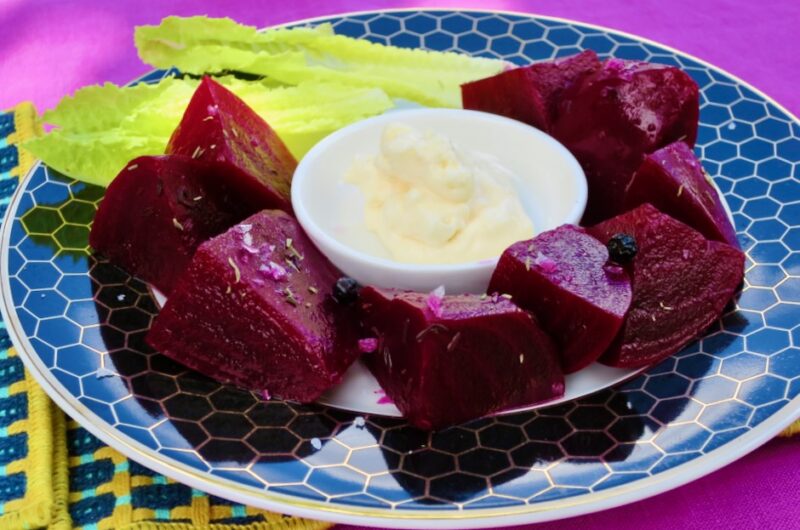
We often sous vide and water bath can pickles and peppers at home. These cooking methods are great for longer storage. But sometimes a quick refrigerator pickle recipe is more convenient. Not only are they a breeze to prepare, the end result is always enjoyable. These pickled beets are so easy to make and they are utterly delicious.
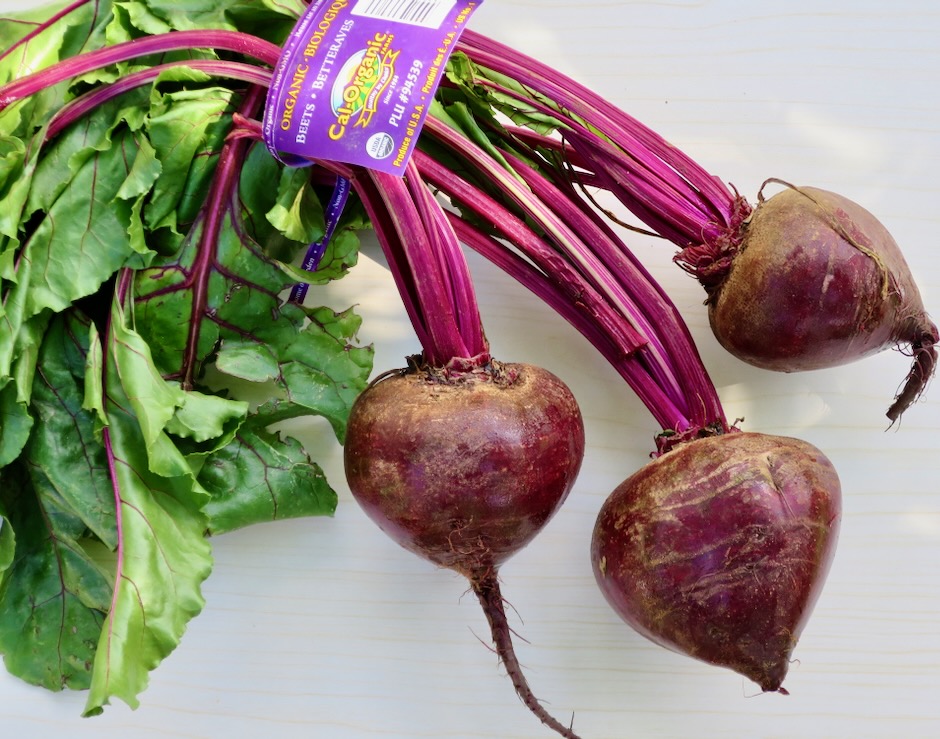
Select beets that are similar in size so they cook evenly.
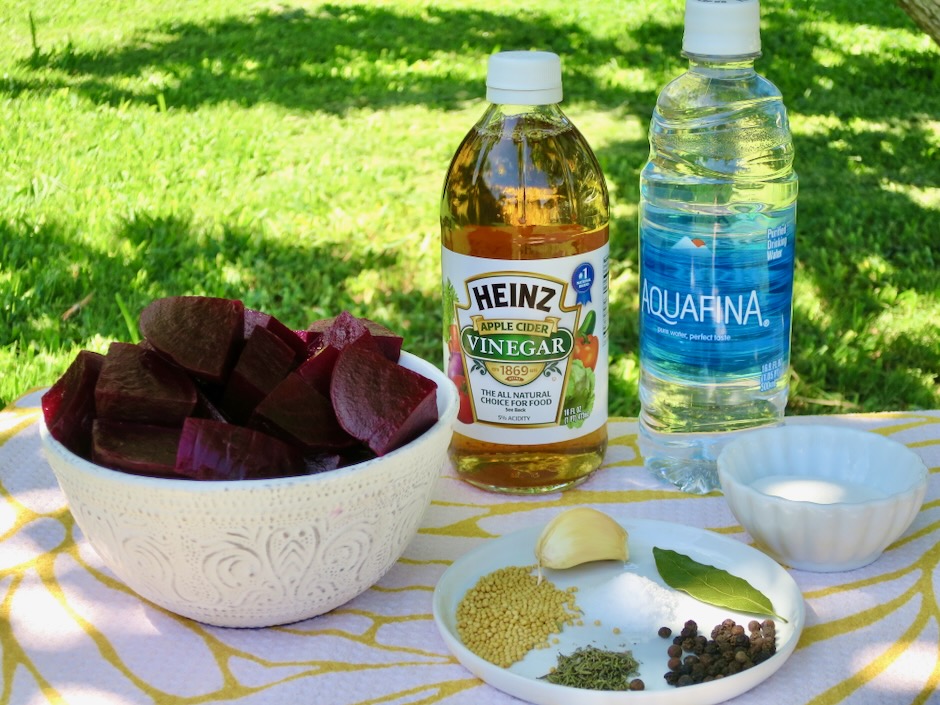
There’s not much to it. A couple of pantry ingredients will turn these beauties into a scrumptious snack or side dish.
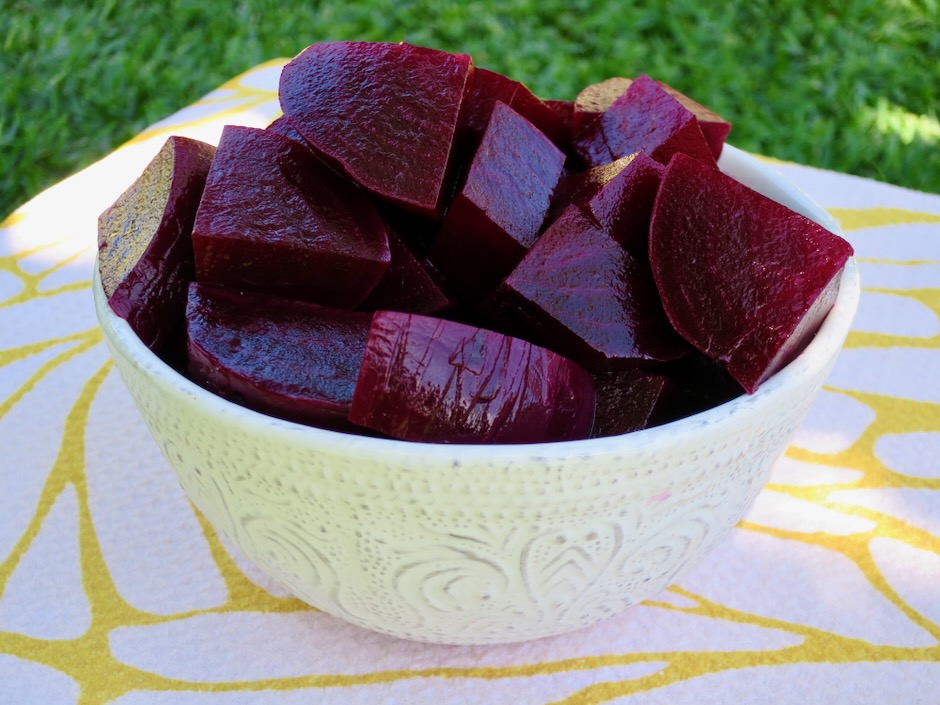
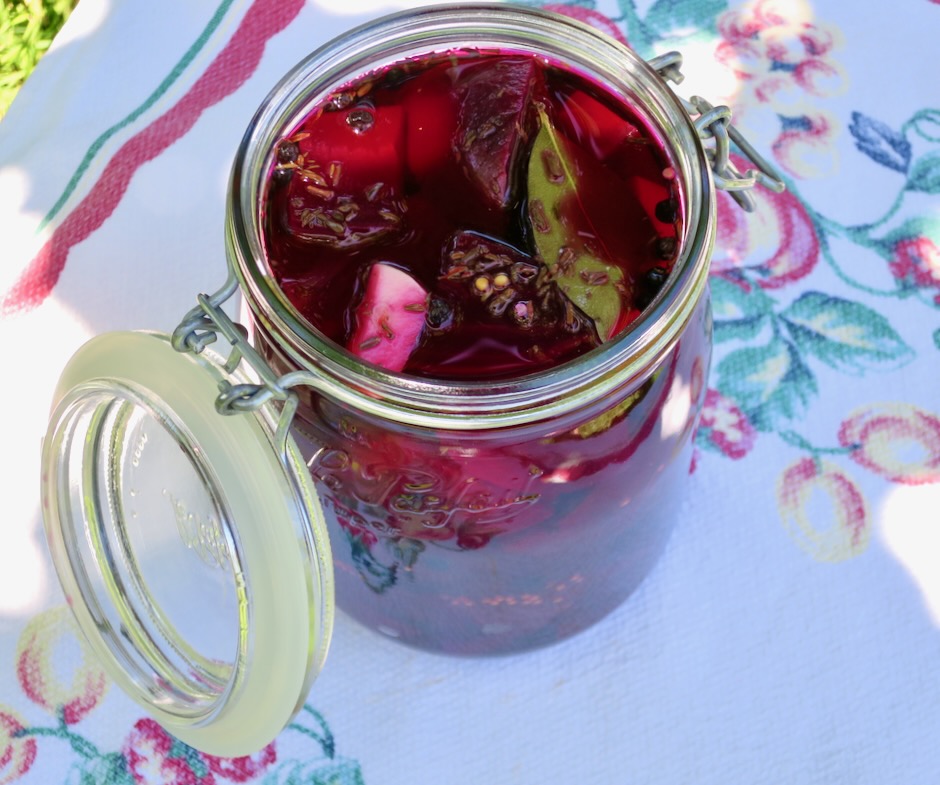
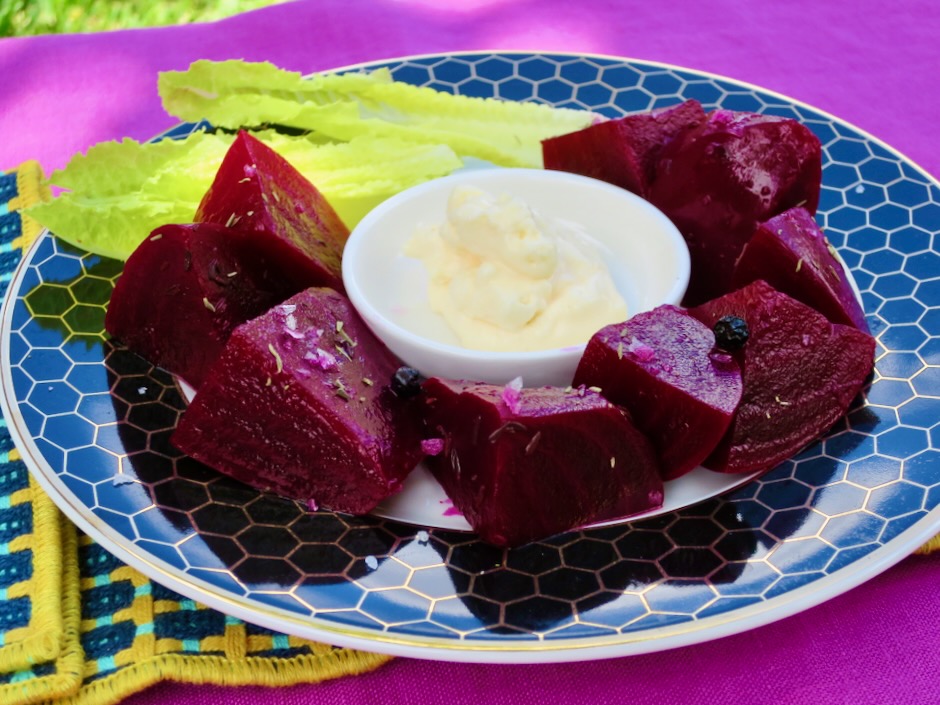
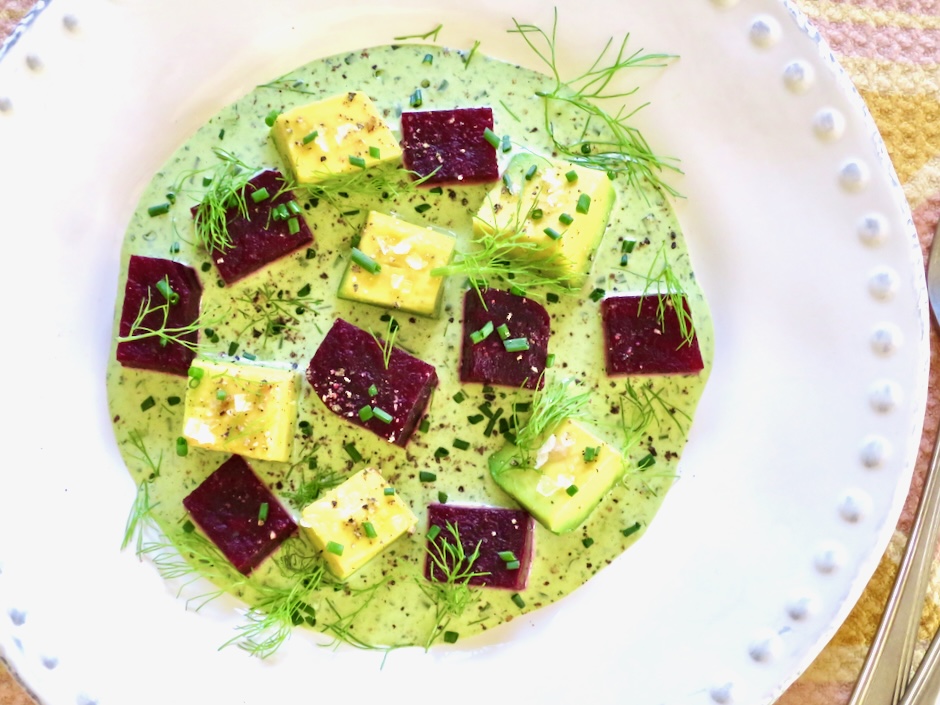
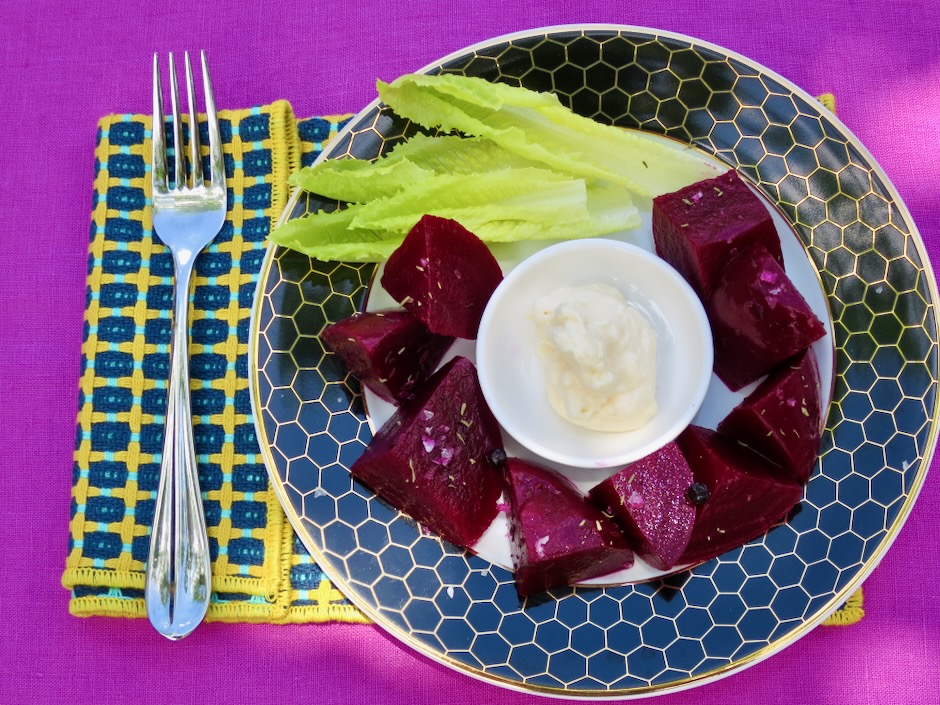
A little tart, a hint of sweetness, and earthy goodness from the herbs, you can serve the beets in multiple ways. Sometimes I like to eat them simply with a dab of mayonnaise. Other times they become part of a salad (Salad Niçoise), a side dish for a sandwich, or served with little cubes of avocados and Green Goddess dressing (which makes for a gorgeous presentation).
Pickled Beets

Recipe by Kiyo
Servings

8

servings

Makes about 1 quart

Ingredients

  • 2 pounds cooked beets, peeled, cut into large chunks or slices (select beets that are approximately the same size for even cooking)

  • 1 cup apple cider vinegar

  • 1 cup water

  • 3 tablespoons granulated sugar

  • 2 teaspoons kosher salt (I used Diamond Crystal)

  • 1 large garlic clove, quartered

  • 1 teaspoon mustard seeds

  • 1 1/2 teaspoons whole peppercorns

  • 1/2 teaspoon dried thyme

  • 1 small bay leaf or half of a large bay leaf

Directions

  • Wash beets well. Trim off all but 1 inch of the beet greens and the long root. Place beets in a large, deep saucepan with enough water to cover by at least 2 inches (you may need to add more boiling water during cooking time). Bring to a boil then adjust heat to a lively simmer. Cook for 25+ minutes until just tender. The cooking time will depend on the size of your beets. Large beets may take up to 40 minutes. Check doneness by piercing the beet with a thin knife. Allow cooked beets to cool slightly until you are able to handle them. Trim off tops and bottoms and peel beets. Cut into large chunks or slices if you prefer.
  • While beets are cooking, combine apple cider vinegar, water, sugar, salt, garlic, mustard seeds, peppercorns, thyme and bay leaf in a medium pot. Bring to a lively simmer, stirring to dissolve sugar and salt. Remove from the heat.
  • Place beets in a clean glass jar (or two jars if needed) with a tight fitting lid. Pour liquid over the beets. Cover and let cool for about 1 hour. Transfer jars to the refrigerator to cool completely before serving.

Notes

  • Consume beets within 4 weeks
Appetizers, Dinner, Fish, Japanese, Lactose Free, Pickles, Recipes, Rice Dishes, Vegetarian, Veggies

Maki Sushi Rolls

April 28, 2024

Fresh homemade sushi is hard to beat and not as difficult to make as you might think. It’s pretty cool to be able to customize your rolls by using your favorite ingredients. Once your sushi ingredients are ready to go, the rolling happens quickly. Before you know it, you’ll have tasty maki sushi rolls ready for lunch or dinner.

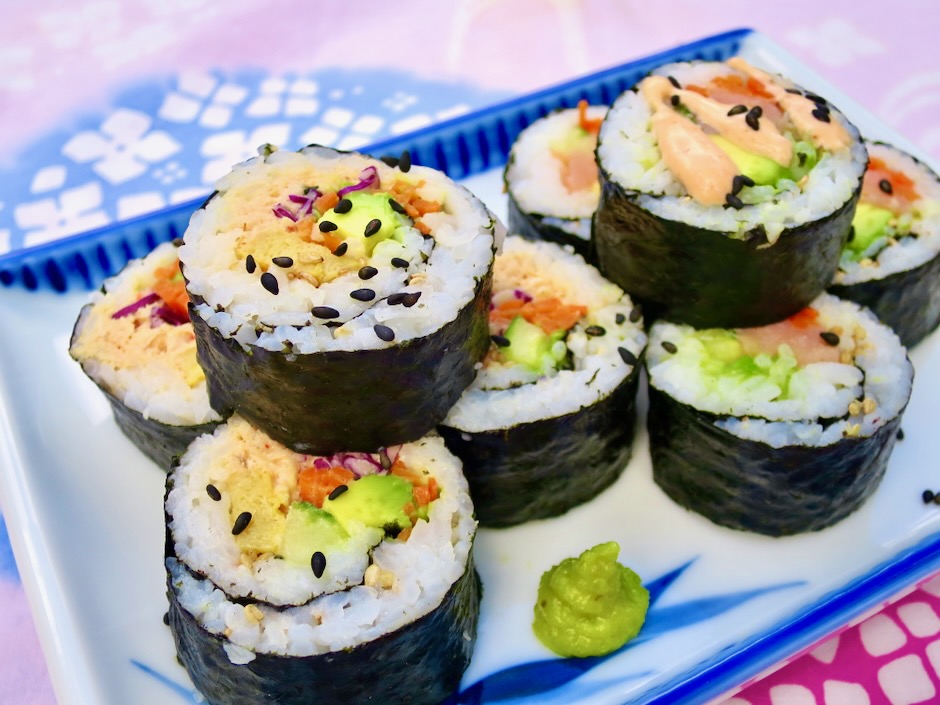
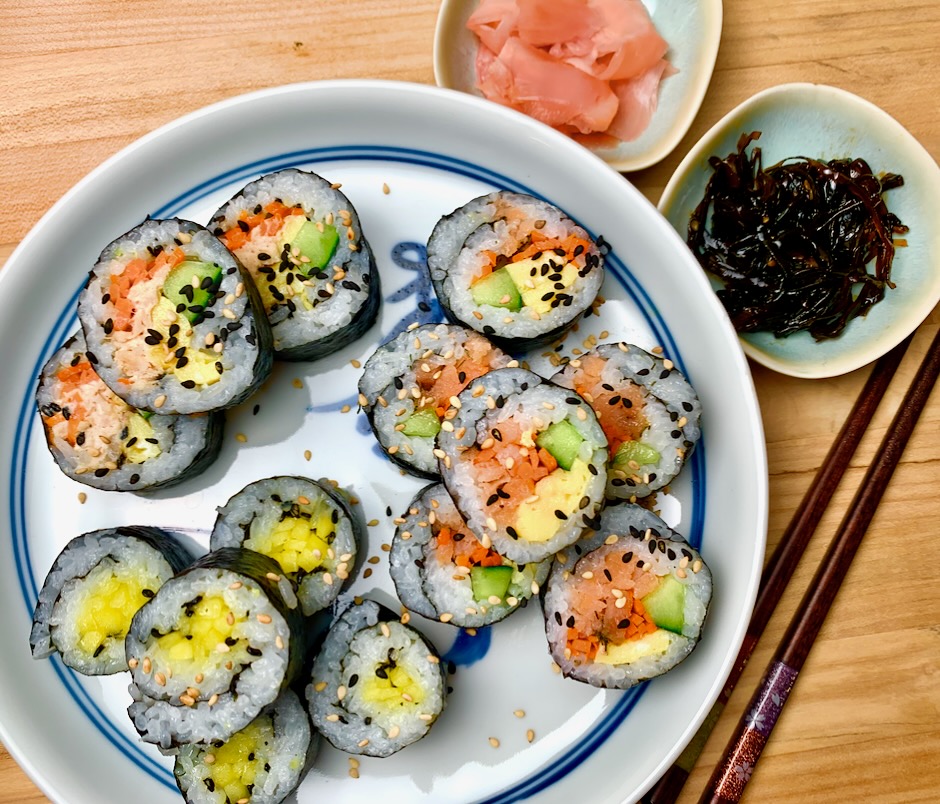
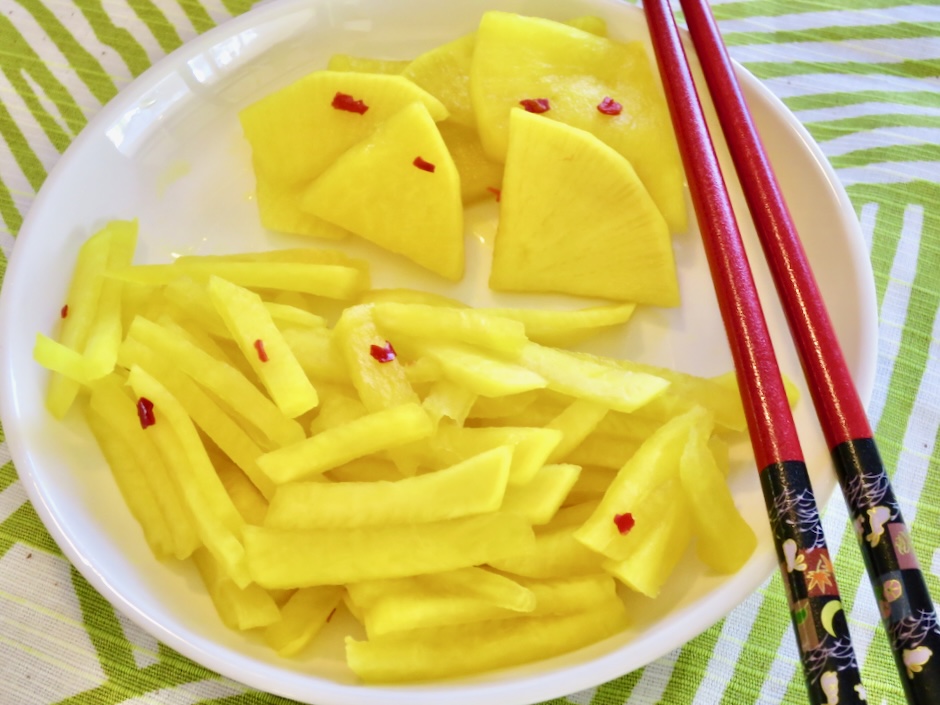
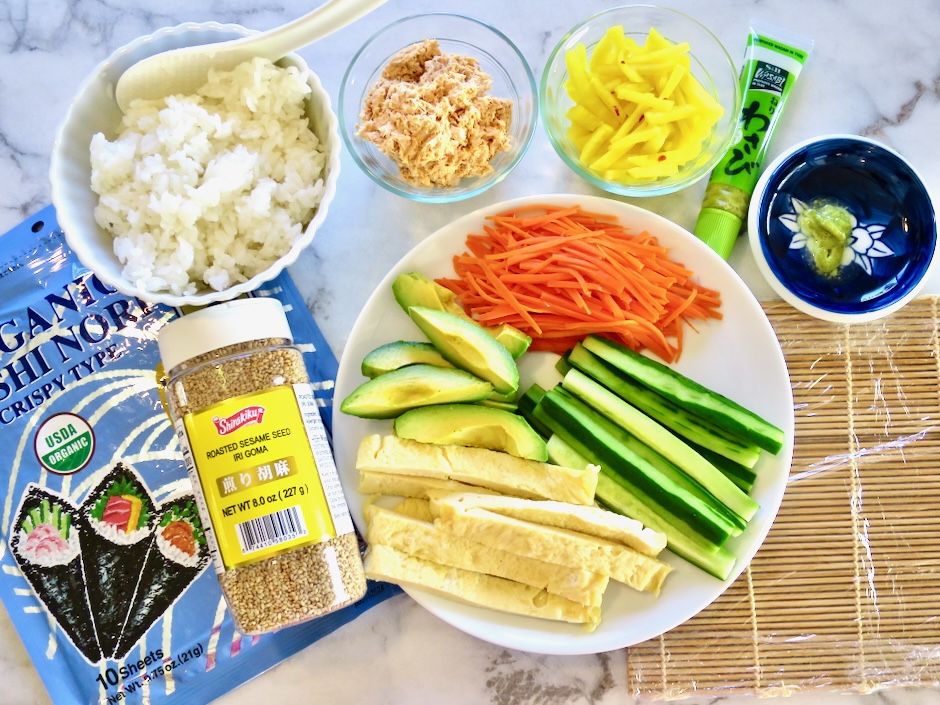
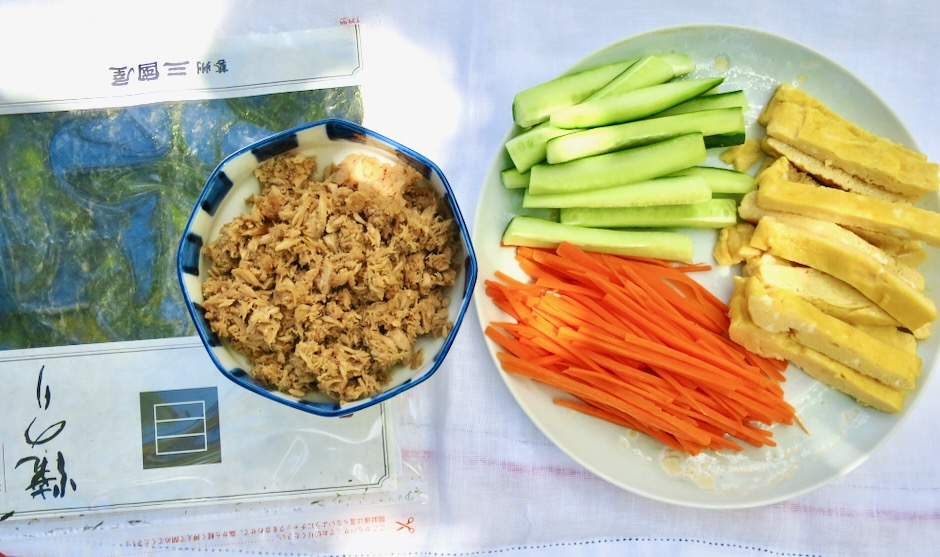
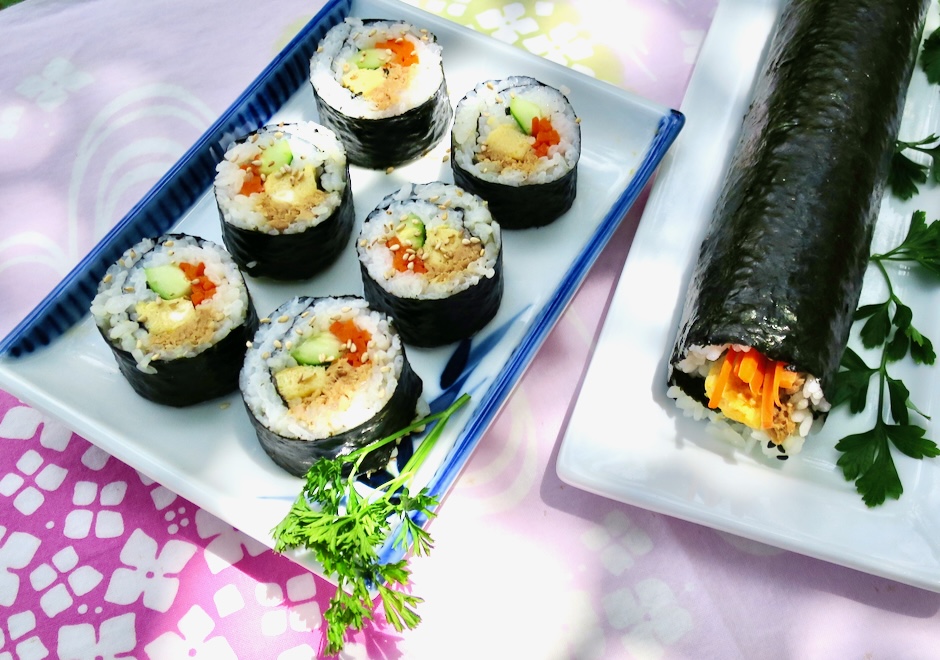
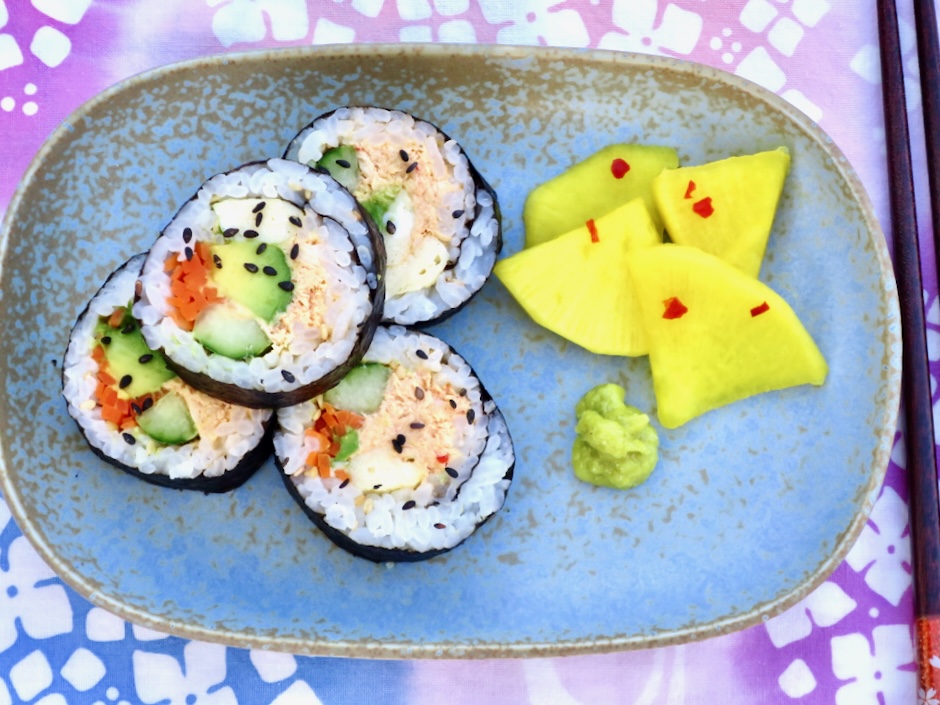
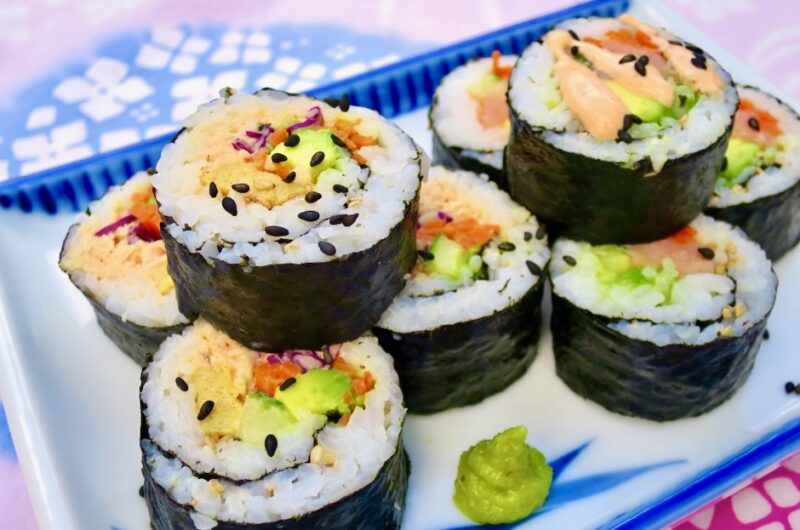
There’s really no rule when it comes to the ingredients you can use in Maui-style maki sushi. Common ones include spicy tuna (canned), avocado, cucumber, sushi grade tuna, crab, salmon, tamago (egg) and other vegetables such as watercress, carrots, takuan (pickled radish). Shown above are tuna, smoked salmon, and takuan hosomaki (thinner rolls).

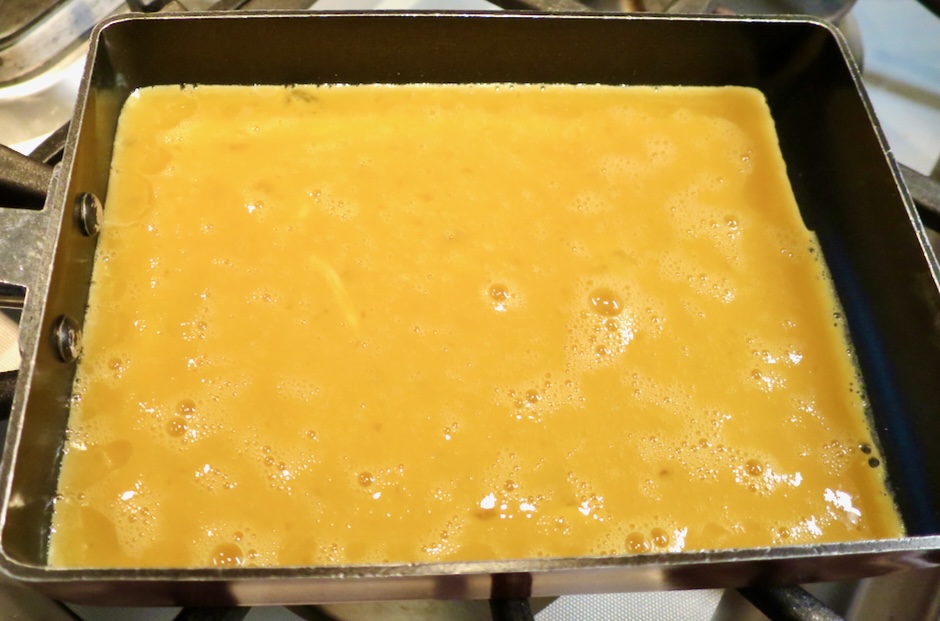
If you don’t have a tamagoyaki pan like the one above, use a small non-stick fry pan to cook the eggs.

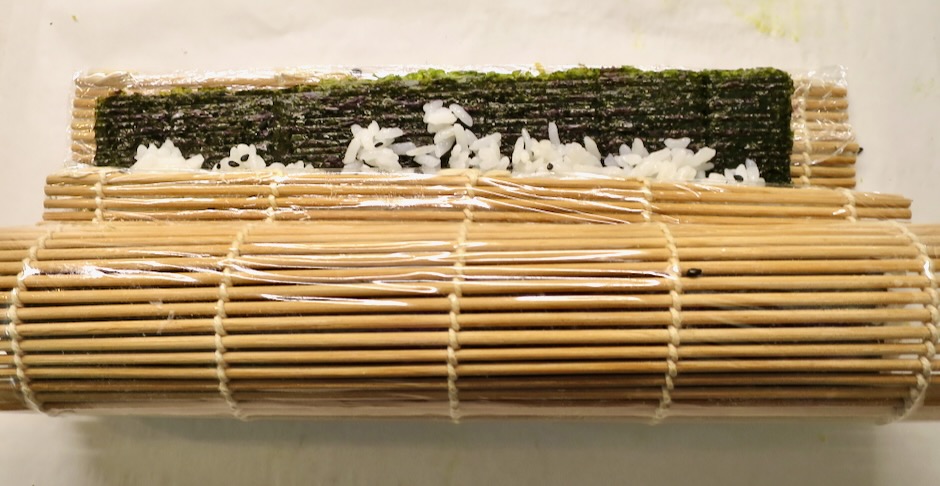
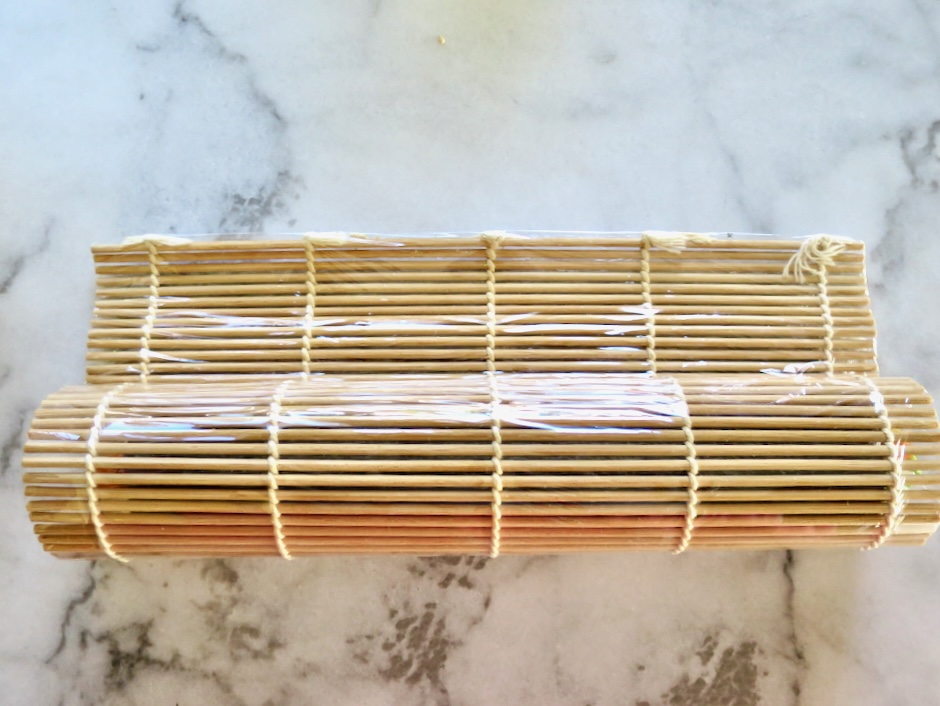
Prepare the fillings for the sushi while the rice is cooking then refrigerate until ready to use. Wrap your sushi mat in plastic wrap. The mat will stay clean and won’t pick up any scents or oil from the sushi ingredients.

On most occasions I make spicy tuna but sometimes I make a sweet/salty version with soy sauce. This is the type you might find at local okazuya and bento stores. Besides adding flavor, crispy cucumbers, carrots and tamago add color and texture.

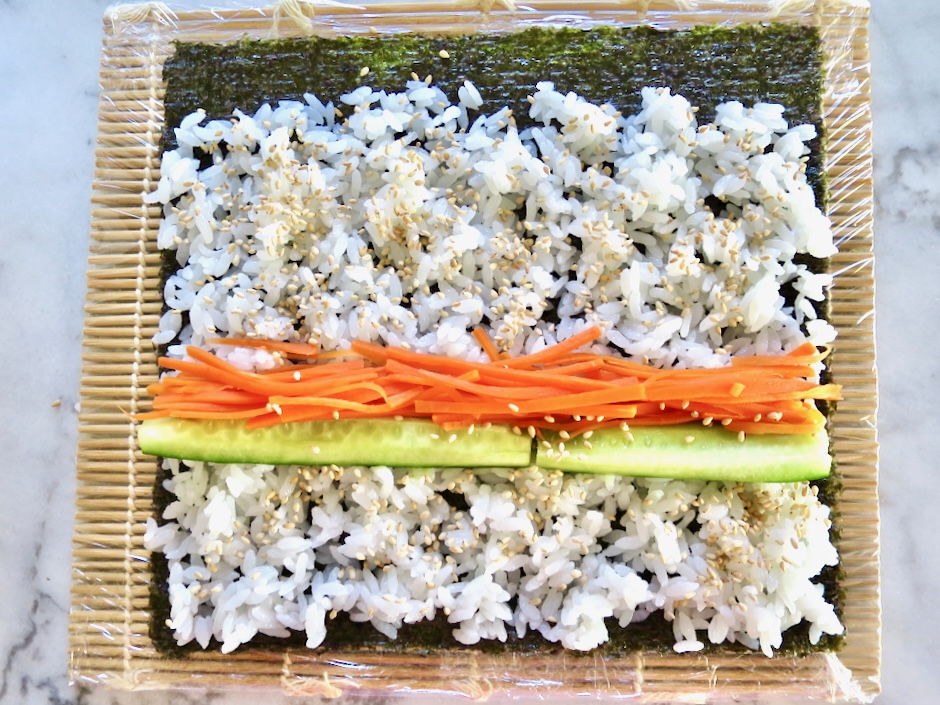
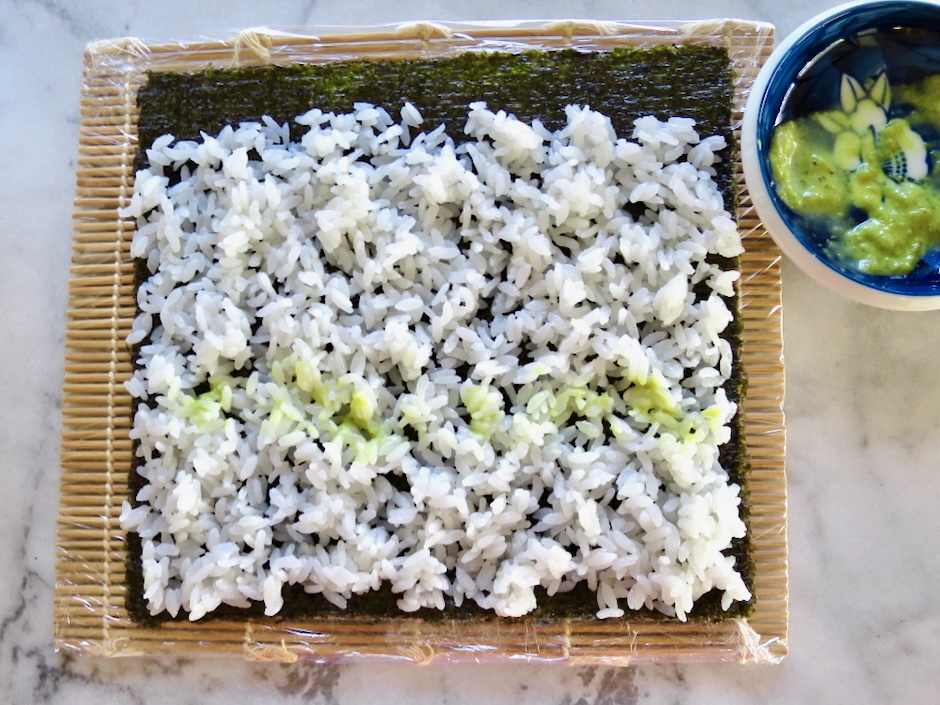
The first step is to place a sheet of nori shiny side down on your sushi mat. Spread rice over the nori leaving a 1-inch border free of rice. The amount of rice you use will determine the size of your roll and the amount of rolls you can make with the 2 cups of rice that you cook. My rolls are medium-sized since I don’t use too much rice. I usually end up with 3 medium rolls and 2 thinner (hosomaki) rolls. If you’re using wasabi paste dab it on the rice before adding the other ingredients.

Shaping the rolls will take a little practice but you’ll get the hang of it after your first roll. And it won’t matter much if the first few rolls don’t turn out perfectly. They will still be delicious.

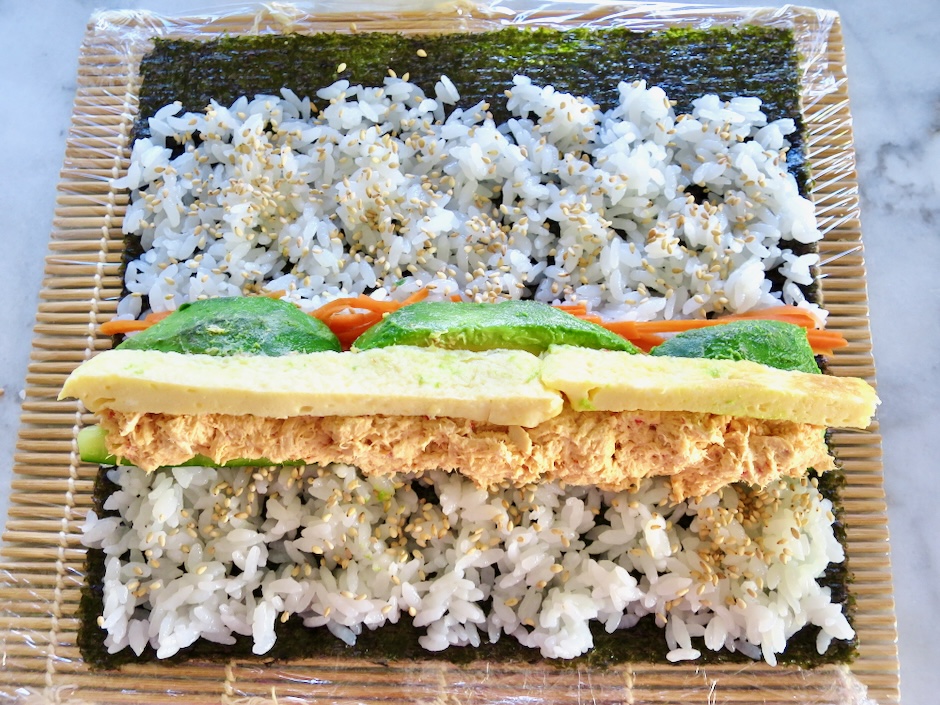
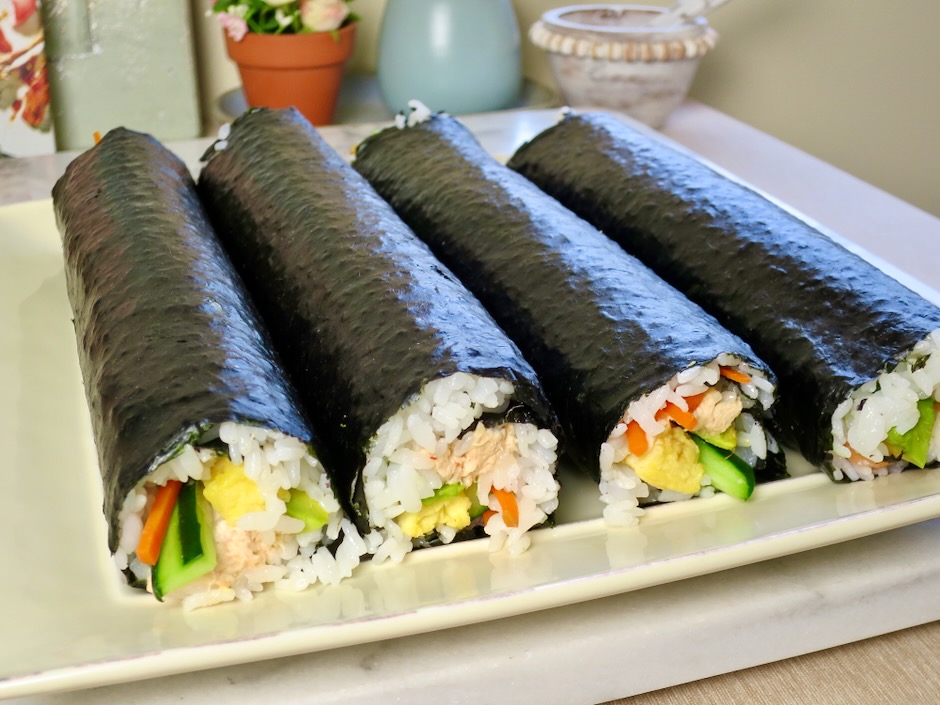
Layer on your ingredients then begin rolling them up. You can choose your own fillings and make vegetarian rolls if you prefer.

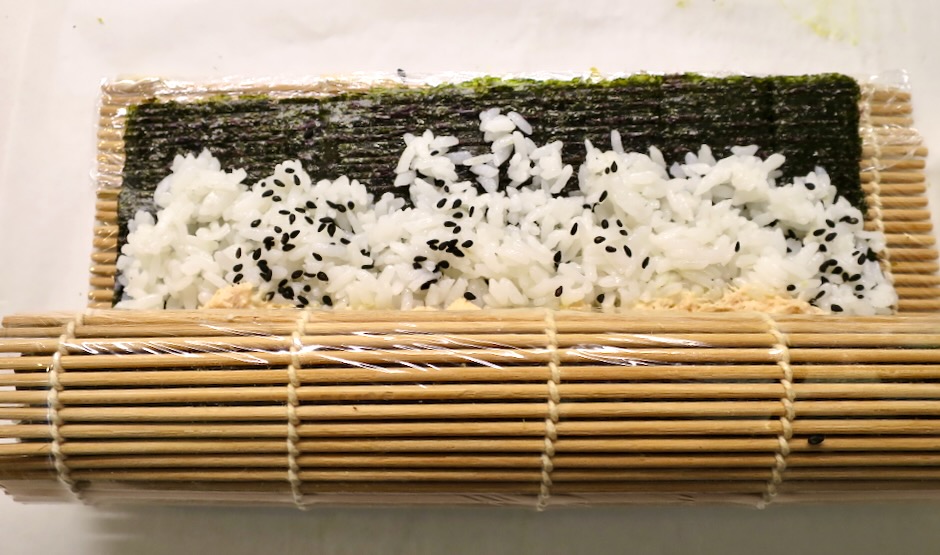
Once you have the ingredients tucked into the roll, continue to roll while lifting the top portion of the mat up as you roll.

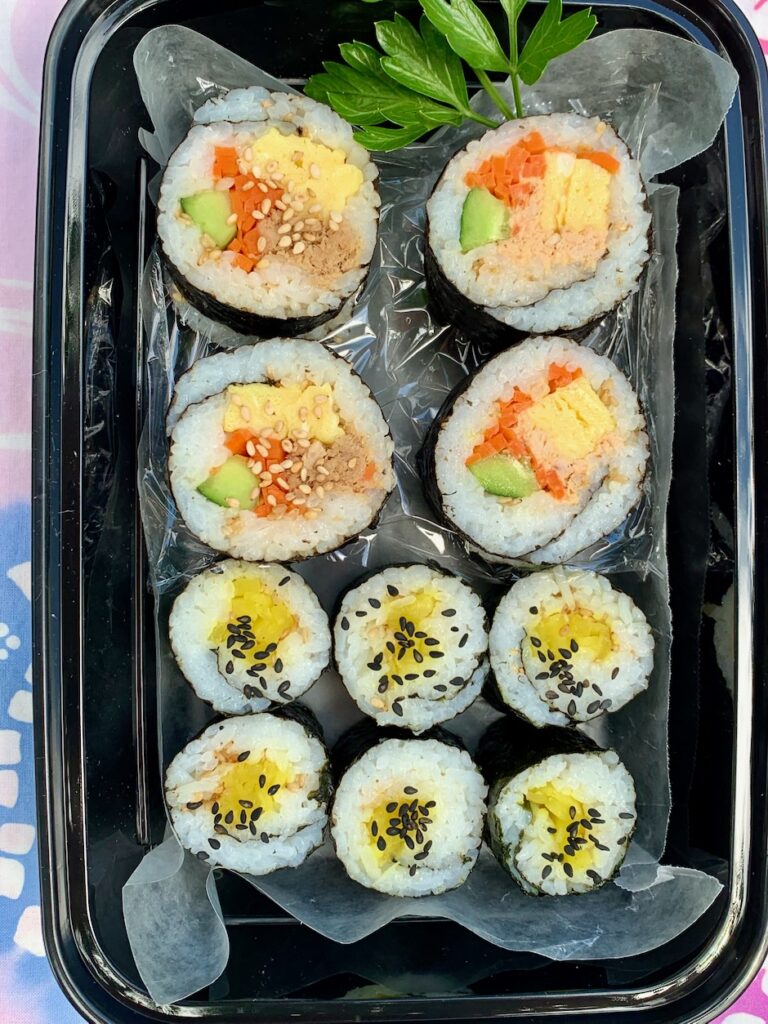
I packed a sushi bento for a friend and delivered it to his work place for a surprise snack.

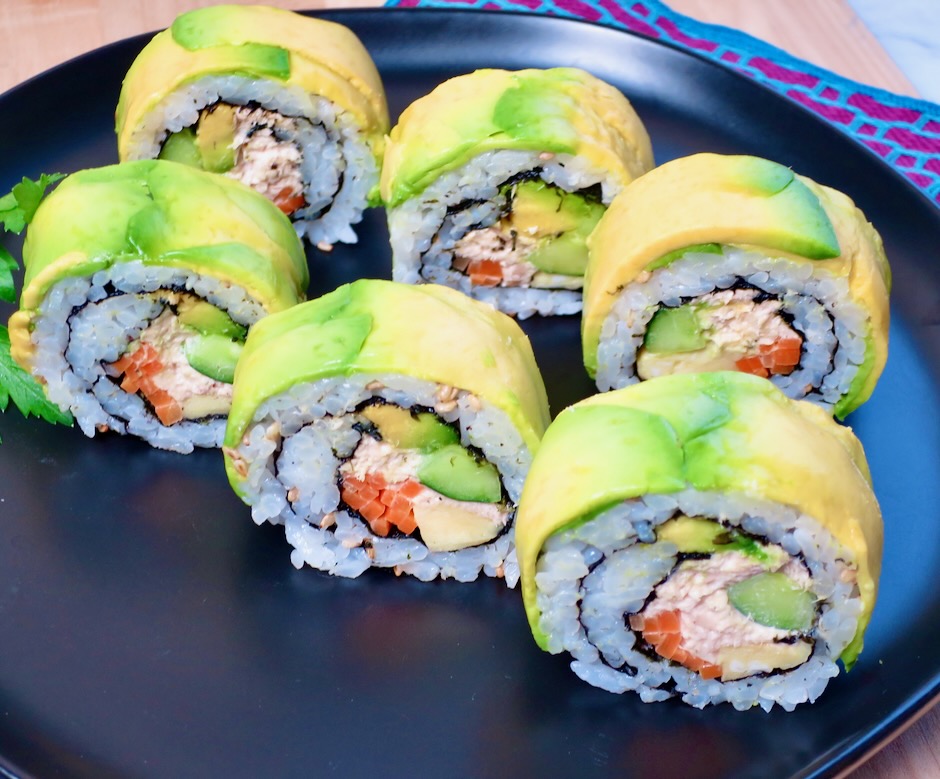
I thought I would try an inside-out roll with avocado. To my surprise I didn’t botch the roll! We have lots of avocados now so I’ll give this another go very soon.

Maki Sushi Rolls

Recipe by Kiyo
Servings

4

servings

Depending on the amount of rice you use in each roll, this recipe will make 3 medium and 2 small rolls (hosomaki) or 4 medium rolls

Ingredients

  • Sushi Rice
  • 2 rice cooker cups short grain white rice

  • 1/4 cup unseasoned rice vinegar

  • 2 1/2 tablespoons granulated sugar

  • 1 1/2 teaspoons fine sea salt

  • Filling Ingredients
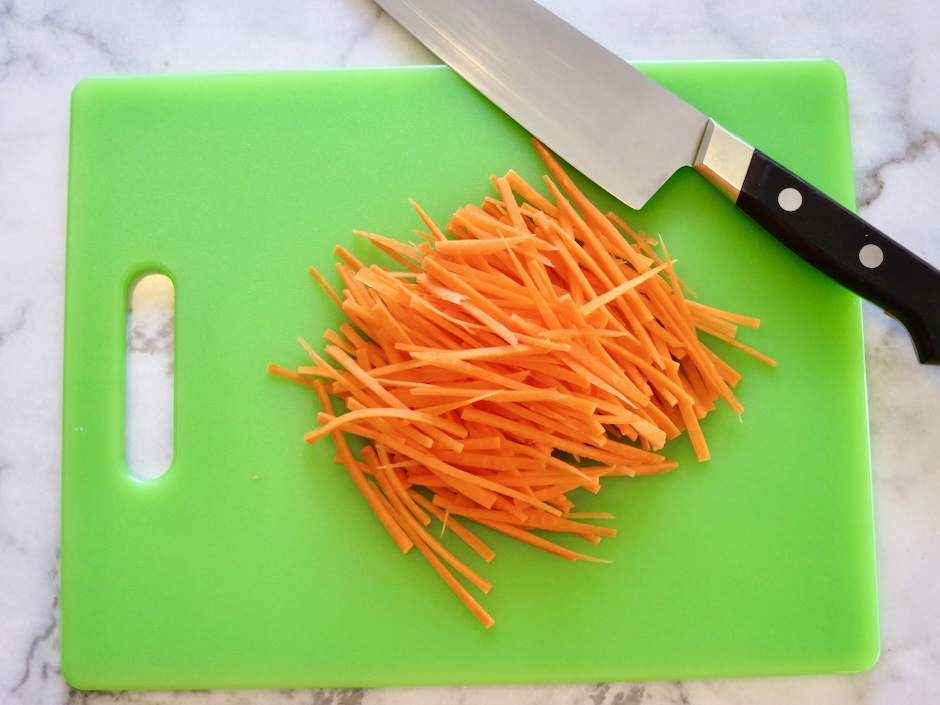
  • 1 small carrot, julienned (blanch 1 minute in 1 cup water mixed with 2 teaspoons sugar, 1 teaspoon mirin, and 1/2 teaspoon salt)

  • 1 small Japanese cucumber, cut into wide strips (remove any seeds with your knife)

  • 1 avocado, sliced

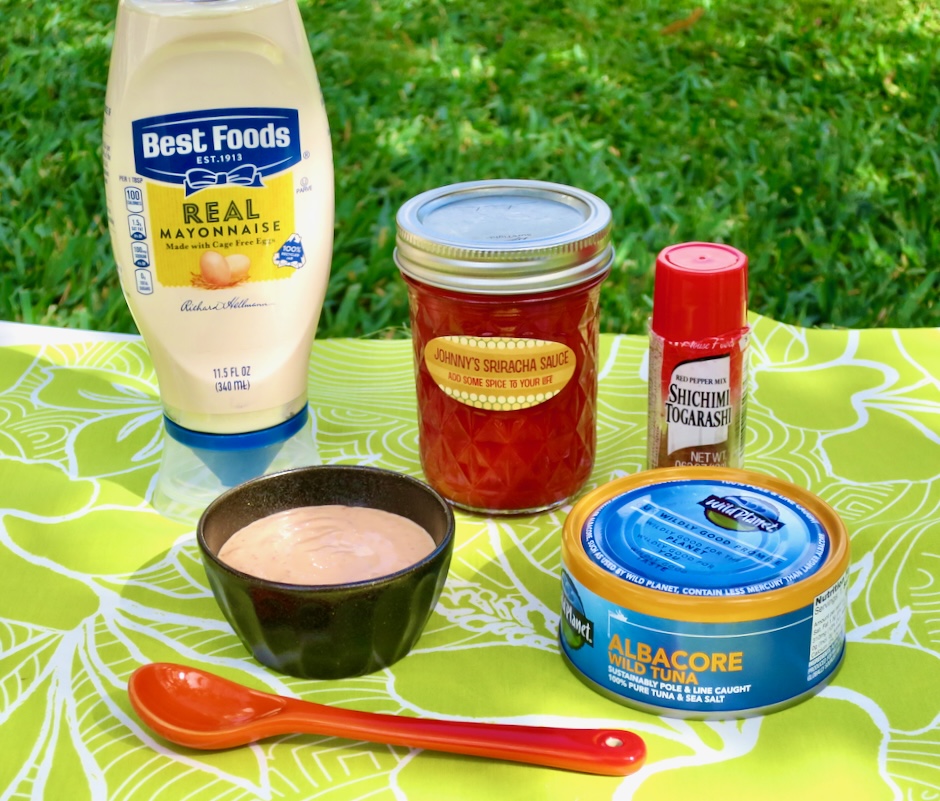
  • 1 (5 ounce) can tuna in water, drained (mixed with 3 tablespoons mayonnaise and 1 1/2 tablespoons sriracha + 1/4 teaspoon of shichimi togarashi, optional)

  • 3 eggs, whisked (mixed with 1 teaspoon sugar, 1 teaspoon mirin, 1/2 teaspoon light soy sauce) cooked over medium-low heat in a small pan to form a thick layer and sliced into 1/2-inch wide strips

  • 3/4 cup takuan (pickled radish) thinly sliced

  • wasabi paste

  • roasted sesame seeds

  • 5 sheets sushi nori

Directions

  • Cook rice according to rice cooker directions for sushi rice. While rice is cooking, combine rice vinegar, sugar and salt in a 1-cup glass measuring cup and give it a stir. Microwave for 20-25 seconds. Remove and stir until the mixture turns clear, about 2 minutes. Set aside until ready to use.
  • Place hot rice in a large shallow bowl or dish, such as a 9×13 glass baking dish. Immediately drizzle the prepared sushi vinegar over the warm rice and fold in gently to evenly season the rice. Using swift cutting motions gently break up the rice while fanning as you go (do not stir the rice or it will become clumpy and mushy). Fanning the rice helps to remove excess moisture and also gives the rice a shiny appearance. Cover rice with a damp kitchen towel or plastic wrap and allow to come to room temperature before using, about 1 hour. (Rice should not be left out for more than 2 hours for food safety reasons. Refrigerate sushi rolls if not eating within 2 hours).
  • Cover sushi mat with plastic wrap. Place a piece of nori shiny side down on the mat. Distribute rice evenly over the nori leaving 1-inch free of rice at the bottom portion. Begin placing your fillings onto the rice (upper third area). Lift the bottom edge (closest to you) of the sushi mat while also holding the fillings in place with your fingers and quickly fold over securing them in the first fold tucking in any ingredients that may have fallen out. Continue rolling the sushi away from you gently squeezing the mat to form a uniform sushi roll while lifting and moving the mat forward until the entire sheet of nori is rolled up. Slice and serve rolls with wasabi and soy sauce.

Notes

  • Though the rice may not be quite as soft, leftover sushi rolls can be refrigerated and eaten the following day. Double wrap them in plastic wrap then place in a freezer zip top bag. Remove from the refrigerator 1 hour prior to slicing and serving.
Appetizers, Dinner, Lactose Free, Pickles, Recipes, Side Dishes, Vegan, Vegetarian, Veggies

Taiwanese Cucumber Salad

September 18, 2023

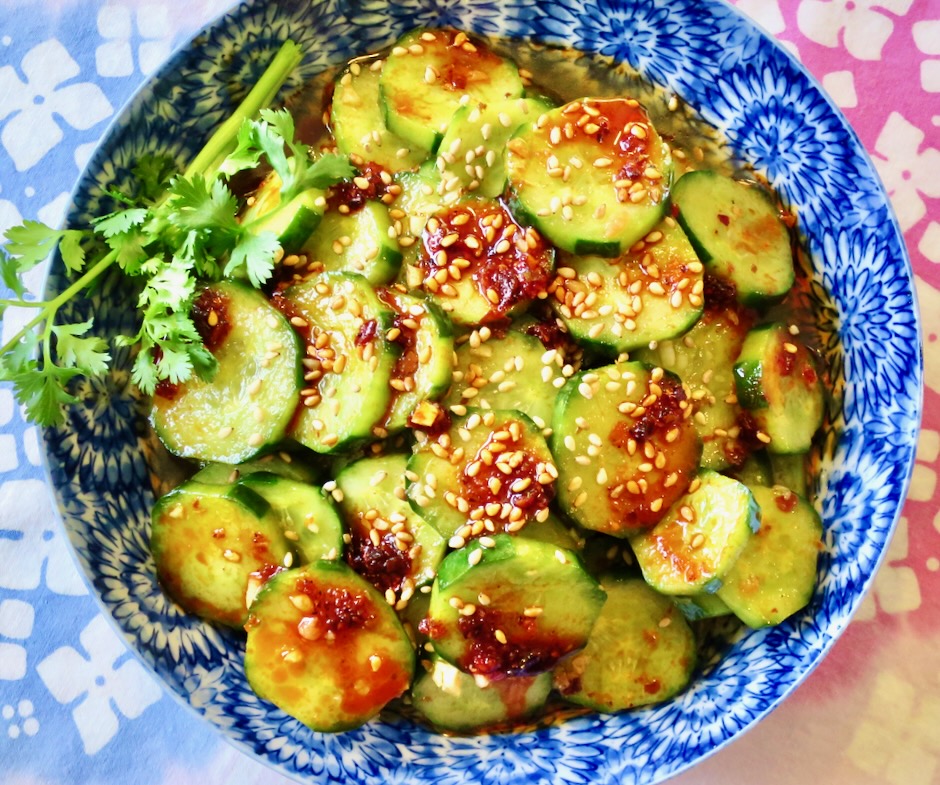
Here’s a delicious cucumber side dish that is very easy to put together. It’s crunchy and so refreshing you’ll be making it on repeat.

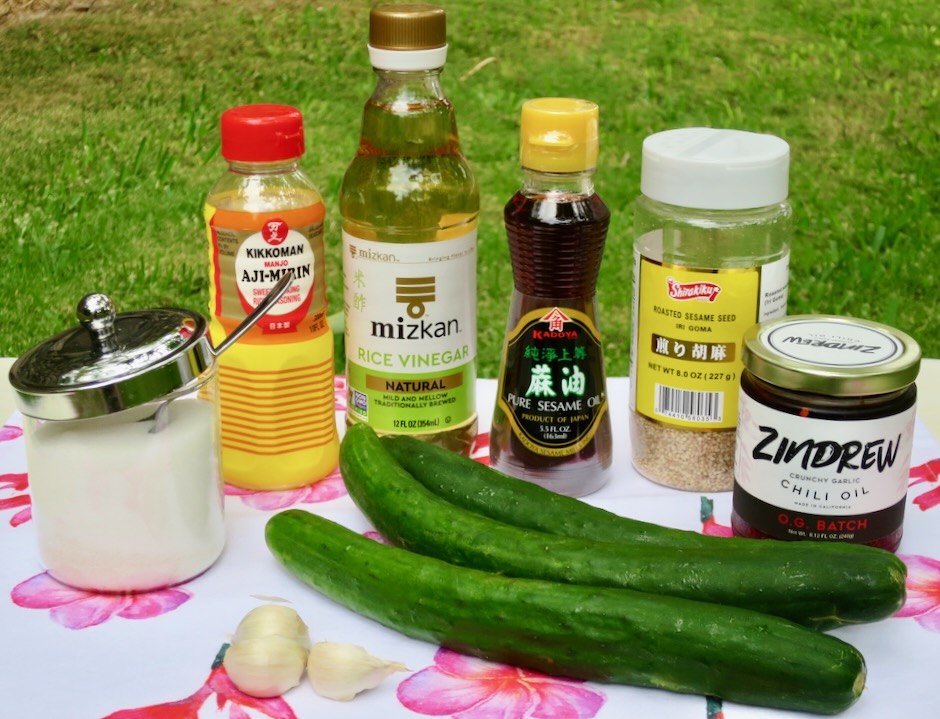
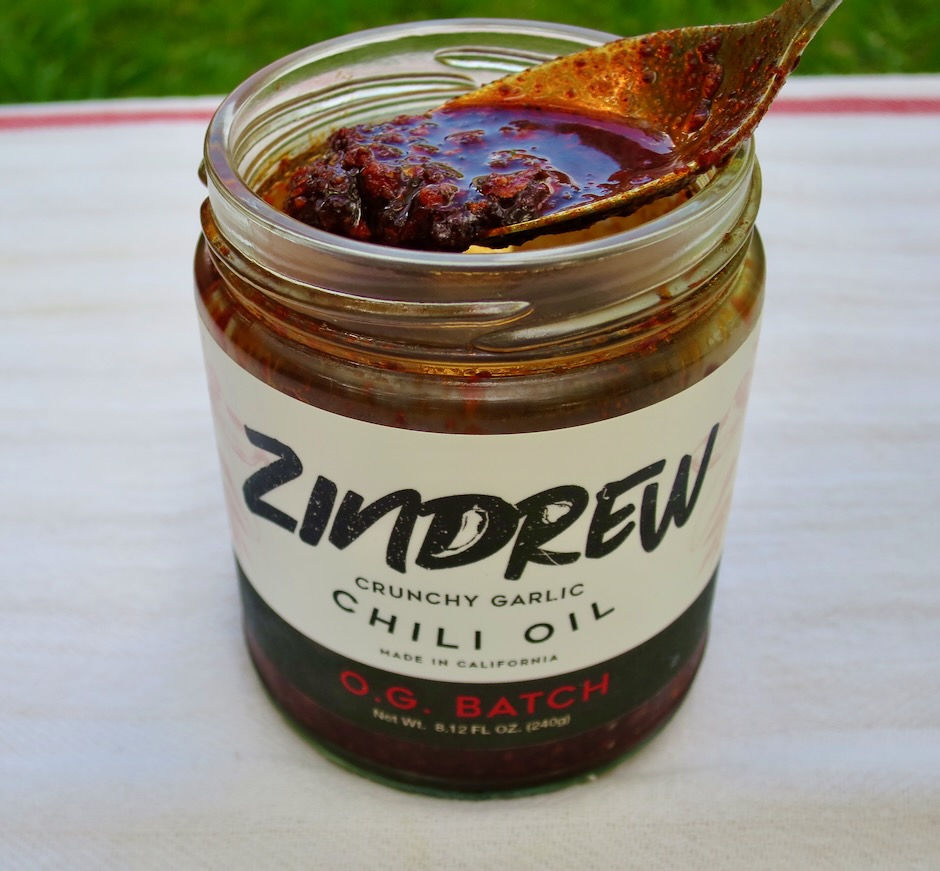
If you don’t already have chili crisp, visit your local market or purchase a jar online. It’s a wonderful condiment to have on hand. Chili crisp compliments ramen, tofu, stir fries, eggs, and so much more. I’ve tried a few brands and still come back to Zindrew O.G Batch (Amazon) as my favorite. Costco sells the popular Fly by Jing brand and I have spotted the locally made Maui Chili Oil at Foodland.

The first time I made this recipe I used an English cucumber that I had on hand. It was a bit disappointing because it didn’t have that excellent crunchy texture I expect. So from now on, I only use Japanese cucumbers which are guaranteed crunchy. Persian cucumbers would be an acceptable substitution.

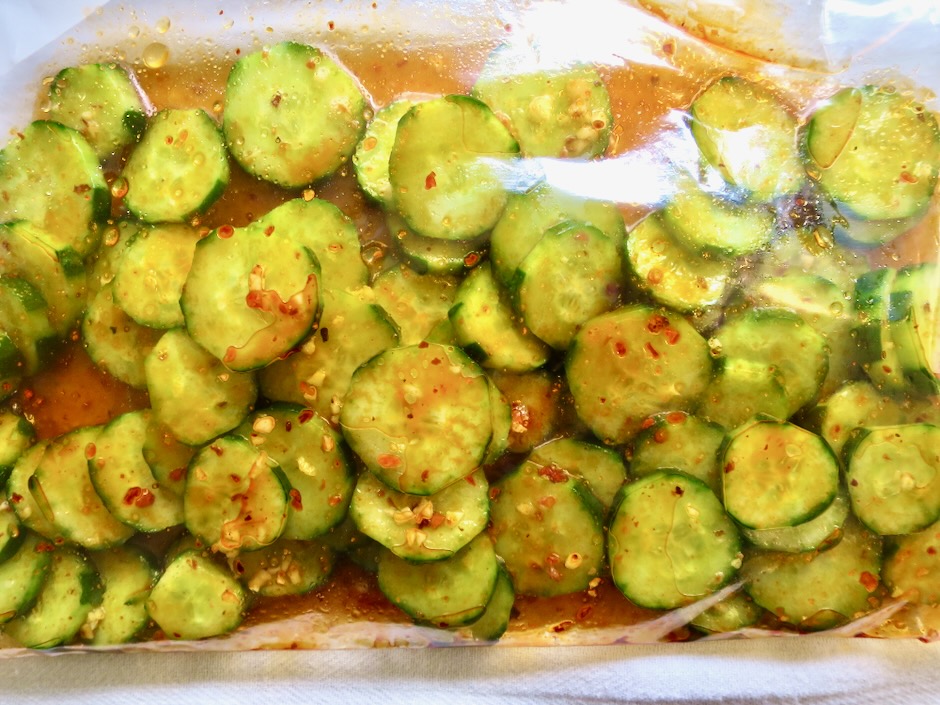
The cucumbers marinate in the sauce for 4 hours (overnight is fine) before being served.

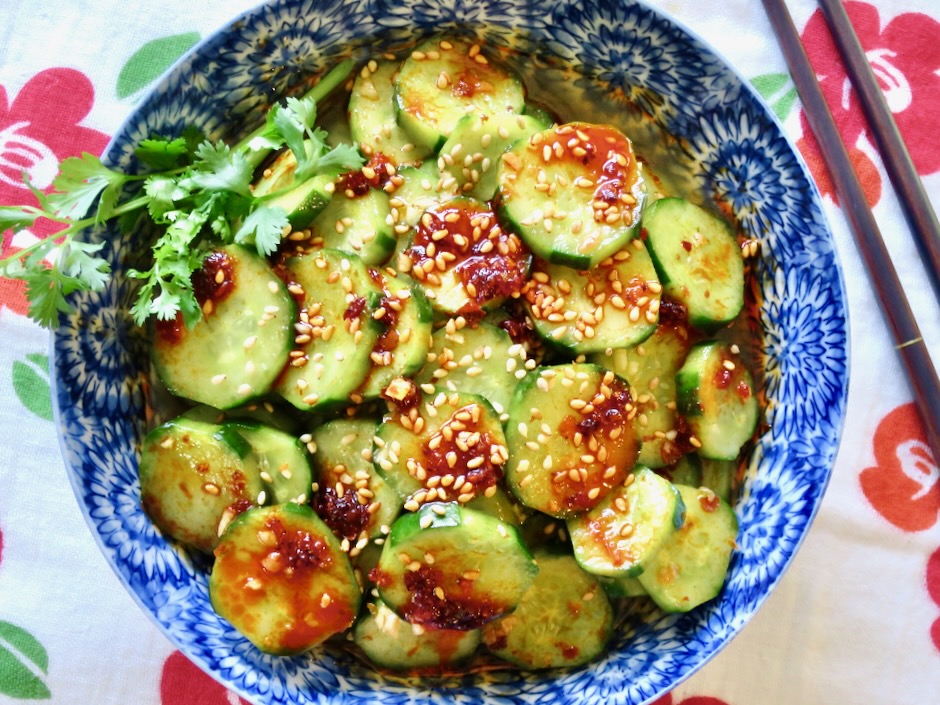
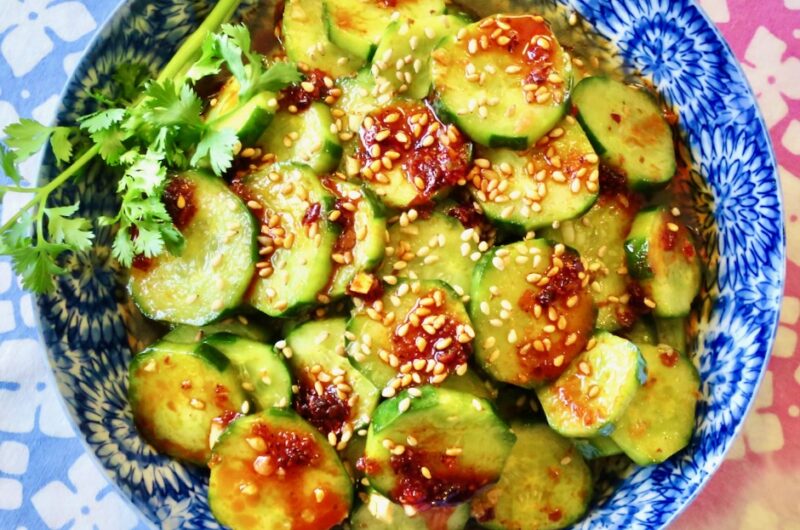
Sprinkle roasted sesame seeds over the cucumbers and additional chili crisp just before serving. The cucumbers go well with grilled teriyaki meat sticks, grilled tofu, or just about any grilled protein or noodle dish. Being and Island girl, I am thoroughly content eating these cucumbers with a bowl of hot rice!

Taiwanese Cucumber Salad

Recipe by Kiyo
Servings

4

servings

Adapted from TJ Lee at The Kitchn

Ingredients

  • 1 pound Japanese cucumbers (substitute with Persian)

  • 1/2 teaspoon kosher salt

  • 2 medium garlic cloves, finely minced

  • 1/4 cup rice vinegar

  • 2 tablespoons mirin

  • 2 teaspoons granulated sugar (1 tablespoon for a sweeter sauce)

  • 2 teaspoons sesame oil (Kadoya is a good choice)

  • 2 teaspoons chili crisp, such as Zindrew + more for serving

  • 1 teaspoon roasted sesame seeds

Directions

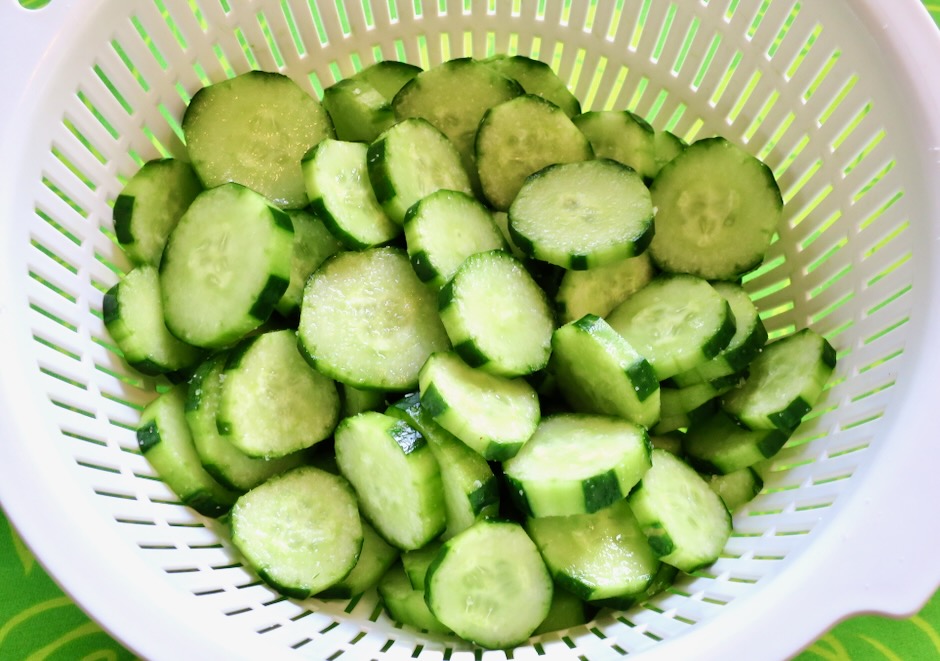
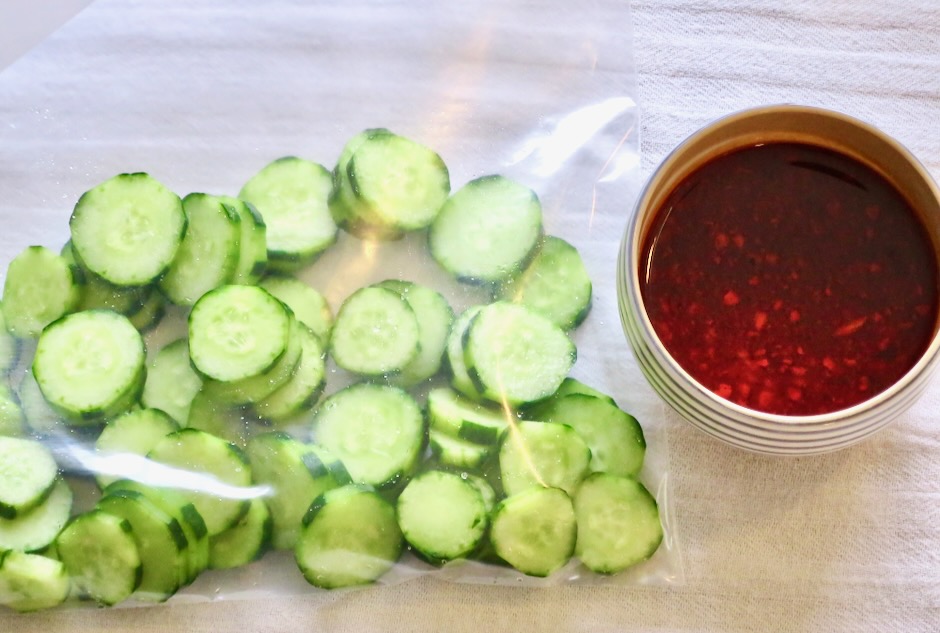
  • Trim and cut cucumbers into 1/3-inch rounds. Place in a colander set over a bowl, sprinkle with 1/2 teaspoon kosher salt. Toss to combine. Let sit for 20 minutes.
  • Meanwhile, in a small bowl, combine rice vinegar, mirin, and sugar. Stir until sugar has dissolved. Add minced garlic, sesame oil, and 2 teaspoons chili crisp to the bowl.
  • Rinse cucumbers under cold running water. Pat dry with towels. Place cucumbers in a large zip-top bag and add marinade. Seal the bag and lay flat in the refrigerator so that the cucumbers are mostly in a single layer. Marinate for 4 hours (or overnight) turning the bag occasionally.
  • To serve, remove the cucumbers from the marinade and place in a low-sided serving bowl (a small amount of the marinade in the bowl is fine). Sprinkle sesame seeds over the top and drizzle with extra chili crisp. Serve cold.
Appetizers, Lactose Free, Pickles, Recipes, Side Dishes, Vegan, Vegetarian, Veggies

Turmeric Pickled Cauliflower

August 21, 2022

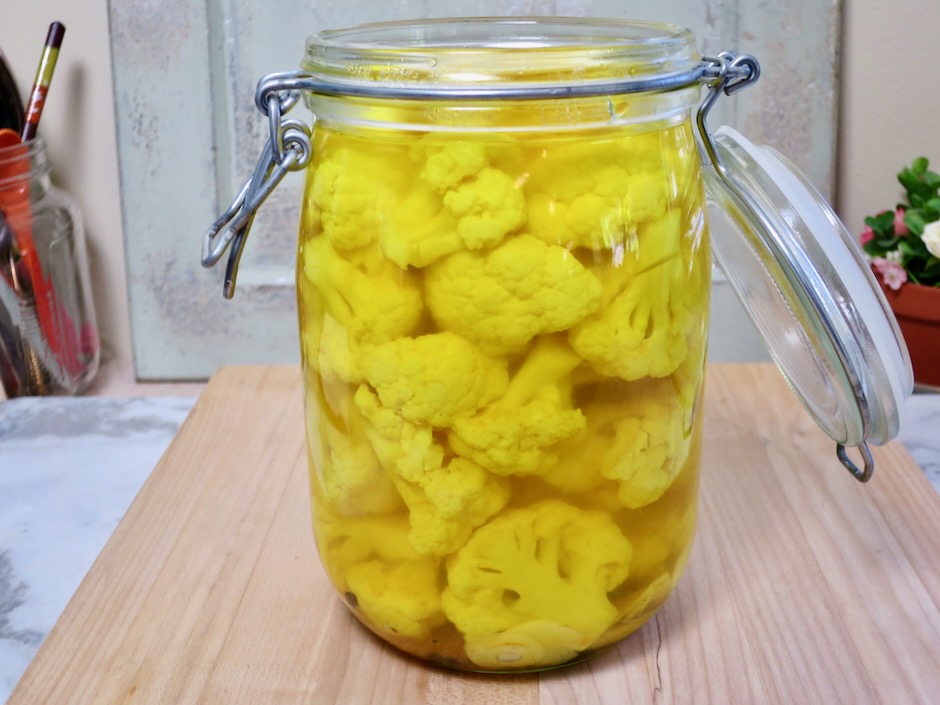
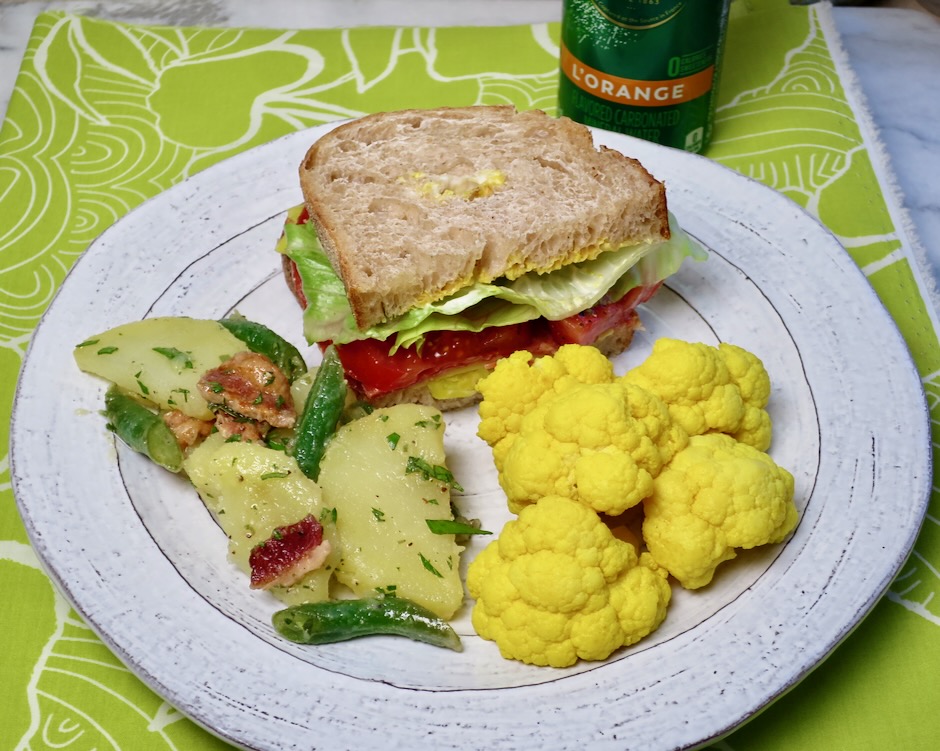
These crunchy cauliflower pickles are now a staple alongside the cucumber and green bean pickles we regularly make. Their crisp texture and tangy flavor are addictive. Our homemade sandwiches are always served with a side of pickles.

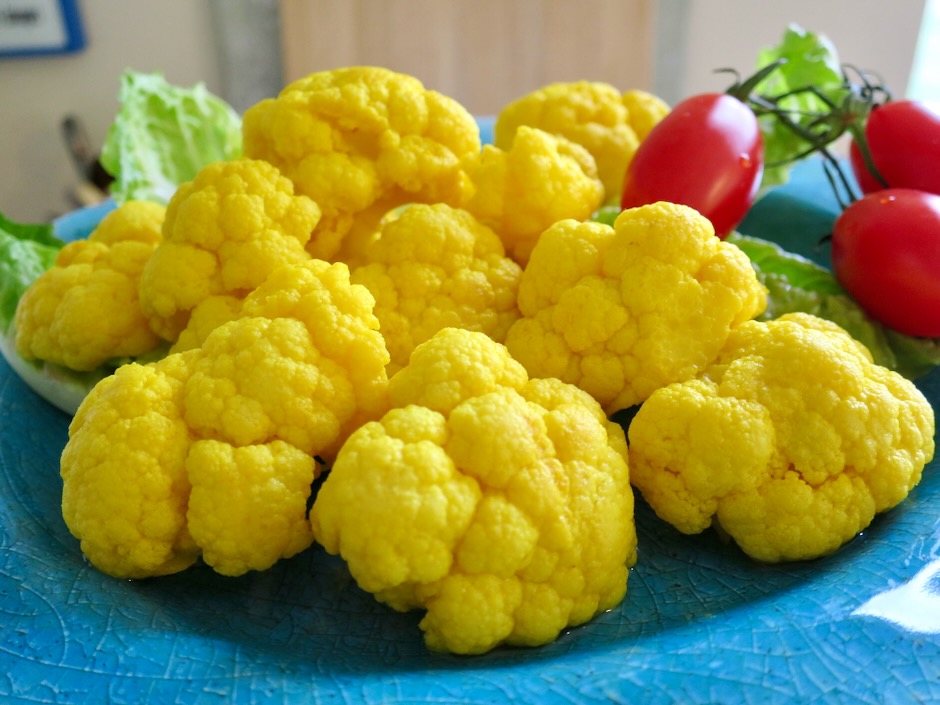
Turmeric gives these cauliflower pickles their vibrant color. Not only are they beautiful to look at, they are incredibly tasty. With just a few ingredients and a bit of patience, these crunchy pickles will become a favorite of yours.

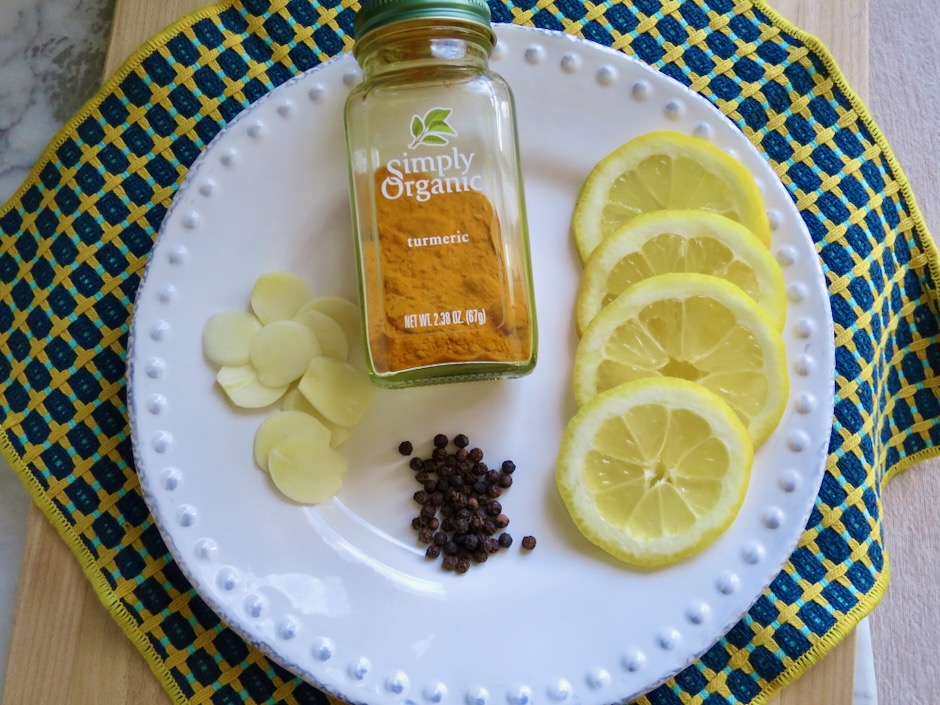
A little turmeric goes a long way. Be careful when using turmeric with plastic and rubber utensils as the turmeric can stain them. If you have a light colored work surface it is best to place a mat or cutting board on your counter to avoid the risk of staining them. Sometimes I use a clean paper grocery bag as my work surface. It will soak up small drips that may have accidentally have fallen when transferring the cauliflower and brine to the pickle jar.

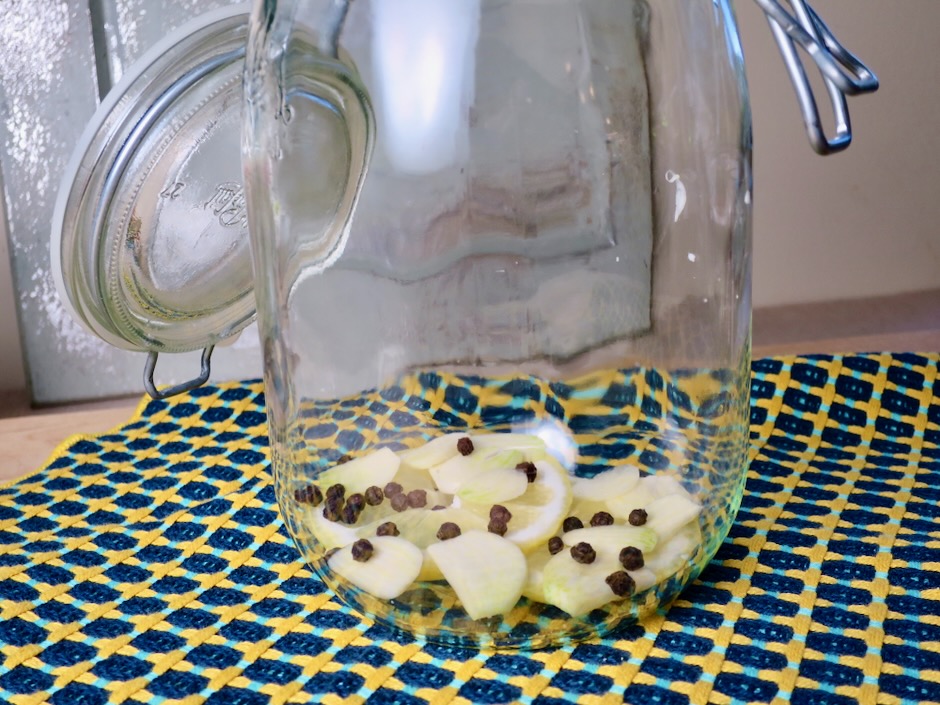
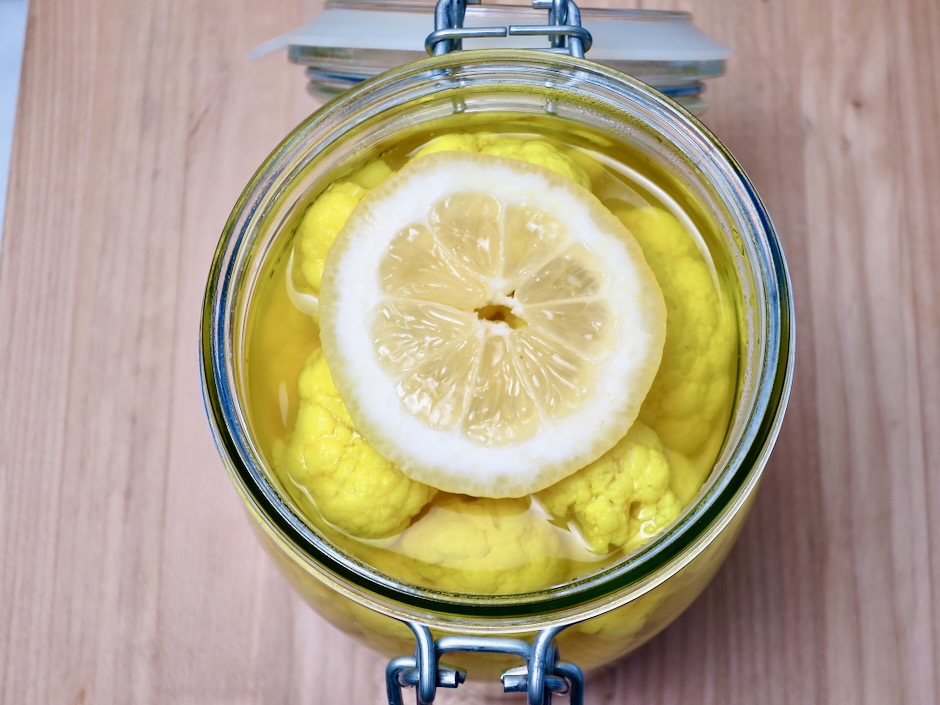
Thinly sliced garlic, a few lemon slices, and black peppercorns are placed on the bottom of the jar before adding the cauliflower and brine.

Top the cauliflower with a slice or two of lemon. Let cool for a bit, cover and refrigerate until thoroughly chilled.

These beauties are perfect to serve as an appetizer with cheese, salami and crackers or simply served with your favorite sandwich.

Turmeric Pickled Cauliflower

Recipe by Kiyo

Recipe adapted from Vanns Spices. Makes approximately 1 quart.

Ingredients

  • 1 medium head cauliflower, about 1 3/4 pounds

  • 1 1/2 cups distilled white vinegar

  • 1 1/2 cups filtered water

  • 1 1/2 teaspoons ground turmeric

  • 2 teaspoons kosher salt

  • 2 teaspoons granulated sugar

  • 4 lemon slices

  • 3/4 teaspoon whole black peppercorns

  • 2 medium garlic cloves, peeled and thinly sliced

Directions

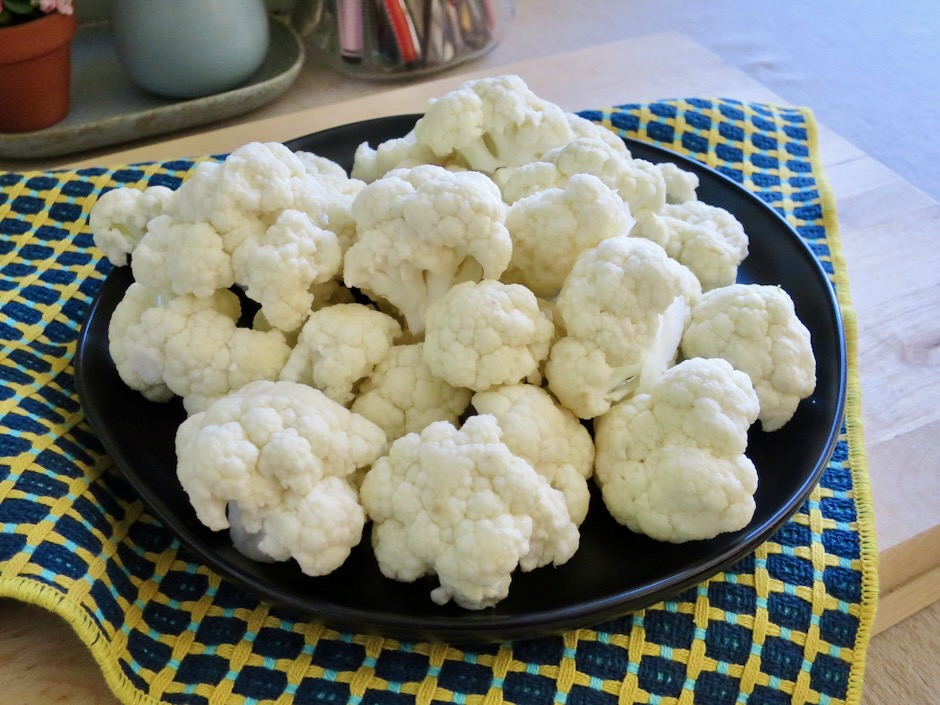
  • Rinse cauliflower and cut into small florets. Remove as much of the stem as possible.
  • Combine vinegar, water, turmeric, salt, and sugar in a medium saucepan (large enough to hold the cauliflower florets) and bring to a boil over medium-high heat.
  • Place two slices of lemon on the bottom of a clean quart jar, followed by the garlic and peppercorns.
  • When the brine comes to a boil, add the cauliflower and stir, trying to get as much of the cauliflower submerged in the brine as possible. Bring back to a rolling boil. Turn off heat, and transfer cauliflower florets to the jar using tongs (A canning funnel works great if you have one).
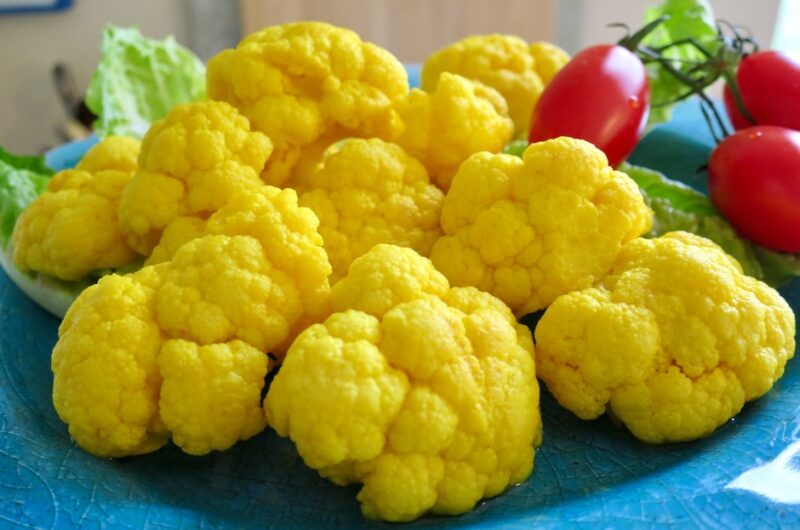
  • If you prefer a clearer brine, strain it using a double layer of cheese cloth placed over a small strainer. Pour brine into the jar making sure all of the cauliflower is submerged. Top with the remaining two slices of lemon.
  • Cap the jar and allow to sit on the countertop until cooled to warm or room temperature. Transfer to the refrigerator. The pickles will be ready to eat in 24 hours.

Lactose Free, Pickles, Recipes, Summertime Meal, Vegan, Vegetarian, Veggies

Quick Dill Pickle Chips

May 28, 2022

Quick Dill Pickle Chips

Crispy, tangy and refreshing quick dill pickle chips are so easy to make and perfect for your summer picnics. We love pickles and always have an assortment in our refrigerator to serve with sandwiches or for a quick snack.  These dill chips are ready in just a few hours.  

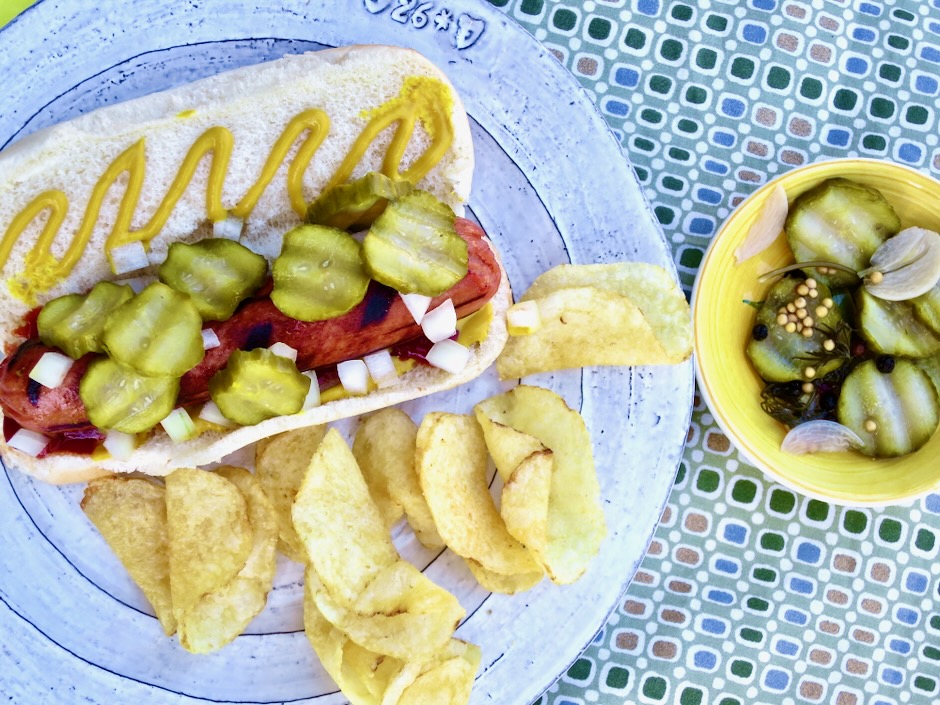
Quick Dill Pickle Chips on Grilled Hot Dog

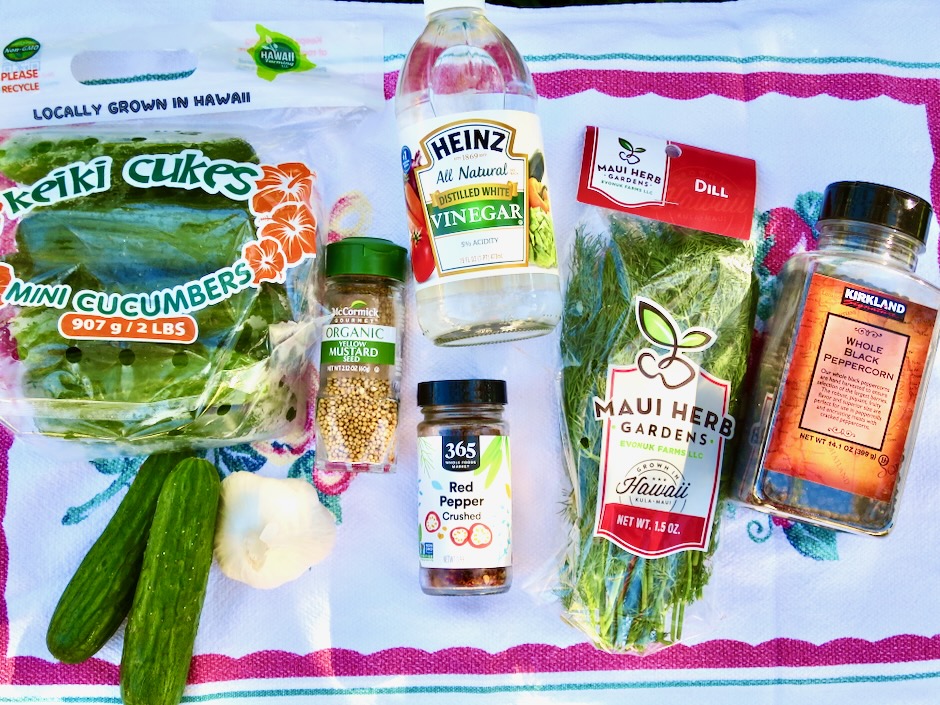
Quick Dill Pickle Chips Ingredients

Kirby cucumbers are typically used for pickles but are rarely found here on Maui.  Our locally grown Keiki Cukes are the perfect substitution.  They are small and crispy with very few seeds.  We have successfully used these for canning whole dill pickles as well as spears.  They are sold at all of our local markets as well as Costco.

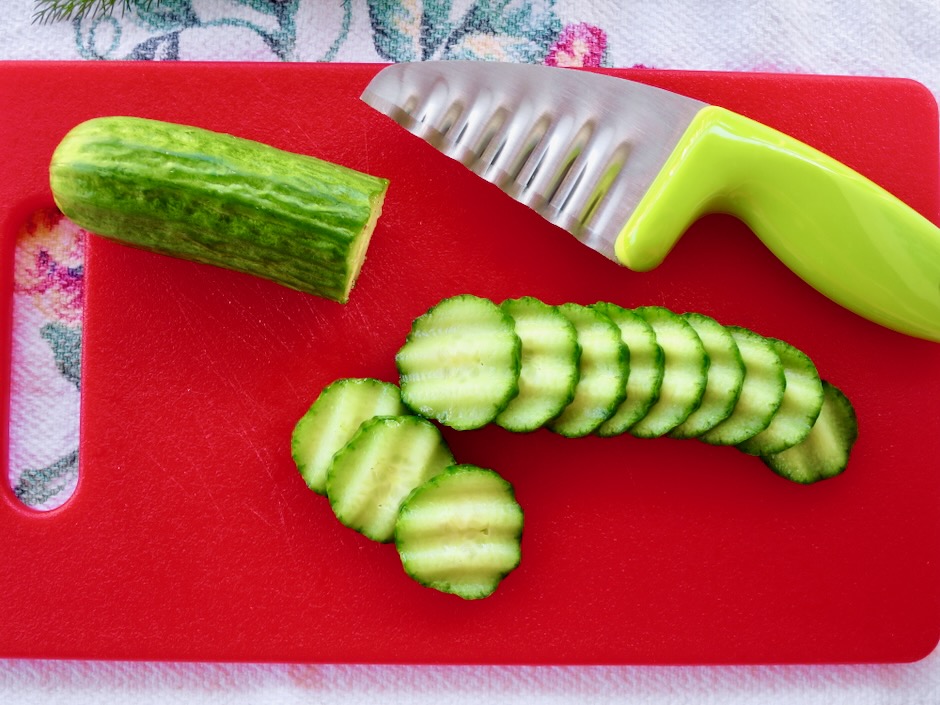
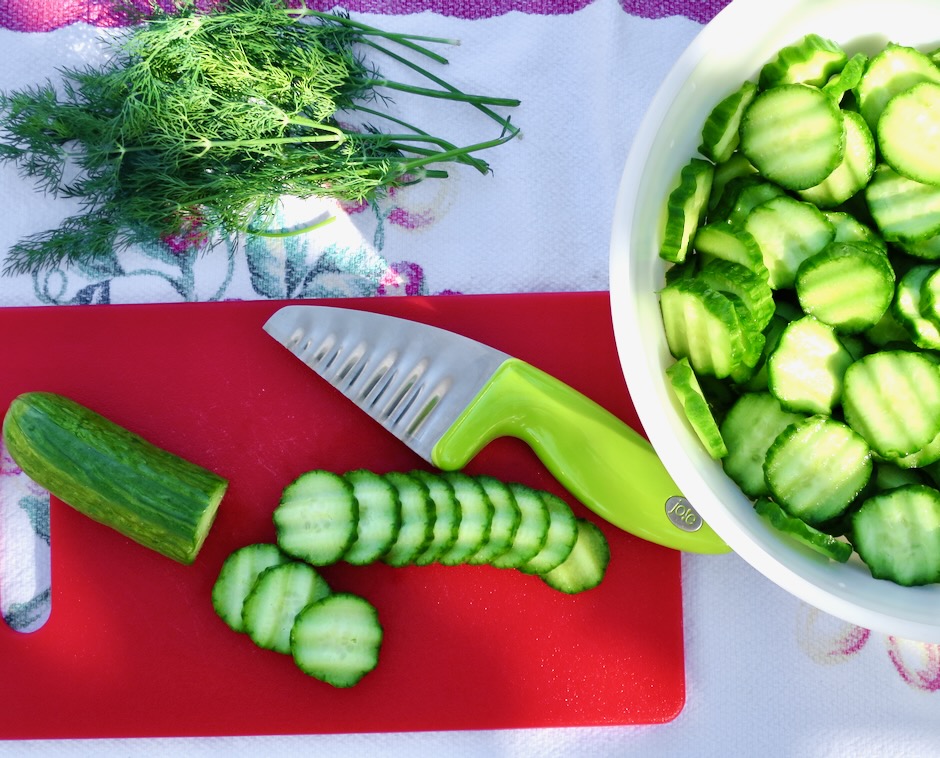
Sliced Keiki Cukes

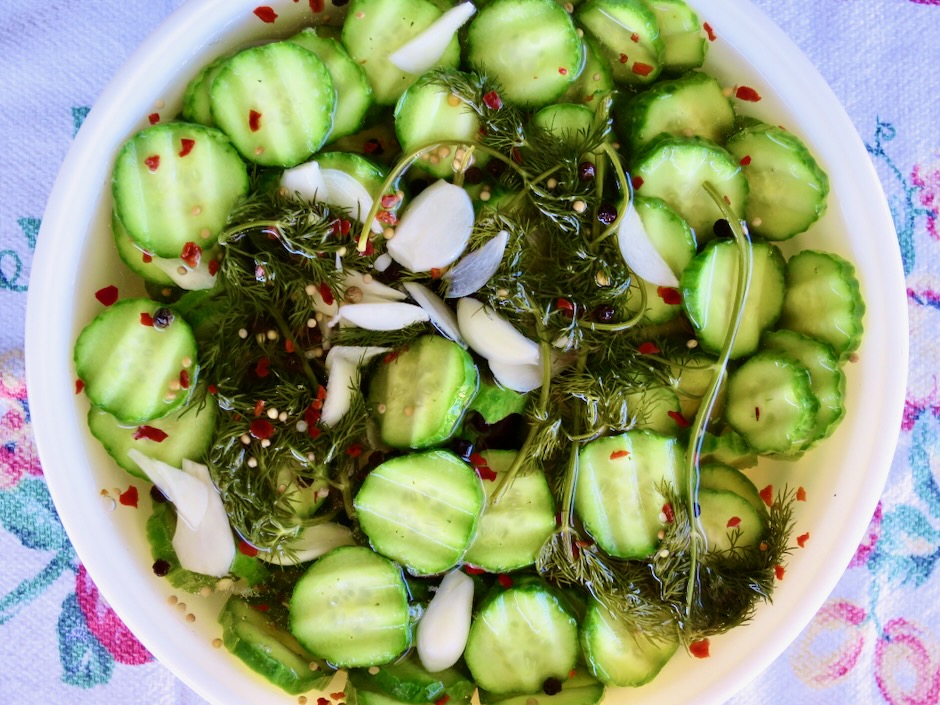
This crinkle cutter gives the cucumber slices scalloped edges which is sort of fun but of course is optional.

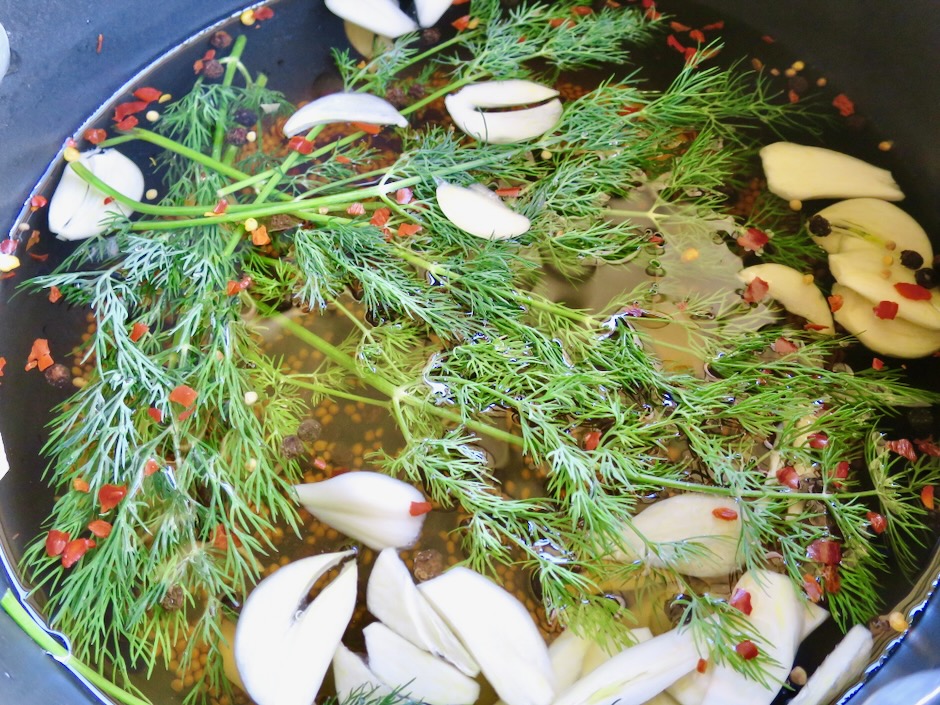
Quick Dill Pickle Chips Brine

The brine for the pickles couldn’t be easier.  The ingredients go into a pot until the mixture simmers, then poured over the sliced cucumbers.  That’s it!

Quick Dill Pickle Chips

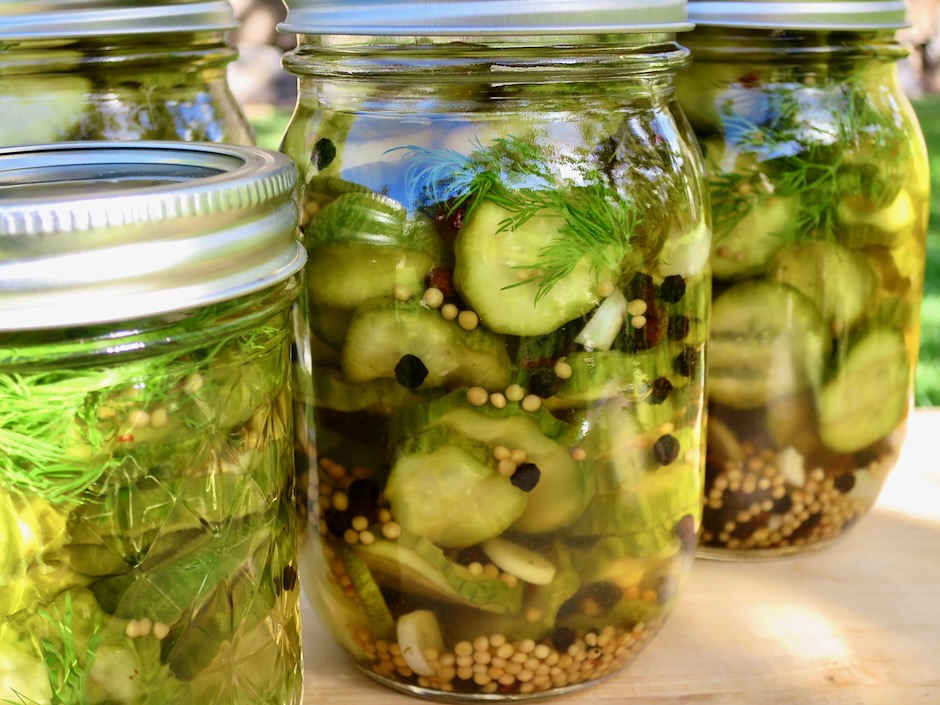
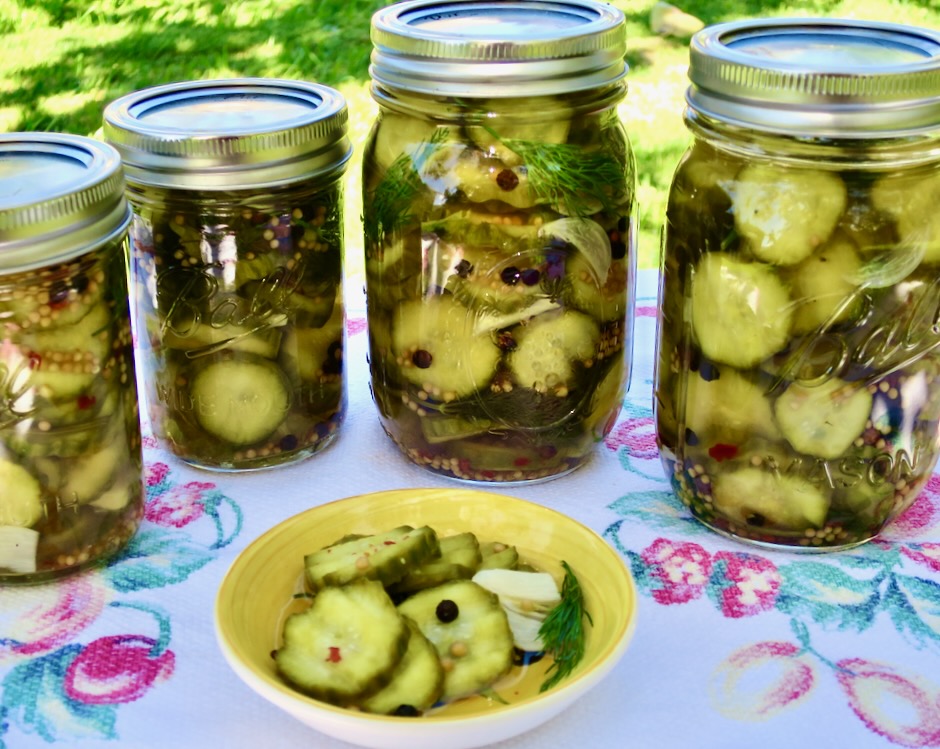
Use a large bowl or mason jars to brine the cucumber slices.  This recipe makes enough pickles for three pint jars.  Surprise your neighbor with a jar of these crunchy pickles.

Quick Dill Pickle Chips

Quick Dill Pickle Chips on Grilled Hot Dog

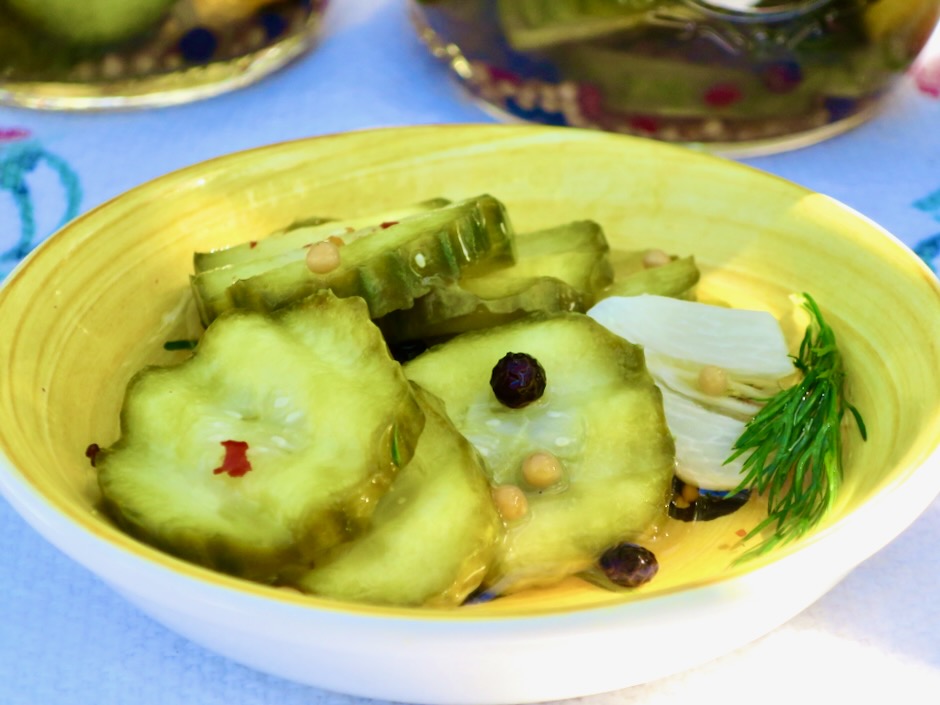
The dill pickle chips are best eaten once they have been chilled thoroughly.  Pile them on hotdogs, sandwiches, burgers or chop finely and mix into potato salads.

Quick Dill Pickle Chips

Quick Dill Pickle Chips
 
Adapted from Serious Eats
Author:
Serves: 3 pint jars
Ingredients
  • 1½ pounds Keiki Cukes (or Kirby cucumbers), thinly sliced
  • 3 cups water
  • 3 cups distilled white vinegar
  • 2 tablespoons kosher salt (I use Diamond Crystal)
  • 2 tablespoons sugar
  • ½ teaspoon red pepper flakes
  • 4 medium garlic cloves, thinly sliced
  • 2 tablespoons black peppercorns
  • 2 tablespoons mustard seeds
  • 10 sprigs fresh dill
Preparation
  1. Place cucumber slices in a large bowl or pack in mason jars.
  2. Heat water, vinegar salt, sugar, red pepper flakes, garlic, black peppercorns, mustard seeds, and dill in a large pot over high heat until salt has dissolved and the mixture is simmering. Immediately pour brine over the cucumbers, making sure they are submerged in the brine. Let cool for 30 minutes. Cover the bowl or jars, and refrigerate until thoroughly chilled. Store for up to a month.


Lactose Free, Mexican, Pickles, Recipes, Side Dishes, Vegan, Vegetarian, Veggies

Quick Jalapeño Nacho Rings

March 17, 2022

Quick Jalapeño Nacho Rings

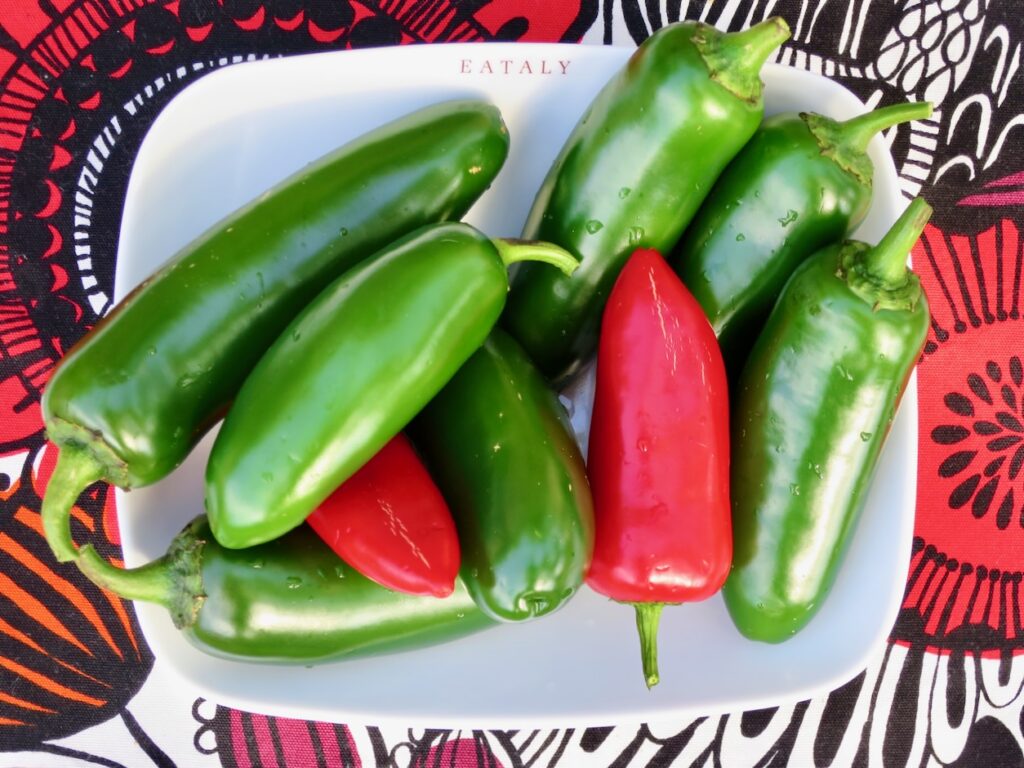
Most every year John grows a variety of jalapeños which he prepares and cans as nacho rings and hot sauce. We skipped a year and our jalapeño stash ran out.  Not good!  Especially because we love Mexican dishes and cook them often.  I bought a couple of supermarket pickled jalapeños and ended up throwing out two of the three jars, and kept one out of desperation.  Their mushy texture was a real let down.

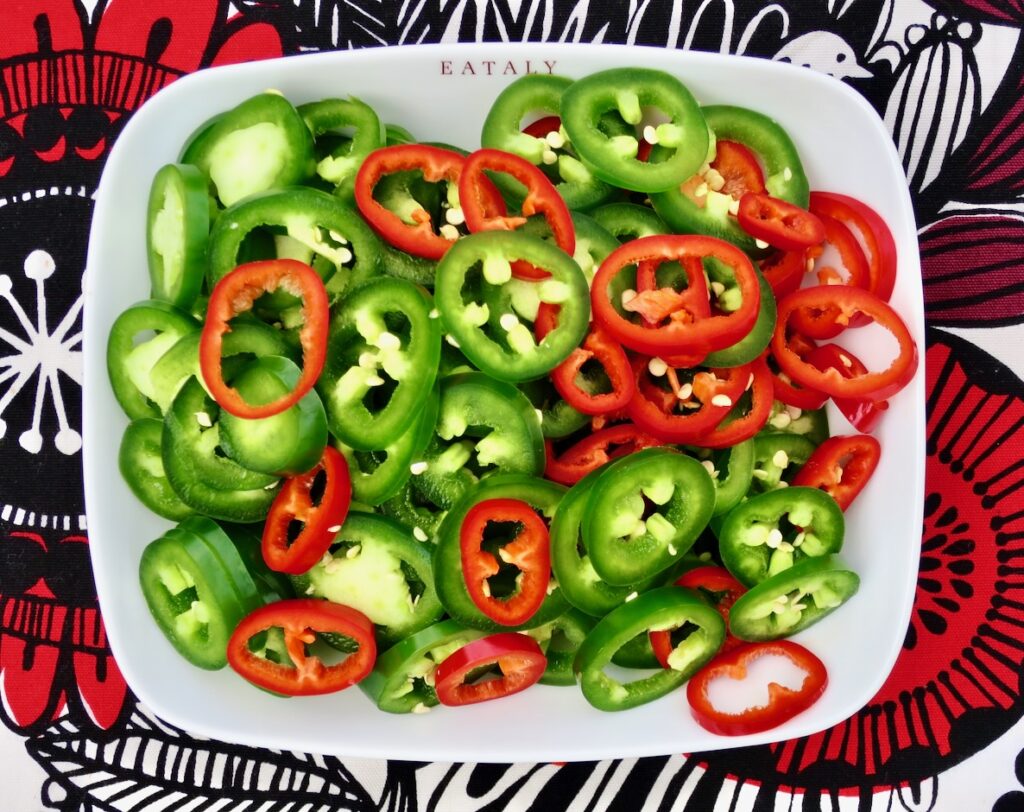
Sliced Fresh Jalapeños & Fresnos

Something had to give, so I bought fresh jalapeños and a few Fresno peppers for their beautiful bright red color and made a batch of quick nacho rings. They turned out to be just what we needed on short notice.

Sliced Fresh Jalapeños & Fresnos

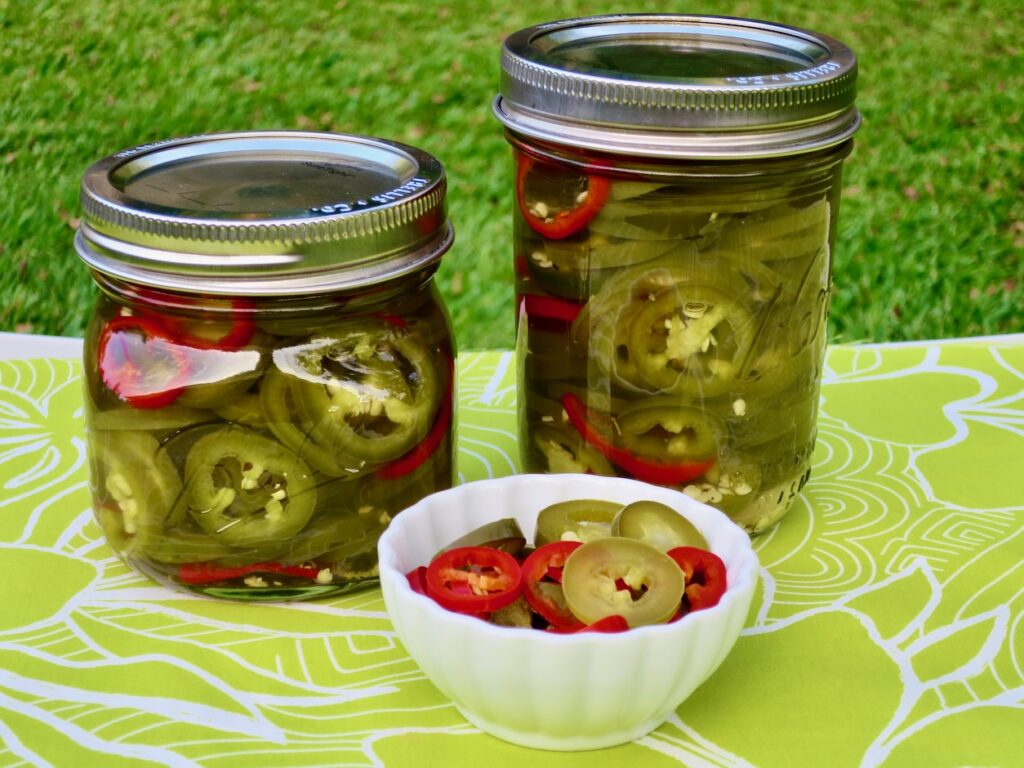
Use green or a combination of green and red peppers for a colorful jar of nacho rings.

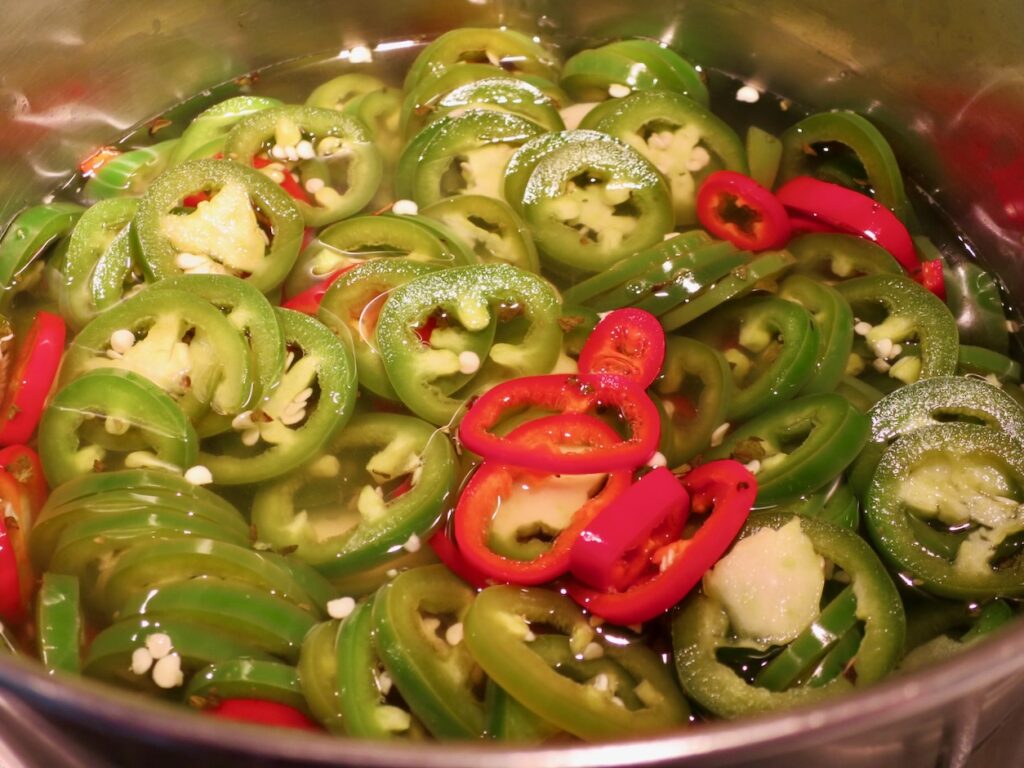
Peppers in Brine

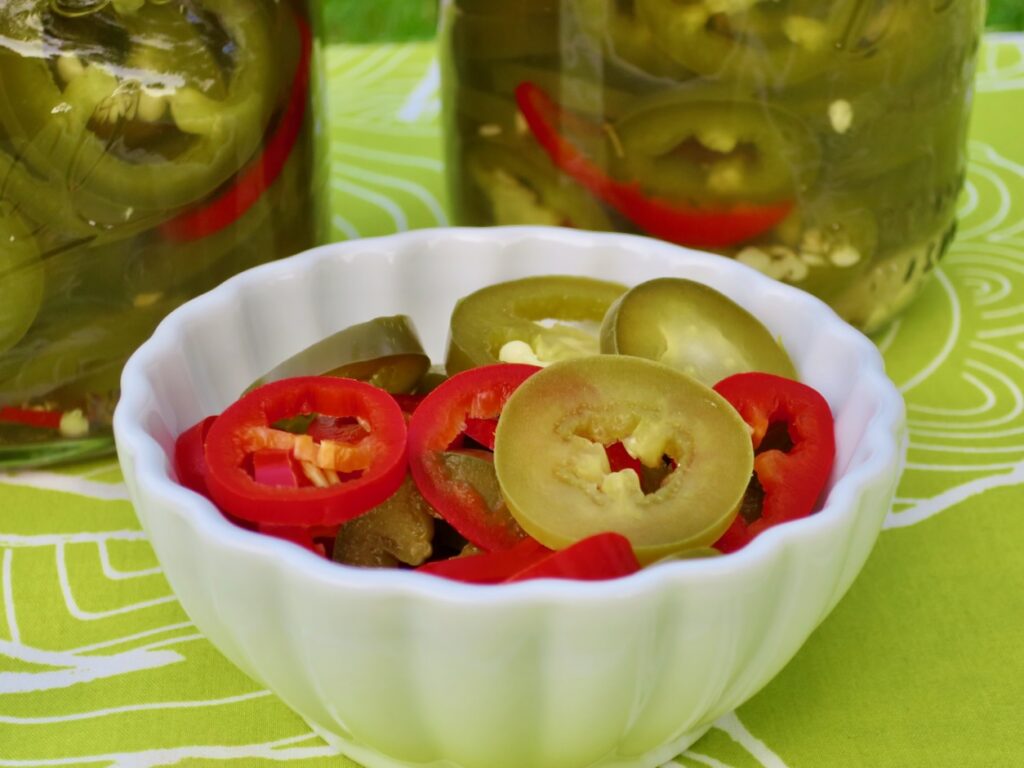
Quick Jalapeño Nacho Rings

We use the jalapeños in quesadillas, tacos, burritos, Mexican cabbage slaw, and nachos.  They are crisp, tart and delicious.

Quick Jalapeño Nacho Rings on Tacos

Quick Jalapeño Nacho Rings
 
Author:
Serves: 2 pint jars
Ingredients
  • 1 pound fresh jalapeños
  • 1¼ cup white vinegar
  • 1¼ cup water
  • 2 tablespoons granulated sugar
  • 1 teaspoon salt
  • 1 medium garlic clove cut in half and smashed
  • few dashes of dried oregano
Preparation
  1. Slice jalapeños into rings and set aside while you make the brine.
  2. Combine vinegar, water sugar, salt, garlic and dried oregano in a pot large enough to hold the jalapeños. Bring brine to a boil. Turn off heat and add jalapeños to the brine. Let sit for about 10 minutes then transfer to mason jars. Let cool on a rack for 20 minutes or so, before refrigerating to chill completely. The jalapeños will become delightfully crisp and will keep for about a month.


Follow

Get every new post delivered to your Inbox

Join other followers: