Browsing Category

Mexican

Canning, Mexican, Pickles, Recipes, Veggies

Jalapeño Nacho Rings

June 7, 2014

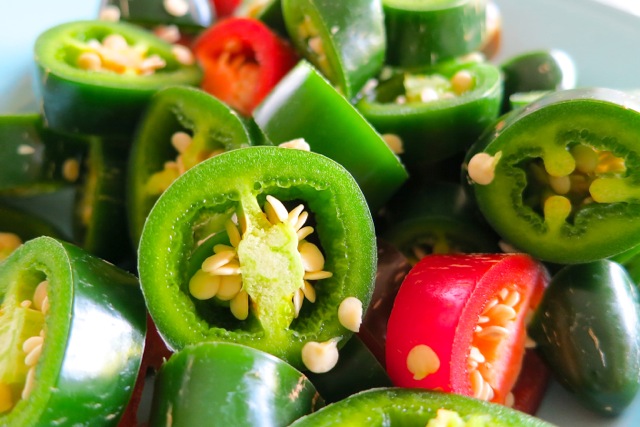
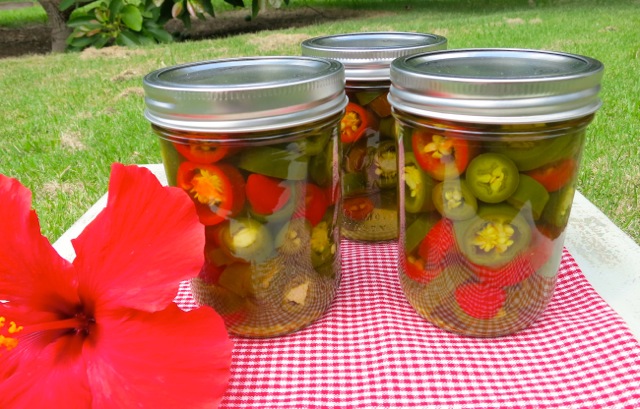
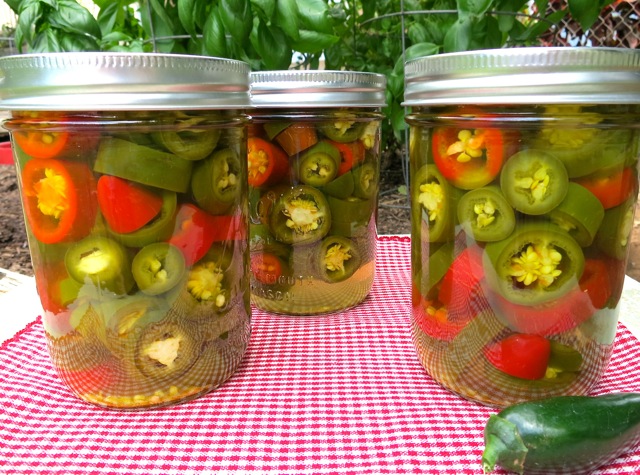
Jalapeño Nacho RingsWe love jalapeños.  They seem to thrive in the Maui heat.  Apparently hot climates produce hot peppers!  The red peppers are the fully mature stage of the jalapeño and add beautiful color mixed with the younger green jalapeños.
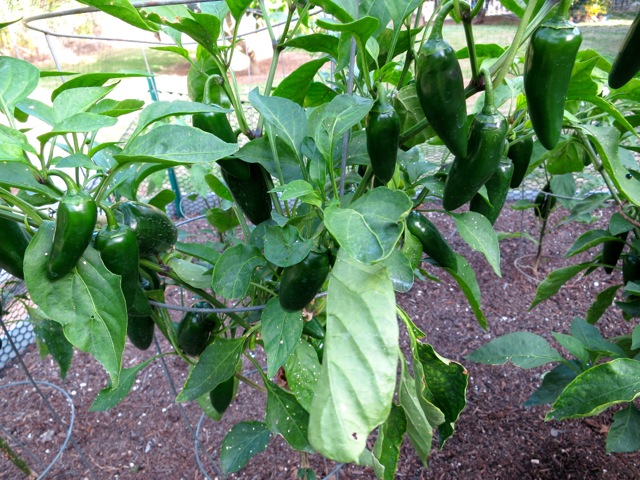
Jalapeño Plants  We now have 10 jalapeño plants in the garden.  We make both pickled nacho rings and jalapeño hot sauce .

Jalapeño Nacho Rings

Pickled Jalapeños

Makes 4 pint jars

Ingredients

2 pounds fresh jalapeño peppers

2 1/2 cups white vinegar

2 1/2 cups water (distilled or filtered)

5 teaspoons pickling salt

1/4 teaspoon turmeric

1 1/4 teaspoons calcium chloride (Ball brand Pickle Crisp)

4  2-inch sprigs fresh Mexican oregano (optional)

Preparation

Wash jalapeños and slice into 1/4 to 1/3 inch rings. It’s a good idea to wear disposable gloves when cutting peppers. Divide sliced peppers into 4 equal portions.

Wash jars and place them in boiling-water canner.  Fill the jars and canner with water to the top of the jars.  Cover and bring water to a simmer over medium heat, do not boil.  Prepare the two-piece closures.  Wash lids and place in a small saucepan and cover with water.  Heat to just a simmer but do not boil.  Do not heat screw bands.

In a medium-sized saucepan add remaining ingredients except oregano sprigs.  Bring to a boil, then simmer for 5 minutes on low heat.

Lift the canner jar rack and fix into place on the rim of the canner. Remove one jar at a time and empty hot water back into the canner. Place jar on a cutting board. Place a canning funnel in the jar.  Add 1 oregano sprig to the jar, pack jar with portioned jalapeño rings. Ladle hot brine into jar leaving 1/2-inch head space.  Remove air bubbles (with a chopstick or similar utensil) and adjust head space, if necessary, by adding more brine.  Wipe jar rim. Using a magnetic utensil, lift hot lid from water, center it on the  jar and place screw band on jar.  Tighten screw band evenly and firmly just until resistance is met.  Then increase to fingertip tight.  Do not over tighten.  Return jar to canner rack.  Continue filling jars individually until all jars are filled, lower rack into canner and ensure that all jars are covered by 1 inch of water.  Cover canner and bring water to a full boil over high heat.  Process for 10 minutes, starting timer only when water reaches a full boil. Turn off the heat, let jars sit in pot for 5 minutes.

Remove jars from water, and let stand,  undisturbed, at room temperature 24 hours.  To check seals, remove the bands, and press down on the center of each lid.  If the lid doesn’t move, the jar is sealed.  If the lid depresses and pops up again, the jar is not sealed.  In the event that a jar does not seal, simply refrigerate it. Store properly sealed jars in a cool, dark place up to 1 year (date your jars on the bottom with a Sharpie pen)  Refrigerate after opening.


Appetizers, Mexican, Recipes, Vegetarian, Veggies

Tomatillo Salsa with Avocado

February 24, 2014

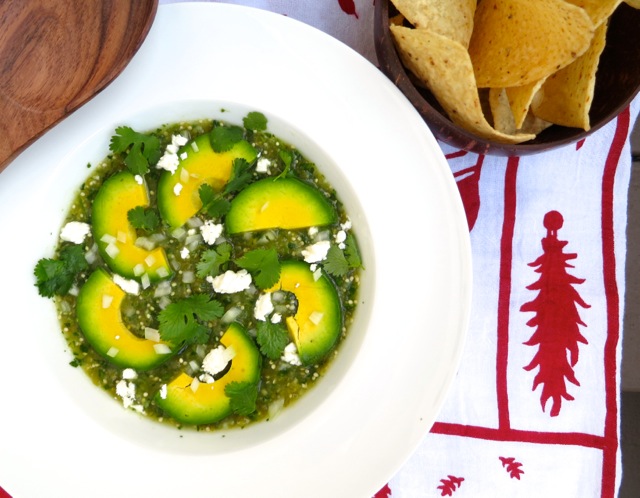
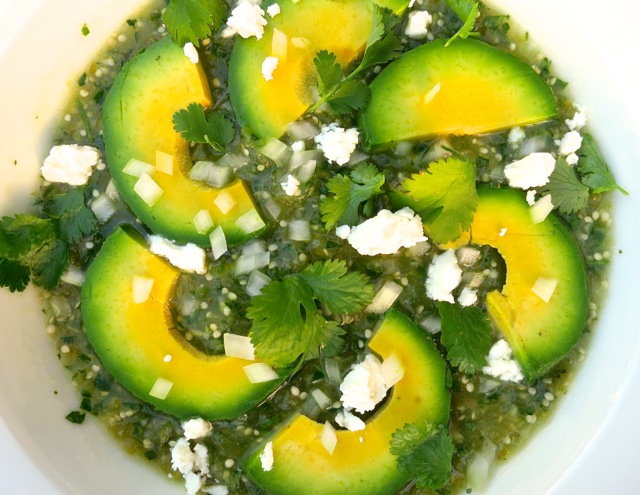
Tomatillo Salsa with Avocado & FetaI’m still sifting through the recipes in the “Mexico” Issue of Saveur magazine. This is one of my all time favorite Saveur publications.  Equally excellent is the Everything You Need To Know About Filet Mignon issue (that is another story altogether).

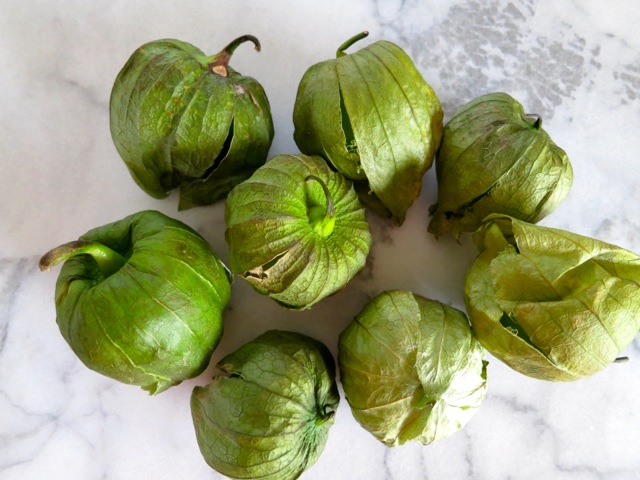
Fresh TomatillosDiana Kennedy, originally from the UK moved to Mexico in 1957 with her husband Paul Kennedy. Often referred to as the Julia Child of Mexico, Diana is considered the leading researcher, teacher, and writer on the regional foods of Mexico, and for good reason.  Here  I adapted her simple, delicious, salsa recipe that anyone can make at home with ingredients that are easy to find at your market.

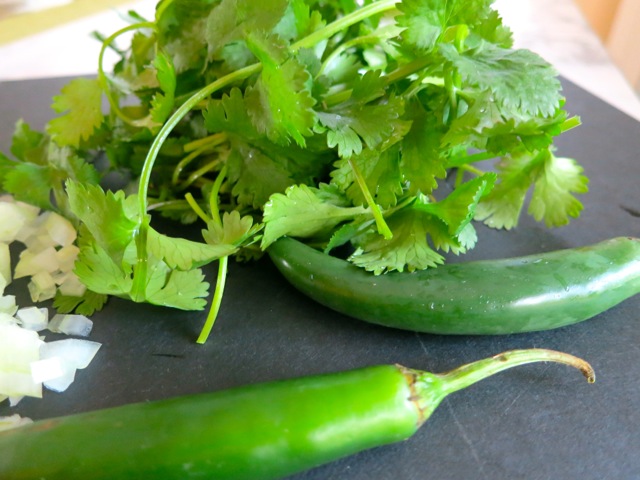
Serranos, Onion, Cilantro

Tomatillo Salsa with Avocado & Feta

Tomatillo Salsa with Avocado ~ Salsa de Albañil

Adapted from Saveur Magazine – The Mexico Issue

Serves 4

Ingredients

8 oz. tomatillos, husks removed, rinsed

1/3 cup roughly chopped cilantro

1/4 cup minced, white onion

2 serrano chiles, stemmed, seeded, and finely chopped

1 clove garlic, minced

Kosher salt to taste

2 oz. feta cheese, crumbled (or queso fresco)

1 avocado, halved, pitted, peeled and cut into slices

tortilla chips or warm tortillas for serving

Preparation

Bring tomatillos and 4 cups water to a boil in a 4-quart saucepan; cook until tomatillos are just soft, 4 – 5 minutes.  Drain and set aside to cool.

Place tomatillos, 1/3 cup cilantro, 2 tablespoons onion, chiles, garlic and salt in a blender or food processor, pulse until slightly chunky.  Pour salsa into a serving dish and layer avocado slices over salsa.  Sprinkle on feta and remaining cilantro and onion.  Serve with tortilla chips, warm tortillas, quesadillas or burritos.


Appetizers, Mexican, Recipes, Side Dishes, Vegan, Vegetarian

Guacamole ~ Alton Brown Style

January 24, 2014

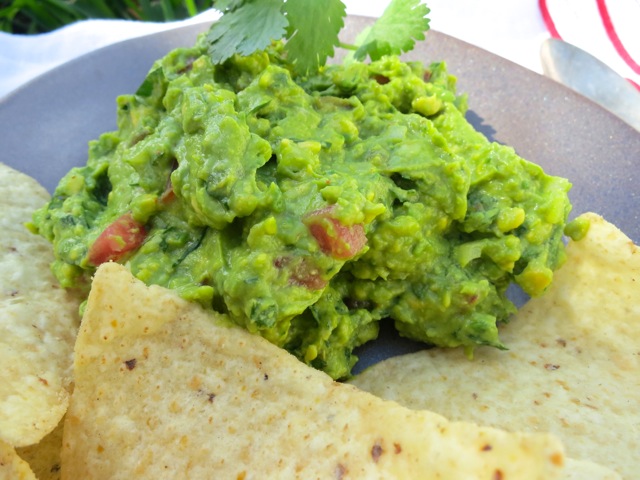
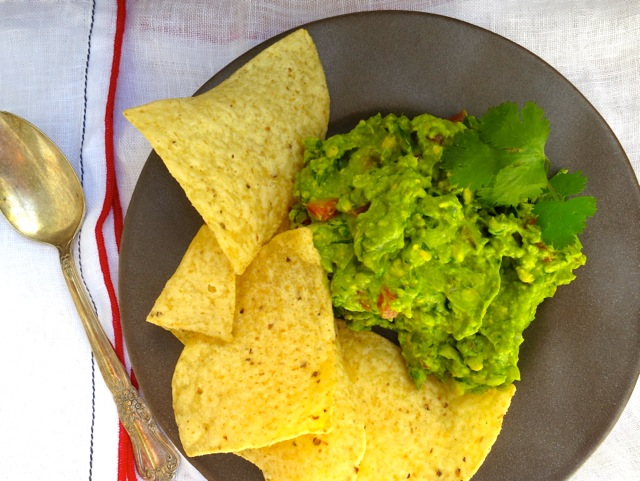
Guacamole and ChipsOur two avocado trees, a Green Gold and Sharwil bear fruit in the winter and spring.  The trees are currently loaded with fruit so we are enjoying avocados in numerous ways: avocado on toast, avocado salad, and plenty of guacamole.  And, of course, the guacamole is a natural with all manner of Mexican dishes such as quesadillas, tacos, enchiladas, tostadas and burritos.  We love all of these dishes!

Cilantro Guacamole is such an easy side dish to throw together.  If you have good, creamy avocados  as we do, you can simply mash them with salt and lime juice and slather it on a quesadilla.  Given a bit more time to chop up a few ingredients, this recipe from Alton Brown is excellent.  All the ingredients meld together beautifully and the end result is a fantastic guacamole.

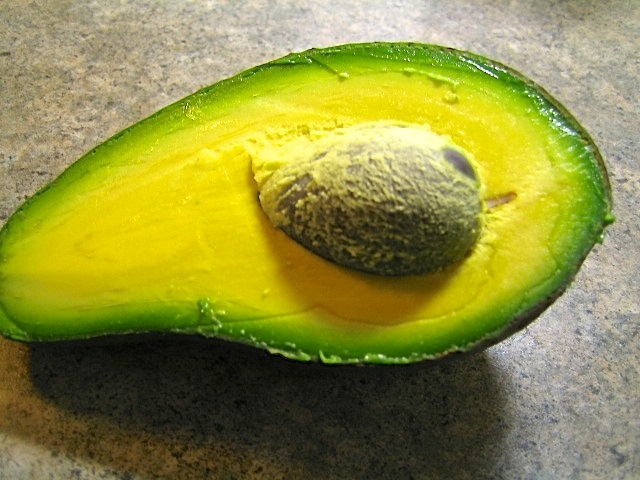
Sharwil AvocadoSharwil avocado is rich and creamy, my favorite avocado.

Guacamole Alton Brown Style

Guacamole ~ Alton Brown Style

Adapted from Alton Brown’s recipe

2 generous servings

Ingredients

2 Sharwil or Haas avocados

1 lime, juiced

1/4 – 1/2 teaspoon kosher salt

1/4 heaping teaspoon ground cumin

1/4 teaspoon cayenne

2 tablespoons finely diced onion

3 rings of pickled jalapeño, minced (or more depending on how hot they are)

1/4 cup finely diced tomato

1 tablespoon finely chopped cilantro

1 small garlic clove, minced

Preparation

In a large bowl place the scooped avocado pulp and lime juice, toss to coat.  Use a potato masher, add salt, cumin and cayenne and mash.  Fold in the onions, jalapeño, tomatoes, cilantro and garlic.  Season to taste with extra lime juice.  Serve right away.


Chicken, Mexican, Recipes

Enchiladas Suizas

December 24, 2013

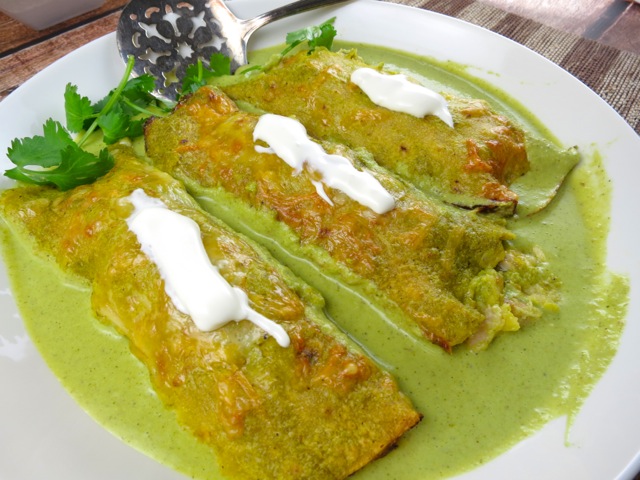
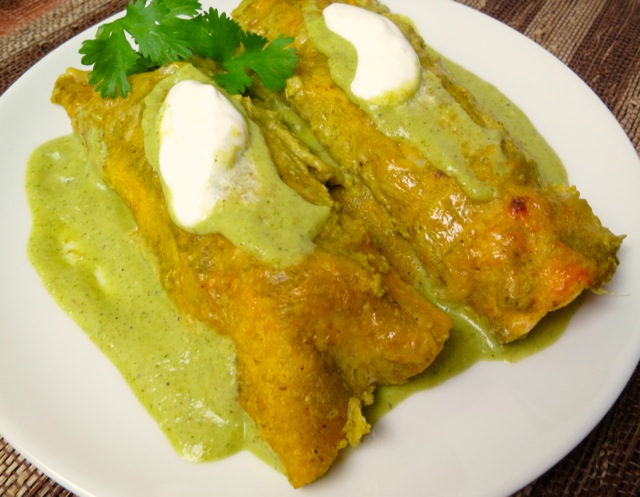
Enchiladas SuizasIf you are a fan of Saveur magazine as I am, you may recall The Mexico Issue (Aug/Sept 2012), loaded with mouth-watering recipes.  As mentioned in the magazine, “the flavors of Mexico are some of the freshest, boldest, and most delicious in the world.”  I couldn’t agree more.  This unique enchilada dish is particularly delectable. Quoting from Saveur, “This cheesy, creamy dish originated at a Sanborns café in Mexico City in 1950. Its name, ‘Swiss enchiladas’ alludes to its copious use of dairy.”

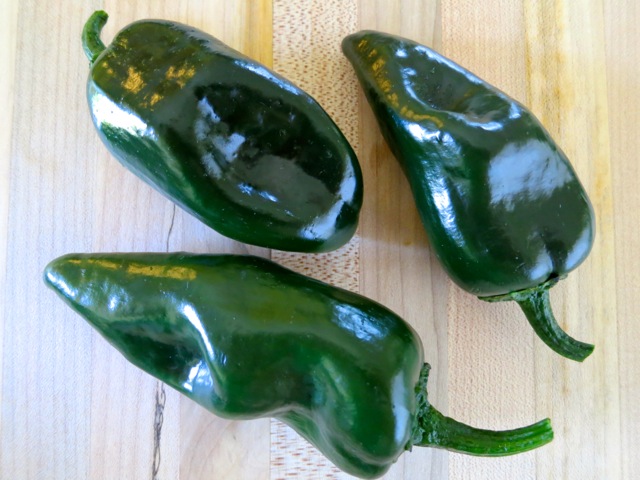
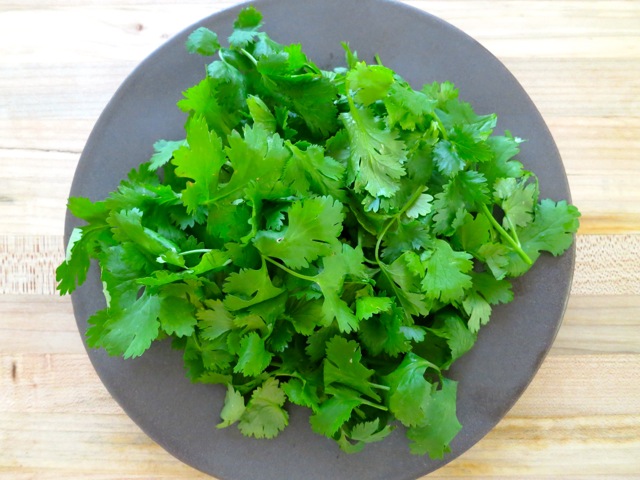
Poblano PeppersPoblano and Serrano peppers, cilantro and tomatillos give the sauce a beautiful green hue. The sour cream adds a subtle richness to the sauce.

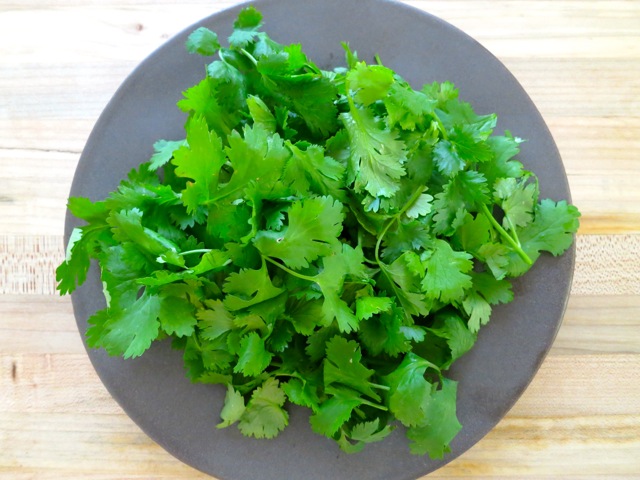
Cilantro

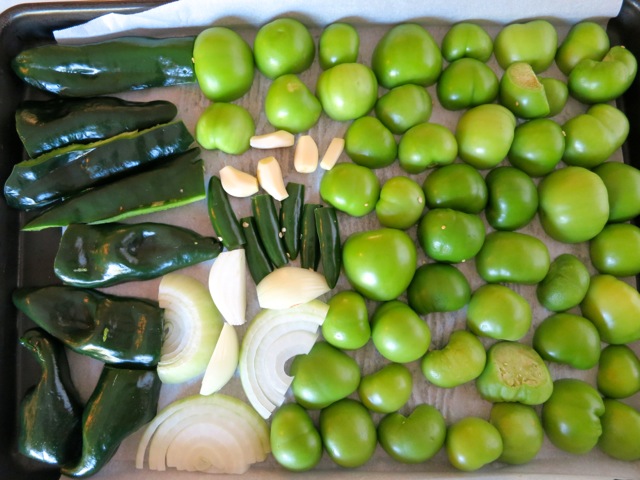
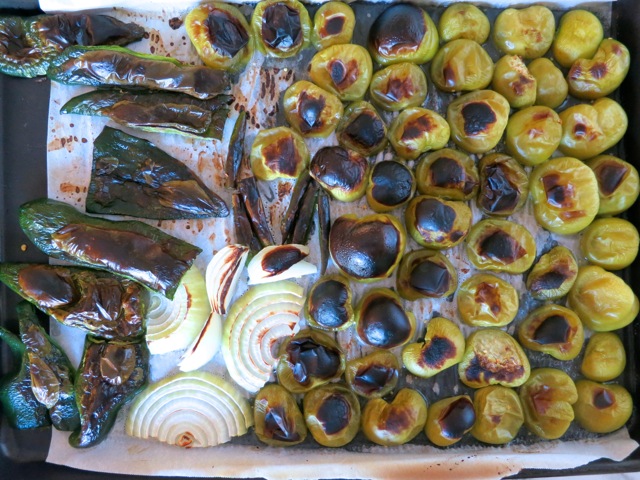
Peppers, Onion, Garlic & TomatillosRoasting the peppers, onions, garlic and tomatillos gives the sauce a slightly sweet and smokey edge and depth of flavor that goes so well with the mild cheese topping.  Roasted Peppers, Onion, Tomatillos

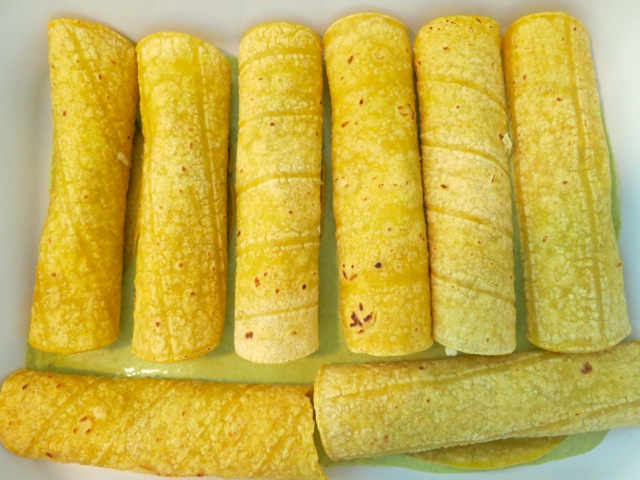
Rolled Enchiladas

Enchiladas Suizas

Enchiladas Suizas

Adapted from Saveur Magazine

Makes 8 large enchiladas

Ingredients

1 1/2 pounds tomatillos, husks removed, rinsed

2 – 4  serrano chiles (depending on how much spice you prefer), stemmed and seeded and cut in half

2 – 3 poblanos, stemmed and seeded and cut in half (if the poblanos are very large use just 2)

1/2 large onion, sliced 1/2 inch thick

4 whole cloves garlic

1 cup roughly chopped cilantro

1 cup sour cream (I used Green Valley Organics lactose free sour cream)

1 cup boiling water

1/2 teaspoon cumin seeds, toasted in a dry sauté pan

1 1/2 teaspoon kosher salt

8  – 6 inch corn tortillas

1 deli roasted chicken, skin and bones removed, shredded

1 cup shredded queso Oaxaca or white cheddar

Preparation

Arrange an oven rack 4″ from the broiler and heat broiler to high.  Place tomatillos, serranos, poblanos, onion and garlic on a foil or parchment lined baking sheet (with sides) and broil, turning as needed, until blackened all over, about 10 minutes (I took the garlic cloves out after roasting for 5 minutes so they wouldn’t burn).  Let cool for about 10 minutes then peel and discard skins from peppers.  I pinched off the blackened areas of the tomatillos too. Roughly chop the poblanos.

Transfer the roasted ingredients to a blender along with the cilantro, sour cream, cumin seeds, and boiling water.  Add the salt and puree until smooth.  Set aside.

Here are my directions for preparing the tortillas from my previous post:

To prepare the corn tortillas – the traditional method is to briefly fry them in oil in a skillet until pliable.  Cook’s Illustrated has developed a method that is faster and uses considerably less oil.  The tortillas are arranged on a cookie sheet and lightly sprayed on both sides with cooking oil (Pam).  They are then baked in a 400 degree oven for about 4 minutes. When done, let them cool and they are ready to be filled and rolled.  Do not skip this step.  It keeps the tortillas intact during the baking process.

Place shredded chicken in a large bowl and toss with 1 cup of the enchilada sauce until evenly coated.  Divide chicken evenly among tortillas and roll tortillas tightly around chicken.  Pour about 1 cup of enchilada sauce in the bottom of a 9″ x 13″ baking dish, and place tortilla rolls in dish, seam side down.  Pour a bit of sauce over rolls, and cover evenly with cheese.

Heat oven to 375 degrees.  Bake enchiladas uncovered, until sauce is bubbling and cheese is melted, about 25 minutes.  Remove from the oven and let cool for 10 minutes.  Serve with extra sauce.


Mexican, Pork, Pressure Cooker, Recipes

Pressure Cooker Carnitas

October 28, 2013

Carnitas with Avocado & CheeseEver since we bought a pressure cooker we’ve been having so much fun trying out new recipes. We also experiment with old braising recipes that once took hours to cook but now cook in a short time but taste every bit as delicious. If you don’t have a pressure cooker, consider buying one. You won’t regret it.

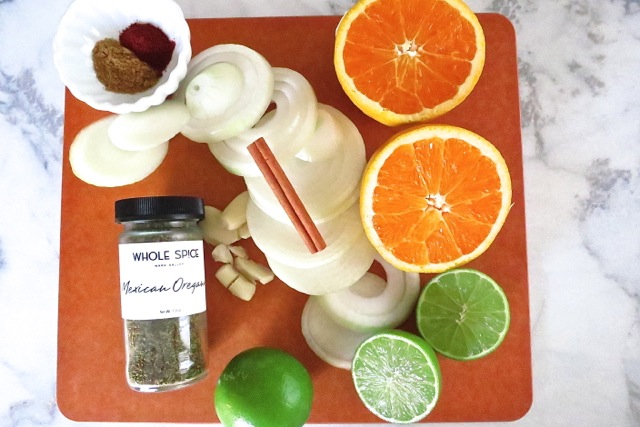
Carnitas Seasoning IngredientsMexican cuisine is notable for its variety as well as its bold, zesty flavors.  These carnitas are no exception. We came across this recipe in an article on pressure cookers in Cuisine At Home magazine.  I found it interesting that the liquid consisted entirely of citrus juice. I was very hesitant to try the recipe but with a bit of coaxing off I went to the market to pick up all the ingredients.

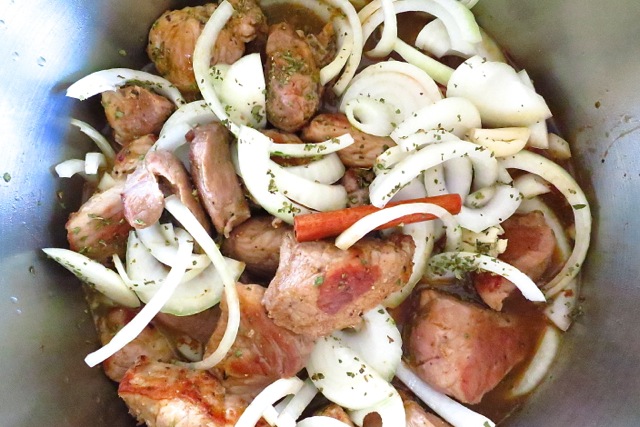
Carnitas in Pressure Cooker Once the pork has browned, all the ingredients get thrown into the pressure cooker and  in no time at all,  you’ll be feasting on some of the best carnitas imaginable.

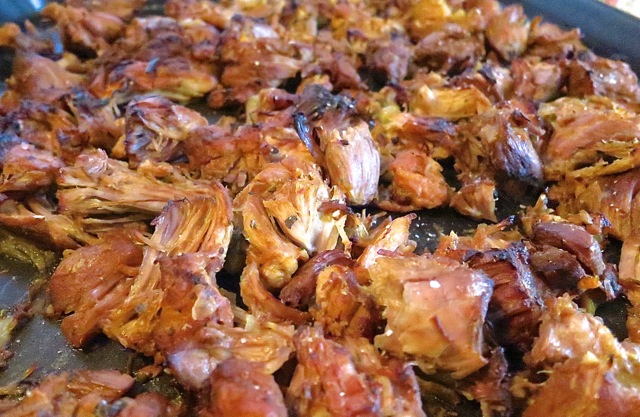
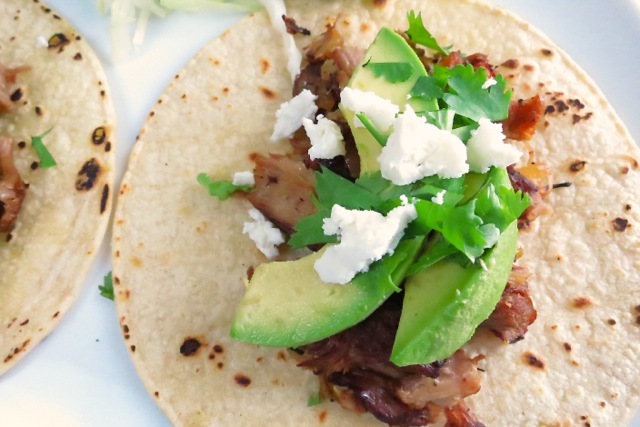
Carnitas with Crispy EdgesThe cooked pork is then finished in the oven until it begins to crisp around the edges.

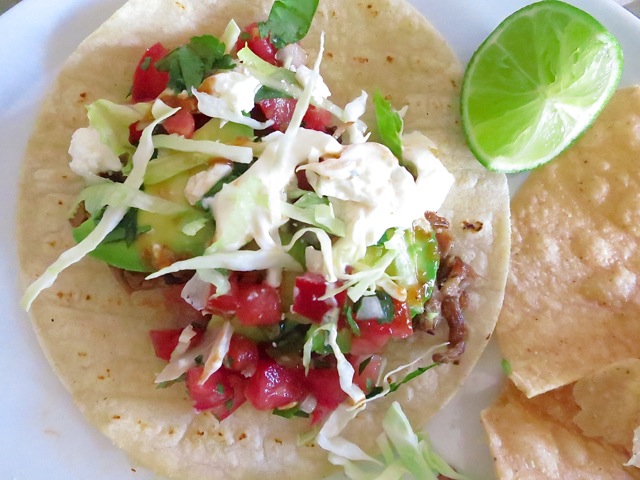
Carnitas with Avocado, Salsa, Cabbage & Sour CreamAccompaniments include avocado, sour cream, salsa fresca, shredded cabbage, cilantro a bit of feta cheese and a dash of hot sauce all wrapped in corn tortillas warmed on a cast iron skillet.

Carnitas with Avocado & Feta

Pressure Cooker Carnitas

Adapted from Cuisine At Home

Ingredients

2 tablespoons olive oil

3 teaspoons kosher salt

1 1/2 teaspoons cumin

1 1/4 teaspoons chile powder (I use Hatch pure mild chile powder and 1/4 teaspoon chipotle chile powder)

1/2 teaspoon black pepper

3 pounds boneless pork shoulder (pork butt) cut into 2 inch chunks (I buy at least 4 pounds and trim the pork very well, ending up with about 3 pounds)

1 onion, sliced

3 cloves garlic, crushed

2 teaspoons dried oregano

1 cinnamon stick (3-inch)

1 1/2 cups strained fresh orange juice (about 4 – 5 large oranges)

1/2 cup strained fresh lime juice (about 4 – 5 juicy limes)

Preparation

Whisk together oil, salt, cumin, chile powder, and pepper.

Toss the pork in the oil-spice mixture.  Brown the pork in the pressure cooker in two separate batches over medium-high heat. Return first batch of pork to the pressure cooker.

Stir in the onion, garlic, oregano, and cinnamon stick.  Add the orange and lime juices.

Cover the pressure cooker, lock on the lid, and bring to high pressure over medium-high heat.  Once the pressure cooker comes up to pressure, lower the heat to a low burner setting so that it maintains pressure without exceeding it. Cook pork for 25 minutes.  Remove cooker from the heat and allow pressure to release naturally.  Remove the lid and transfer pork to a baking sheet (I use my jelly roll pan).

Preheat the broiler to high with the rack 6 inches from the element.

Degrease liquids from the cooker in a fat separator and discard fat (I trimmed my pork really well and was able to skip this step).  Shred pork with two forks on baking sheet.  Pour 1 cup strained cooking liquid over the pork.

Broil until the pork starts to crisp, about 7 minutes.  Stir and broil another 5 minutes more, watching carefully so the pork doesn’t burn.  Serve with warm corn tortillas and your favorite accompaniments.

***I froze the leftovers but it wasn’t long before we pulled it out from the freezer and devoured the rest of the carnitas.


Beans, Beef, Dinner, Mexican, Recipes

Best Black Bean Chili

October 22, 2013

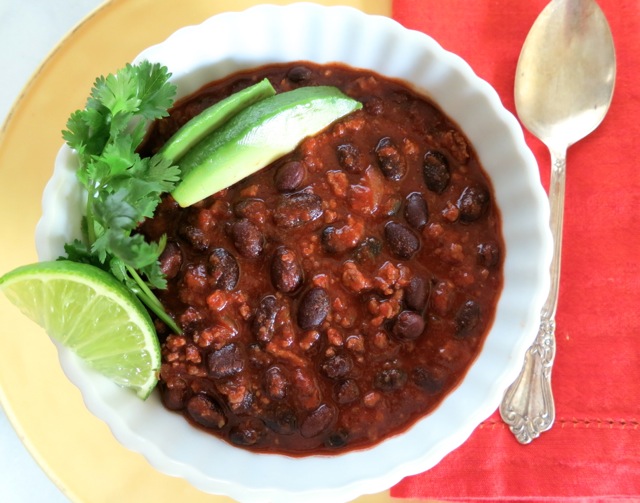
New Black Bean ChiliA while back I was checking out recipes on various food blogs and I stumbled into this really delicious black bean chili recipe on Kaylyn’s Kitchen blog.  The recipe comes from Fine Cooking magazine.  I liked the idea that Kaylyn used lean ground beef and simmered the chili for a few hours.  I did just as she suggested and the chili turned out to be so delicious I now make it on a regular basis.

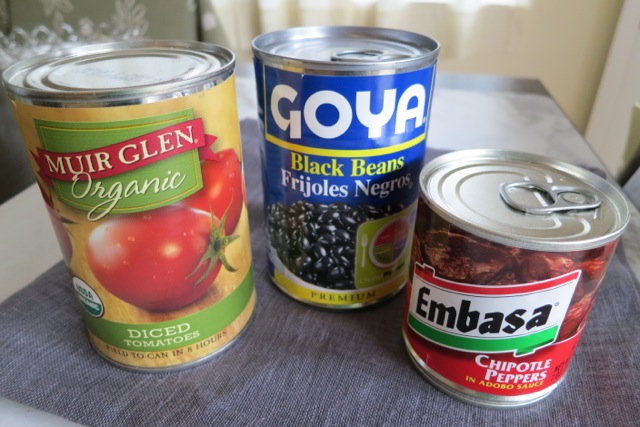
Black Bean Chili IngredientsAll the ingredients should be easy to find in your grocery store with one exception.  I buy Hatch ground red chile powder from The Chile Shop (Santa Fe, NM) directly from their store.  This particular chile is mild and earthy.  It doesn’t give off any heat but adds a wonderful rich chile flavor to the dishes you use it in, such as this black bean chili and also adovada sauce.  If you buy chile powder at your grocery store look for one that is pure mild chile powder without any other added ingredients.  Otherwise give the folks at The Chile Shop a call.  You’ll be happy you did.

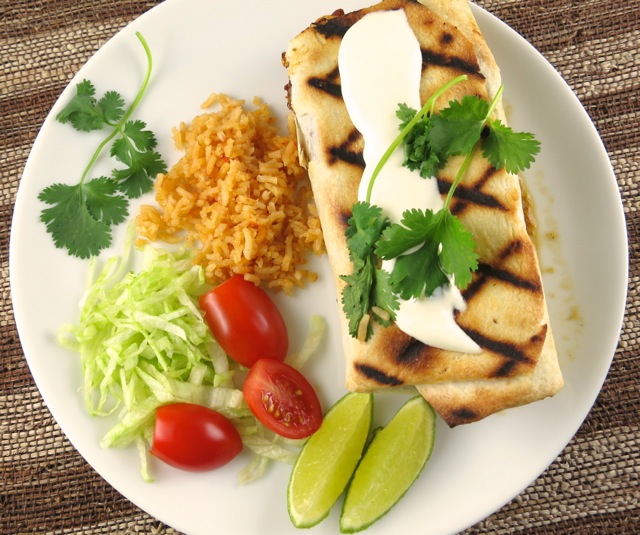
Grilled Burrito 1We often grill burritos stuffed with black bean chili, sopa de arroz and extra sharp cheddar.  If you’ve never had a grilled burrito, give it a try.  It takes just a few minutes on the gas grill and is a nice change from your typical soft burrito.

Best Black Bean Chili

Adapted from Kaylyn’s Kitchen Blog & Fine Cooking Magazine

Makes 8 1/2 cups

Ingredients

4 cans black beans

1 can (14.5 oz.) diced tomatoes

2 (or more) diced chipotle peppers in adobo sauce (I scrape out the seeds)

1 – 2 tablespoons olive oil

1 pound lean ground beef (I use ground sirloin)

1 medium onion, finely diced

5 tablespoons Hatch mild chile powder

2 teaspoons ground cumin

1 14.5 oz. can beef broth

1 1/2 tablespoons tomato paste

1 teaspoon kosher salt

freshly ground black pepper to taste

Preparation

Drain 3 cans black beans into a colander and rinse well, until no more foam appears.  Set aside.

In a food processor, puree 1 can of undrained black beans with the diced tomatoes and their liquid along with the chipotle peppers.  Process for about 30 seconds, or until the mixture is fairly smooth. Taste the bean mixture and add more chipotle peppers if you want it to be a bit spicier.  Set aside.

In the bottom of a heavy soup pot (I use a 5 1/2 quart Le Creuset Dutch oven) heat 1 tablespoon olive oil and brown beef, using the back of a turner to break it into small pieces.  Remove beef to a bowl, add a bit more olive oil to the pot and the diced onions.  Lower the heat a little and cook the onions until they are softened but not starting to brown.  Add the chile powder and cumin and sauté about 30 seconds.

Add the beef broth, browned ground beef, pureed bean mixture, tomato paste and salt and pepper.  Stir to combine and simmer for 1 hour on very low heat.

Add the reserved drained beans to the pot and continue to simmer for 1/2 hour.  Taste and adjust seasoning if needed.

The chili is delicious served with cornbread or stuffed in a flour tortilla with a bit of cheese.  Here in Hawaii, we like to serve chili over a steaming bowl of hot rice.

Follow

Get every new post delivered to your Inbox

Join other followers: