Browsing Category

Mexican

Beef, Dinner, Mexican, Recipes

Beef Barbacoa

December 16, 2015

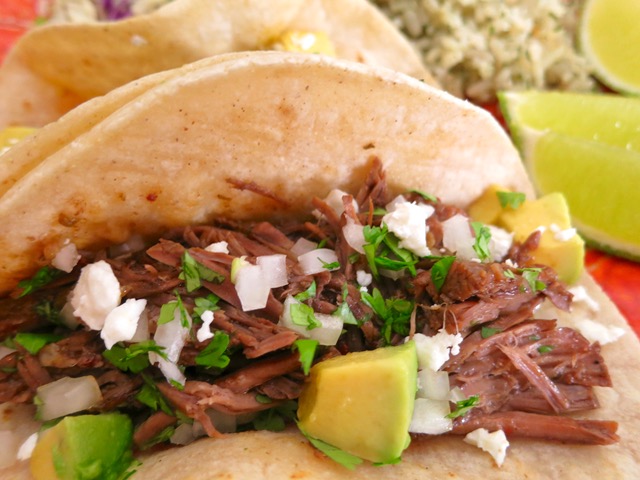
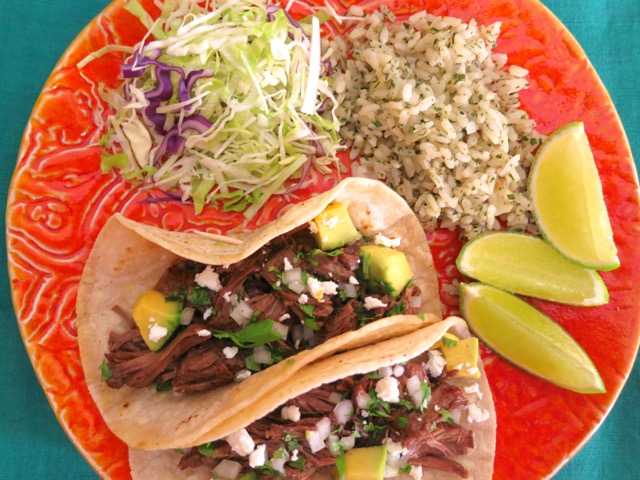
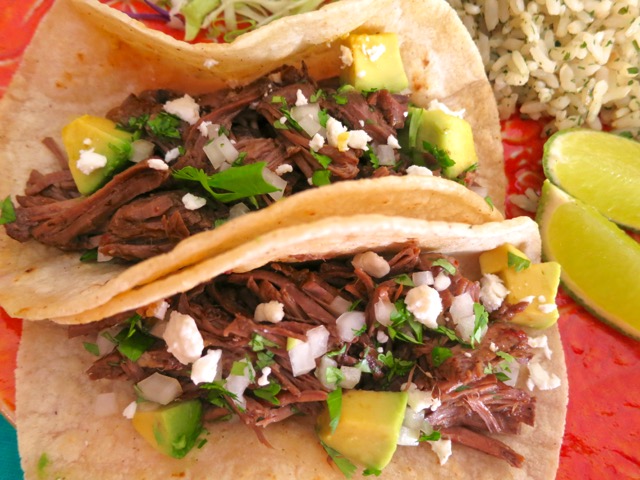
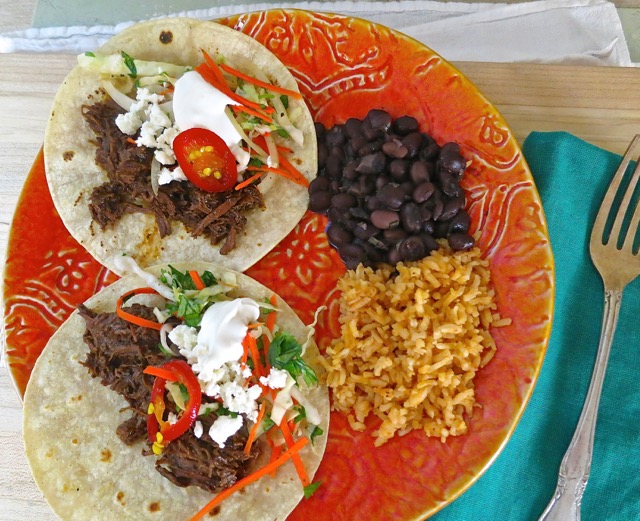
Beef Barbacoa TacosWe can never seem to get enough Mexican cuisine, with its amazing diversity and dynamic flavors.  Braised beef, pork and chicken dishes are some of our favorite meals.  So with that thought in mind, a Mexican-style braise was a natural choice.  One thing leads to another.  We had tacos the first night and quesadillas the following night.  This tasty beef barbacoa would be fantastic in tamales or enchiladas too. I love the idea that so many meals can be made from one recipe.  Plus, you can freeze the beef barbacoa and whip up a quick meal whenever you’re short on time.

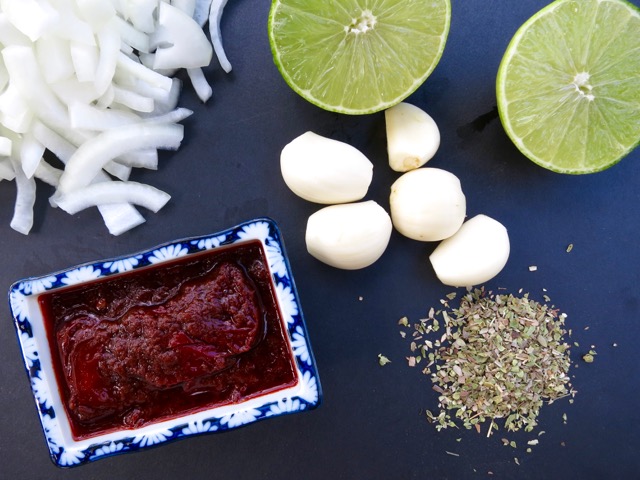
Onion, Lime, Garlic, Oregano, Chipotle Peppers in AdoboThe chipotle chiles in adobo add a bit of smokiness and subtle heat to the beef.  It wouldn’t be the same without them.

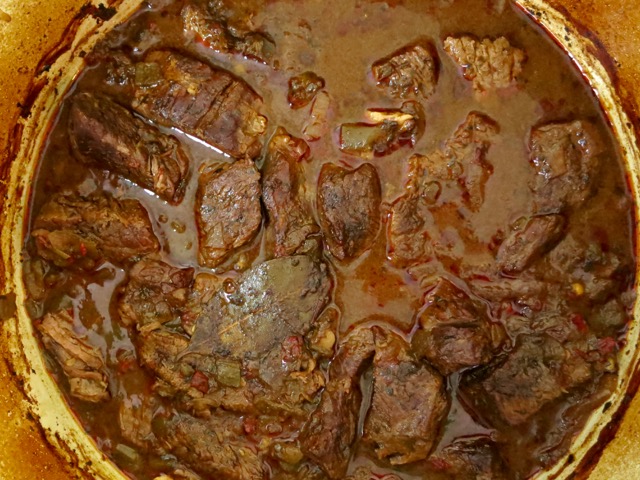
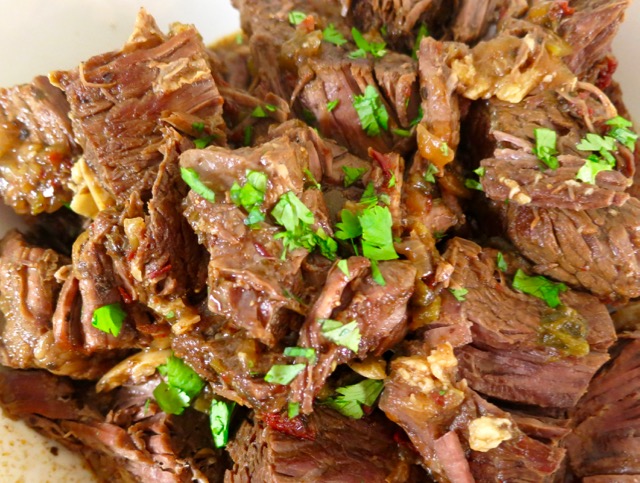
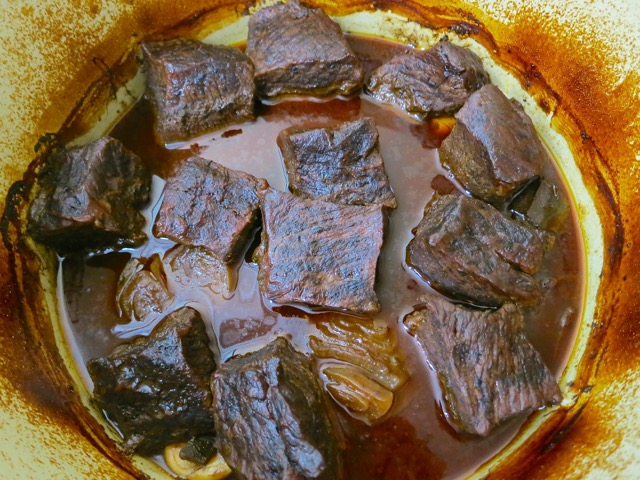
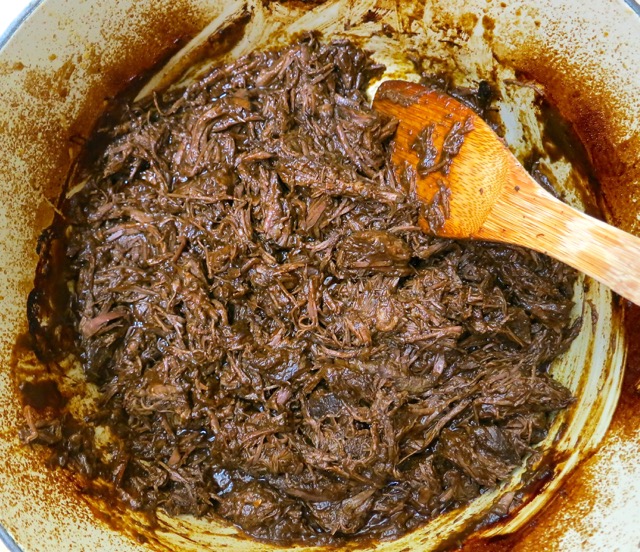
Beef Barbacoa

Beef Barbacoa

Beef Barbacoa Tacos

Beef Barbacoa

Beef Barbacoa
 
Updated 2/01/16
Author:
Serves: 6 - 8
Ingredients
  • 3½ pounds trimmed chuck steak, cut into 2 inch chunks
  • kosher salt
  • freshly ground black pepper
  • 1 tablespoon canola oil
  • 1 medium onion, thinly sliced
  • 5 garlic cloves, smashed
  • 1 tablespoon ground cumin
  • 1 tablespoon dried oregano
  • 2 teaspoons mild chile powder
  • 2½ cups chicken broth
  • 4 chipotle chiles in adobo sauce, seeded and minced + 2 teaspoons adobo sauce
  • 2 tablespoons lime juice
  • 2 tablespoons apple cider vinegar
  • 1 4 ounce can diced green chiles
  • ½ teaspoon kosher salt
  • 1 bay leaf
Preparation
  1. Preheat oven to 300 degrees
  2. Heat a few teaspoons of oil in a large Dutch oven or similar oven-proof pot with a cover over medium-high heat. Lightly season beef with kosher salt and a few grinds of pepper. Brown beef in two batches, adding more oil to the pan if needed. Beef should be nicely browned on two sides (let brown on one side for a few minutes without moving the beef). Adjust heat if too high. Remove beef to a platter and set aside.
  3. Using the same pot, lower heat to medium and sauté onions for a minute or two. Add a little oil if pan is too dry. Add garlic, cumin, oregano and chile powder. Stir constantly for a few seconds. Stir in 1 cup of chicken broth, scraping up any browned bits on the bottom of the pot. Add meat back to the pot. Pour remaining 1½ cups broth to pot, along with the chipotle chiles, 2 teaspoons adobo sauce, lime juice, apple cider vinegar, diced green chiles, ½ teaspoon kosher salt and bay leaf. Stir gently and bring to a boil over medium high heat. Cover and transfer to the oven.
  4. Let beef cook for 3 hours, stirring once during the cooking time. Remove from the oven. The meat should be fall apart tender. Remove bay leaf. Taste and add more salt if needed. Shred meat to desired consistency. Serve with corn tortillas that are gently heating on a comal or fried if you prefer.


Lactose Free, Mexican, Recipes, Rice Dishes

Garlicky Baked White Rice with Cilantro

November 24, 2015

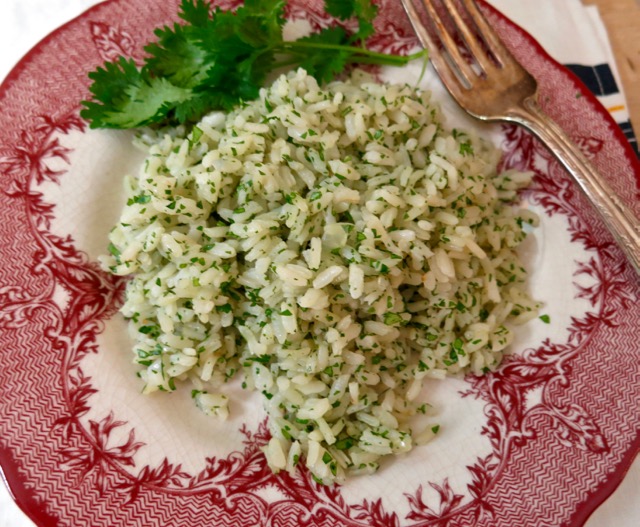
Garlicky White Rice with CilantroThis is one of those recipes that I never get tired of.  I’ve been making it for years and still find it to be one of the best rice dishes around.  It is simple to make, has excellent  flavor and texture, and it’s very versatile. For those of you who loathe cilantro, don’t leave yet. This rice is equally delicious without the cilantro.

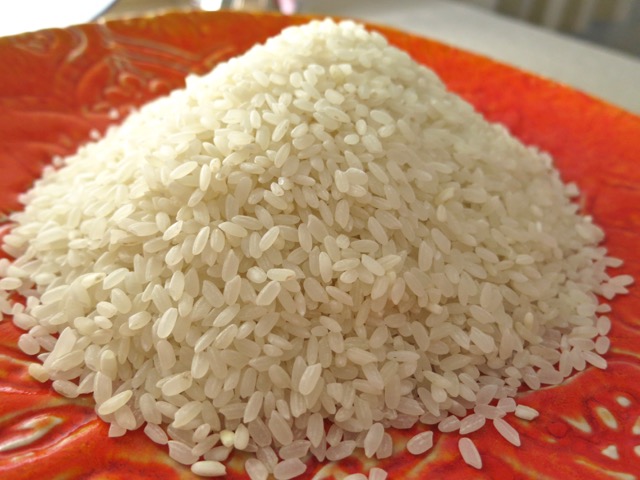
Medium Grain Rice The original recipe comes from Rick Bayless, master of Mexican cuisine.  Rick sprinkles chopped parsley over the cooked rice rather than mixing it into the rice.  Though we serve the rice with Mexican meals, you could change things around and add chopped fresh dill, or chives, and serve the rice with roasted chicken or grilled fish. Sometimes I don’t add any herbs to it at all.

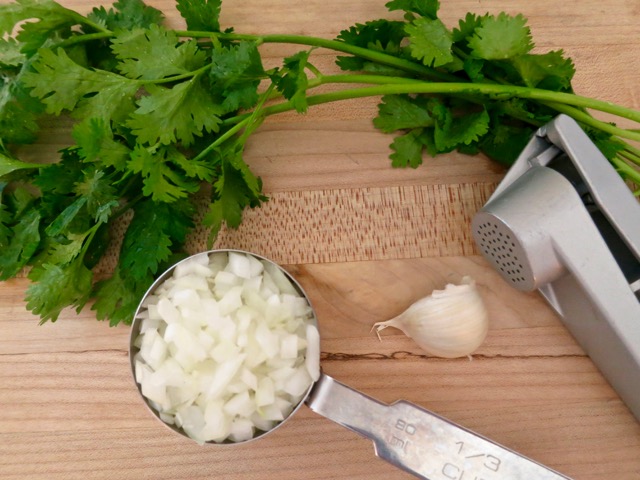
Cilantro, Diced Onion, Garlic With just a few ingredients and one pot, you will have delicious rice in 30 minutes.

Garlicky White Rice with Cilantro

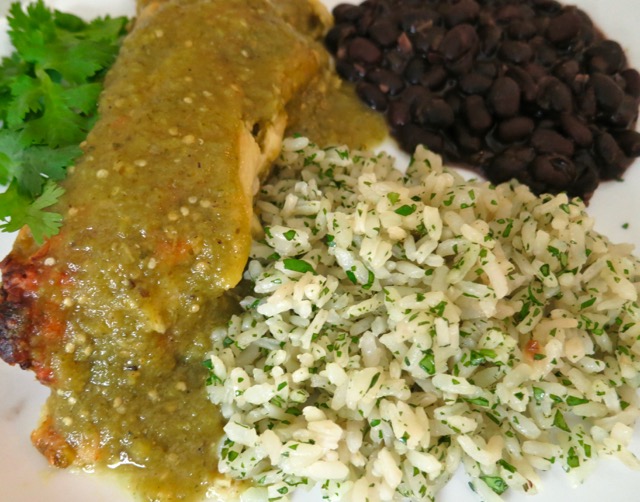
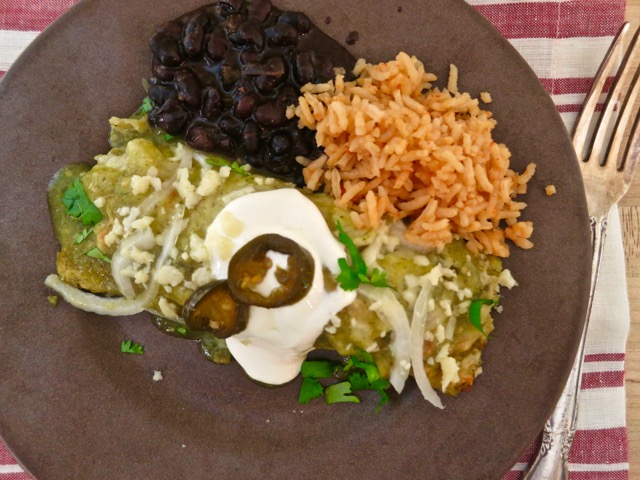
Garlicky White Rice with Cilantro, Enchiladas & Black Beans

Garlicky White Rice with Cilantro
 
Author:
Serves: 6
Ingredients
  • 1½ tablespoons canola oil
  • 1½ cups medium grain white rice
  • ⅓ heaping cup chopped onion
  • 1 medium - large garlic clove
  • 1 14 ounce can chicken broth
  • 1 teaspoon salt
  • 3 tablespoons (or more) finely chopped cilantro
Preparation
  1. Preheat oven to 350 degrees
  2. Set a large oven-proof pot (with cover, 3½ - 5½ quart) over medium heat. Whatever pot you choose, try to use one with a wide bottom. I use my 5½ quart stainless steel Cuisinart multi-purpose pot but a smaller one would work as well.
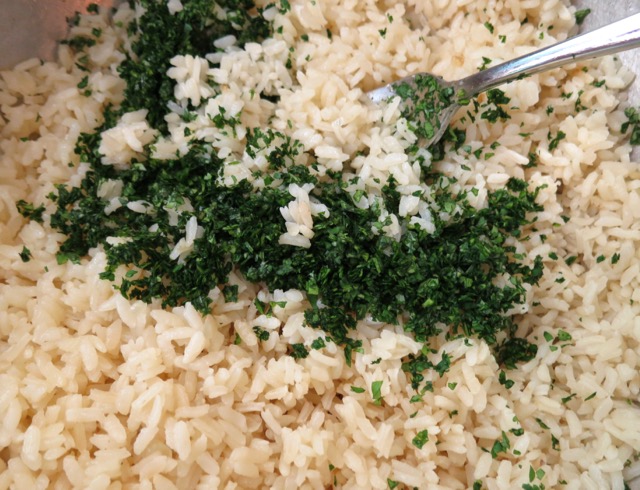
  3. Heat oil for a minute or two. Add rice and onions to pot. Stir frequently for about 5 minutes. Add pressed garlic and stir for 30 seconds or so until fragrant, then mix in broth and salt. Increase heat to high and bring to a boil. As soon as the rice reaches a full boil, remove from the heat, cover, and transfer to the oven. Bake 25 minutes. Let rice stand undisturbed for 15 minutes. Fluff rice with a fork, stir in cilantro.


Chicken, Mexican, Recipes

Chicken Enchiladas Verdes

November 1, 2015

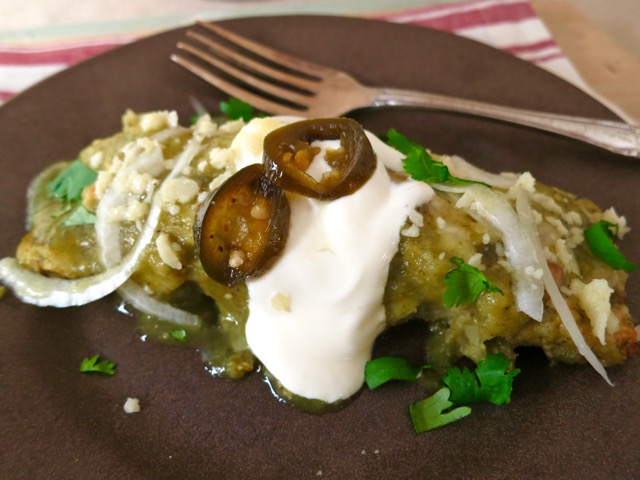
Chicken Enchiladas VerdesI would find it difficult to single out a particular cuisine as my exclusive favorite since I love all types of food (though Italian, Japanese, and Mexican are at the top of my list).  These enchiladas from Bon Appetit are easy and delicious, plus they freeze well if you happen to have leftovers.  Be sure to freeze some of the sauce in small containers to serve with the enchiladas.

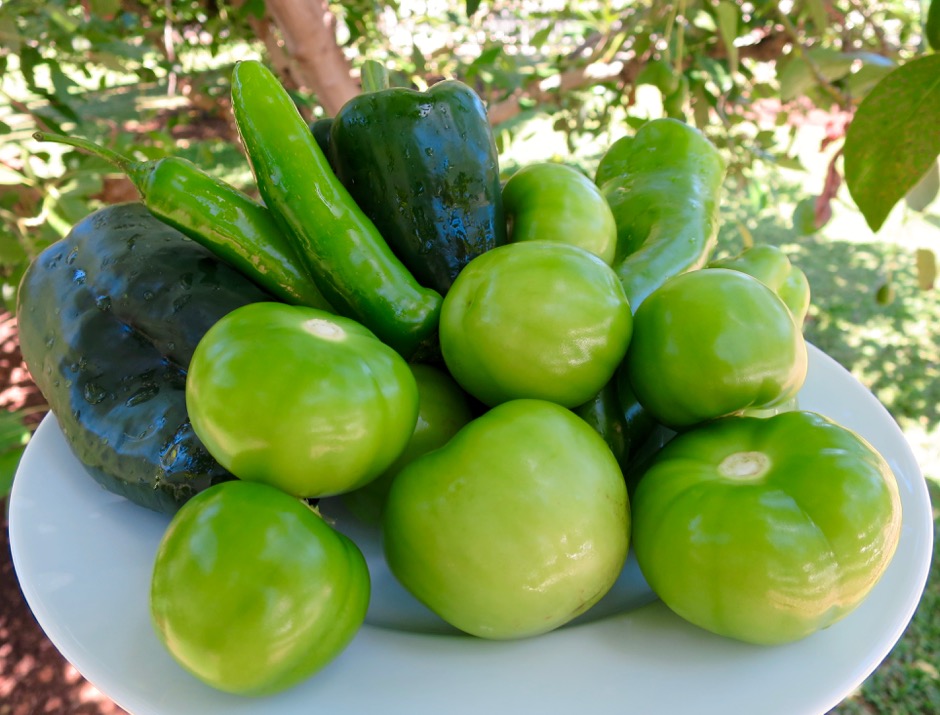
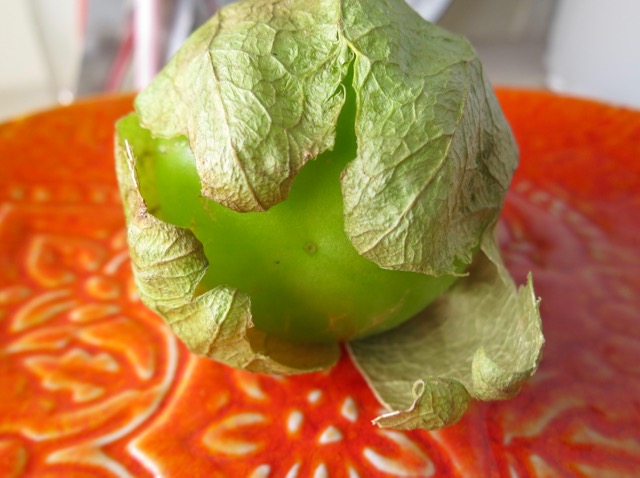
TomatilloTomatillos are unusual little green orbs with papery husks.  They belong to the nightshade family (tomatoes, eggplant, some varieties of potatoes and chiles).  They can be  eaten raw or cooked, and their citrusy-tart flavor is delightful in salsa.

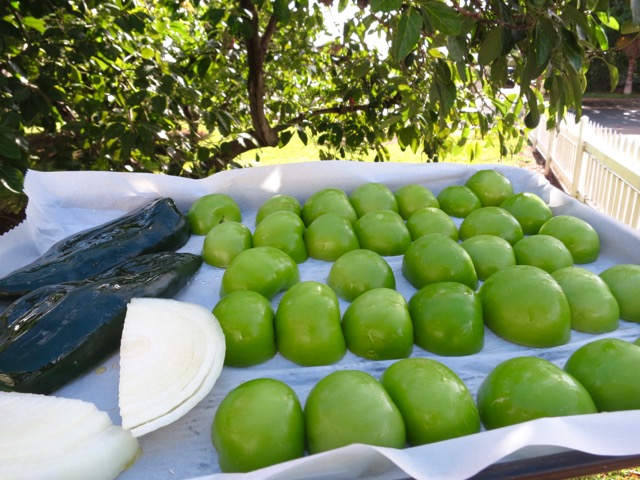
Onion, Poblano, Tomatillos

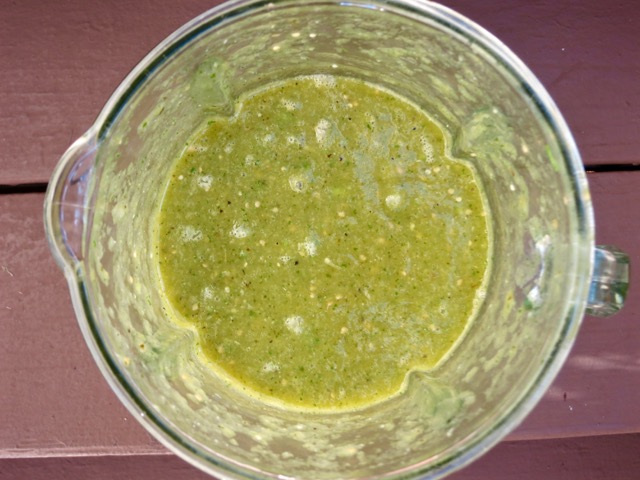
Verde SauceThe tomatillos, onion, and poblano chile are roasted for a short time before they go into the blender with a few other ingredients for a quick whirl.  Sauce is ready!

Chicken Enchiladas Verdes

Chicken Enchiladas Verdes
 
Author:
Cuisine: Mexican
Serves: 4
Ingredients
  • Green Sauce:
  • 1 tablespoon olive oil
  • ½ onion, halved
  • 1 large poblano chile, halved, seeds removed
  • 2 pounds tomatillos, husked removed, rinsed and halved
  • 2 serrano chiles, chopped (remove seeds if you prefer to)
  • 3 garlic cloves, smashed
  • 1 cup chicken broth
  • ½ cup cilantro leaves, chopped
  • 1 tablespoon fresh lime juice
  • kosher salt
  • Enchiladas:
  • ½ rotisserie chicken (about 1 pound), skin removed, meat shredded
  • ½ teaspoon ground coriander
  • ¼ teaspoon red pepper flakes
  • kosher salt
  • 8 corn tortillas
  • 6 ounces finely grated extra sharp white cheddar cheese (or Cotija cheese), divided
  • ½ cup sour cream mixed with 2 tablespoons milk
  • ½ small white or red onion, thinly sliced
Preparation
  1. Preheat oven to 425 degrees. Brush olive oil over onion, poblano chile, and tomatillos on a rimmed baking sheet and roast until vegetables are soft and lightly browned about 30 minutes. Let cool slightly, then slip off and discard poblano skin. Transfer onion mixture and any accumulated juices to a blender. Add serrano chiles, garlic, chicken stock, cilantro, and lime juice and puree until smooth. Transfer to a large bowl, season sauce with salt.
  2. Arrange tortillas on a cookie sheet and lightly spray both sides with cooking oil (Pam). Bake in a 400 degree oven for about 4 minutes. When done, let them cool and they are ready to be filled and rolled. Do not skip this step. It keeps the tortillas intact when enchiladas are baking.
  3. Turn oven temperature up to 425 degrees. Toss chicken with coriander, red pepper flakes, and ½ cup green sauce in a large bowl; season with salt.
  4. Spread about 1 cup of green sauce in a 13x9" baking dish to cover the bottom completely. Pour some of the green sauce into a pie dish and dip both sides of each tortilla in sauce, just to coat. Working one at a time, spread ¼ cup chicken mixture down the center of tortilla and fold one side over filling, then continue to roll enchilada onto itself. Place seam side down in prepared baking dish as you go (enchiladas should be nestled right up against each other). Top with more green sauce and most of the cheese (set aside some of the cheese for serving). Bake until sauce is bubbling and cheese is beginning to brown, about 25 minutes. Let sit 10 minutes.
  5. Meanwhile, combine sour cream with milk, season with salt. Serve enchiladas topped with extra cheese, a drizzle of sour cream mixture, sliced, onions, and cilantro.


Dinner, Fish, Lactose Free, Mexican, Recipes, Sauces

The Best Ever Crispy Fish Tacos with Avocado Crema

December 25, 2014

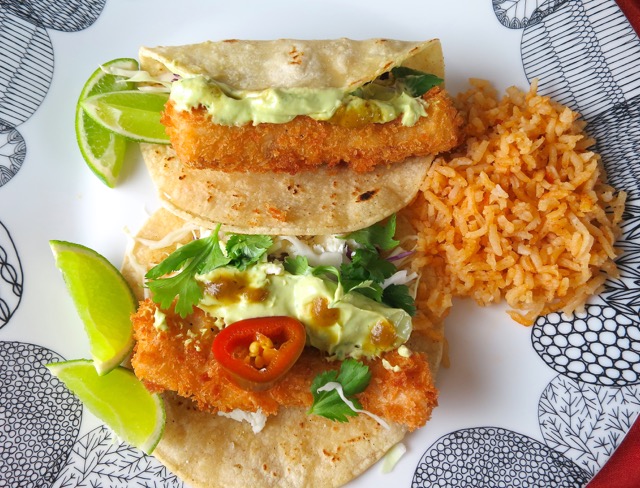
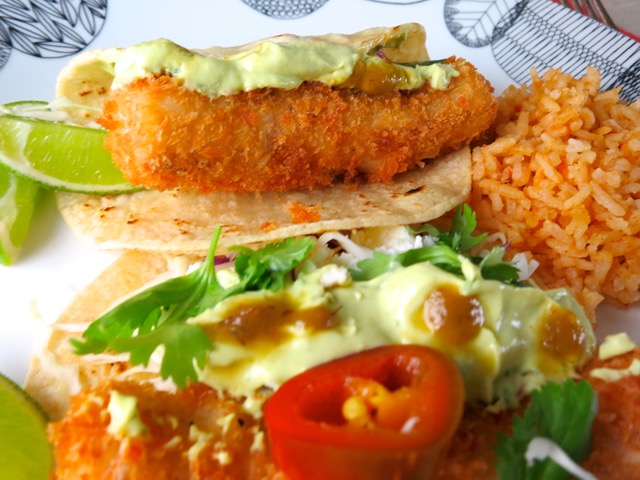
Crispy Fish TacosTacos are one of my favorite foods regardless of the filling.  Corn tortillas fried briefly until crisp or warmed on a comal are simply delicious.  I’ve yet to meet anyone who doesn’t love Mexican cuisine.

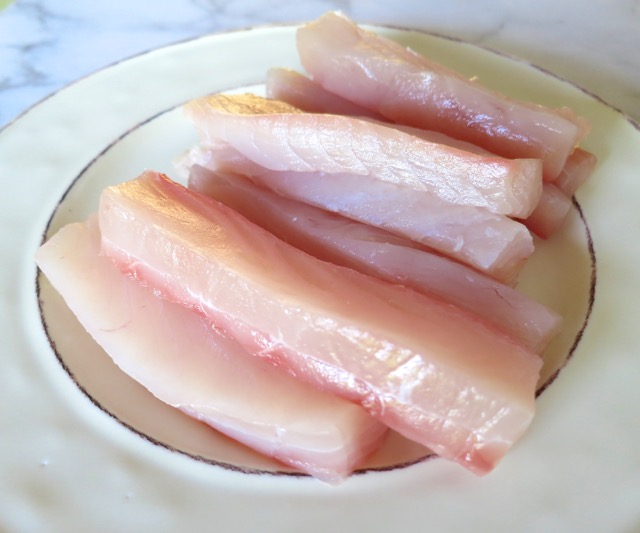
Sliced Mahi MahiWe have lovely Mahi Mahi available  at our local markets and it makes the best crispy fish tacos.  You may substitute any other mild, white fish in this recipe. I purchased about 3/4 lb. Mahi Mahi and sliced it into 10 pieces. You could slice your fish into 8 pieces if you prefer.  This is my special version of a baja fish taco.
Battered Mahi MahiWhat makes it uniquely good is the incorporation of some basic Japanese ingredients and technique.  Dip the filets in a tempura batter mix, and dredge each piece in panko and you’re ready to go.

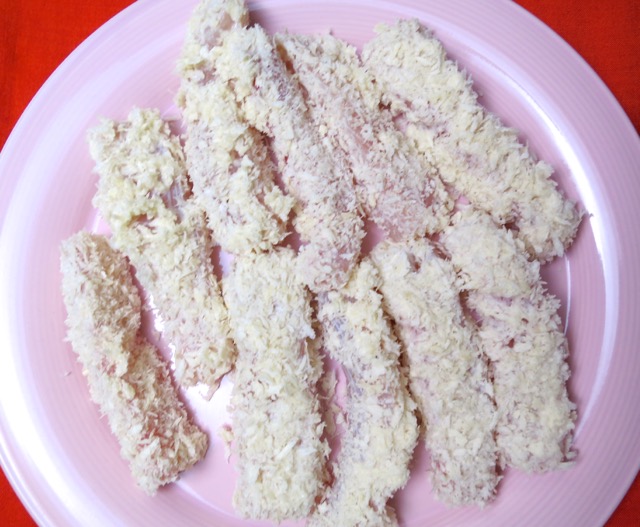
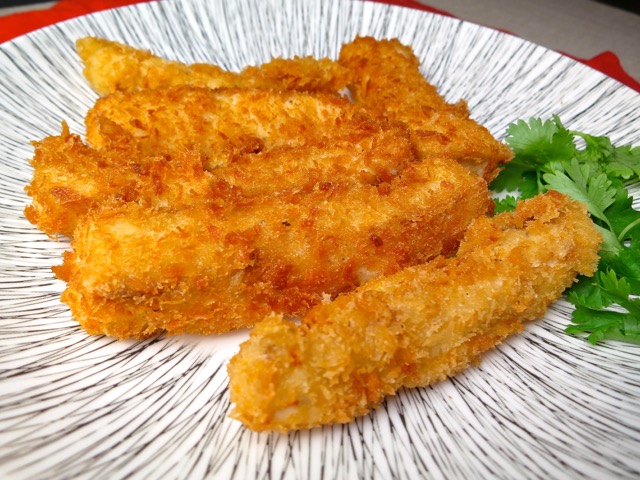
Panko Coated Mahi MahiIn just a few minutes you will have yourself a platter of crispy, fish filets.  Sometimes I’m tempted to dip them in tartar sauce, but tacos are just too yummy to pass up.

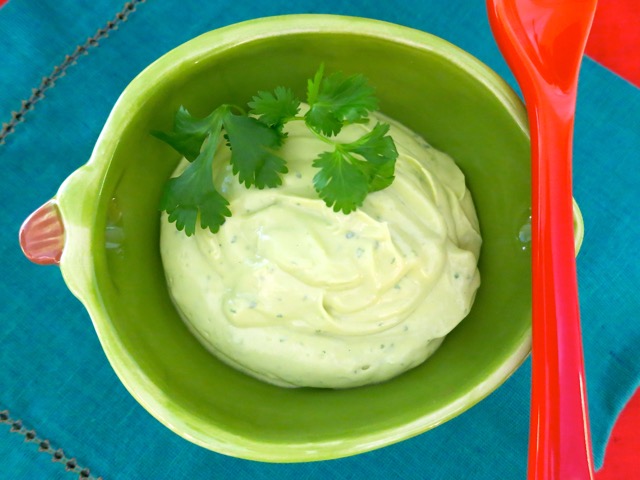
Avocado Crema

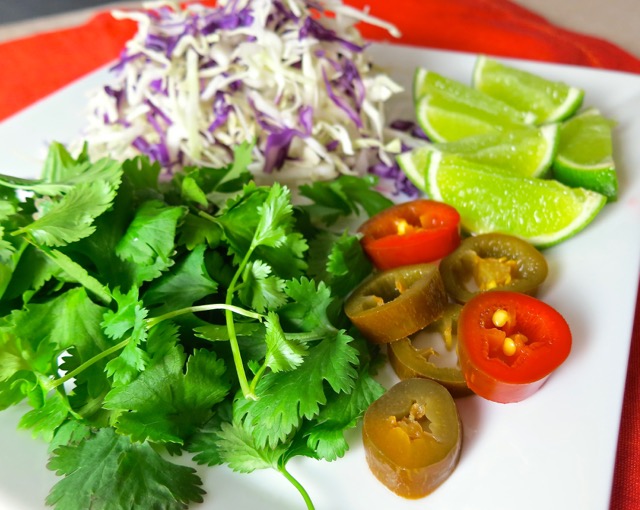
Shredded Cabbage, Limes, Pickled Jalapeños and Cilantro

Crispy Mahi Mahi Tacos

The Best Ever Crispy Fish Tacos with Avocado Crema

Serves 4 – 5

Avocado Crema

1/2 large avocado

2 tablespoons sour cream (I use Green Valley Lactose Free Sour Cream)

1/2 teaspoon kosher salt

1 1/2 tablespoons fresh lime juice

few sprigs of cilantro

An immersion blender works perfectly for this.  Place all ingredients in a blending cup and blend for a few seconds until the ingredients are well combined.  Cover and refrigerate until ready to use.

Fish Tacos

Ingredients

3/4 pound fresh fish filet, sliced into 8 – 10 pieces

salt & pepper

4 tablespoons tempura batter mixed with just enough ice-cold water to create the consistency of thin pancake batter

1 cup panko flakes

canola oil for deep-frying and warming corn tortillas

8 – 10 corn tortillas

Preparation

Heat canola oil for deep-frying.  Most suggest heating the oil to 360 degrees.  I usually skip the temperature reading step and test the oil by drizzling a tiny amount of batter into the oil.  If the batter crisps up nicely, I start frying!  I use a small sauce pan, 7 – 8 inches wide and 3 1/2 inches in height, and add canola oil 2 inches up the side of the pan.  A small Dutch Oven would work perfectly as well.

Place tempura batter in a wide bowl, add ice water and stir just until ingredients are combined.  Remember to keep the batter light, and don’t over mix.

Place panko in a wide plate or shallow bowl.  Season fish strips with kosher salt and freshly ground black pepper. Dip fish pieces into tempura batter, letting excess batter drip off.  Place fish into panko bowl and coat well.

Once oil is hot, fry half of the fish until nicely browned and crisp, about 1 minute.  Keep in mind that you don’t want to over crowd the pan when frying.  This will drop the oil temperature drastically and your fish fillets won’t brown quickly.

Drain on paper towel lined plate.  Continue to fry the remaining filets.  Warm tortillas in lightly oiled cast iron skillet or sauté pan on medium high heat. Cover with foil and keep warm.

I like to serve the fish with avocado crema, finely shredded cabbage, cilantro,  hot sauce and pickled jalapeños. Delicious!

Beef, Dinner, Lactose Free, Mexican, Recipes

Shredded Beef Tacos

November 29, 2014

Shredded Beef TacosAnyone familiar with this blog is aware that I love Mexican dishes, all of them: tacos, burritos, enchiladas, tamales….  I always have Sopa de Arroz and Cuban style black beans stashed in the freezer.  They are staple side dishes that go with every Mexican meal.  In fact, I am happy just to eat a big bowl of beans and rice with some fresh cilantro scattered over the top.

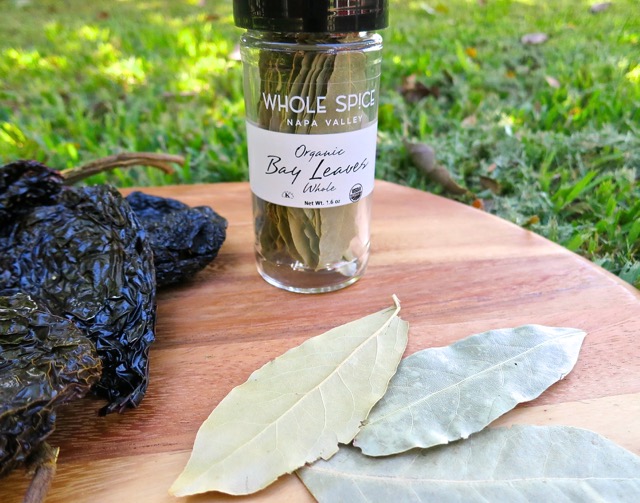
Chiles and Bay Leaves

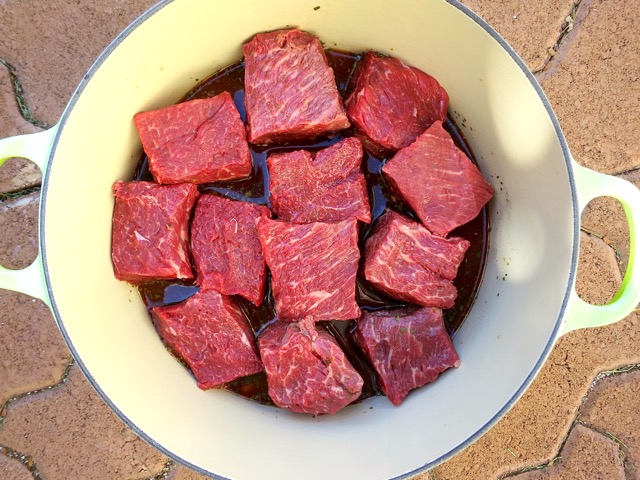
Boneless Beef Short RibsCook’s Illustrated, with their tried and true recipes, once again caught my eye with this recipe; shredded beef tacos.  The idea of tender, shredded beef on warm corn tortillas was just too inviting.  I called Times Supermarket and asked the butcher if he could prepare 3 pounds of boneless short ribs cut into 2-inch cubes for me.  No problem!  Knowing that short ribs are quite “rich” I was a bit nervous when I picked up my order. The short ribs were beautiful.  Just slightly marbled, but overall well-trimmed and lean.

Boneless Beef Short RibsI was skeptical about the procedure to brown the meat called for by the recipe.  I shouldn’t have had any doubts.  The meat was browned to perfection.  Never doubt Cook’s Illustrated.

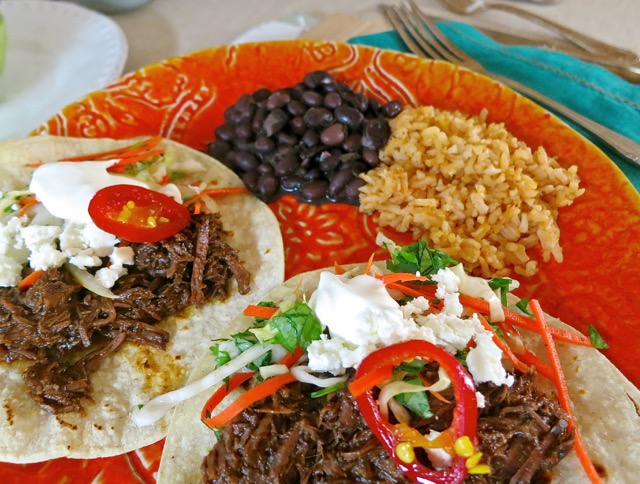
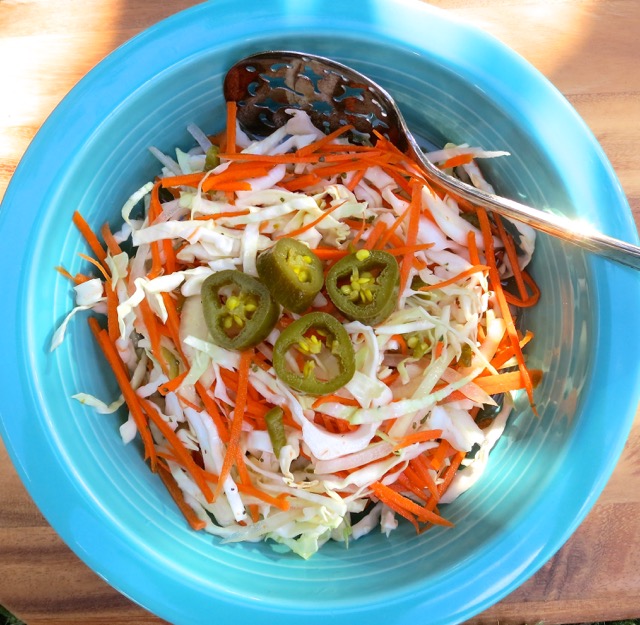
Shredded Beef for TacosDecadent and rich, the short ribs turned out great.  We warmed corn tortillas on the comal and served them with a cabbage-carrot slaw.

Cabbage-Carrot Slaw

Shredded Beef Tacos with Sopa de Arroz & Cuban Style Black Beans

Shredded Beef Tacos

Adapted from Cook’s Illustrated

Serves 6 – 8

Ingredients

1 1/2 cups beer (I used Sierra Nevada)

1/2 cup cider vinegar

2 ounces (4 – 6) dried ancho chiles, stemmed, seeded, and torn into 1-inch pieces

2 tablespoons tomato paste

6 garlic cloves, lightly crushed and peeled

3 bay leaves

2 teaspoons ground cumin

2 teaspoons dried oregano

Salt and pepper

1/4 teaspoon ground cloves

1/2 teaspoon ground cinnamon

1 large onion, sliced into 1/2-inch thick rounds

3 pounds boneless beef short ribs, trimmed and cut into 2-inch cubes

Preparation

Adjust oven rack to lower-middle position and heat oven to 325 degrees.

Combine beer, vinegar, anchos, tomato paste, garlic, bay leaves, cumin, oregano, 2 teaspoons salt, 1/2 teaspoon pepper, cloves, and cinnamon in Dutch oven.  Arrange onion rounds in a single layer on the bottom of pot.  Place beef on top of onion rounds in a single layer.  Cover and cook until meat is well browned and tender, 2 1/2 – 3 hours.

Using a slotted spoon, transfer beef to a large bowl, cover loosely with foil, and set aside.  Strain liquid through a fine-mesh strainer into a 2-cup liquid measuring cup (do not wash pot).  Discard onion rounds and bay leaves.  Transfer remaining solids to the blender.  Let strained liquid settle for 5 minutes, then skim any fat off the surface.  Pour 1 cup liquid into blender with reserved solids and blend until smooth, about 40 – 60 seconds.  Transfer sauce to now-empty pot.

Using two forks, shred beef into bite-size pieces.  Bring sauce to a simmer over medium heat.  Add shredded beef and stir to coat.  Season with salt to taste.  (Beef can be refrigerated for up to 2 days; gently reheat before serving).

Spoon small amount of beef into each warm tortilla and serve with cabbage slaw, queso fresco (I used feta), sour cream and lime wedges.


Canning, Mexican, Pickles, Recipes, Veggies

Jalapeño Nacho Rings

June 7, 2014

Jalapeño Nacho RingsWe love jalapeños.  They seem to thrive in the Maui heat.  Apparently hot climates produce hot peppers!  The red peppers are the fully mature stage of the jalapeño and add beautiful color mixed with the younger green jalapeños.

Jalapeño Plants  We now have 10 jalapeño plants in the garden.  We make both pickled nacho rings and jalapeño hot sauce .

Jalapeño Nacho Rings

Pickled Jalapeños

Makes 4 pint jars

Ingredients

2 pounds fresh jalapeño peppers

2 1/2 cups white vinegar

2 1/2 cups water (distilled or filtered)

5 teaspoons pickling salt

1/4 teaspoon turmeric

1 1/4 teaspoons calcium chloride (Ball brand Pickle Crisp)

4  2-inch sprigs fresh Mexican oregano (optional)

Preparation

Wash jalapeños and slice into 1/4 to 1/3 inch rings. It’s a good idea to wear disposable gloves when cutting peppers. Divide sliced peppers into 4 equal portions.

Wash jars and place them in boiling-water canner.  Fill the jars and canner with water to the top of the jars.  Cover and bring water to a simmer over medium heat, do not boil.  Prepare the two-piece closures.  Wash lids and place in a small saucepan and cover with water.  Heat to just a simmer but do not boil.  Do not heat screw bands.

In a medium-sized saucepan add remaining ingredients except oregano sprigs.  Bring to a boil, then simmer for 5 minutes on low heat.

Lift the canner jar rack and fix into place on the rim of the canner. Remove one jar at a time and empty hot water back into the canner. Place jar on a cutting board. Place a canning funnel in the jar.  Add 1 oregano sprig to the jar, pack jar with portioned jalapeño rings. Ladle hot brine into jar leaving 1/2-inch head space.  Remove air bubbles (with a chopstick or similar utensil) and adjust head space, if necessary, by adding more brine.  Wipe jar rim. Using a magnetic utensil, lift hot lid from water, center it on the  jar and place screw band on jar.  Tighten screw band evenly and firmly just until resistance is met.  Then increase to fingertip tight.  Do not over tighten.  Return jar to canner rack.  Continue filling jars individually until all jars are filled, lower rack into canner and ensure that all jars are covered by 1 inch of water.  Cover canner and bring water to a full boil over high heat.  Process for 10 minutes, starting timer only when water reaches a full boil. Turn off the heat, let jars sit in pot for 5 minutes.

Remove jars from water, and let stand,  undisturbed, at room temperature 24 hours.  To check seals, remove the bands, and press down on the center of each lid.  If the lid doesn’t move, the jar is sealed.  If the lid depresses and pops up again, the jar is not sealed.  In the event that a jar does not seal, simply refrigerate it. Store properly sealed jars in a cool, dark place up to 1 year (date your jars on the bottom with a Sharpie pen)  Refrigerate after opening.


Follow

Get every new post delivered to your Inbox

Join other followers: