Browsing Category

Mexican

Beef, Dinner, Lactose Free, Mexican, Recipes

Beef Birria

November 14, 2024

Tender beef braised in a rich sauce perfumed with chiles and warm spices makes some of the best tacos on the planet. Rich and flavorful, birria is now my favorite Mexican beef dish. Though you see birria used mainly for tacos, it is equally delicious shredded for burritos and quesadillas. You can even serve it as a main dish with Mexican rice and beans. And no doubt, it would also make a superb filling for tamales.

This dish was traditionally made with goat meat, but beef, lamb and chicken can also be used. My preference is to make birria with beef although I’m curious about trying it with chicken too.

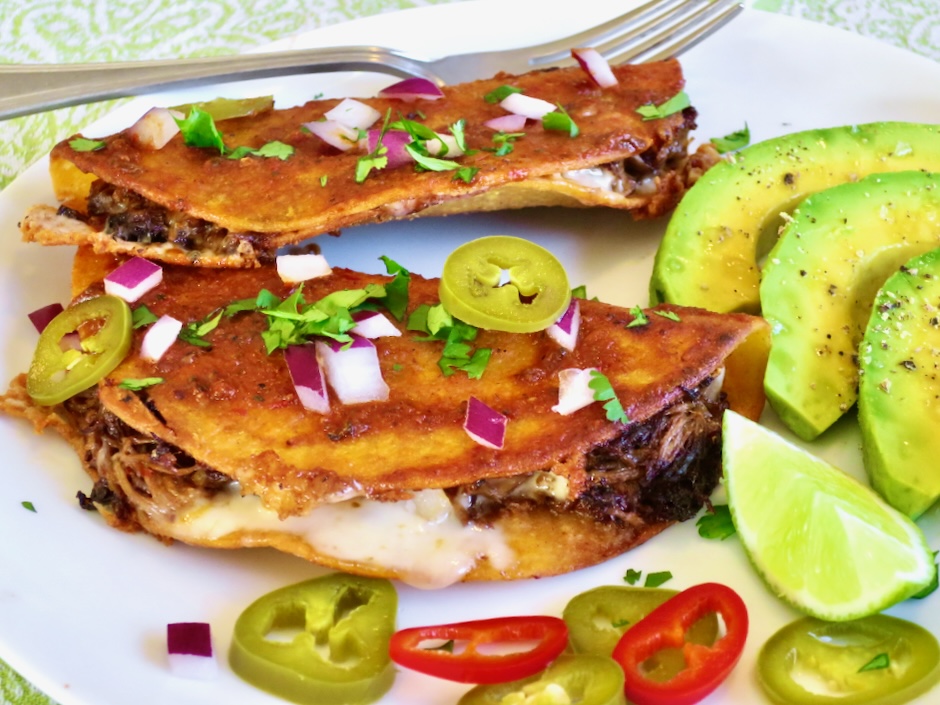
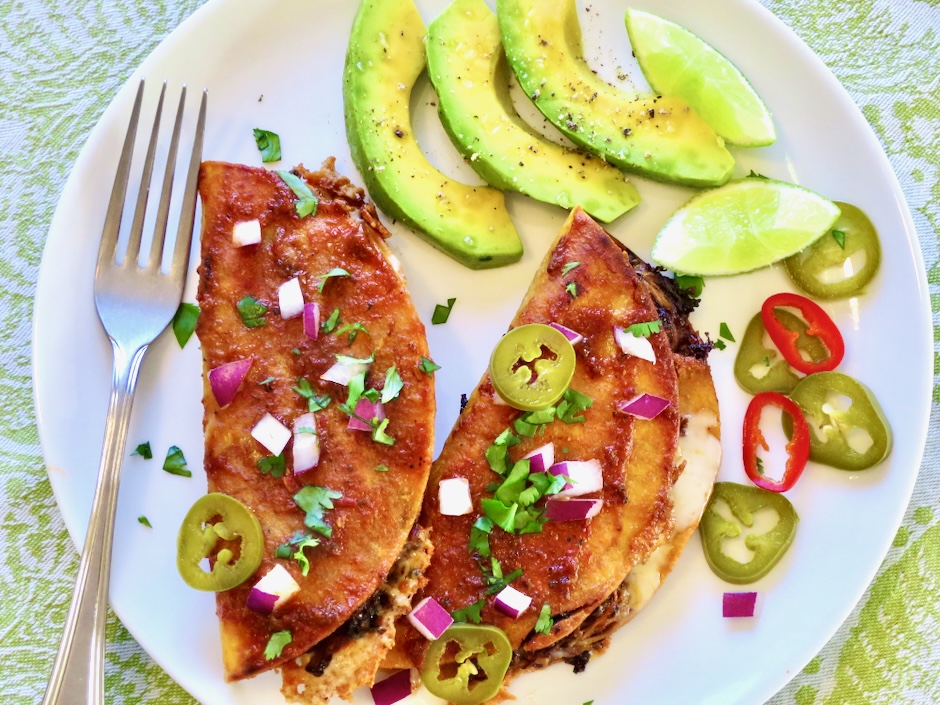
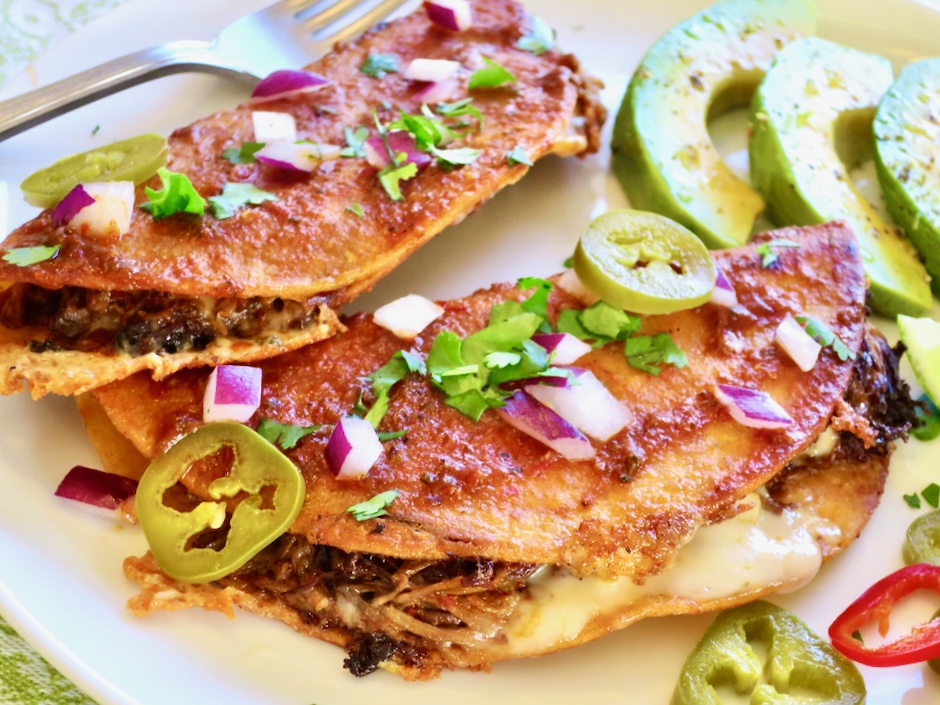
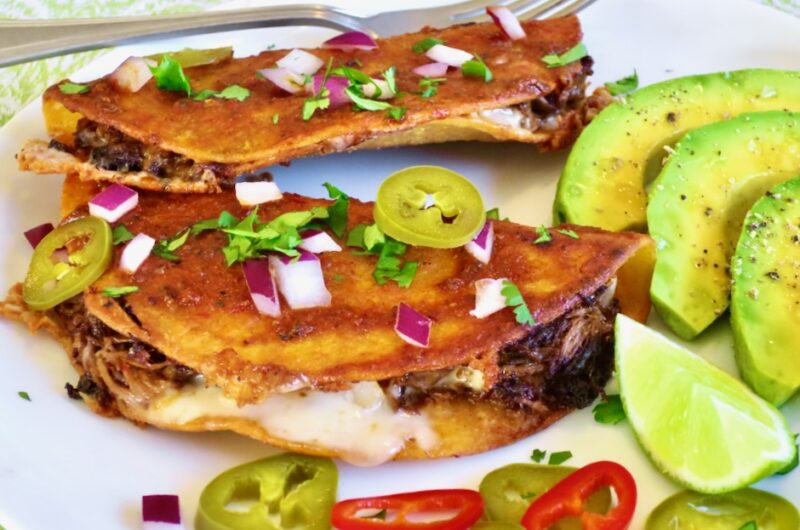
My favorite way to serve birria is to tuck some of the shredded meat into corn tortillas with a bit of cheese and pan fry until crispy. It is the same technique I use for tacos dorados.

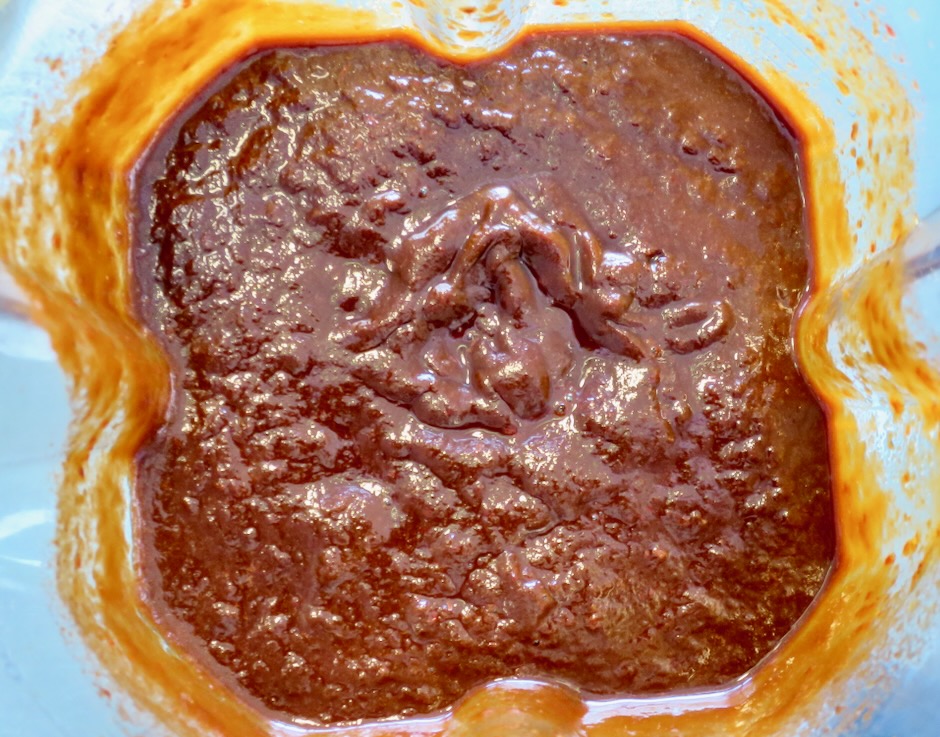
Dried chiles make the sauce velvety rich and flavorful. Most birrias are not spicy though you can add a few hot chiles for a bolder flavor. To please all palates, keep the birria on the mild side and have your favorite hot sauce available for those who want to spice it up.

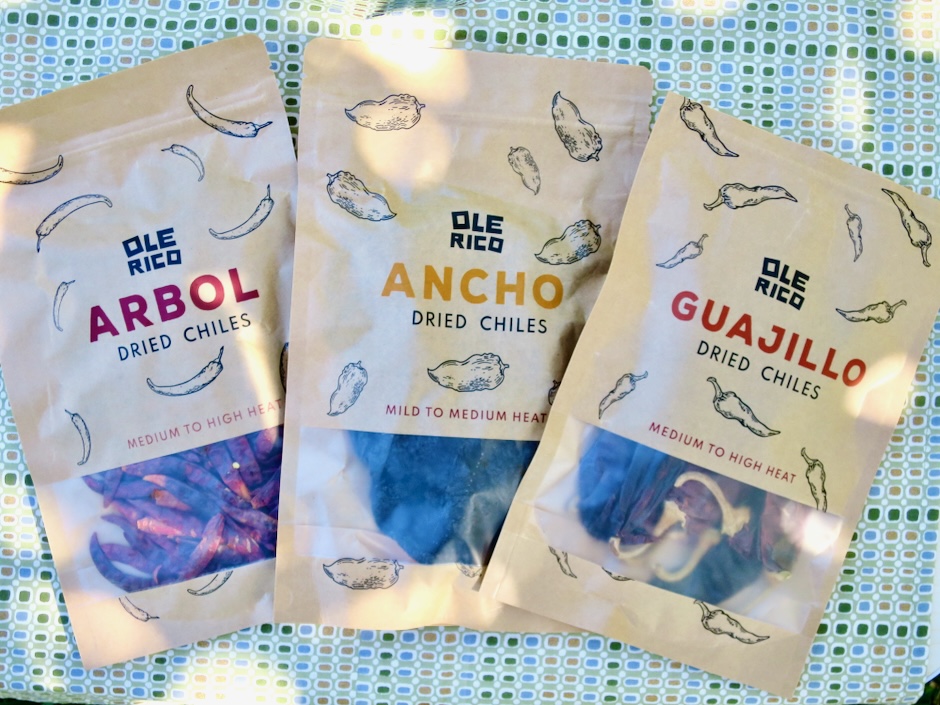
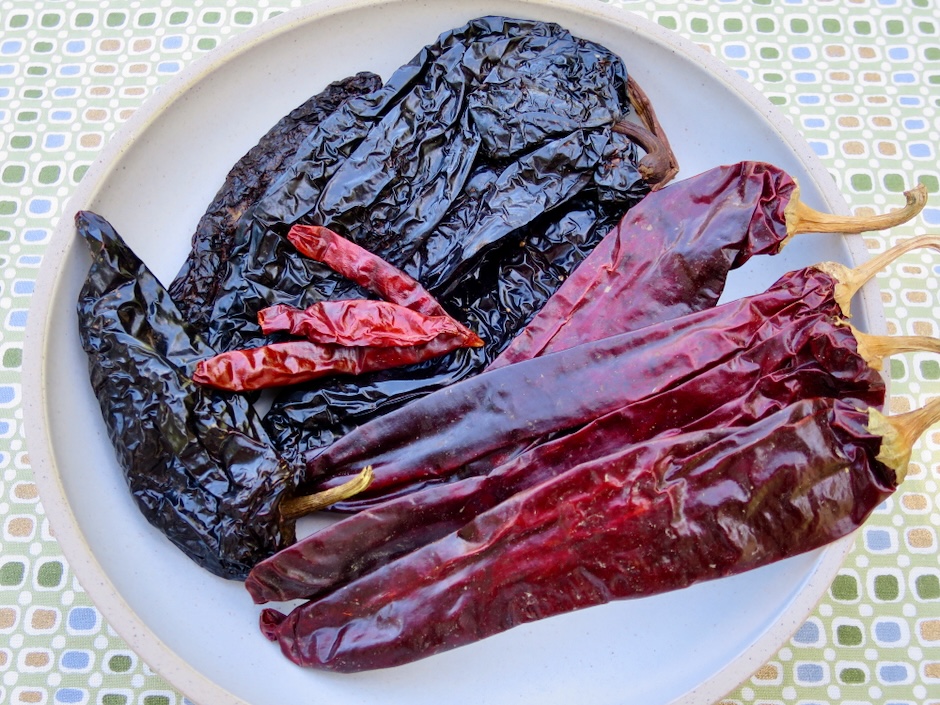
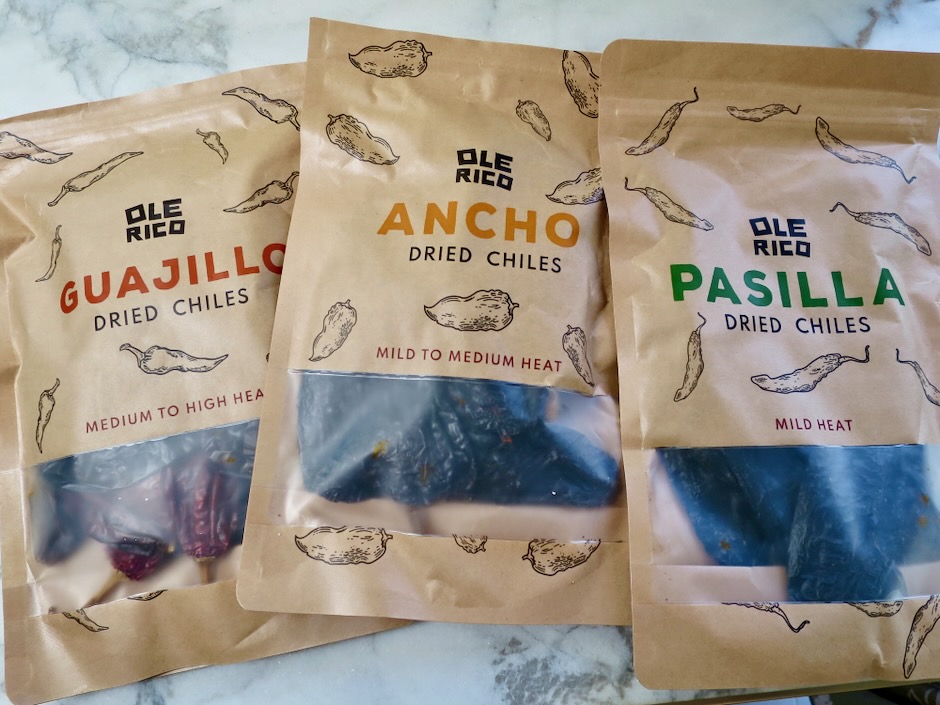
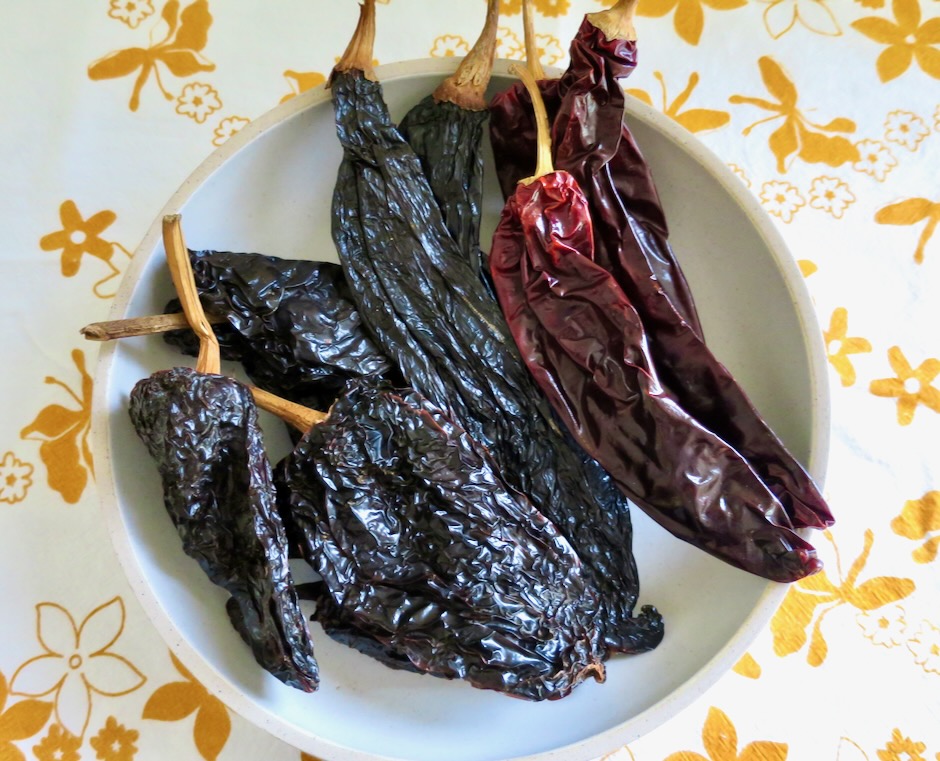
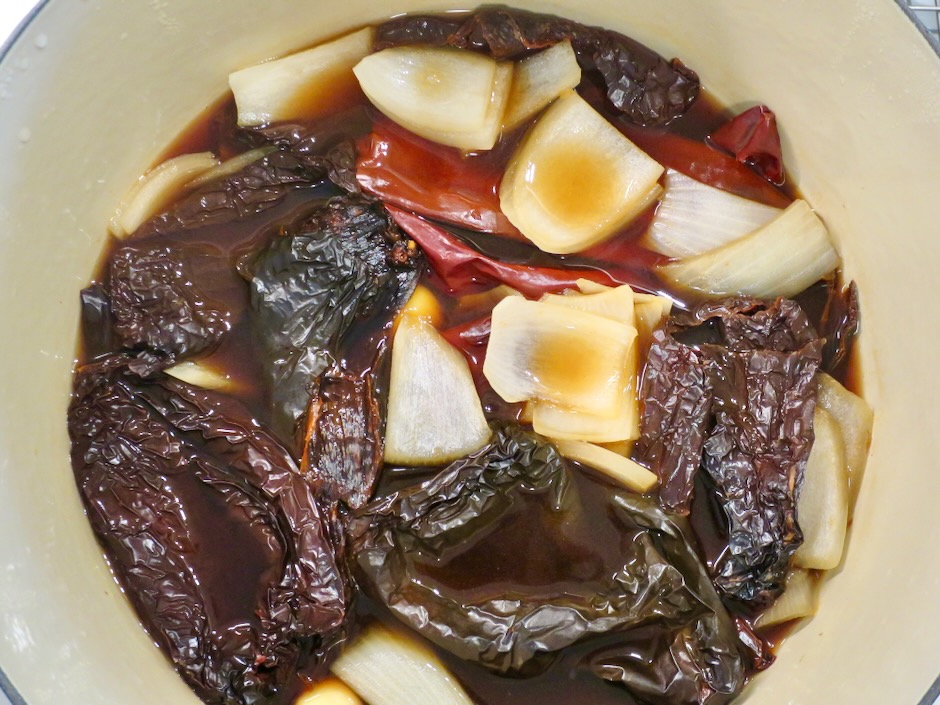
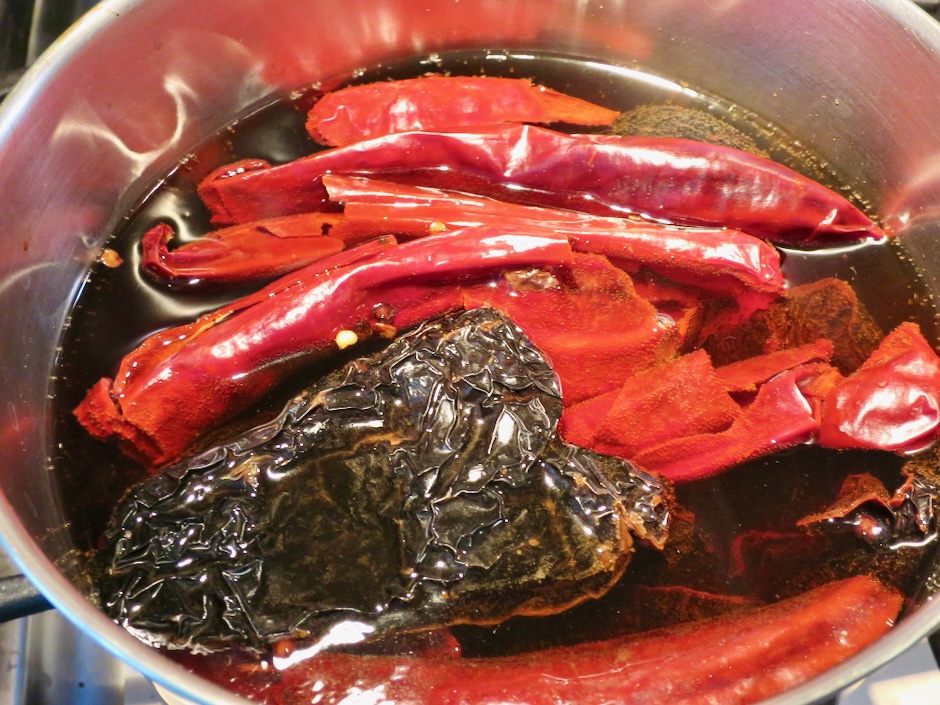
Dried chiles are vibrantly colored and can be smooth (Guajillo) or wrinkly (Ancho). They add a depth of flavor that is slightly sweet, smokey and totally satisfying.

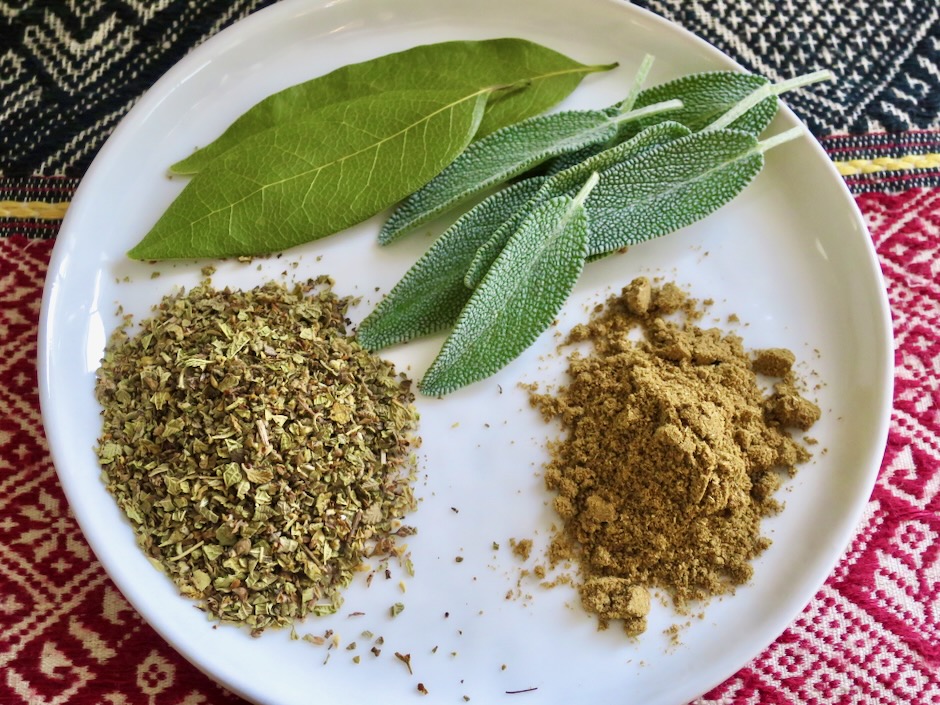
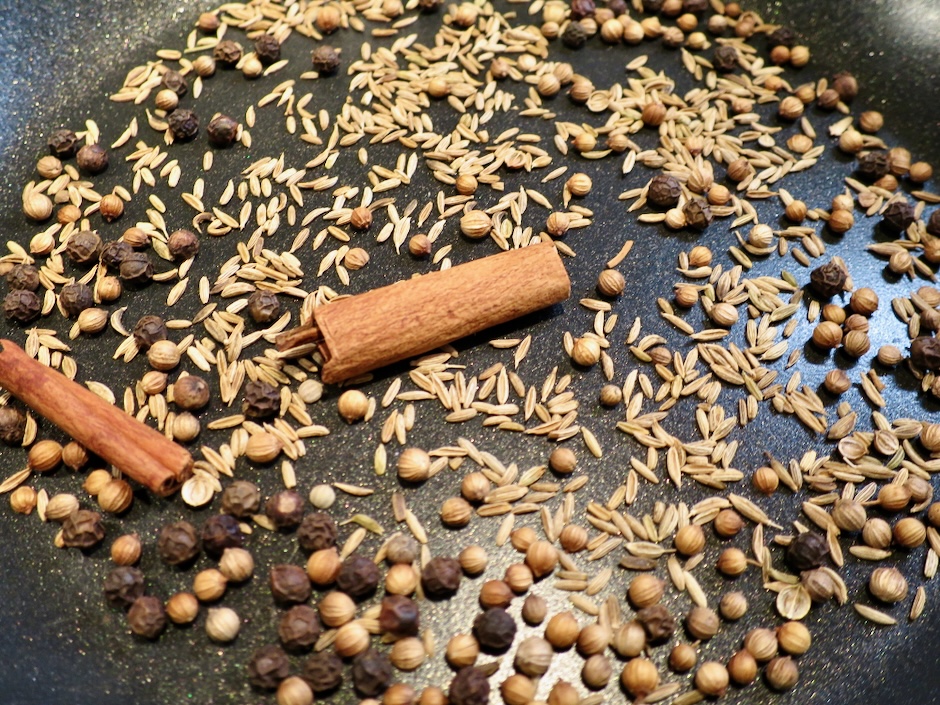
Toasting spices intensifies their flavor which in turn enhances the taste of the birria sauce.

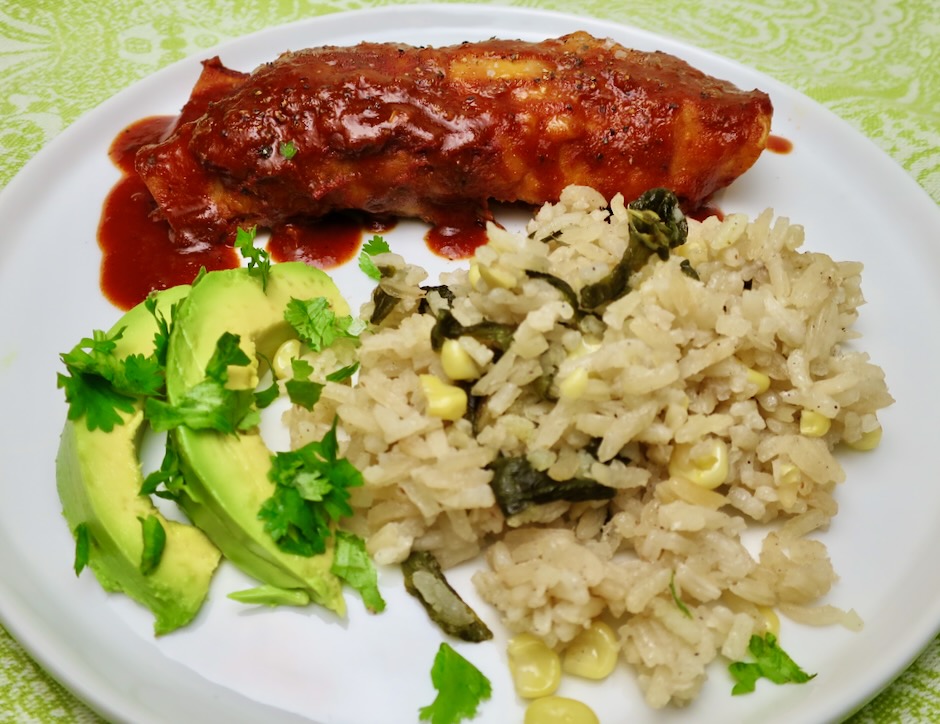
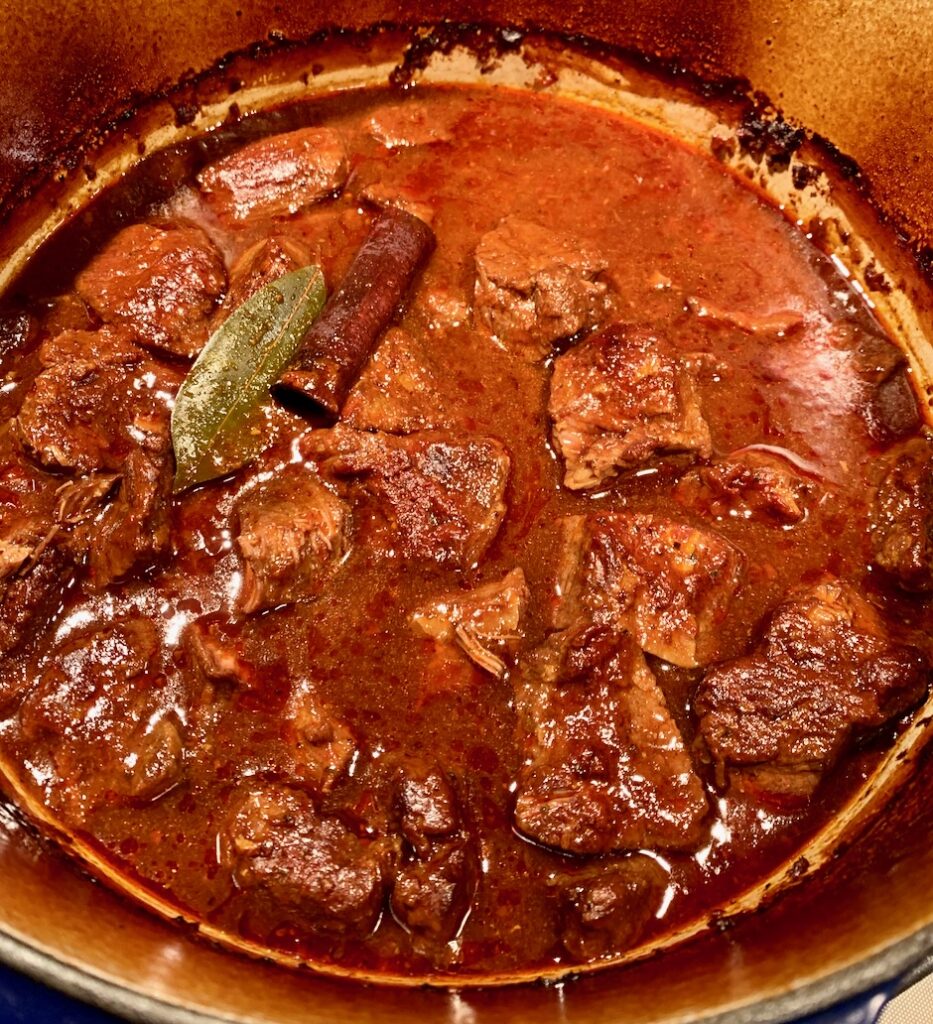
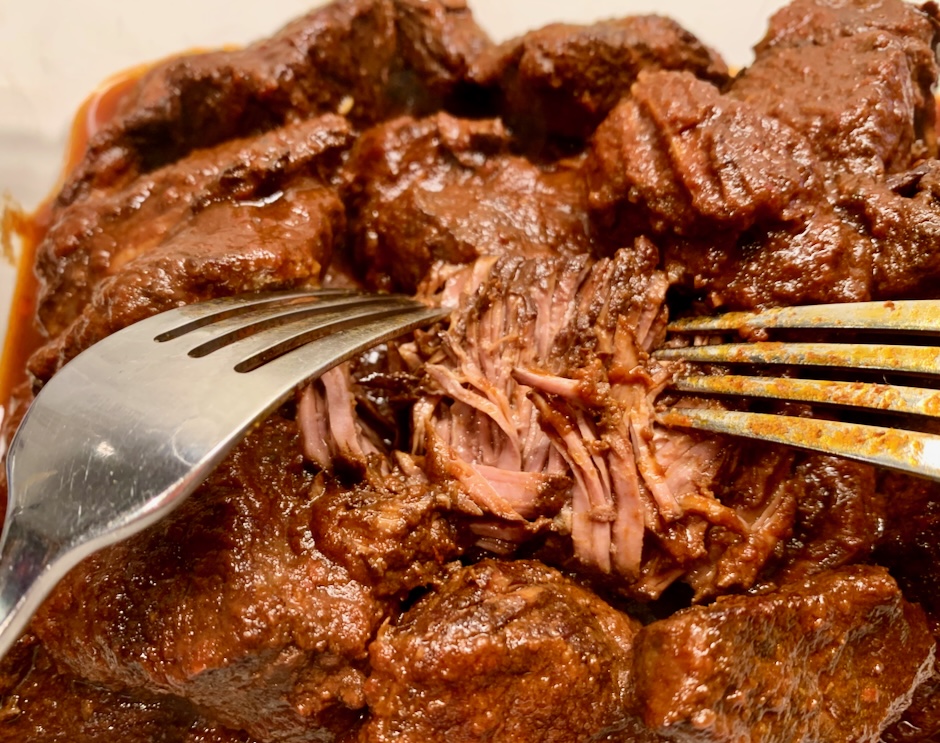
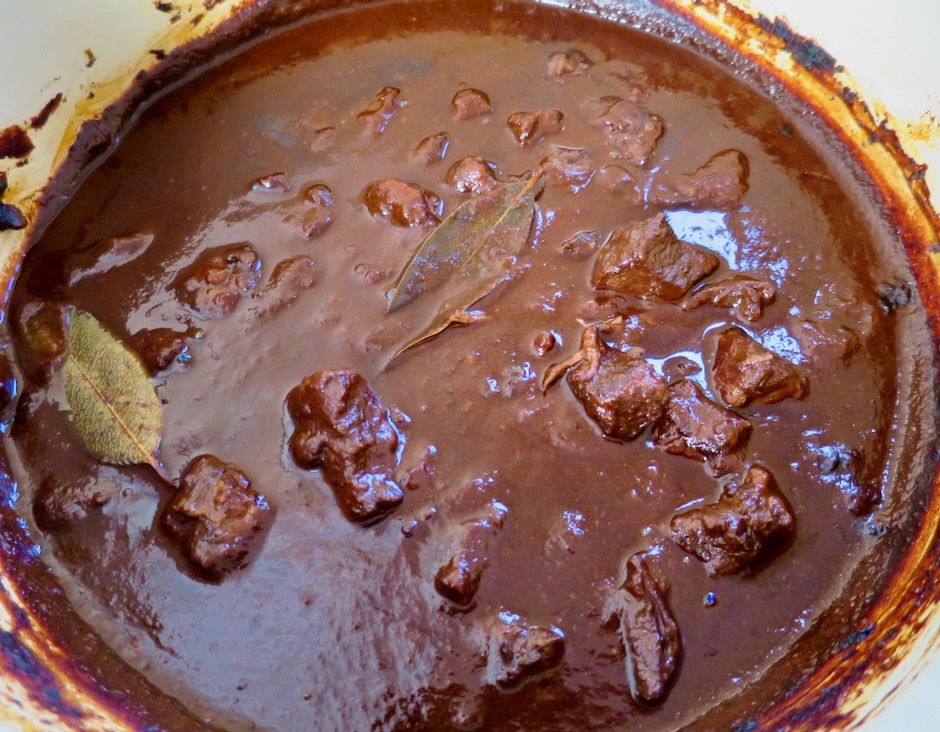
Cooked low and slow, the birria emerges from the oven looking crazy good.

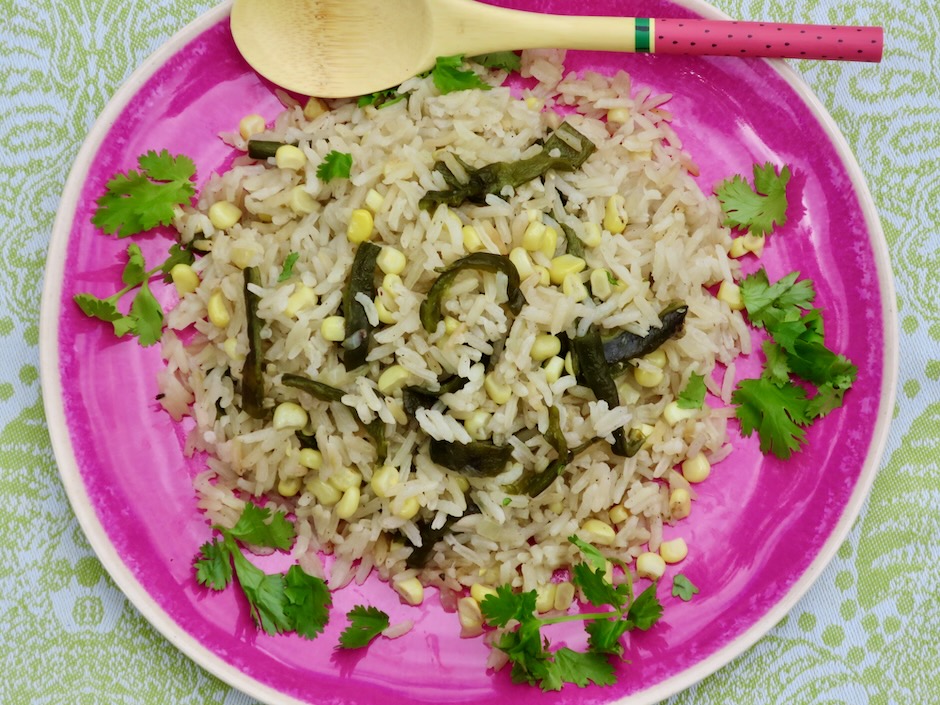
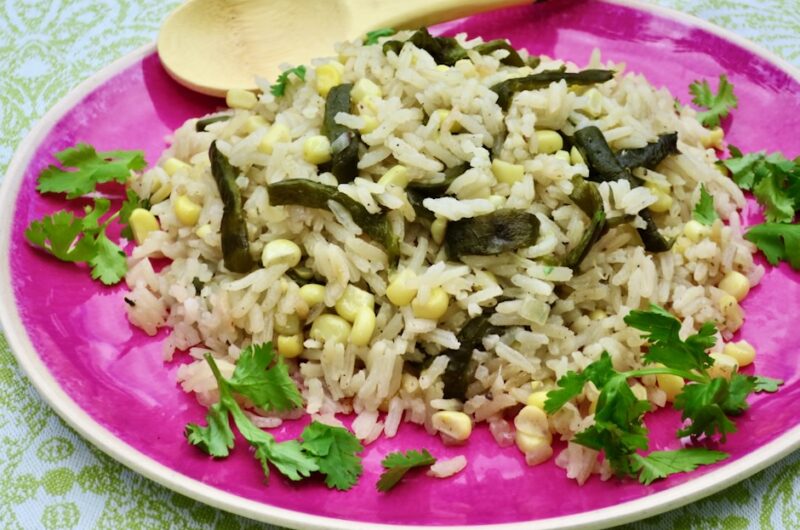
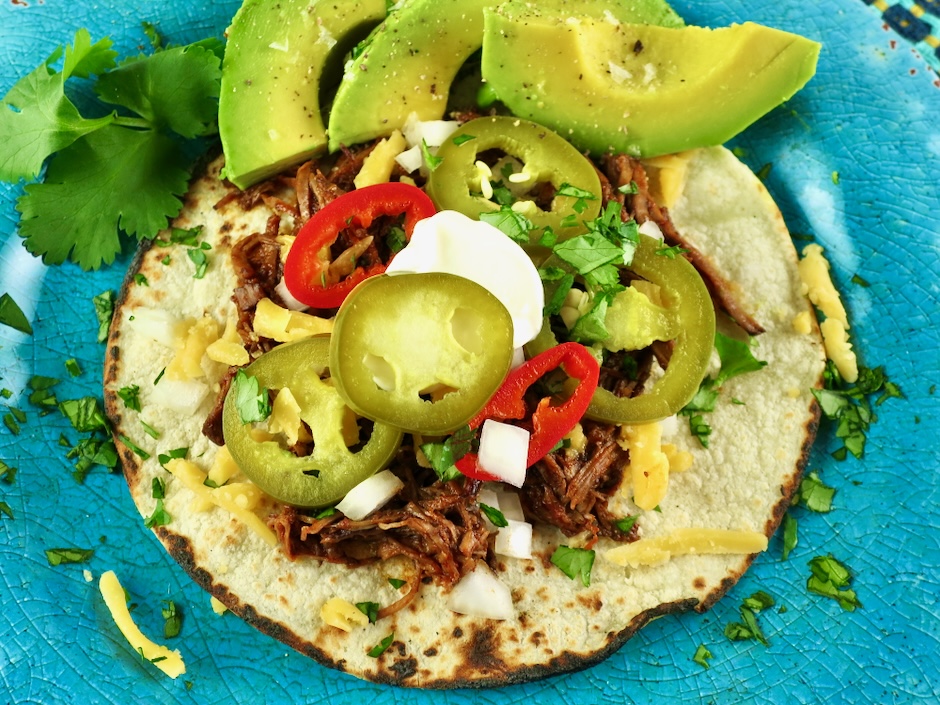
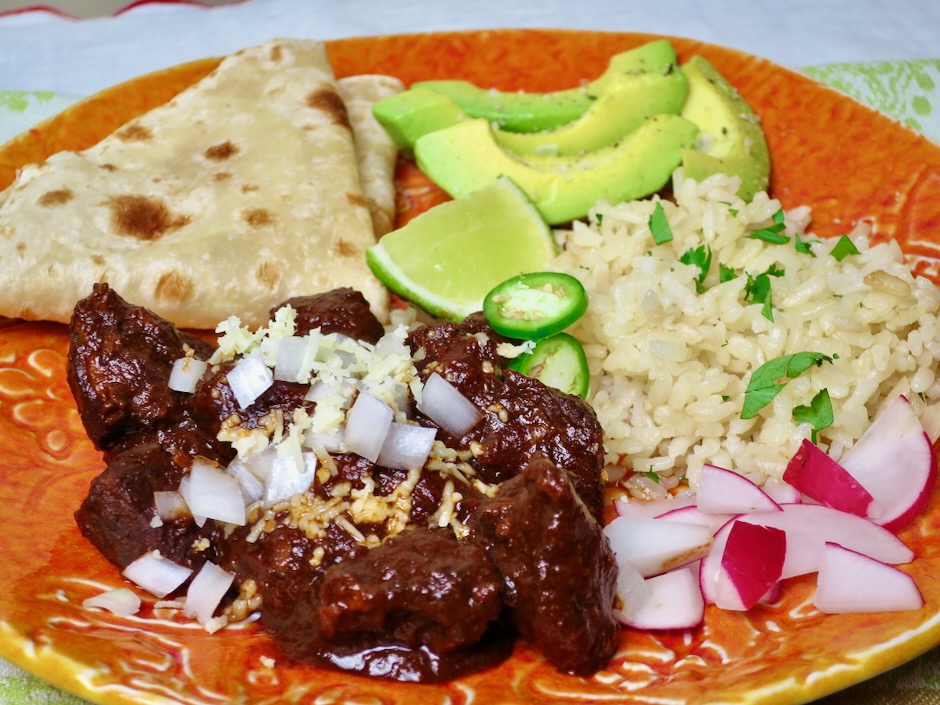
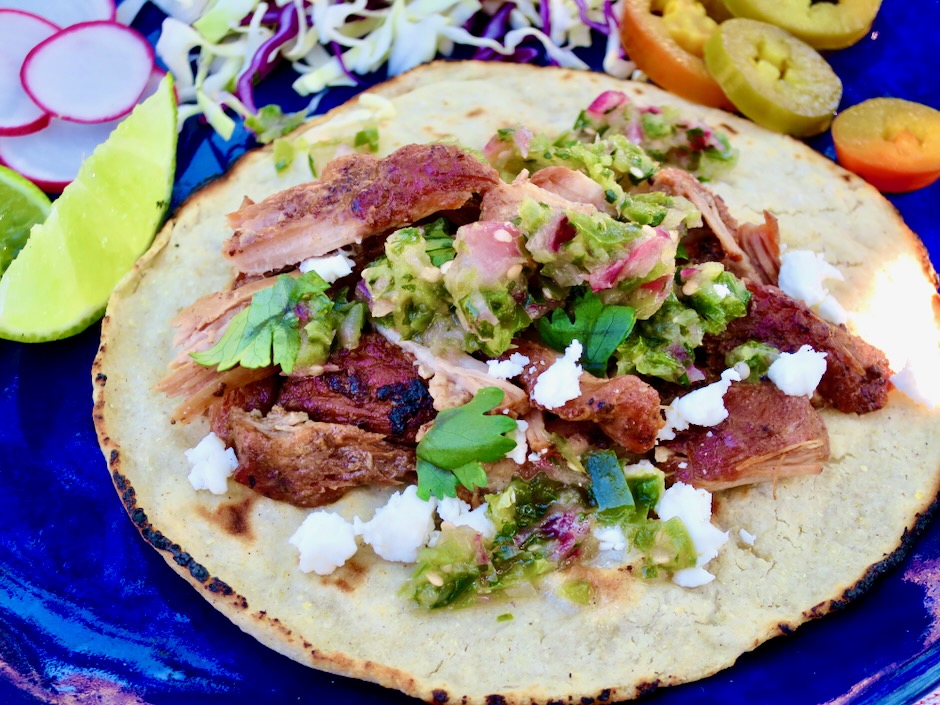
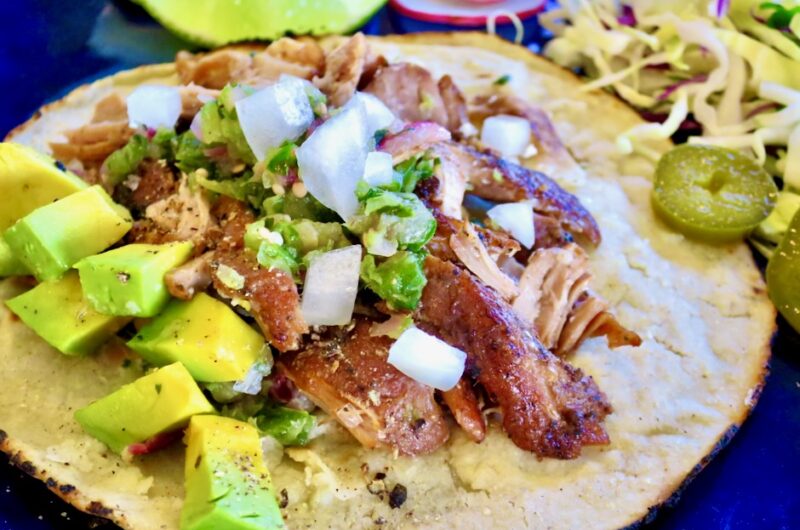
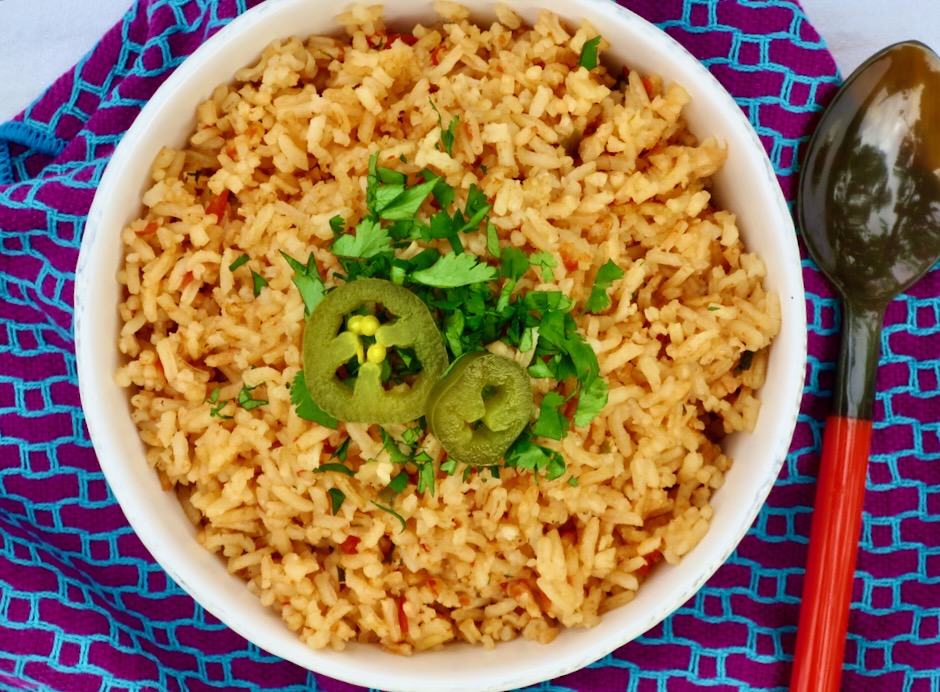
Serve the birria with a side of sliced avocado and Mexican rice like this one, or this one. Add some grated cheese, jalapeños, sour cream, and lots of diced onion and cilantro for the perfect taco.

Beef Birria

Recipe by Kiyo
Servings

8 – 10

servings

Special equipment: Large Dutch oven with cover, large high powered blender such as Vitamix

Ingredients

  • Beef
  • 4 pounds chuck steak, cut into 3-inch cubes

  • Kosher salt (about 1 tablespoon Diamond Crystal or 1 1/2 heaping teaspoons Morton’s)

  • Freshly ground black pepper

  • Canola oil for frying

  • Sauce
  • 1 teaspoon black peppercorns

  • 1 teaspoon cumin seeds

  • 1 teaspoon coriander seeds

  • 1 small cinnamon stick

  • 2 medium ancho chiles, stems and seeds removed

  • 4 guajillo chiles, stems and seeds removed

  • 2-3 chile de arbor (optional for spicy version)

  • 1 medium onion, diced (about 1 1/2 cups)

  • 6 cloves of garlic, smashed

  • 7 ounces fire roasted tomatoes (half of a 14 ounce can)

  • 1 tablespoon apple cider vinegar

  • 2 tablespoons fresh lime juice

  • 4 cups beef stock

  • 1/8 teaspoon (a pinch) ground cloves

  • 2 teaspoons Mexican oregano

  • 1 bay leaf

  • Kosher salt

  • Freshly ground black pepper

  • To serve
  • Corn tortillas, diced onions, cheddar or other melty cheese, cilantro, nacho rings, sour cream, Mexican rice

Directions

  • Preheat oven to 325 degrees with rack on bottom third level.
  • Beef
  • Toss meat cubes with kosher salt (about 1 tablespoon Diamond Crystal kosher salt or 1 1/2 heaping teaspoons Morton’s) and freshly ground black pepper. Heat 1 tablespoon canola or vegetable oil in a large Dutch oven (one that will accommodate all of the beef and sauce) over medium-high heat. Sear beef in batches, until deeply browned adding more oil as needed. Transfer beef to a bowl. Do not wash pot.
  • Sauce
  • In a small skillet toast peppercorns, cumin seeds, coriander seeds and cinnamon stick on medium-low heat tossing frequently for 1-2 minutes. Remove cinnamon stick and set aside. Transfer peppercorns and seeds to a small bowl to cool.
  • Bring a medium pot of water to a boil. Remove from heat and add chiles (seeded and stemmed) submerging them in the hot water. Let soak for 15 minutes to soften. Drain and transfer to a large high powered blender (Vitamix or similar).
  • Using the same Dutch oven, heat a few teaspoons of oil over medium heat and sauté onions until softened, about 4 minutes. Add crushed garlic and sauté another minute. Add toasted spices (except cinnamon stick). Add 2 cups of beef stock, vinegar and lime juice. Deglaze the pan. Transfer mixture to a high powered blender along with rehydrated chiles. Add additional 2 cups beef stock, tomatoes, ground cloves and oregano. Blend until completely smooth.
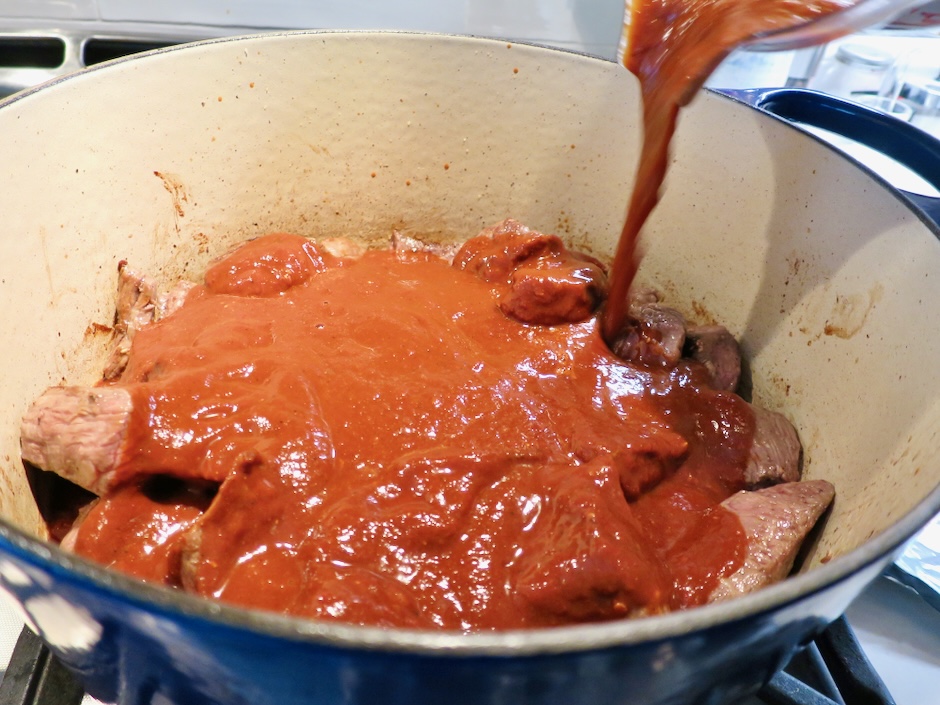
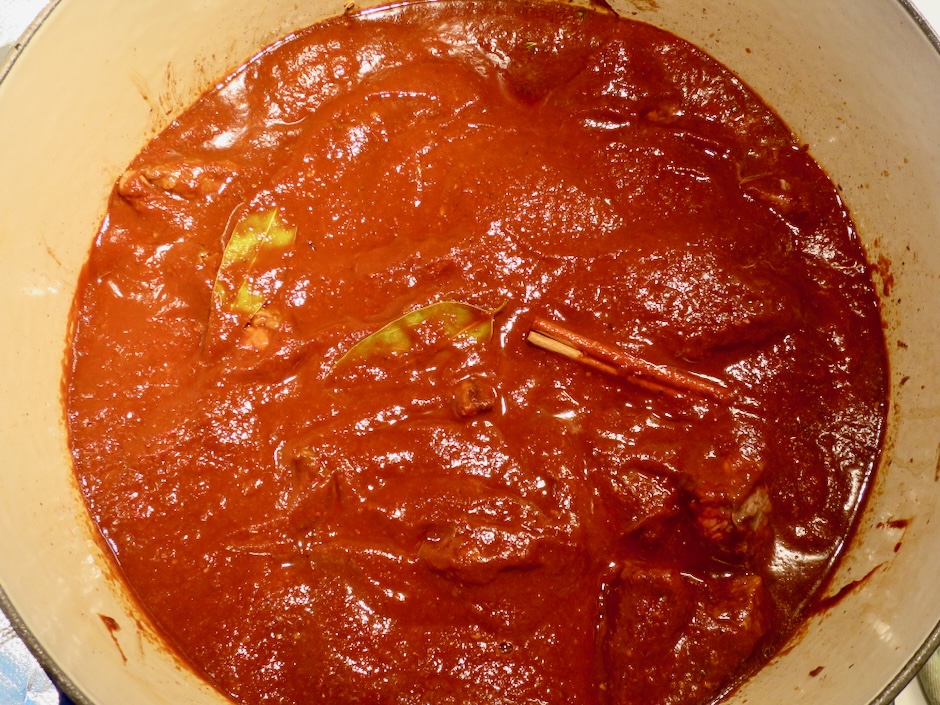
  • Add beef back to the Dutch oven and pour sauce over the meat. Give it a stir so the meat is nicely coated and covered with the sauce. Add bay leaf and toasted cinnamon stick. Bring to a simmer then transfer to oven and cook covered until meat is very tender and can easily be shredded with a fork, about 3 hours.
  • Remove bay leaf and cinnamon stick. Taste and season with more salt if needed. Transfer beef to a large bowl and shred with two forks. See note below on how to prepare corn tortillas for pan frying. You may also choose to serve the birria on warmed corn tortillas or wrapped in a soft flour tortilla.

Notes

  • If making pan fried tacos, prepare corn tortillas by lightly spraying or brushing oil on each side. Place tortillas on foil, slightly overlapping. Bake for about 4 minutes at 400 degrees until tortillas are pliable. This will allow you to fill and fold the tortillas without them cracking. Place some shredded meat on half of the tortilla and sprinkle a little cheese over the meat. Fold tortilla and pan fry in a bit of canola oil following my tacos dorados recipe.

Beef, Dinner, Lactose Free, Mexican, Recipes

Chile Colorado

July 8, 2024

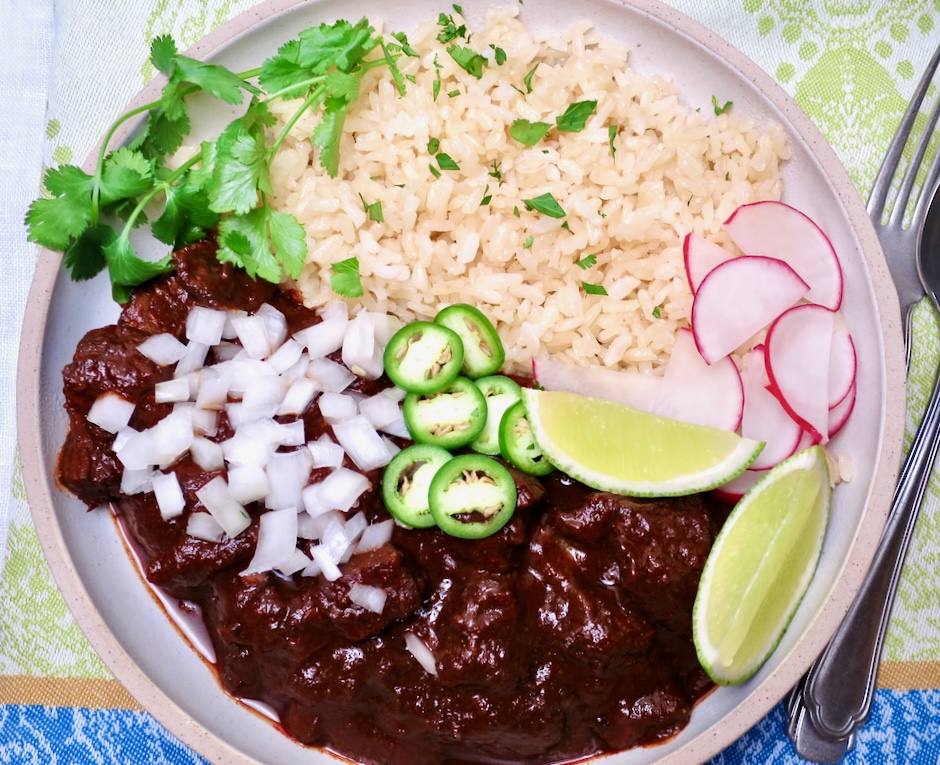
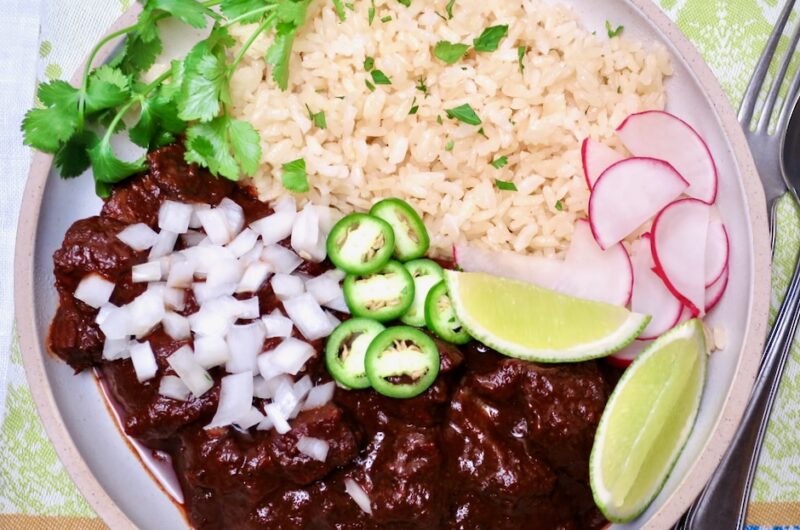
Chile Colorado is a traditional Mexican dish of tender braised beef or pork bathed in a rich sauce made with dried chiles and spices. The dried chiles add a smoky, fruity, deep flavor that creates an undeniably delicious sauce. Tender braised beef in red chile sauce is one of the most comforting dishes you can make at home.

The dried chiles shown above are those most often used for Chile Colorado. This dish is typically mildly spiced, widening its appeal. If you want extra heat, serve the chile with hot sauce and jalapeños on the side.

For authenticity, seek out dried chiles from reputable suppliers. You want the chiles to be deeply colored, soft and pliable (not dry and brittle). Quality dried chiles are readily available online. My go to store for dried chiles is Amazon. Shipping is quick (free for Prime members), there are many options/sellers, and the prices seem reasonable.

Rick Martinez, one of the most amazing chefs, adds a bit of fresh sage to his Chile Colorado as do other chefs. Since I have fresh sage growing in the garden, it was a no brainer to use it (but optional). Mexican oregano is preferred over Mediterranean oregano for this dish. Its flavor imparts bright floral and citrus notes to food. Because of the small amount used, regular oregano which most of us have in our pantry is a fine substitute.

The rehydrated chiles are puréed in a high powered blender such as a Vitamix until smooth. The intoxicatingly scent of the sauce signals a deeply satisfying meal ahead.

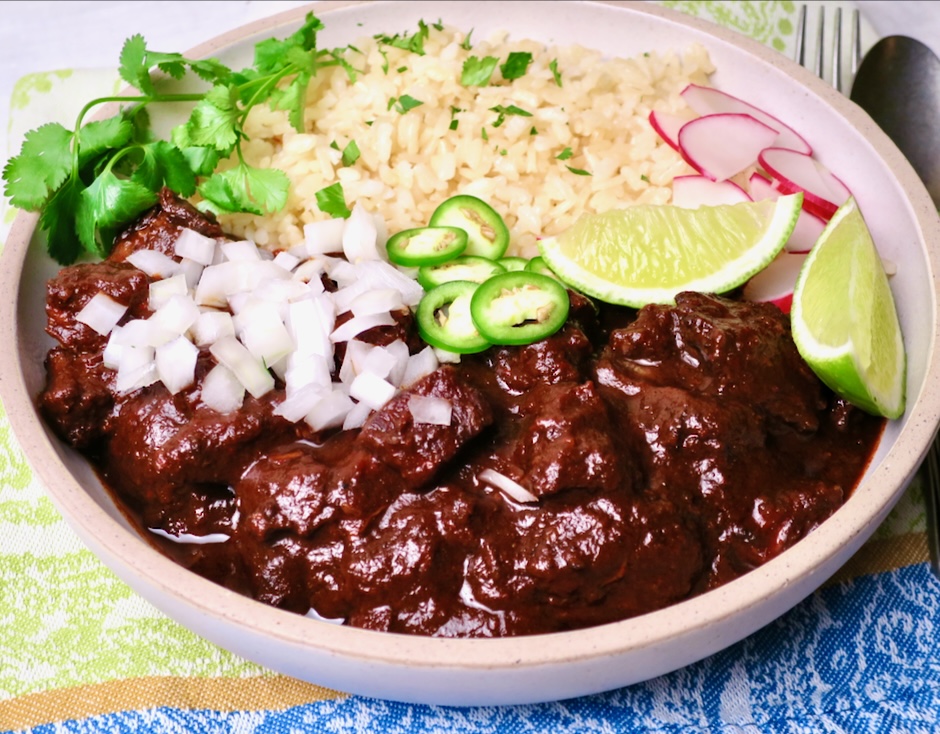
Serve the chile with red or white rice, warm flour or corn tortillas, chopped onions, and hot sauce. You can use the chile in enchiladas or make some delightful tamales. However you serve it, you’ve got yourself one of the best homemade chile dishes.

Chile Colorado

Recipe by Kiyo
Servings

6-8

servings

Ingredients

  • 5 dried ancho chiles, stems and seeds removed

  • 2 dried pasilla chiles, stems and seeds removed

  • 3 dried guajillo chiles, stems and seeds removed

  • 1 (32 ounce) carton low-sodium chicken broth, divided

  • 1/2 large onion, coarsely chopped

  • 3 garlic cloves, peeled and coarsely chopped

  • 2 1/2 pounds of trimmed boneless chuck steak, cut into 1 1/2-inch pieces

  • 2 teaspoons kosher salt

  • 1/2 teaspoon freshly ground black pepper

  • 2 tablespoons flour

  • 1 tablespoon canola or vegetable oil

  • 1 1/2 teaspoons dried Mexican oregano (or substitute with dried oregano)

  • 1 1/2 teaspoons ground cumin

  • 2 teaspoons finely chopped fresh sage (optional)

  • 1 large or 2 small bay leaves

  • 2 cups water

  • Warm flour or corn tortillas, Mexican white or red rice, lime wedges, chopped onion, chopped cilantro, sliced radishes and hot sauce for serving

Directions

  • Place stemmed and seeded chiles in a medium heavy-bottomed pot along with the chopped onion and garlic. Add 3 cups of the low-sodium chicken broth and bring to a boil over medium-high heat. Gently boil for 2 minutes. Remove from the heat, cover the pot, and let steep until the chiles are softened, about 20 minutes.
  • Meanwhile, season trimmed beef cubes with 2 teaspoons kosher salt and 1/2 teaspoon freshly ground black pepper. Toss seasoned meat with flour.
  • Transfer chiles and liquid to a high powered blender and puree until very smooth. If you do not have a high powered blender such as a Vitamix, you may strain the sauce to remove any solids left behind.
  • Heat 1 tablespoon canola or vegetable oil in a Dutch oven (or other oven safe pot with a lid) over medium-high heat until shimmering. Add half of the beef in a single layer and sear undisturbed until the bottom of the beef develops a dark brown crust, about 4 minutes. Stir and continue cooking until beef is browned all over, about 4 more minutes. Transfer browned beef to a plate and repeat searing the remaining beef. Return the first batch of beef to the pot.
  • Add dried oregano, ground cumin, and sage if using to the beef. Cook, stirring often, until fragrant, about 30 seconds. Add the bay leaf, remaining 1 cup chicken broth, 2 cups of water and the blended chile mixture. Stir and scrape up any browned bits off the bottom of the pot with a wooden spoon.
  • Bring to a boil over high heat, cover the pot and transfer to the oven. Cook for 2 hours until the meat is fork tender (you may also simmer the beef on the stovetop). Serve with warm flour or corn tortillas, Mexican rice, lime wedges, chopped onions, cilantro, radish slices and hot sauce or jalapeños.

Notes

  • Chile Colorado can be frozen for a few months. Defrost overnight in the refrigerator and gently heat on the stovetop.
Dinner, Lactose Free, Mexican, Pork, Recipes

Coke-Braised Pork Tacos

May 4, 2024

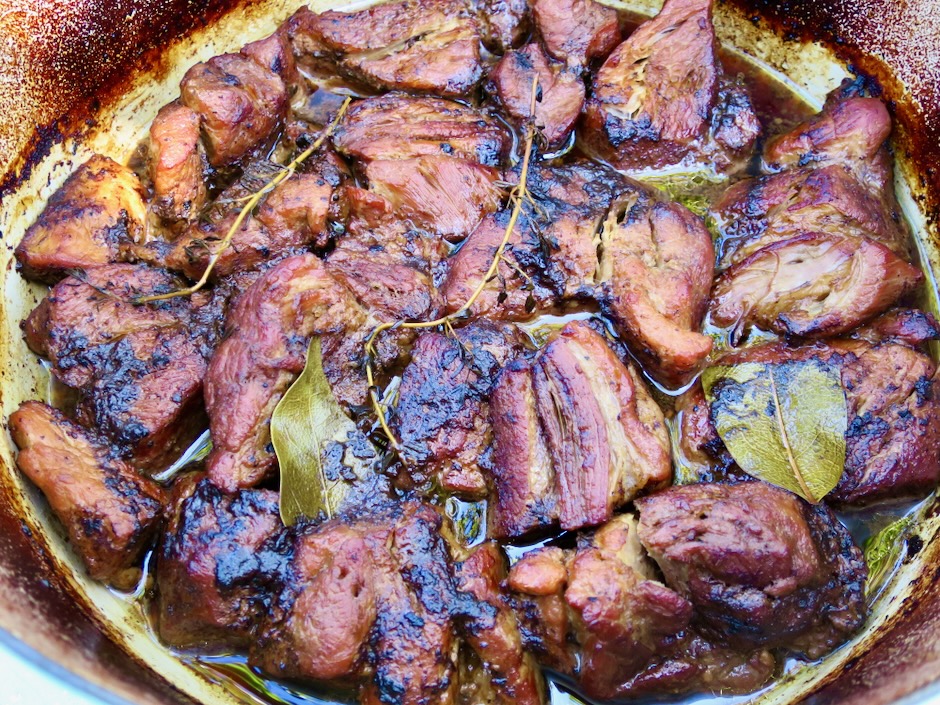
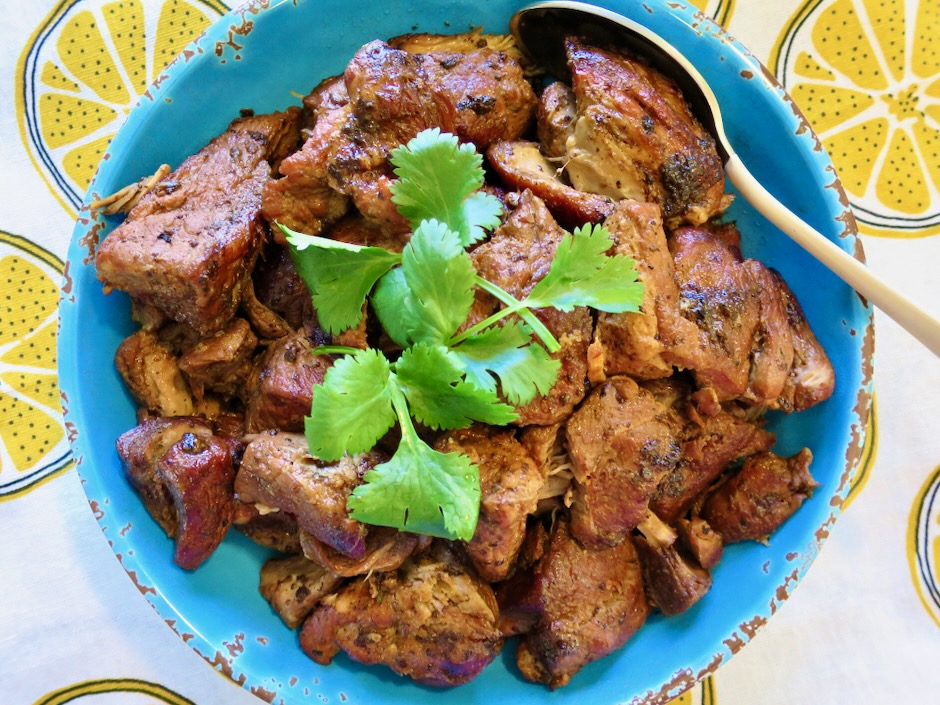
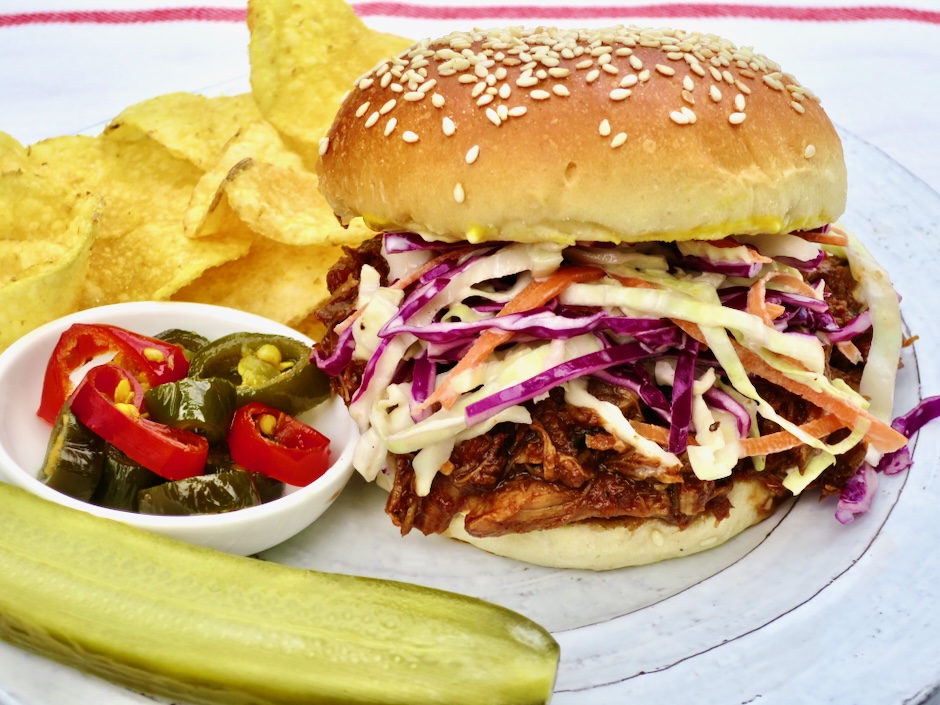
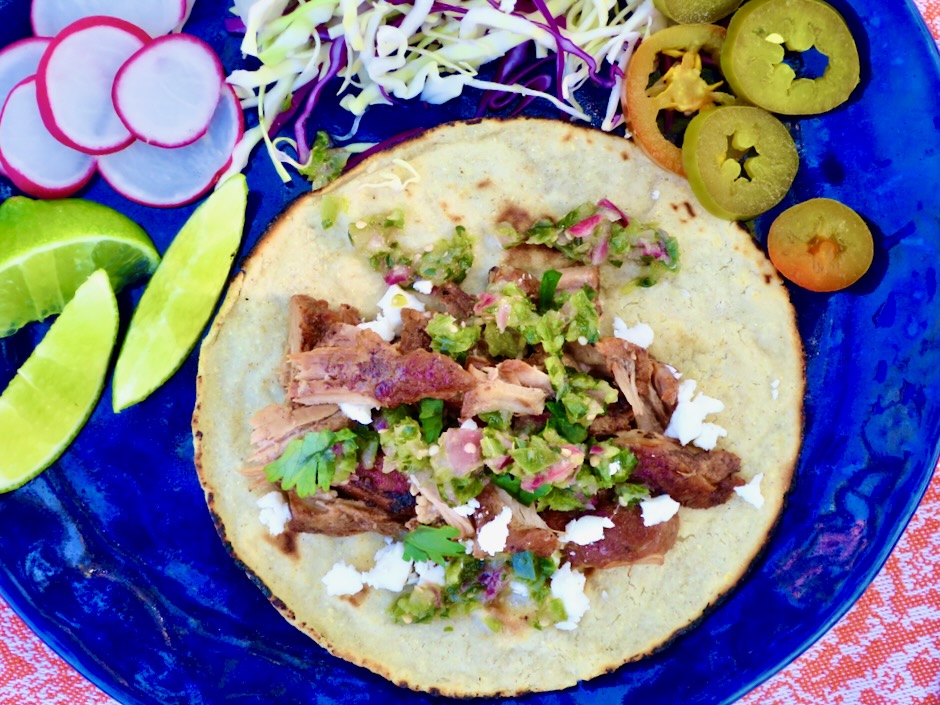
Braising is the ultimate way to cook tougher cuts of meat into flavorful fork-tender perfection. This Coca-Cola braised pork is cooked low and slow in the oven until it is perfectly shreddable for tacos or barbecue sandwiches.

This recipe by Marcela Valladolid comes from Food & Wine magazine. It quickly caught my attention not only because I love braised meat especially if it involves a Mexican meal, but also because of its simplicity. It doesn’t call for any hard-to-find ingredients and you don’t need to watch over it while it’s cooking.

After 2 hours in the oven, the pork is ready to be served.

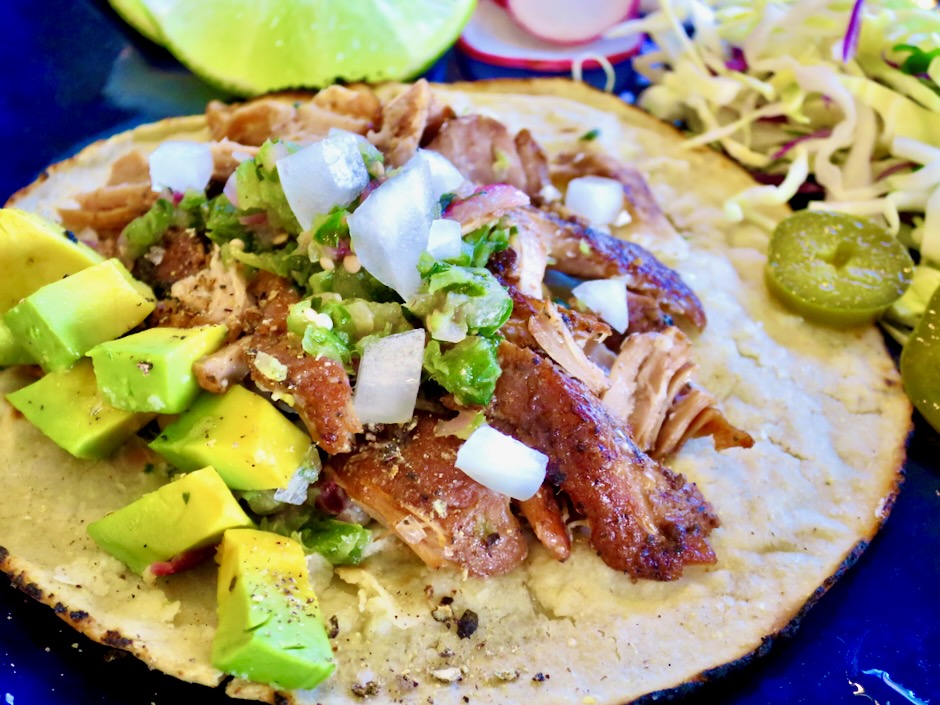
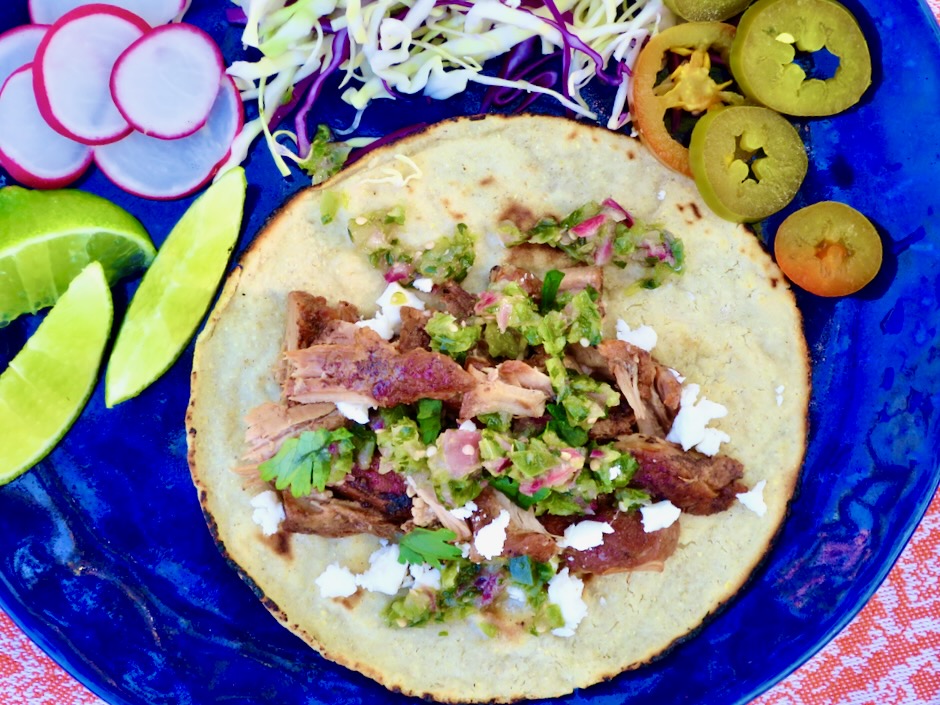
You can serve the pork alongside rice and beans or shred it for tacos.

This Coke-braised pork is so versatile. I freeze leftovers and use it for barbecue pork sandwiches.

Coke-Braised Pork Tacos

Recipe by Kiyo
Servings

4-6

servings

Adapted from Marcella Valladolid/Food & Wine magazine

Ingredients

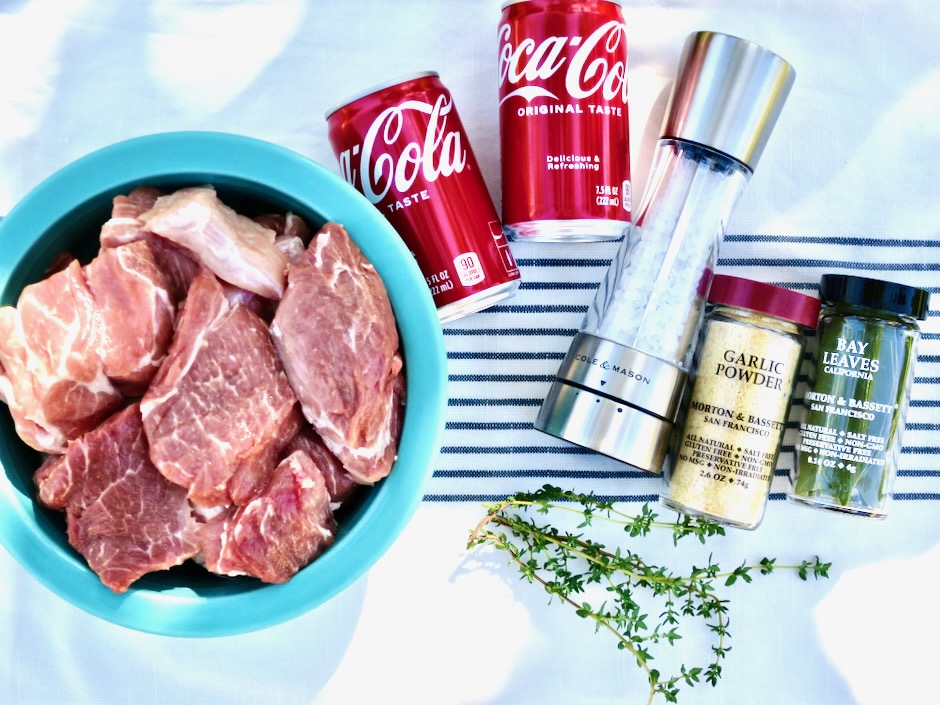
  • 2 pounds pork butt or shoulder, trimmed of excess fat and cut into 4-inch chunks

  • 2 teaspoons garlic powder

  • 2 teaspoons kosher salt

  • 1/2 – 1 teaspoon freshly ground black pepper

  • 1 1/2 cups Coca-Cola (original taste) combined with 3/4 cup water

  • 1 large bay leaf split into two pieces

  • 2 sprigs fresh thyme

  • Optional for serving: Corn tortillas warmed in a comal, cast iron skillet or directly over a gas burner, diced onions, salsa, guacamole or diced avocado, cheese, hot sauce

Directions

  • Preheat the oven to 325 degrees (rack in the middle).
  • Place the pork in a large bowl and toss with the garlic powder, 2 teaspoons kosher salt and 1/2-1 teaspoon freshly ground black pepper.
  • Heat 1 tablespoon neutral oil in a medium Dutch oven (or other oven-safe pot with lid) over medium-high heat. Add half of the pork and sear on both sides until nicely browned, adjusting heat if too hot. Transfer to a bowl and continue with the remaining pork. Once the second batch of pork has been browned, pour in 1 1/2 cups Coca-Cola along with 3/4 cup water and deglaze the bottom of the pan with a wooden spatula (no need to remove the second batch of pork in the pan while you deglaze). Return the first batch of pork to the pot along with any accumulated juices. Add the split bay leaf and thyme sprigs. Bring to a boil, cover the pot and transfer to the oven. Bake for 2 hours or until the meat is fork tender.

Notes

  • If you do not have an oven-safe pot with a lid, you may cook the pork on the stovetop instead. Cover and simmer for about 2 hours until the pork is very tender.
  • The pork can be used in multiple ways such as tacos, quesadillas, tostadas, with barbecue sauce for sandwiches and in ramen dishes.
Dinner, Lactose Free, Mexican, Recipes, Rice Dishes

Easy Salsa Rice

February 21, 2024

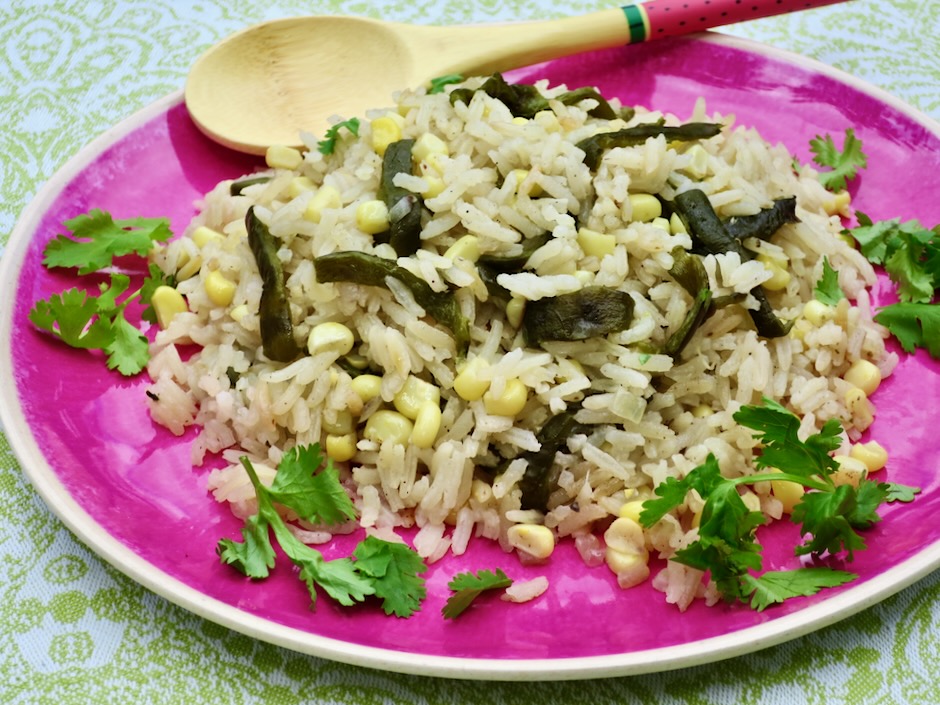
If you happen to have a bit of leftover salsa and are wondering how you might use it (other than finishing off those last corn chips in the bag), give this easy salsa rice recipe a try. It’s similar to my Sopa de Arroz recipe but saves time by incorporating prepared salsa. It is my favorite accompaniment to any Mexican meal.

If the salsa you are using is very chunky, give it a few pulses in a food processor or an immersion blender if you have one.

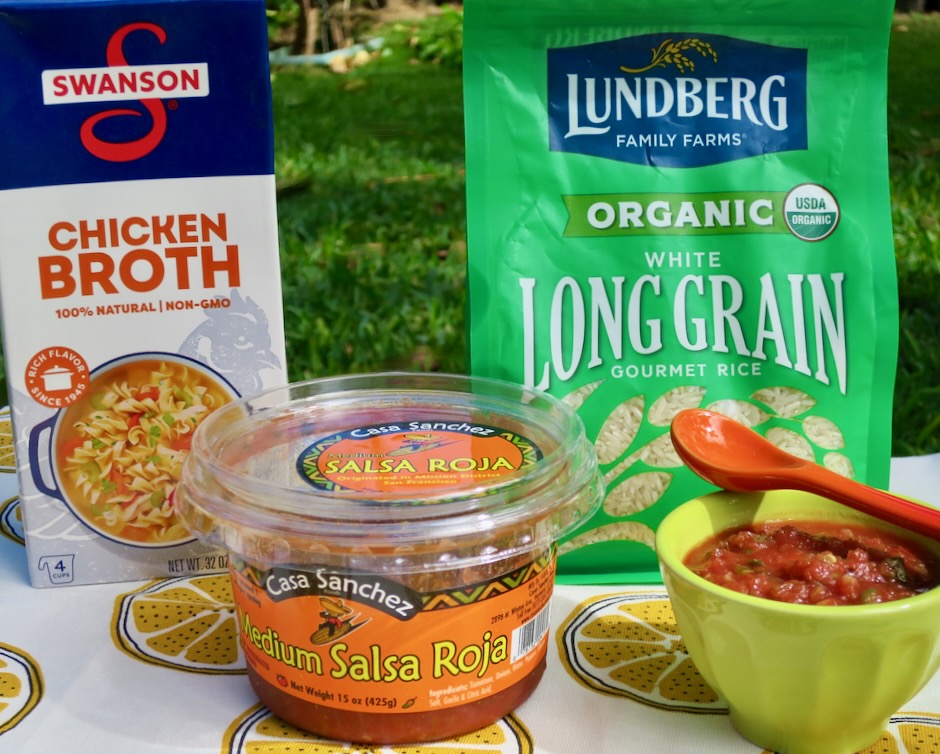
Any red salsa will work whether mild or spicy. Let your own taste be the guide.

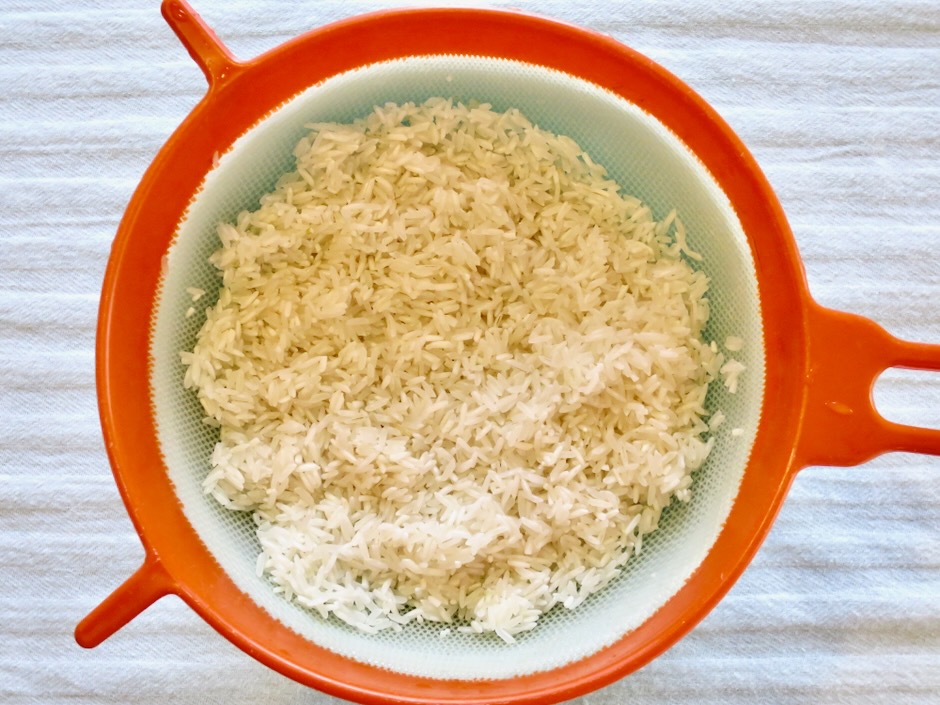
It’s essential to rinse and dry the rice well. This quick step will remove excess starch which can make rice clumpy and overly sticky. You want fluffy, separate grains for this recipe.

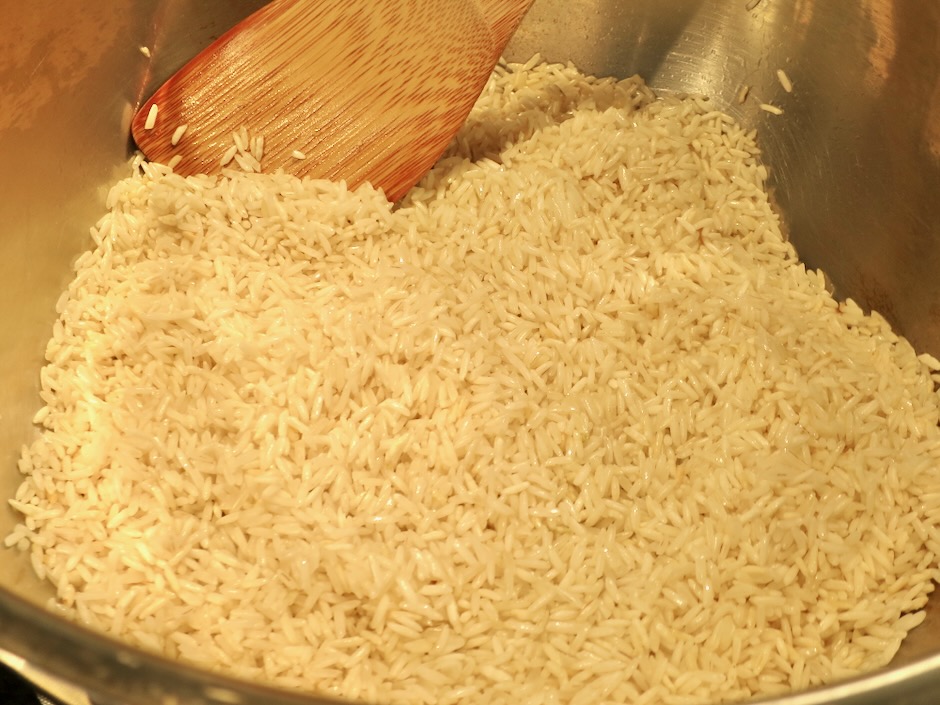
Once the oil is hot, stir in the rice and continue stirring until the rice takes on a very light golden color.

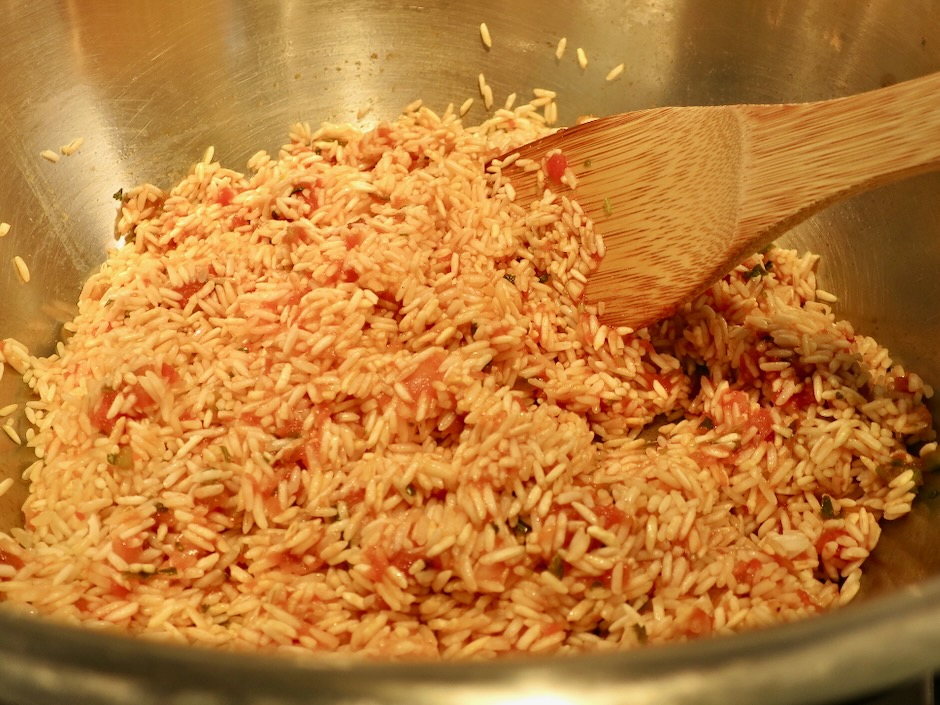
The salsa is added to the rice and continuously stirred to coat each grain. Watch the bottom of the pan to avoid burning the salsa.

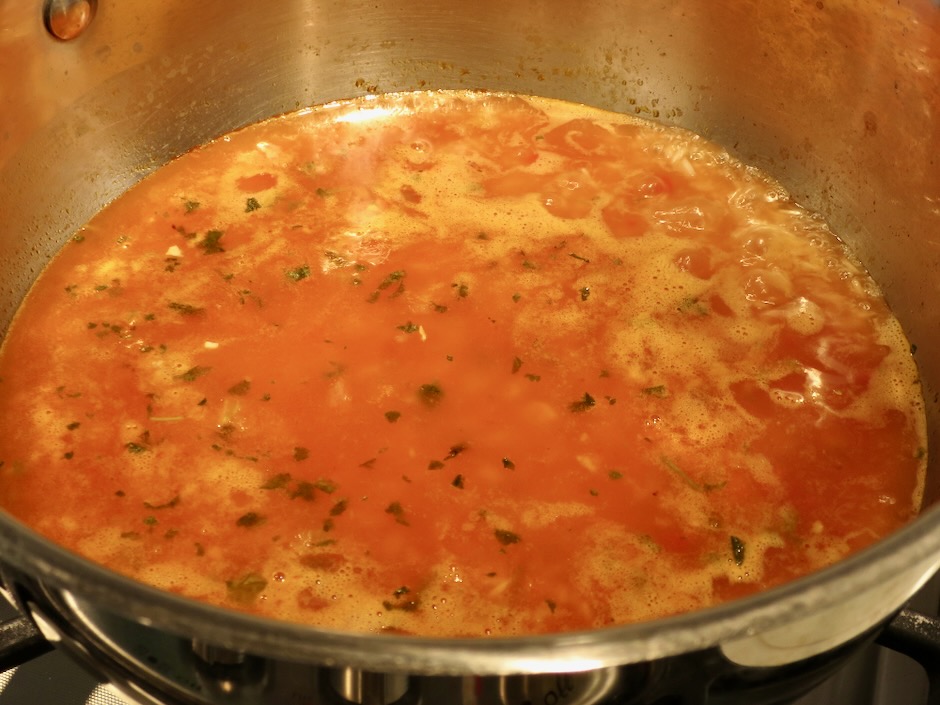
Finally, the broth, salt, and chile powder are added to the rice.

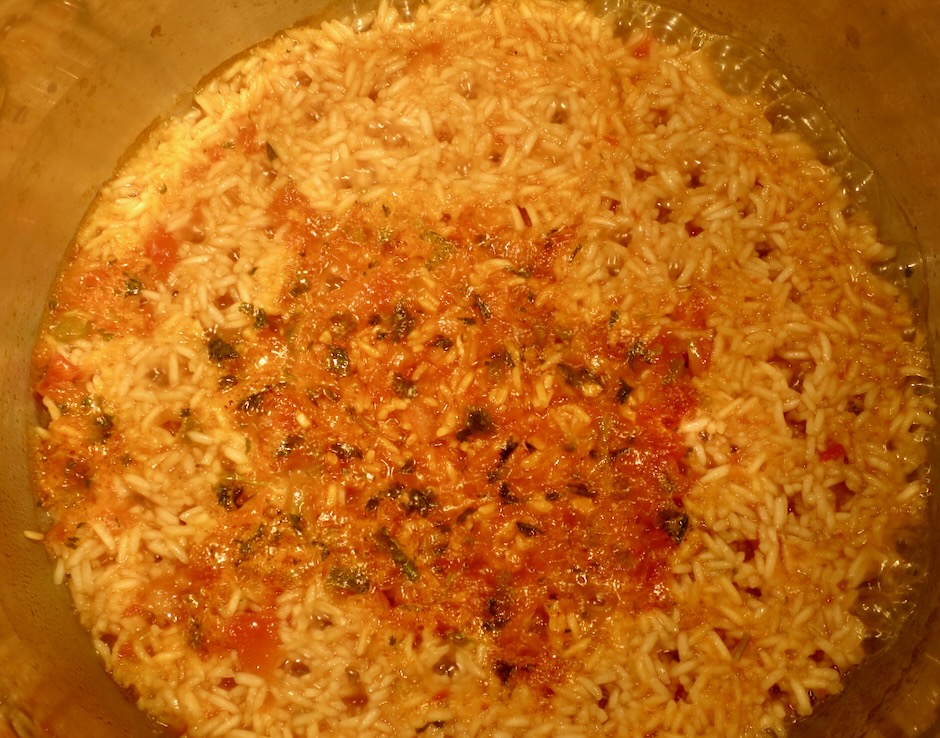
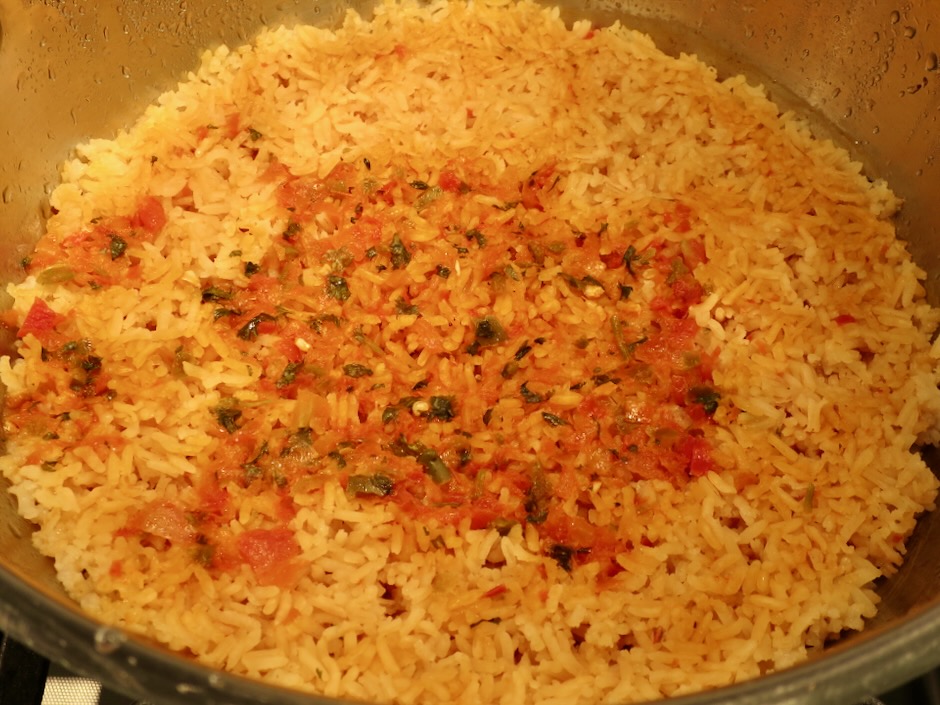
Left uncovered, the broth is absorbed by the rice until nearly gone. Small holes will appear on the surface of the rice. Now it’s time to put the lid on and cook the rice for 20 minutes. Absolutely no peeking. The lid must stay on for the duration of the cooking time as well as after the timer goes off.

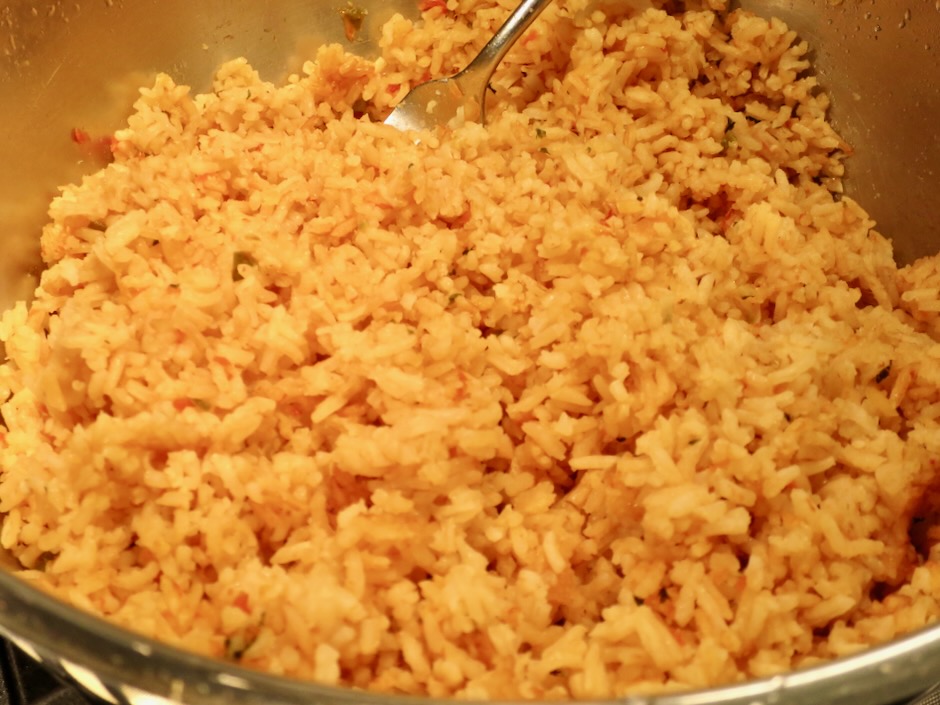
The rice has rested in the covered pot for 20 minutes. Now it is ready to be fluffed and served.

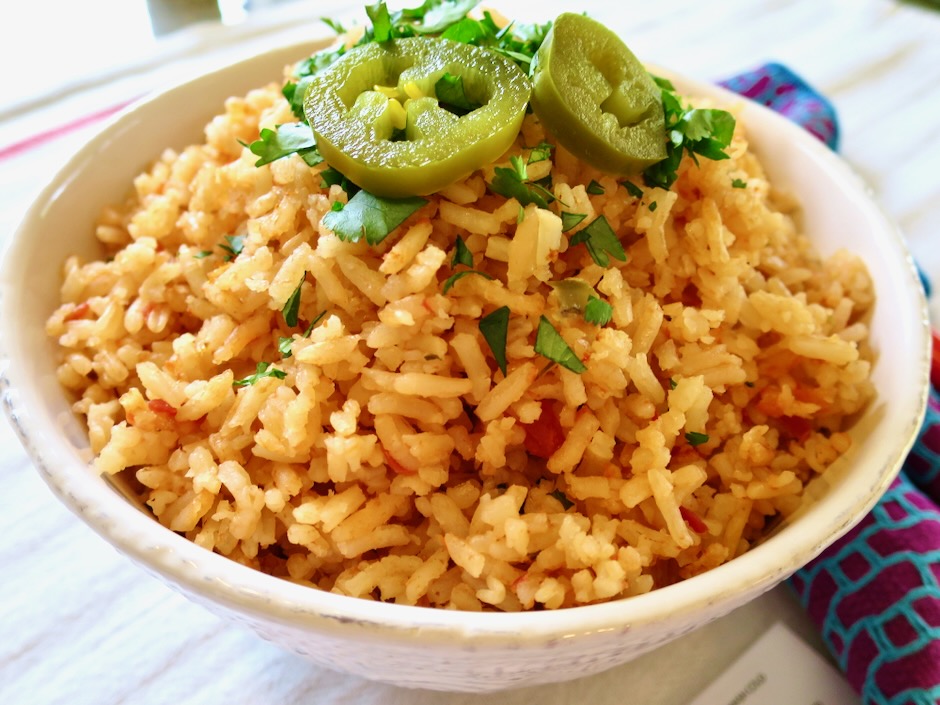
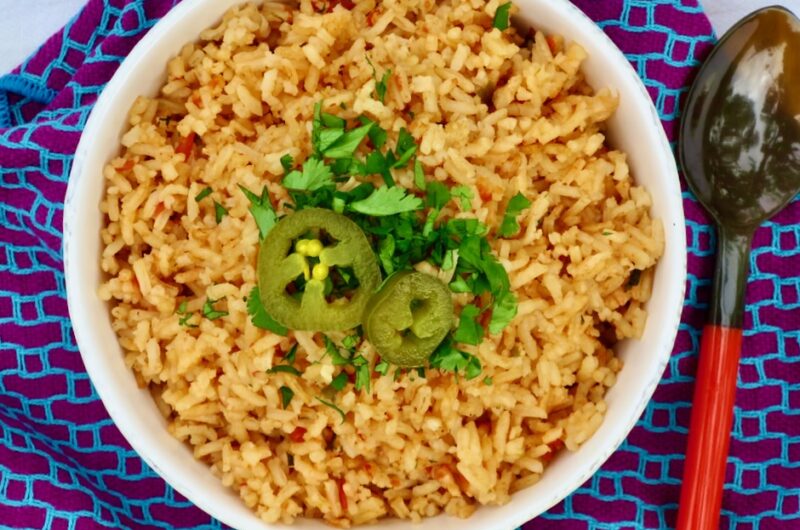
The salsa rice is delicious in a burrito or served with your favorite Mexican dishes. Warm the rice up for breakfast with cheesy scrambled eggs and corn tortillas.

Easy Salsa Rice

Recipe by Kiyo
Servings

6

servings

Ingredients

  • 2 cups long grain rice

  • 1 tablespoon canola or vegetable oil

  • 1/2 cup + 1 tablespoon tomato salsa of your choice (if very chunky give it a few pulses in a food processor)

  • 3 cups chicken broth

  • 3/4 teaspoon kosher salt or 1/2 teaspoon fine sea salt

  • 1 teaspoon mild pure chile powder such as Hatch Mild Red Chile Powder from The Chile Shop online store) optional

Directions

  • Rinse rice in a sieve to remove excess starch. Drain very well, tapping the bottom of the sieve to remove any water collected on the bottom. Place the sieve on a clean kitchen towel to drain further while you heat your pan. This step is essential for giving your rice a fluffy texture and grains that remain separate.
  • Heat 1 tablespoon canola or vegetable oil in a large multi-purpose pot with lid or Dutch oven (wider bottom works better than narrow and tall pot) over medium-high heat. Once oil is hot, turn heat to medium and add drained rice. Coat rice with oil and stir constantly until rice takes on a very light golden color, about 5 minutes.
  • Turn heat down to low and add salsa. Stir continuously for a minute or two with a wooden spoon, coating the rice and scraping the bottom of the pan to avoid burning the salsa. Mix in 3 cups of chicken broth, salt and chile powder if using. Turn heat to medium-high and allow liquid to evaporate for about 6-7 minutes or until there is barely any liquid covering the rice and small holes appear on the surface of the rice. Turn heat to low and cover pot. Set your timer for 20 minutes. Do not open the lid while the rice is cooking.
  • Once the timer goes off, turn off the heat. Do not open the lid. Allow rice to sit, covered, for 20 minutes. Remove lid (be careful of the condensation on the inside of lid) and fluff rice with a fork before serving.

Notes

  • Leftover rices can be frozen for a few months.
Appetizers, Dinner, Lactose Free, Mexican, Recipes, Sauces, Summertime Meal, Vegan, Vegetarian

Tomatillo Salsa Cruda

February 14, 2024

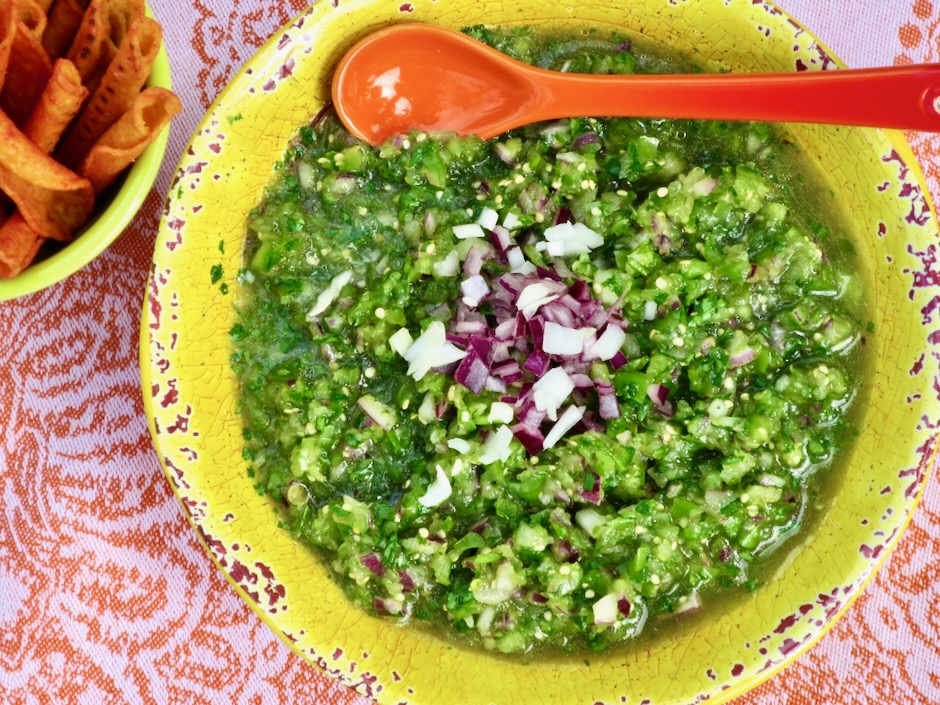
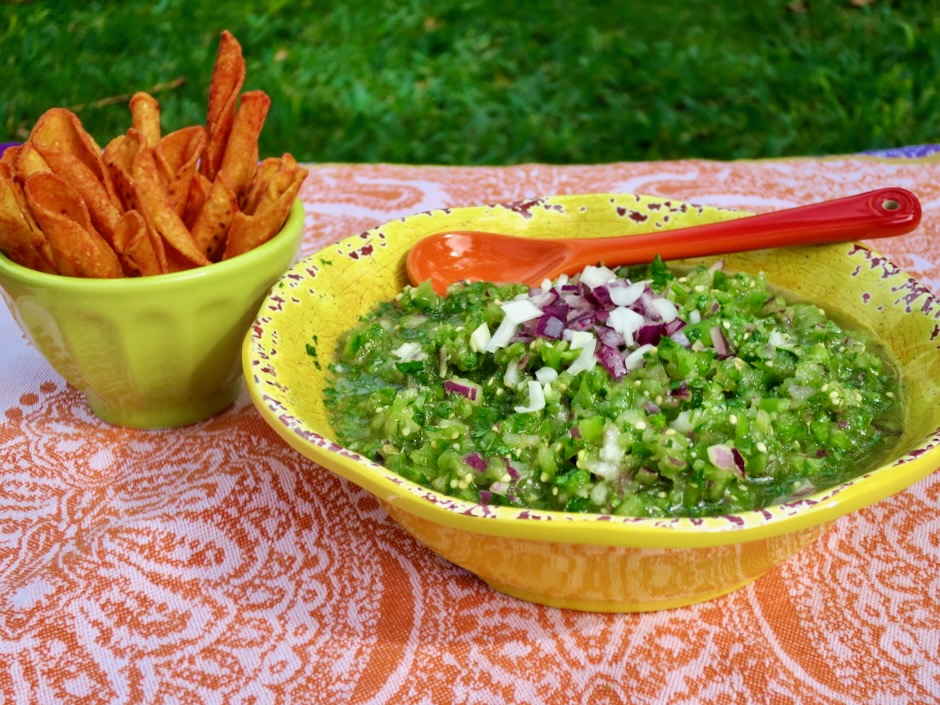
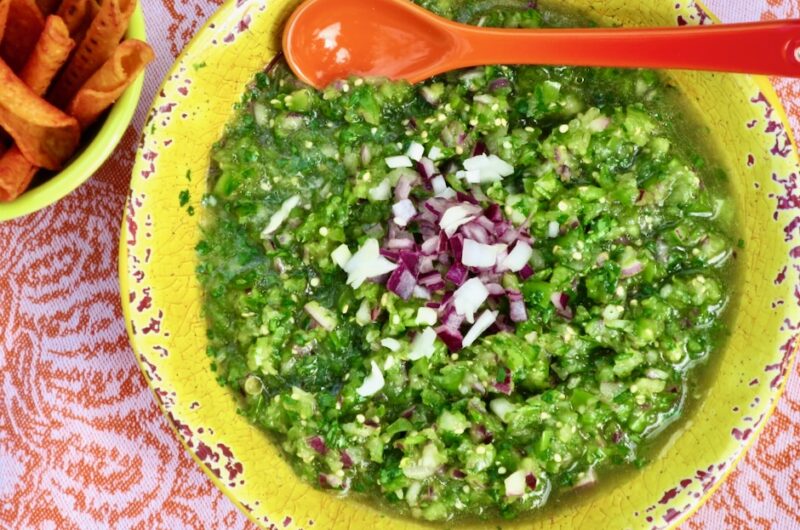
This beautiful salsa is so refreshing and very easy to put together. It compliments a wide range of dishes: tacos, scrambled eggs, burritos, quesadillas, tortilla chips and grilled chicken. And since you do not need to cook any of the ingredients you can make this in a jiffy.

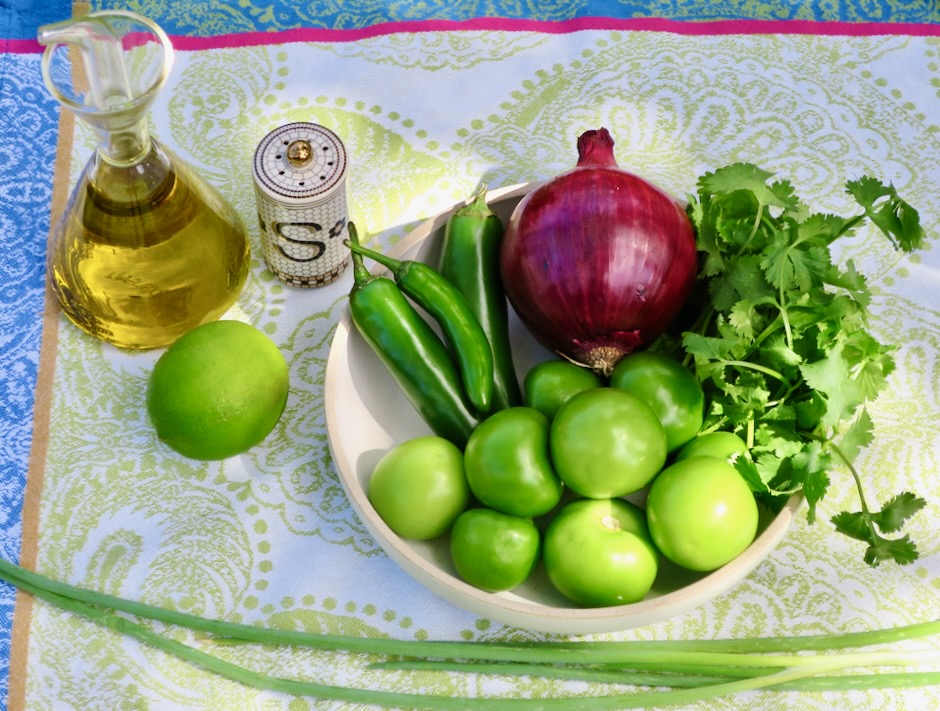
This recipe comes from Fermin Nunez, voted best new chef in 2021 by Food & Wine magazine. It caught my attention not only because I love Mexican cuisine, but also because it seemed easy to make. I knew it would be delicious served with tacos I planned for dinner. A little tart from the tomatillos and lime juice, a little spicy from the chiles, this salsa cruda (raw sauce) is delightful.

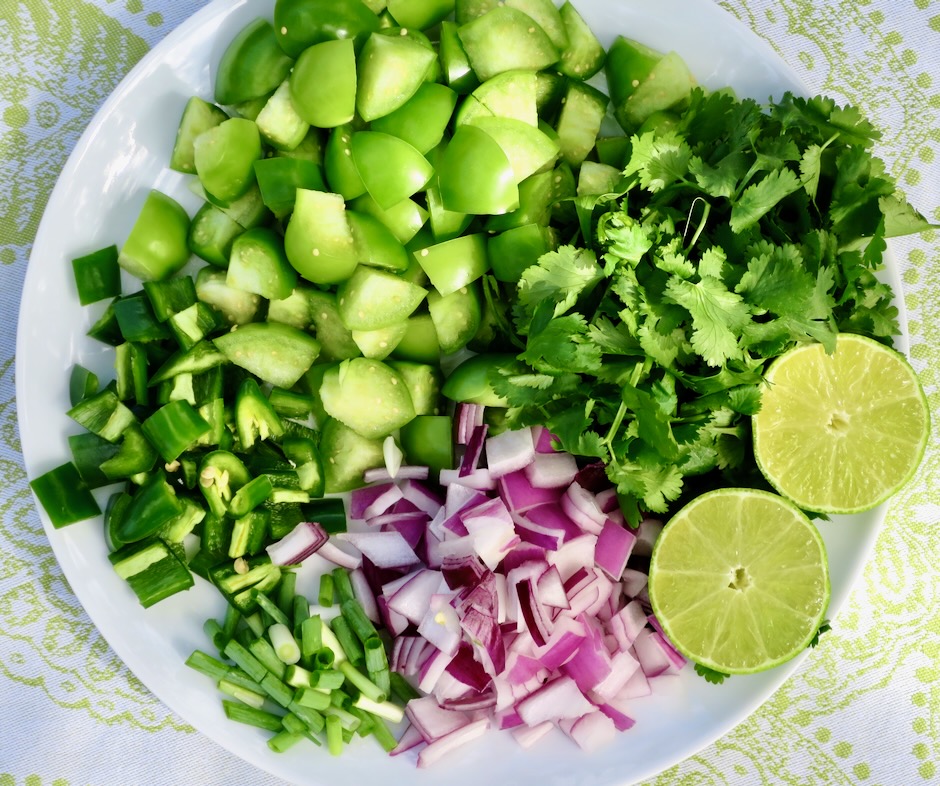
After a little chopping, everything goes into the food processor for a quick whirl. Lime juice, olive oil and salt are stirred in to balance the flavors. That’s it. The salsa is ready to be served.
Tomatillo based salsas go hand in hand with braised pork tacos and any style of tortilla chips.

Tomatillo Salsa Cruda

Recipe by Kiyo
Servings

8

servings

Adapted from Food & Wine magazine

Ingredients

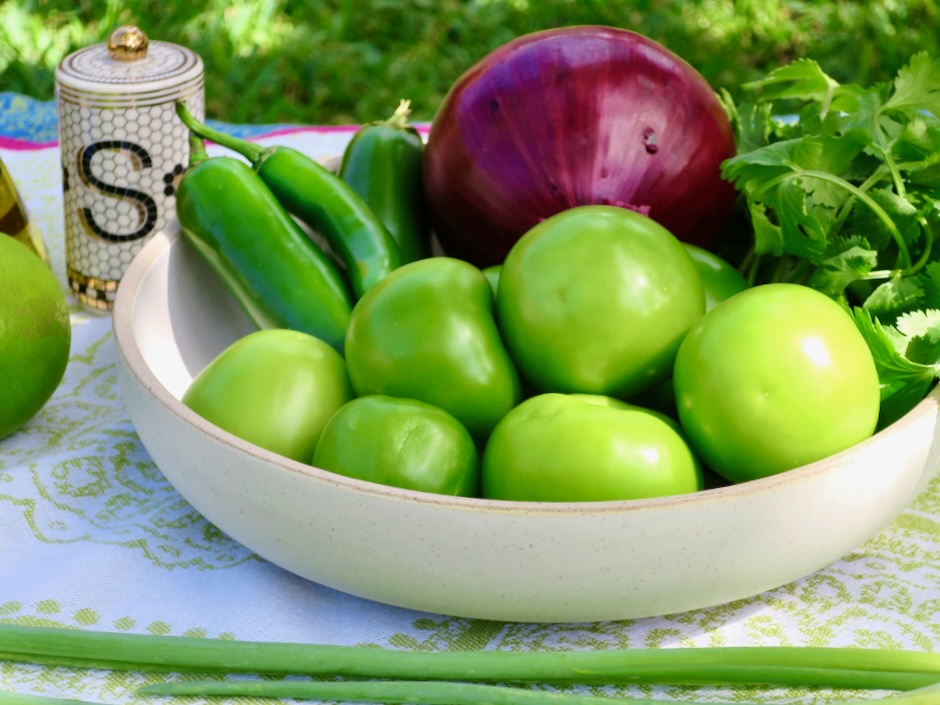
  • 12 ounces (about 2 1/2 cups) fresh tomatillos, husked, washed and roughly chopped

  • 4 ounces (about 3/4 cup) red onion, roughly chopped

  • 1 cup packed fresh cilantro (from 1 medium bunch)

  • 2 ounces (2 medium) jalapeños, stemmed and roughly chopped

  • 1 ounce (2) scallions, trimmed and roughly chopped

  • 1/8 ounce (1 medium or 1 1/2 tablespoons) serrano chile, stemmed and roughly chopped

  • 2 tablespoons olive oil

  • 2 tablespoons fresh lime juice

  • 1 teaspoon kosher salt, plus more to taste

Directions

  • Pulse tomatillos, onion, cilantro, jalapeños, scallions, and serrano chile in a food processor until finely chopped, 12-16 pulses, stopping to scrape down sides of bowl as needed. Transfer mixture to a medium bowl. Stir in olive oil, lime juice, and salt. Season with additional salt to taste.

Notes

  • For a milder salsa, remove the pith from the chiles. Salsa will keep well for up to 3 days stored in the refrigerator.
Appetizers, Cheese, Dinner, Kimchi, Korean, Mexican, Recipes, Vegetarian

Kimchi Quesadillas

January 6, 2024

Mexican food is one of the most beloved cuisines in the world and for good reason. The wide variety of distinctive flavors used in Mexican cuisine create bold, flavorful dishes. This hybrid Mexican-Korean quesadilla is a tasty way to use some of your homemade kimchi. The fiery flavor of the kimchi combined with melted cheese in a warmed flour tortilla is delicious.

I try to keep a jar of homemade kimchi in the refrigerator at all times. There are so many dishes I love to use it in. Noodles, soup, kimchi & Spam fried rice make tasty meals.

Pan frying the kimchi in a dab of butter will help to decrease the liquid a bit.

Layer the ingredients then fold the tortilla over. It’s so easy to prepare and with minimal ingredients, this quesadilla is the perfect party appetizer. Prepare the quesadillas a few hours in advance and store in the refrigerator. Just before your guests arrive heat up your skillet and pan fry the quesadillas.

Allow some of the cheese to spill out into the pan. This creates the most delicious crispy-edged quesadilla.

Serve with crispy cabbage slaw or your favorite side dishes such as Mexican rice and refried beans. If you have leftovers, serve them for breakfast or brunch the following day along with fried or scrambled eggs.

Kimchi Quesadillas

Recipe by Kiyo
Servings

4

servings

Ingredients

  • 4 medium flour tortillas (7-inch, I use cooked Tortilla Land flour tortillas)

  • 1 cup kimchi, drained and coarsely chopped

  • 2 teaspoons Earth Balance Buttery Sticks or regular butter

  • 4 ounces sharp cheddar, coarsely grated (about 1 1/4 cup)

  • 2 tablespoons diced onion

  • 1 medium avocado, sliced thinly into 16 pieces

  • 2 teaspoons canola or vegetable oil

  • 1/4 cup Green Valley lactose free sour cream or regular sour cream

  • 2 teaspoons sriracha

  • 1 teaspoon finely chopped cilantro

Directions

  • Heat butter in a medium pan (large enough to accommodate two folded tortillas) over medium heat. Add chopped kimchi and sauté just until there is no kimchi liquid left, about 2 minutes. Transfer kimchi to a small plate. Wipe pan clean.
  • Combine sour cream, sriracha and cilantro in a small bowl, set aside.
  • Evenly divide cheese onto one side of each tortilla. Top with onions, kimchi, and avocado. Fold the tortilla over and press very gently.
  • Heat a teaspoon of canola or vegetable oil in the pan over medium heat. Once hot, transfer two of the folded tortillas to the pan. Cook until nicely browned, allowing some of the cheese to spill out into the pan. You can also scatter a bit of cheese around the open edges of the tortillas to form a crispy edge. Flip and cook the other side. Transfer the tortillas to a plate and cover with foil while you cook the remaining two tortillas (heat another teaspoon of oil before adding tortillas to pan).
  • Slice each tortilla into three pieces. Serve with a dollop of sour cream sriracha sauce on each slice.
Follow

Get every new post delivered to your Inbox

Join other followers: