Browsing Category

Korean

Dinner, Korean, Lactose Free, Recipes, Side Dishes, Vegan, Vegetarian, Veggies

Asian Cucumber Salad

January 24, 2021

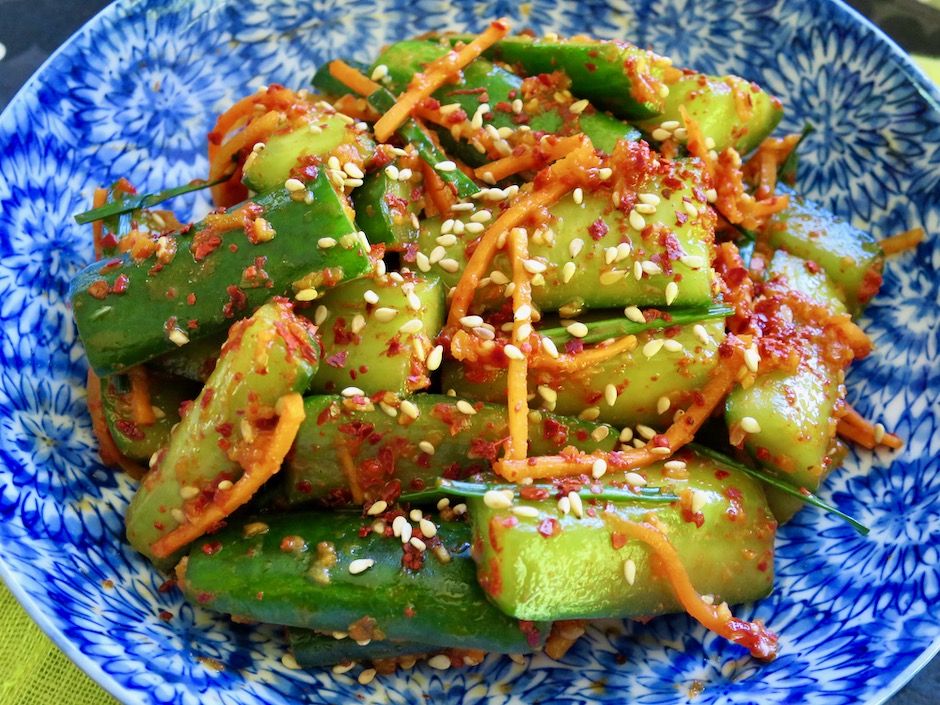
Asian Cucumber Salad

This is a quick (10 minutes max) cucumber dish that is perfect to serve alongside teriyaki meat sticks, lemon grass tofu, and Korean hamburger patties.  It’s a very refreshing salad that everyone will enjoy.

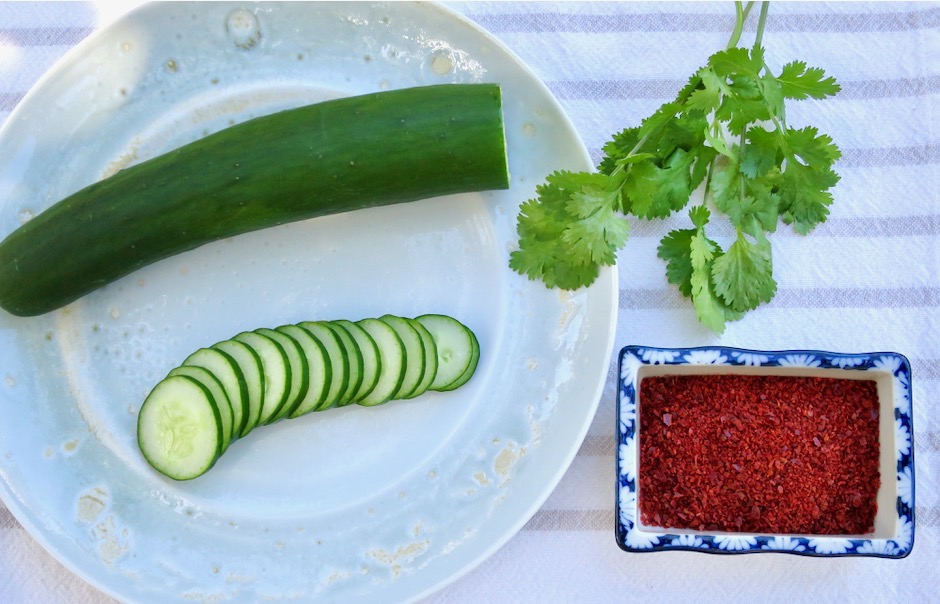
Japanese Cucumber, Cilantro & Gochugaru

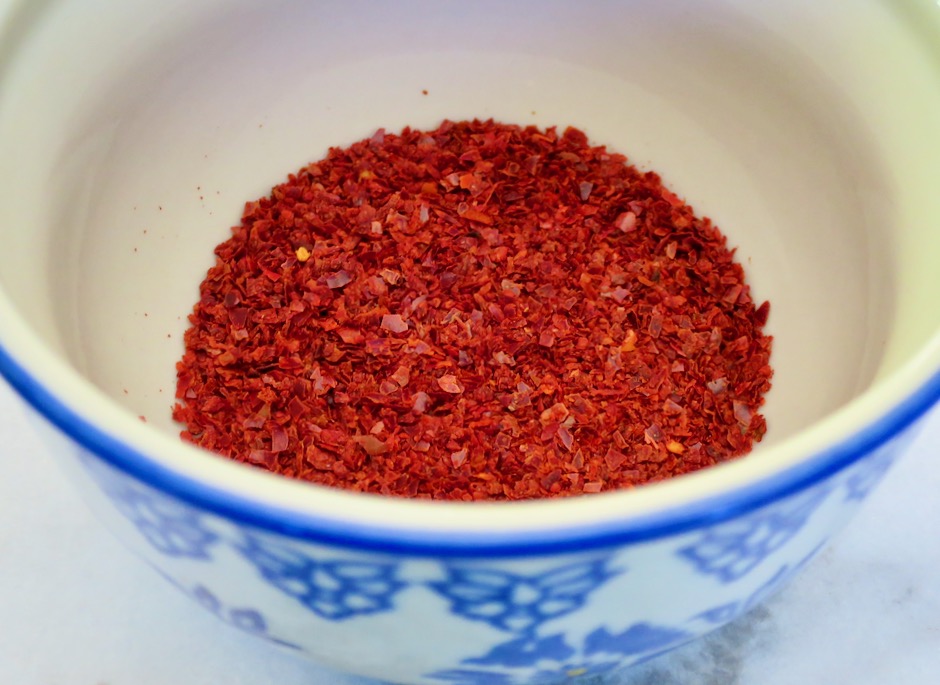
Japanese cucumbers are the best choice for this salad.  They are super crispy with tender skins and have very few seeds.  I always have a big jar of gochugaru (Korean chili flakes) on hand.  The chili flakes add a subtle heat and beautiful pop of color to salads like this one.

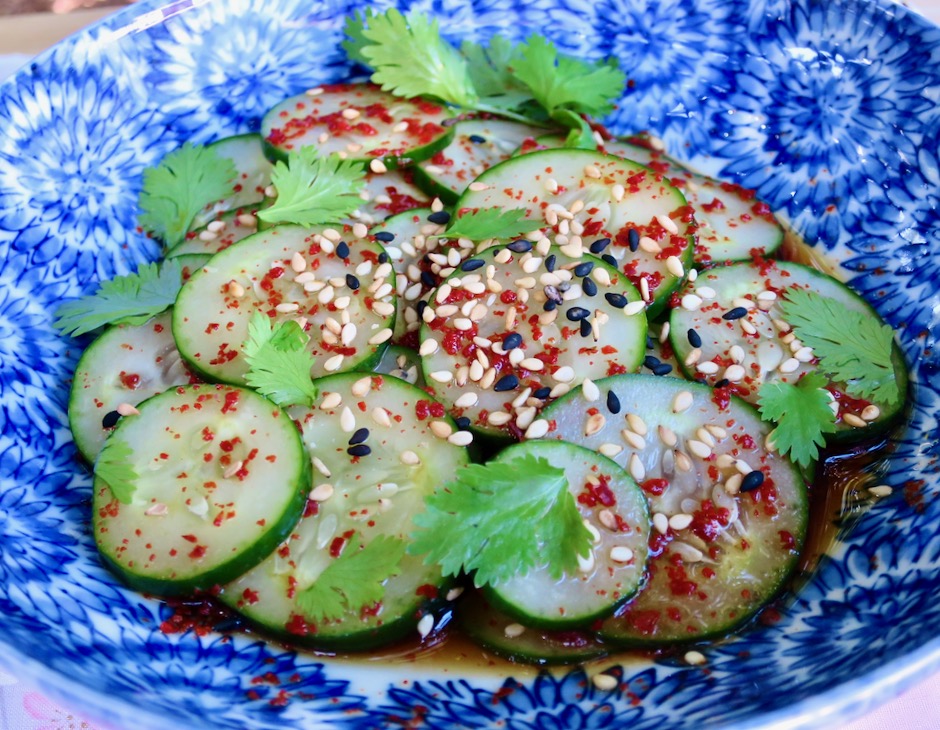
Asian Cucumber Salad

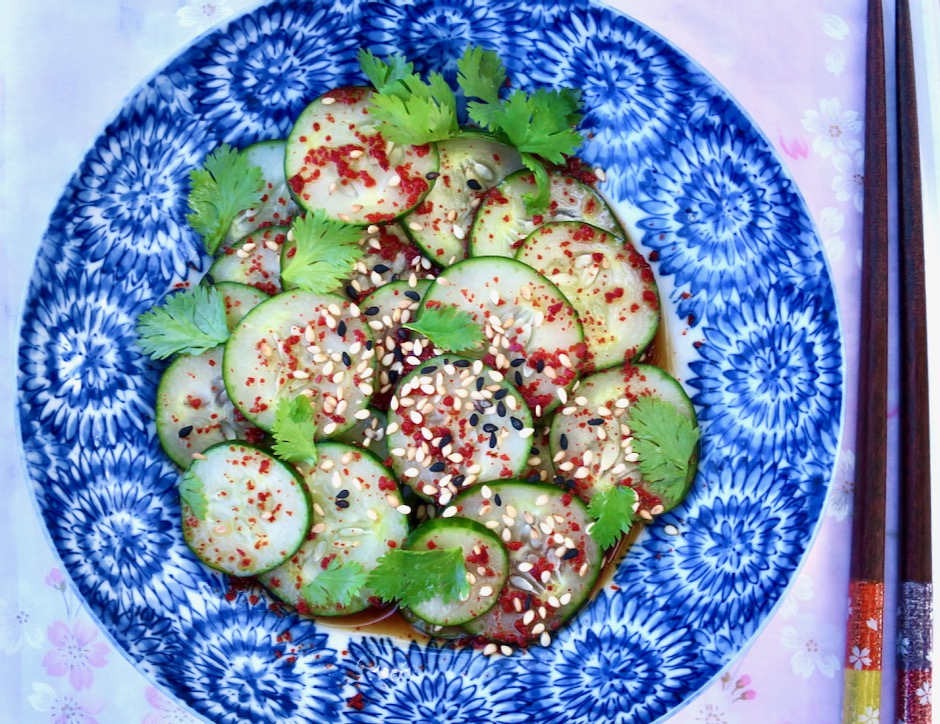
We have some beautiful cilantro growing in the garden so I added a few tender leaves to the salad.  If you’re not a fan of cilantro, use thinly sliced green onions or chives.  If you are not planning to eat the salad right away, store cucumbers and dressing separately until ready to serve.

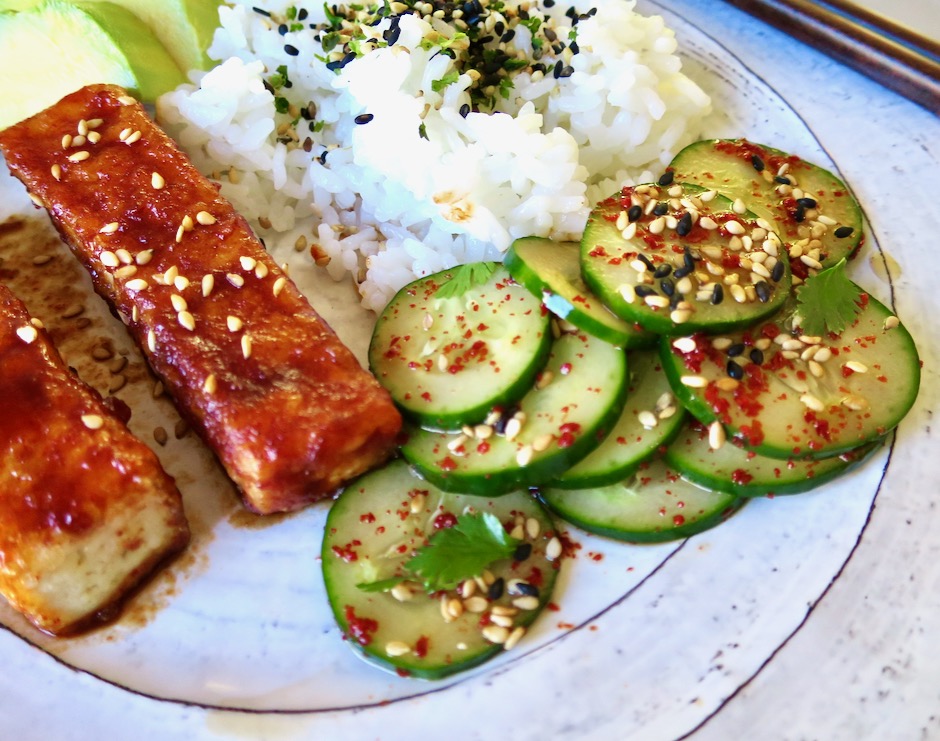
Asian Cucumber Salad with Tofu & Rice

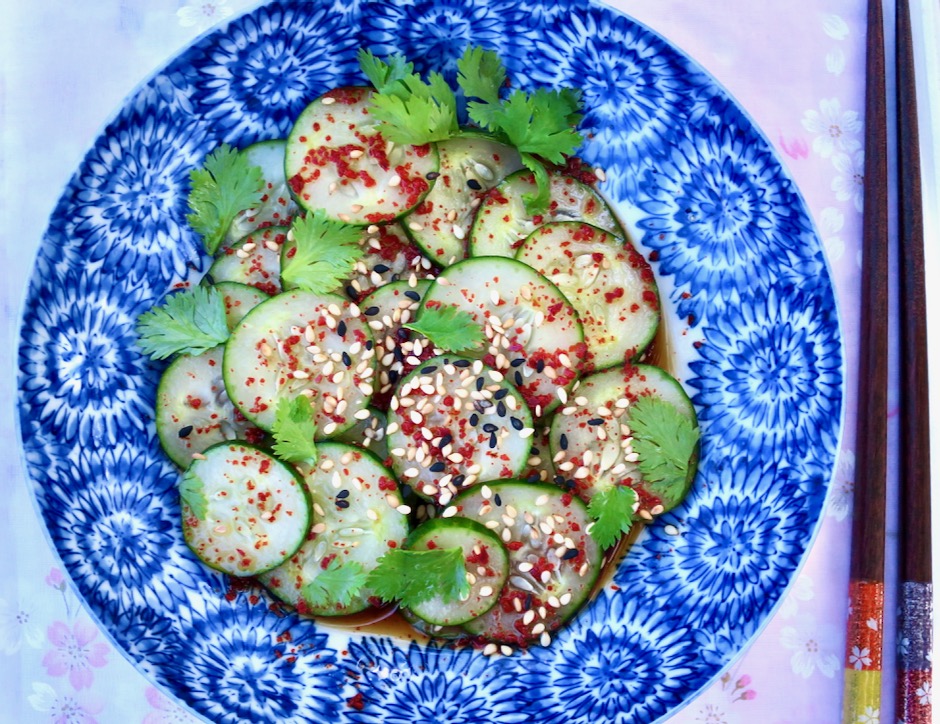
Asian Cucumber Salad
 
Author:
Serves: 2
Ingredients
  • 1 Japanese cucumber (about 5 ounces)
  • 1 tablespoon soy sauce (Kikkoman recommended)
  • 2 tablespoons rice vinegar (unseasoned)
  • 2 teaspoons sugar
  • ½ teaspoon gochugaru (Korean red chili flakes)
  • ¼ - ½ teaspoon roasted sesame seeds
  • few sprigs of fresh cilantro torn into pieces (may substitute thinly sliced green onions or chives)
Preparation
  1. Slice the cucumbers into thin rounds, about ⅛th-inch thick.
  2. Combine the soy sauce, rice vinegar, and sugar in a small bowl. Mix well until sugar has dissolved. Mix in gochugaru and and most of the sesame seeds.
  3. Place cucumbers in a low sided bowl. Spoon sauce over the cucumbers. Sprinkle remaining sesame seeds over the top followed by the cilantro.

 

Appetizers, Dinner, Korean, Lactose Free, Potato Salad, Recipes, Side Dishes, Vegetarian

Korean Braised Potatoes ~ Gamja Jorim

November 21, 2020

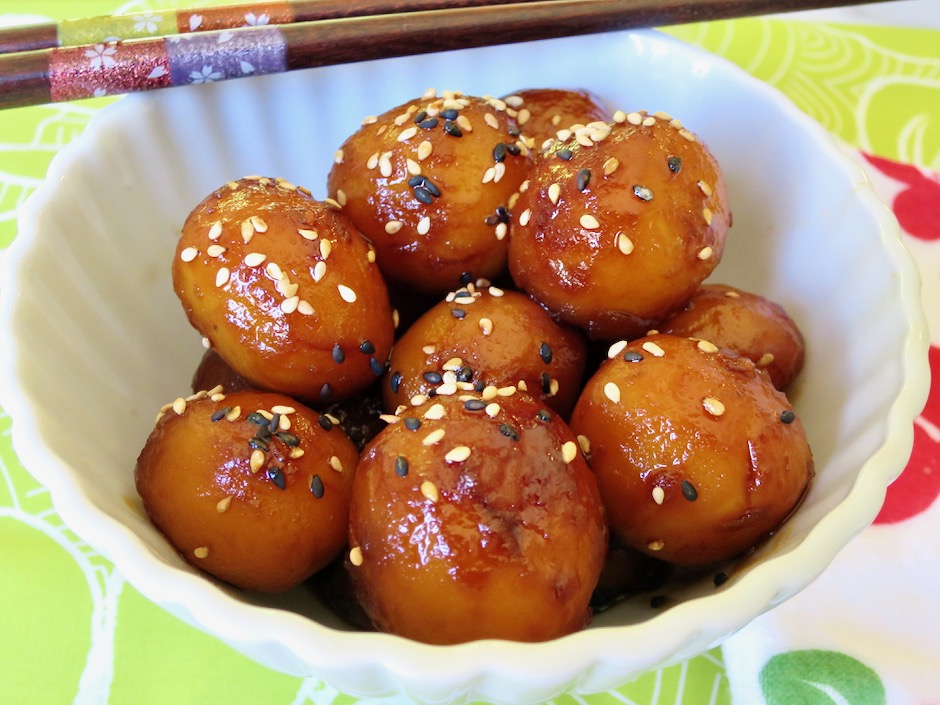
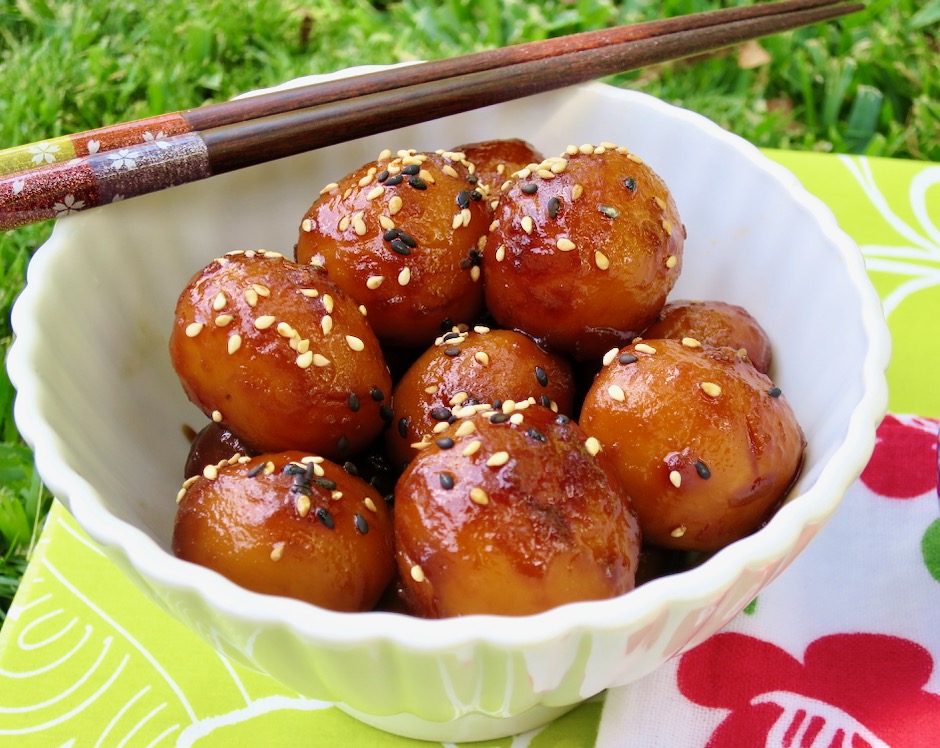
Korean Braised Potatoes

These little potatoes are so delicious I could certainly eat them at least once a week accompanied by a bowl of rice and kimchi.  It may seem odd to eat potatoes with rice, but the sweet and salty, sticky glaze goes perfectly with warm rice.

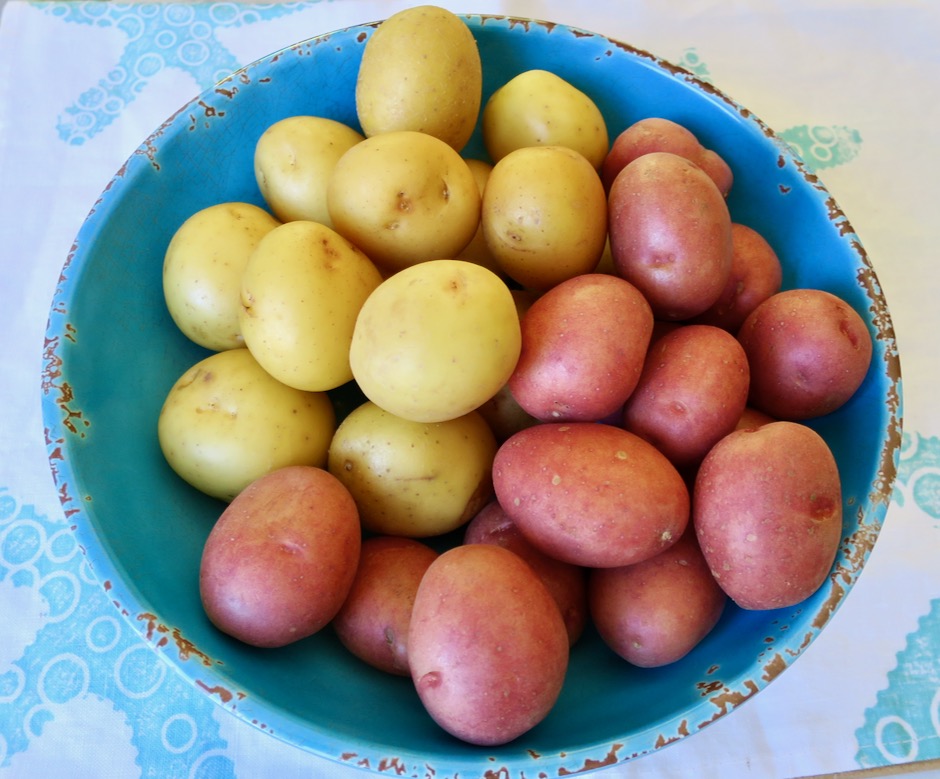
Baby Potatoes

You’ll want to seek out very small potatoes for this dish.  I found both yellow and red mini potatoes at our local Safeway.  The potatoes should be just about 1 1/4-inch wide and weigh less than an ounce each.

Baby Potatoes

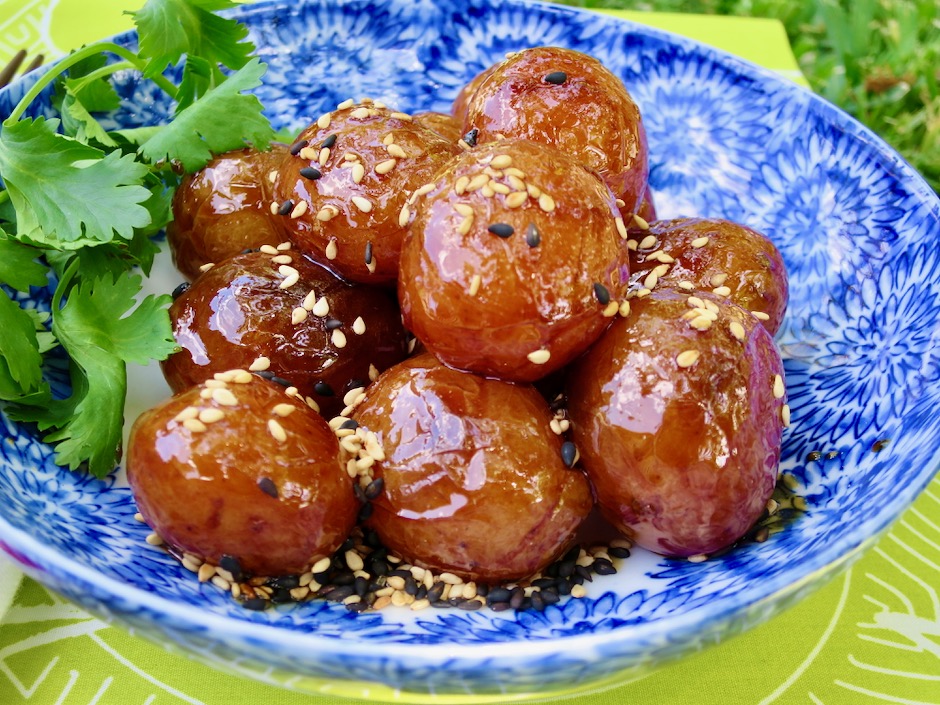
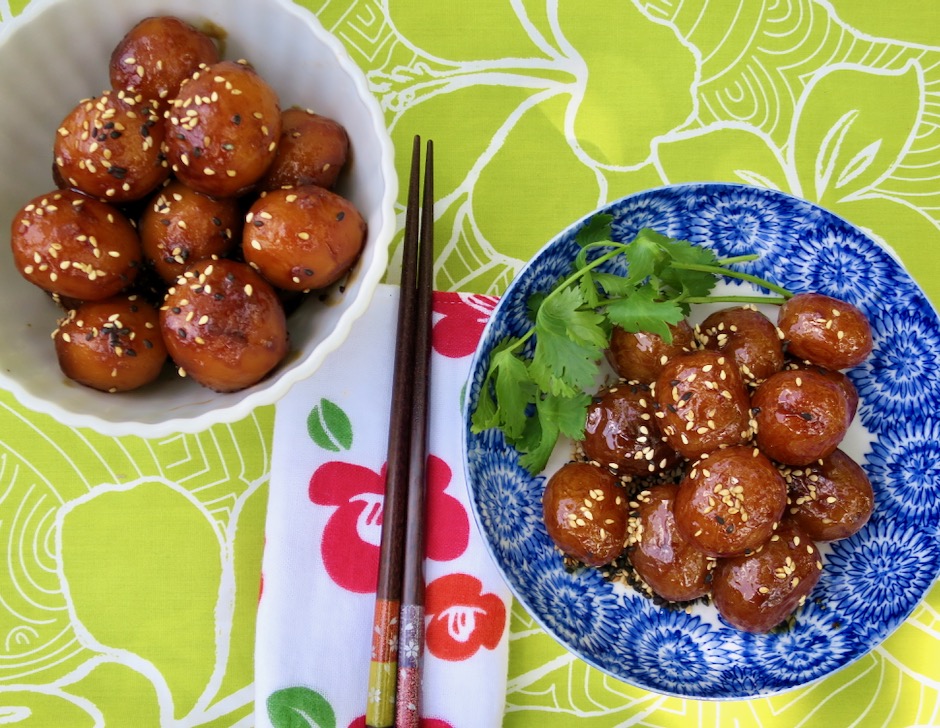
To peel or not to peel.  It’s totally up to you.  I do find that the peeled potatoes are a bit more flavorful because they absorb the sauce more than skin on potatoes.  However, unpeeled potatoes look so pretty with their crackly glazed skins.  Variety is the spice of life.

Skin On Baby Potatoes

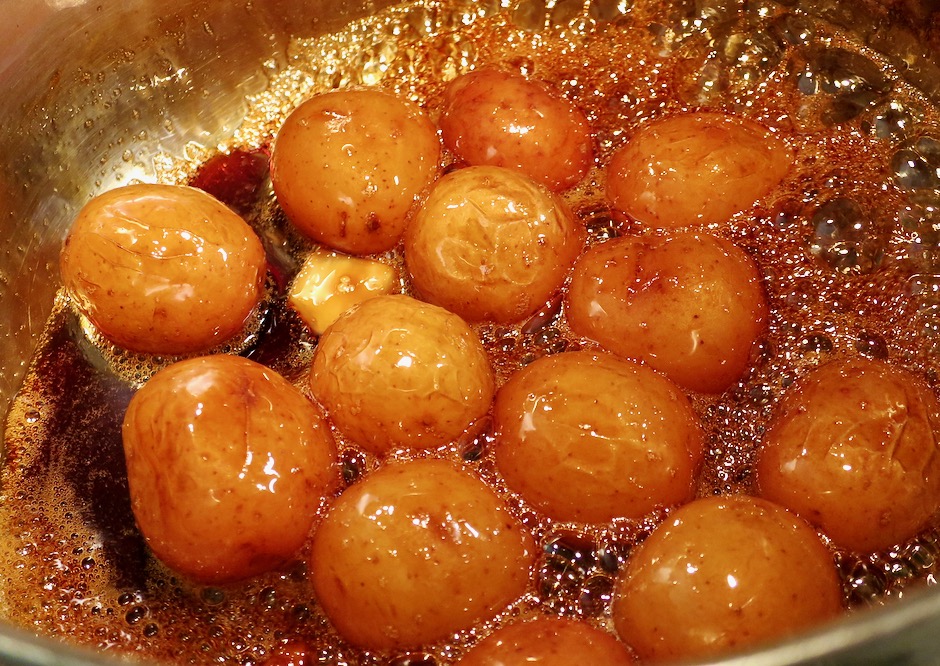
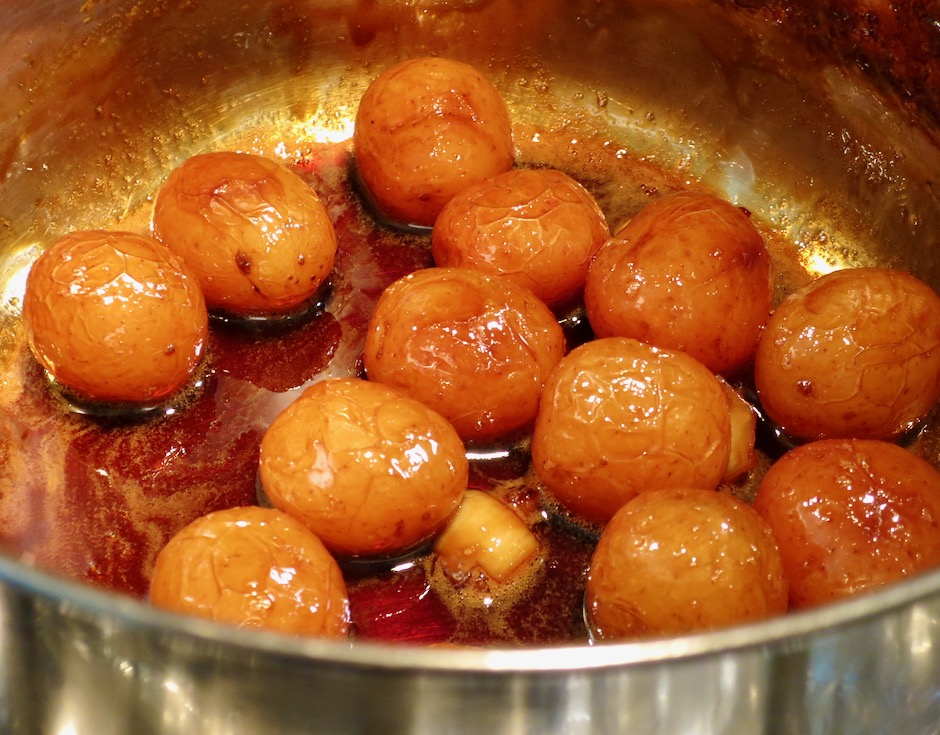
The cooked potatoes are first braised in the sauce on low heat.  Once the sauce has reduced by about half, you’ll want to turn the heat up a bit to further thicken the sauce.  Stand by the pot as the soy sauce and sugar mixture can burn quickly if left unattended.

Korean Braised Potatoes

Korean Braised Potatoes

Here the sauce has reduced to the perfect consistency.  It will thicken as it cools so try not to reduce the sauce too much. The last thing you will do is gently turn the potatoes in the sauce before serving.

Korean Braised Potatoes

Sprinkle roasted sesame seeds over the potatoes just before you serve them.

Peeled & Unpeeled Korean Braised Potatoes

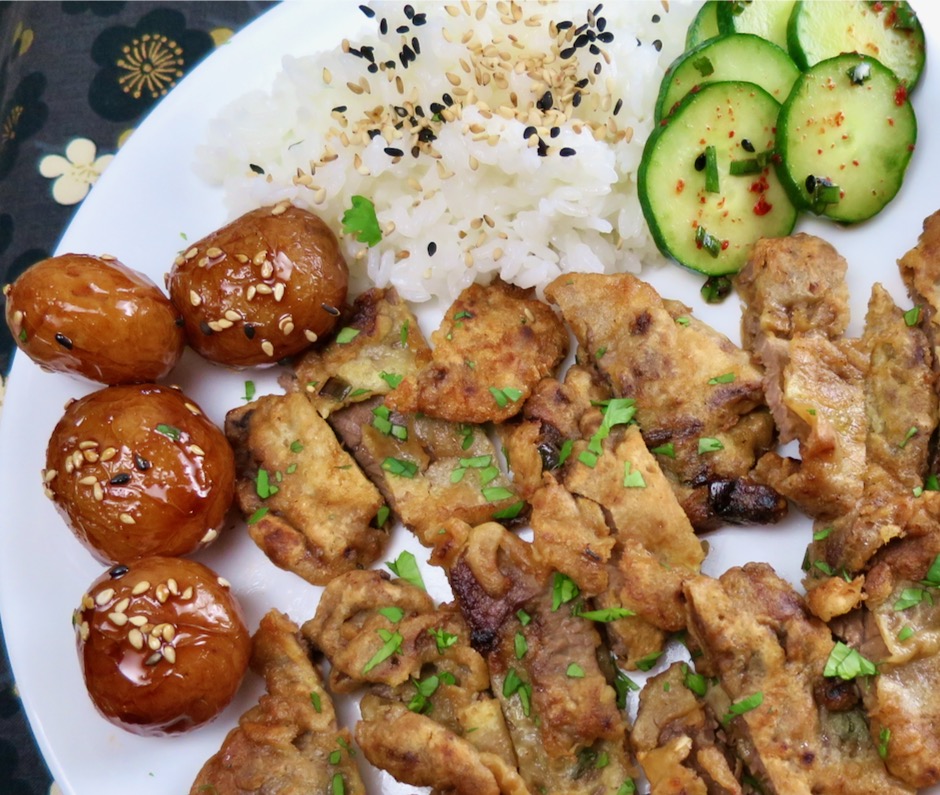
Korean Braised Potatoes with Meat Jun

Korean Braised Potatoes

Korean Braised Potatoes ~ Gamja Jorim
 
Author:
Serves: 4
Ingredients
  • 1 pound small yellow or red potatoes, about 1¼-inch in diameter weighing about 1 ounce or less each (peeled or skin on)
  • 4 tablespoons low sodium soy sauce
  • 2 tablespoons granulated sugar
  • 1 tablespoon honey
  • 1 tablespoon maple syrup
  • 3 medium garlic cloves, crushed
  • roasted sesame seeds
Preparation
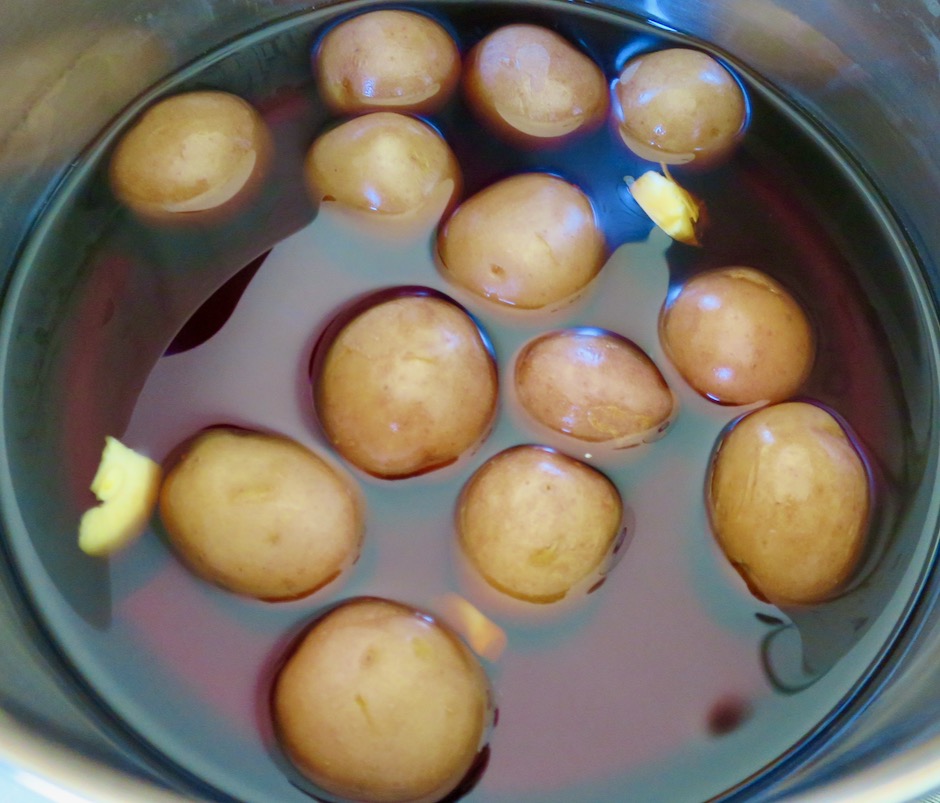
  1. Place potatoes in a wide pot (Dutch oven works great) and cover with water. Bring to a boil then reduce heat and simmer until just tender, about 6-8 minutes. Check doneness after 6 minutes to ensure they don't overcook.
  2. While potatoes are cooking, combine 1 cup water with soy sauce, sugar, honey and maple syrup. Mix well to dissolve the sugar.
  3. Drain cooked potatoes and return to the pot. Add soy sauce mixture and crushed garlic. Bring to a boil, then turn heat down and keep at a lively simmer for 12-15 minutes. The liquid will have reduced by half. Increase heat to medium and reduce sauce until it is thick and coats the potatoes with a glaze, about 5 minutes (watch closely so the sauce does not burn). Transfer potatoes to a serving bowl and sprinkle with sesame seeds. Potatoes can be served warm or at room temperature and will keep for 3 days in the refrigerator.


Beef, Dinner, Korean, Lactose Free, Recipes

Meat Jun

November 3, 2020

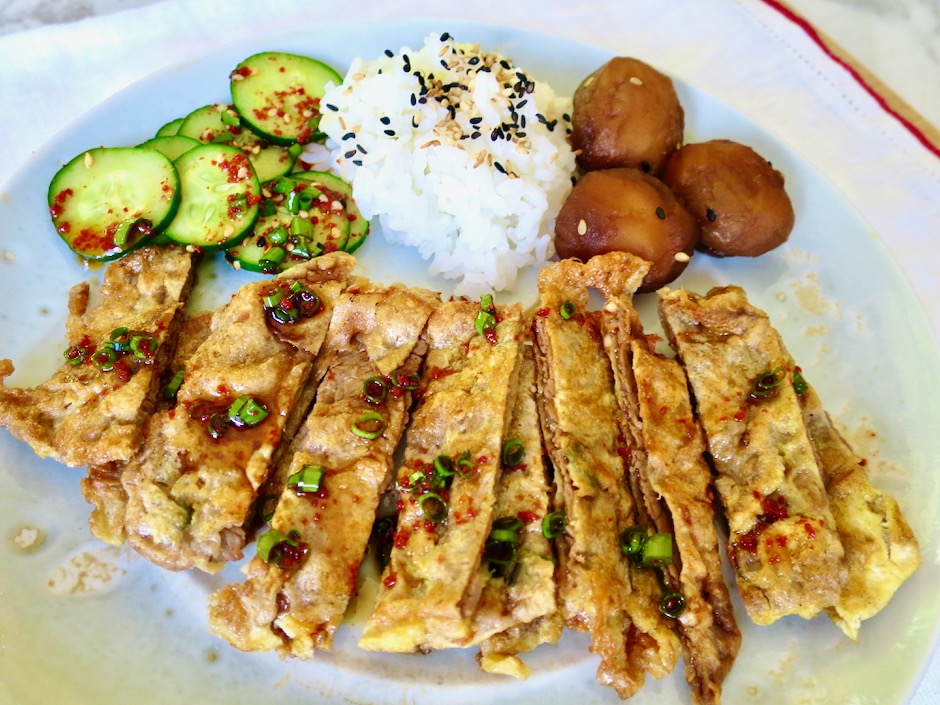
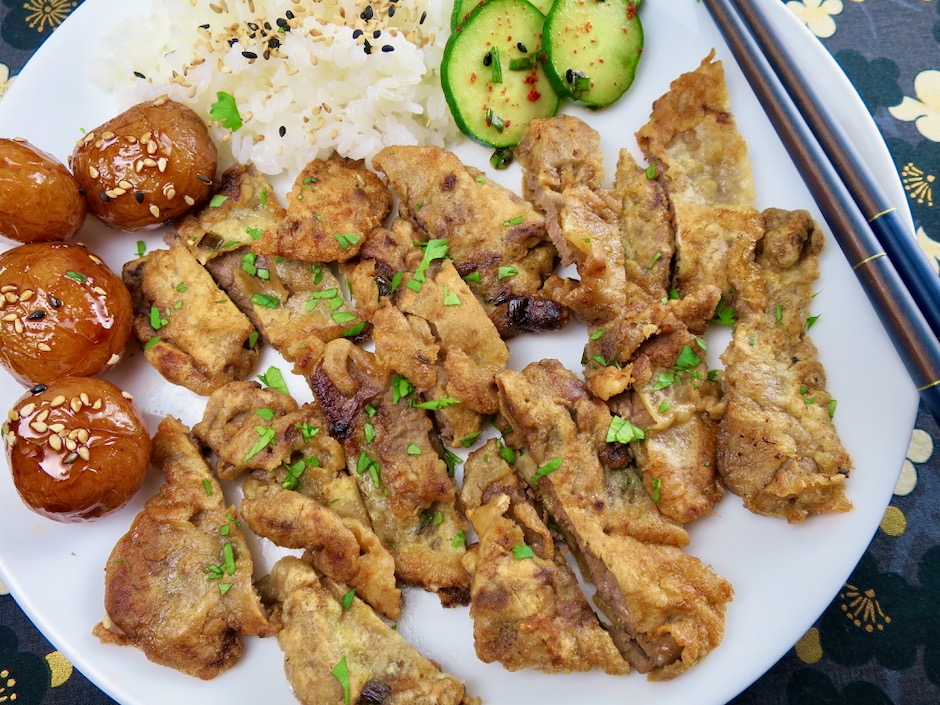
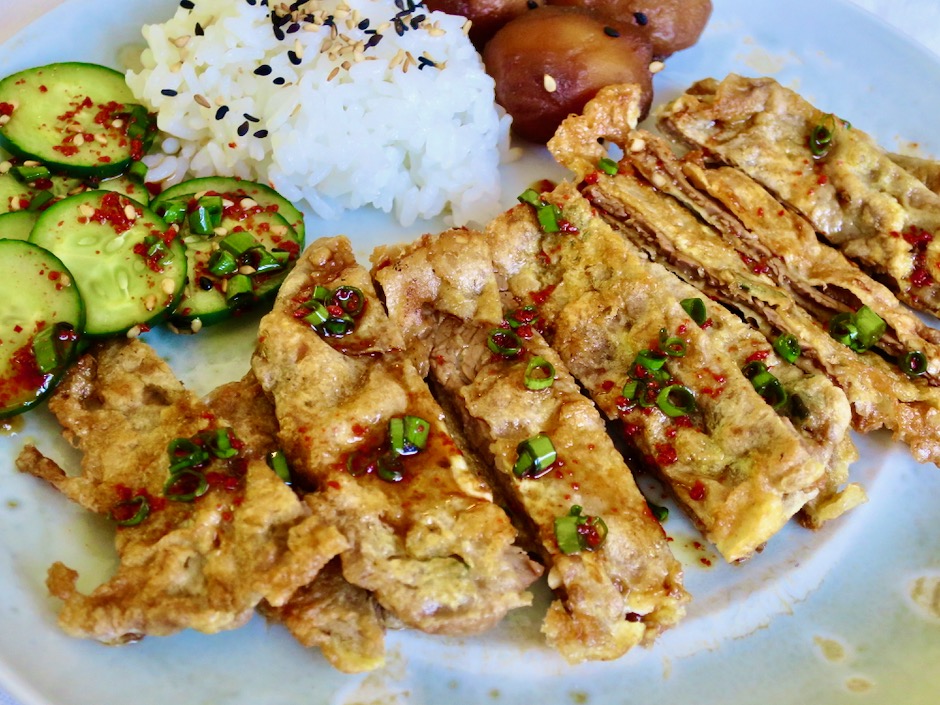
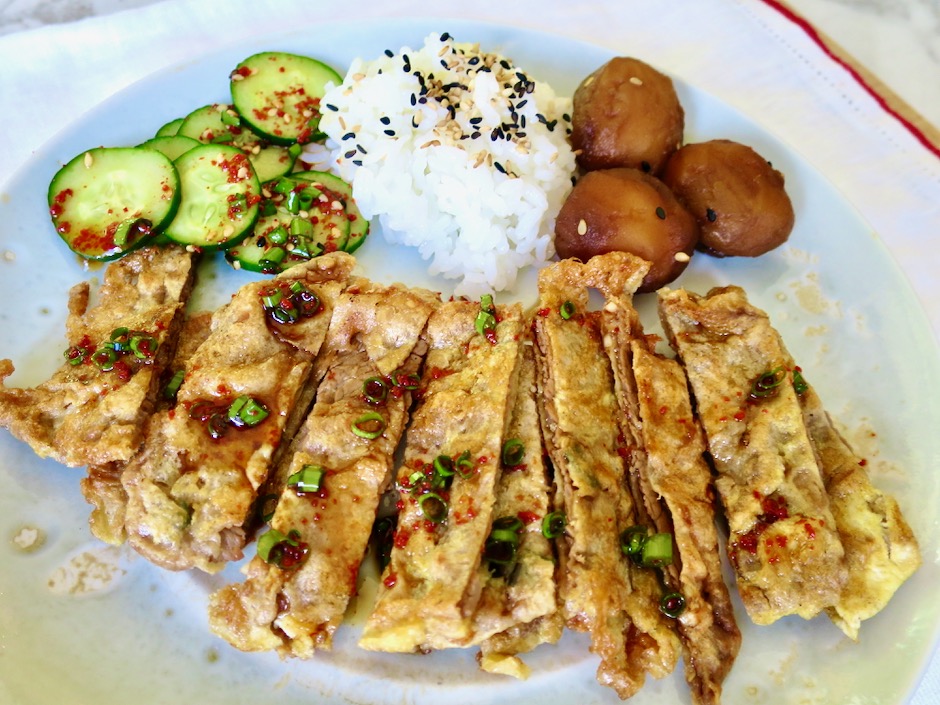
Meat Jun, Cucumber Salad, Rice, Korean Potatoes

I was only vaguely familiar with meat jun until my sister sent me a text with a photo of her “plate lunch” which featured this dish.  That piqued my interest enough for me to delve into the subject of this simple and homey dish.  I discovered that meat jun was introduced by a local Korean restaurant on Oahu many years ago.  It is a type of jeon, which refers to a Korean method of preparing seasoned meat or vegetables that are coated in flour and egg wash before being fried.  As is the case with many cross-cultural dishes in Hawaii, meat jun is a local island style invention.
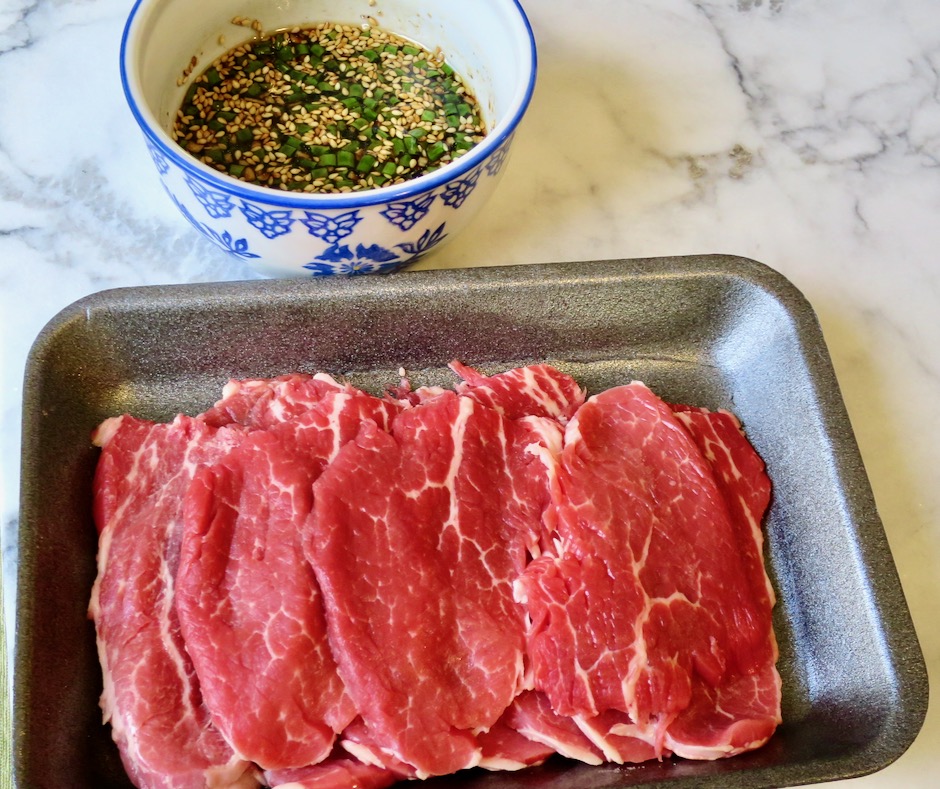
Filet Mignon & Marinade

The meat for this recipe should be very thin so that it cooks quickly.  Many use top sirloin or ribeye.  I went to my local Safeway and asked the butcher if he would slice some filet mignon for me.  He asked me what I was going to make with it and when I told him, he said “that is going to be the best meat jun ever!”  As it turned out, filet mignon worked well because it’s so tender.

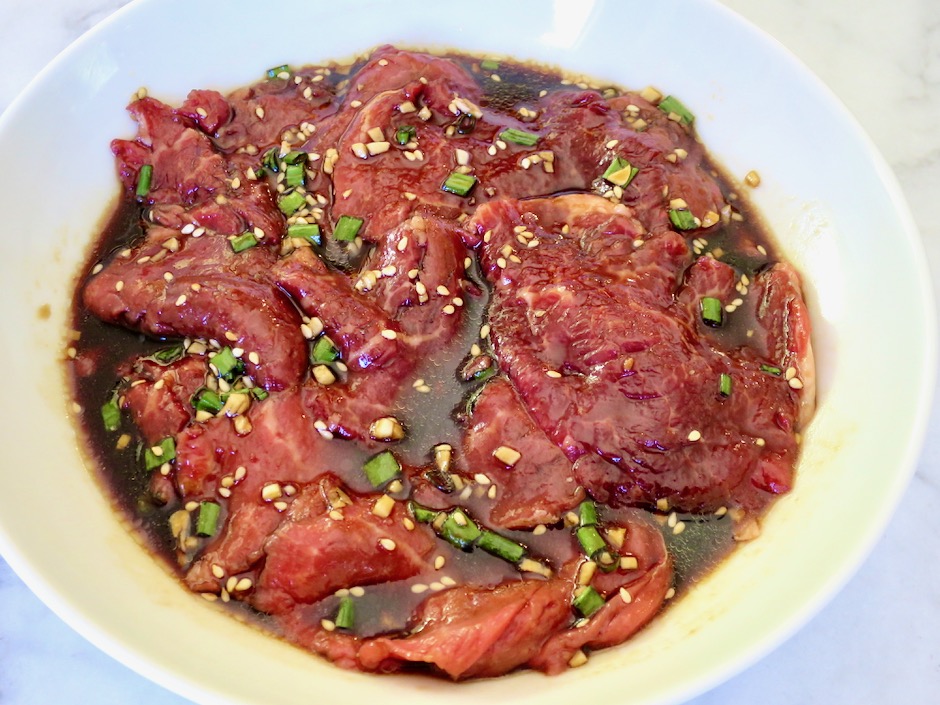
Marinating Meat Jun

Because the meat is sliced thin, it only needs to marinate in the sauce for 20 minutes before it is coated with flour, dipped in egg and pan-fried.

Meat Jun, Cucumber Salad, Rice, Korean Potatoes

Meat jun is delicious served with  rice and crunchy cucumbers or kimchi.  Leftovers hold up very well and need just a quick zap in the microwave to warm the meat up a bit.  The dipping sauce is excellent drizzled over the meat.  It has a good dose of vinegar which adds a nice zing to the soy marinated meat.  This unassuming dish is most addicting.

Meat Jun, Cucumber Salad, Rice, Korean Potatoes

Meat Jun
 
Author:
Serves: 2 - 4
Ingredients
  • For meat jun:
  • ½ pound thinly sliced filet mignon
  • ¼ cup less sodium soy sauce (Kikkoman recommended)
  • 1½ tablespoons sugar
  • 2 teaspoons sesame oil
  • 1 garlic clove, minced
  • 1 tablespoon thinly sliced green onion
  • 1 teaspoon roasted sesame seeds
  • ½ cup flour
  • 3 large eggs
  • canola oil for frying
  • For dipping sauce:
  • 2 tablespoons less sodium soy sauce
  • 1 tablespoon white vinegar
  • 2 teaspoons sugar
  • 2 teaspoons finely chopped green onion
  • ½ teaspoon roasted sesame seeds
  • ½ - 1 teaspoon gochugaru
Preparation
  1. Combine soy sauce through sesame seeds in a medium sized bowl. Add meat slices and marinate for 20 minutes (up to 30 minutes for thicker slices). Place marinated slices of meat on paper towels to drain slightly, just before you are ready to cook them (discard sauce).
  2. Meanwhile, combine dipping sauce ingredients in a small bowl. Mix well and set aside.
  3. Place flour in a wide shallow bowl, and whisk eggs in another wide shallow bowl. Heat ¼ cup of canola oil in a large skillet over medium heat (enough to generously coat the entire bottom of the pan). Use tongs to dip meat in the flour making sure to cover each piece well. Gently shake off any extra flour, then dip meat in whisked eggs making sure to coat well. Place on a piece of foil. Continue with all of the meat slices. Working in batches, fry meat until golden brown, about 45-60 seconds per side. Transfer to a paper towel lined plate. Continue cooking the rest of the meat. Slice meat into strips about 1-inch wide. Arrange meat on platter and serve with dipping sauce on the side.


Beef, Dinner, Eggs, Korean, Lactose Free, Recipes, Rice Dishes, Veggies

Korean Soybean Sprouts Rice Bowl

September 26, 2020

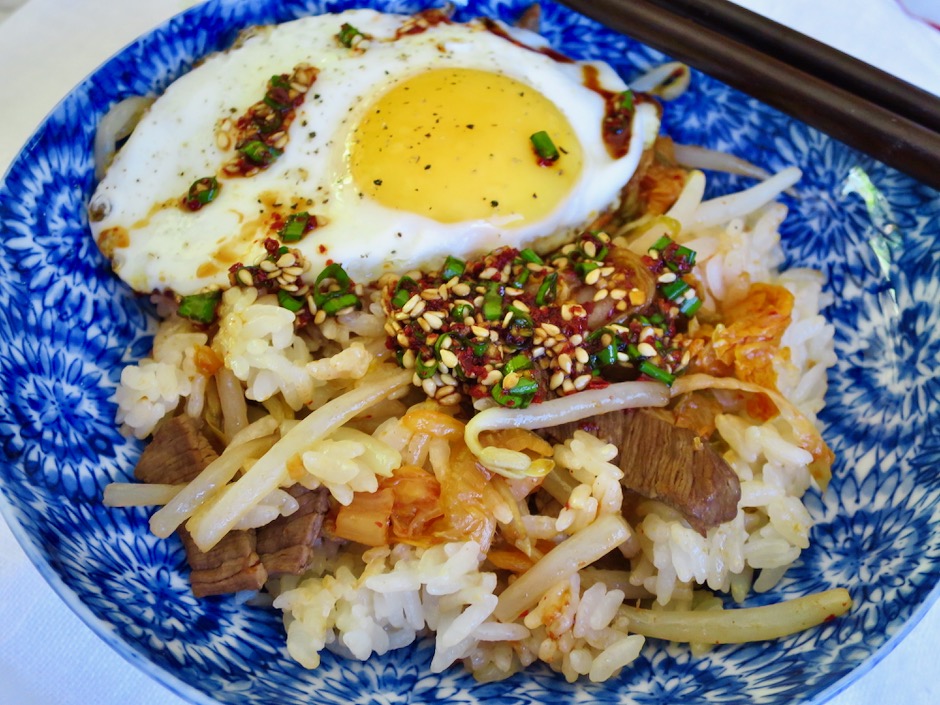
Soybean Sprouts Rice Bowl with Sunny-Side Up Egg

To say that I love rice would be an understatement, so making this umami filled rice bowl was an easy decision.  Once you do a little prep work, everything goes into a rice cooker.  It’s a suitable meal for lunch or dinner.

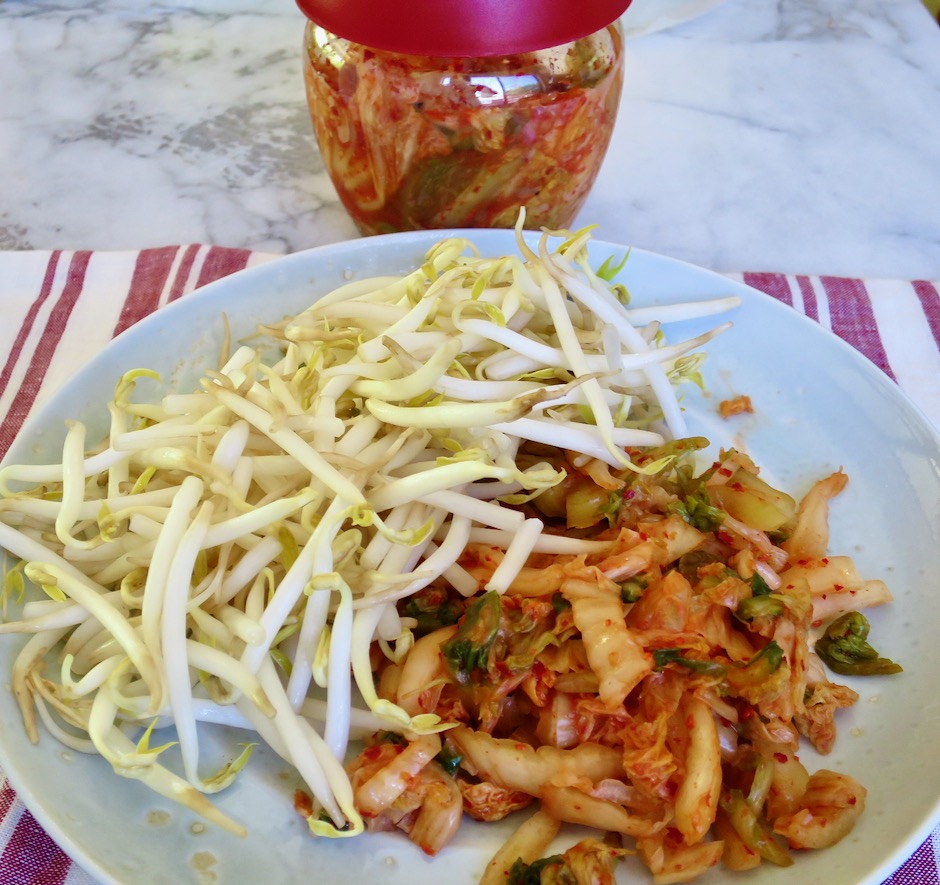
Soybean Sprouts & Kimchi

Even thought the sprouts are cooked with the rice and other ingredients, they still retain a nice texture.  The kimchi adds such a wonderful flavor to the rice, with just a bit of heat.

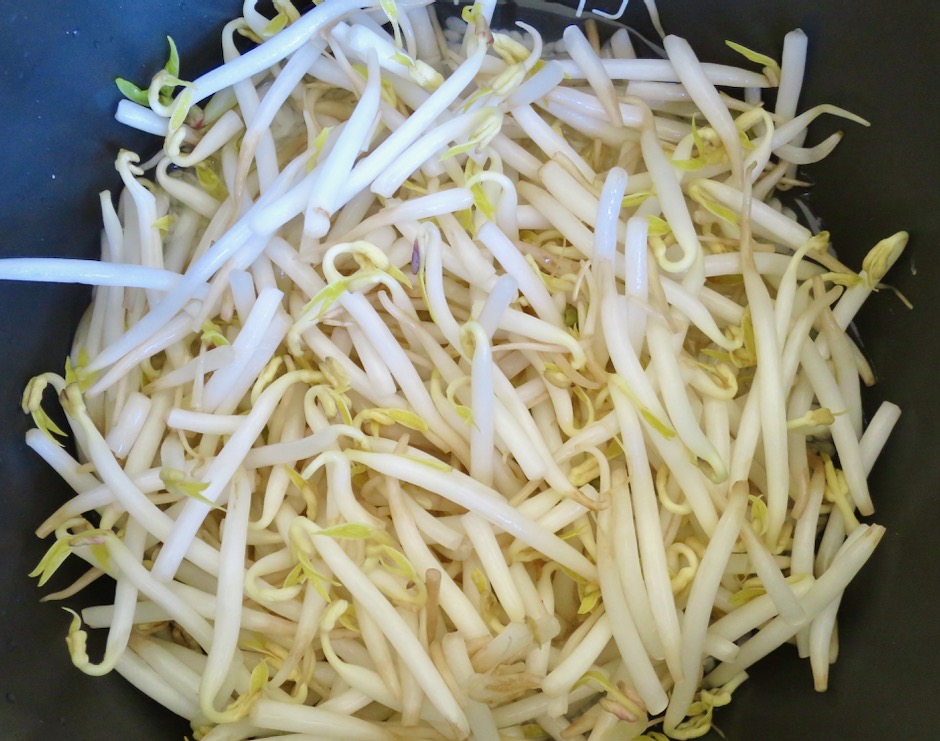
Soybean Sprouts

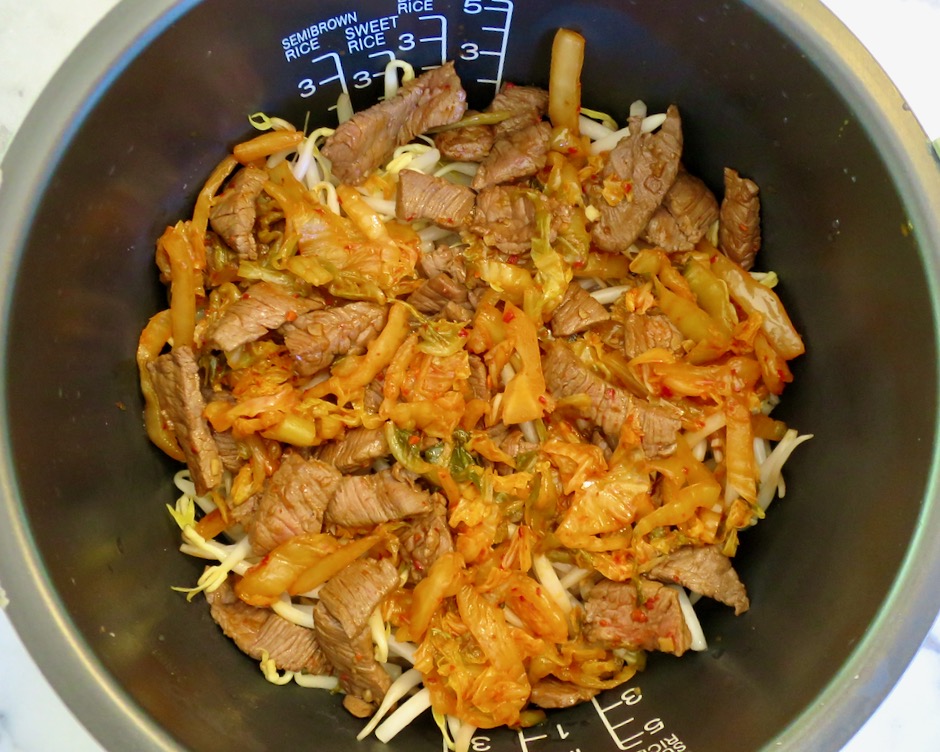
Soybean Sprouts, Kimchi & Filet Mignon over Rice

The original recipe from Korean Bapsang calls for adding a bit of seasoned beef or pork to the rice dish as an option. However, you can omit this for a vegetarian version. I have cooked this dish with and without meat and both are equally delicious.  All ingredients are added on top of the rice (pictured above) then cooked together.

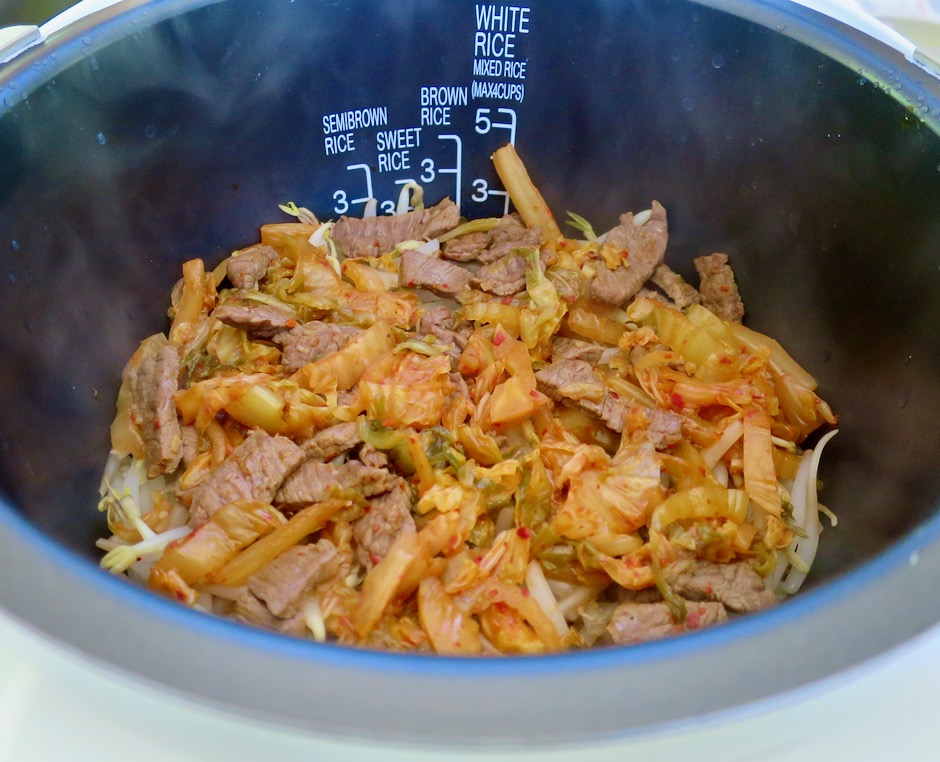
Cooked Soybean Sprouts, Kimchi & Filet Mignon over Rice

Once your rice timer goes off, you are ready to serve your meal.

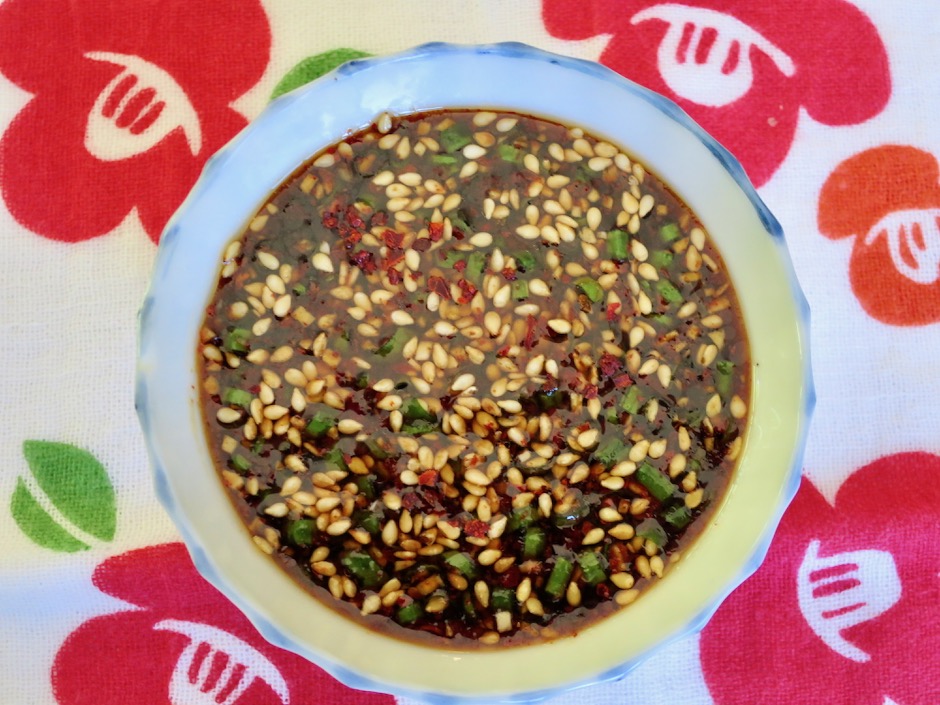
Rice Bowl Sauce

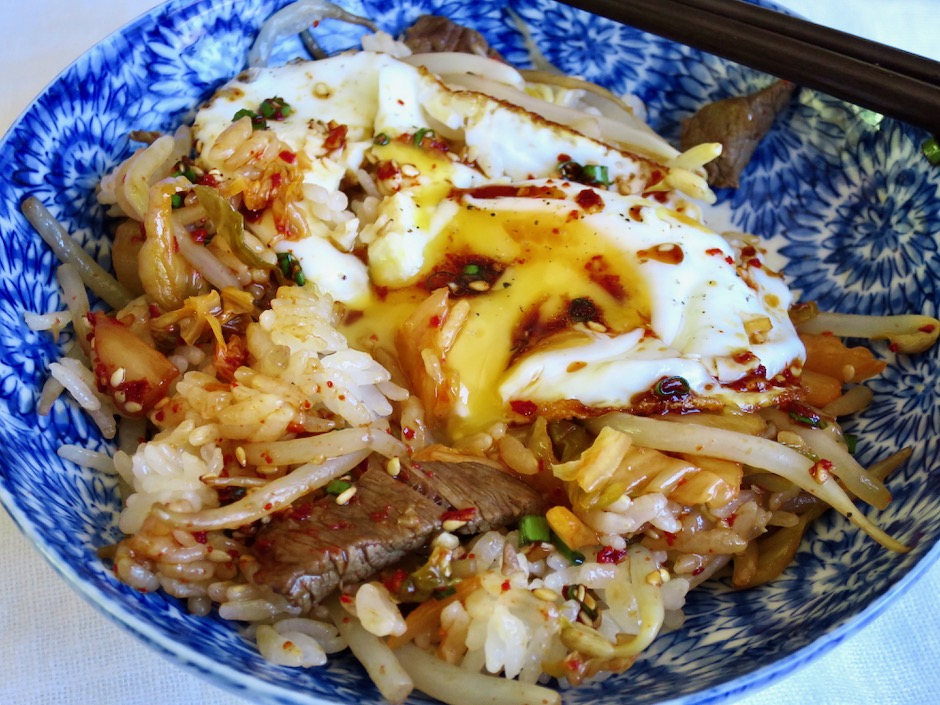
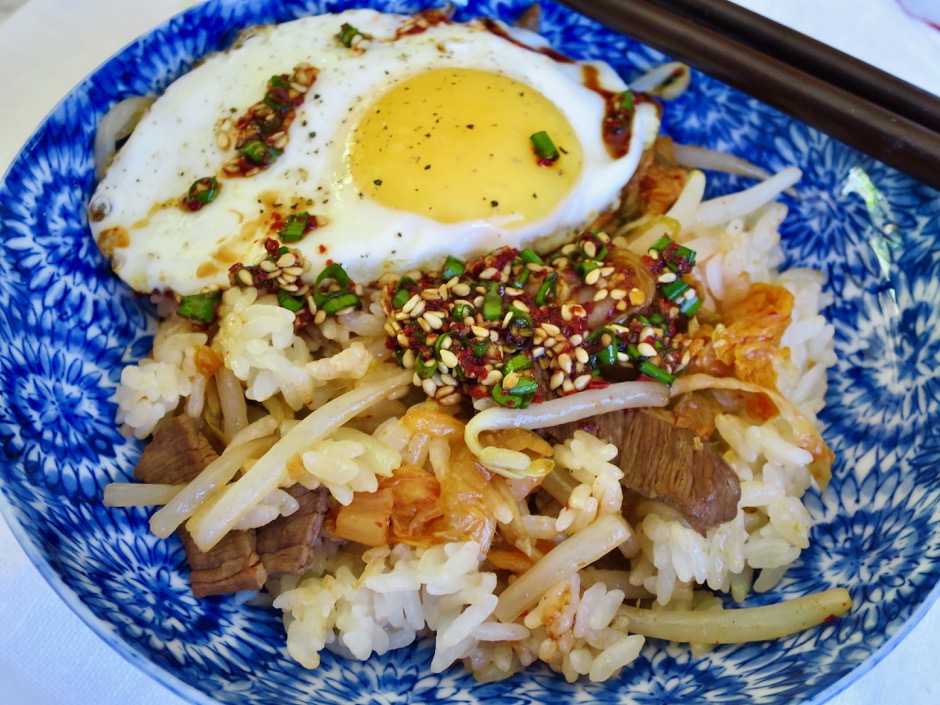
The sauce is drizzled over the rice bowl.  I couldn’t resist adding a sunny-side up egg to mine.

Soybean Sprouts Rice Bowl with Sunny-Side Up Egg

Soybean Rice Bowl
 
Adapted from Korean Bapsang blog
Author:
Serves: 2
Ingredients
  • 1 cup (measuring cup for rice cooker) short grain white rice
  • Vegetables & Meat:
  • 8 ounces soy bean sprouts, rinsed and drained well
  • 3 ounces filet mignon, thinly sliced (omit meat and next 4 ingredients for vegetarian version)
  • ½ teaspoon minced garlic
  • 2 teaspoons soy sauce
  • 1 teaspoon mirin
  • 1 teaspoon sesame oil
  • ½ cup kimchi, thinly sliced
  • 1 tablespoon kimchi juice
  • Sauce:
  • 2 tablespoons soy sauce
  • 1 teaspoon sesame oil
  • ½ teaspoon gochugaru (Korean red pepper flakes)
  • 1 teaspoon roasted sesame seeds
  • ½ teaspoon garlic, minced
  • ½ teaspoon sugar
  • 2 green onions, finely chopped
  • 2 sunny-side up eggs (optional)
Preparation
  1. Rinse rice and drain well. Place in rice cooker. Add water to 1 cup line minus 1 tablespoon.
  2. Marinate meat (if using) with garlic, soy sauce, mirin and sesame oil. Meanwhile, heat a small skillet with a 1½ teaspoons of canola oil over medium high heat. Stir fry kimchi for 2 minutes, adding some juice from the kimchi to intensify the flavor. Remove to a small plate. Add meat (if using) to the same pan and stir fry for a minute or two, just until barely cooked through.
  3. Spread soy bean sprouts over the the rice, followed by the kimchi, and meat. Start the rice cooker (do not use quick cooking option).
  4. While the rice is cooking, mix all of the sauce ingredients together in a small bowl. When the rice is nearly done, cook your sunny-side up eggs. When the rice timer goes off, gently fluff the rice distributing the bean sprouts, kimchi and meat. Serve in bowls with sauce drizzled over the rice and top with sunny-side up eggs.


Appetizers, Dinner, Korean, Lactose Free, Recipes, Sauces, Tofu, Vegan, Vegetarian

Warm Tofu with Spicy Sauce

September 4, 2020

Warm Tofu with Spicy Dipping Sauce

I am a confirmed lover of tofu whether it’s baked, pan-fried, in miso soup, or simply served with grated ginger, slivered green onions and soy sauce.  I came across this recipe on Alexandra’s Kitchen blog recently.  The original recipe came from Ruth Reichl who was the Editor in Chief of the now defunct and beloved Gourmet magazine. It struck all the right notes: fast, savory and tasty.

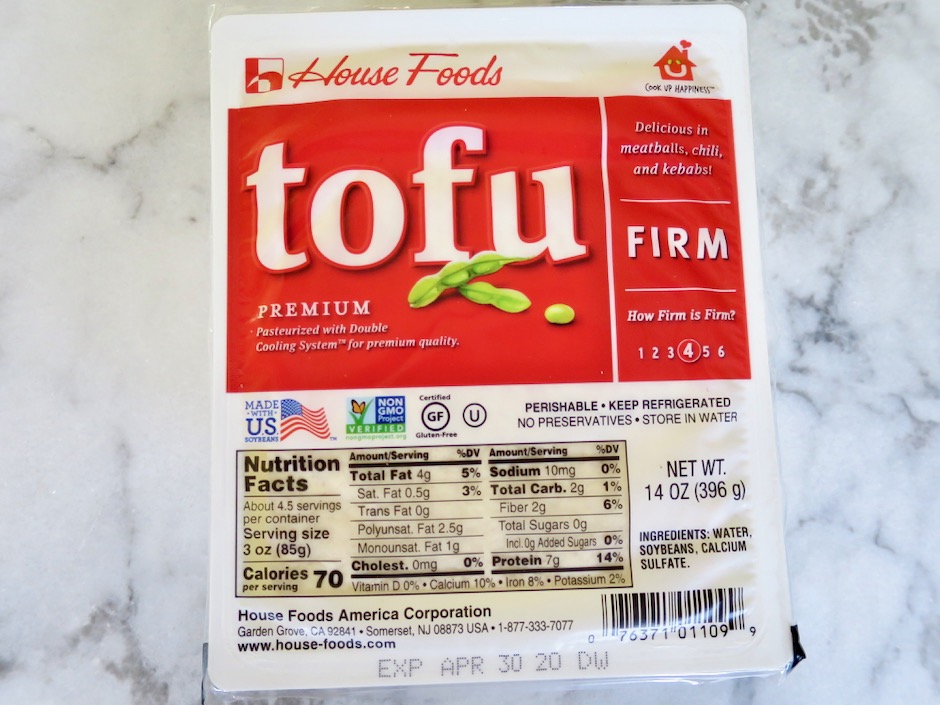
Firm Tofu

Firm tofu is the best option for this recipe as it keeps its shape when sliced.

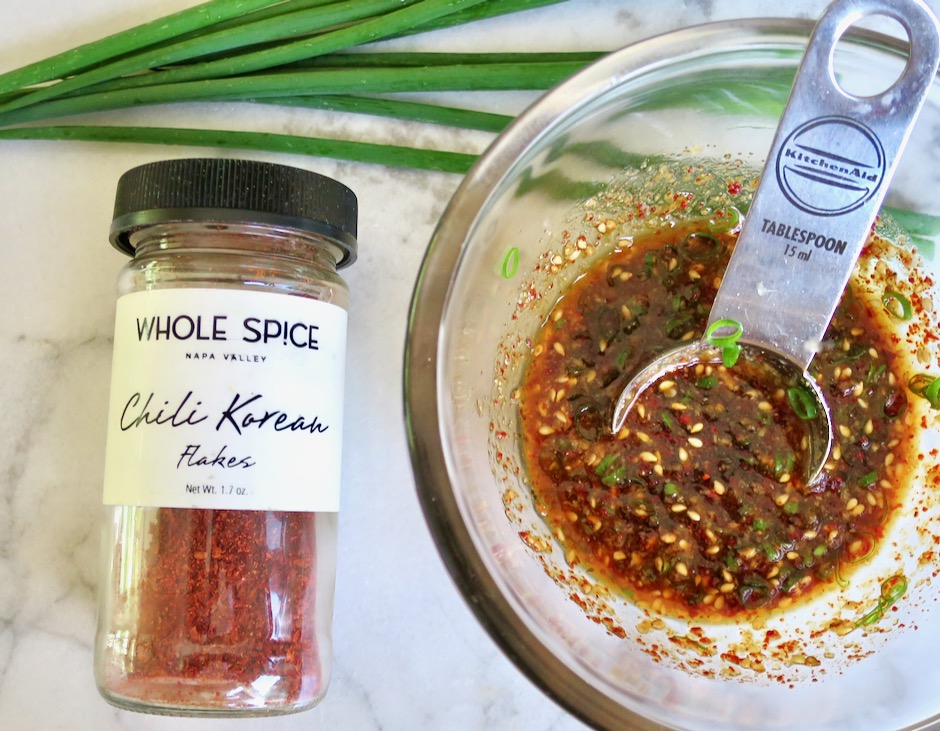
Gochugaru, Green Onions, Spicy Sauce

If you don’t have any gochugaru (Korean chili flakes) I suggest that you buy some right away.  With its gentle heat and smoky, fruity flavor, it’s the chili that I use most often.  I use gochugaru for Korean pan-fried steak, and in a dipping sauce for Korean pancakes and dumplings, as well as in kimchi.

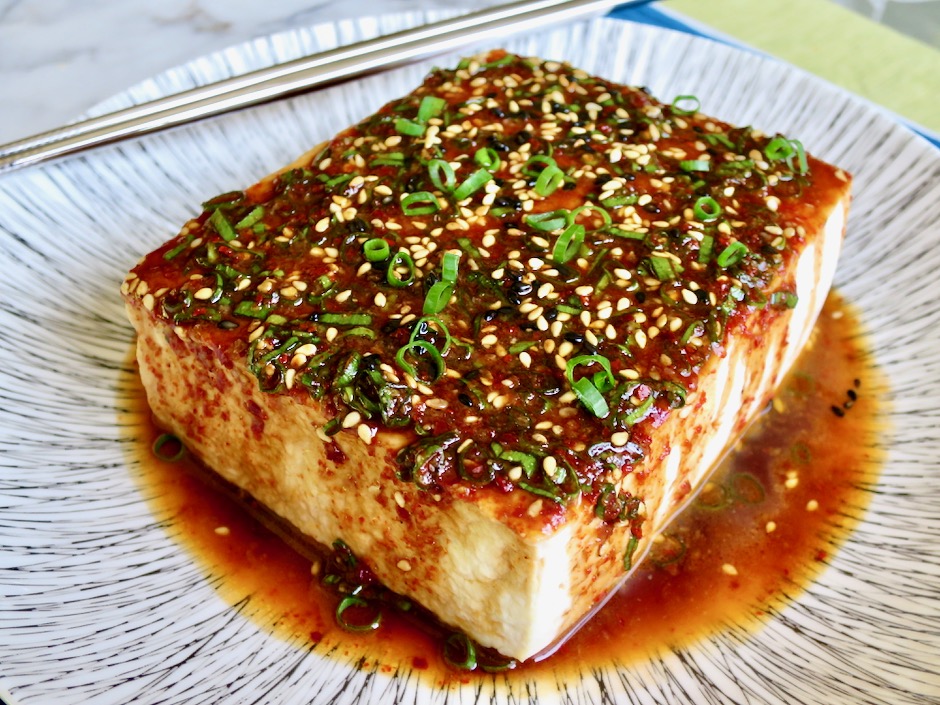
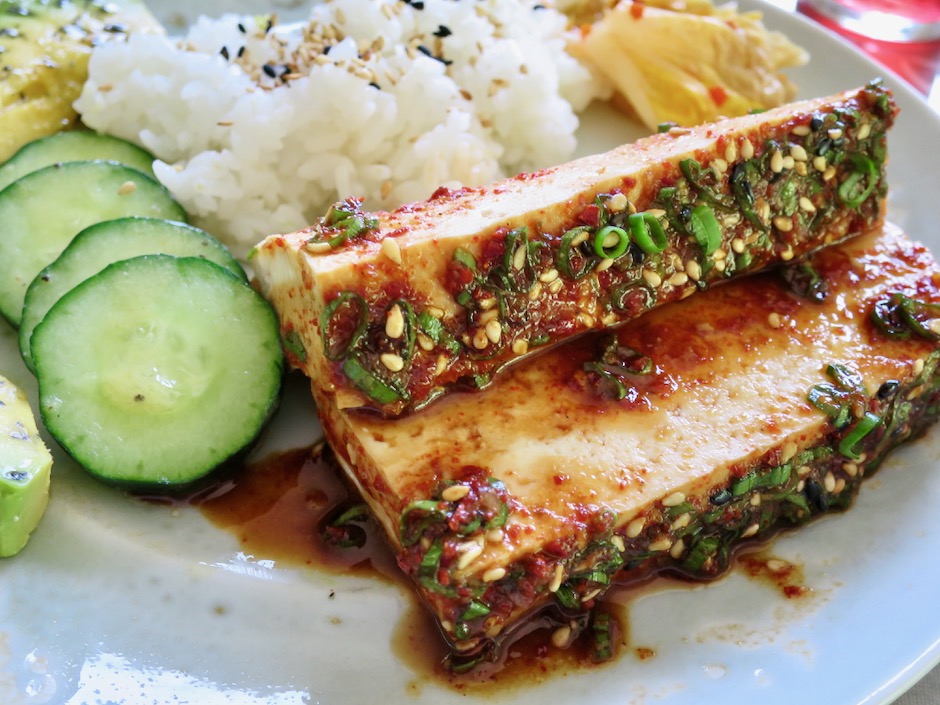
Warm Tofu with Spicy Dipping Sauce

Serve the tofu with crispy cucumber slices, kimchi and Japanese rice.

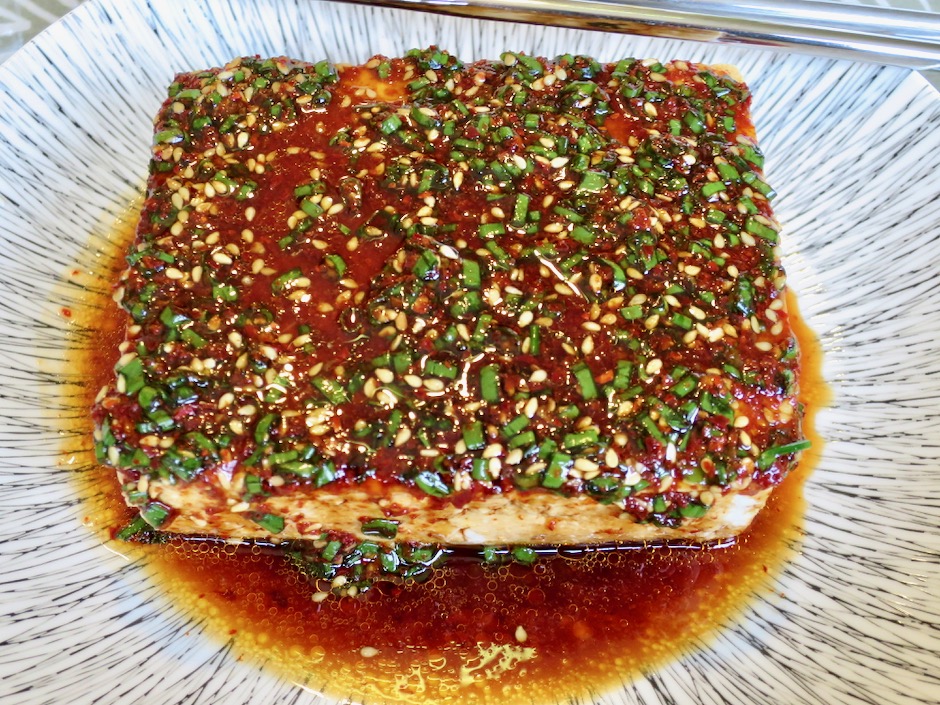
Warm Tofu with Spicy Dipping Sauce

Warm Tofu with Spicy Sauce
 
Adapted from Alexandra's Kitchen blog & Gourmet Magazine
Author:
Serves: 2
Ingredients
  • 1 (14 ounce) package firm tofu
  • 1½ tablespoons soy sauce (Kikkoman recommended)
  • 1½ tablespoons low sodium soy sauce (Kikkoman recommended)
  • ½ teaspoon granulated sugar
  • 1 tablespoon roasted sesame oil (Kadoya recommended)
  • 1 teaspoon gochugaru (Korean chili flakes)
  • 2 teaspoons roasted sesame seeds (white or a mix of white and black)
  • ¼ - ½ teaspoon finely grated garlic
  • 3 tablespoons finely sliced green onions
Preparation
  1. Rinse the tofu, then cover with cold water in a medium saucepan. Bring to a simmer over medium-high heat. Turn heat down to keep warm.
  2. In a small bowl, combine the soy sauces and sugar. Mix until the sugar dissolves. Stir in the sesame oil, gochugaru, sesame seeds, garlic, and green onions. Set aside.
  3. Carefully drain water from pot and remove tofu to a paper towel-lined plate. Pat tofu dry. Transfer tofu to a shallow bowl and spoon some of the sauce over the top. Serve with Japanese rice and extra sauce on the side.


Dinner, Kimchi, Korean, Recipes, Side Dishes, Veggies

Oi Kimchi (Cucumber Kimchi)

July 3, 2020

Crunchy Oi Kimchi

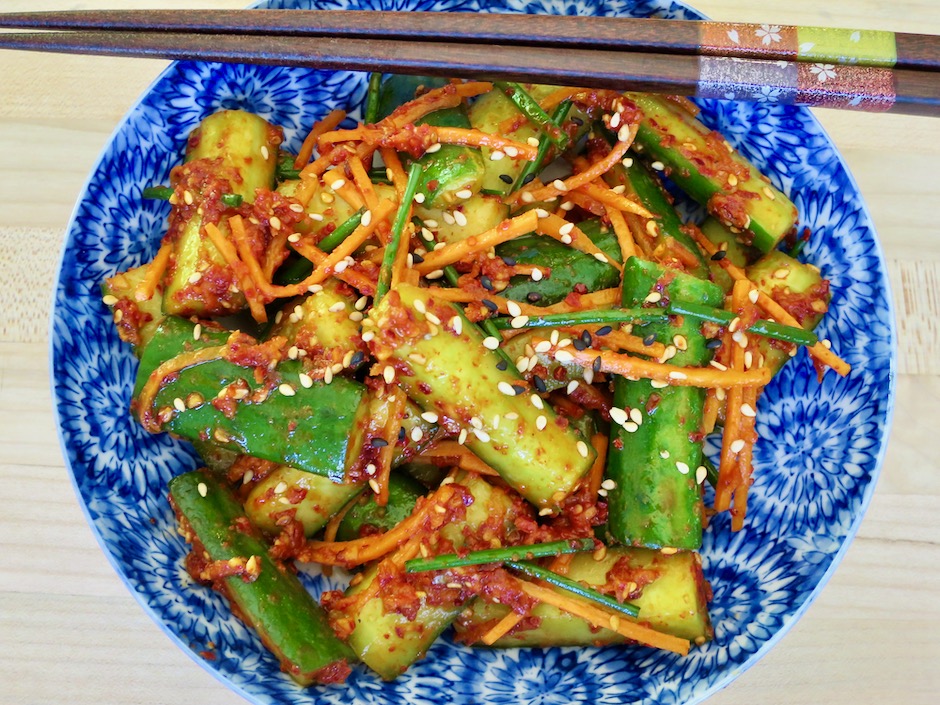
Here in Hawaii, we have a melting pot of cuisines.  One dish we all enjoy is the Korean specialty: kimchi.  A favorite version of ours is is spicy cucumber kimchi, the perfect accompaniment  to rice and Korean barbecued beef.  If you want to keep your meal vegetarian, skip the beef and serve the kimchi with rice and grilled teriyaki tofu.  And, if you don’t have time to fire up the grill, a bowl of steaming Japanese rice, white or brown will do just fine.  This is a quick and tasty side dish.

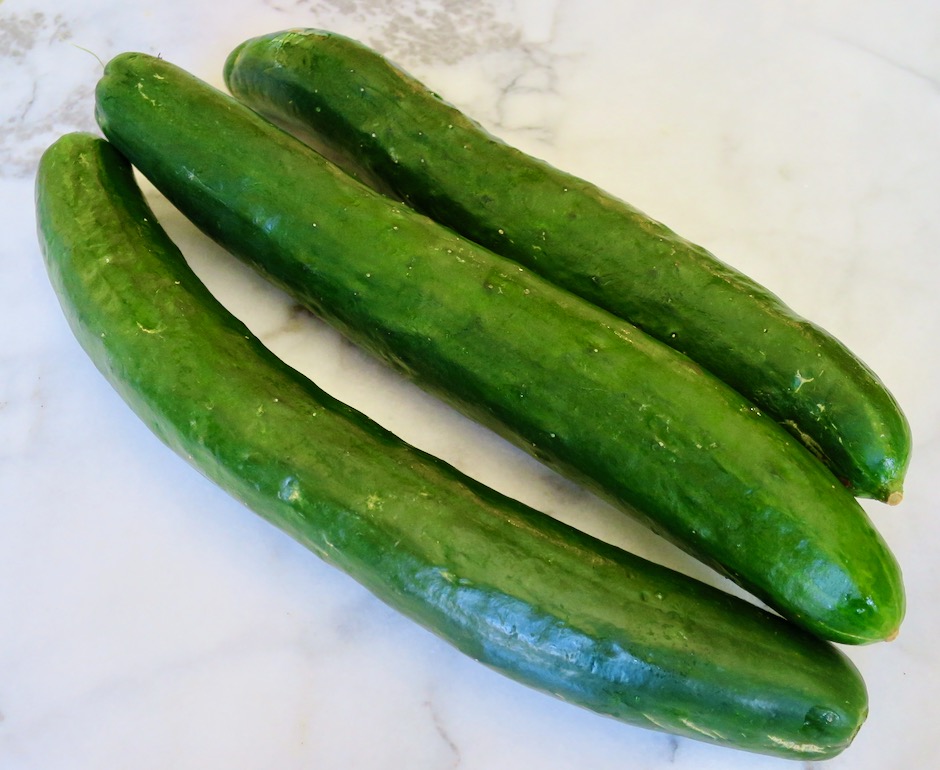
Japanese Cucumbers

Japanese cucumbers are best for this recipe as they are extra crisp and have very few seeds.

Gochugaru

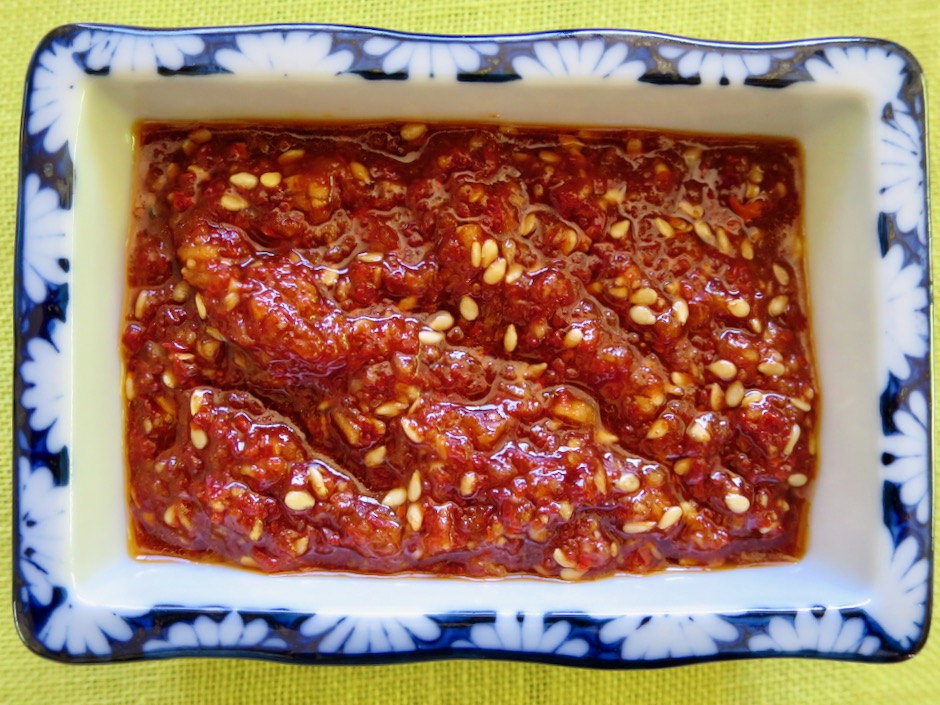
There are  many varieties of kimchi (hundreds by some accounts) but one of the things they all have in common is gochugaru, Korean chili flakes.  This is the chili that I cook with most often.  Gochugaru has a smoky, sweet flavor, gorgeous deep red color and gentle heat.  It’s widely available on line and in local Asian markets.

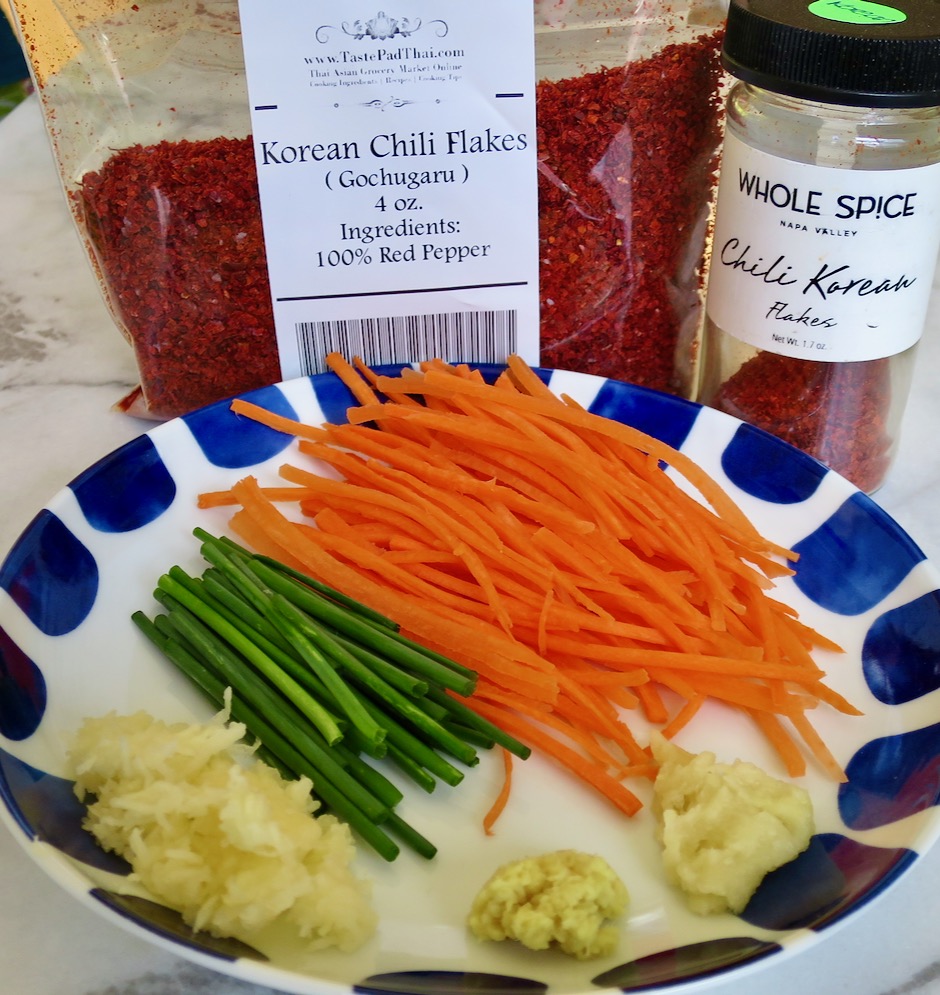
Gochugaru, Carrots, Chives, Grated Apple, Ginger, Garlic

Julienned carrots add color and flavor to the cucumber kimchi.  If you don’t have chives you may substitute them with slender green onions.

Kimchi Sauce

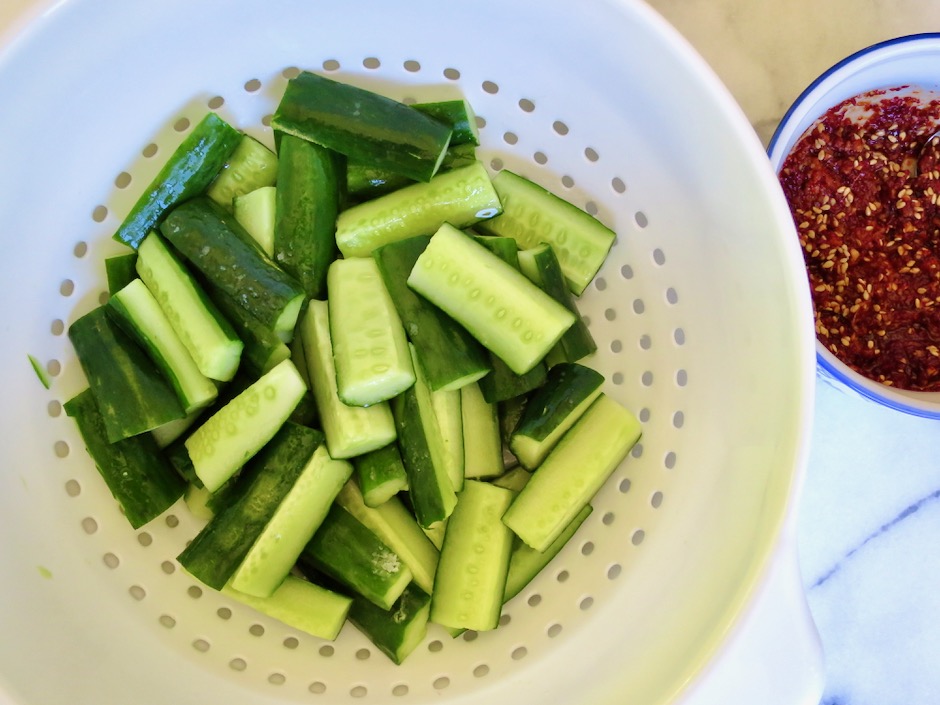
Salted Japanese Cucumbers

The cucumbers for this recipe are cut into baton shaped pieces which I find is the perfect size.  This recipe will keep for a good 3-4 days and the cucumbers will retain their crunchy texture.

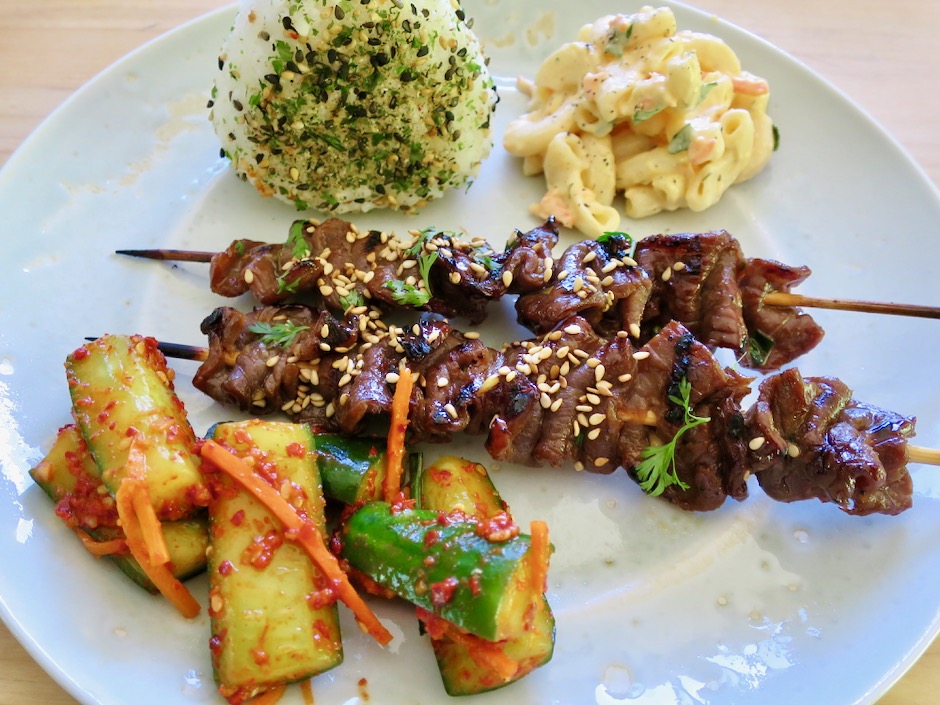
Crunchy Oi Kimchi with Teriyaki Meat Sticks, Mac Salad & Onigiri

Serve the kimchi with your favorite grilled meat or tofu and steamed Japanese rice.

Crunchy Oi Kimchi

Oi Kimchi (Cucumber Kimchi)
 
Author:
Serves: 6
Ingredients
  • 3 Japanese cucumbers (about 1 pound) cut into batons, about 2-inches long
  • 1 scant tablespoon kosher salt
  • ¼ cup julienned carrots
  • 5 chives, cut into 1½-inch pieces
  • Sauce:
  • 1 tablespoon gochugaru
  • 2 teaspoons finely minced garlic
  • ½ teaspoon finely grated ginger
  • 1 tablespoon finely grated apple, drained
  • 1 teaspoon sugar
  • 1 teaspoon soy sauce
  • 1 teaspoon rice vinegar (unseasoned)
  • 1 teaspoon sesame oil
  • dash of fish sauce (optional)
  • roasted sesame seeds
Preparation
  1. Trim the ends of the cucumbers. Cut into 2-inch long pieces. Cut each piece in half lengthwise, then into 4 even batons (sticks). Place the cucumber pieces in a colander and toss with a scant tablespoon of kosher salt (I use Diamond Crystal). Place the colander over a bowl to catch any drips and set a timer for 30 minutes.
  2. Meanwhile, combine all the sauce ingredients in a small bowl and mix well.
  3. Gently pat the cucumbers dry without removing all of the salt. Transfer the cucumbers to a wide bowl along with the carrots and chives, and toss with the sauce. I use disposable gloves to mix the cucumbers with the sauce which helps to coat every piece evenly. Transfer to a clean bowl and chill until ready to serve.


Follow

Get every new post delivered to your Inbox

Join other followers: