Browsing Category

Japanese

Japanese, Lactose Free, Recipes, Salad, Vegetarian, Veggies

Miso Carrot & Sesame Dressing

March 13, 2014

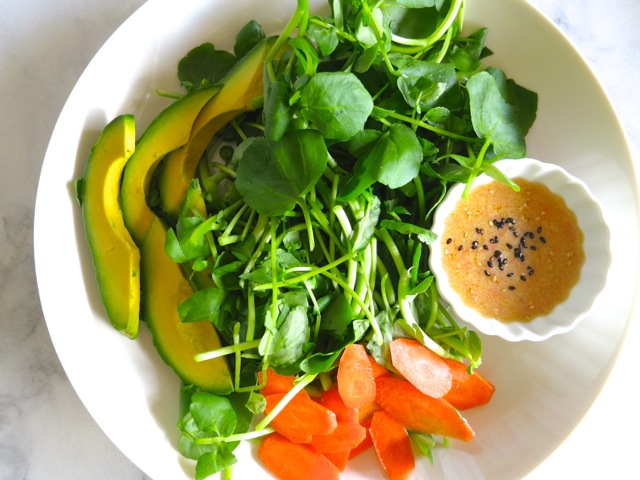
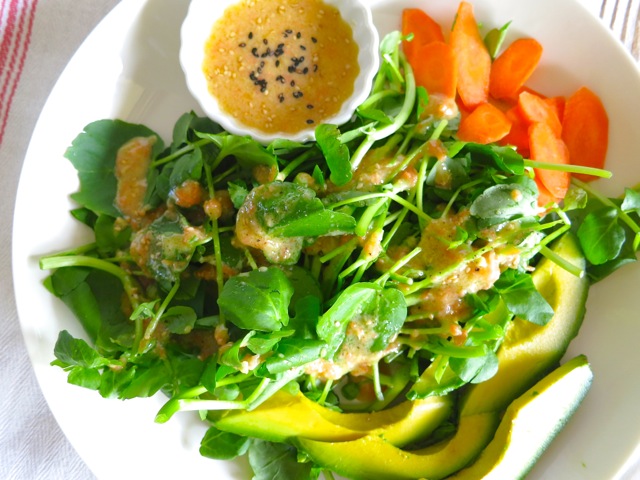
Miso Dressing with Watercress SaladThis quick salad dressing tastes so good I can eat it alone by the spoonful.  The mellow white miso with its savory flavor is lightly sweetened with grated carrot and honey.  Fresh ginger gives the dressing a little kick and roasted sesame seeds add crunch. Serve with peppery, crisp, watercress. Very refreshing!

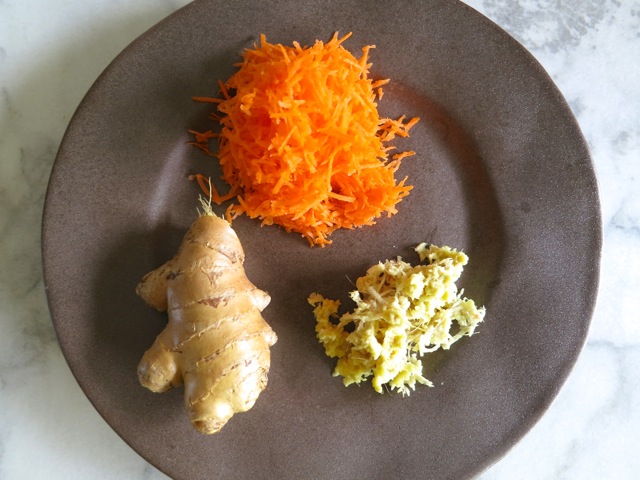
Grated Carrot & Ginger

Miso Carrot & Sesame DressingThe original recipe mentions the dressing can be made up to two days in advance of serving, however, I’ve kept it for up to four days and it was just fine.

Miso Dressing with Watercress Salad

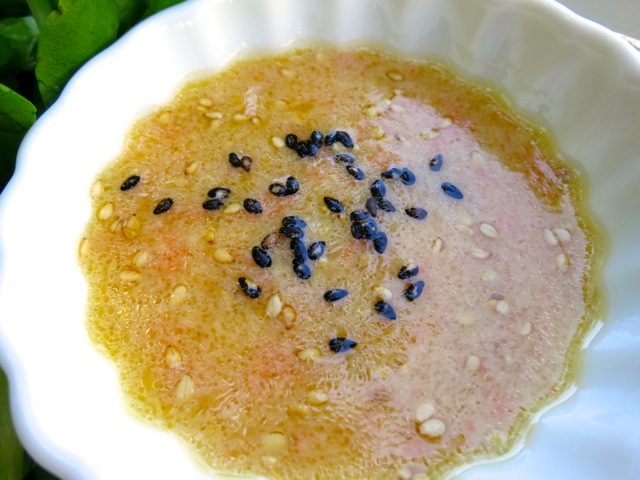
Miso, Carrot & Sesame Dressing

Adapted from Bon Appetit

Makes about 1 1/2 cups

Ingredients

1/2 cup (scant) white miso

5 tablespoons canola oil

1/4 cup water

1/4 cup (packed) finely grated peeled carrot

2 tablespoons finely grated ginger

3 tablespoons unseasoned rice vinegar

2 1/2 teaspoons sesame oil

2 1/2 teaspoons honey

4 teaspoons toasted sesame seeds

Preparation

Place all ingredients in a jar and shake vigorously or alternatively place in a bowl and whisk until combined.

*If the dressing seems too thick add a teaspoon or so of water to thin it out.


Appetizers, Dinner, Japanese, Recipes, Side Dishes, Vegan, Vegetarian, Veggies

Renkon no Kinpira – Sautéed Lotus Root

January 13, 2014

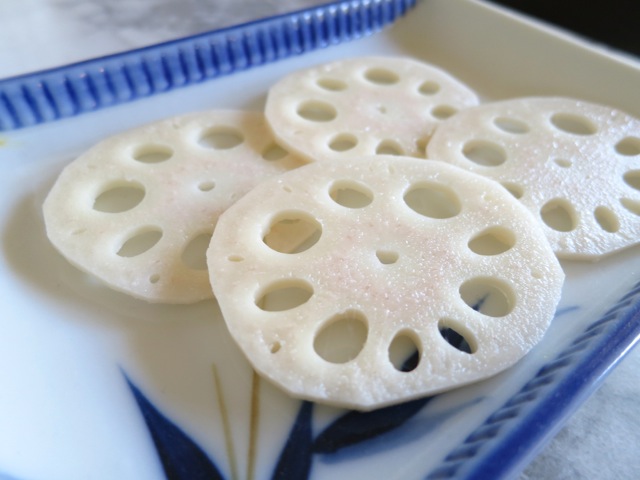
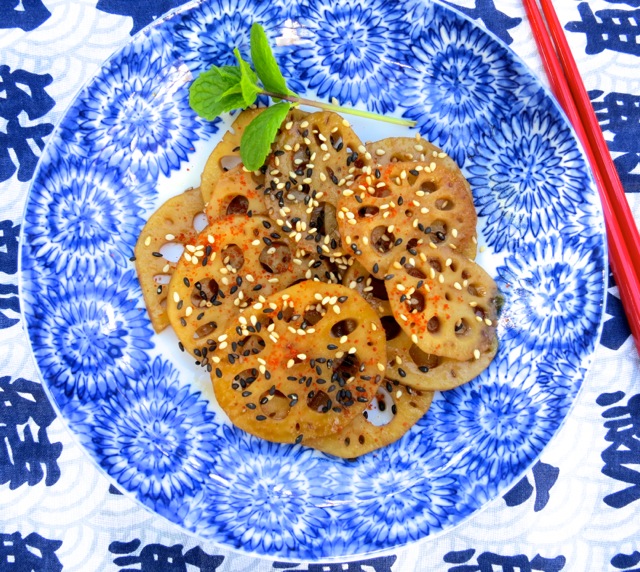
Sautéed Lotus RootLotus root, or hasu as we call it in Hawaii, is a unique delicacy.  Once you peel and slice this rather homely root (or rhizome) you’ll see how beautiful it is.  Only available in Hawaii for a few months each year, I buy it as often as I can.  With its snowflake like appearance when sliced and its crunchy and delicate flavor, it is wonderful sautéed and served with  brown or white rice.  This is my favorite way to prepare it.

Lotus Root

Peeled and Sliced Lotus RootPeeled and sliced lotus root.  It’s crunchy with a mild flavor some say reminds them of jicama.

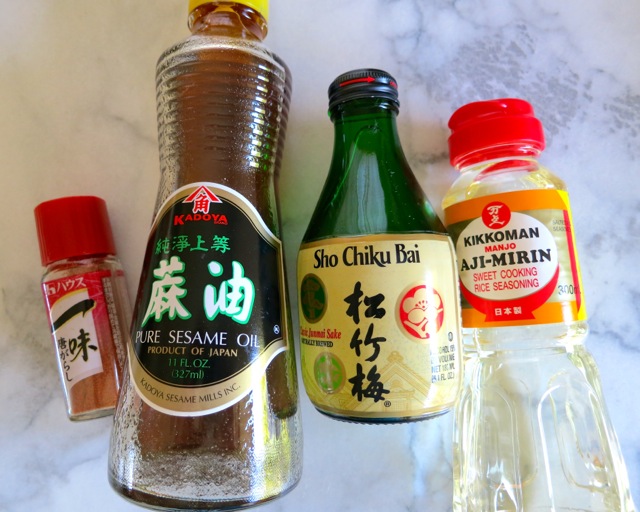
Lotus Root Sauce IngredientsA simple combination of a few ingredients will add just the right depth of flavor to sautéed lotus root.  Besides sautéing, lotus root can be used in soups, fried (crispy tempura), pickled or steamed.  Its crispy texture holds up very well regardless of how it is prepared.

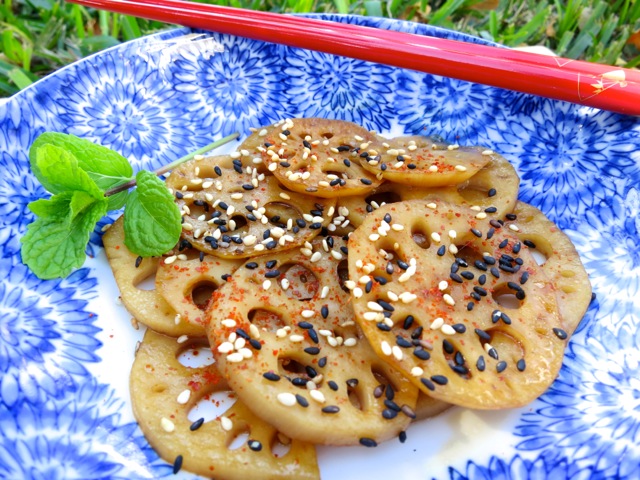
Renkon no Kinpira - Sautéed Lotus Root

Renkon no Kinpira – Sautéed Lotus Root

Adapted from mmm-yoso!!!blog

Serves 4

Ingredients

1 pound lotus root, peeled and thinly sliced

1/4 cup white vinegar

3 cups water

2 teaspoons sesame oil

2 teaspoons canola oil

2 tablespoons sake

6 tablespoons soy sauce

2 tablespoons sugar

2 tablespoons mirin

Ichimi Togarashi or cayenne pepper

Toasted sesame seeds

Preparation

Pour vinegar and water in to a large glass bowl.  Peel the lotus root, rinse and slice thinly.  Place in vinegar water.

Combine sake, soy sauce, sugar and mirin in a small bowl.  Set aside.

Drain lotus root, place on paper towels and pat dry.

Heat sesame and canola oil in a large sauté pan over medium heat.  Sauté lotus root for about 5 minutes,  Do not over cook.  Add soy sauce mixture and simmer until most of the liquid evaporates about 2 minutes.

Remove lotus root to a shallow bowl.  Sprinkle with Ichimi Togarashi (or cayenne pepper) and toasted sesame seeds.  Serve at room temperature.

Dinner, Japanese, Recipes, Tofu, Vegan, Vegetarian

Grilled Teriyaki Tofu

May 22, 2013

Teriyaki TofuGrilling is a terrific way to prepare most any food, even tofu.  There’s something about the subtle smoky flavor that can transform whatever you are grilling into a spectacular meal.  And, in particular when teriyaki sauce is involved.
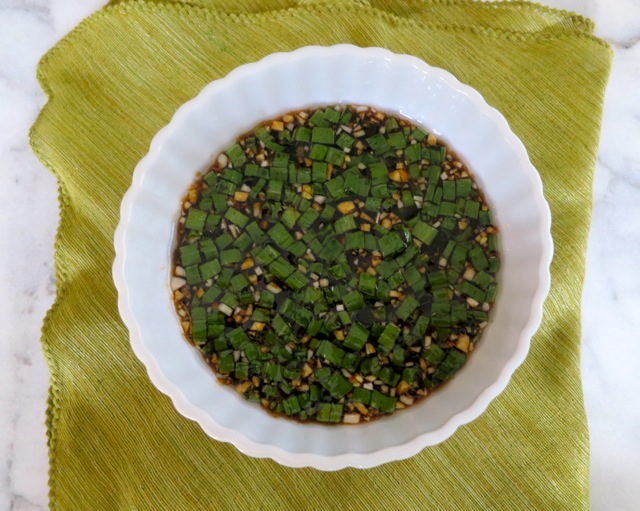
Teriyaki SauceA while back I posted a recipe for granny’s teriyaki sauce.  Until this day, I still chuckle when I read the recipe my mom passed on to me.  Just under the title of the recipe, my mom wrote “the best!”  And of course she was right.

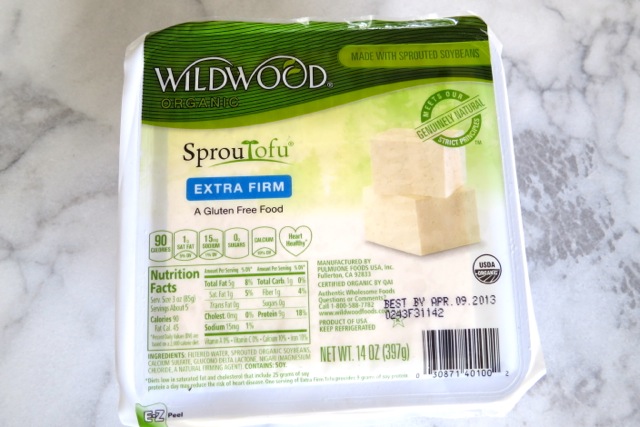
Extra Firm TofuI recommend WildWood extra firm tofu for this recipe.  It holds its shape nicely when grilled.

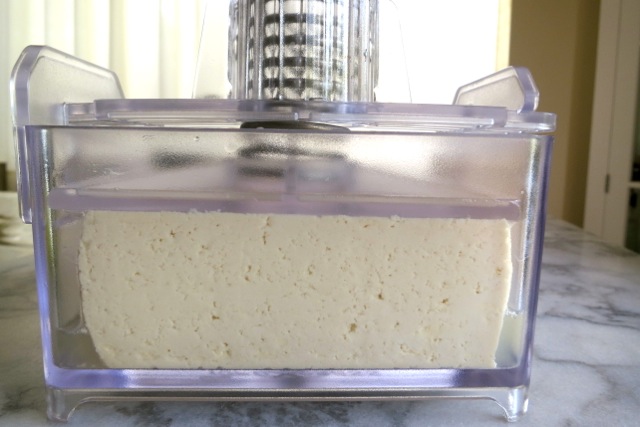
Tofu PressOne of my favorite kitchen items is the TofuXpress.  It presses out the water and there’s no need to waste paper towels.

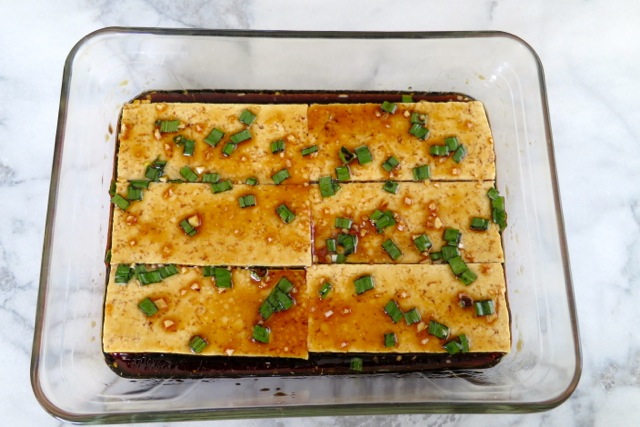
Marinating Tofu

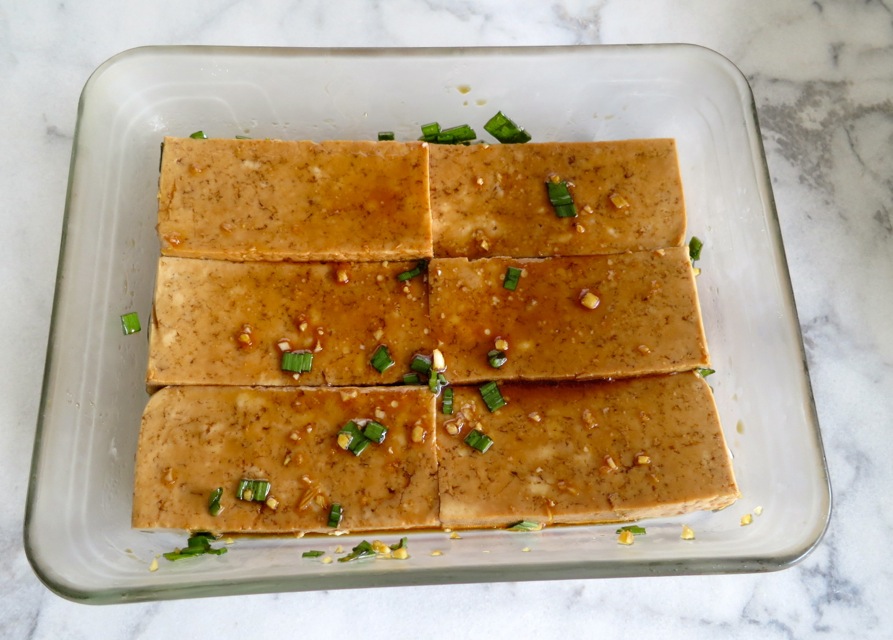
Marinated TofuTofu soaks up marinades quickly which means you won’t need to prepare this days in advance.  A quick soak and you’re ready to grill the tofu.

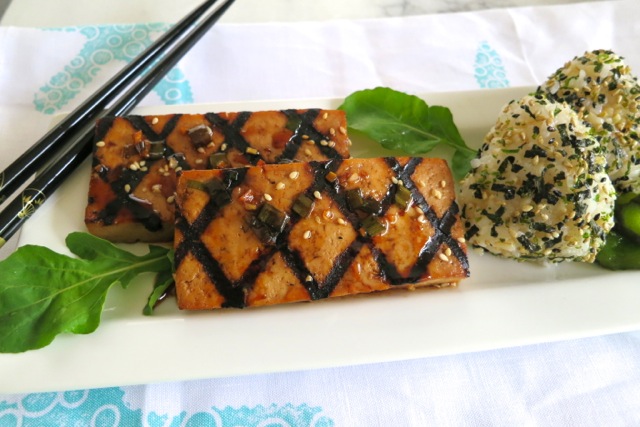
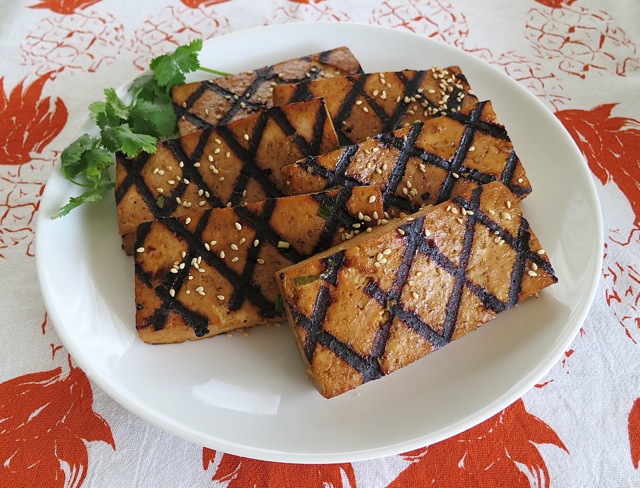
Grilling TofuJohn has this thing about grill marks.  They are always perfect.

Grilled Teriyaki Tofu 3

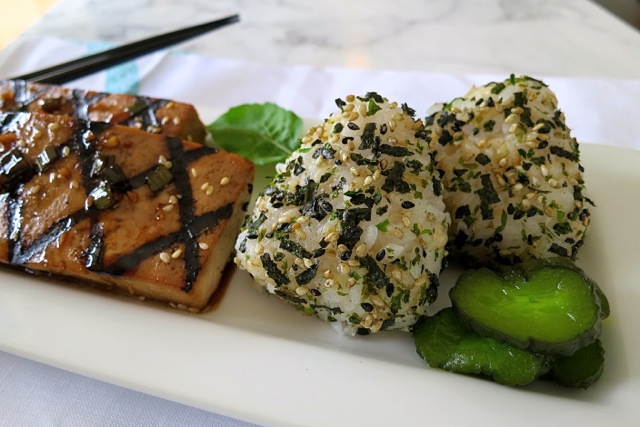
Teriyaki Tofu with OnigiriI love all types of rice but one of my favorite ways to prepare rice is called onigiri.  These delicious rice balls go well with grilled tofu and they are perfect to pack for a picnic lunch.

Teriyaki Grilled Tofu

Serves 2

Ingredients

1 block extra firm tofu (water pressed out)

Granny’s teriyaki sauce recipe here.

Preparation

Press out the water from the block of tofu then cut into 6 cutlets.

Pour enough teriyaki sauce to cover the bottom of your dish and place tofu cutlets on top of the sauce.  It’s best to use a dish that snugly fits the tofu pieces so the sauce is confined to just that area.  Pour more sauce over the tofu pieces, cover with plastic and refrigerate for about 1/2 hour then turn the tofu over.

Simmer the remaining sauce on low heat for about 15 minutes or until it thickens slightly and becomes syrupy.  Watch closely so it does not burn.  Set aside until ready to use.

Grill the marinated tofu on both sides.  Transfer to a plate and drizzle with syrupy teriyaki sauce and  roasted sesame seeds.

Dinner, Japanese, Pasta, Recipes, Salad, Vegan, Vegetarian, Veggies

Soba Salad with Cucumber, Carrot, Snow Peas & Edamame

May 16, 2013

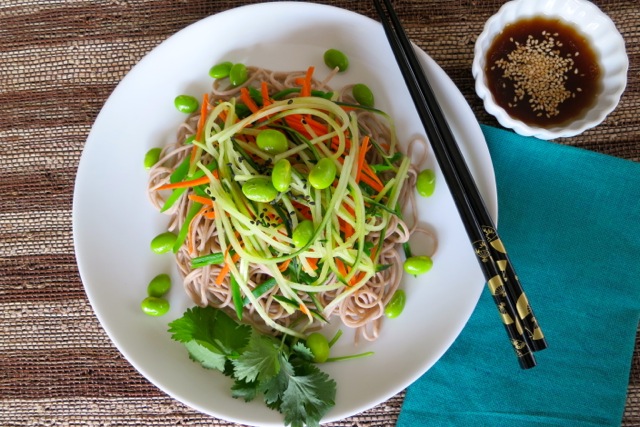
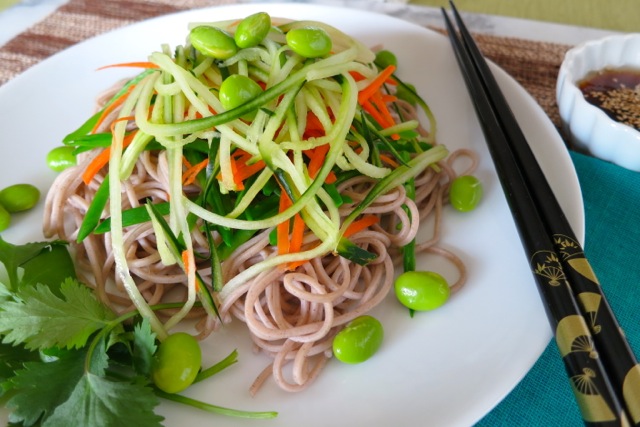
Soba Salad 2Here’s a refreshing noodle salad that is especially delicious on a warm summer day.  The salad can be made in advance and refrigerated until you’re ready to serve it.  In fact, you can make it a day in advance and it will be in perfect condition the following day.

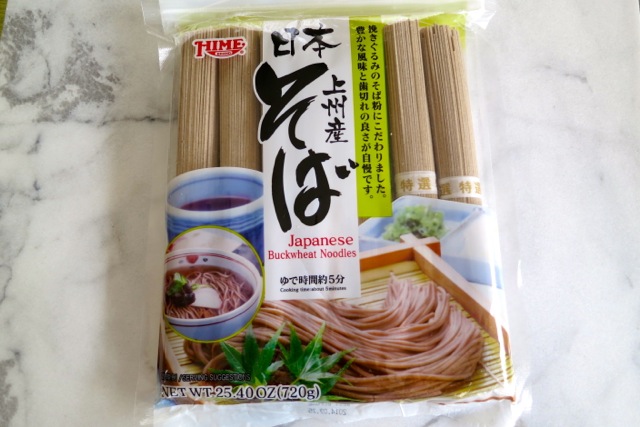
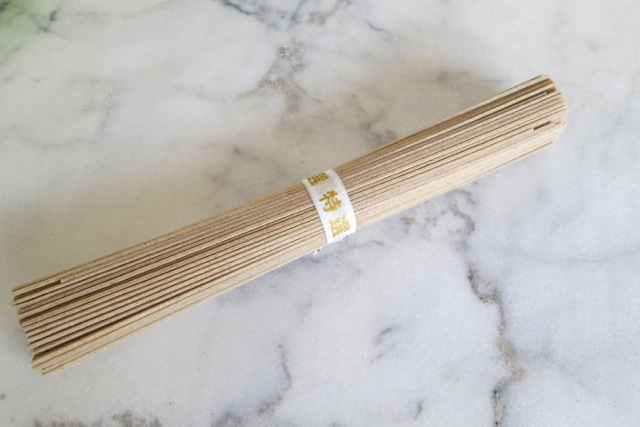
Soba NoodlesSoba noodles can be served hot or cold with toppings such as tempura,  fish cake, nori, mushrooms, egg, vegetables, and fish.  I love all preparations but my first choice is the cold version with a refreshing dressing drizzled over noodles topped with delicately sliced vegetables.Soba BundleI have only tried fresh soba noodles once, on a visit to Honolulu.  They were delicious.   But in the absence of fresh noodles, the dried variety works fine.

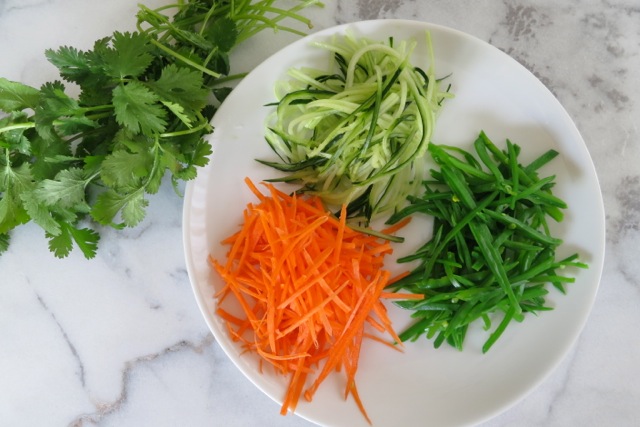
VeggiesI like to use carrot, cucumber, snow peas and edamame.  You can use almost any vegetable. The important thing to remember is to julienne your vegetables so they are similar in size to the soba noodles.  This creates a pretty tangle of colorful vegetables combined with the noodles.

Soba Salad

Soba Noodle Salad with Cucumber, Carrot, Snow Peas & Edamame

Serves 2

Ingredients

Dressing

1/4 cup rice vinegar (unseasoned)

1 tablespoon sweet mirin

1 1/2 tablespoons soy sauce

1 1/2 teaspoons sesame oil

2 tablespoons canola oil

2 teaspoons brown sugar

2 teaspoons roasted sesame seeds

freshly ground pepper

Salad

2 bundles soba noodles (about 6 ounces)

2 ounces snow peas (about 16)

1/2 small carrot, julienned

1/2 Japanese or English cucumber, julienned

1/4 cup boiled edamame

fresh cilantro (optional)

Preparation 

Place all of the dressing ingredients in a small jar and shake to combine or whisk together in a small bowl.

Cook soba noodles as directed on the package (check the noodles 1 minute prior to the total cooking time to test for doneness).  Rinse noodles under cold water and drain well.  Divide noodles into two wide bowls or large salad plates.

Blanch the snow peas in boiling water for 25 seconds.  Place in an ice water bath to stop the cooking.  Drain well on paper towels.  Thinly slice blanched peas on the diagonal.

Julienne the carrot and cucumber.  You can remove the skin of the cucumber or leave it on.  I prefer to remove strips of the skin so that some of the bright green color remains.

Layer the snow peas, carrot and cucumber on the noodles.  Scatter the edamame on and around the noodles.  If you enjoy cilantro, add chopped cilantro over the soba salad.

Drizzle sesame dressing over the salad and serve.

Chicken, Dinner, Japanese, Recipes

Chicken Katsu

April 30, 2013

Chicken Katsu PlateMy friend Colleen recently told me about the Coastal Range Organics chicken she purchased at Costco and how much she likes it.  Typically when I go to Costco I zoom around with my cart trying to dodge the shoppers that clog the aisles.  I zero in on the items that are familiar to me and don’t pay attention to other products.  So thanks, Colleen, for bringing the Coastal Range Organics chicken to my attention!  I found it to be superior to the chicken I always bought in the past.Panko & Hot MustardChicken katsu is one of my favorites and very simple to prepare.  Chicken breasts become much more tender when pounded and this also allows them to cook evenly.  Properly prepared chicken katsu has a crunchy exterior and tender interior.

Panko Crusted ChickenLightly dust your pounded chicken cutlets in flour then in the egg mixture.  Repeat this process once again and finally coat the chicken with panko.  The double coating of flour and egg gives the chicken a super crunchy crust.

Tonkatsu Sauce

There are many brands of tonkatsu sauce but the selection here on Maui is very limited.  I’ve tried a few and found this brand to be my favorite so far.

Chicken Katsu

Chicken Katsu 2

Chicken Katsu

Serves 4 -6

Ingredients

3 large boneless, skinless chicken breasts, cut in half crosswise and pounded 1/3 inch thick.

1/2 cup flour

3 large eggs

2 1/c cups panko (4 oz. package)

3/4 cup canola oil

Preparation

Cut each chicken breast in half, crosswise.  Pound chicken in a Ziploc bag until each piece is about 1/3 inch thick.

Place flour and panko on two large paper plates.  Whisk eggs in a wide, shallow bowl.

Lightly salt and pepper the chicken.  Dust the chicken in flour then in the beaten eggs.  Repeat this step one more time then dredge the chicken in panko, patting the panko crumbs on both sides of the chicken.

In a large 12 inch saute pan, heat 3/4 cup canola oil over medium high heat.  Once the oil is hot, add half of the chicken to the pan and cook for 3 minutes or until nicely browned.  Turn chicken over and cook for about 2 minutes more.  Remove chicken to a paper towel lined plate.  Continue cooking the rest of the chicken.

Cut chicken into 3/4 inch slices and serve with finely shredded cabbage, hot mustard, tonkatsu sauce and steamed rice.  With its sweet and tangy dressing, cucumber  and carrot namasu is a perfect side dish.


Chicken, Dinner, Japanese, Recipes

Chicken Karaage

January 21, 2013

Chicken KaraageChicken karaage or Japanese fried chicken is a quick and delicious meal to prepare for your friends and family, a real crowd pleaser.  Because the chicken is boneless and cut into small pieces, it cooks quickly and that means you spend less time standing over your stove.

Karaage MarinadeThe marinade for the chicken is flavorful and made with ingredients you’re likely to have in your pantry.  Fresh ginger is the only item you might need to pick up at the market before you make this dish.  Though I only made dinner for two, the marinade will season up to 10 chicken tenders.  Just remember to turn the pieces now and then so each one soaks up the tasty sauce before frying.

Chicken Karaage CoatingLet the marinated chicken absorb the corn starch before frying.

Chicken Karaage - Japanese Fried Chicken

Chicken Karaage

Serves 2

Ingredients

6 chicken tenders – each cut into 3 pieces

1 cup corn starch

canola oil for deep-frying

Marinade

1/4 cup soy sauce

2 tablespoons mirin (sweetened rice wine)

2 tablespoons Sherry (Amontillado if available)

1/4 teaspoon sesame oil

2 medium garlic cloves – minced

1 teaspoon finely minced or grated ginger

Preparation

Combine soy sauce, mirin, sherry, garlic and ginger in a medium bowl large enough to hold the chicken pieces.  Marinate chicken in refrigerator for about 1/2 hour, turning chicken pieces occasionally.

Place corn starch in a pie plate or medium bowl.  Once the chicken is ready to fry, remove pieces from marinade and coat well in cornstarch.  Transfer chicken to a plate and continue with the rest of the chicken.

Let the marinated chicken pieces absorb the corn starch until they turn a light brown color (see photo above).  Now they are ready to cook.

In a wok or sauce pan heat oil over medium high heat – 355 degrees.  Use just enough oil to cover the chicken for deep-frying.

Once the oil is hot, cook chicken in batches.  Try not to over crowd the pan.  This will cause the heat to drop and the chicken will become greasy if the oil is not hot enough. Turn chicken after 1 minute and continue to fry until cooked through, about 1 1/2 minutes more. The chicken should be a deep brown color on both sides.  Remove a piece of chicken from the pan to check for doneness.

Transfer cooked chicken to a paper towel lined plate and sprinkle with coarse salt.  Continue to cook the rest of the chicken.

Place fried chicken on a serving plate with lemon slices or as I prefer, with Sriracha hot sauce on the side.

Follow

Get every new post delivered to your Inbox

Join other followers: