Browsing Category

Japanese

Dinner, Italian, Japanese, Lactose Free, Pasta, Recipes, Vegan, Vegetarian

Pistachio Pesto Ramen

October 27, 2020

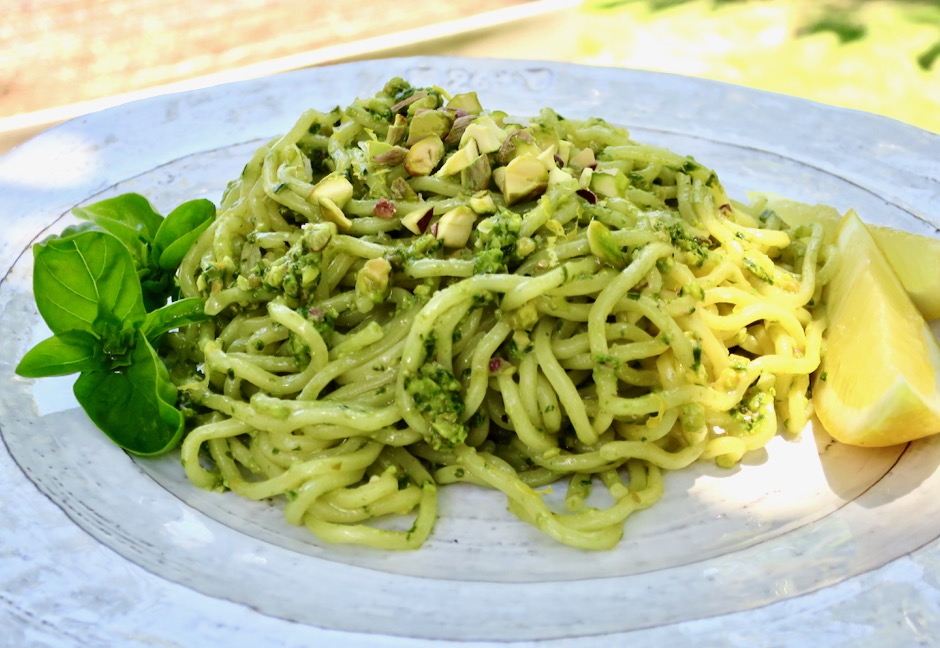
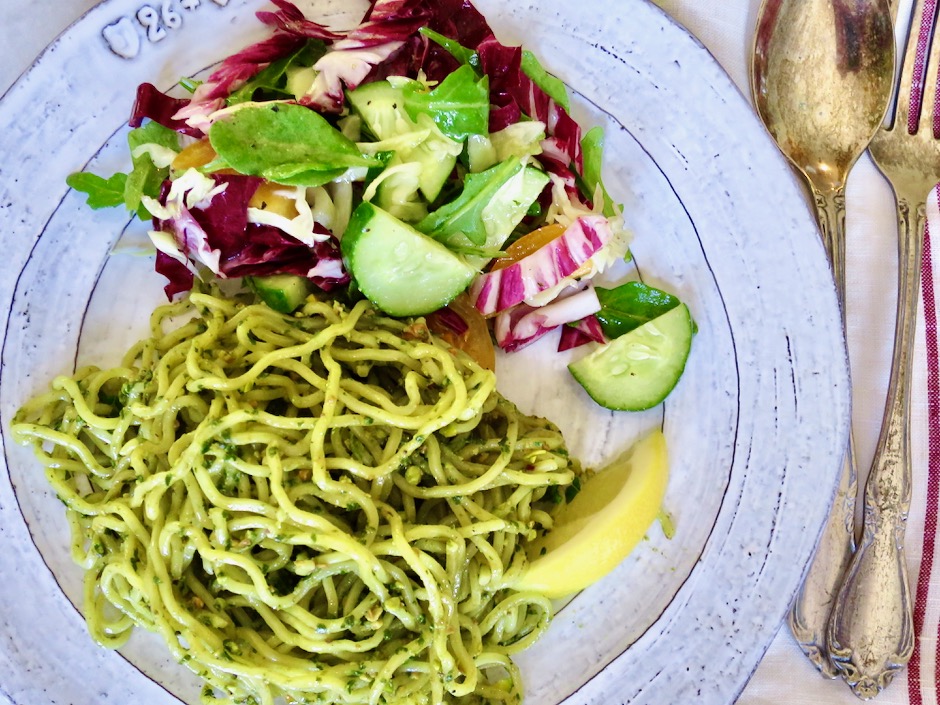
Pistachio Pesto Ramen

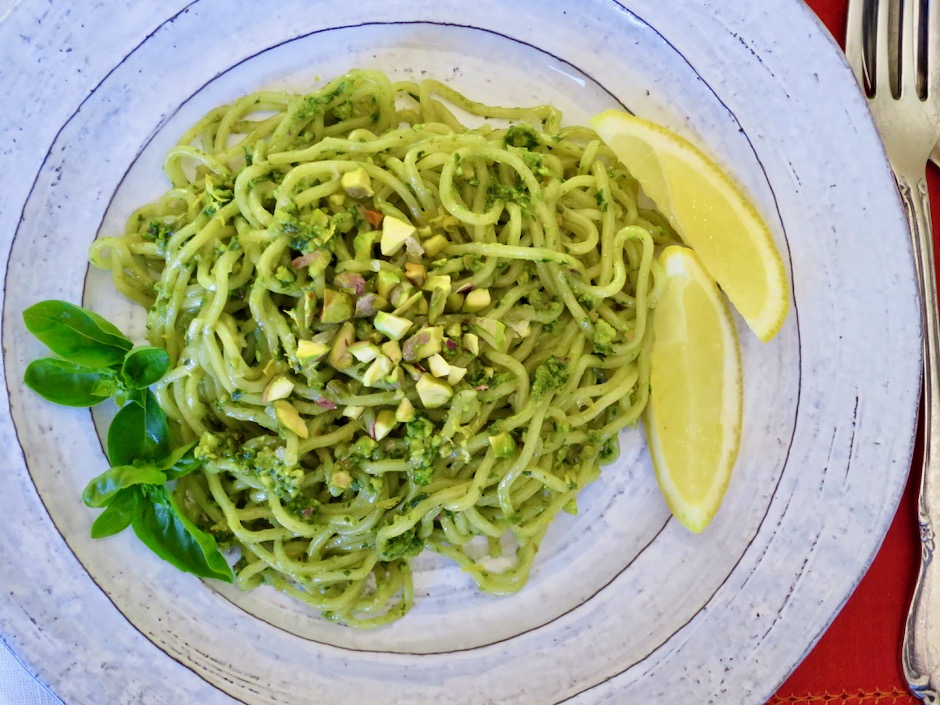
This dish typifies a summery meal that is refreshing and can be prepared with minimal time spent at the stove.  The ramen takes just a few minutes to cook and the pesto itself is quick to make and does not require any cooking.  The bright flavors of fresh basil, pistachios and lemon will delight your palate.

Pistachio Pesto Ramen

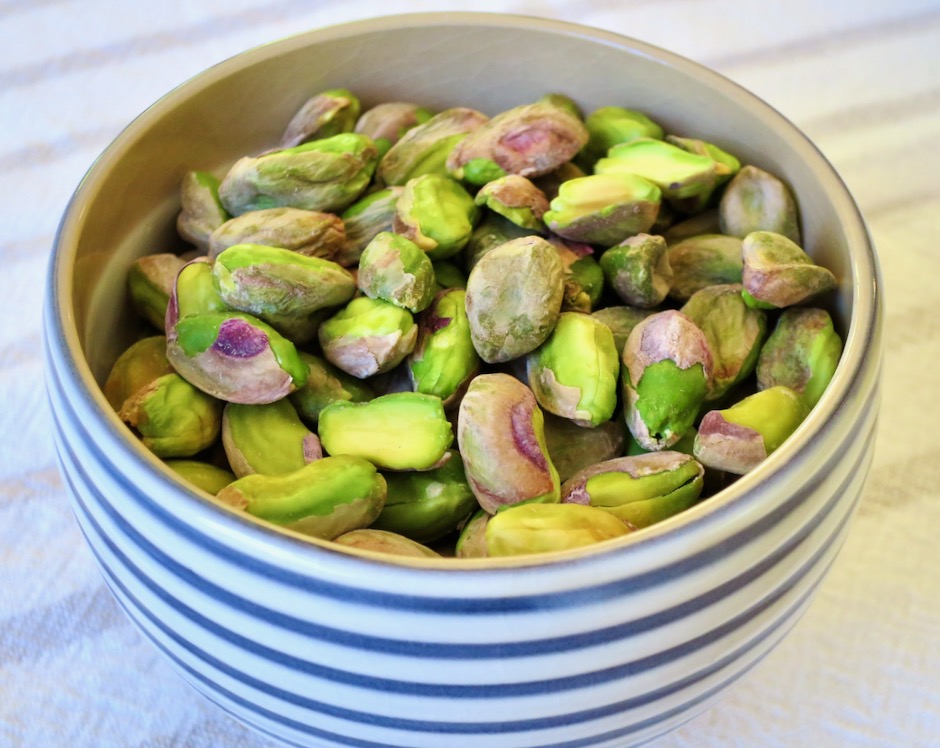
Pistachios

To make things easier, buy shelled, salted pistachios.  Shelled or not, they make a tasty snack while you are preparing the dish.

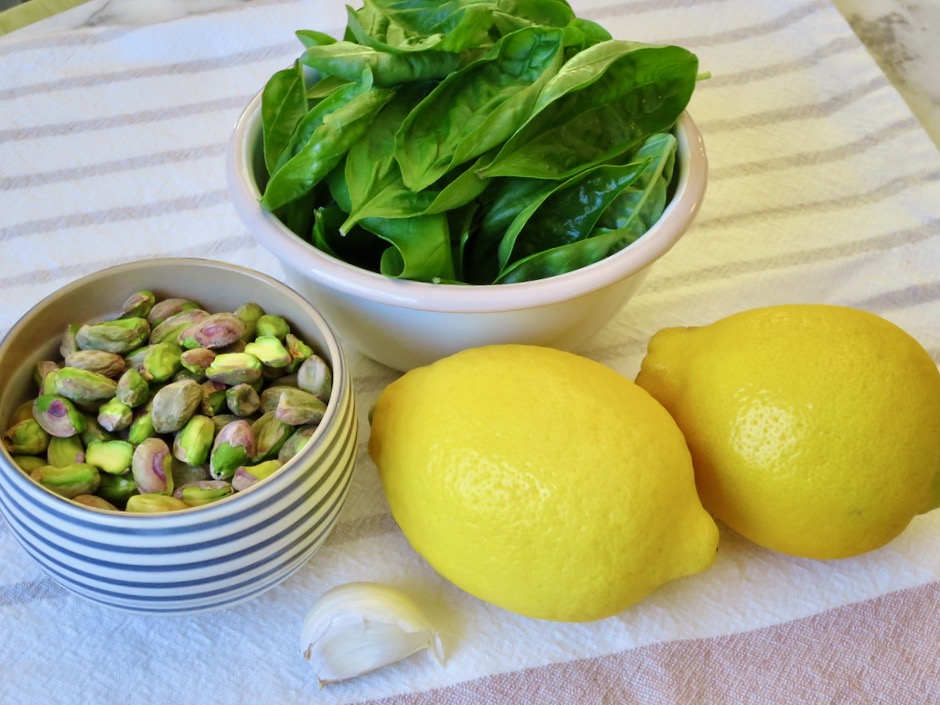
Pistachios, Basil, Lemon & Garlic

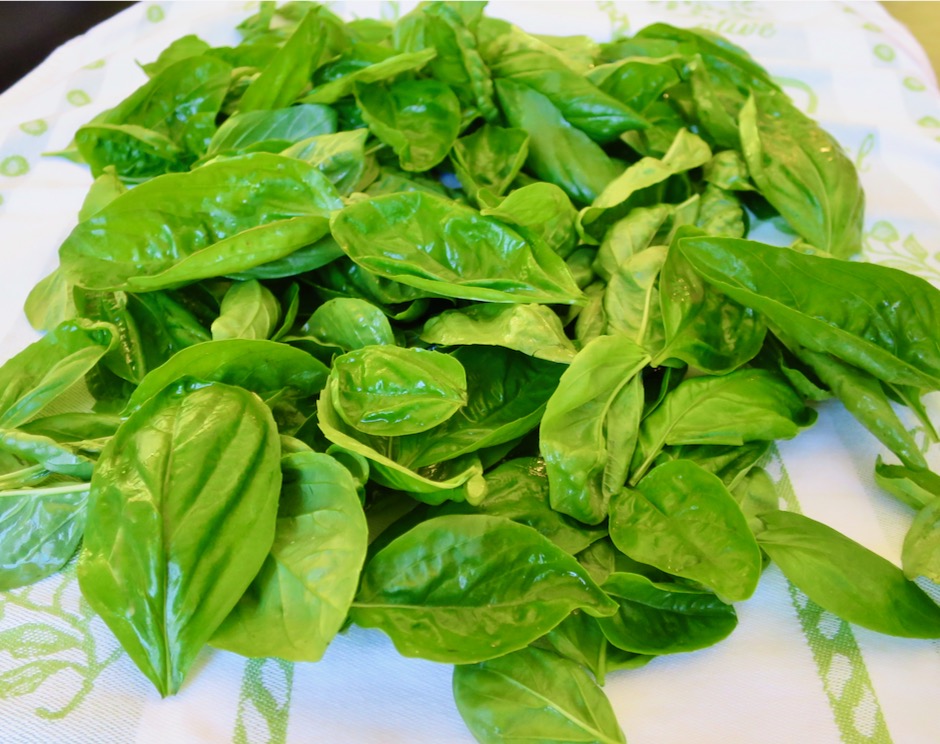
Basil From the Garden

During the summer months when the temperatures reach into the 90’s, there’s not much we can grow successfully in the garden.  But herbs such as basil can take the brutal heat and grow nicely all year long.

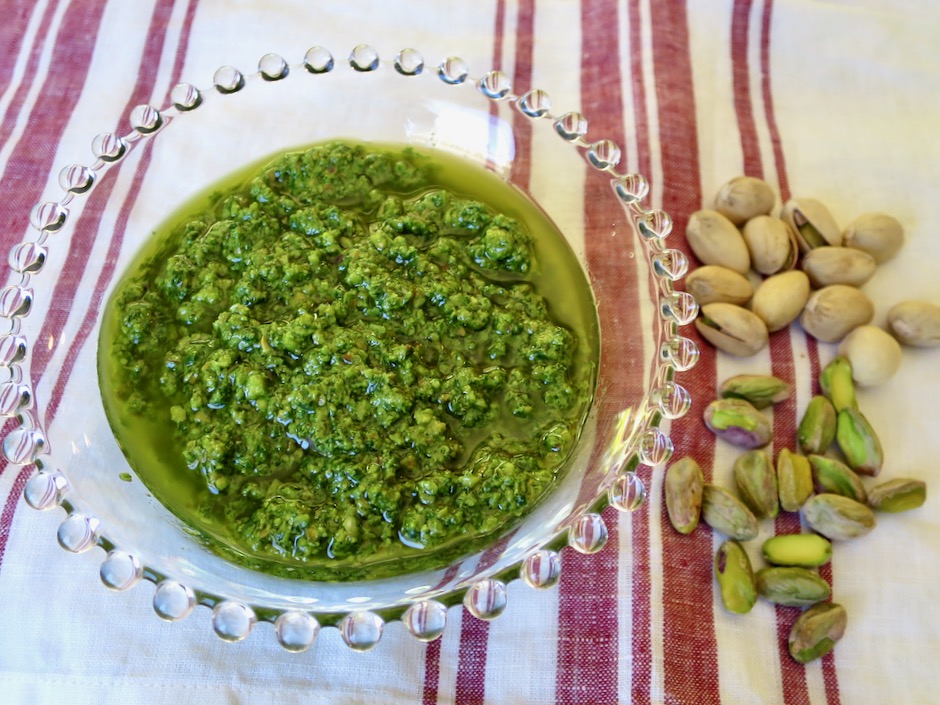
Pistachio Pesto

This pesto does not call for cheese which makes it the perfect pesto for vegetarians, vegans, and those who are lactose intolerant.  The pistachios provide all the richness necessary.

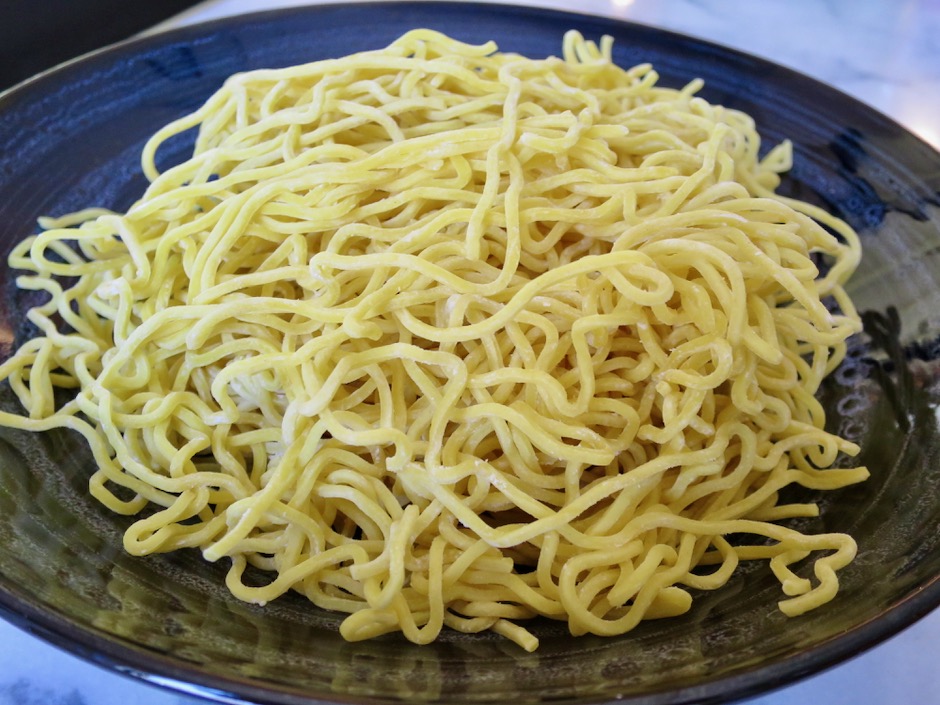
Fresh Ramen

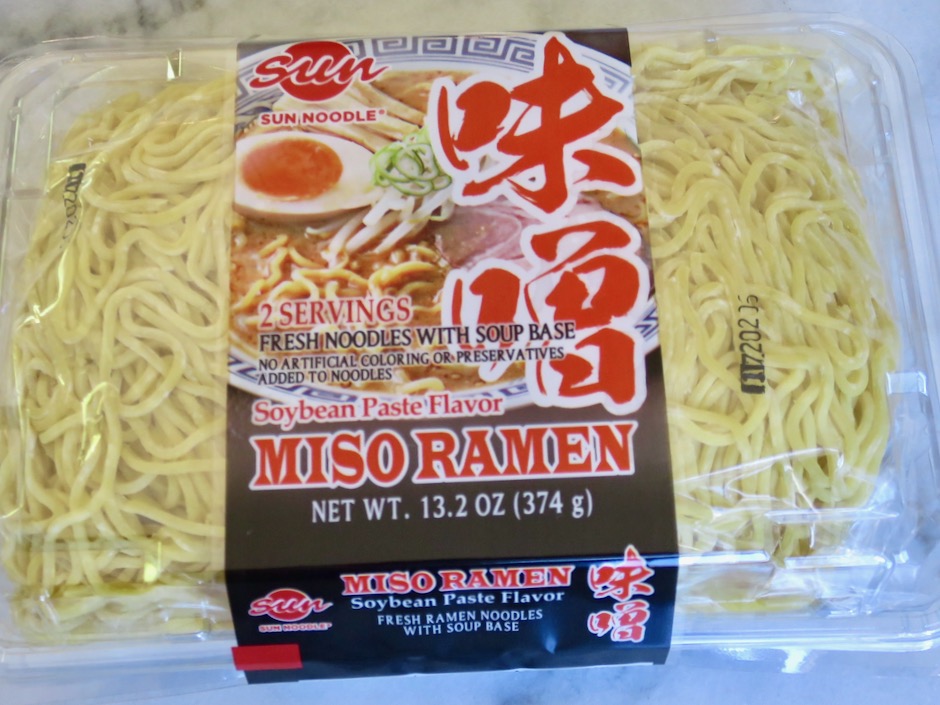
I use fresh Sun Noodle ramen (soup base packets are discarded) that I buy at Island Grocery here on Maui.  I like the texture of the curly noodles and the way the pesto clings to them.  If you don’t have access to fresh ramen by all means use your favorite dried ramen or pasta.

Fresh Ramen

This delicious pesto ramen is definitely going into my regular rotation.  We made a frittata the following morning with the leftovers and it was so delicious.

Pistachio Pesto Ramen

Pistachio Pesto Ramen
 
Adapted from LA Times
Author:
Serves: 2
Ingredients
  • ¼ cup roasted and salted shelled pistachios, plus more for serving
  • 1 small garlic clove, smashed and peeled
  • 1 cup tightly packed basil leaves
  • ¼ cup extra virgin olive oil
  • 1 lemon: 2 tablespoons lemon juice + zest of half the lemon and a few wedges for serving
  • 2 packages fresh ramen (about 10-13 ounces)
Preparation
  1. Bring a large pot of salted water to a boil. Meanwhile, combine the pistachios, garlic and basil in a food processor. Pulse until very finely chopped, scraping down the bowl as needed. Transfer to a large bowl. Stir in the olive oil, lemon zest, and 2 tablespoons of lemon juice (use 1½ tablespoons for less tangy sauce). Mix well and season with salt and freshly ground black pepper.
  2. Cook the ramen according to directions on the package, discarding any seasoning packets that may have come with the ramen. Drain noodles in a colander and rinse under cool water just until noodles are warm. Shake the colander to remove excess water. Transfer noodles to bowl with pesto.
  3. Toss until the noodles are evenly coated with the pesto. Taste and add more lemon juice, oil and salt if needed. Divide among serving dishes. Top with additional chopped pistachios and lemon slices (optional)


Dinner, Japanese, Lactose Free, Pasta, Recipes, Vegan, Vegetarian

Cold Miso Sesame Ramen

August 13, 2020

Cold Miso Sesame Ramen

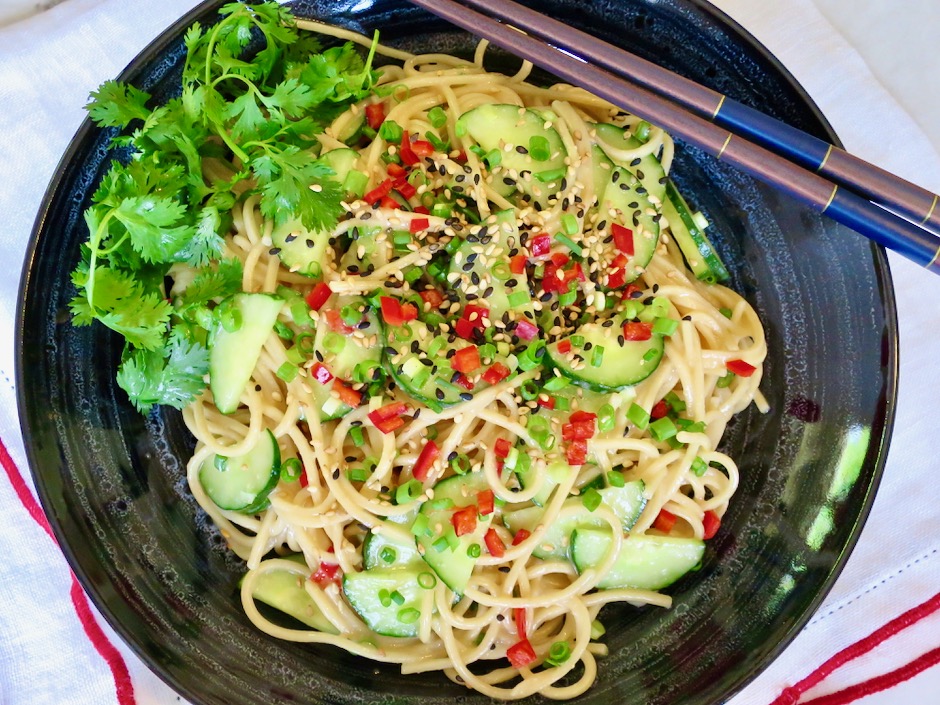
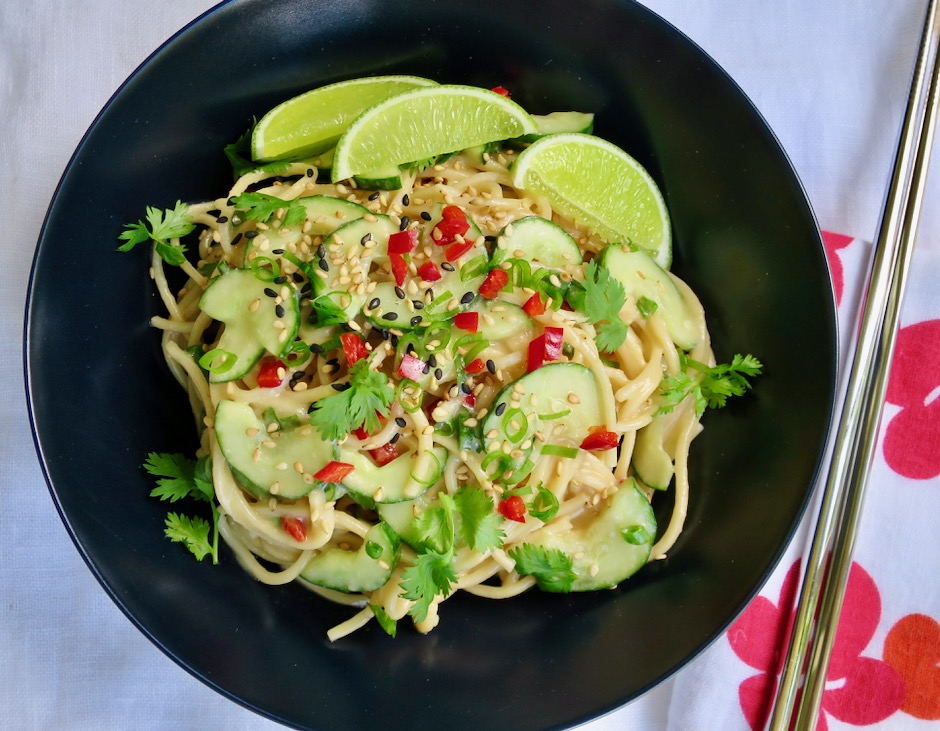
Cold noodle dishes have always been a favorite of mine, especially during the summer when it is blazing hot.  Dressings and sauces made with light miso are always so tasty.  I enjoy its mild and slightly sweet flavor. This is such an easy meal to throw together if you are short on time.  You can make it in advance, just leave the dressing out until you are ready to serve it.

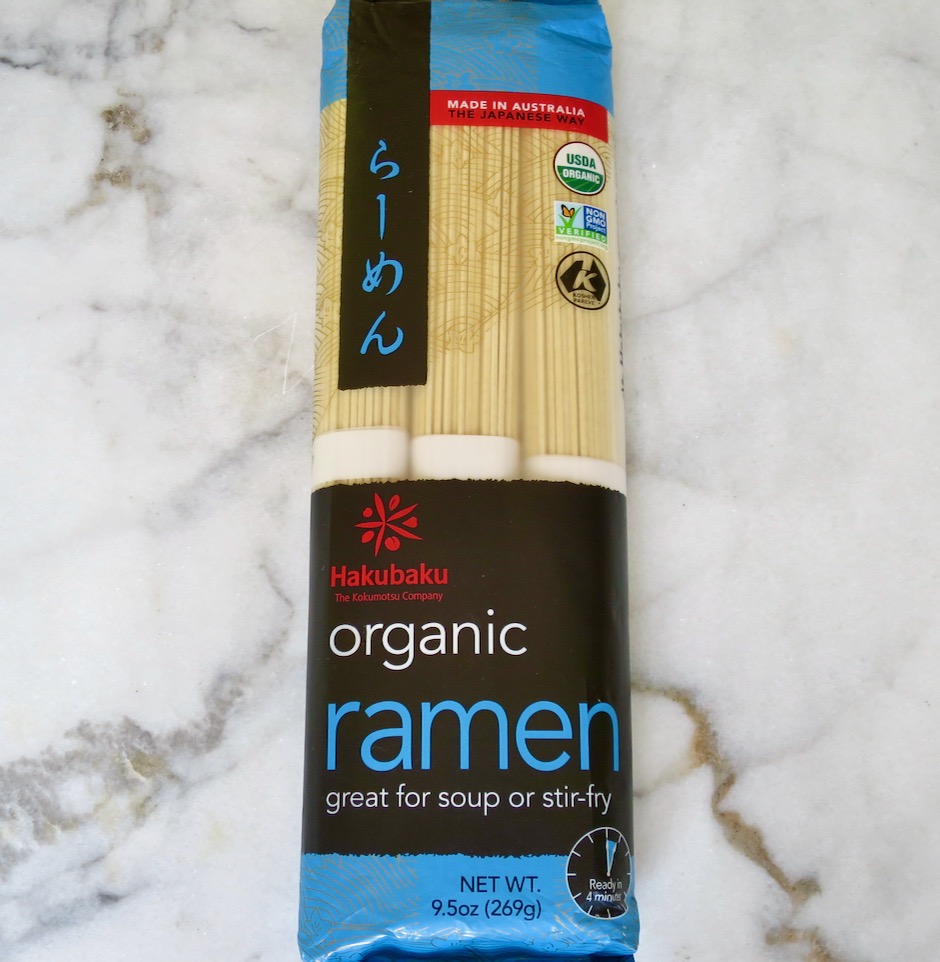
Hakubaku Ramen

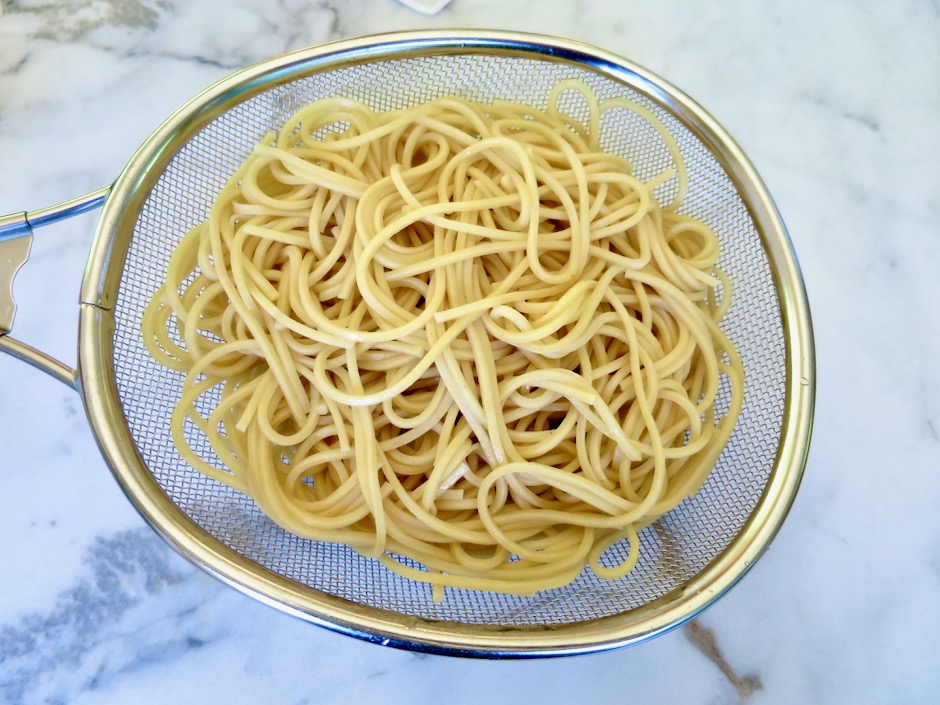
Hakubaku dried ramen is a good choice if you can find it.  Otherwise use your favorite ramen or substitute it with thin spaghetti.

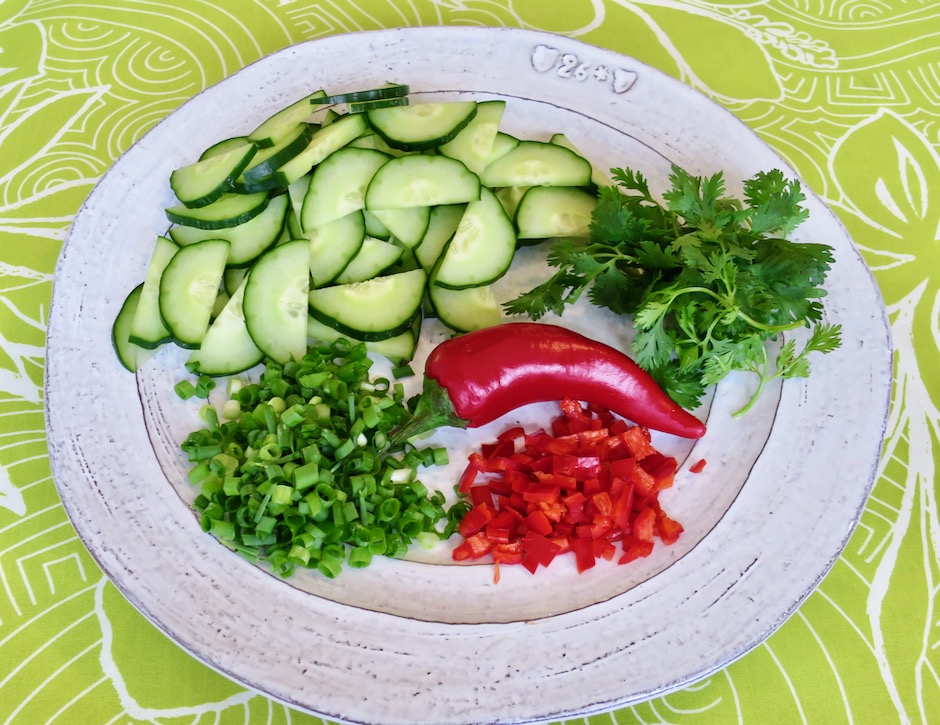
Cucumber, Cilantro, Fresno Pepper, Green Onions

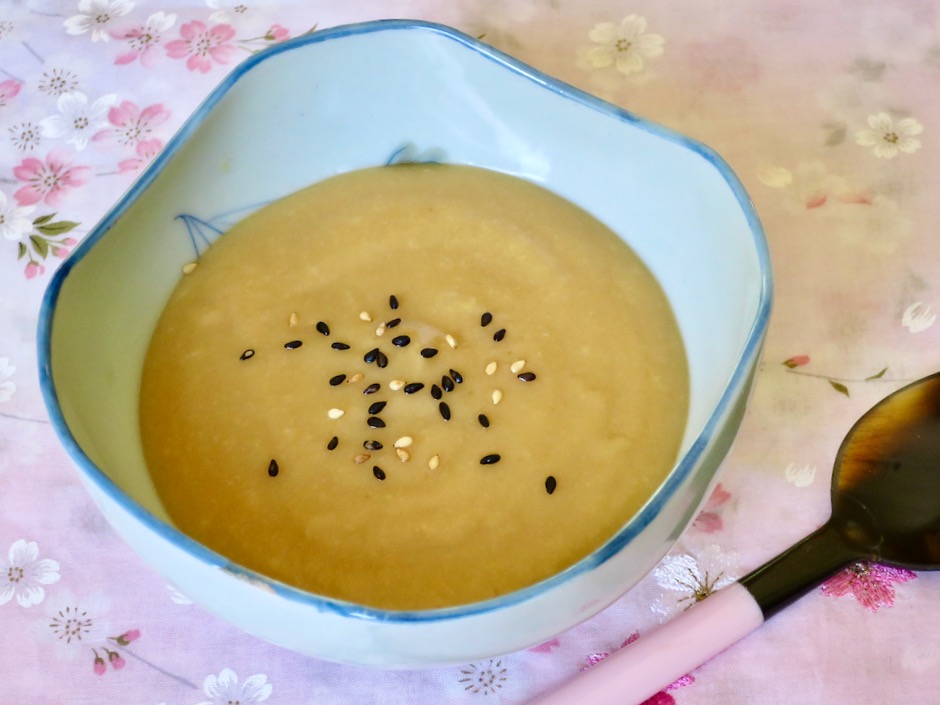
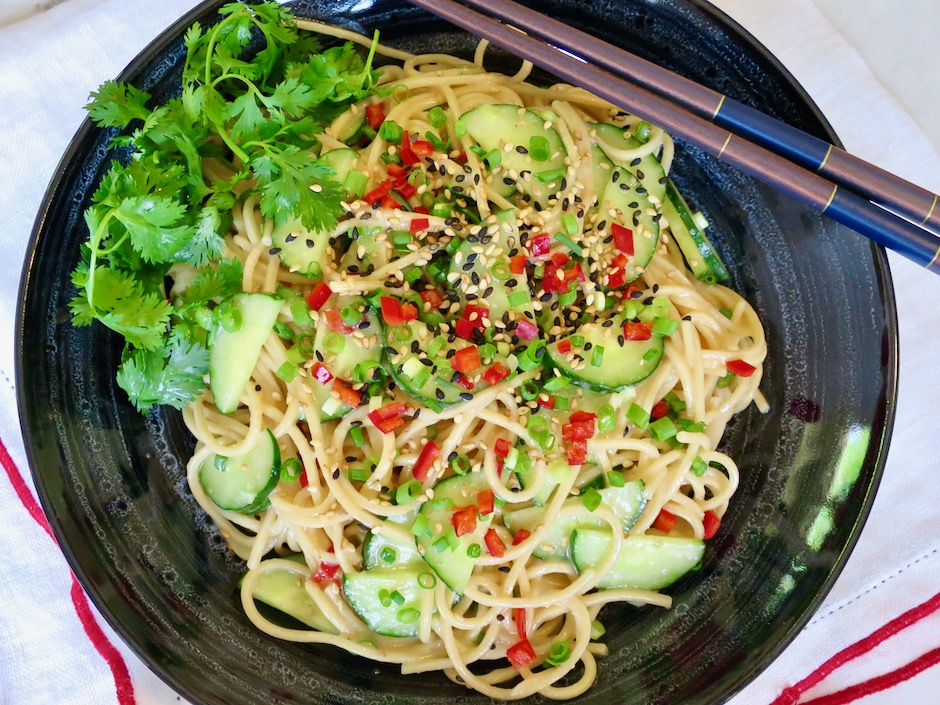
With just a handful of ingredients, you can quickly put together a satisfying lunch.  The Fresno pepper adds a little bit of heat, and a beautiful firecracker red color.

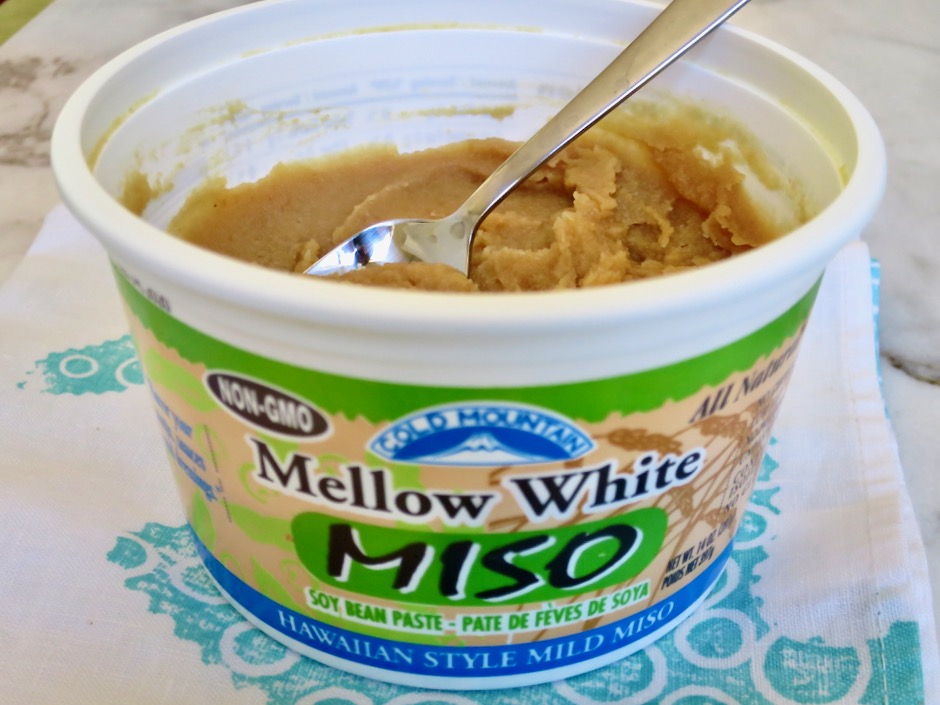
Miso Dressing

The miso dressing is also excellent tossed with crispy greens such as iceberg lettuce, watercress, red and green cabbage, carrots, cucumbers, and radishes.

Hakubaku Ramen

For its ease and flavor, this has become a new favorite dish of mine no matter what time of the year it may be.

Cold Miso Sesame Ramen

Cold Miso Sesame Ramen
 
Adapted from Bon Appetit magazine
Author:
Serves: 2
Ingredients
  • 1 small Fresno chile
  • 2 mini Japanese cucumbers
  • 2 - 4 green onions
  • cilantro (optional)
  • 2 limes (2 tablespoons + wedges for serving)
  • ¼ cup mild miso
  • 2 teaspoons roasted sesame oil
  • 2 teaspoons light brown sugar
  • 1 small garlic clove, grated
  • 2 tablespoons + 2 teaspoons grapeseed or canola oil
  • 8 ounces dry ramen
  • roasted sesame seeds for serving
  • cilantro sprigs for serving (optional)
Preparation
  1. Heat water for ramen in a large pot. Meanwhile, cut Fresno chile in half lengthwise (I use disposable gloves when handling chile peppers). Remove the ribs and seeds (leave ribs in for spicier flavor). Slice into strips and finely chop.
  2. Cut cucumbers in half lengthwise, then slice crosswise into ¼-inch thick half-moons. Thinly slice green onions.
  3. Cut ½ lime into wedges for serving. Juice the other half along with the second lime into a small dish, until you have 2 tablespoons.
  4. Whisk together 2 tablespoons lime juice, miso, sesame oil, brown sugar and garlic in a small bowl until smooth. Slowly whisk in grapeseed oil until dressing is smooth and thick. Whisk in water 1 tablespoon at a time until dressing is the consistancy of heavy cream (1½ - 2 tablespoons). Set aside.
  5. Cook ramen according to package instructions. Rinse under cold water and drain thoroughly, shaking off any excess water (excess water will dilute the dressing). Transfer noodles to a large bowl and toss with the sauce. Add chile, cucumbers, and green onions. Toss again. Divide noodles among shallow bowls. Top with roasted sesame seeds, sprigs of cilantro if using, and lime wedges.


Beef, Dinner, Japanese, Lactose Free, Recipes, Sauces

Best Teriyaki Meat Sticks

July 31, 2020

Best Teriyaki Meat Sticks

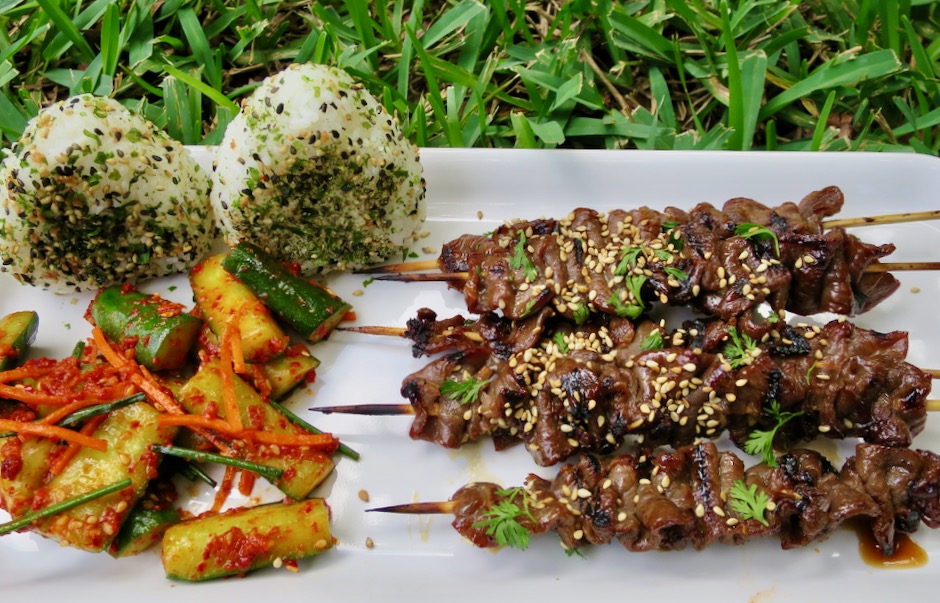
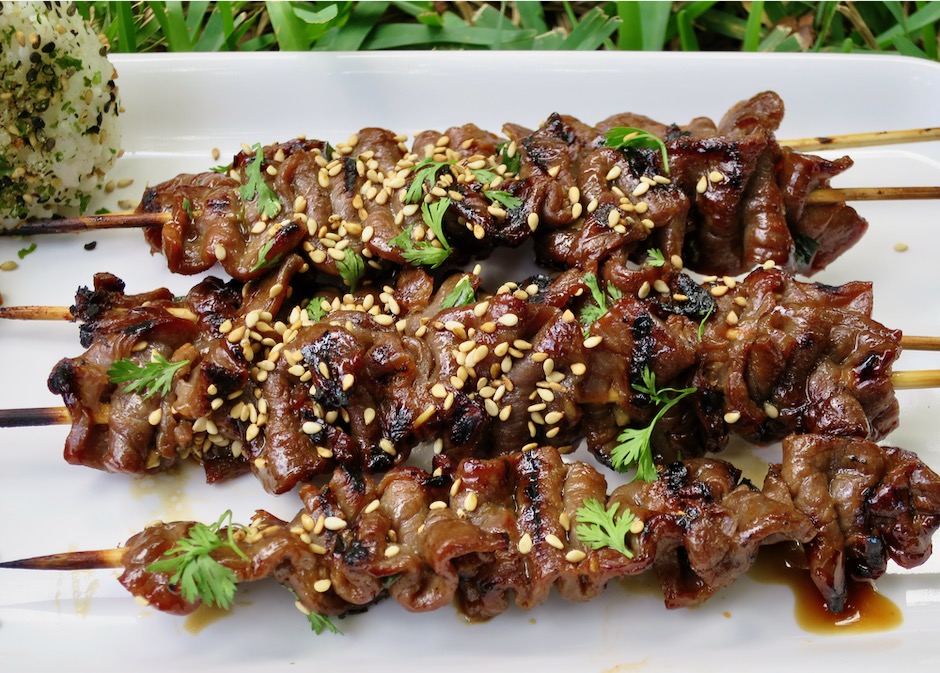
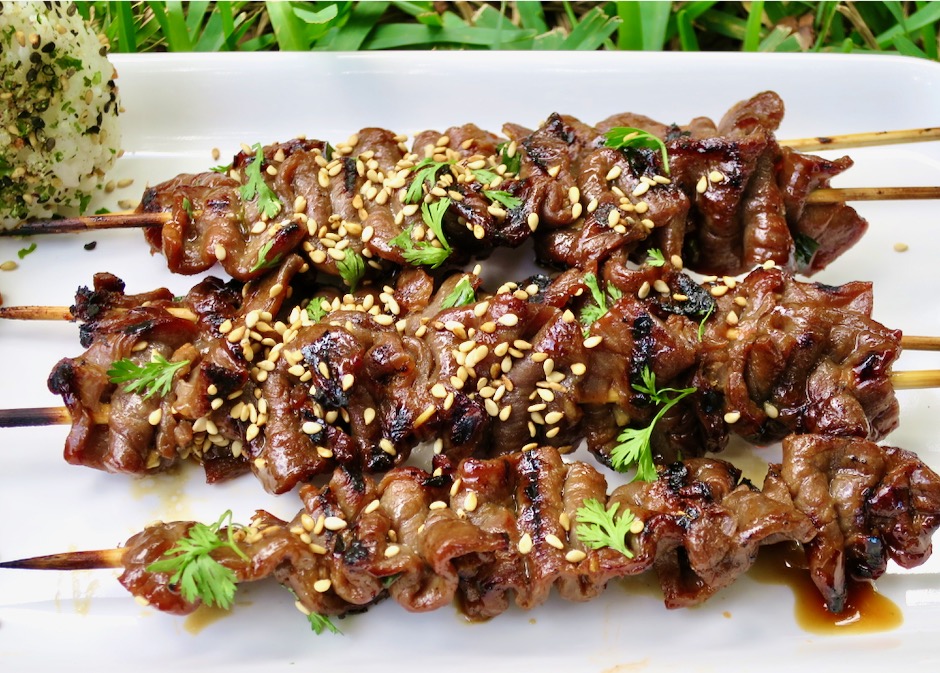
Over the course of a month or so, I have been on a quest to find the best cut of meat for my teriyaki meat sticks.  I first tried ribeye which turned out to be just fine but not exactly what I was hoping for.  The next time I bought thinly sliced “teriyaki style” meat from my local market.  The thin slices of meat caught my attention but as it turned out, they use round steak which is generally quite tough.  I asked the butcher for his suggestion and tri-tip was his recommendation. Stan kindly offered to slice the meat for me so we made a plan.  I would pick up the meat the following day so he would have the chance to freeze the meat for a bit which makes it much easier to slice in to thin strips.

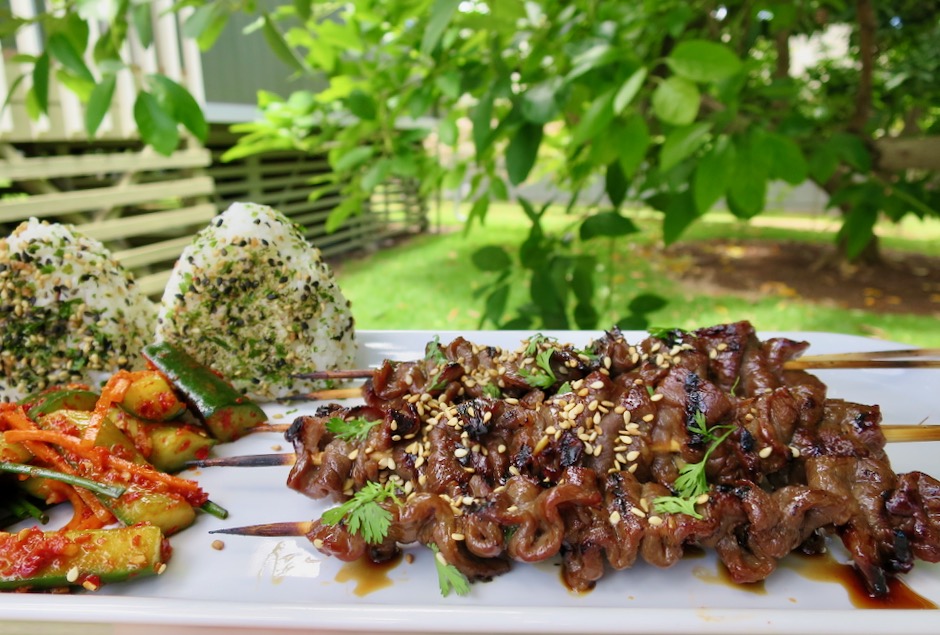
Best Teriyaki Meat Sticks with Oi Kimchi & Onigiri

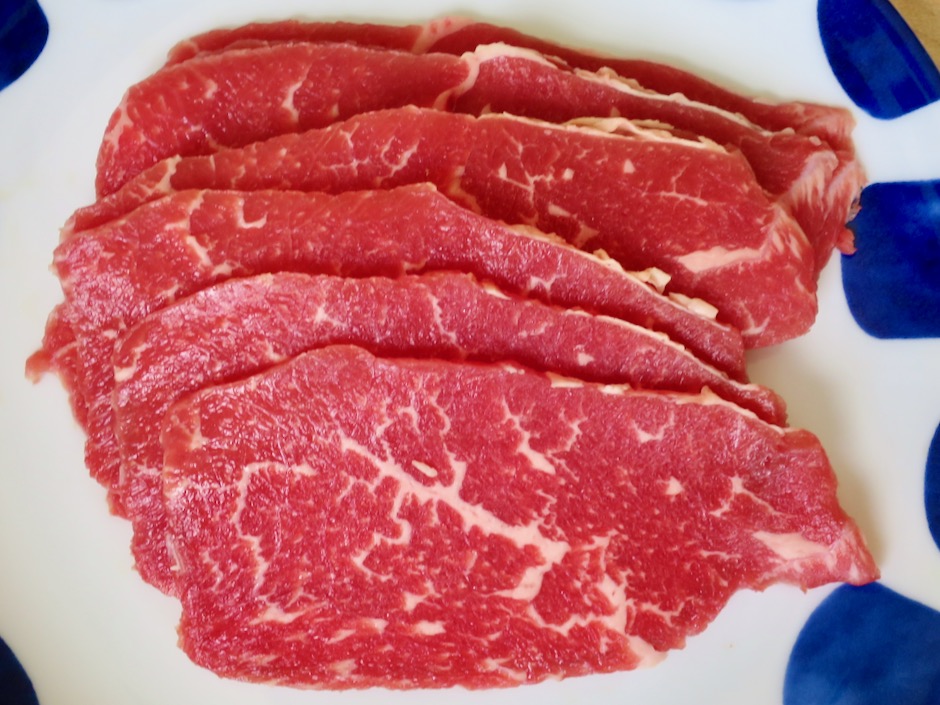
Tri-Tip

Stan was absolutely correct.  The trip-tip was tender and flavorful.  I appreciated that he offered to slice the meat for me which saved me some time.  It’s fairly easy to slice the meat at home once you freeze it for about an hour to firm up.  All you need is a steady hand and a good knife.

Teriyaki Sauce

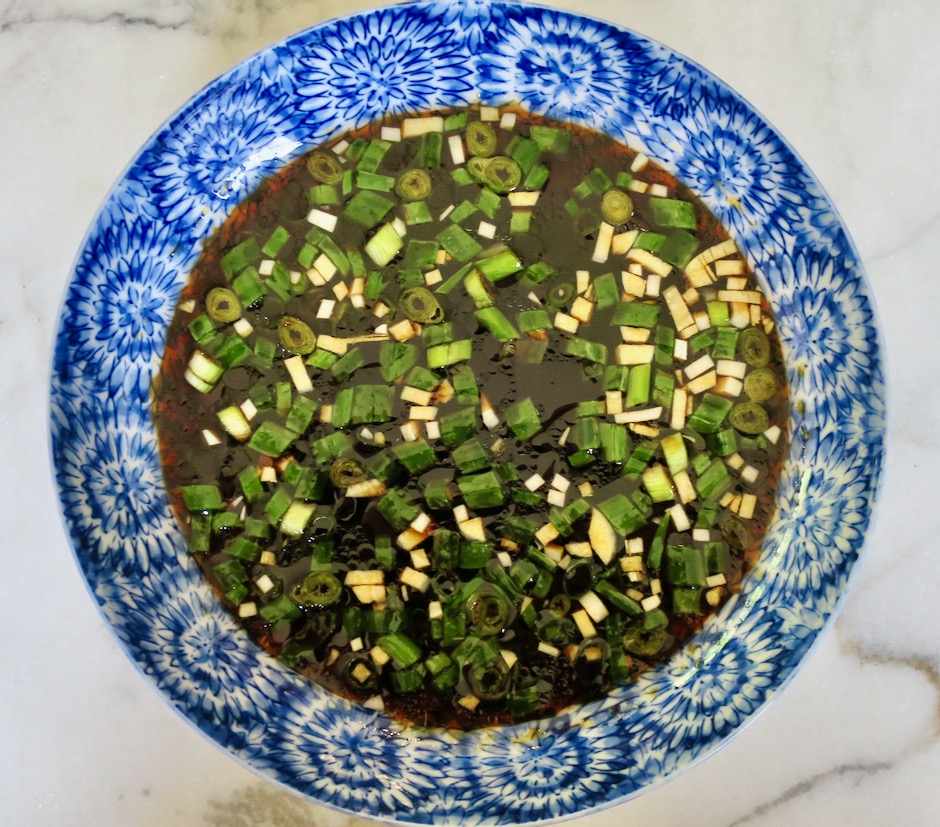
The teriyaki sauce smells divine.  The secret ingredient in the sauce is Sherry.  Look for a decent dry or medium Sherry (from Spain=the real deal) if possible.

Medium Sherry

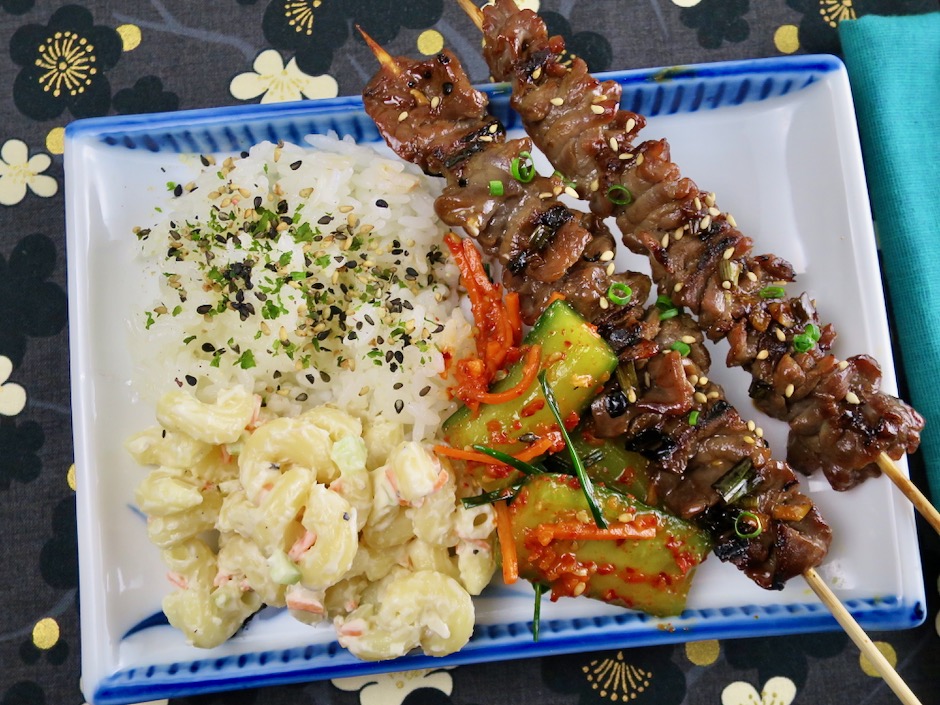
Best Teriyaki Meat Sticks with Oi Kimchi, Mac Salad, Rice

Leftover meat sticks makes a tasty lunch the following day.  I wrap them in foil and heat in the toaster oven for a 5 minutes. Serve with kimchi and mac salad.

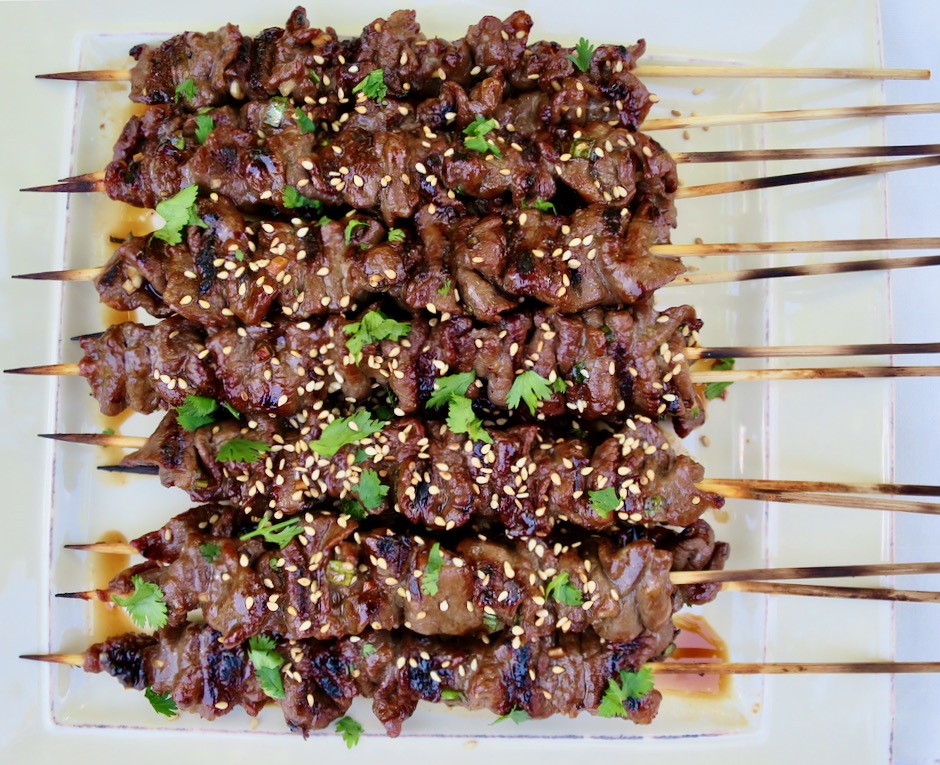
Best Teriyaki Meat Sticks

Best Teriyaki Meat Sticks

Best Teriyaki Meat Sticks
 
Author:
Serves: 14 meat sticks
Ingredients
  • 1 pound tri-tip, sliced into strips that are ⅛-inch thick and 1-inch wide
  • 14 bamboo skewers
  • Teriyaki Sauce
  • ¼ cup granulated sugar
  • ¼ cup + 1 tablespoon soy sauce (Kikkoman recommended)
  • 2 tablespoons sherry (Hartley & Gibson's Amontillado Medium Sherry recommended)
  • 1 tablespoon + 1 teaspoon canola oil
  • 2 medium garlic cloves finely chopped
  • ¼ cup thinly sliced green onions
  • roasted sesame seeds to finish (optional)
  • Note: If you want extra sauce to drizzle over the cooked meat sticks increase recipe by half. Use ½ cup + 3 tablespoons of sauce to marinate meat strips. Reduce the remainder of the sauce in a small saucepan over very low heat (or sauce will burn) until slightly syrupy, about 5 minutes or so. Brush or drizzle the sauce over the cooked meat sticks before serving.
Preparation
  1. Soak 14 bamboo skewers in water while you prepare the sauce and meat sticks
  2. Combine sugar, soy sauce and sherry in a medium bowl, stirring until the sugar has dissolved. Mix in oil, garlic and green onions. Set aside.
  3. Slice tri-tip in to ⅛-inch thick and 1-inch wide strips. Place in medium-sized bowl and pour in teriyaki sauce. Toss meat in sauce, cover and refrigerate for 1 hour (no longer or meat will be too salty), turning meat in marinade occasionally. Thread beef strips weaving back and forth, onto soaked bamboo skewers.
  4. Heat gas or charcoal grill to medium-high to high heat. Clean and oil grill grates. Place meat sticks on grates and cook, turning several times to ensure they are nicely charred. Cooking time is about 3-4 minutes total on a hot grill.


Dinner, Fish, Japanese, Lactose Free, Pasta, Recipes

Japanese-Style Tuna Udon Noodle Salad

July 10, 2020

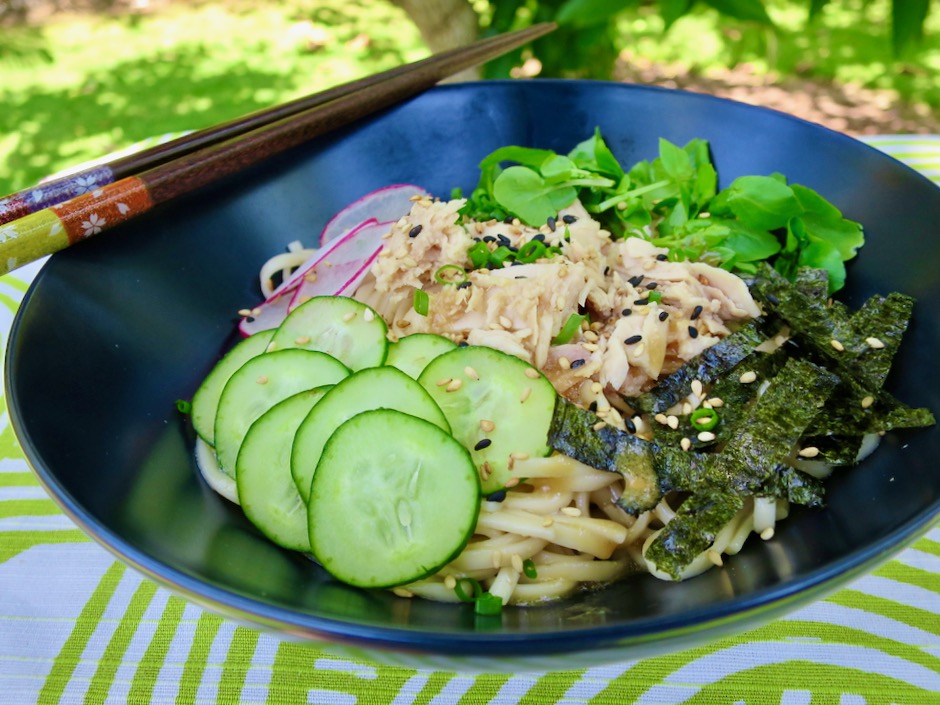
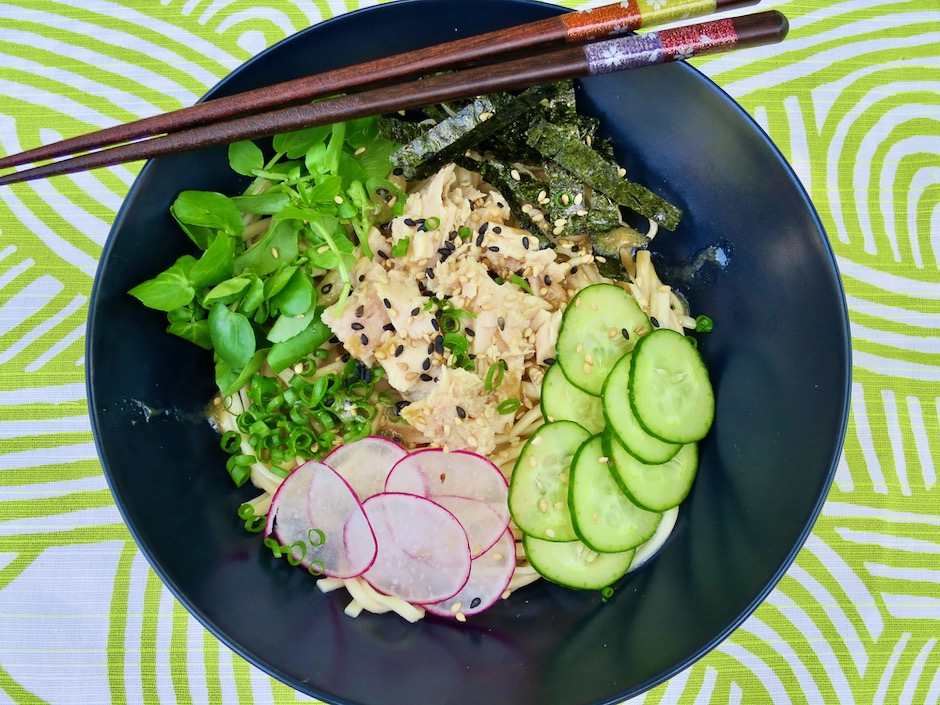
Japanese-Style Tuna Udon Noodle Salad

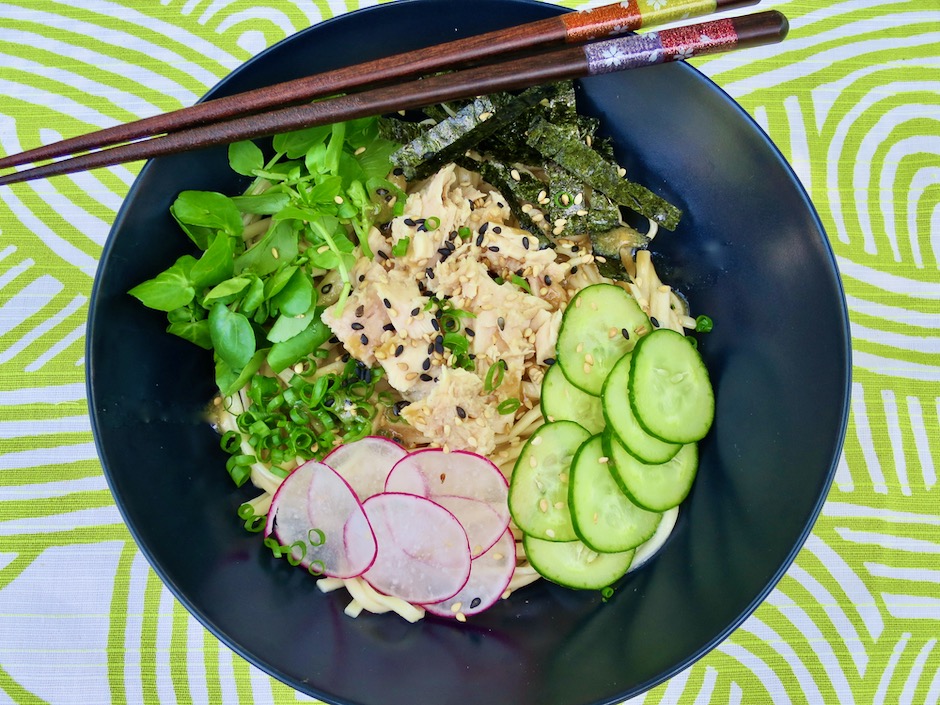
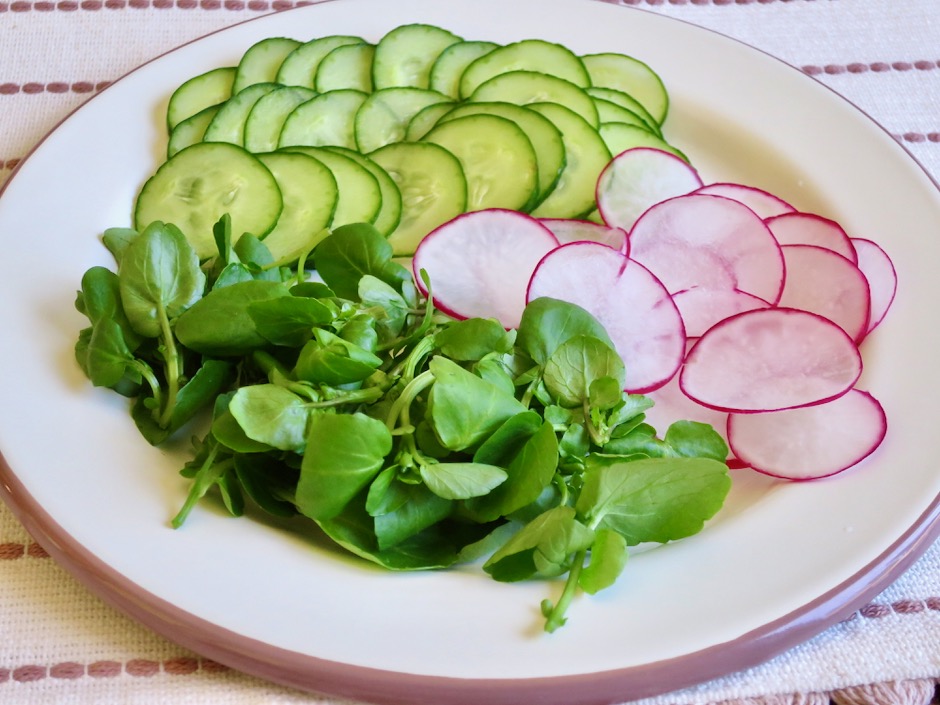
If you’re looking for a tasty summer dish that isn’t time consuming, this tuna udon salad should be at the top of your list.  Besides being absolutely delicious, it is a beautiful bowl filled with udon noodles, rich and flavorful tuna in olive oil, crisp cucumbers, radishes and watercress.  Feel free to come up with your own version using different vegetables such as shredded iceberg lettuce or red cabbage, julienned carrots, bean sprouts and so on.  Ever since I spotted this recipe on Carolyn’s Food Gal blog I knew it was something I would thoroughly enjoy.  I tweaked the recipe a bit by omitting the wakame which I have never been a big fan of, but use it if you fancy it.

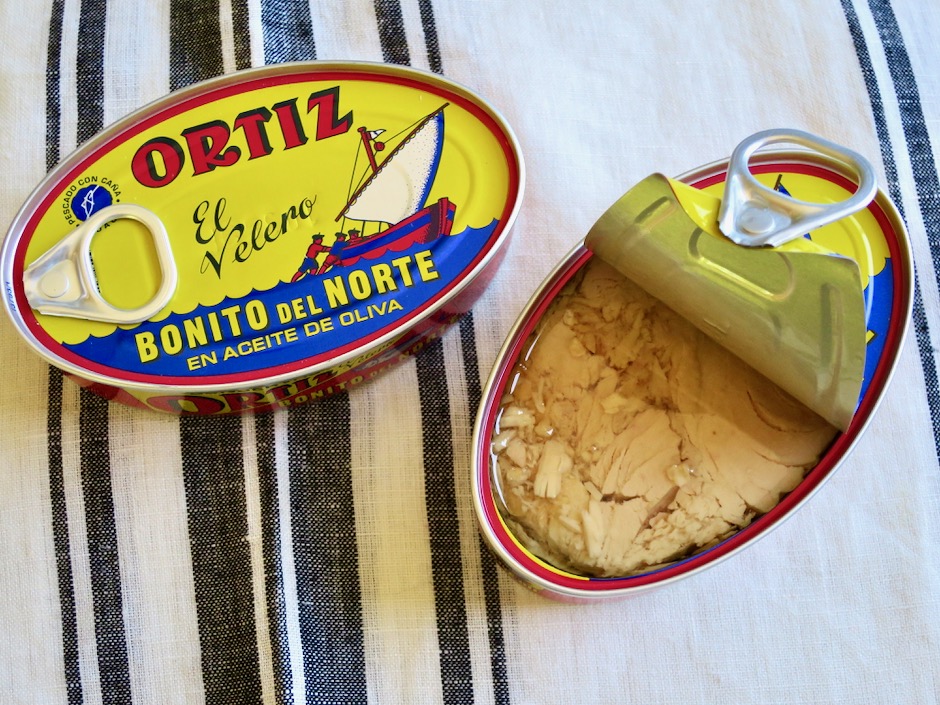
Ortiz Tuna in Olive Oil

Be sure to use a good canned tuna in olive oil for this dish.  Tuna in olive oil is silky, tender and so flavorful. I recently read an article in Cook’s Illustrated that rated canned tuna in olive oil.  Ortiz took top honors as did Tonnino (6.7 ounce jar).  But these brands may be difficult to find.  However, they also recommended a few brands that are more widely available; Starkist Selects solid yellowfin tuna in extra virgin olive and Wild Planet albacore in extra virgin olive oil.

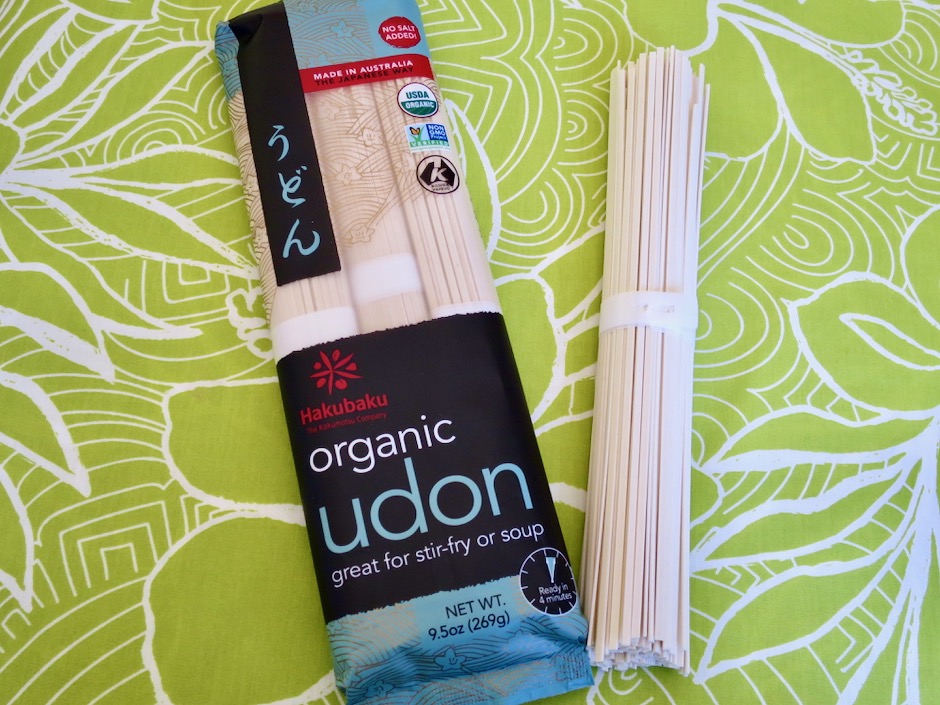
Hakubaku Organic Udon Noodles

Japanese Cucumber, Red Radish, Watercress

I sliced the vegetables very thin so they melded nicely with the silky noodles and buttery tuna.  Placing the sliced radishes in an ice water bath for a few minutes helps to crisp them up.

Cold Mountain Mellow White Miso Paste

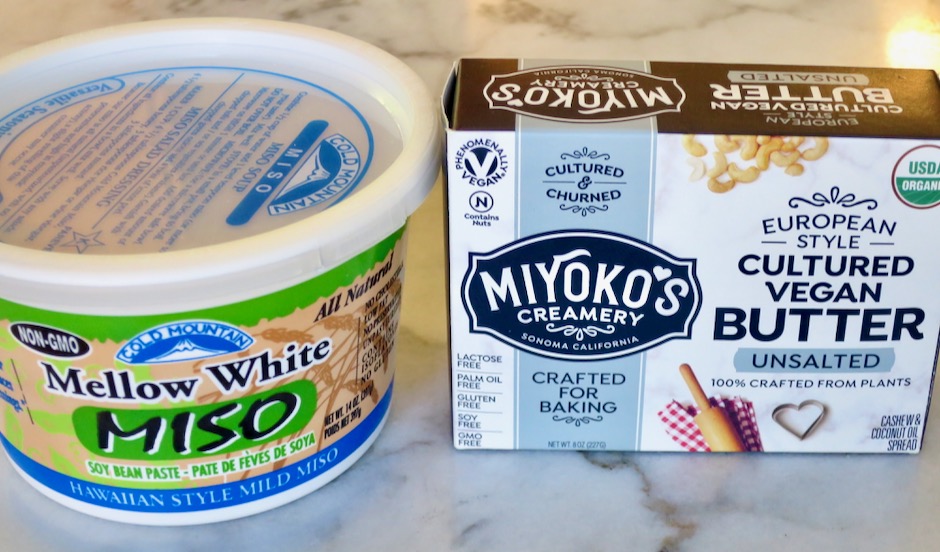
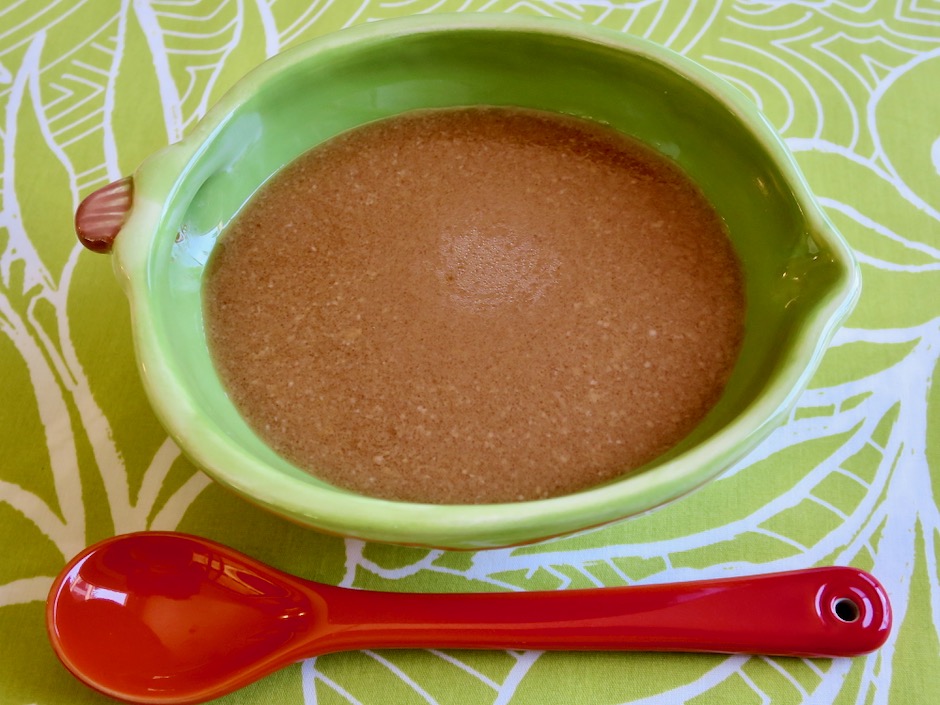
There are so many miso options these days, I always have a few tubs of them on hand.  I am quite fond of Cold Mountain’s mellow white miso. It lends the perfect flavor to many dishes, including the dressing for this recipe.

Japanese-Style Tuna Udon Noodle Salad Dressing

The dressing for this tuna noodle salad is very simple to make.  Whisk the ingredients in a bowl and you’re all set.  The dressing would also be excellent for any crunchy salad such as iceberg lettuce, cucumbers, carrots, red and green cabbage.

Japanese-Style Tuna Udon Noodle Salad

Japanese-Style Tuna Udon Noodle Salad
 
Author:
Serves: 2
Ingredients
  • Salad:
  • 6 ounces dried udon noodles (Hakubaku is a good choice)
  • 1 small Japanese cucumber, thinly sliced
  • 1 medium red radish, thinly sliced and soaked in an ice water bath for 10 minutes
  • handful of watercress, chopped (optional)
  • 2 green onions, thinly sliced
  • nori, cut into thin strips
  • 1 can tuna in olive oil, drained slightly (I used Ortiz)
  • 1 teaspoon furikake or roasted sesame seeds
  • Dressing:
  • 2 tablespoons roasted sesame oil
  • 1 tablespoon canola oil
  • 2 tablespoons unseasoned rice vinegar
  • 1 tablespoon mirin
  • 1 tablespoon soy sauce (Kikkoman recommended)
  • 2 tablespoons mellow miso paste
Preparation
  1. Bring a large pot of water to a boil over high heat. Add the udon noodles and cook according to package instructions. Pour the noodles into a colander and rinse under cold water to stop the cooking. Drain very well. Set aside.
  2. In a small bowl whisk together all of the dressing ingredients. Set aside.
  3. Transfer the drained noodles to large bowl (it's best if the noodles are free of any water to ensure the dressing doesn't get diluted). Add some of the dressing to the noodles, tossing to coat them thoroughly. Divide the noodles among 2 bowls (shallow rather than deep). Arrange the cucumbers, radishes, watercress, green onions and nori around the perimeter of each bowl. Place the tuna in the center of the bowls, sprinkle with furikake or sesame seeds. Serve extra dressing on the side.


Breakfast, Dinner, Eggs, Japanese, Korean, Lactose Free, Recipes, Rice Dishes

Instant Ramen Fried Rice

May 31, 2020

Ramen Fried Rice with Sunny Side Up Egg

I came across this recipe on the always interesting Serious Eats blog.  It seems that instant ramen fried rice is the latest food craze in Japan.  Everyone there has instant ramen in their cupboards, and so do many of us.  This dish is inexpensive, perfect for single servings, and most of all so tasty.

Bacon Spam & Kimchi Ramen

I added some Bacon Spam to my ramen fried rice for an extra umami boost but you may omit it to make things simpler and quicker. For just one serving, use your favorite flavor of Cup Noodles instant ramen.  I used Kimchi ramen since it was what I had available and it was perfect for the two of us.

Kimchi Ramen

Unlike many other ramen recipes that suggest you throw out the flavor packet and make your own soup, you’ll want to keep it this time.  This is suppose to be a no fuss meal after all.

Ramen Noodles

Crush the noodles into small pieces before adding the soup base and boiling water.

Crushed Ramen Noodles

Crushed Ramen Noodles with Soup Base

Pour just enough boiling water over the noodles and soup base to rehydrate the noodles.  You don’t want to use too much water which would lead to soggy fried rice. Give the noodles and soup base a quick stir, cover and let sit for a few minutes.

Ramen Noodles & Soup Base Rehydrating

Bacon Spam

With Spam (the unofficial state food of Hawaii), there are two options: either you like it (add it) or you loathe it (leave it out).

Ramen Fried Rice with Bacon Spam

Almost any type of rice will work in this recipe. I used 2 cups of cooked short grain brown rice.

Ramen Fried Rice with Bacon Spam

Since eggs are one of my favorite foods, I couldn’t resist frying up a couple of sunny side up eggs to eat with our ramen fried rice.  A good drizzle of sriracha sauce is the ideal accompaniment for this satisfying meal. Oishii!

Ramen Fried Rice with Sunny Side Up Egg

Ramen Fried Rice
 
Adapted from Serious Eats blog
Author:
Serves: 2
Ingredients
  • 1 package (about 4.25 ounces) kimchi ramen
  • 2 cups cooked short grain brown rice
  • 2 eggs, lightly beaten
  • 2 pieces Bacon Spam, diced small and fried until crisp (optional)
  • 2 sunny side up eggs (optional)
  • cilantro for sprinkling over fried rice (optional)
  • Sriracha (optional)
Preparation
  1. Crush ramen noodles and place in a bowl with soup base. Pour boiling water over noodles (just enough to barely cover the noodles) and give them a quick stir. Cover and rehydrate noodles while you continue with the recipe.
  2. Heat 2 tablespoons canola oil in a large (I use 11") non-stick skillet over medium-high heat. Once the oil is shimmering, add beaten eggs and scramble just until barely set. Add rice to the pan and heat through, breaking up any large lumps, about 1-2 minutes. Add cooked Spam cubes if using.
  3. Add noodles along with any liquid (you shouldn't have too much liquid left after rehydrating the ramen) to the rice and stir constantly until excess moisture has cooked off. Taste and season with salt if needed. Press the rice mixture in an even layer on the bottom and up the sides of the pan to allow crispy bits to form. Serve ramen fried rice with sunny side up eggs, cilantro, soy sauce and sriracha.


Dinner, Japanese, Lactose Free, Recipes, Rice Dishes, Side Dishes, Vegan, Vegetarian

Brown Rice with Edamame

October 19, 2019

Brown Rice with Edamame

If I had to compile a list of my favorite foods, rice (and eggs) would be at the top.  This humble grain is simple to prepare, can be an accompaniment to a number of dishes including tempura or seared ahi, or it can be turned in to something show stopping like this dish.  Here is a healthy and flavorful rice dish that is a snap to make.  The edamame mix beautifully with the cooked brown rice and sesame seeds.

Frozen Edamame

Brown Rice

Brown rice can take a while to cook so plan ahead.  You can make this in the morning, cover and refrigerate then heat slightly before serving.  This dish is best served at room temperature.

Brown Rice with Edamame

This rice goes well with orange chicken, grilled teriyaki salmon, and all types of tofu dishes.  I can be thoroughly content eating this rice with a side of kimchi or Japanese pickles.

Brown Rice with Edamame

Brown Rice with Edamame
 
Adapted from Martha Stewart's recipe
Author:
Serves: 2 - 4
Ingredients
  • 1 cup medium grain brown rice, cooked according to package directions
  • 1 cup frozen shelled edamame
  • ½ teaspoon sugar
  • 1 tablespoon fresh lime juice
  • 1 tablespoon unseasoned rice vinegar
  • 1 teaspoon sesame oil
  • kosher salt
  • 2 scallions thinly sliced on the diagonal
  • black roasted sesame seeds
Preparation
  1. Cook rice in a rice cooker or on the stovetop according to package directions.
  2. Cook frozen edamame in a small pot of boiling water for 4-5 minutes. Drain well.
  3. In a small bowl, dissolve sugar in lime juice and rice vinegar. Add sesame oil and stir to combine. Set aside.
  4. Transfer rice to a medium bowl. Fluff rice with a fork. Sprinkle ¼ teaspoon of kosher salt and stir into the rice . Add edamame, dressing and sesame seeds. Stir well to combine the flavors, adding more salt to taste. Sprinkle scallions over the rice before serving.


Follow

Get every new post delivered to your Inbox

Join other followers: