Browsing Category

Japanese

Appetizers, Dinner, Eggs, Japanese, Lactose Free, Recipes, Side Dishes

Momofuku’s Soy Sauce Eggs

November 26, 2023

One thing is for sure, I will never get bored with eating eggs. The humble egg is versatile, nutritious, and so tasty. One of my favorite egg preparations is this easy soy sauce recipe. They can be eaten as a snack, in ramen, on rice, on toast with smashed avocado or in a salad. Marinating eggs in a simple sauce for just a few hours transforms them into a delectable treat.

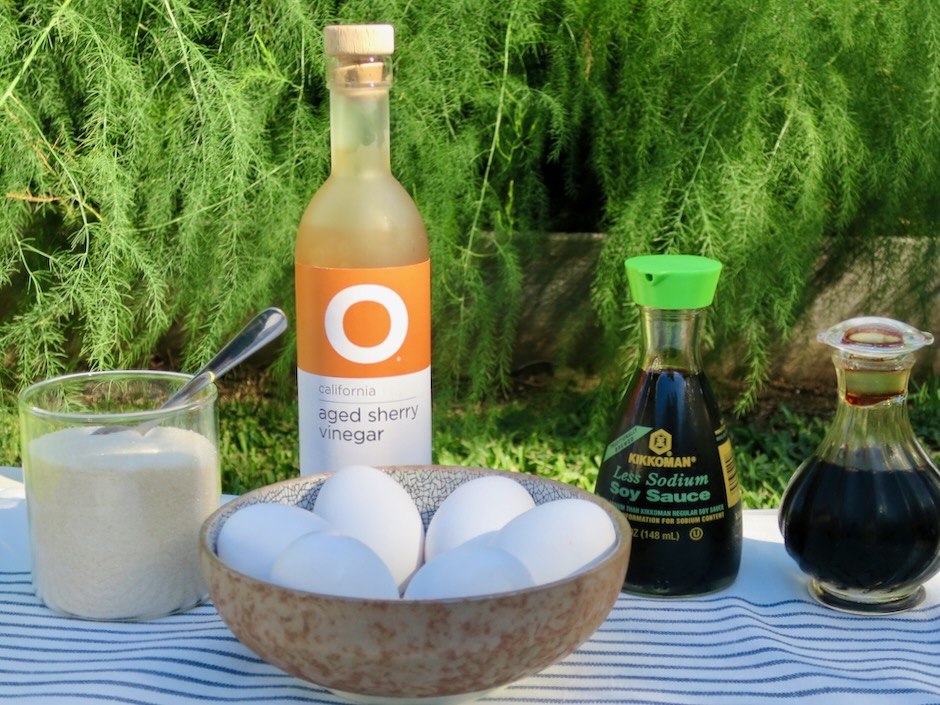
Momofuku’s soy sauce egg recipe calls for sherry vinegar which has a smooth and toasty flavor. A reliable brand is O California which can be found at Safeway and Whole Foods here on Maui. Vinegar lasts more or less indefinitely so it is a good investment. If you are unable to locate sherry vinegar you can substitute it with unseasoned rice vinegar.

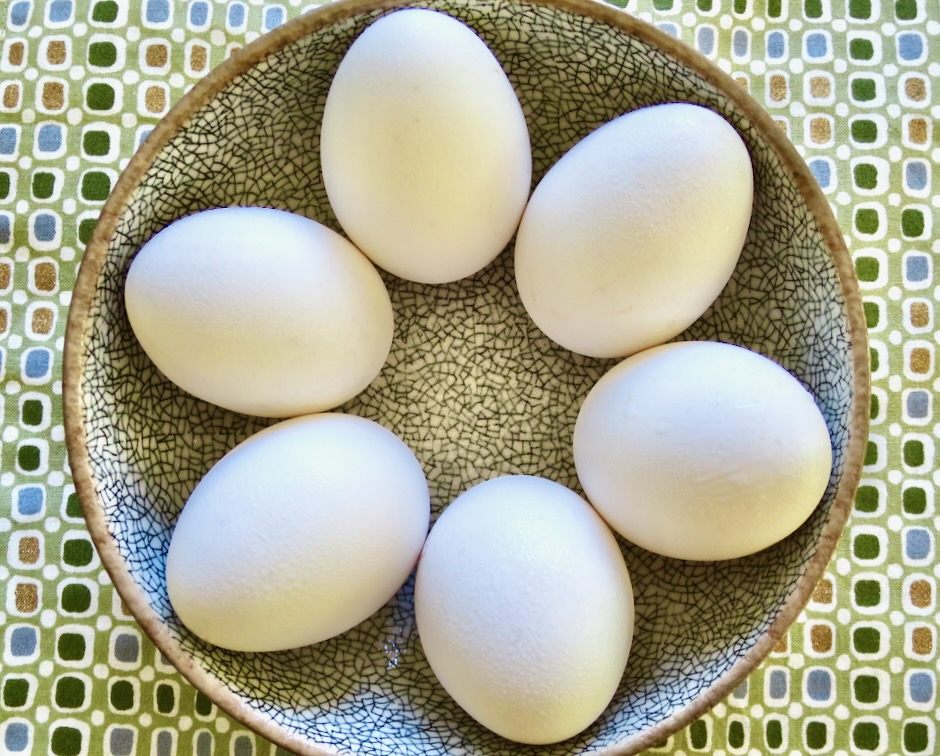
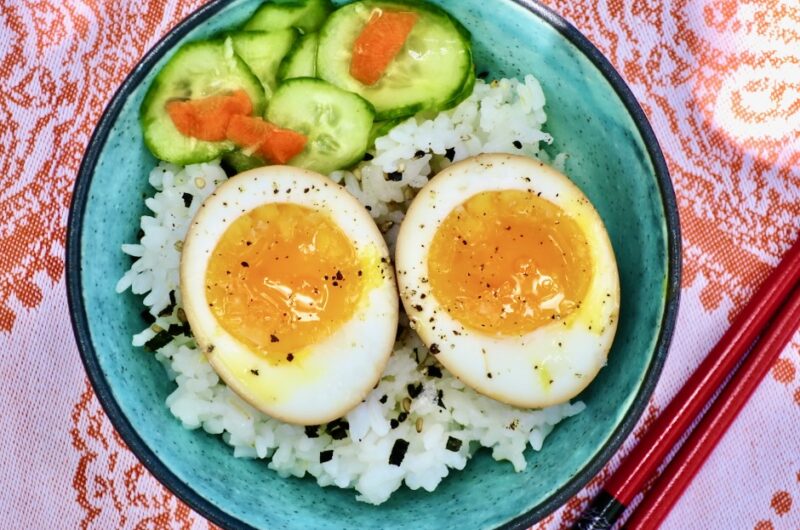
Egg yolks vary in color depending on the chicken’s diet. According to an article from America’s Test Kitchen, a paler yolk has the same nutritional value as one with a darker color. With that being said, I’m always delighted when I crack an egg open that has a vibrant yellow-orange color. For soy sauce eggs, you definitely want yolks with a deeper color. Ka Lei Eggs (Hawaii) are a good choice.

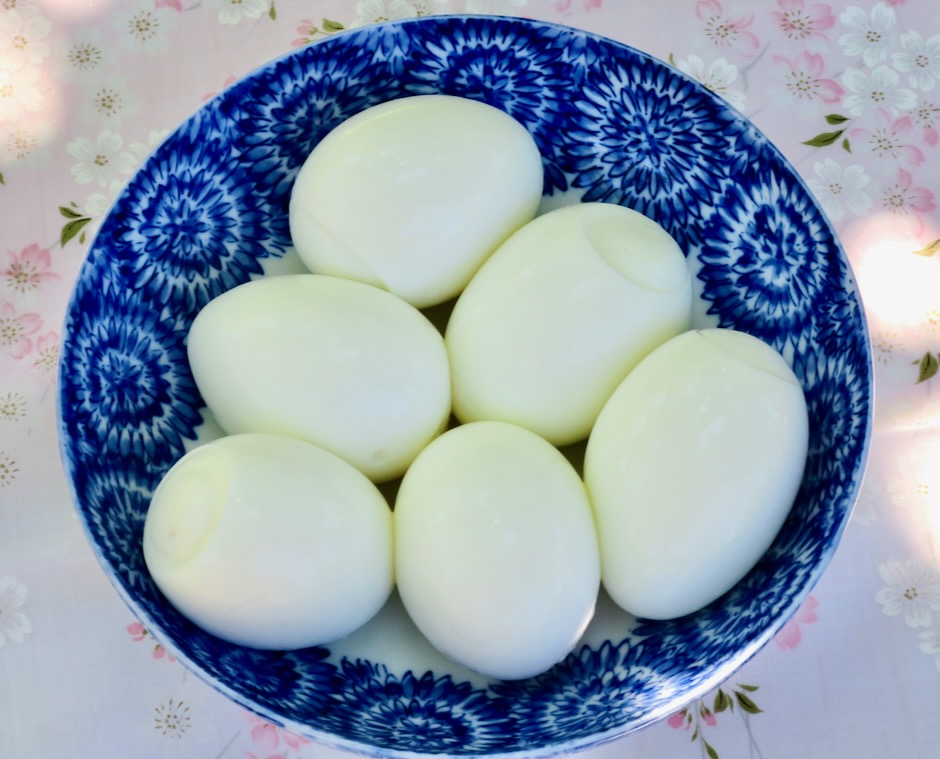
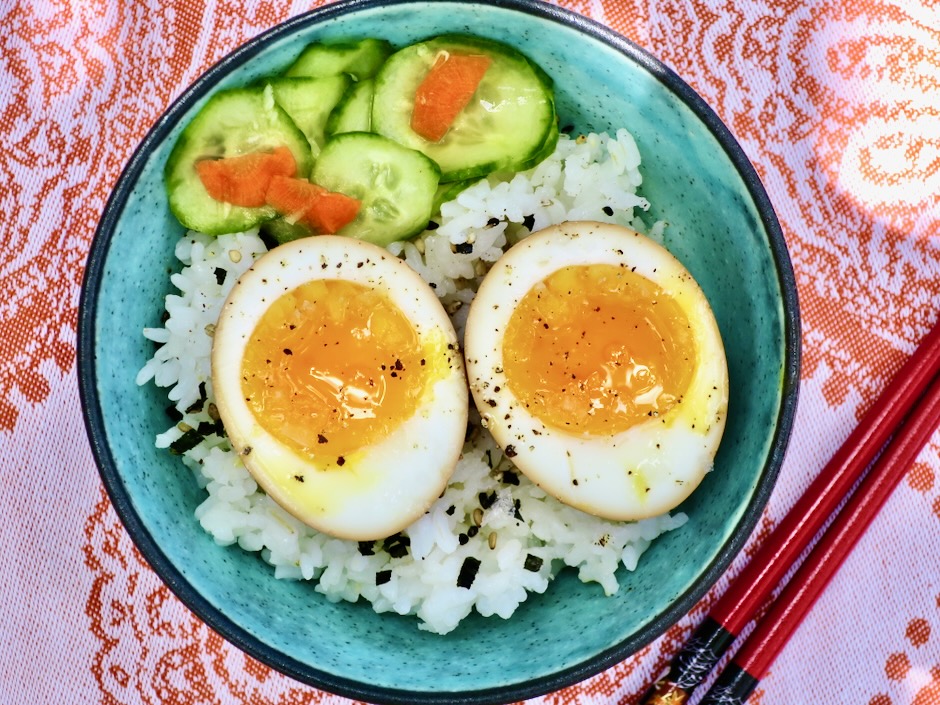
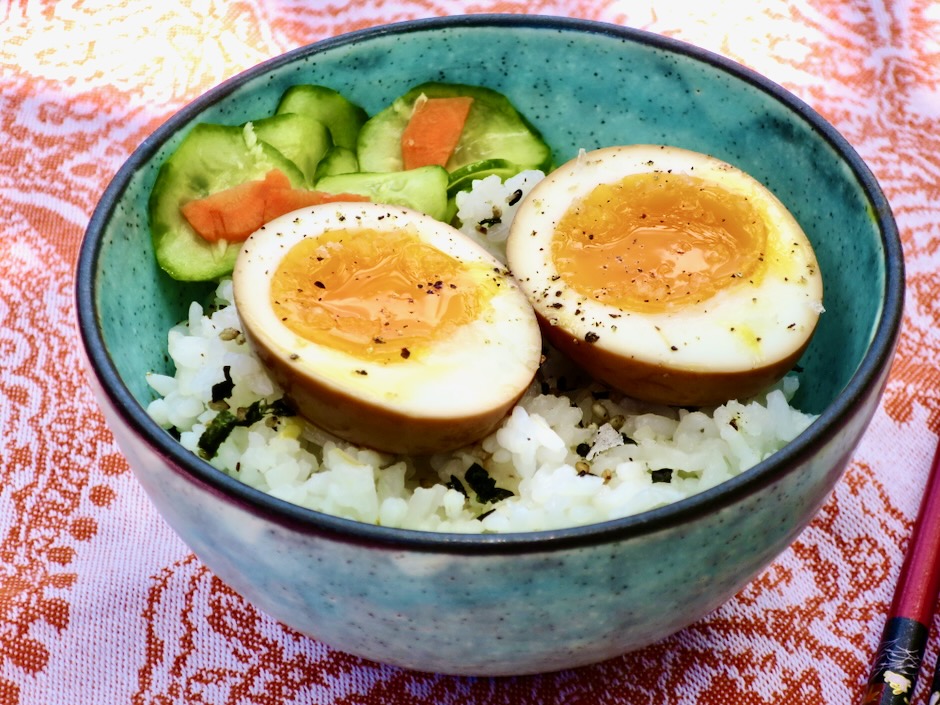
You’ll want to have a timer handy when boiling the eggs. To ensure your eggs have that velvety, jammy texture they need to be boiled for exactly 6 minutes and 50 seconds. Once the timer goes off the eggs will immediately go into an ice bath to stop from cooking any further.

I found that using my 4-cup glass measuring cup worked perfectly for marinating the eggs. A clean paper napkin over the top helps to submerge the eggs in the umami rich sauce.

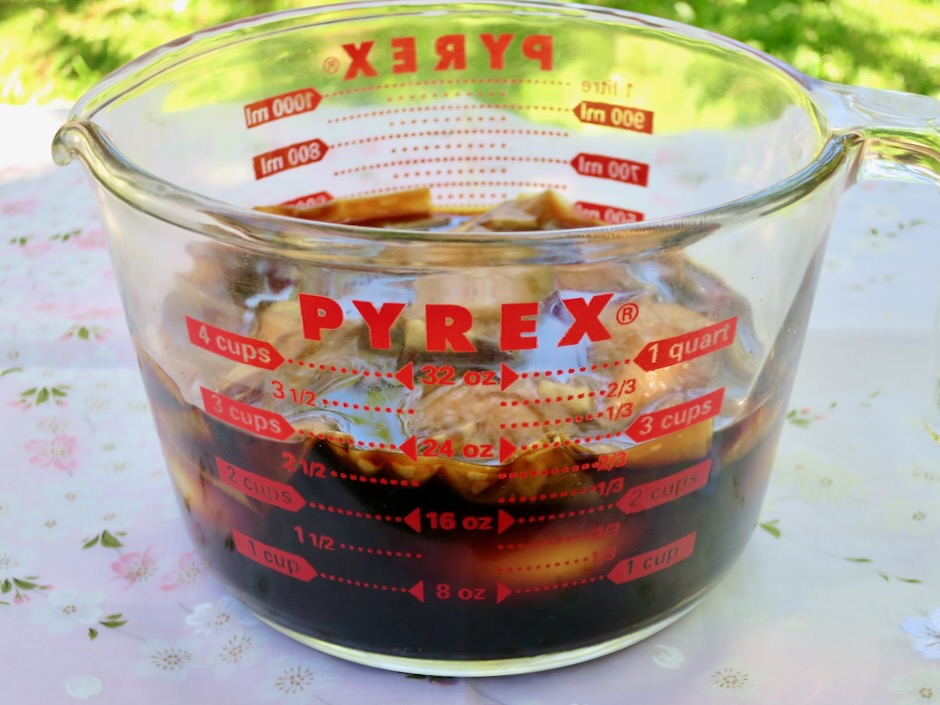
The eggs are ready to eat in just a couple of hours and can be left to marinate for up to 6 hours.

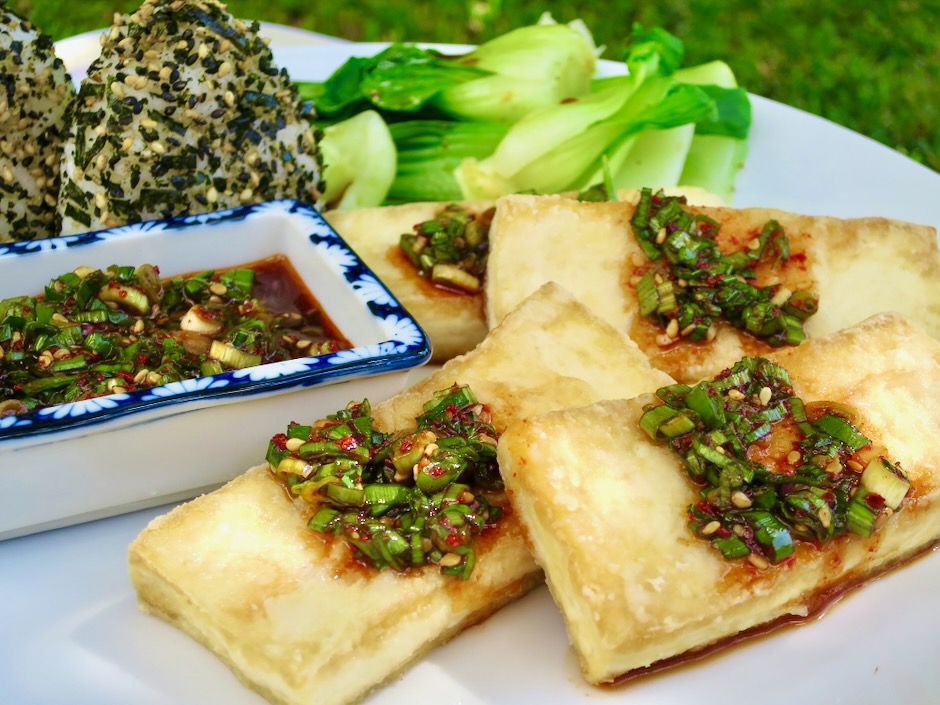
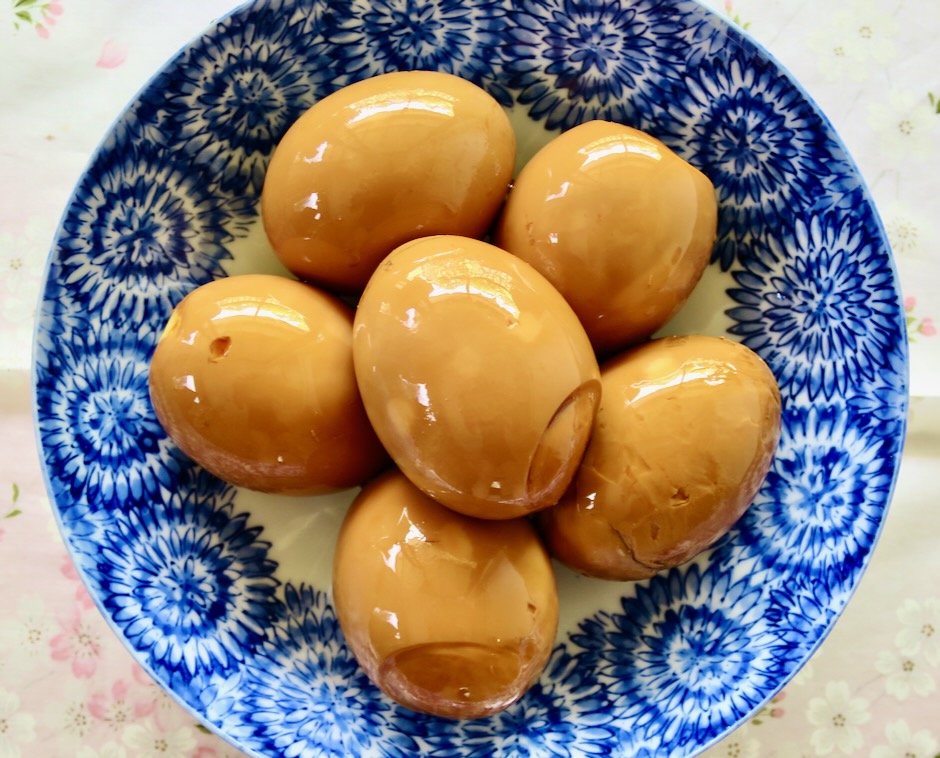
These delicious eggs can be served as an appetizer or snack.

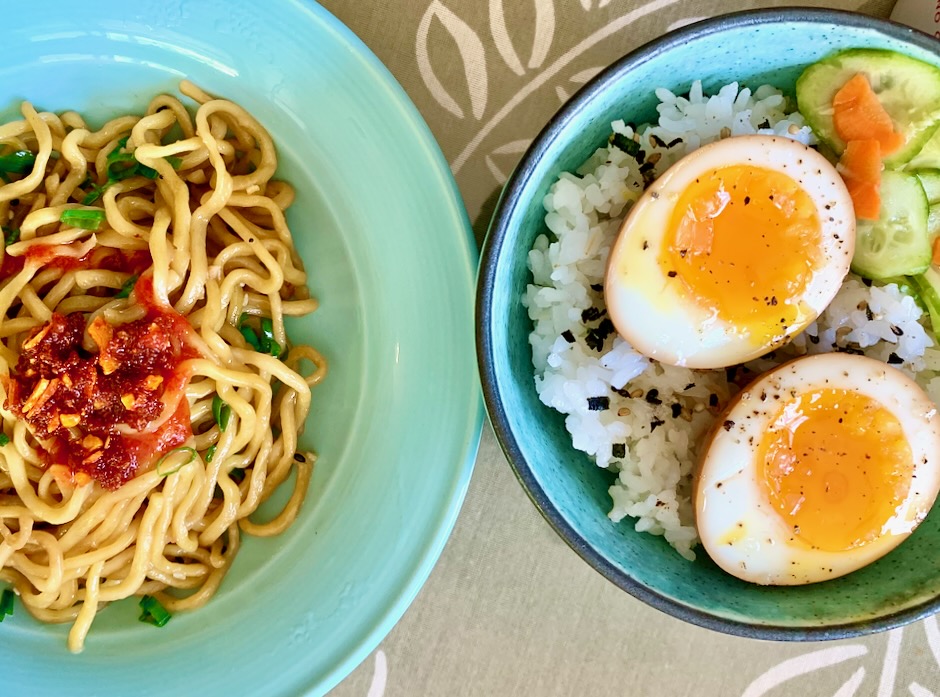
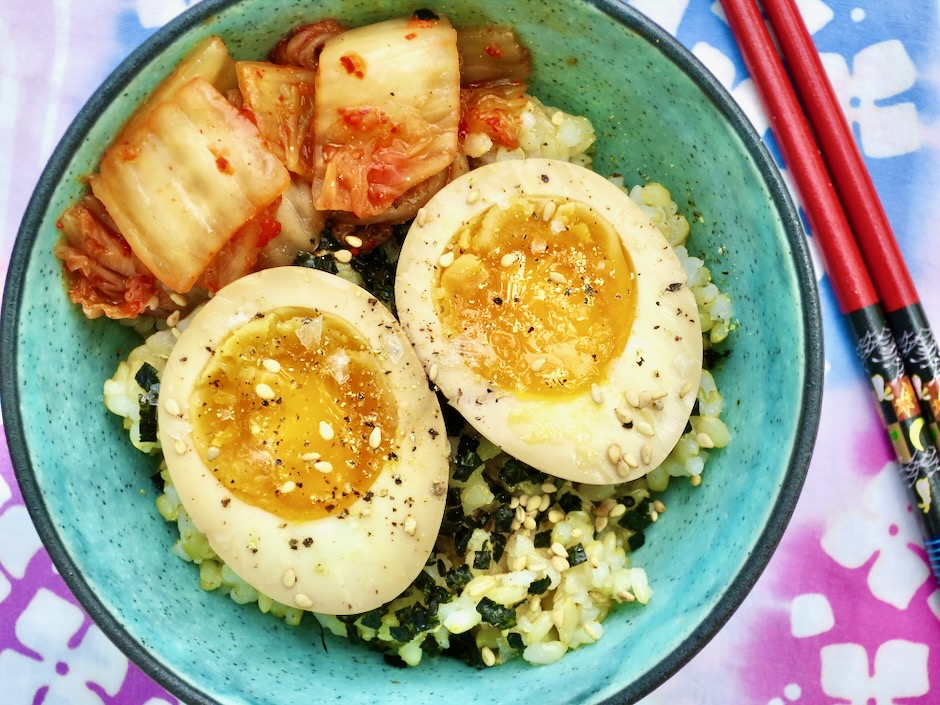
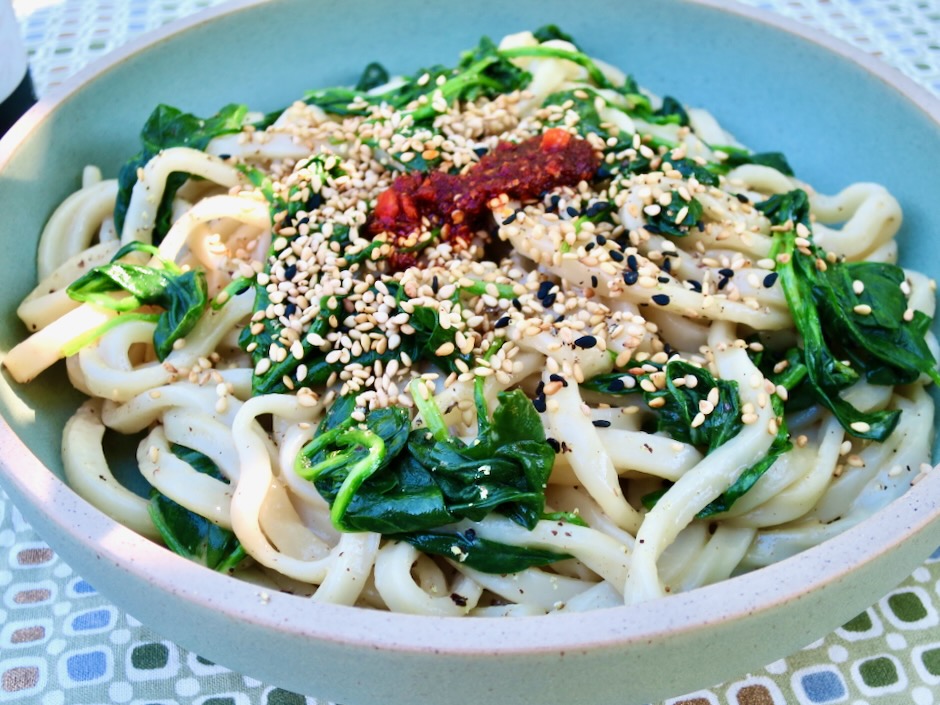
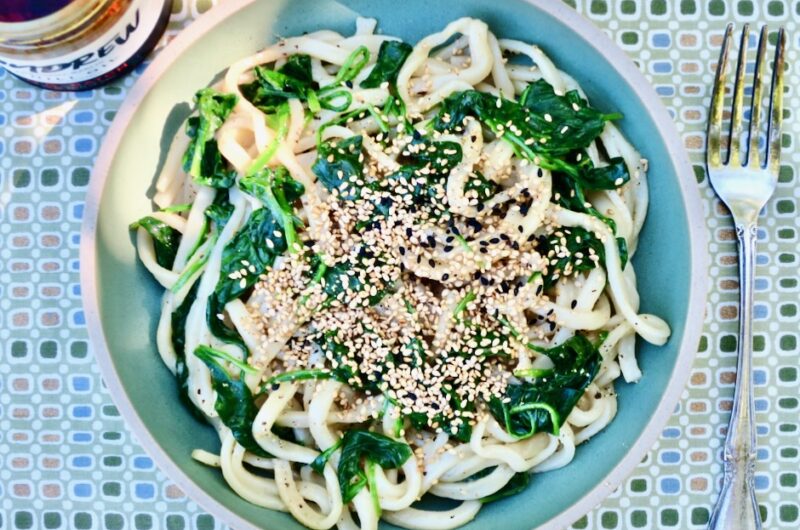
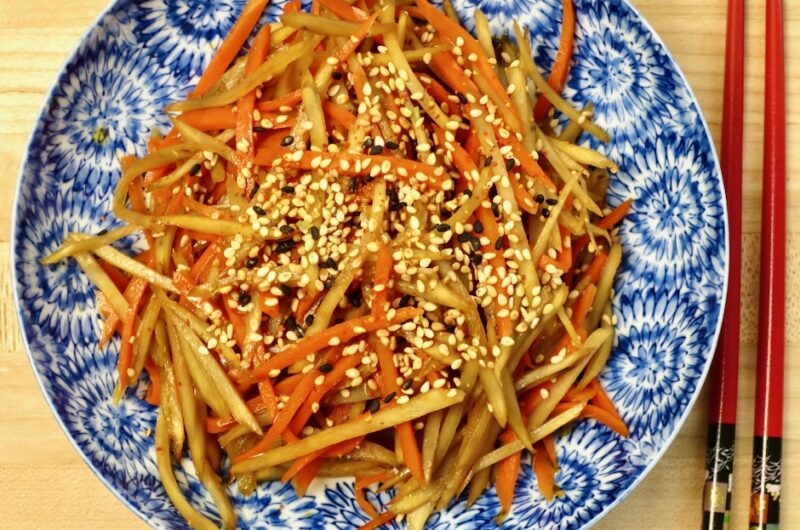
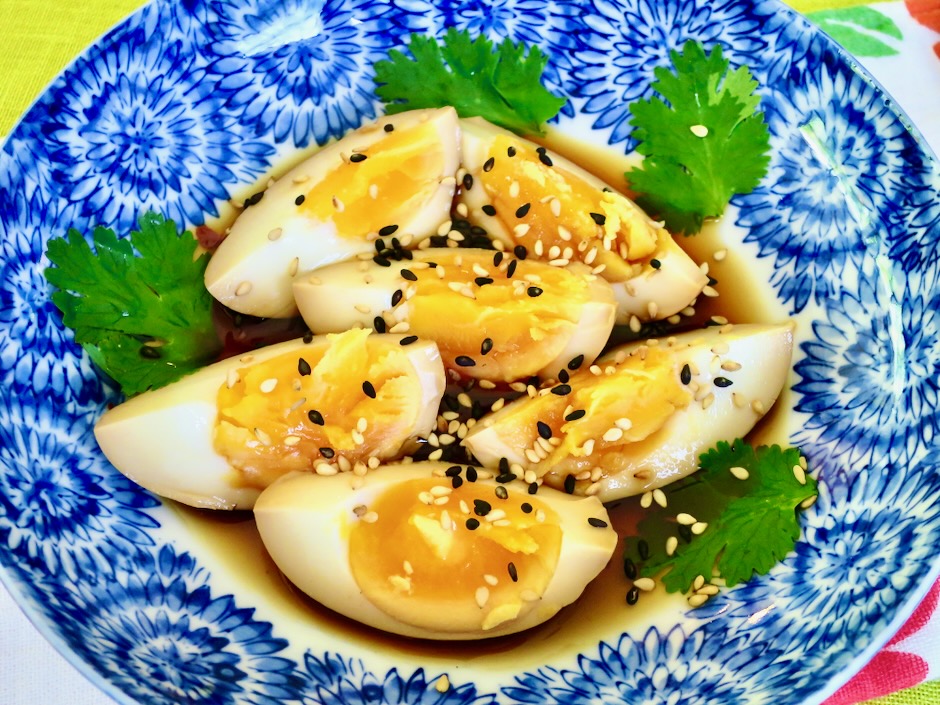
My favorite accompaniment for the eggs is a bowl of rice sprinkled with furikake and served with homemade kimchi or Japanese pickles on the side.

Momofuku’s Soy Sauce Eggs

Recipe by Kiyo
Servings

6

servings

Recipe adapted from Food52
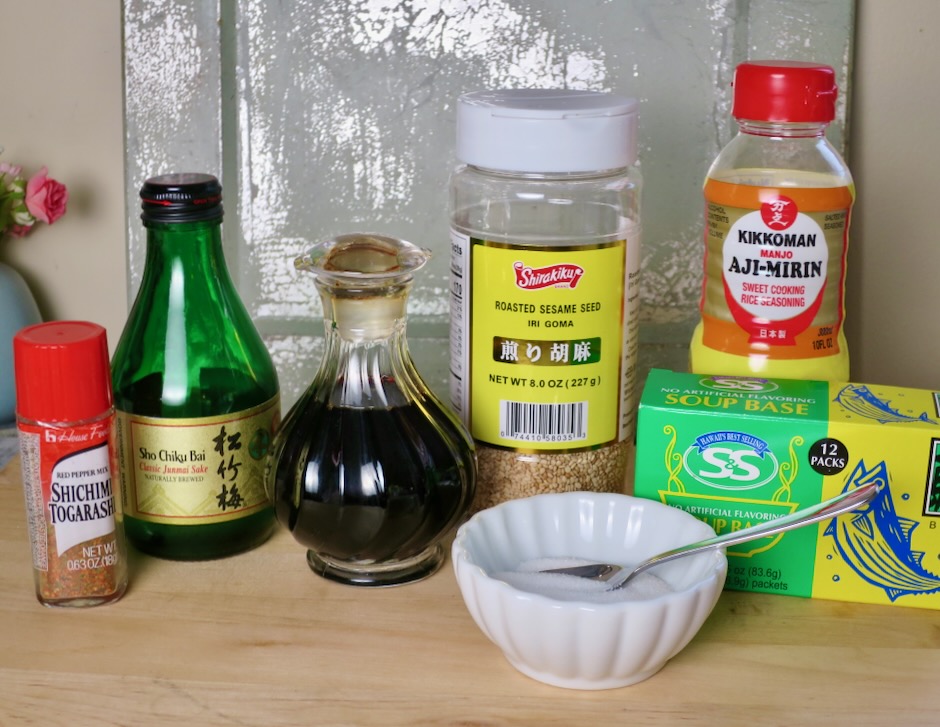
Ingredients

  • 6 tablespoons warm water

  • 1 tablespoon sugar

  • 2 tablespoons sherry vinegar

  • 1/2 cup low-sodium soy sauce

  • 1/4 cup regular soy sauce

  • 6 large eggs

  • Maldon or other flaky salt for serving

  • Freshly ground black pepper for serving

Directions

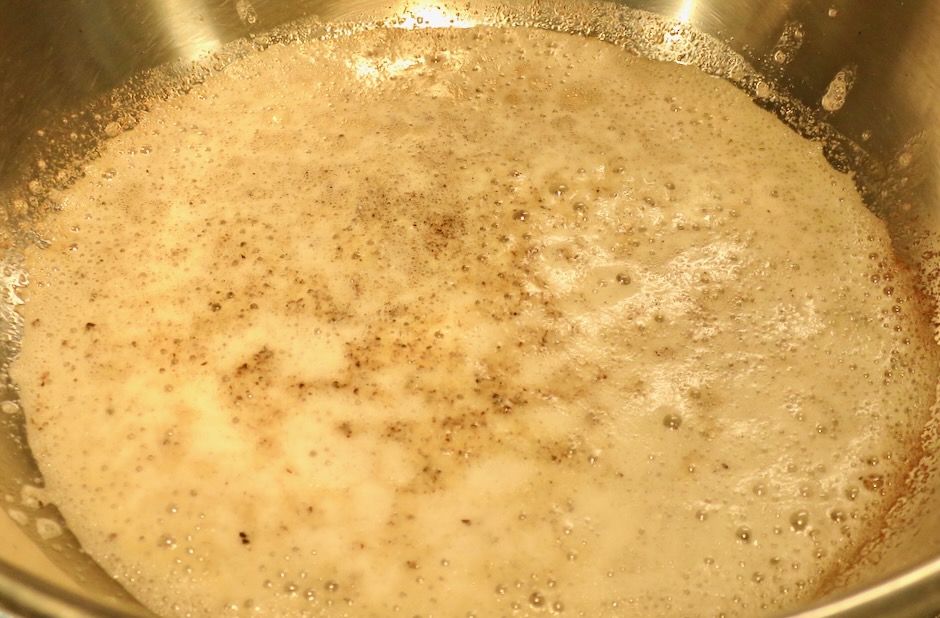
  • In a medium bowl, whisk together the water and sugar to dissolve the sugar, then stir in the sherry vinegar and soy sauces.
  • Bring a medium pot of water to a boil. Carefully place eggs into the boiling water and cook for exactly 6 minutes and 50 seconds. You may stir slowly for the first minute to distribute the heat evenly. Meanwhile, fill a large bowl with cold water and ice. When the eggs are done, transfer them to the ice bath.
  • Peel the eggs once they are cool. Transfer the eggs to the soy sauce mixture and marinate in the refrigerator for at least 2 hours, and up to 6 hours, making sure they are completely submerged.
  • Remove the eggs from the sauce. You can save the sauce mixture for another round of eggs if you wish.
  • To serve, cut the eggs in half and season with salt and pepper. Any leftover eggs can be stored in an airtight container for 4-5 days.
Dinner, Japanese, Lactose Free, Pasta, Pork, Recipes

Pork and Asparagus Soba

May 18, 2023

We’re starting to harvest our homegrown asparagus spears which is one of the reasons I was drawn to this recipe. The other reason is that I love soba. Though dried soba cannot compare to fresh, it works well enough for this dish which turns out to be a real winner.

There’s not much to it, in terms of the amount of ingredients called for. However, you may need to make a quick trip to the market if you don’t have tahini or chili crisp in your refrigerator. There is a multitude of chili crisp/crunch options available these days. You can find it at Costco, the Asian food section of your local markets, or online. My current favorite is Zindrew O.G Batch from Amazon. They offer a much spicier version as well (X Batch). Though the jar says chili oil, I consider it to be a chili crisp since it has lots of crunchy bits of garlic and does not contain an excess amount of oil.

Tahini adds a rich and creamy note to the sauce. Mixed with soy sauce, rice vinegar and chili crisp, the flavor is an umami rich seasoning for the noodles and pork.

The soba is cooked briefly before adding the asparagus. It’s a one pot deal. Not having to blanch the asparagus separately saves time and dishes.

The sauce is added to the cooked pork before getting mixed in with the soba and asparagus. It’s so delicious.

Everything goes back into the pot with some of the reserved soba cooking water. A quick stir to warm everything up and it’s ready to be served with extra chili crisp or sriracha.

Pork and Asparagus Soba

Recipe by Kiyo
Servings

4

servings

Recipe adapted from Bon Appetit magazine

Ingredients

  • 1/4 cup chili crisp (1/3 cup if you want it spicier) + more for serving

  • 1/3 cup tahini, well stirred

  • 3 tablespoons + 1 teaspoon soy sauced divided

  • 3 tablespoons unseasoned rice vinegar

  • 9.5 ounces dried soba noodles (1 package Hakubaku soba, or about 10 ounces of your favorite dried soba)

  • 1 bunch (10-12 ounces) asparagus, trimmed, cut into 2-inch pieces (thinner spears work well in this dish)

  • 1 1/2 tablespoons vegetable oil

  • 1 pound ground pork

  • Thinly sliced green onions (for serving)

  • Roasted sesame seeds (for serving)

Directions

  • Whisk chili crisp, tahini, 3 tablespoons soy sauce, and vinegar in a small bowl. Taste and add a few extra teaspoons of chili crisp if you want it spicier. Set aside.
  • Cook noodles in a large pot of boiling water for half the time noted on the package directions. For Hakubaku brand soba, cook for 1 1/2 minutes (no longer). Add asparagus to noodles and cook for 45-60 seconds. Reserve 1 cup of cooking liquid just before the 45-60 seconds is up, then immediately drain noodles and asparagus in a colander and run under cool water to stop the cooking; reserve pot.
  • Heat oil in a medium skillet over medium-high heat. Cook pork in an even layer undisturbed, until nicely browned, about 5 minutes. Continue to cook, stirring and breaking up with a wooden spoon, until cooked through, about 3 minutes (adjust heat as needed if too hot). Add reserved sauce and cook, scraping up browned bits, 1 minute.
  • Transfer pork, noodles, and asparagus to reserved pot. Drizzle a teaspoon of soy sauce (or a few pinches of kosher salt) plus 2/3 cup reserved cooking liquid into the pot and cook over medium heat, stirring gently with a spoon adding more cooking liquid if needed, until noodles and meat are warm and well coated with sauce but not watery, about 1 minute (leaving the soba on the heat much longer can cause the soba to be over cooked). Taste and adjust with more soy sauce or kosher salt if necessary.
  • Transfer pork and asparagus to a large, shallow serving bowl. Sprinkle with green onions and sesame seeds. Serve with extra chili crisp or sriracha.

Notes

  • If you want to make this for two people, use half of the soba, asparagus and cooking liquid called for. I recommend making the full recipe for the pork and reserving half for the next day. It’s delicious with ramen (the dried wavy type) cooked al dente and warmed in a bit of vegetable oil seasoned with soy sauce. Mix it all together to warm up and shower with lots of green onions, roasted sesame seeds and sriracha sauce. Serve with crunchy bok choy on the side.
Dinner, Japanese, Lactose Free, Recipes, Vegan, Vegetarian

Sesame Brown Butter Udon Noodles

March 16, 2023

Here is a quick and delicious dish to satisfy a craving for udon. Given that it includes fresh spinach, it’s nutritious as well. This is a broth-less bowl of chewy noodles flavored with browned butter and lots of sesame seeds. It’s scrumptious.

I highly recommend you seek out fresh udon. Here on Maui I buy Sun Noodle udon which is available at Island Grocery. If you are unable to find fresh udon, frozen udon would be the next option. Dried udon is very thin and lacks the wonderful chewy texture of fresh udon that makes this particular dish so delightful.

My version is vegan since I used Miyoko’s in place of regular unsalted butter. It’s an excellent substitute if you are lactose intolerant. Another plus is that you can actually brown Miyoko’s vegan butter.

The “butter” browns quickly so you’ll want to keep a close eye on it.

Once the “butter” has browned, it gets tossed with the cooked udon and spinach. Divide the noodles into bowls, sprinkle with a generous amount of roasted sesame seeds and a dollop of chili crisp and devour your bowl of noodles.

Sesame Brown Butter Udon Noodles

Recipe by Kiyo
Servings

2

servings

Adapted from NYT Cooking

Ingredients

  • 8 ounces fresh udon (in a pinch, substitute with frozen udon)

  • 5 ounce container of baby spinach (or up to 8 ounces)

  • 2 tablespoons Miyoko’s Vegan Butter (or regular unsalted butter)

  • 1/2 teaspoon coarsely ground black pepper

  • 1/2 tablespoon soy sauce

  • pinch of granulated sugar

  • 1 tablespoon roasted sesame seeds

  • Chili crisp for serving, optional

Directions

  • Bring a large pot of water to a boil. Add the noodles and cook according to package directions until just tender. Reserve 1/4 cup of cooking water. Drain the noodles in a colander and set aside.
  • Microwave spinach with 1 1/2 tablespoons water in a large bowl (cover with damp paper towel or microwavable plastic wrap with a small corner left open for steam to escape, or use microwavable steamer).
    Drain and add to noodles.
  • Set the pot used for cooking the pasta, over medium heat. Add 2 tablespoons Miyoko’s Vegan Butter and cook, stirring occasionally, until the foam subsides and the butter turns golden brown, about 3-4 minutes. Watch closely so the butter does not burn. Add the black pepper and stir until fragrant. Add 2 tablespoons reserved pasta water, plus noodles and spinach, soy sauce and sugar, and toss until the sauce is thickened and silky. Add more pasta water a tablespoon at a time if needed to ensure the sauce clings to the noodles.
  • Remove from the heat and season to taste with more soy sauce and black pepper if needed. Divide into two bowls, sprinkle with sesame seeds and serve with chili crisp.
Dinner, Japanese, Lactose Free, Recipes, Tofu, Vegetarian

Crispy Pan-Fried Tofu with Scallion Sauce

January 30, 2023

Crispy tofu drizzled with a delicious scallion sauce is an easy and tasty dish to make any day of the week. A flavorful scallion sauce is drizzled over the tofu just before serving. The savory sauce really brings this dish together and makes this one of the best ways to enjoy tofu. Serve the tofu with onigiri (Japanese rice balls) and some wilted baby bok choy for a healthy and delicious meal.

The Tofu Xpress has been one of my favorite kitchen gadgets for some time now. If you cook with tofu often, I encourage you to buy a tofu press (plenty of options online). Using a press means less waste of paper towels or kitchen towels and quicker results.

Most of the sauce ingredients are likely already in your pantry. If you are unable to find Korean chili flakes (gochugaru), you may substitute red pepper flakes. However, I highly suggest keeping a small jar of gochugaru in your cupboard. Most commonly used to make kimchi, gochugaru has multiple uses in many recipes. The slightly smoky flavor of the chili flakes with medium heat (heat can vary by brands) and gorgeous color make this one of my go to seasonings.

Initially it may seem like 3/4 cup of sliced scallions is far too much, however, the scallions will wilt once mixed with the other sauce ingredients.

Once the tofu is lightly coated with cornstarch, it is fried until both sides are firm and crispy. In order to enjoy the crispiness of the tofu, serve it right away. This is a small recipe so you won’t have any leftovers!

Crispy Pan-Fried Tofu with Scallion Sauce

Recipe by Kiyo
Servings

2

servings

Adapted from Food52

Ingredients

  • 1 (14-ounce) package firm tofu (pressed for 10 minutes)

  • Kosher salt

  • 1/3 scant cup cornstarch

  • Neutral oil such as canola or vegetable for frying

  • Soy-Scallion Sauce
  • 2 tablespoons reduced-sodium soy sauce

  • 1 tablespoon mirin

  • 1 1/2 teaspoons gochugaru (substitute with 1/4 teaspoon red pepper flakes or more to taste)

  • 1 1/2 teaspoons roasted white sesame seeds

  • 1 teaspoon honey

  • 3/4 teaspoon roasted sesame oil

  • 1/2 teaspoon rice vinegar (unseasoned)

  • 3/4 cups thinly sliced scallions

Directions

  • Press out water from tofu using a tofu press or kitchen towel (about 10 minutes). Cut tofu lengthwise into 8 even slices. Lay slices on a paper towel-lined plate and pat dry. Salt the tofu on both sides. Place the cornstarch in a shallow dish and set aside.
  • Let the tofu rest while you prepare the sauce. In a medium bowl, mix together all the sauce ingredients until combined (scallions will wilt as they sit).
  • Pour enough oil into a large 12-inch nonstick skillet to fully coat the bottom of the pan (about 1/4 cup or so) and heat the oil over medium-high heat. Working quickly with one slice at a time, lightly coat the tofu slabs with cornstarch (gently tap to remove excess cornstarch) and carefully place them in the hot pan. Cook, flipping once, for 3-4 minutes on each side until golden and crisp (adjust heat if too high).
  • Transfer the tofu to a large plate, slightly overlap the slices in two rows, and spoon sauce on top (start with a few spoonfuls, add more to taste or serve on the side). Serve immediately with onigiri and wilted greens.

Notes

    Cookies, Dessert, Japanese, Lactose Free, Recipes

    Kakimochi Chocolate Chip Cookies

    October 19, 2022

    These kakimochi (mochi crunch/arare/rice crackers) chocolate chip cookies are a fun and tasty way to share a unique, local-style cookie with family and friends. They are crunchy and chocolatey in the best way. I love how cute they look with the mochi crunch topping. A sprinkling of furikake makes the perfect finishing touch.

    There are numerous shapes and sizes of kakimochi. The sakura shape above works perfectly as they are not too large.

    Once all the ingredients are combined, chill the dough for an hour in the refrigerator so it firms up a bit and doesn’t spread too much when baking.

    Each dough ball is topped with a piece of kakimochi before baking. Sprinkle some of the dough balls with furikake.

    Once the cookies are done baking, leave them on the cookie sheet for a minute so they firm up just a bit. Transfer cookies to a wire rack to cool completely before packing them up for gifts.

    Kakimochi Chocolate Chip Cookies

    Recipe by Kiyo

    36

    Recipe adapted from Foodland

    Ingredients

    • 1 1/2 cups (180g) all-purpose flour

    • 1 teaspoon baking soda

    • 1/4 teaspoon salt

    • 1/2 cup (113g) room temperature Earth Balance Buttery Sticks or unsalted butter

    • 1/2 cup (99g) granulated sugar

    • 1/2 cup (107g) packed light brown sugar

    • 1 large egg

    • 1 teaspoon vanilla extract

    • 1 1/2 cups (105g or 3.75 ounces) kakimochi (Tomoe brand recommended) + extra for topping cookies (about 36 pieces)

    • 1 cup (170g) chocolate chips

    • Furikake (Mishima Nori Komi Furikake recommended) for sprinkling on cookies

    Directions

    • Combine flour, baking soda, and salt in a medium bowl. Set aside.
    • Using a hand mixer cream Buttery Sticks or butter and sugars until light and fluffy, about 2 minutes. Beat in egg and vanilla. Add flour mixture and and mix well with a firm spatula. Stir in kakimochi and chocolate chips. Cover bowl and refrigerate for 1 hour.
    • Preheat oven to 350 degrees.
    • Form dough into 1-inch balls and place on a cookie sheet lined with parchment paper (keep remaining dough in the refrigerator until ready to use). Press a kakimochi on top of the dough ball and sprinkle with furikake if using. Bake for about 12 minutes, rotating the pan halfway through, until cookies are lightly browned. Let cookies rest on pan for one minute before transferring to a wire rack to cool completely. Makes about 3 dozen cookies.
    Appetizers, Dinner, Japanese, Lactose Free, Recipes, Side Dishes, Vegan, Vegetarian, Veggies

    Kinpira Gobo

    September 27, 2022

    Kinpira gobo is a traditional Japanese side dish that will enhance any Japanese-style meal. Serve it for breakfast with a bowl of steaming Japanese rice, pack it in a bento box with musubi for lunch, or serve it for dinner along with tofu for a delicious vegetarian meal.

    If you’re not familiar with gobo (burdock root) you might not even take notice of it. Gobo is rather homely looking, however, don’t let that stop you from picking up a few pieces to take home. Once it has been cleaned and sliced thinly, its potential is revealed and you are on your way to a truly delicious meal.

    Here on Maui gobo can be found at Foodland Kahului, Island Grocery Kahului, TJ’s Wailuku, and Times market in Kihei. Look for slender roots about 1-inch in diameter. These will be less fibrous and tough than the thicker pieces. Sometimes it can be hit or miss. Check the condition of the gobo. It should be firm like a carrot. If it’s not, then try again the following week or ask your grocer when they expect a new delivery.

    Have a bowl of cool water ready when slicing the gobo. Burdock oxidizes quickly and the water helps to keep it from turning gray. The water also reduces some of the pungent flavor of the gobo. Change the water once or twice as it becomes darker. When all of the gobo has been sliced, drain in a colander and transfer to a clean dish towel or paper towels and pat dry. You want to avoid water hitting the hot oil when you begin to fry the gobo.

    A short list of sauce ingredients makes this an easy dish to prepare. The Shichimi Togarashi is optional. I use it to add a bit of kick to the finished dish. I used instant dashi but using water is fine since you only need a small amount.

    Start by cooking the gobo for a few minutes before adding the julienned carrots. Taste a few pieces to see if the texture is right. It should be firm yet cooked enough so that it isn’t tough and difficult to chew. Keep in mind that it will continue to cook a few more minutes when the carrots are added.

    Once the gobo and carrots are the right texture, add the sauce and cook until the liquid is nearly gone.

    Transfer kinpira gobo to a serving bowl, sprinkle with roasted sesame seeds and shichimi togarashi for a spicy kick.

    Though kinpira gobo is considered a side dish, it can become a main dish simply served with a bowl of rice. The flavor is so delicious and the crunchy texture is delightful.

    Kinpira Gobo

    Recipe by Kiyo

    Adapted from Japanese Cooking 101

    Ingredients

    • 9 ounces gobo (burdock root)

    • 4 1/2 ounces carrot

    • 1 tablespoon canola oil

    • 1/4 cup prepared instant dashi or water (vegetarian version)

    • 2 tablespoons + 1 teaspoon soy sauce

    • 1 tablespoon + 1 teaspoon granulated sugar

    • 1 tablespoon sake

    • 1 tablespoon mirin

    • roasted sesame seeds

    • shichimi togarashi (optional)

    Directions

    • Rinse the gobo and remove a light layer of the skin with the back of a knife. Avoid using a peeler as this will remove too much of the edible part of the root.
    • Thinly slice gobo on a sharp diagonal (if cut too thick the gobo will be difficult to chew). Stack a few pieces together and slice thinly into 2-inch strips. Place strips in water as you slice them. Change water once or twice as it darkens.
    • Julienne carrot into similar size as the gobo. Set aside.
    • In a medium bowl, mix together the dashi or water, soy sauce, sugar, sake and mirin. Set aside.
    • Heat a scant tablespoon of canola oil over medium heat. Once the oil is hot, add the gobo (be sure it is dry so the oil does not splatter). Stir fry for a few 2-3 minutes adjusting the heat to medium-high if needed. Gobo is very fibrous and should be stir fried until it is just tender and crispy but not tough. Taste a few pieces to ensure you have the correct texture. Add julienned carrots to the pan and stir fry with the gobo until al dente, about 2 minutes.
    • Turn heat down to medium if using a higher heat to stir fry the vegetables. Pour in sauce and continue to stir until the liquid is nearly gone (the pan should not be dry).
    • Transfer kinpira gobo to a serving bowl. Sprinkle roasted sesame seeds over the top. Serve with shichimi togarashi for a spicy kick.
    Follow

    Get every new post delivered to your Inbox

    Join other followers: