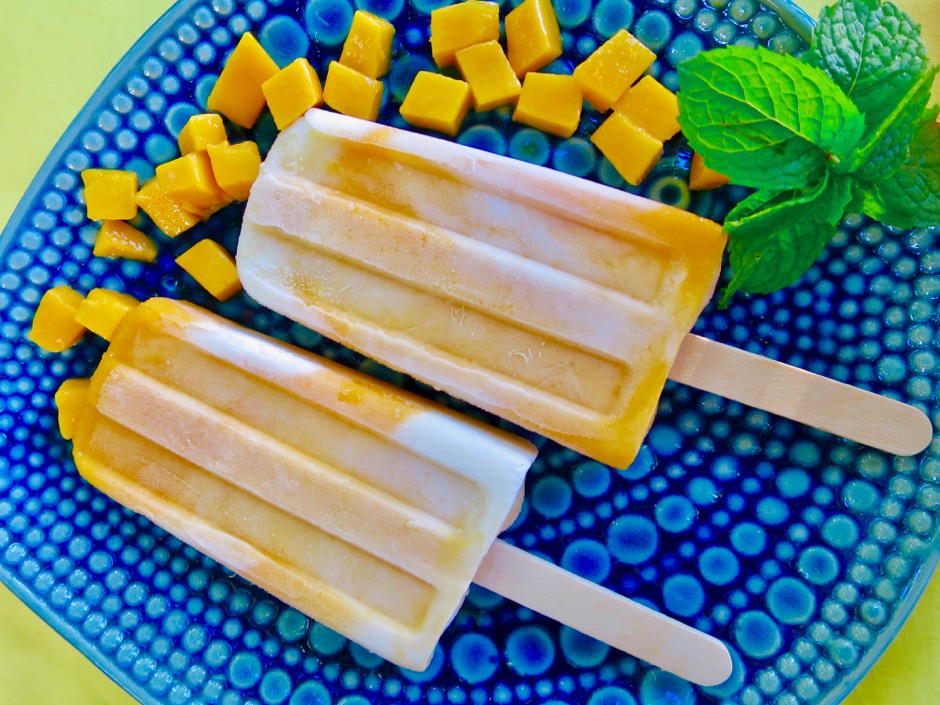
DessertFruitLactose FreeRecipesMango Cream PopsiclesThough I look forward to cooler weather that slowly appears in November, at the same time, I will miss our extended mango season... Read More
DessertFruitLactose FreeRecipesStrawberry Yogurt PopsiclesThese popsicles are so easy to make I can’t believe I never thought of making them before. It all began a... Read More
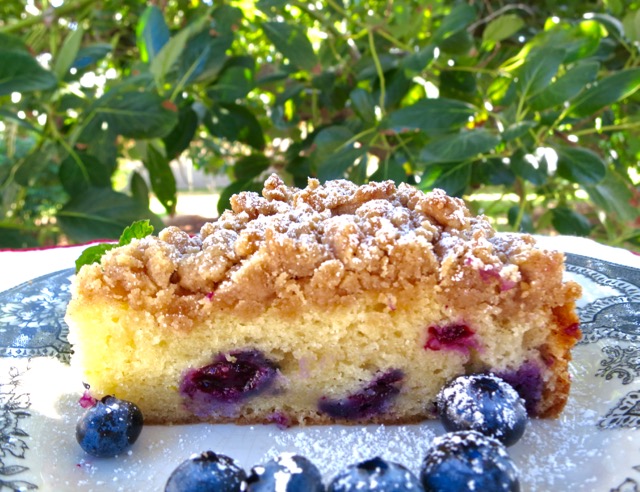
DessertFruitLactose FreeRecipesBlueberry Crumb Cake Like many others, I am a fan of Ina Garten’s recipes. I miss her Barefoot Contessa cooking show on Food... Read More
BreadBreakfastFruitLactose FreeRecipesSunrise MuffinsIt’s hard to tell there’s a fence under the lush, thick lilikoi vines in our garden. Their tendrils grab on... Read More
DessertFruitLactose FreeRecipesMango Yogurt & Banana PopsiclesNow that mango season is over (we still have two lonely Rapoza’s on our tree) I have to buy fruit... Read More
DessertFruitLactose FreeRecipesCoconut Pineapple BreadI bought a beautiful, sweet, pineapple (that most versatile fruit) at Costco to use in a batch of mango-pineapple jam.... Read More