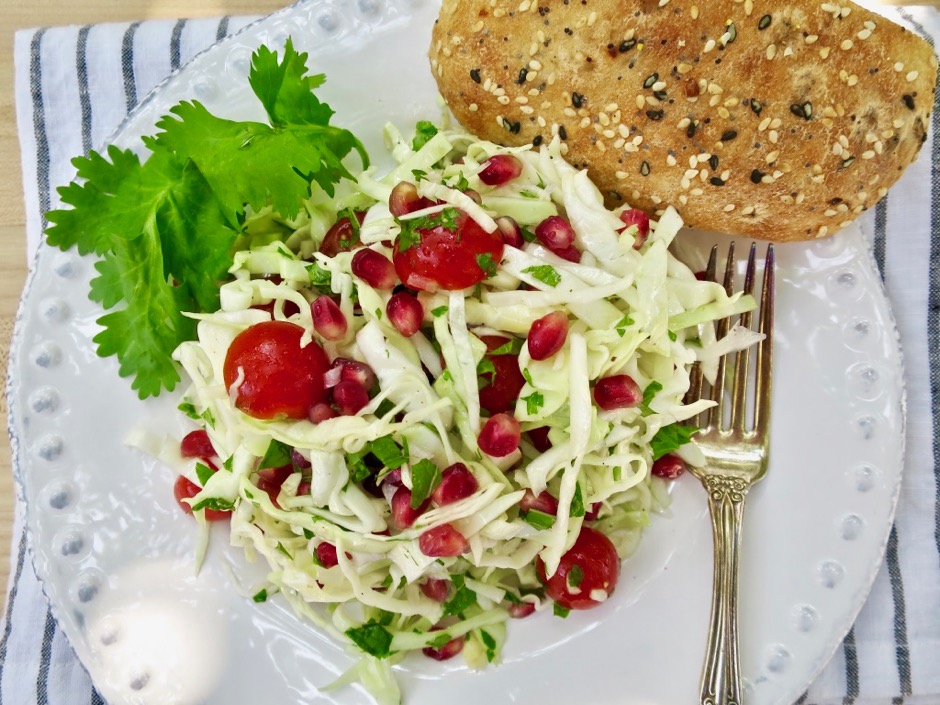
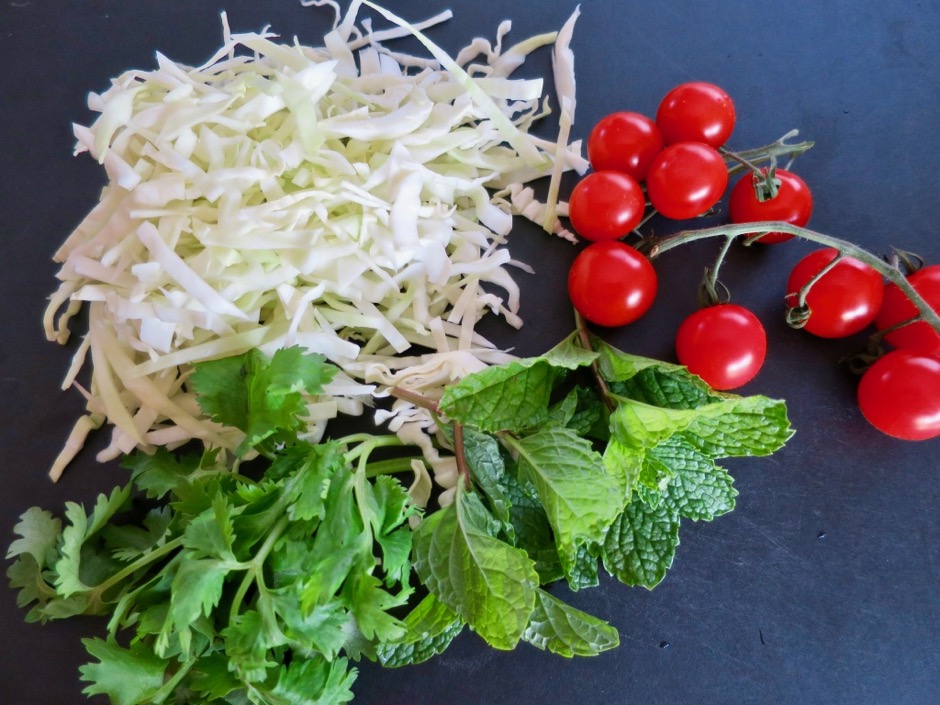
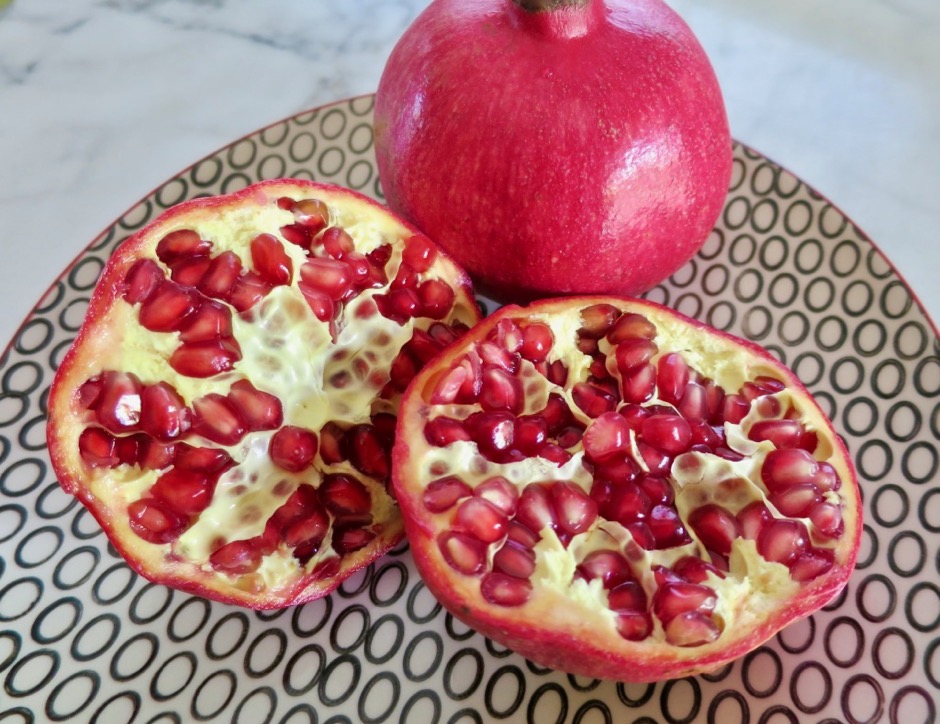
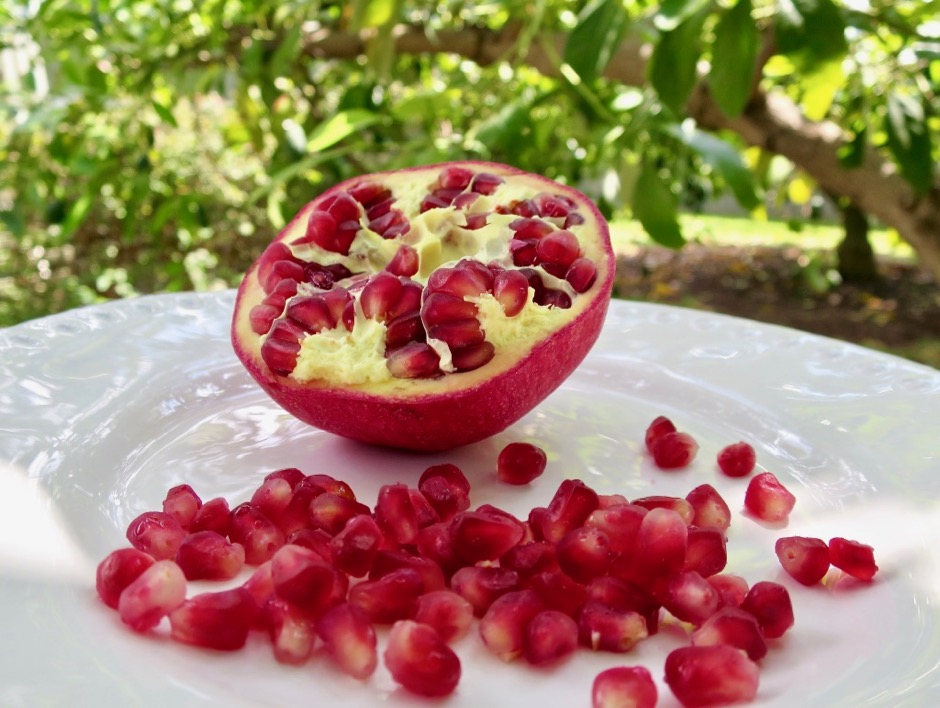
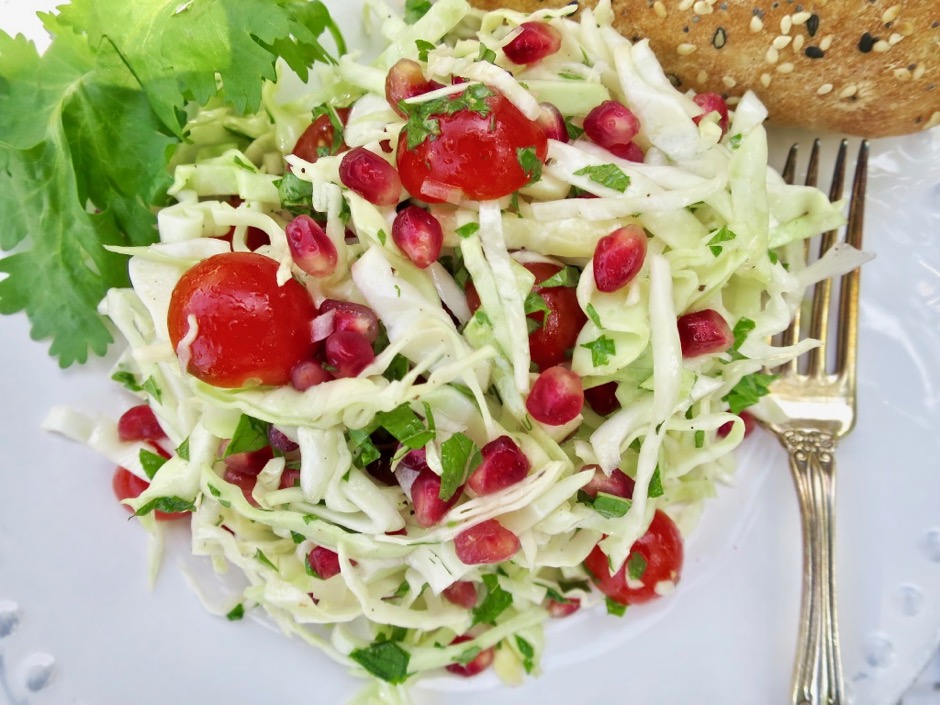
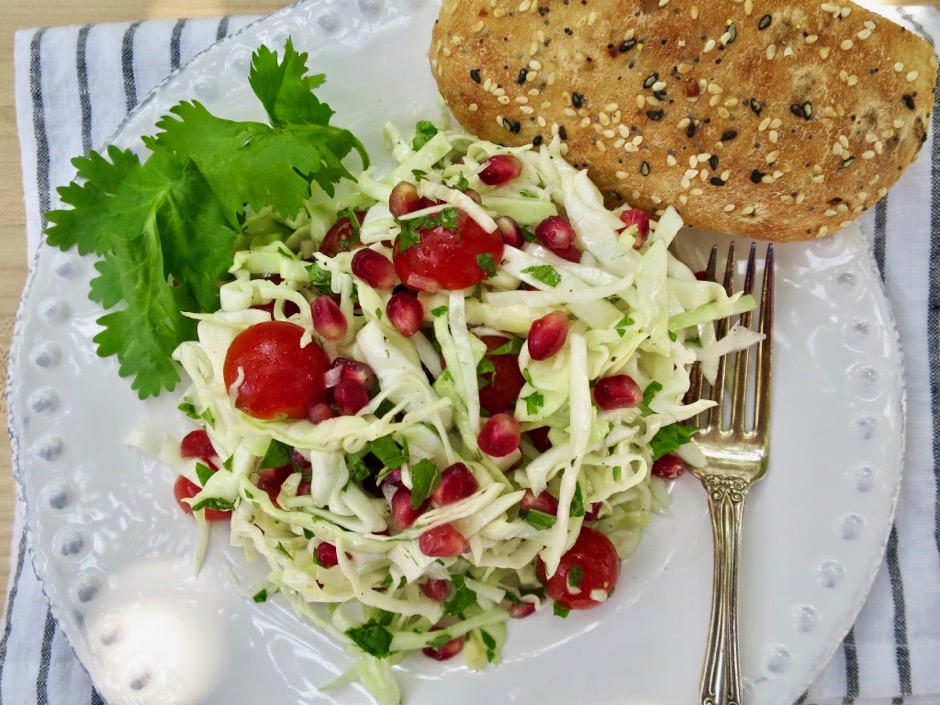
The beautiful pomegranate is in season now which means it’s a good idea to take advantage of their short appearance in your local markets. If you don’t have plans to use it right away, store the fruit in your refrigerator where it should keep nicely for several weeks. This simple and refreshing salad is highlighted by pomegranate and is quick to put together with just a few other ingredients. If you are not a cilantro fan you can certainly omit it, but don’t leave out the mint as it is an integral ingredient that makes this salad stand out.
There are many video’s on how to remove the seeds from the rather bitter membrane that securely surrounds them. Whichever method you use, beware that pomegranate juice stains so be careful not to get it on your clothing or counter. It’s best to work with it in the sink. Once you remove the seeds which are known as arils, you may store them in an airtight container and use them within 5 days.
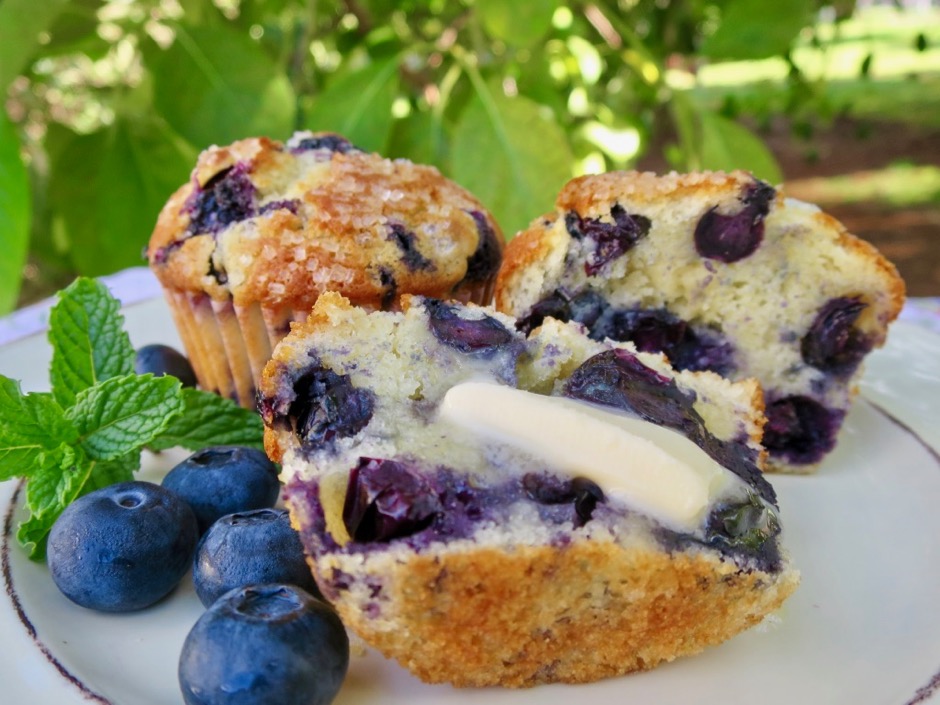
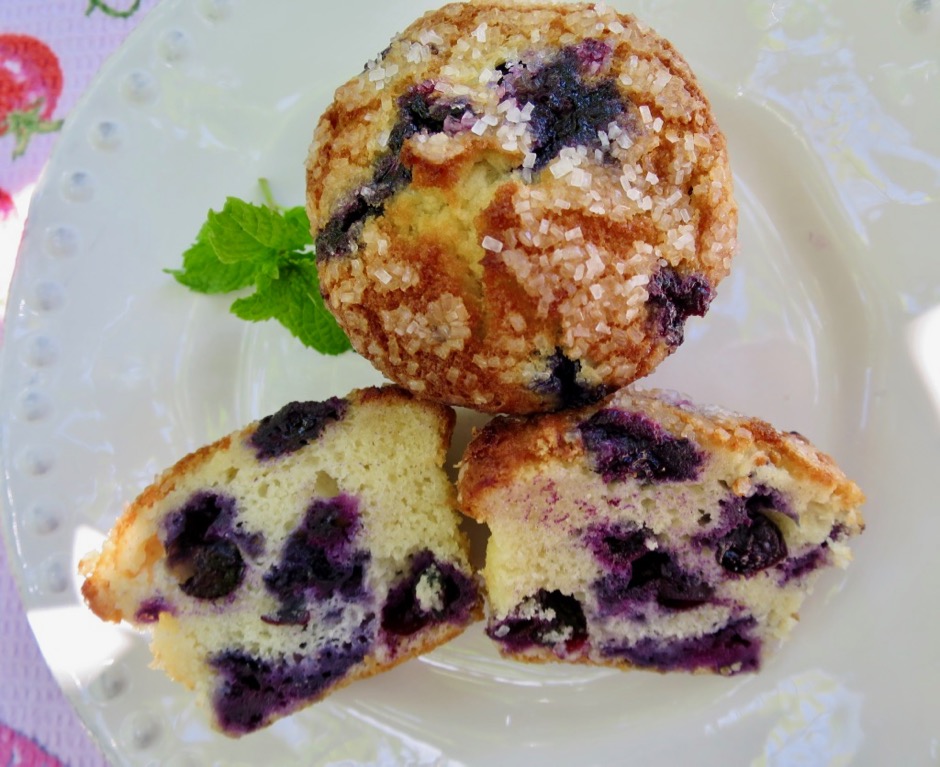
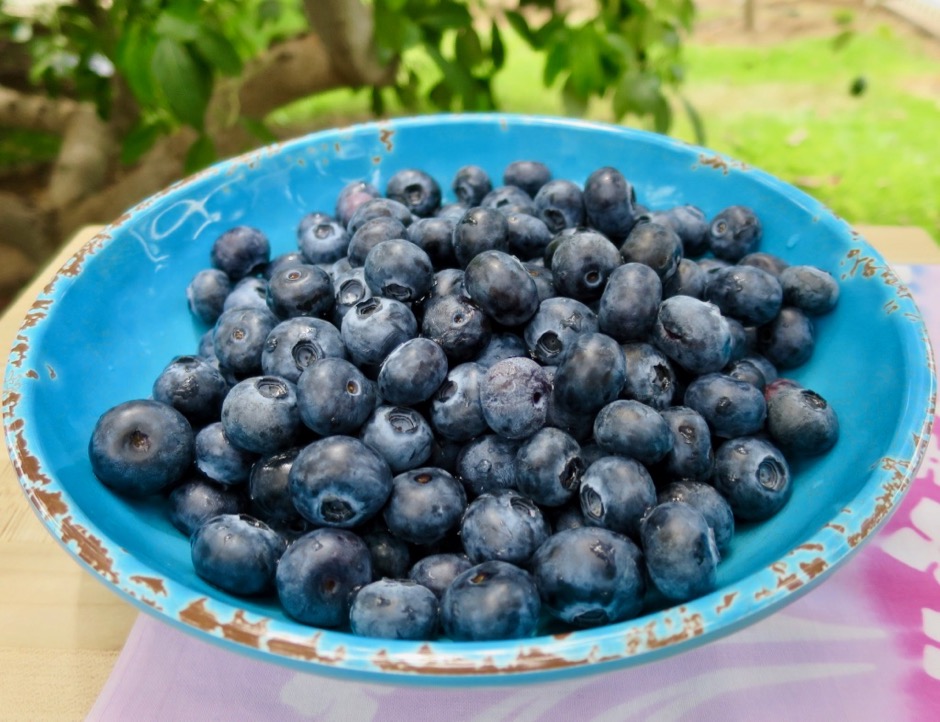
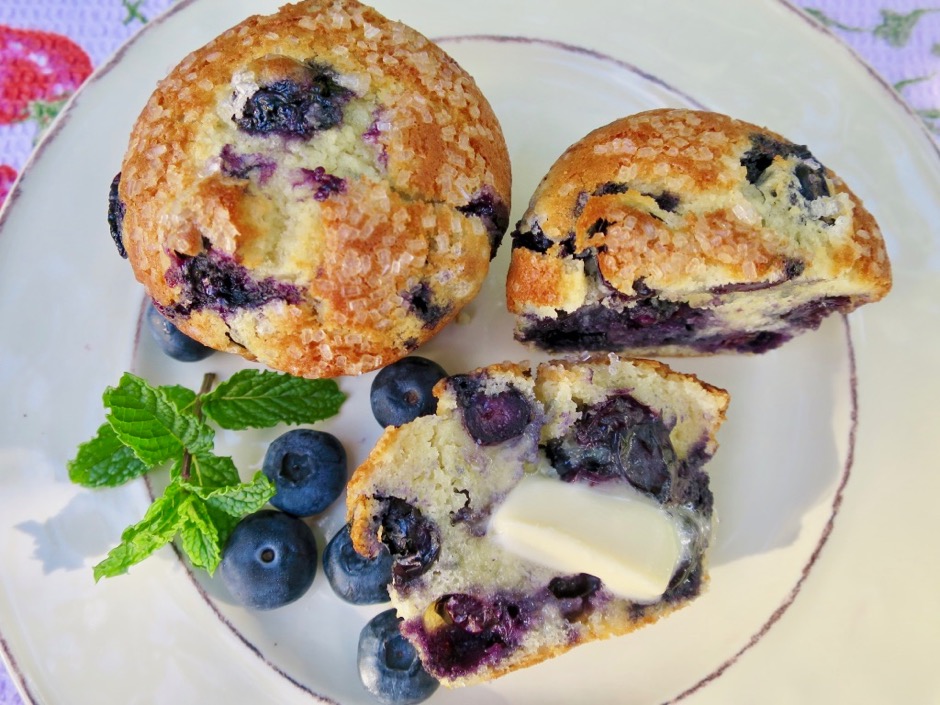
One of my favorite uses of the nutritious blueberry is in muffins. They are one of the easiest breakfast (or dessert) snacks to make. All you need is a bowl for the dry ingredients and a measuring cup for the wet ingredients. Combine the two, fold in the blueberries and your batter is ready. In less than 20 minutes you’ll have warm, crispy topped muffins with just the right amount of blueberries. These are delicious split down the center, toasted and served with a pat of butter.
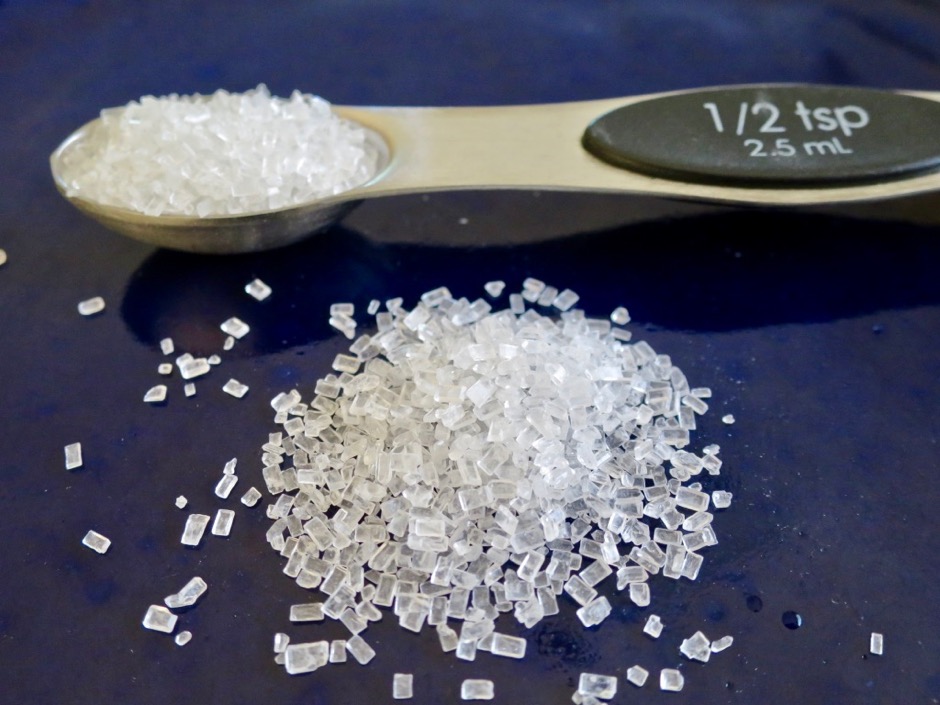
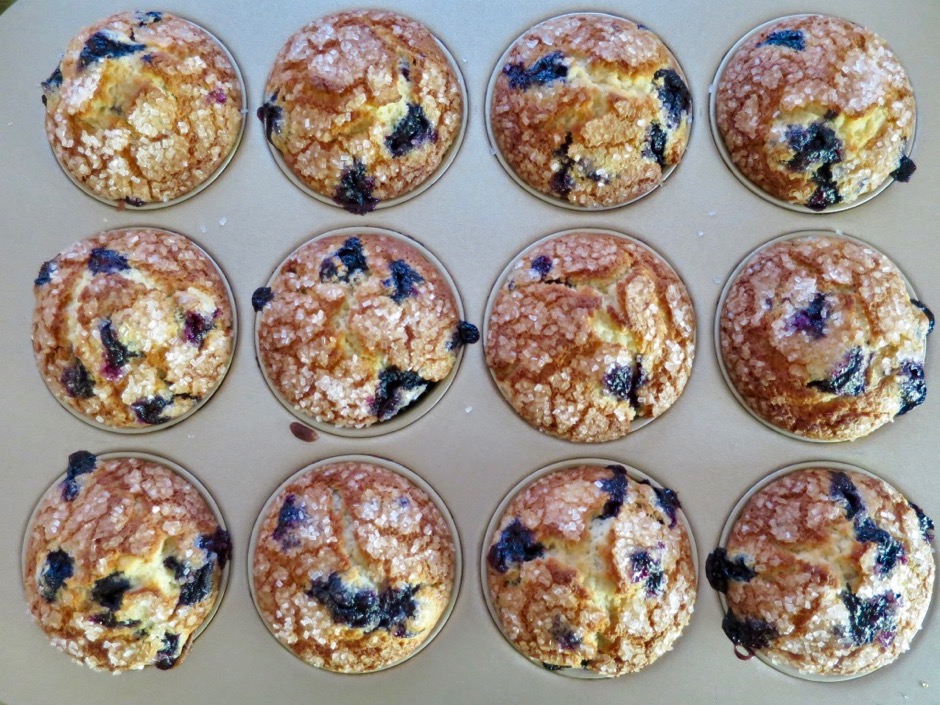
The sparkling sugar ensures the muffins have a perfectly crisp top that is not only a delight to eat but also gives the muffins that certain je ne sais quoi. Bob’s Red Mill decorative sparkling sugar works perfectly.
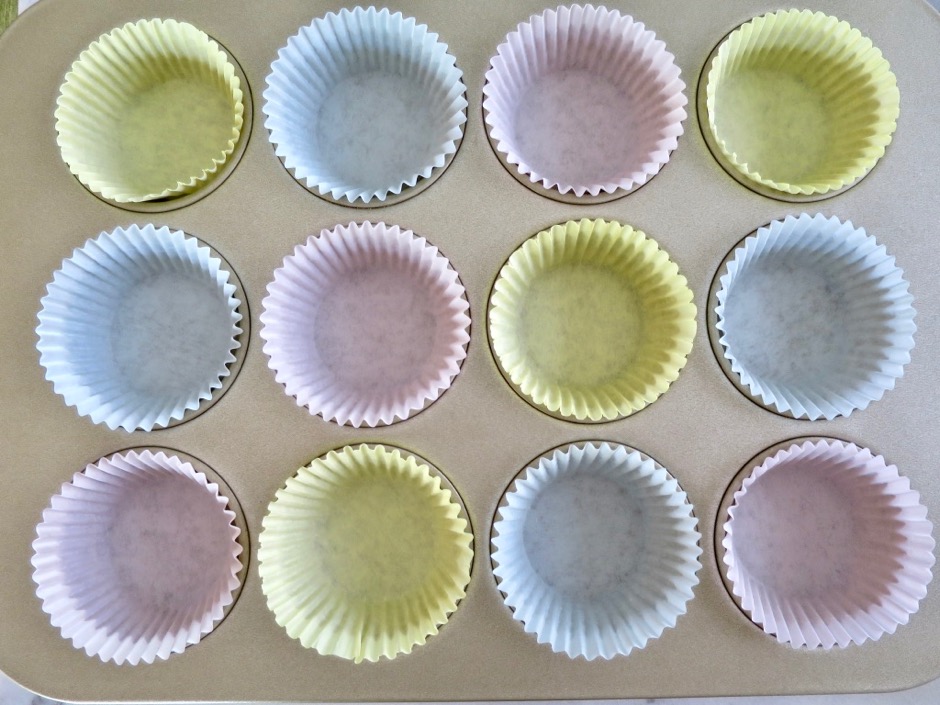
It’s best to use liners in your muffin tin to ensure that the muffins won’t stick to your pan. Liners also mean easier clean up.
These are beautiful muffins with crackly and crispy tops. If by chance you have any leftover muffins, store them in the freezer in a heavy-duty plastic bag. They will keep well for more than a month.
4 tablespoons Earth Balance Buttery Sticks, melted and cooled for 5 minutes (or regular salted butter)
2 large eggs
1 teaspoon vanilla extract
2 cups (8 ounces) fresh blueberries
Sparkling sugar such as Bob's Red Mill Simply Sweet Decorative Sparkling Sugar
Preparation
Preheat oven to 400 degrees.
Line muffin tin with muffin/cupcake liners.
In a large bowl whisk to combine the flour, sugar, baking powder, salt, and cinnamon. Set aside.
In a 2 cup measuring cup, measure ½ cup milk. Add ¼ cup canola oil, melted Buttery Sticks, eggs, and vanilla extract. Whisk ingredients together.
Pour wet ingredients into bowl of dry ingredients. Stir to combine. Fold in blueberries. Divide batter between a 12 cup paper-lined muffin tin. Sprinkle each muffin with ½ teaspoon of sparkling sugar.
Bake for 18 - 22 minutes or until a toothpick inserted in the center comes out clean. Cool muffins in the pan for 10 minutes before removing to a rack to cool completely.
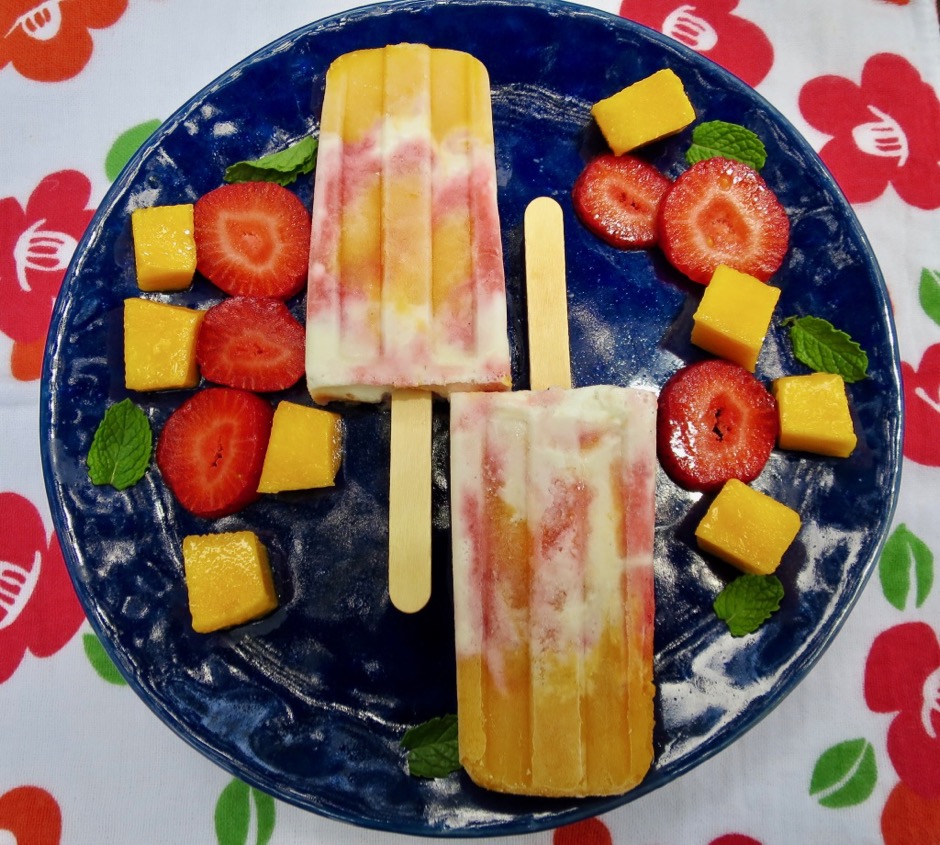
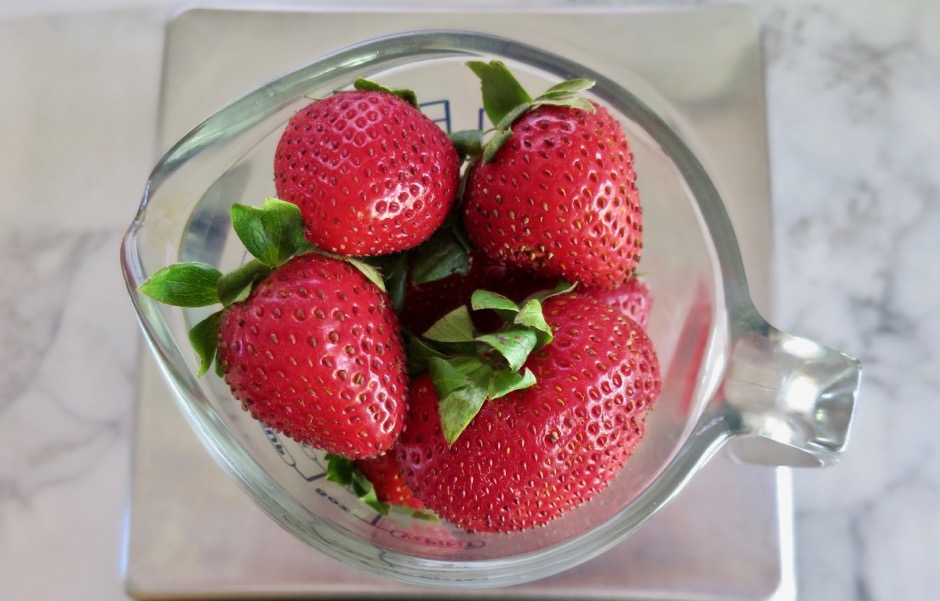
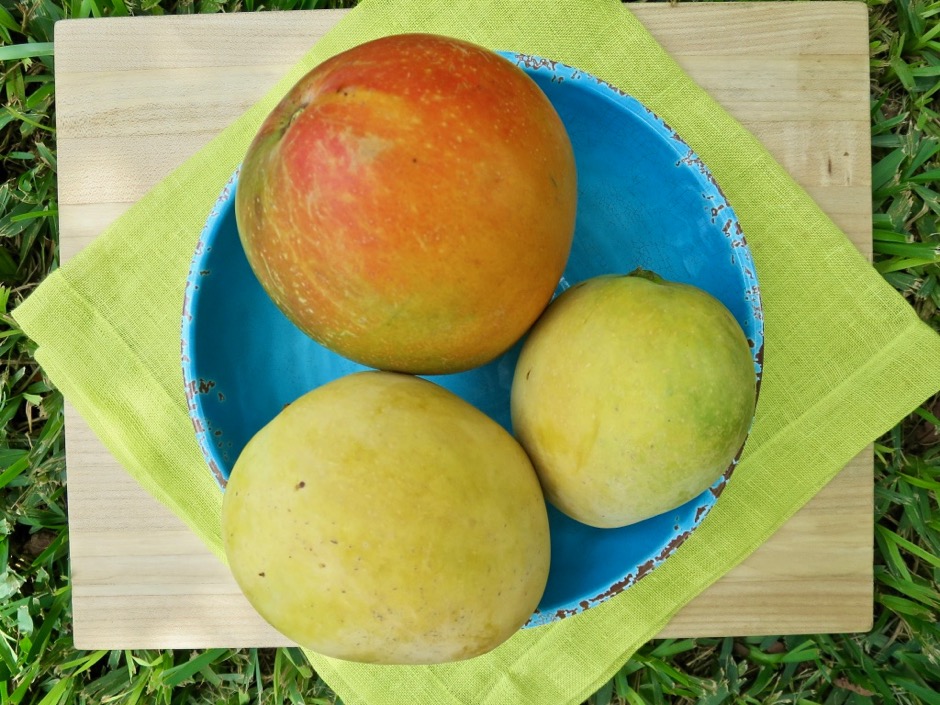
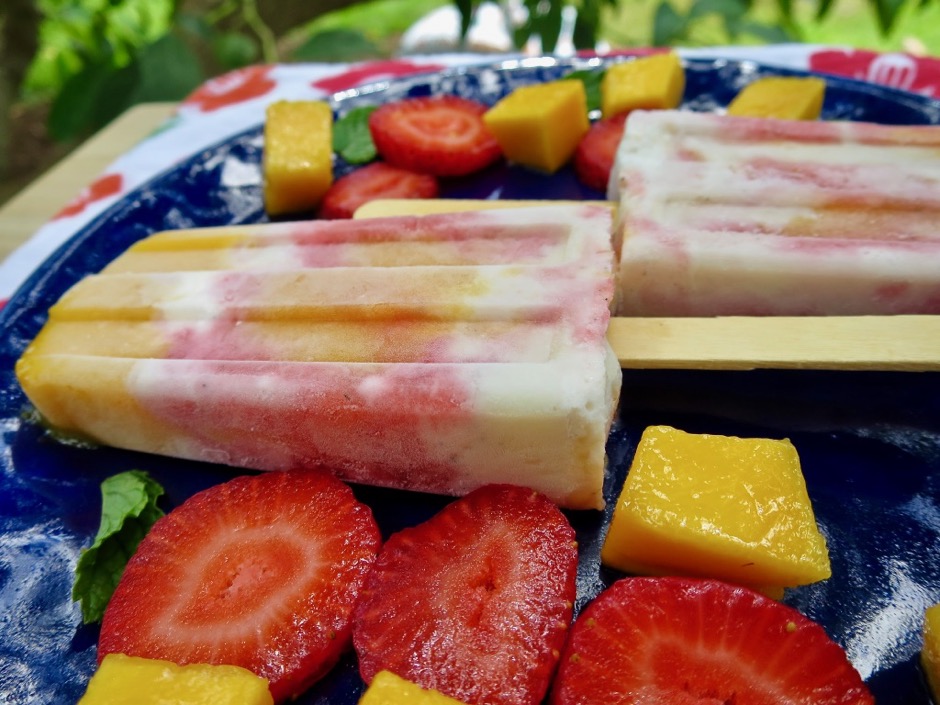
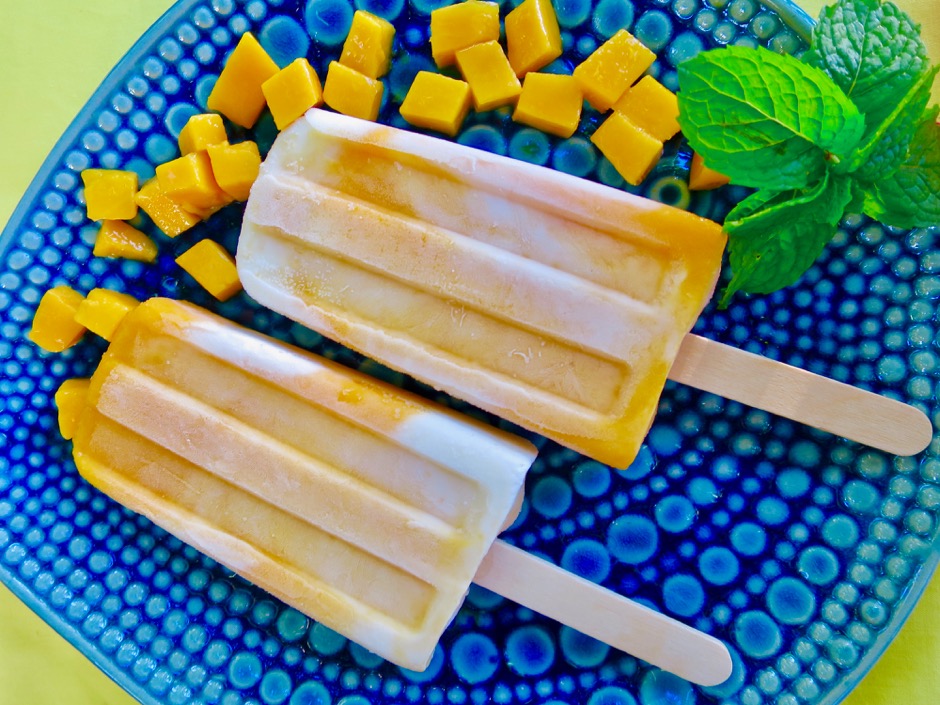
Most of us loved eating popsicles as children, a favorite summer treat. Embrace your inner child with these homemade delights. You won’t regret it and neither will your children, grand children, friends, and whoever else is lucky enough to eat one of your homemade creations. All you need for this recipe is fresh fruit and vanilla ice cream. Since our mango trees are at their peak summer harvest now they are the major ingredient here. Strawberries and vanilla ice cream added a beautiful color palette to the bright orange mangos. If mangos are not available, fresh peaches would be an excellent substitution.
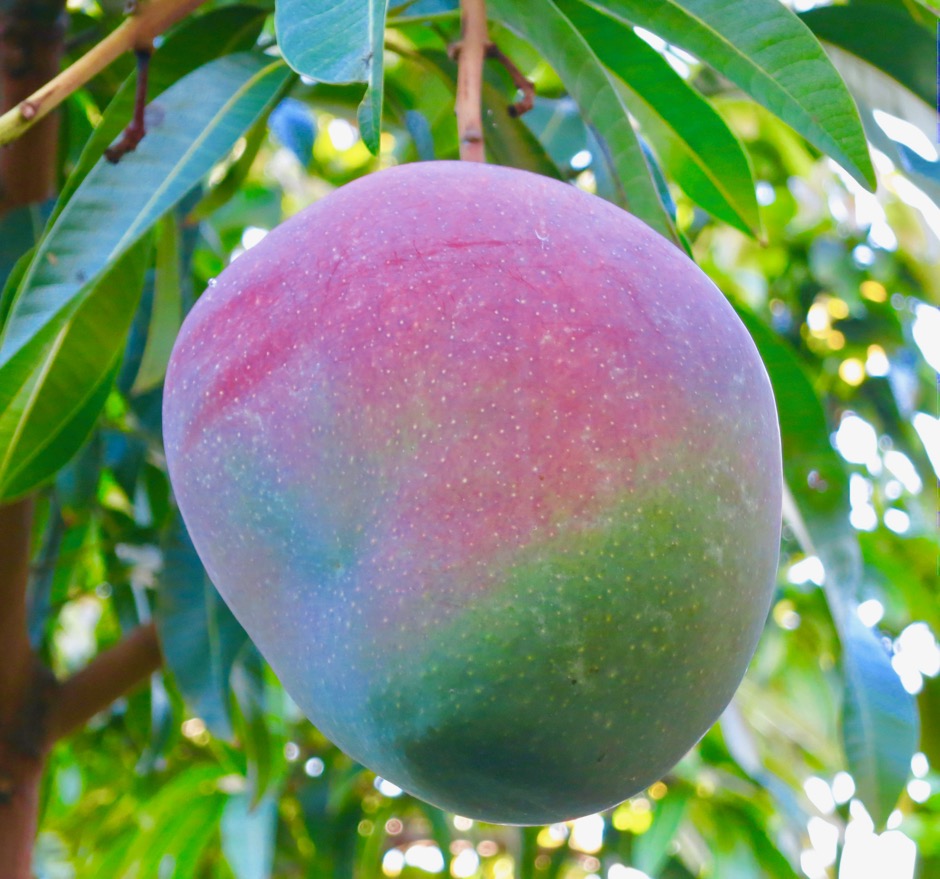
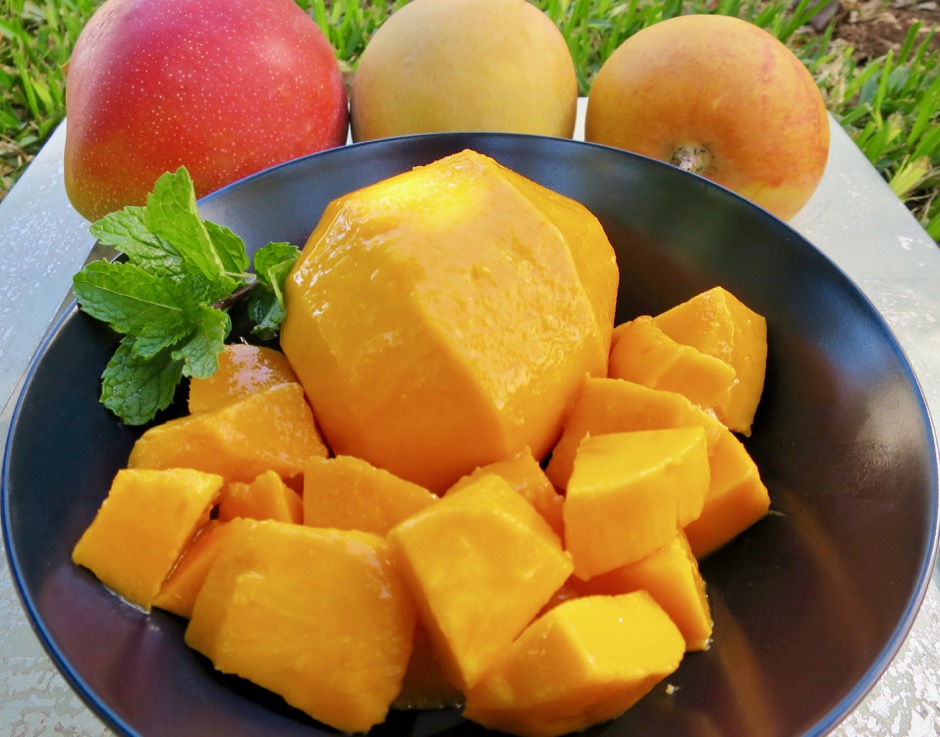
Our Pirie mango tree is 30 years old and is a heavy bearer that produces the sweetest mangos I have ever tasted. It has a long production period of at least 6 months. The large and beautiful Rapoza mango is delightfully smooth and sweet with a texture similar to a peach.
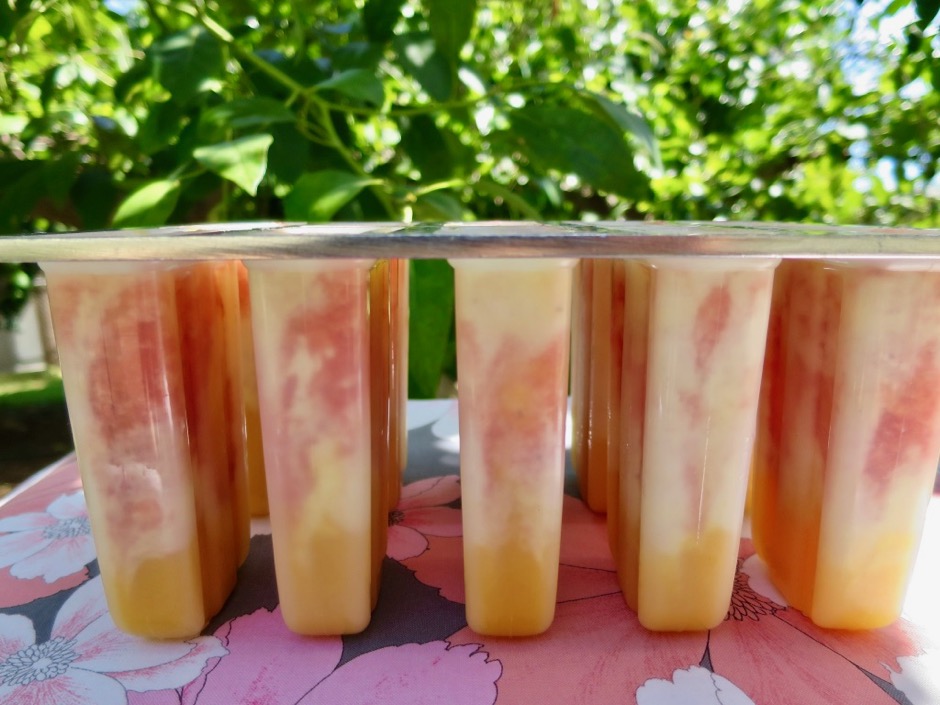
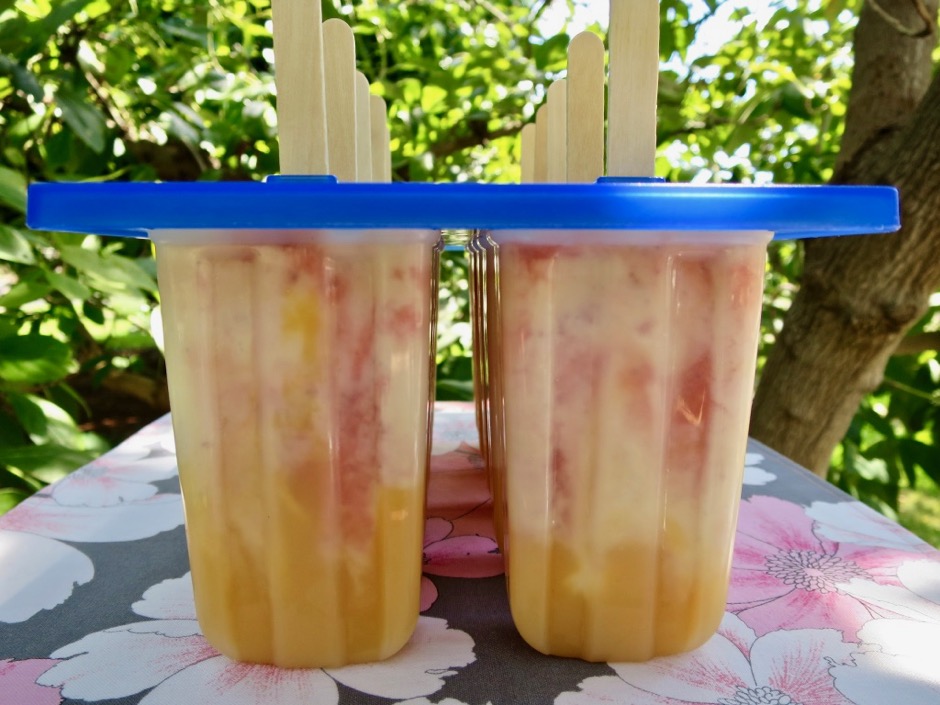
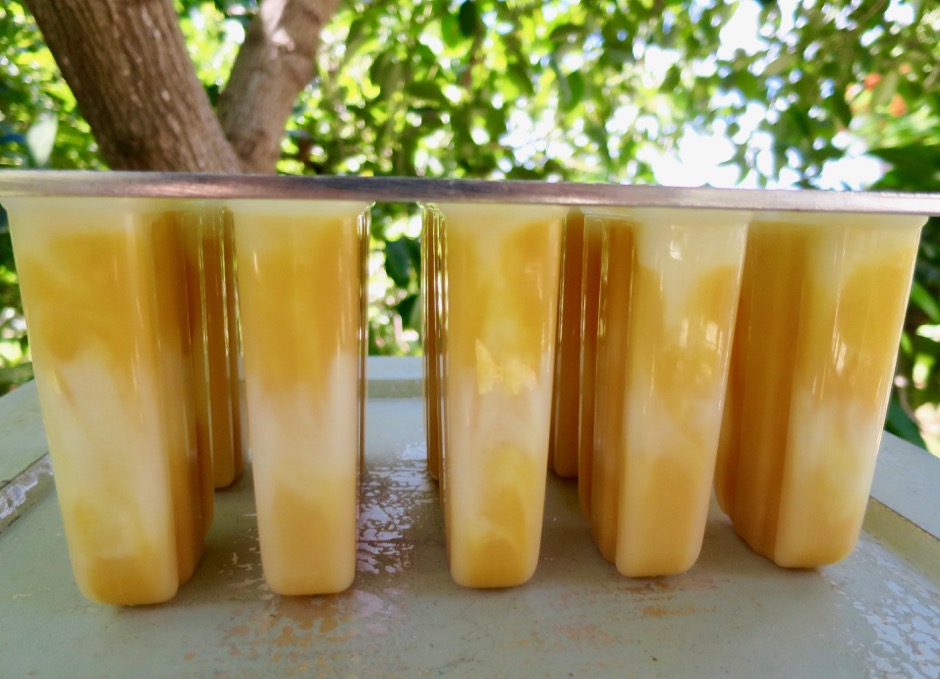
Swirl the ingredients around a bit to make beautiful popsicles that taste delicious especially on a warm summer day.
There is a myriad of popsicle molds available on-line. I bought this inexpensive Norpro Frozen Ice Pop Maker and it works like a charm. The popsicles are just the right size and the entire mold fits nicely in the freezer. Plus, you get 10 popsicles at a time.
Mix chopped strawberries with ¼ sugar in a small bowl. Set aside.
Using an immersion blender puree chopped mango, 2 tablespoons sugar and 1 tablespoon lime juice until mixture is smooth. Pour into a 2 cup measuring cup. You should have 1½ cups (or more) mango puree.
Rinse immersion cup and puree strawberries with remaining 1 tablespoon of lime juice. Pour into a 1 cup measuring cup. You should have 1 cup of strawberry puree.
Layer popsicle molds beginning with mango puree, followed by strawberry puree, and ice cream. Continue to layer with fruit purees and ice cream leaving ¼-inch space from the top to allow for expansion. Using a chopstick or wooden skewer, lightly swirl the mixtures together. Place lid on mold and insert sticks. Freeze at least 8 hours or overnight. Run popsicle mold under warm water for easy removal.
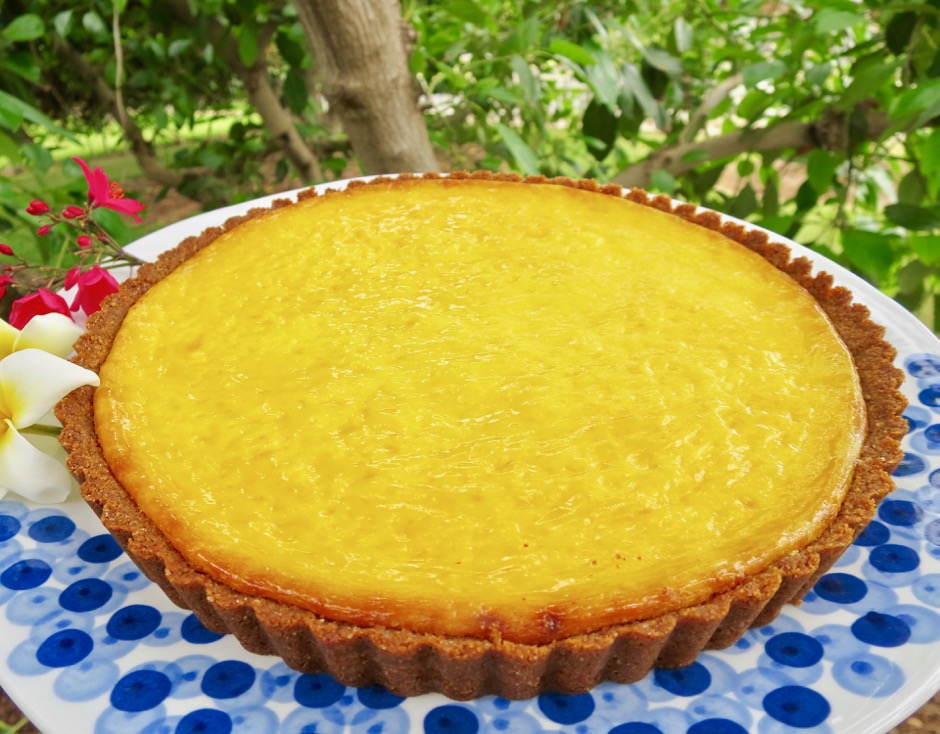
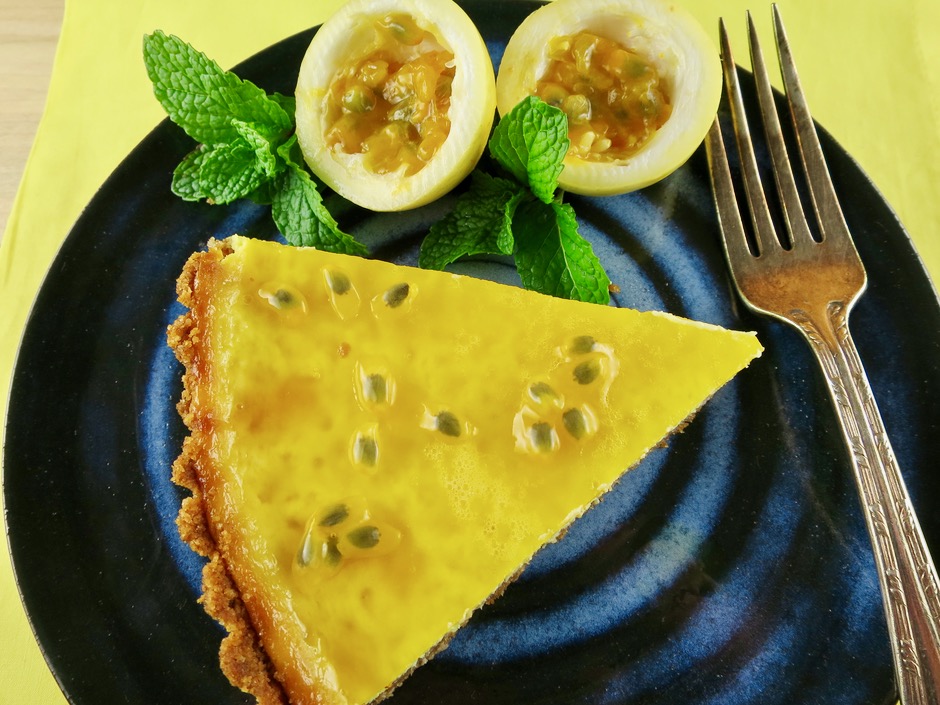
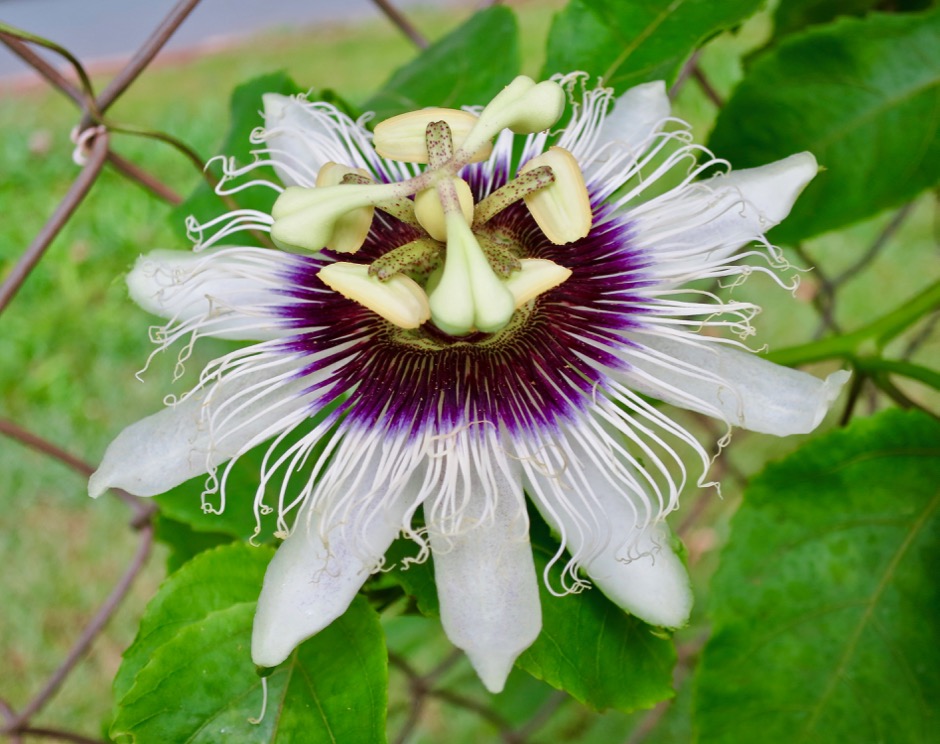
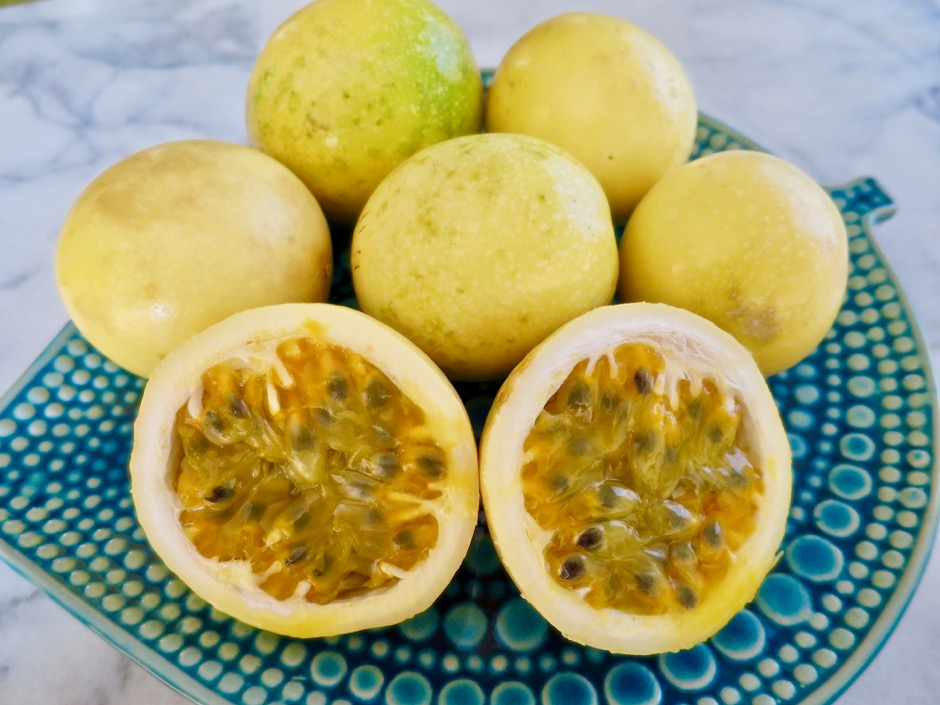
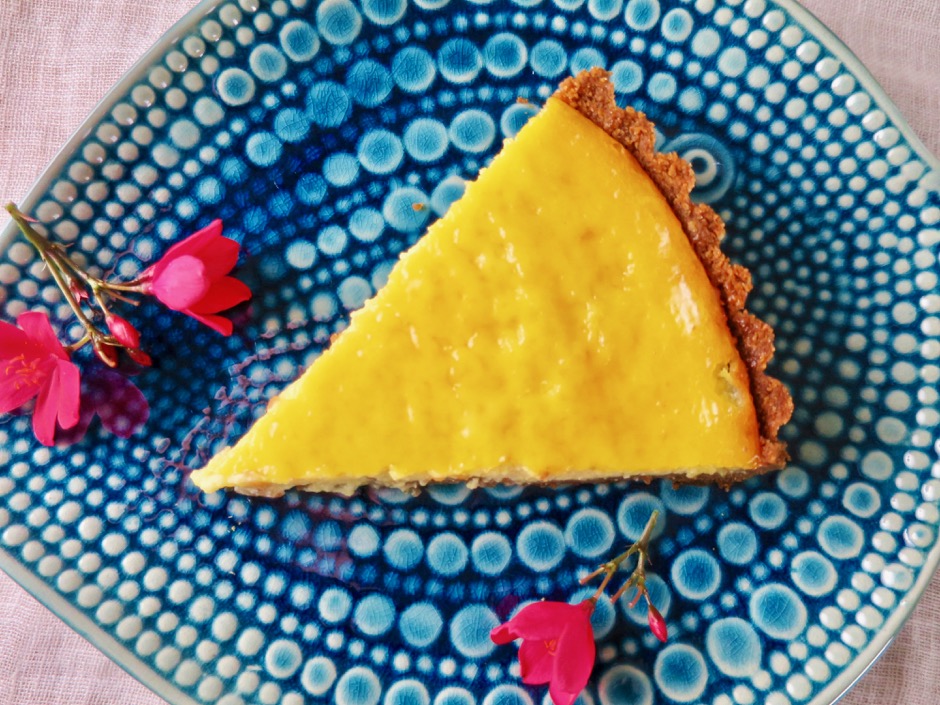
The lilikoi fruit is like no other…tart, sweet , aromatic, exotic, delicious, and the plants do very well in our tropical climate. The lilikoi blossom is one of the most gorgeous of all flowers though the fruit on the other hand is nondescript, tucked between the plant’s vigorous vines. As the fruits ripen, they drop to the ground. The skins will begin to shrivel up and look quite homely, but the pulp inside will be at its peak flavor. At this stage you might choose to eat the pulp and seeds alone or with yogurt, or strain the juice and use it to make a refreshing lilikoi margarita. The vines are very productive, so I freeze the juice in small containers to use later for lilikoi jelly. This recipe for lilikoi cream cheese tart is one of the most beautiful and delicious desserts. It is a terrific culmination to a fine dinner party.
The most beautiful blossom!
Most fruits when peeled or sliced are faintly aromatic. The lilikoi on the other hand is exotically fragrant. It’s hard to describe the scent but your entire home will smell wonderful.
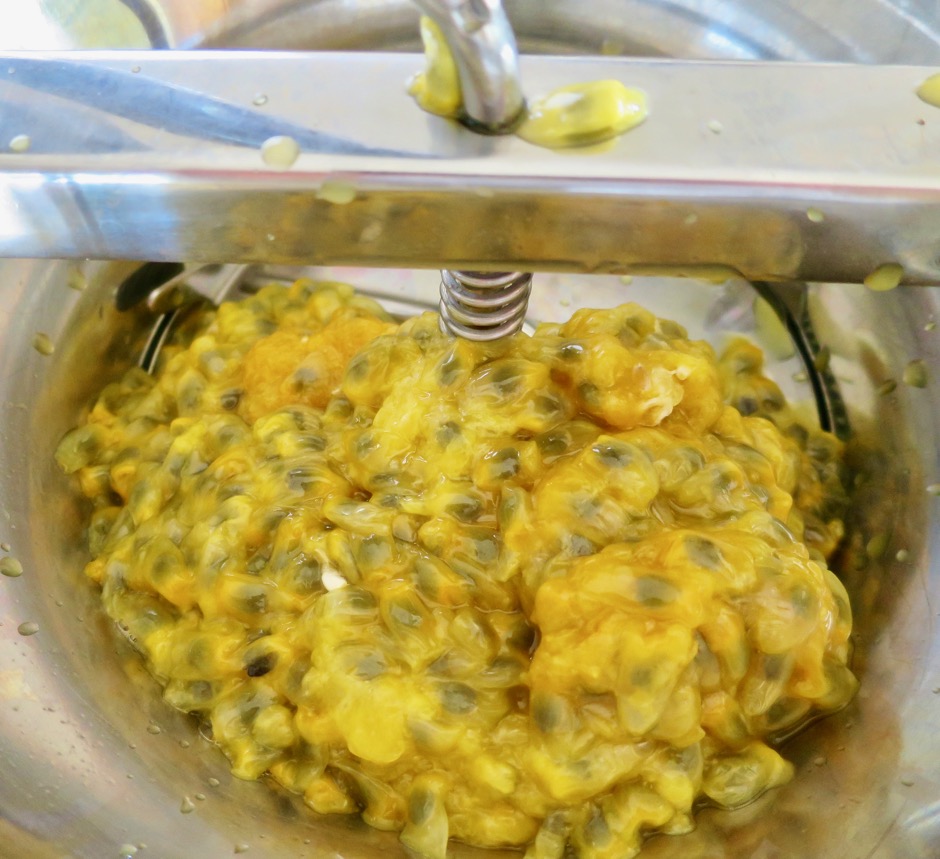
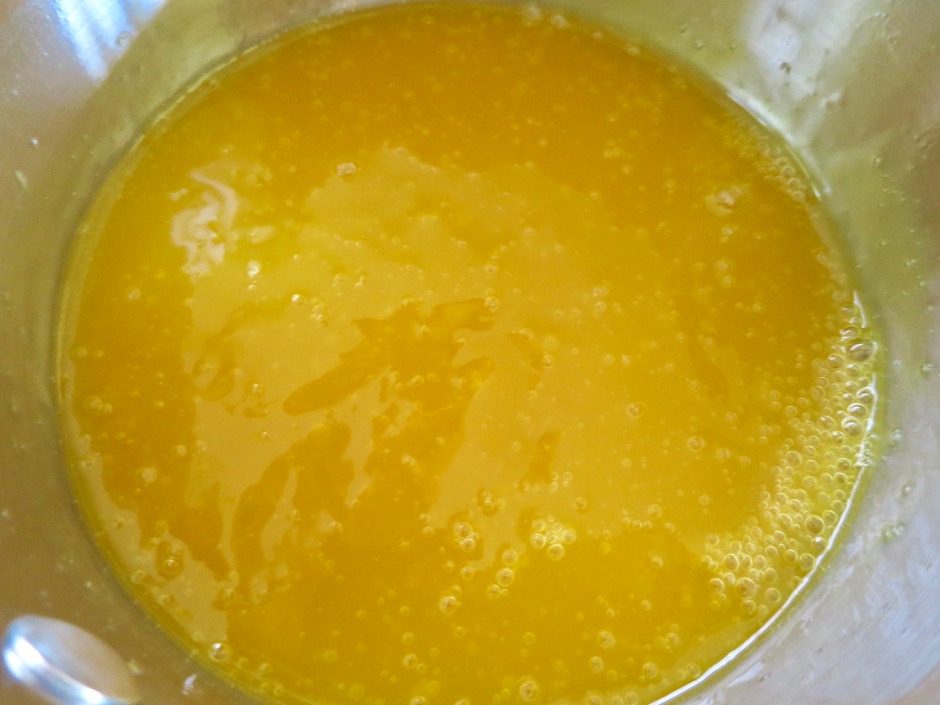
I use a food mill to process the lilikoi fruit. The seeds and heavy pulp are left behind leaving you with the most fragrant lilikoi juice.
The lilikoi cream cheese tart does not require a glaze however if you prefer to use one, there are a couple of options. Sometimes I gently soften homemade lilikoi jelly in the microwave and brush it over the top of tart. Other times I will prepare a glaze made with lilikoi juice, sugar, and gelatin that I adapted from The Baking Wizard. Either way, it’s best to do this the day you plan to serve it as the glaze has a tendency to soak into the cream cheese tart. You may also add some of the lilikoi seeds to the glaze for a pop of color.
1 8 ounce container + 9 level tablespoons (1½ c + 1 tablespoon total) of Green Valley lactose free cream cheese at room temperature (or regular cream cheese)
⅓ cup sugar
⅓ cup + 1 tablespoon fresh lilikoi juice
1 large egg, beaten
For the glaze
3 tablespoons water
1¼ teaspoons unflavored gelatin
5 tablespoons + 2 teaspoons fresh lilikoi juice
2 tablespoons + 2 teaspoons sugar
Preparation
Preheat oven to 350 degrees
Pulse graham crackers in a food processor until finely ground. Add sugar and pulse a few times to combine with the graham cracker crumbs. Transfer to a large bowl and stir in melted Buttery Sticks. Press mixture into the bottom of the pan and up the sides. I find that using a small pyrex custard cup helps with forming the crust perfectly around the edges. Disposable gloves come in handy as well when pressing the crust into the pan. Bake the crust on a baking sheet for 13-15 minutes until lightly browned. Remove to a cooling rack while you prepare the filling.
Using an electric hand held mixer on medium speed, mix together the room temperature cream cheese and sugar until smooth. Add lilikoi juice and mix until combined. With a rubber spatula, stir in the beaten egg. Pour mixture into the graham cracker crust. Bake on a cookie sheet for 40 minutes. The cream cheese tart is done when the cake's center has a slight jiggle when you gently shake the pan. It will firm up as it cools. Transfer to a cooling rack and cool completely before adding your glaze.
Once the tart is cool, prepare the glaze. Place the water in a small bowl and sprinkle with the gelatin. Let this sit undisturbed for a few minutes. Meanwhile in a small saucepan, combine the lilikoi juice and sugar over medium heat and stir until the sugar dissolves and the mixture feels hot to your fingertip. The mixture should not boil or the gelatin may not set properly. Remove the pan from the heat and pour half of the hot liquid into the gelatin mixture. Stir quickly to dissolve the gelatin making sure the mixture is smooth. Transfer the gelatin mixture back to the pan, stirring to combine with the remaining juice. Prepare an ice water bath in a medium bowl that will comfortably fit the saucepan. Place the saucepan in the ice water bath and with a spatula stir the lilikoi mixture constantly until it is cold and becomes syrupy. Pour some of the glaze over the cooled cream cheese tart spreading it evenly. You may not need all of the glaze. Refrigerate until set, at least 3 hours. Another option for a light glaze is to soften lilikoi jelly in the microwave and brush it over the top of the tart.
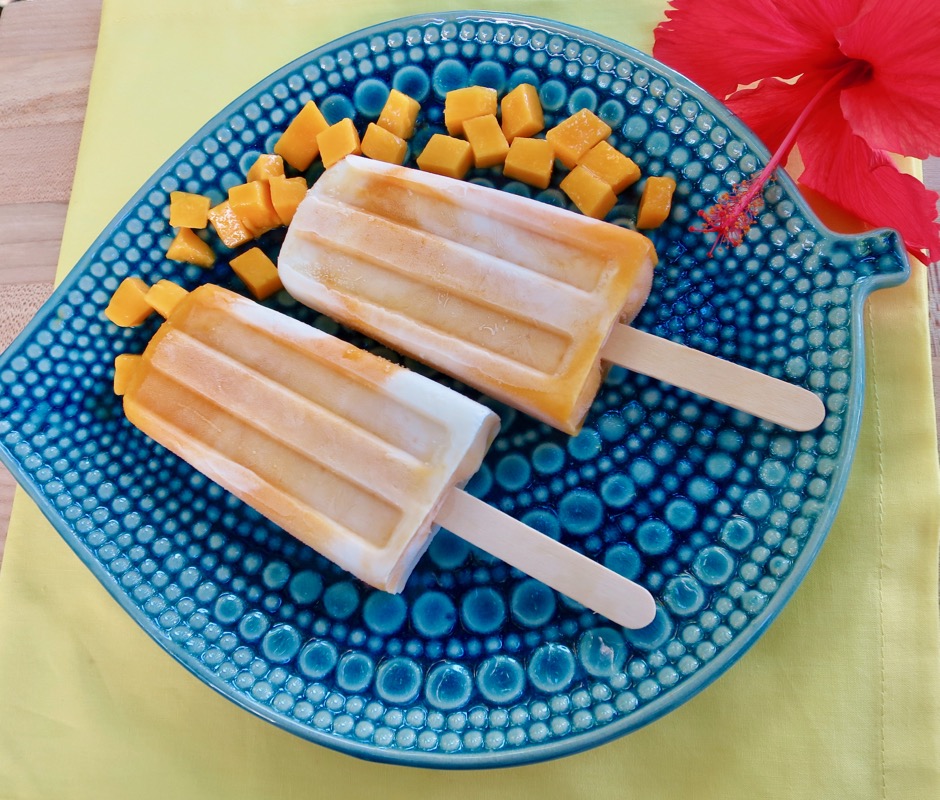
Though I look forward to cooler weather that slowly appears in November, at the same time, I will miss our extended mango season that is with us from May through October. Images of sweet Pirie and Rapoza mangos that cover our dining room table and sometimes overflow into boxes stored on the living room floor, will soon be gone. This year I decided to freeze containers of mango purée so that I will be able to make popsicles throughout the year. It will be such a treat to sit on the porch in December or January with a refreshing mango cream popsicle. After all, the weather is warm all year-long in Hawaii. I adapted this recipe from Sarah & Jessica at Pretty Providence. These popsicles remind me of a Creamsicle, one of my favorite childhood desserts.
Our two mango trees are heavy producers delivering the sweetest mangos imaginable. The Rapoza is creamy and fiberless with very large fruit and small seeds. The White Pirie mango is a small-medium sized mango with a golden hue. I have never tasted a mango sweeter than this one.
Good news for those of us who are lactose intolerant. There are excellent products these days that are made just for us. Green Valley and Organic Valley offer delicious, real dairy products that are lactose free.
The Norpro popsicle mold is inexpensive, simple to use, and makes 10 perfectly sized popsicles.
¾ cup Green Valley lactose free plain yogurt (2% or whole milk)
Preparation
Peel and dice mangos discarding seeds. Puree in a food processor or blender until completely smooth. Whisk in cream of coconut. Pour puree into a 2-cup measuring cup. You want to have a minimum of 1¼ cups of mango puree.
In a medium bowl, whisk together the half and half and sugar until the sugar has dissolved. Stir in vanilla extract. Whisk in yogurt until mixture is smooth. Pour into a 2-cup measuring cup. You want to end up with a total of 3 cups of filling including the mango puree. This amount will fill the Norpro 10 piece popsicle maker perfectly.
Layer cream & yogurt mixture into popsicle molds, alternating with mango puree. Use a wooden chopstick to create a marbled effect. Leave a little space to allow for expansion when frozen.
Place lid over popsicle mold, add popsicle sticks and freeze overnight. Remove popsicles by running warm water around the outside of the mold. Gently squeeze the bottom of the popsicle mold while lifting each popsicle stick from the mold. Try your best not to use too much warm water which may cause the popsicles to melt. Quickly wrap a small piece of waxed paper around each popsicle and store in an airtight container or freezer bag until ready to eat.
Like many others, I am a fan of Ina Garten’s recipes. I miss her Barefoot Contessa cooking show on Food Network. The cooking channels seem to have cancelled their actual cooking shows such as Ina’s. These days, you’re hard pressed to find such a show though there is no shortage of reality/competitive cooking shows. Now on to Ina’s blueberry crumb cake! Blueberries are plentiful and so now is a great time to make this cake. My version uses lactose free ingredients but go ahead and use regular sour cream and butter if you get along with them just fine.
The recipe calls for a stand mixer but I’m sure you could use a hand mixer as well. The batter is quite thick, which makes for a beautiful cake.
I kept sprinkling the streusel over the batter as instructed. I thought I had way too much, but I kept going until I used it up. All that streusel (see top photo) makes this the crumb cake of your dreams!
6 tablespoons Earth Balance Buttery Sticks (or unsalted butter), at room temperature
¾ cup granulated sugar
2 extra-large eggs, at room temperature
1 teaspoon vanilla extract
½ teaspoon grated lemon zest
⅔ cup Green Valley lactose free sour cream (or regular sour cream)
1¼ cups all-purpose flour
1 teaspoon baking powder
¼ teaspoon baking soda
½ teaspoon kosher salt
1 cup fresh blueberries
confectioners sugar for sprinkling
Preparation
Preheat the oven to 350 degrees. Butter and flour a 9-inch round baking pan.
For the streusel:
Combine the granulated sugar, brown sugar, cinnamon, and nutmeg in a bowl. Stir in the melted butter and then the flour. Mix well and set aside.
For the cake:
Cream Buttery Sticks or butter with the sugar in the bowl of an electric mixer fitted with the paddle attachment on high speed for 4 minutes, until light. Reduce speed to low and add the eggs one at a time, then add the vanilla, lemon zest, and sour cream.
In a separate bowl, sift together the flour, baking powder, baking soda, and salt. With the mixture on low speed, add the flour mixture to the batter until just combined. Fold in the blueberries and stir with a spatula to be sure the batter is completely mixed.
Spoon the batter into the prepared pan and speed it out with a spatula. With your fingers, crumble the topping evenly over the batter. It may seem as though there is too much streusel, but keep sprinkling until you use it up!
Bake for 40 - 50 minutes until a cake tester comes out clean, Cool completely and serve sprinkled with confectioners sugar if desired.