Browsing Category

French

Appetizers, Breakfast, Eggs, French, Lactose Free, Recipes

Oeufs Jeannette

December 8, 2024

I was scrolling through some short videos and landed upon Jacques Pepin making what he called Ouefs Jeannette. As an egg lover, I was immediately drawn to the recipe.

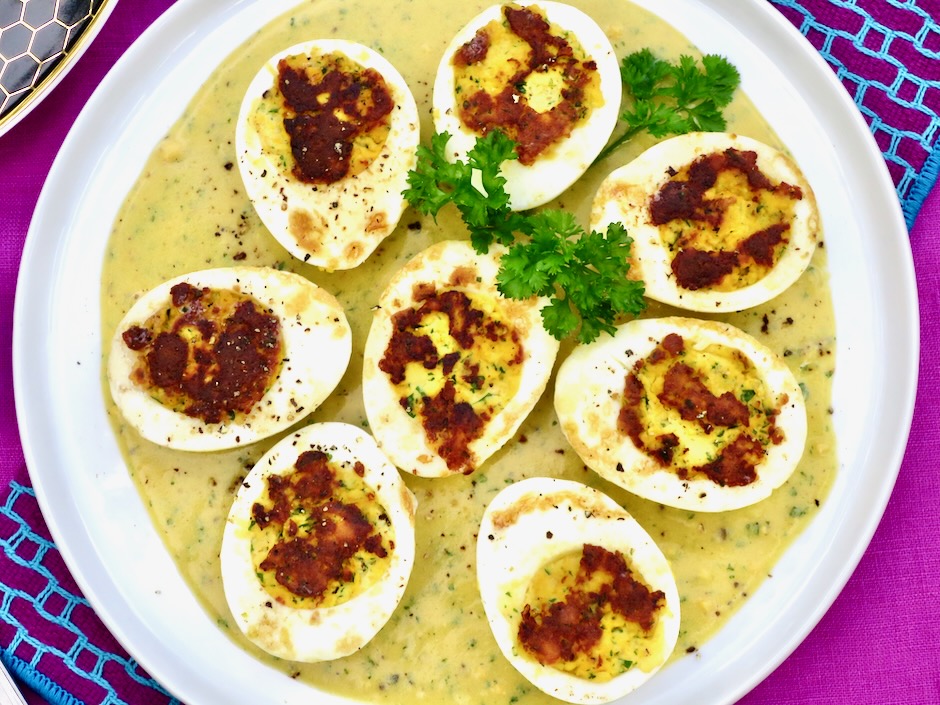
Named after his mother, this is one of Jacques’s favorite dishes. Reminiscent of deviled or stuffed eggs, a quick sauté takes this dish to another level. The tops of the eggs take on a beautiful brown crust, making this egg dish uniquely interesting and flavorful. The sauce served along with the eggs is like icing on the cake.
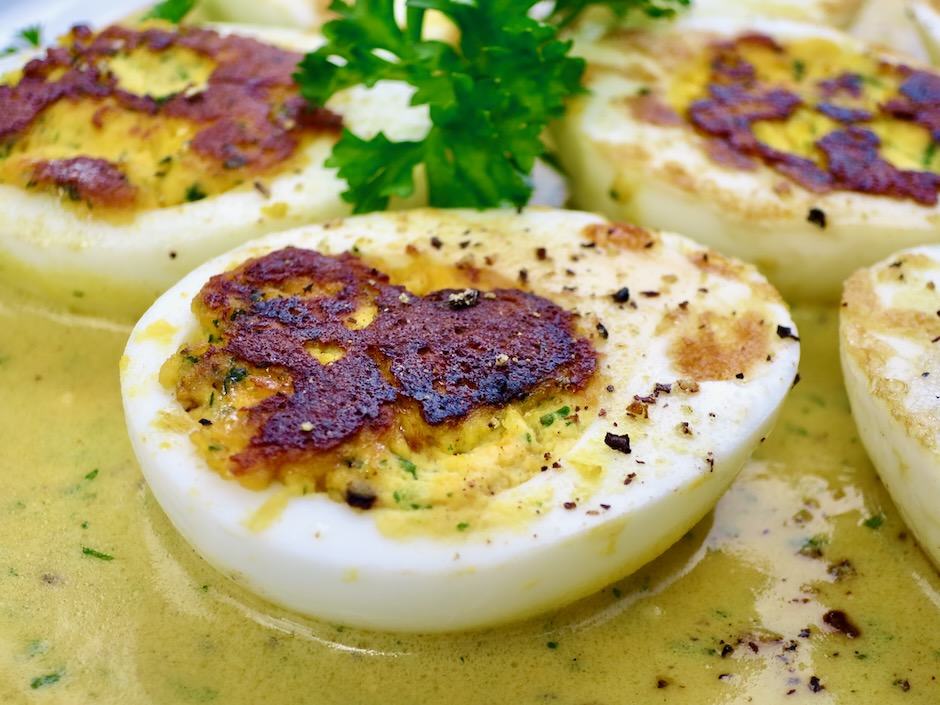
Perfectly browned eggs atop a mustard sauce makes a splendid meal anytime of the day.
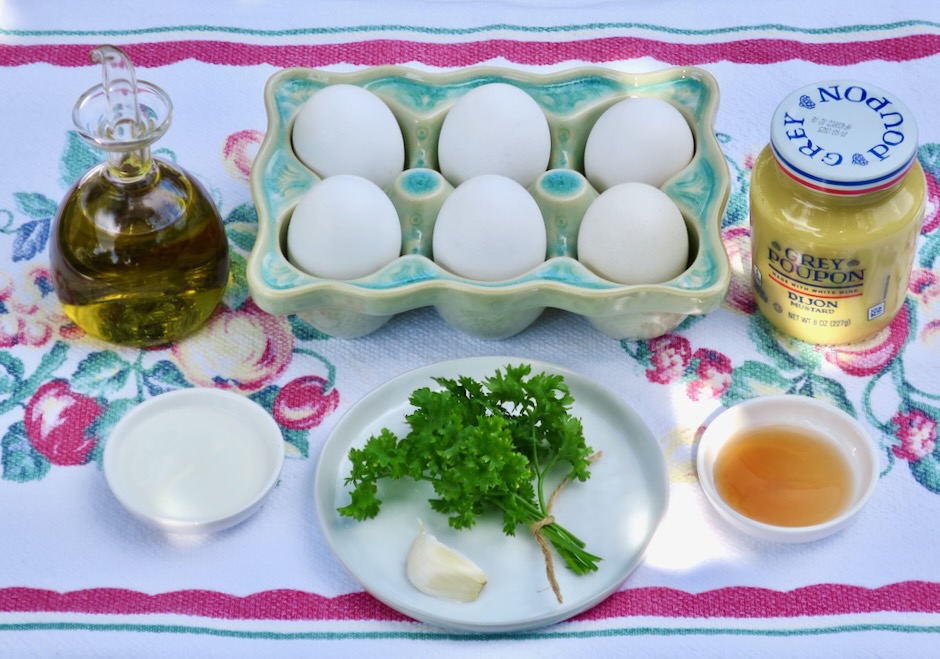
A few common ingredients are all you need for this recipe. You can make 4 eggs, 6 eggs, or more for a larger group. A frisée salad or juicy sliced tomatoes and good crusty bread make the perfect accompaniments for these scrumptious eggs.
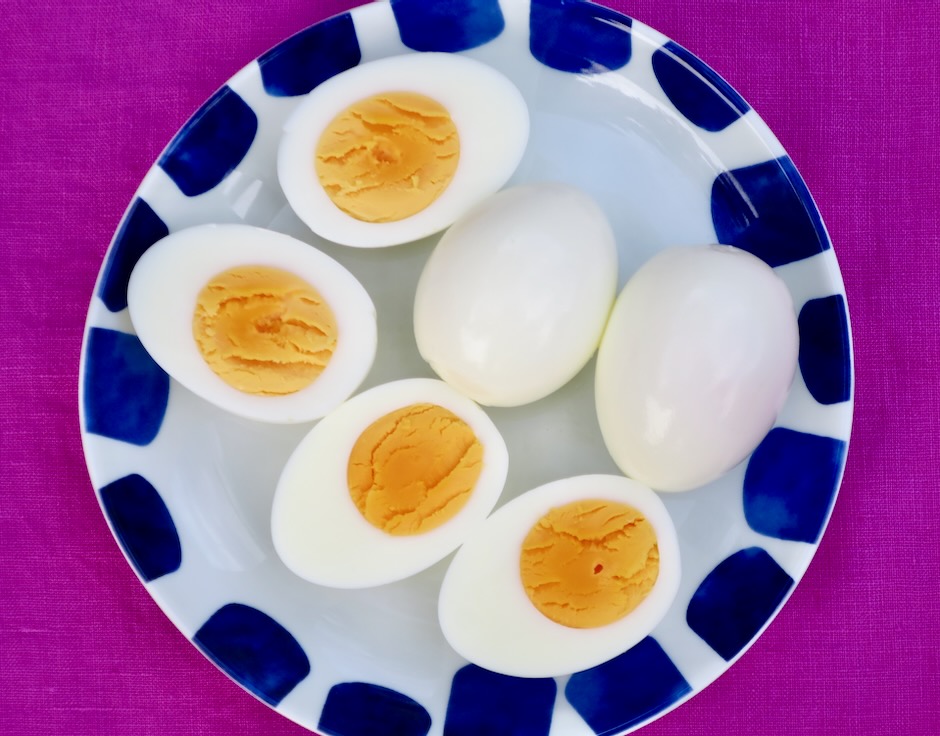
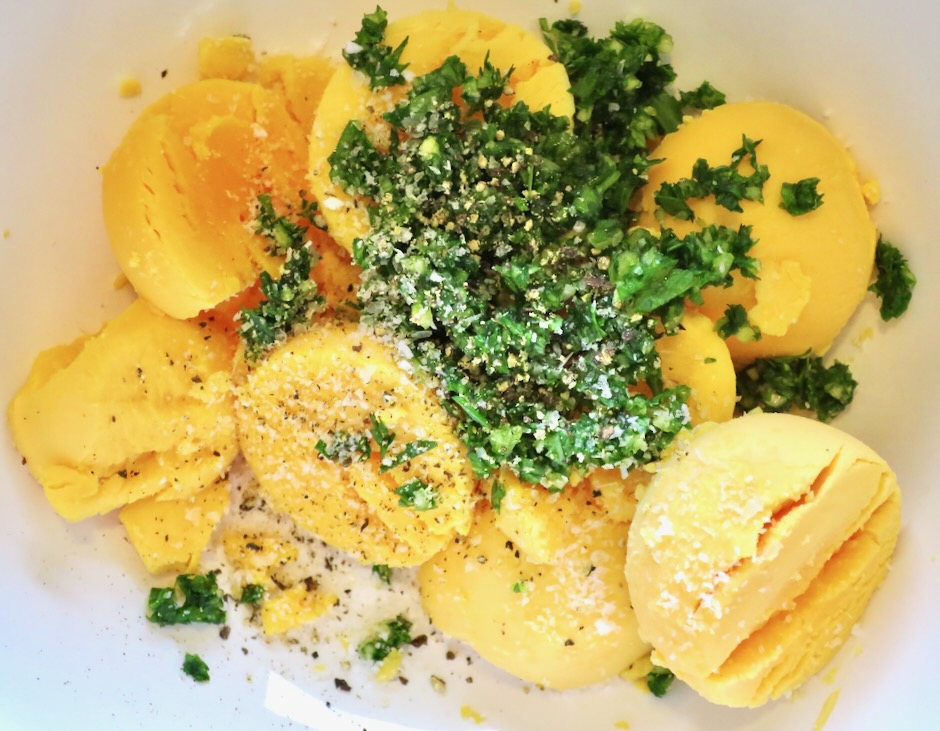
The cooked egg yolks are mixed with parsley, garlic, a little milk to bind it together, salt and pepper.
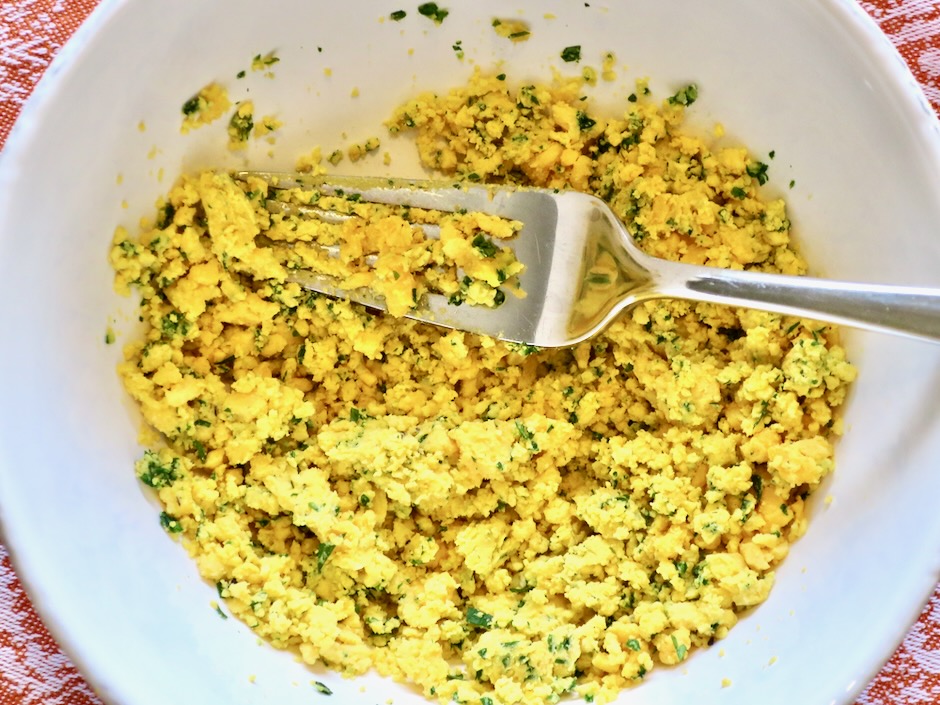
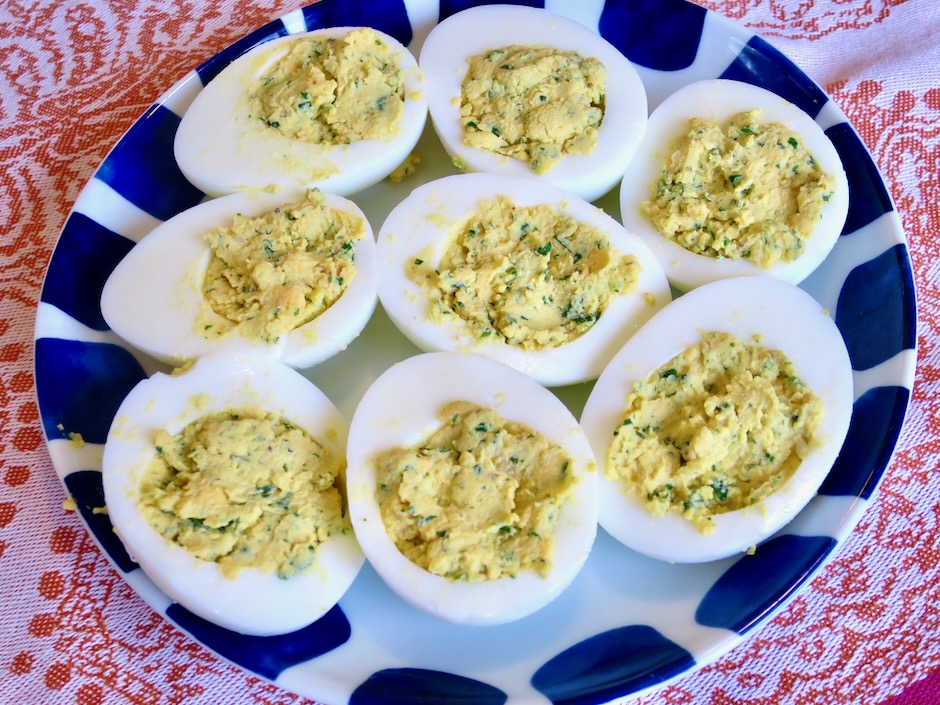
A bit of the egg yolk mixture is reserved for the sauce. The remainder is spooned back into the egg whites.
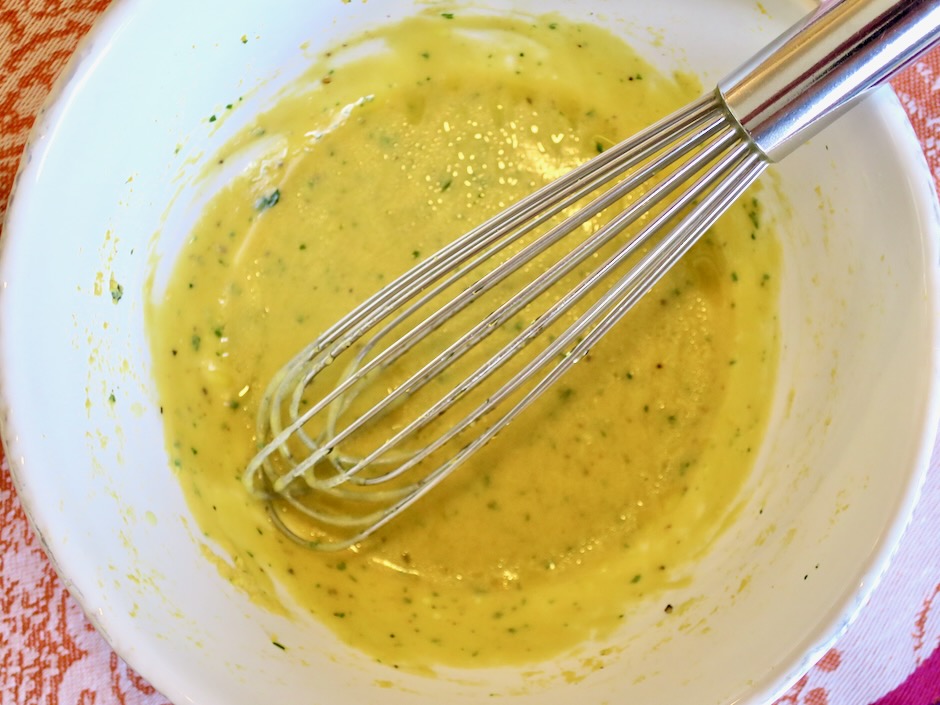
The reserved egg yolk mixture is combined with Dijon mustard, a bit of water, a dash of vinegar, extra virgin olive oil, salt and pepper. The sauce makes this simple dish pure luxury.
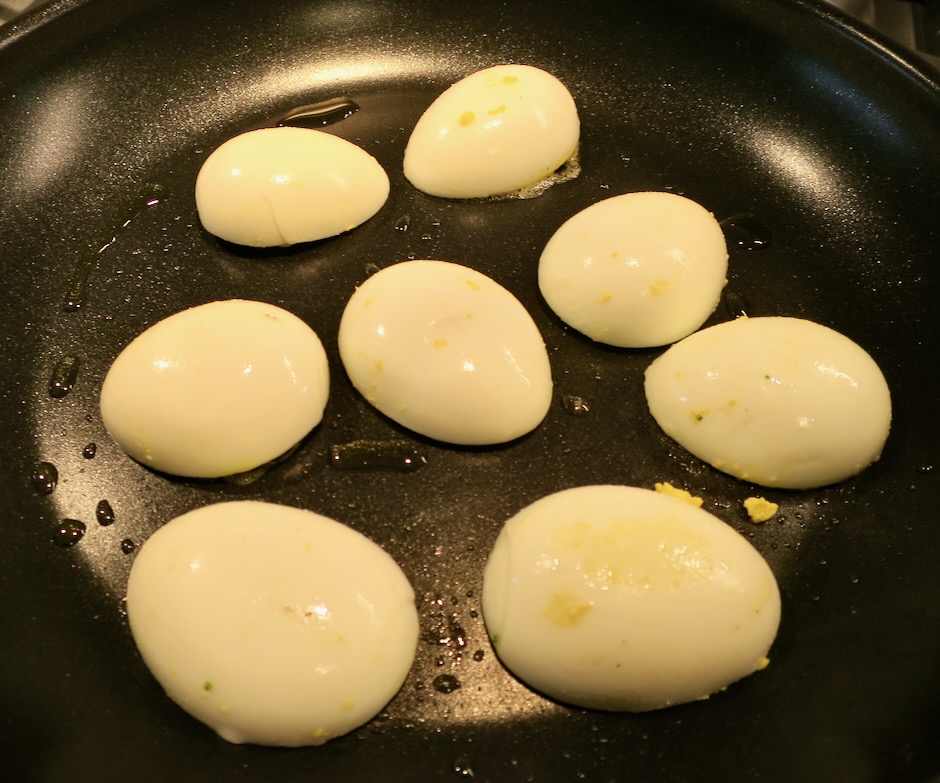
Serve the eggs with pan-fried sourdough bread drizzled with olive oil to soak up all of the tasty mustard sauce.
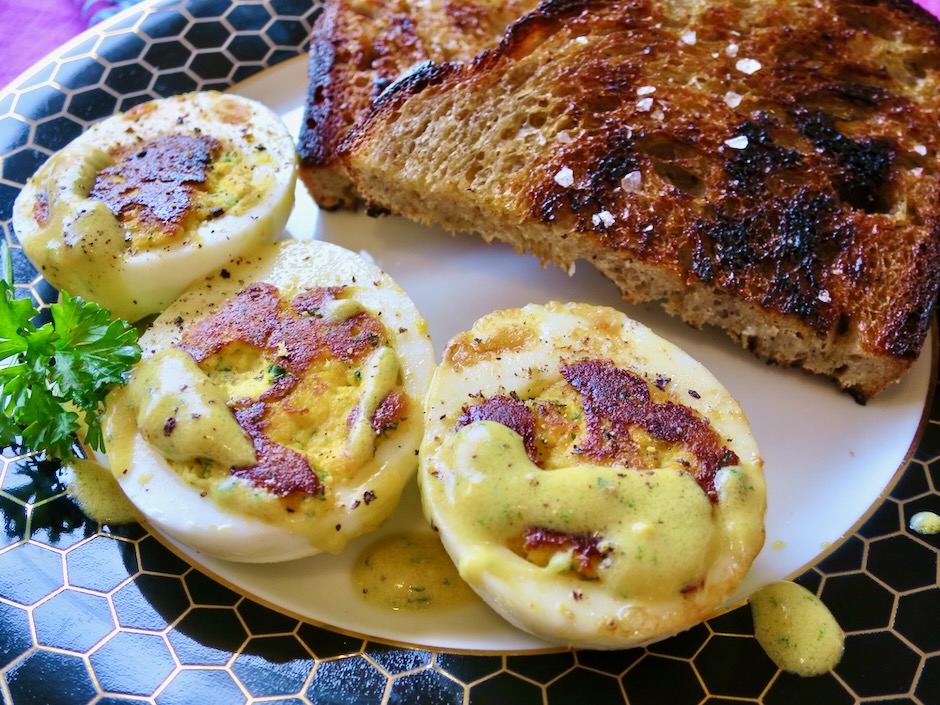
Oeufs Jeannette

Recipe by Kiyo
Servings

2

servings

Adapted from Jacques Pepin’s recipe

Ingredients

  • 4 large eggs

  • 1 small garlic clove, finely minced

  • 1 1/2 tablespoons finely chopped parsley

  • 1-2 tablespoons milk

  • salt and pepper

  • canola or vegetable oil for frying

  • Dressing
  • 2 tablespoons reserved egg yolk mixture

  • 2 teaspoons Dijon mustard

  • 1 tablespoon water

  • 1-2 teaspoons red wine vinegar (substitute with white wine or champagne vinegar)

  • 2 1/2 – 3 tablespoons extra virgin olive oil

  • salt and pepper

Directions

  • Bring a small pot of water to a boil. Gently lower eggs into the water. Bring back to a gentle boil adjusting heat as needed. Gently boil for 10 minutes. Immediately remove eggs to an ice bath to cool for 7-8 minutes.
  • Peel cooled eggs and cut in half as you would for deviled eggs. Remove the yolks and place in a small bowl and mash with a fork. Mix the yolks with the garlic, parsley, milk, salt and pepper to taste. The mixture should be a bit moist, and hold together. Reserve 2 tablespoons of the egg mixture and set aside. Spoon the remaining mixture back into the hollow egg whites. The mixture should be relatively level with the egg whites.
  • Whisk the reserved 2 tablespoons egg yolk mixture with Dijon mustard, 1 tablespoon of water, and 1 teaspoon red wine vinegar (to start). Slowly add the olive oil whisking to emulsify the dressing. Taste and adjust seasoning by adding a dash more vinegar, salt and pepper. Pour the dressing onto a small serving plate. Set aside.
  • Heat 2 teaspoons of vegetable or canola oil in a medium skillet over medium heat. Place the eggs stuffed side down. Cook for 2 minutes or until the eggs are golden brown. Arrange the eggs on the dressing. Serve Oeufs Jeannette with crusty sourdough bread and a salad for brunch or lunch.
Fish, French, Lactose Free, Recipes, Sandwiches

Tuna Nicoise Sandwich

March 9, 2024

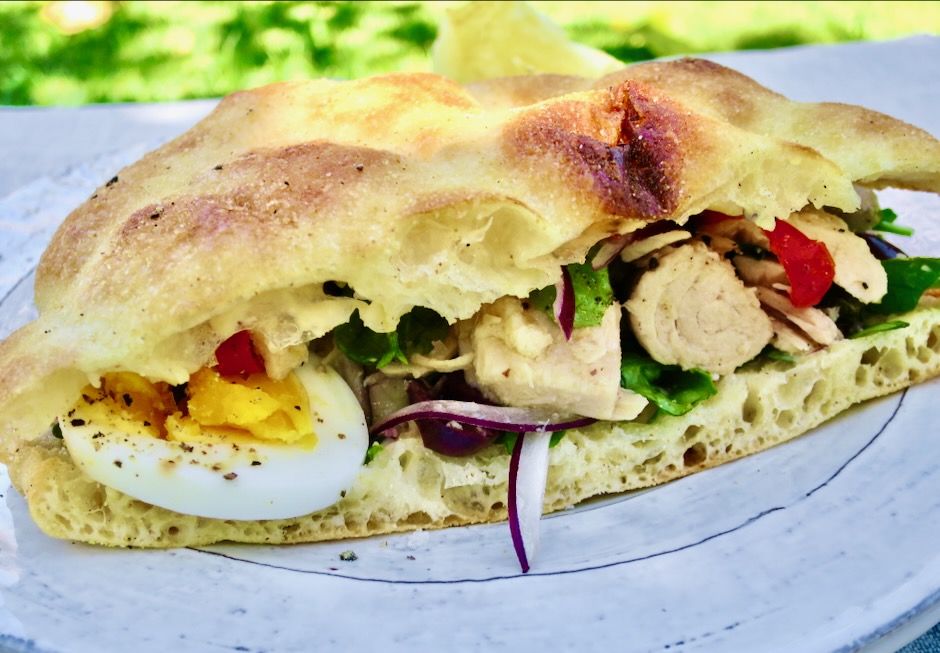
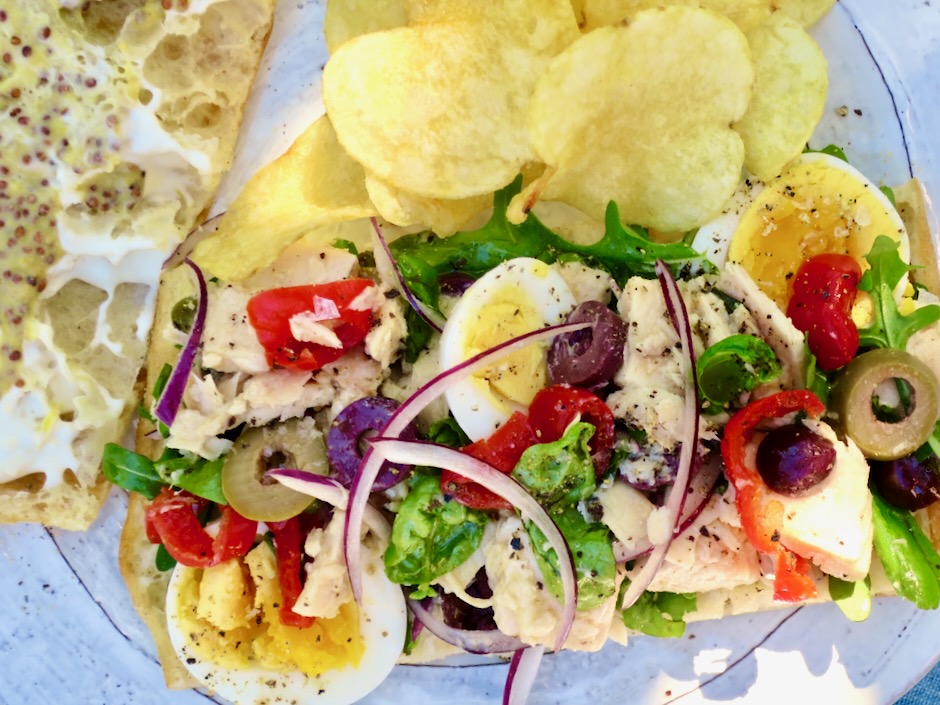
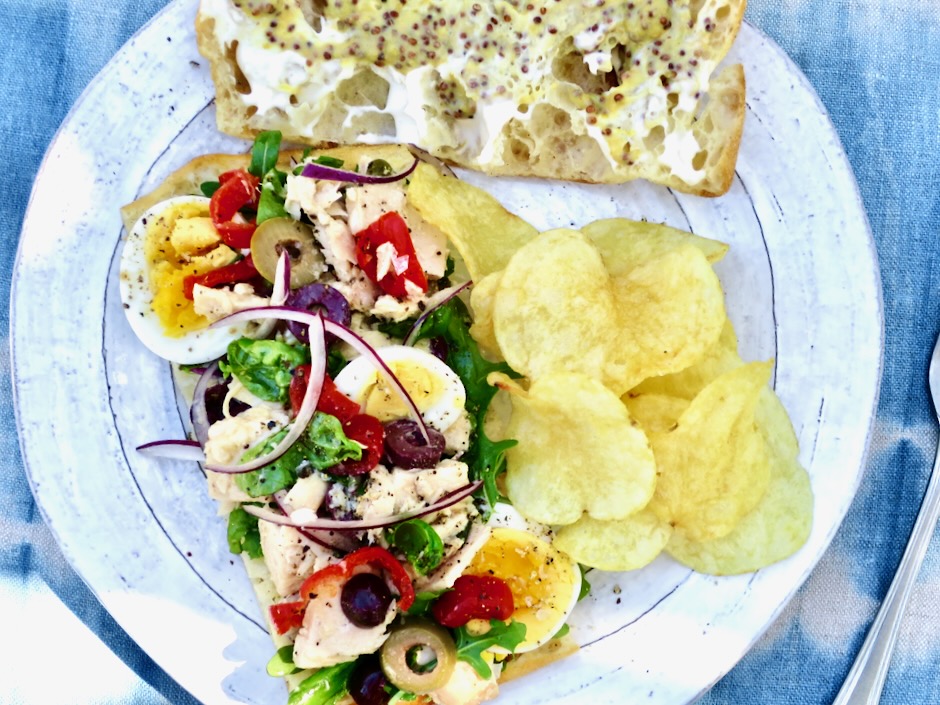
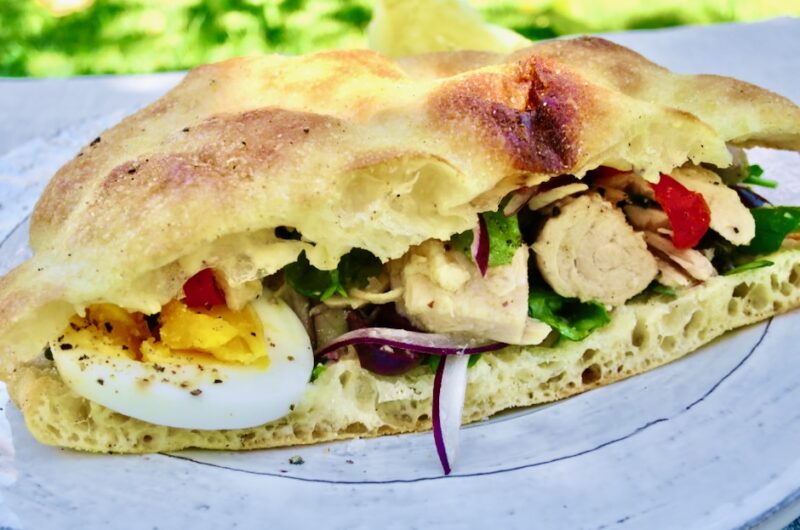
For a clever twist on the classic Salad Niçoise, make a sandwich! This sandwich (known as pan bagnat in Nice, France) is made with some of the tastiest ingredients you might find in the many versions of this famous salad. Though there is much debate on which ingredients should be included in a Salad Niçoise, there will be no debate when you taste this tuna sandwich.
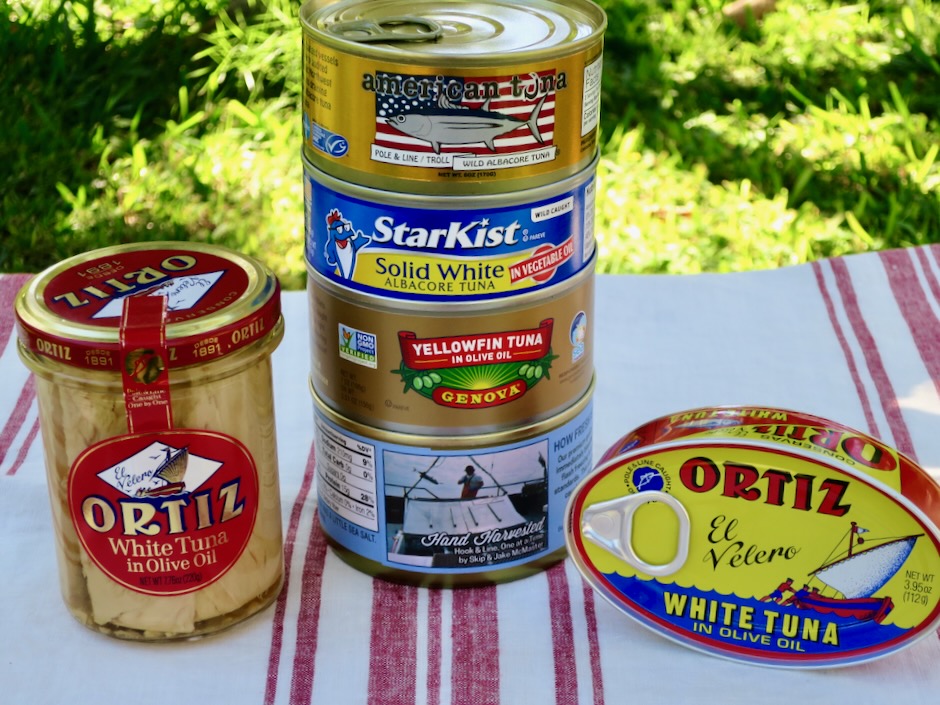
With so many choices of canned tuna available today, you’re bound to find some very good options. For this recipe a good tuna packed in olive oil is essential.

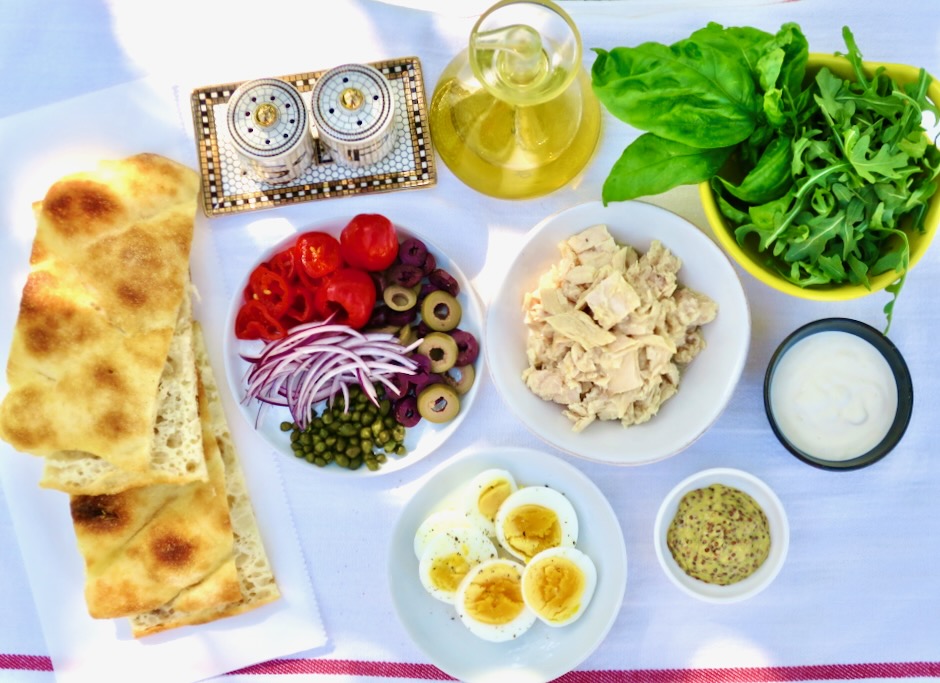
Having your mise en place ready will make it effortless to build your sandwich. Boil the eggs ahead of time, wash and dry your greens, and place all of the sandwich ingredients within easy reach.
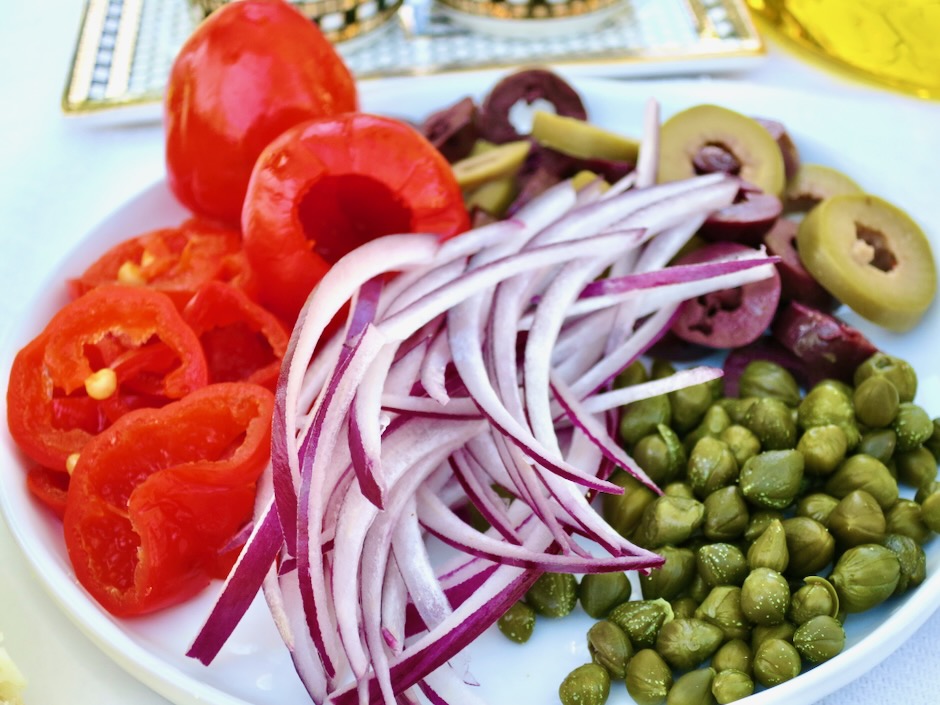
Crispy Peppadew peppers have the perfect balance of sweet and tangy with a hint of heat. Their vibrant color and flavor make them a pretty addition to this sandwich. You can find these at your local olive bar or in jars in the pickle section of many markets.

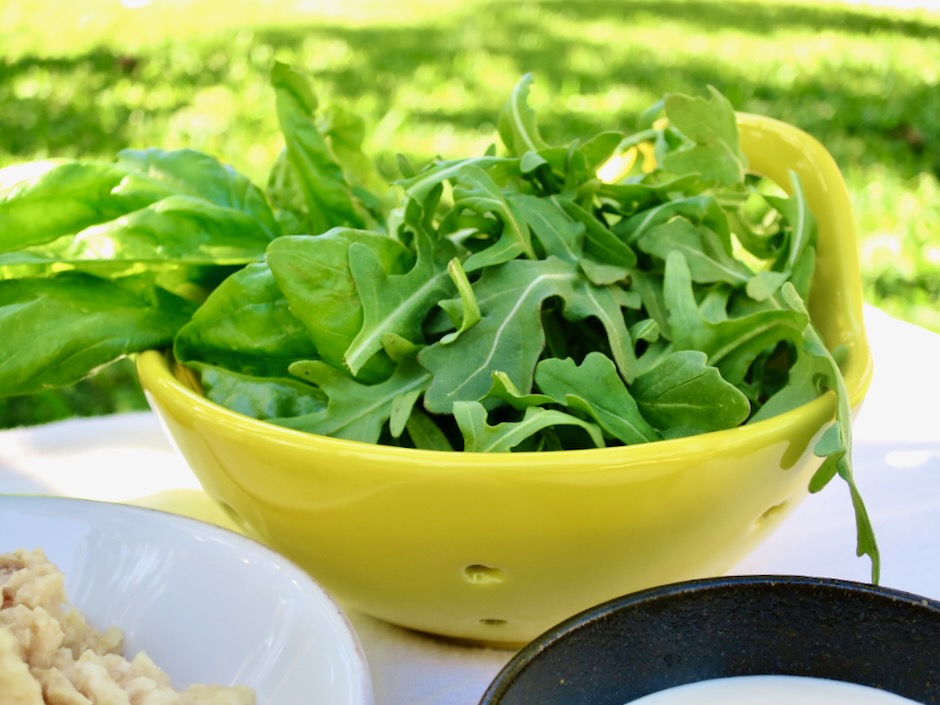
With its distinctive peppery flavor, arugula adds a nice contrast to the rich tuna, eggs, and briny olives. If arugula is not your thing, you can substitute it with another green such as tender butter lettuce leaves.

Baguettes are typical for this sandwich but they can become a bit messy to eat. Choose bread or rolls that are a bit softer than a baguette. You can use ciabatta or something similar to that. If your bread is very thick, hollow out the inside a bit. I used a homemade pinsa bread which worked well as it is not too chewy or very thick. Serve your sandwich with a side of kettle chips and your favorite fizzy beverage.

Tuna Nicoise Sandwich

Recipe by Kiyo
Servings

2

servings

Adapted from Bon Appetit magazine

Ingredients

  • 1 large egg

  • 1/2 teaspoon lemon zest

  • 2 teaspoons fresh lemon juice

  • 1/8 teaspoon finely grated garlic

  • 1/4 cup mayonnaise

  • kosher salt

  • 1 can tuna in olive oil (6-7 ounce), lightly drained

  • 1/4 cup thinly sliced red onion

  • 1/2 cup torn basil

  • 6 Peppadew peppers, sliced (optional but recommended)

  • 1/4 cup pitted mixed olives, sliced

  • 1 tablespoon capers, drained

  • 1 1/2 tablespoons extra virgin olive oil

  • kosher salt and freshly ground black pepper

  • 2 ciabattas or other bread or rolls of your choice

  • 1 tablespoon whole grain mustard

  • 1 cup baby arugula

Directions

  • Using small tongs or a slotted spoon, gently lower egg into a small saucepan of boiling water. Cook, adjusting heat as needed to maintain a gentle boil for 8 minutes. Transfer egg to an ice bath. Once cool, peel and slice into 6 pieces.
  • Meanwhile, whisk lemon zest, lemon juice, garlic, and mayonnaise in a small bowl. Season with a pinch of kosher salt.
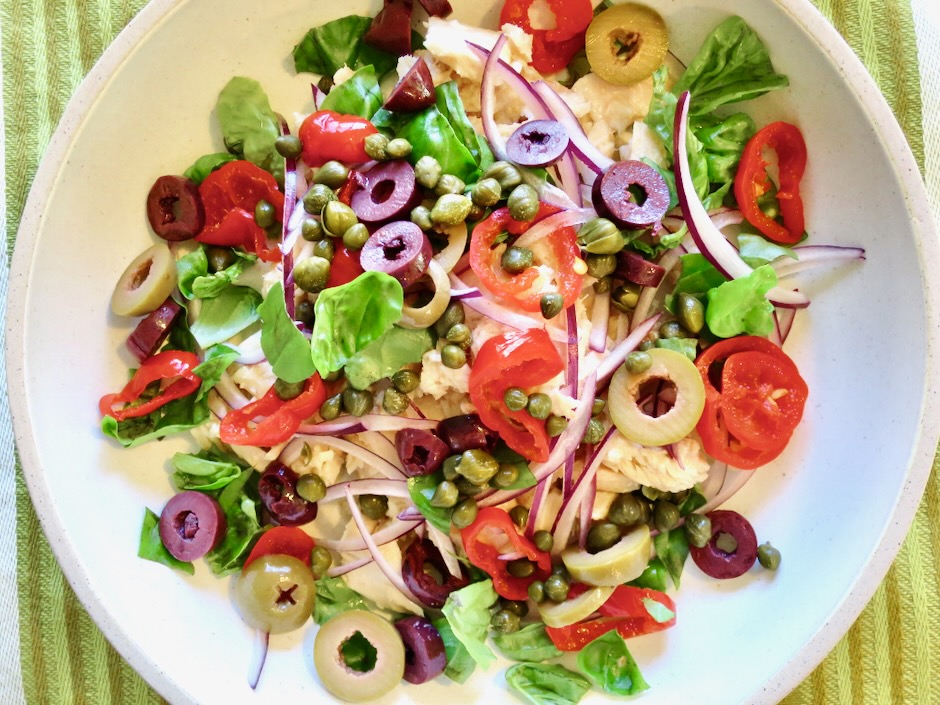
  • Placed drained tuna in a medium bowl and gently break up into large pieces with a fork. Add red onion slices, torn basil, Peppadew peppers, olives, capers and 1 1/2 tablespoons olive oil. Season with kosher salt and freshly ground black pepper. Gently stir to combine.
  • Spread both sides of bread with mayonnaise and the top side with mustard. Arrange arugula on bottom half and layer with tuna mixture. Top each sandwich with 3 pieces of egg. Season egg with salt and pepper. Cut sandwiches in half and serve with kettle chips and fizzy beverages.
Chicken, Dinner, French, Lactose Free, Recipes, Sandwiches, Sous Vide

Tarragon Chicken Salad

June 25, 2023

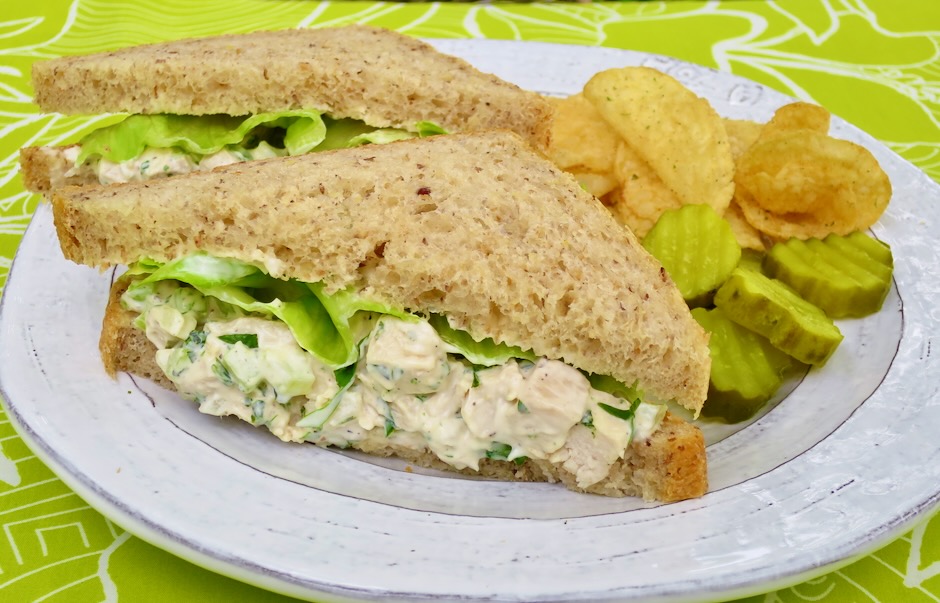
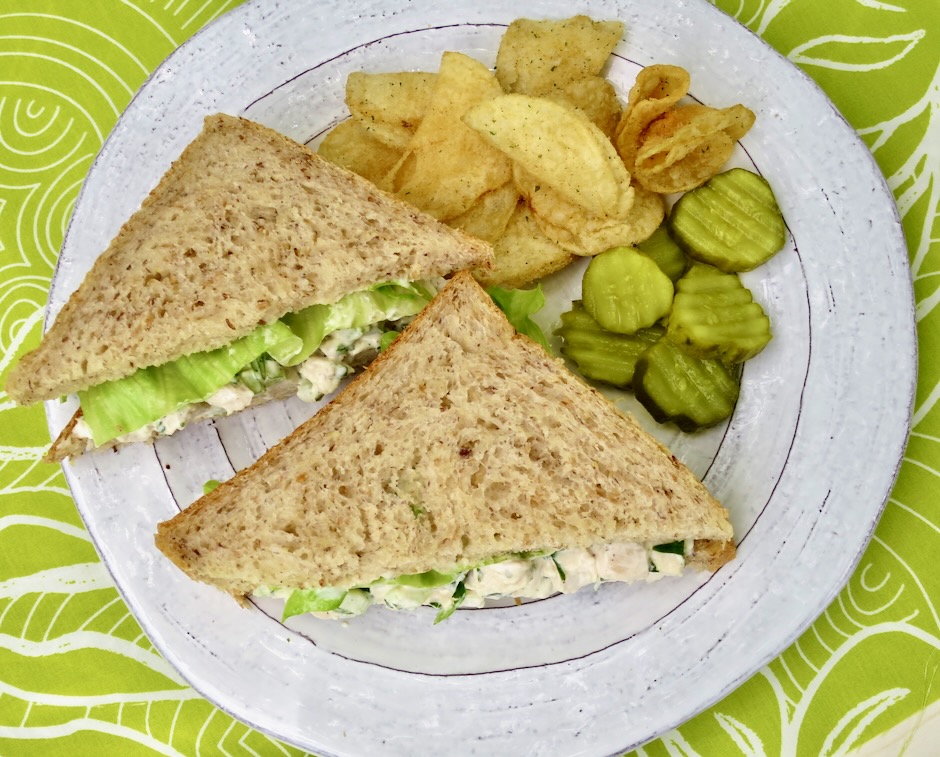
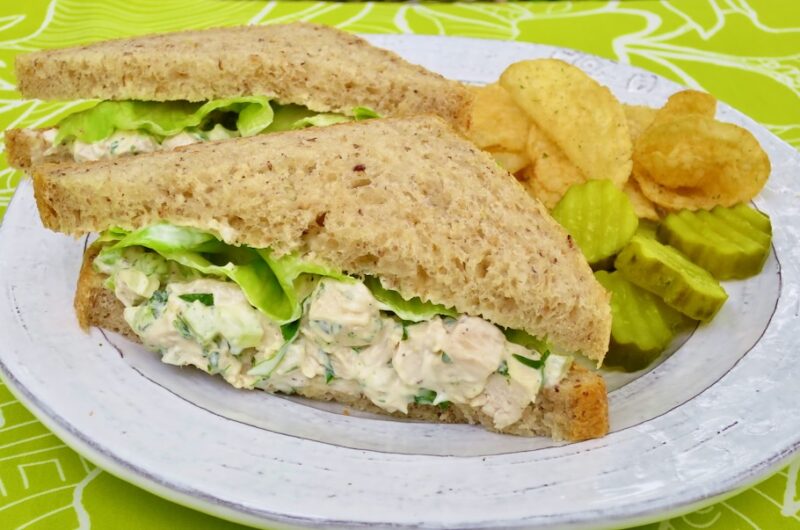
What to do with leftover chicken? In our case, we had extra roast chicken and decided on chicken salad sandwiches. A good sandwich is something I really enjoy, whether it’s tuna, smoked turkey, ham, pastrami, or egg. And since I’m a big fan of tarragon, I decided to expand my sandwich repertoire with this tarragon chicken salad. Tarragon takes chicken salad to a new level.

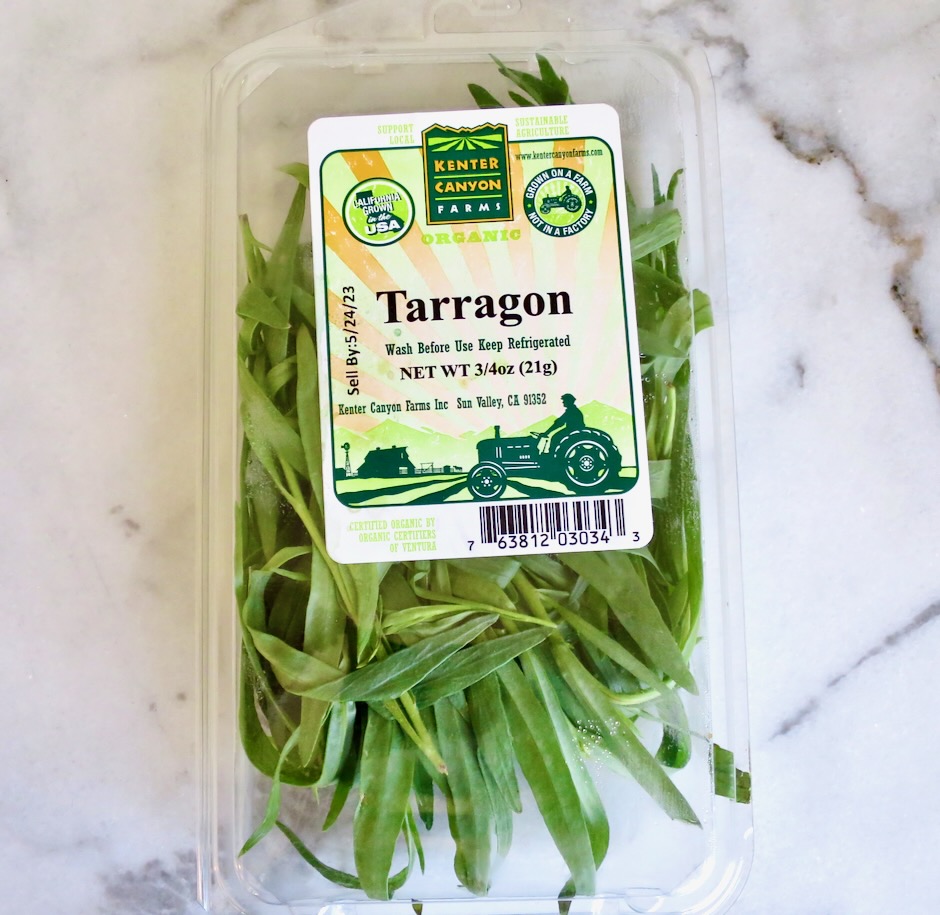
We occasionally grow French tarragon in a large planter pot in the garden, however, it is quite difficult to maintain. Fortunately I’m able to find it at our local Whole Foods market. It is a beautiful herb with slender green, fragrant leaves that have a slight anise-like flavor. It is a mainstay in French cooking and is an essential ingredient in béarnaise sauce. It pairs well with chicken, fish, salad dressings, sauces, and eggs.

Since the sandwich was so good and I didn’t have any leftovers, I decided to sous vide chicken breasts just for this salad. It is a foolproof method to cook chicken with perfect results. If you don’t have a sous vide tool, you may choose your favorite way to prepare chicken breasts. Use a slow cooker, or poach or bake your chicken breasts. If you’re short on time you can use rotisserie chicken.

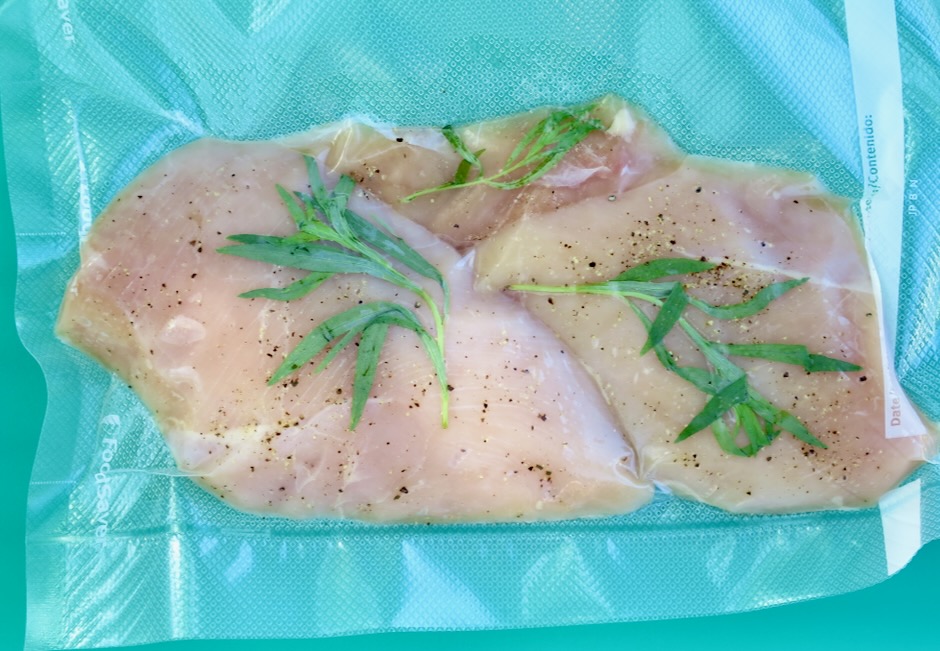
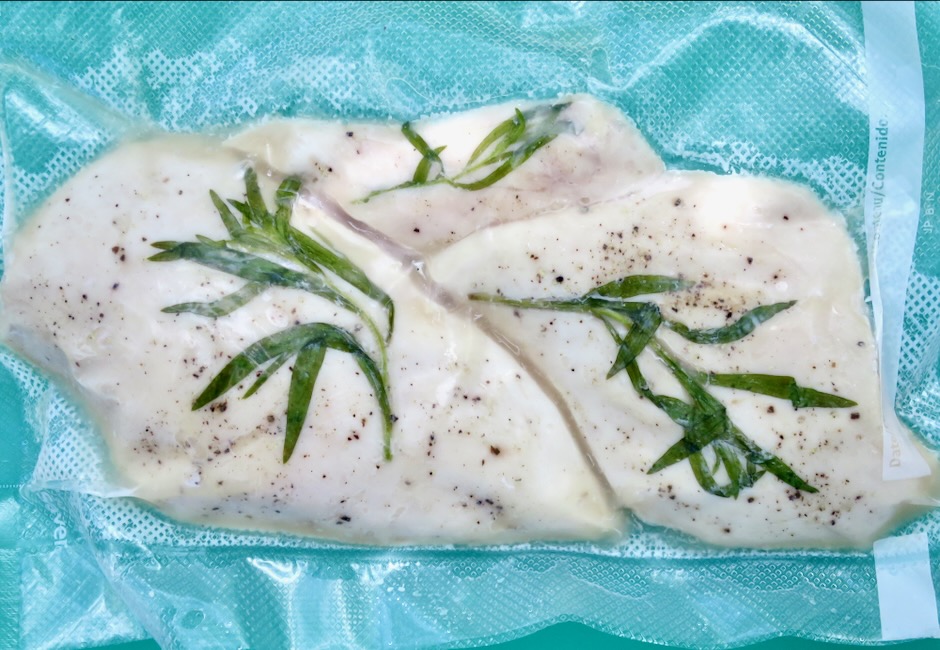
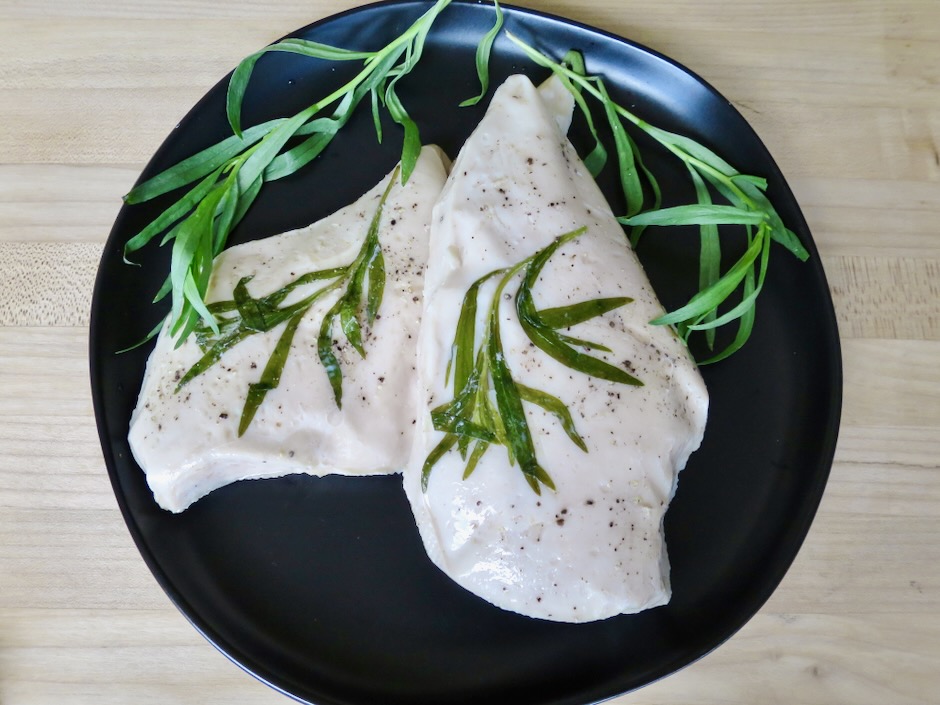
The chicken breasts were seasoned with kosher salt, pepper and a few sprigs of tarragon before being cooked.

The only special ingredient you need is tarragon. It is not commonly found in stores here on Maui except at Whole Foods. When I see it, I buy it. It will last for a week and before that time is up, I’ve already planned on what I’m going to make with it.

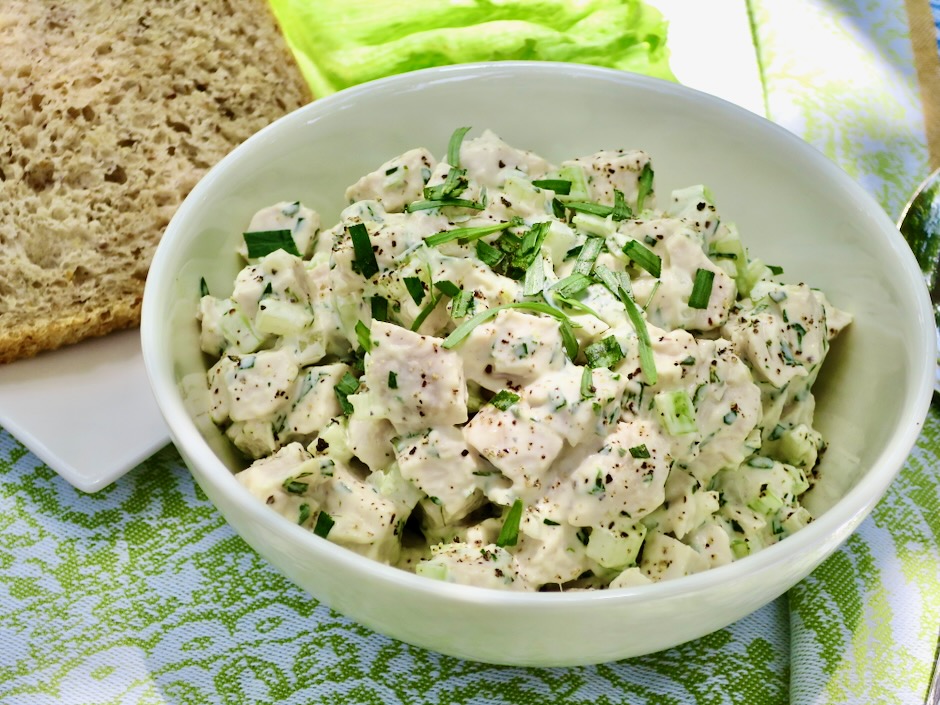
Once you have a taste of this chicken salad, I’m confident you will enjoy it as much as I do.

Tarragon Chicken Salad

Recipe by Kiyo
Servings

4

servings

Ingredients

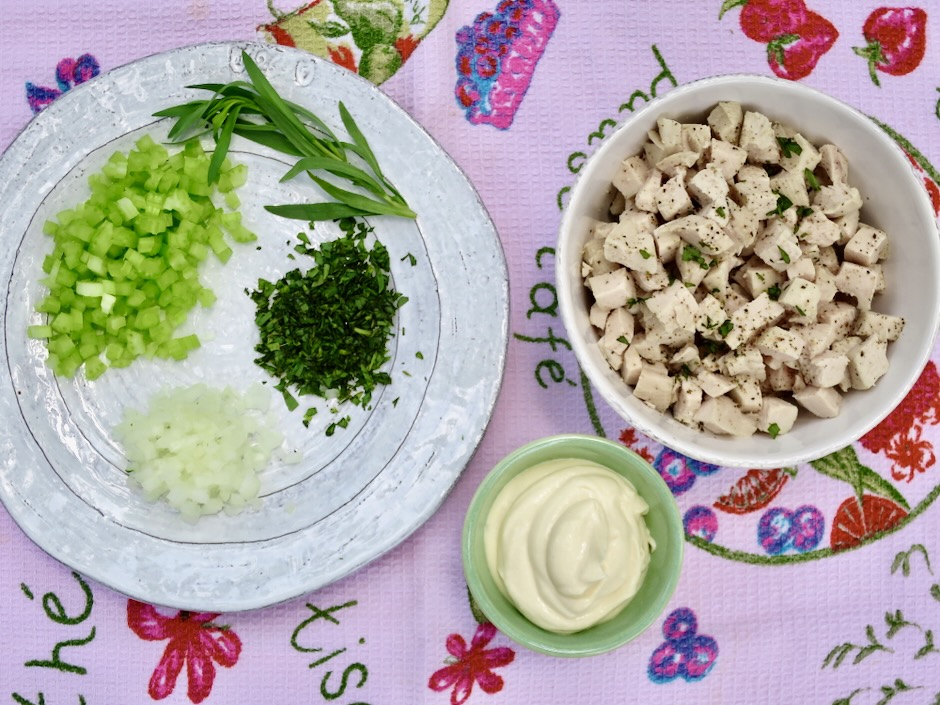
  • 2 cups cooked chicken, chopped

  • 1/3 cup (1 stalk) chopped celery

  • 2 tablespoons diced sweet onion

  • 1 1/2 – 2 tablespoons chopped fresh tarragon

  • 1/3 cup mayonnaise

  • 1 1/2 teaspoons Dijon mustard

  • salt and pepper to taste

  • Sandwich bread, butter, mayonnaise, lettuce

Directions

  • To sous vide chicken, season 1 pound chicken breasts (2 pieces) with kosher salt and freshly ground black pepper. Place a small sprig of tarragon on each piece of chicken. Vacuum seal chicken in bags, or use a Ziploc freezer bag and the water displacement method. Sous vide at 158 degrees for 1 1/2 hours and up to 4 hours. Transfer bag to an ice water bath to chill thoroughly before using in recipe.
  • Chop chicken breasts (sous vide, slow cooker, roasted, baked, rotisserie) into small cubes. Place in a medium bowl. Add diced celery, chopped onions, and tarragon. Give the chicken a quick stir. Combine mayonnaise and Dijon in a small bowl. Stir into chicken mixture and season with salt and pepper to taste.
  • Butter one side of sandwich bread and spread a thin layer of mayonnaise on the other side. Scoop chicken salad onto buttered side, top with crispy lettuce and place remaining slice of bread on top. Slice sandwich in half, serve with chips and pickles.

Notes

  • Tarragon chicken salad is best eaten the day it is made but can be stored in the refrigerator for up to 1 day.
Dessert, French, Fruit, Jams & Jellies, Lactose Free, Recipes, Vegan, Vegetarian

Strawberry Galette

July 21, 2021

Strawberry Galette

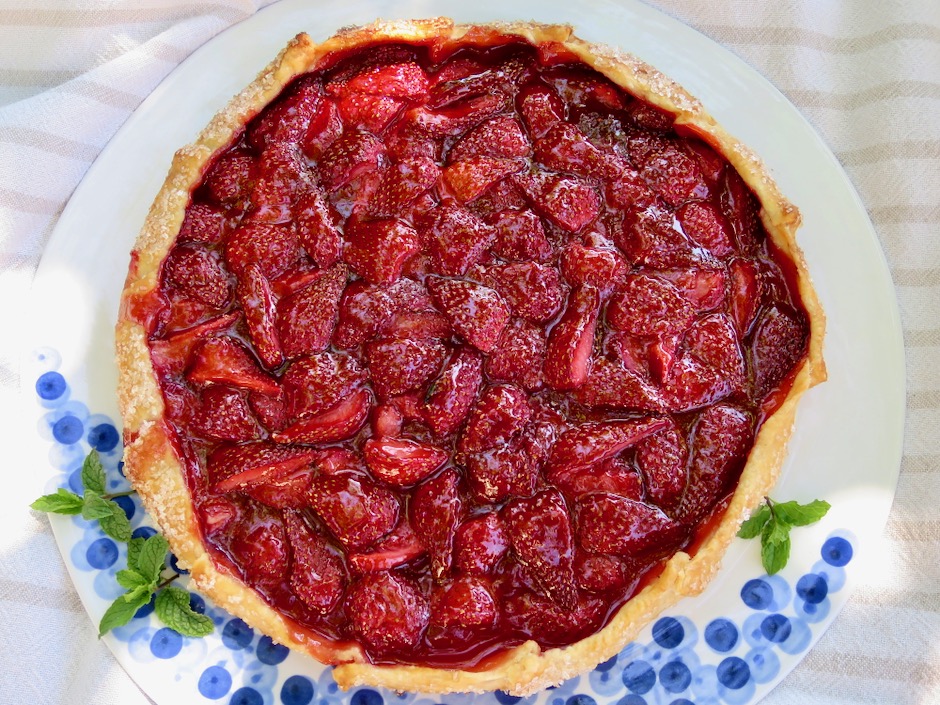
One of my favorite fruits to use in a galette is mango.  During the summer months our two trees produce a good harvest of fruit that we use in all sorts of recipes.  But not everyone has access to mangos so any number of other seasonal fruits or berries are suitable.  I particularly like strawberries.  They make a gorgeous galette that bakes up beautifully.  The crust holds up well and leftovers, if any, are a real treat with coffee the following morning.

Fresh Strawberries

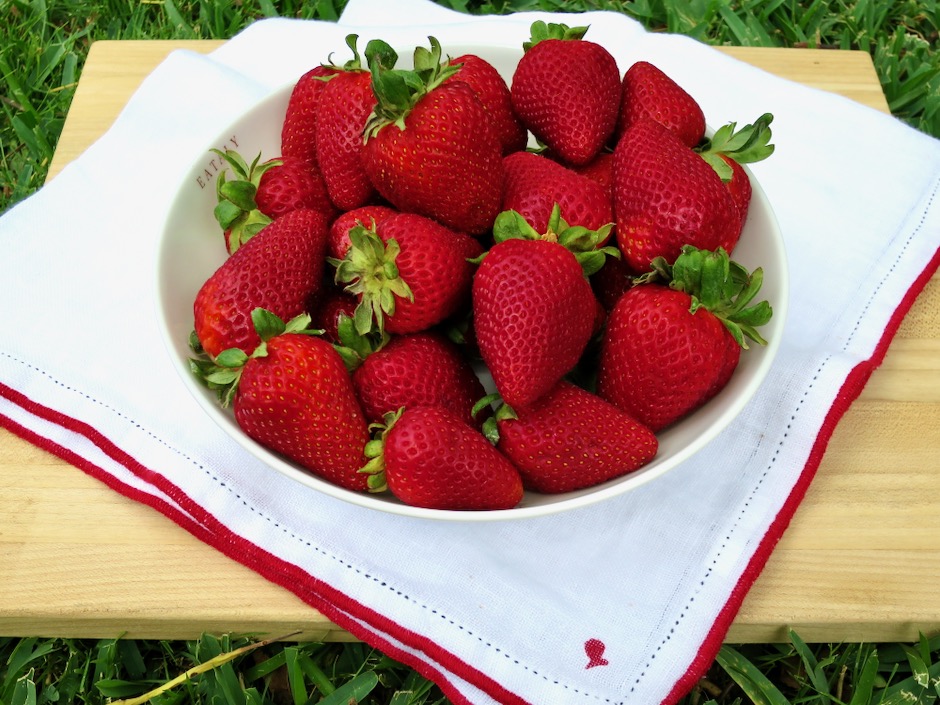
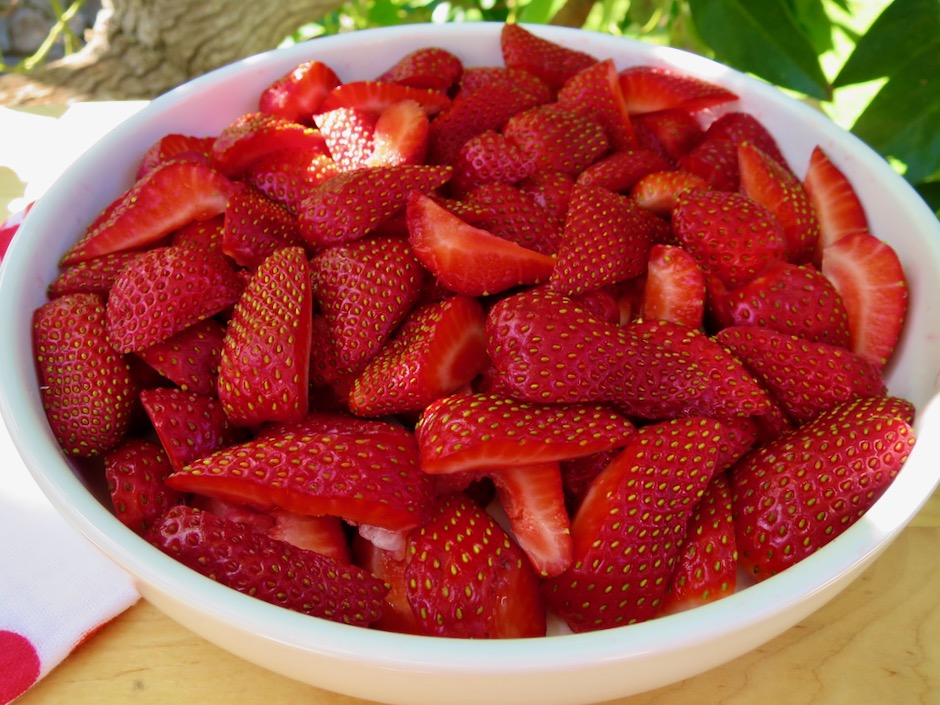
The strawberries found in the markets can vary in sweetness.  It’s a good idea to buy ones that are ripe and juicy in appearance but not at all soft.  Strawberries are quite perishable so plan on making the galette within a day or two of buying your strawberries.

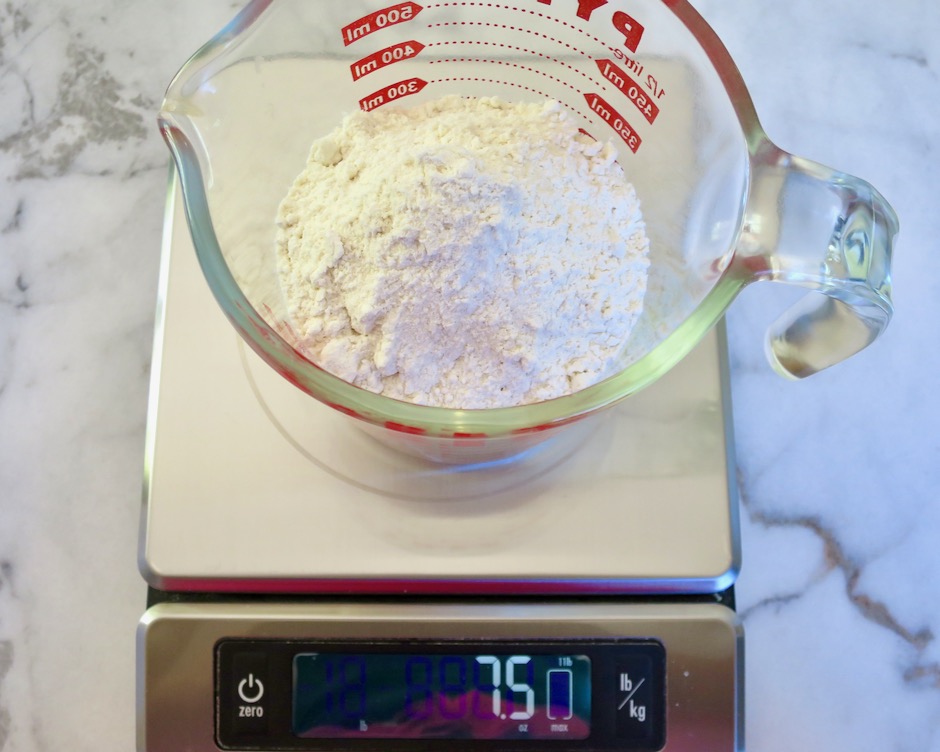
Weighing Flour

The crust for this galette is excellent. It holds up well to the juicy strawberry filling and does not become soggy even if you have leftovers the following day.

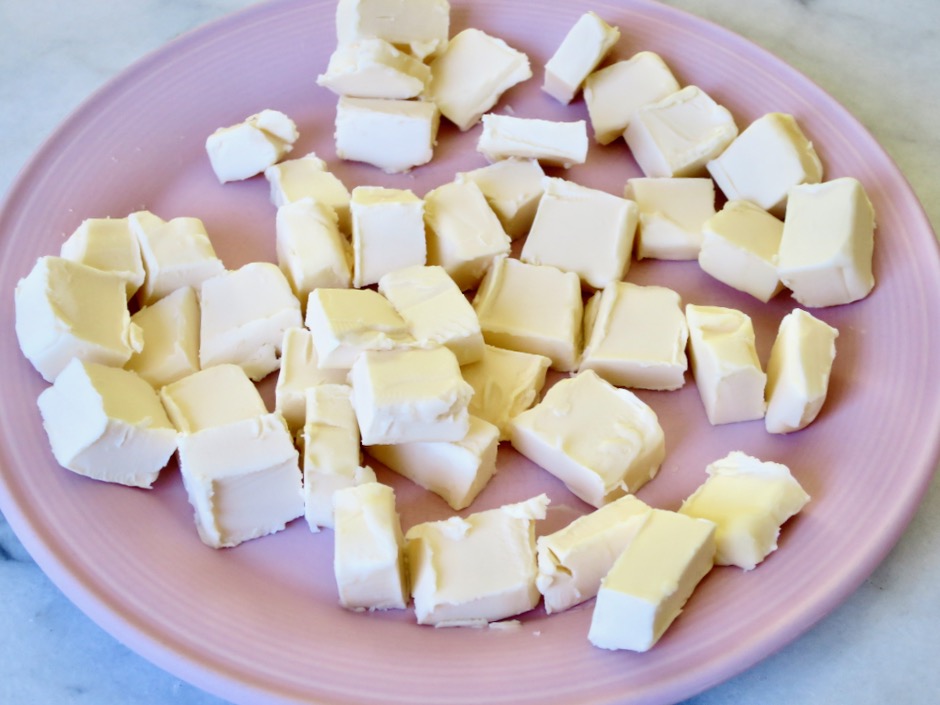
Chilled Earth Balance Buttery Stick Cubes

I used Earth Balance Buttery Sticks (vegan and lactose free) but feel free to use regular unsalted butter as the original recipe calls for.   Whatever you choose to use, make sure it does not sit out on the counter and is well chilled.  Buttery Sticks are not as firm as regular butter so I freeze the cubes for 15-30 minutes before proceeding with the recipe.

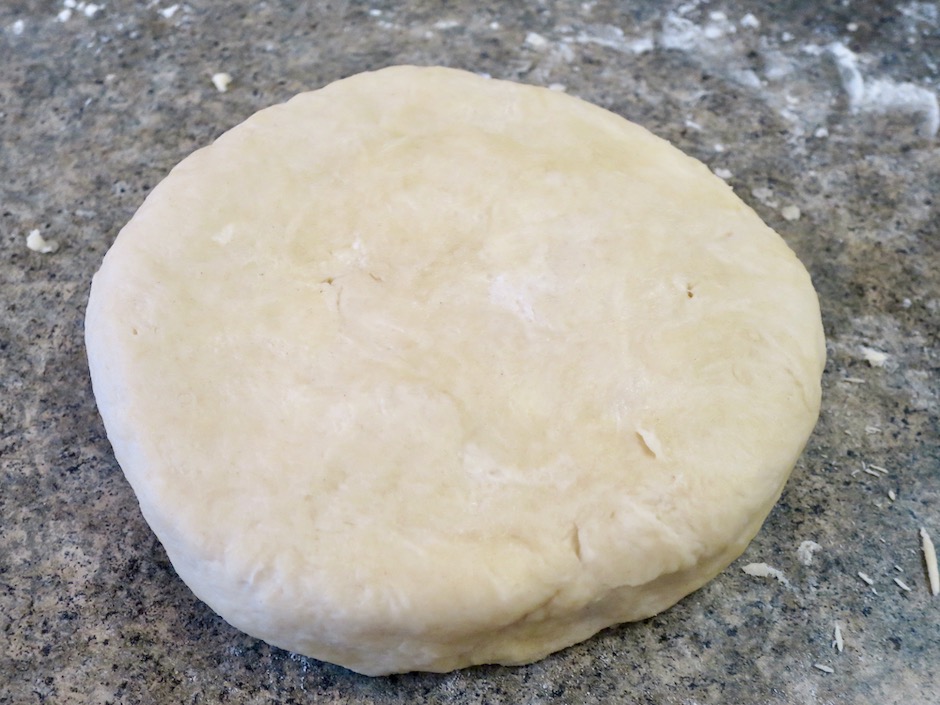
Galette Dough

If I am short on time I freeze the wrapped dough for 30 minutes instead of chilling it in the refrigerator for a few hours.

Sliced Strawberries

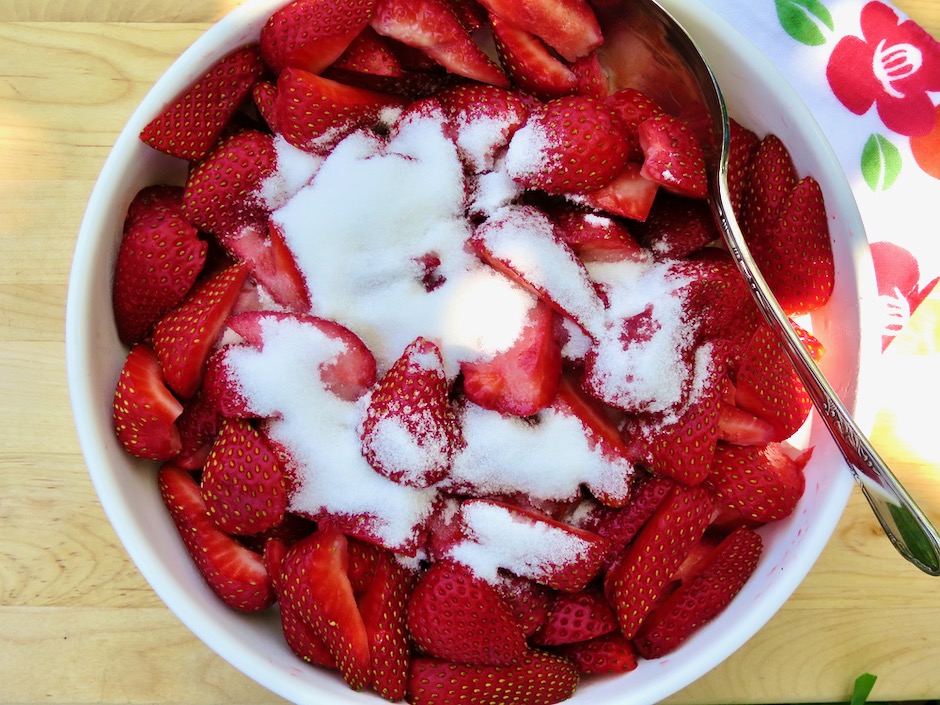
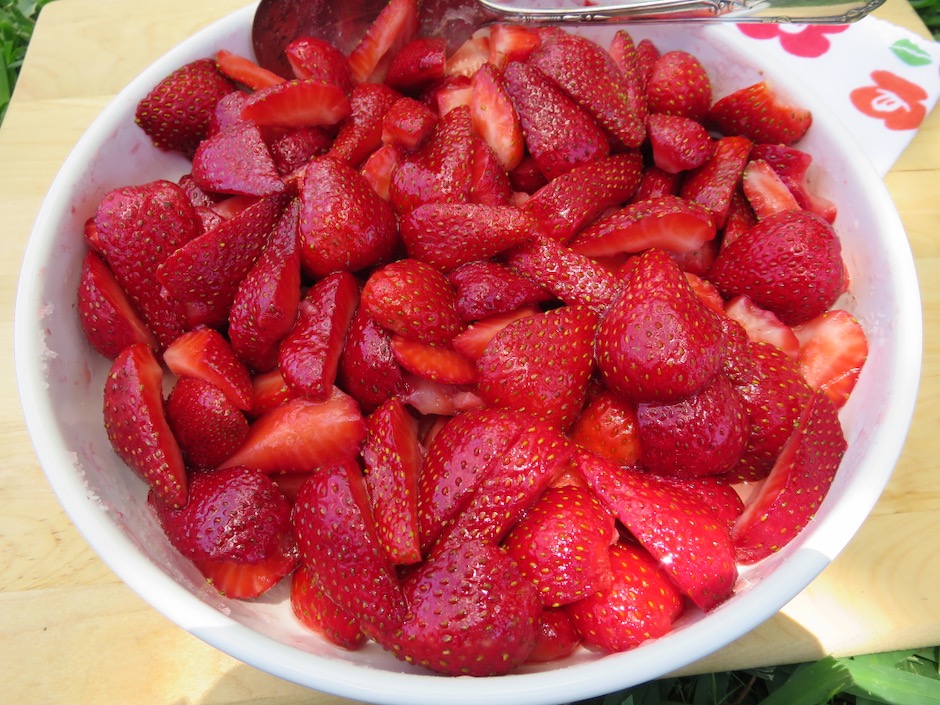
Strawberries & Sugar

A little sugar is stirred into the berries which will give them a bit of sweetness, but not too much.

Strawberries & Sugar

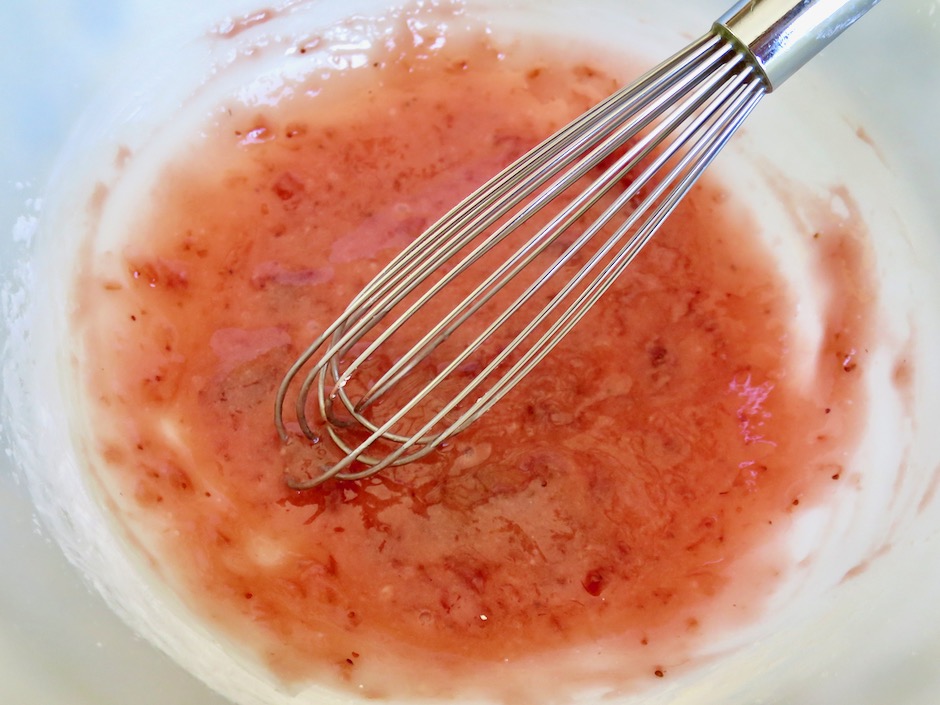
Strawberry Jam & Cornstarch Mixture

The strawberries are gently tossed into a mixture of strawberry jam that is mixed with cornstarch and a pinch of salt.  

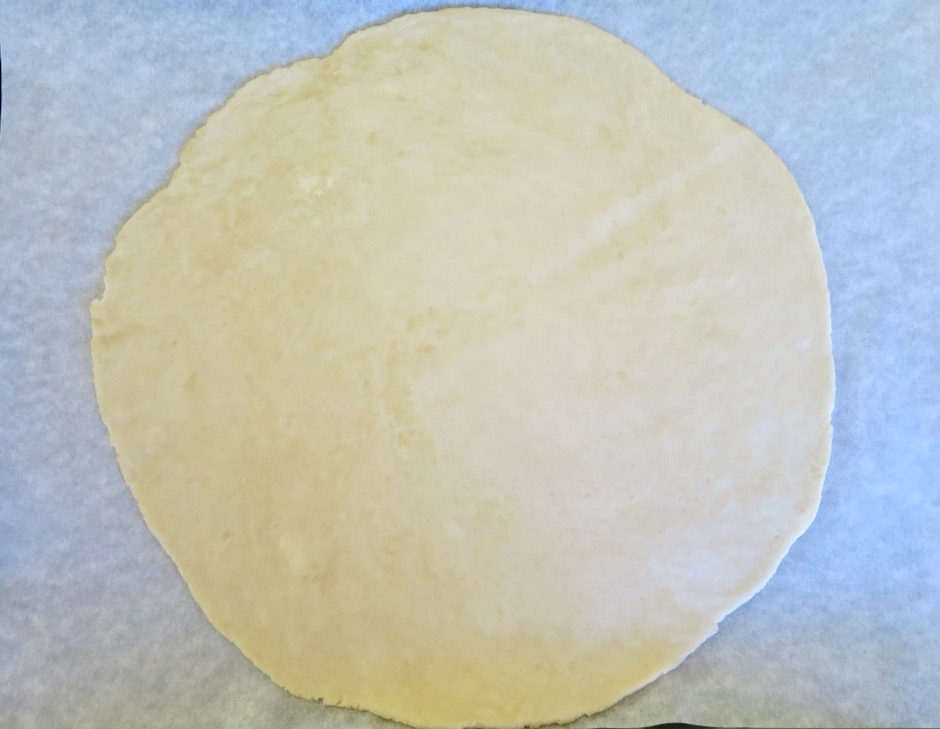
Rolled Out Dough

Roll the dough out on parchment paper.  Transfer the rolled out dough to your rimmed baking sheet and continue with the recipe.  

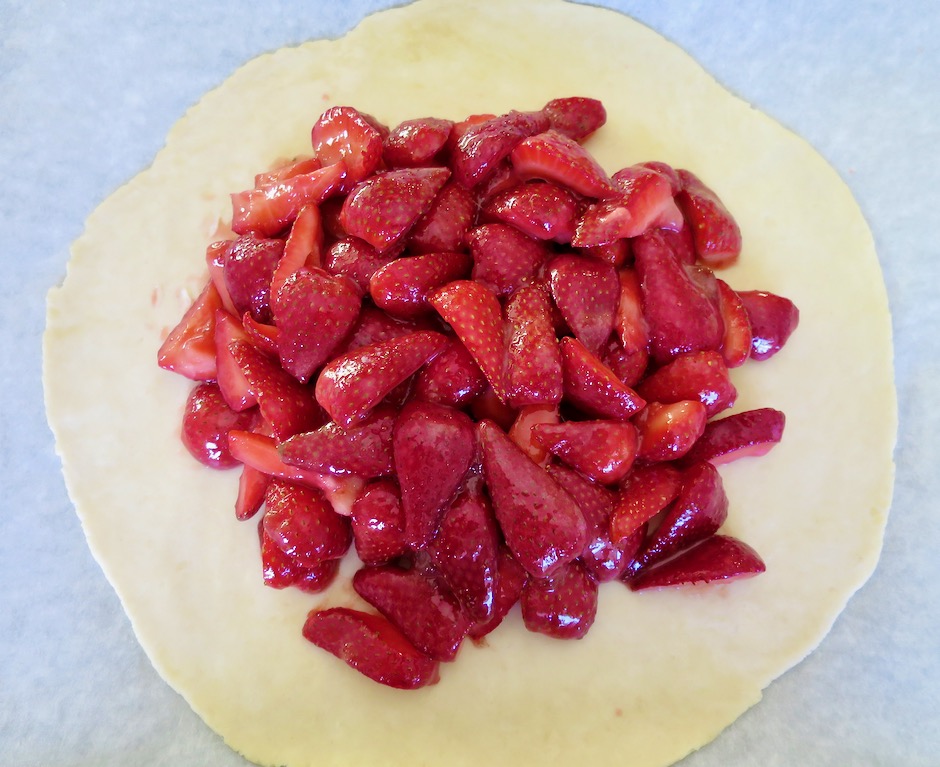
Strawberries on Galette Dough

Leave a 2-inch border (sometimes I end up with 1 1/2-inches!) to fold over the filling.  The original recipe calls for brushing the edges of the galette with some of the reserved strawberry juice and sprinkling sugar over the edges before baking.  Try not to apply too much of the juice as it is quite thin and will drip down the sides of the crust.  You can brush the crust with a bit of lactose free half and half or whole milk instead, then sprinkle with sparkling sugar.  The coarse-grained sugar adds a beautiful sparkle and sweet crunch to each slice of the baked galette.

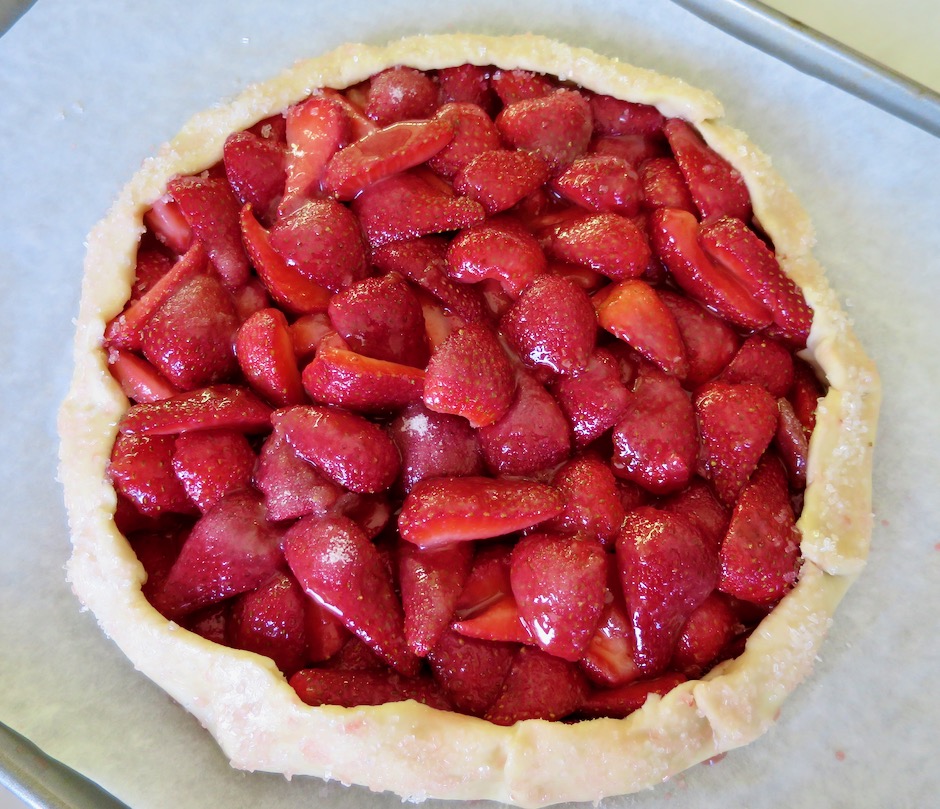
Strawberries in Galette Dough

The dough is pleated every 2 inches to shape the galette and keep the strawberries the center of attention.

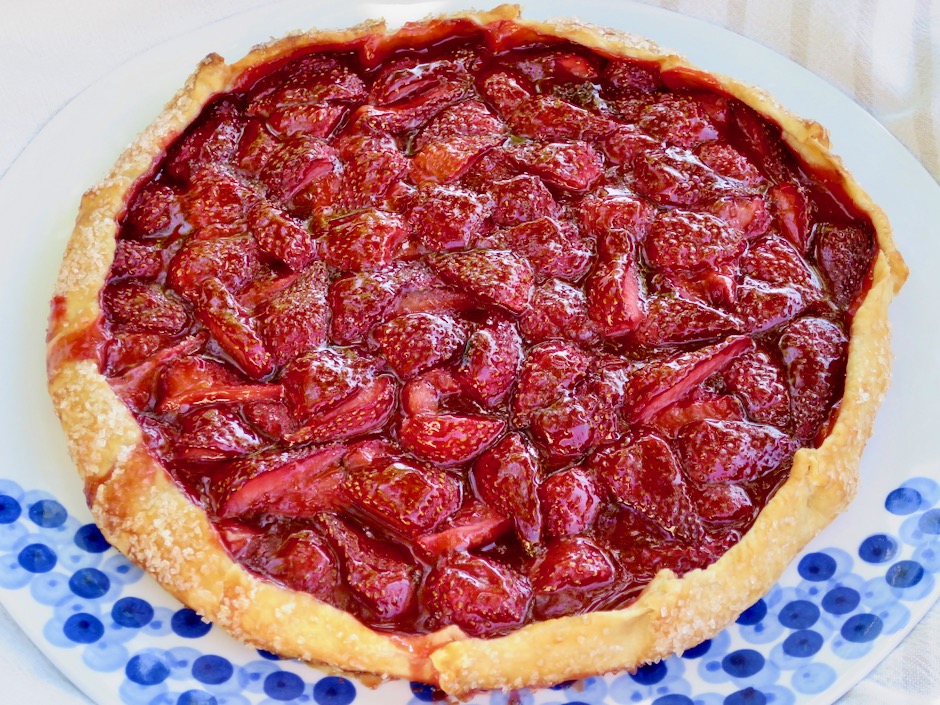
Strawberry Galette

I brush a bit of warmed strawberry jam over the strawberries once the galette is done baking. It gives the galette extra flavor and a beautiful sheen.

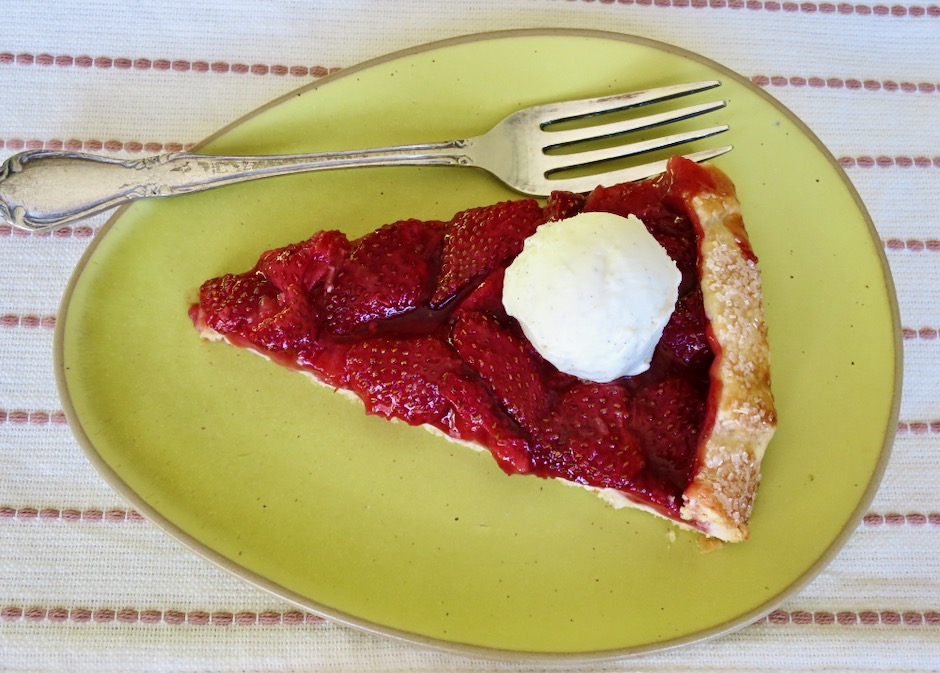
Strawberry Galette with Ice Cream

Strawberry Galette
 
Adapted from Cook's Country
Author:
Serves: 10
Ingredients
  • Dough:
  • 1½ cups (7½ ounces) all-purpose flour
  • ¼ teaspoon salt (1/2 teaspoon if using unsalted butter)
  • 1 tablespoon granulated sugar
  • 10 tablespoons Earth Balance Buttery Sticks cut into ½-inch cubes and frozen for 15 - 30 minutes (or unsalted butter well chilled)
  • 6 tablespoons ice water
  • Filling:
  • 1½ pounds strawberries, hulled, halved if small or quartered if large (about 5 cups)
  • ¼ cup (1¾ ounces) granulated sugar + 1 tablespoon sugar, divided
  • ⅓ cup strawberry jam + 1 tablespoon, divided
  • 1½ tablespoons cornstarch
  • ⅛ teaspoon fine sea salt
  • 1 tablespoon coarse sparkling sugar
Preparation
  1. For the dough: Process flour, salt, and sugar in a food processor until combined, about 4 pulses. Scatter Buttery Sticks cubes over the top and pulse until mixture resembles coarse sand and butter pieces are the size of small peas, about 10-12 pulses. Add ice water to flour mixture and pulse until dough begins to form small curds and holds together when pinched with your fingers, about 5 pulses.
  2. Transfer mixture to a lightly floured counter. Gather dough into a rough rectangular mound about 8 inches long and 4 inches wide. Starting at the farthest end, use the heel of your hand to smear a small amount of dough against the counter, pushing firmly down and away from you. Continue doing this while turning the dough as you go. Continue until all the dough has been worked, about 8 times. This is a process of working the crumbles of flour, butter, and water together into a dough by smearing them against the counter, making for a sturdy, flaky crust. Form dough into a 6-inch disk, wrap tightly with plastic wrap and refrigerate for 2 hours or freeze (if short on time) for 30 minutes. The dough can be refrigerated for up to 2 days.
  3. For the filling: One hour before rolling out the dough, toss strawberries with ¼ cup sugar in a medium bowl. Set aside for 1 hour. Reserve 1 tablespoon strawberry juice (if using for crust). Drain strawberries in colander while rolling out dough.
  4. Adjust oven rack to lower-middle position and heat oven to 375 degrees. Roll dough into 12-inch circle on parchment paper. Transfer dough on parchment paper to rimmed baking sheet, cover loosely with plastic wrap and refrigerate until firm, about 15 minutes.
  5. Whisk jam, cornstarch, and salt in a large bowl. Add drained strawberries and toss gently to coat. Remove dough from refrigerator (I transfer to dough to a second rimmed baking sheet that hasn't been chilled) and mound fruit in center, leaving a 2-inch border. Grasp one edge of dough and fold up 2-inches over fruit. Repeat around circumference of galette, overlapping dough every 2-inches. Firmly pinch pleated dough to secure. Sprinkle reserved 1 tablespoon of sugar over the strawberries. Brush top edges of dough with reserved strawberry juice, half and half or whole milk and sprinkle with sparkling sugar.
  6. Bake until crust is deep golden brown and fruit is bubbling, about 1 hour 5 minutes. Let galette cool on baking sheet for 5 minutes. Warm reserved tablespoon of jam. Brush jam over the berries. Let cool for 15 minutes. Using parchment, carefully slide galette onto serving plate. Serve warm or at room temperature.


Appetizers, Dinner, French, Fruit, Gardening, Recipes, Side Dishes, Veggies

Tomato Galette

October 11, 2020

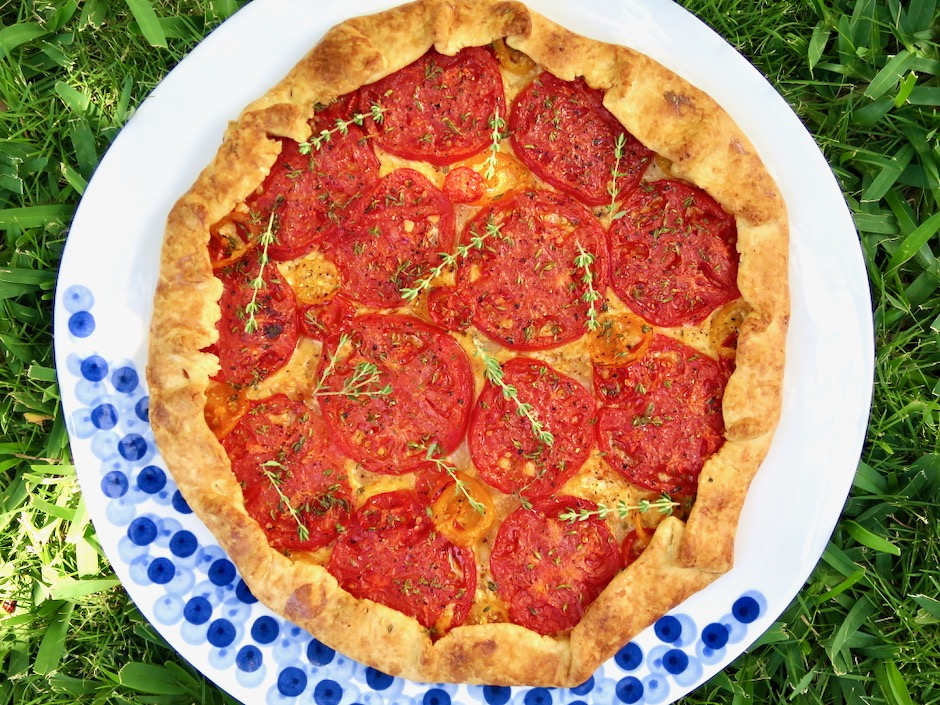
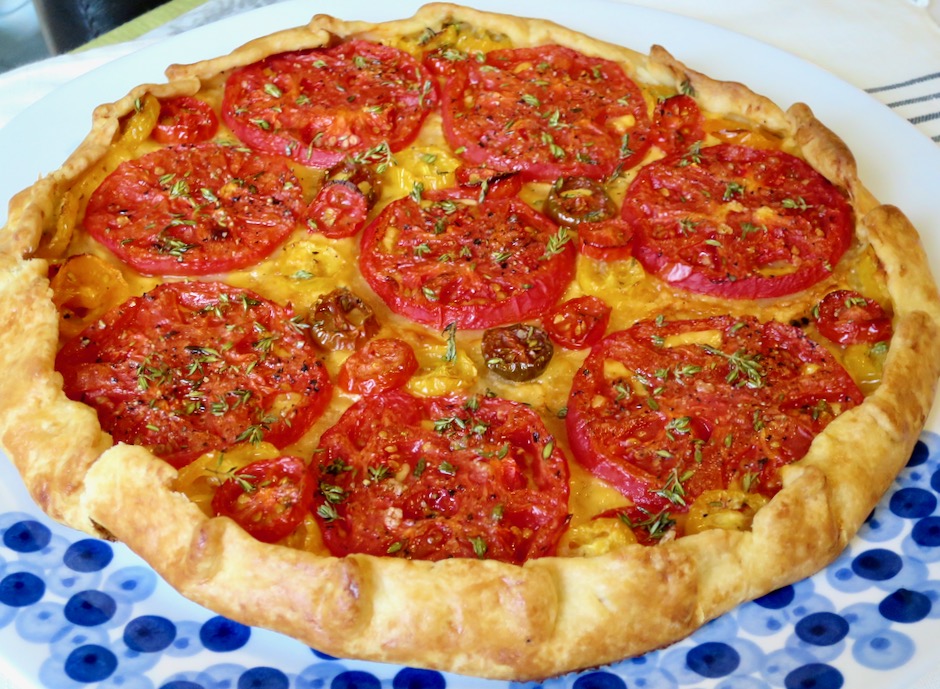
Tomato Galette with Thyme

One of the delights of a galette is its free-form crust.  The dough doesn’t require any trimming after being rolled out.  In fact, the ragged edges of the crust are what gives a galette its beautiful, rustic appearance.  Whether you are making a savory or sweet filling, a galette is a gorgeous dish to bring to the table.

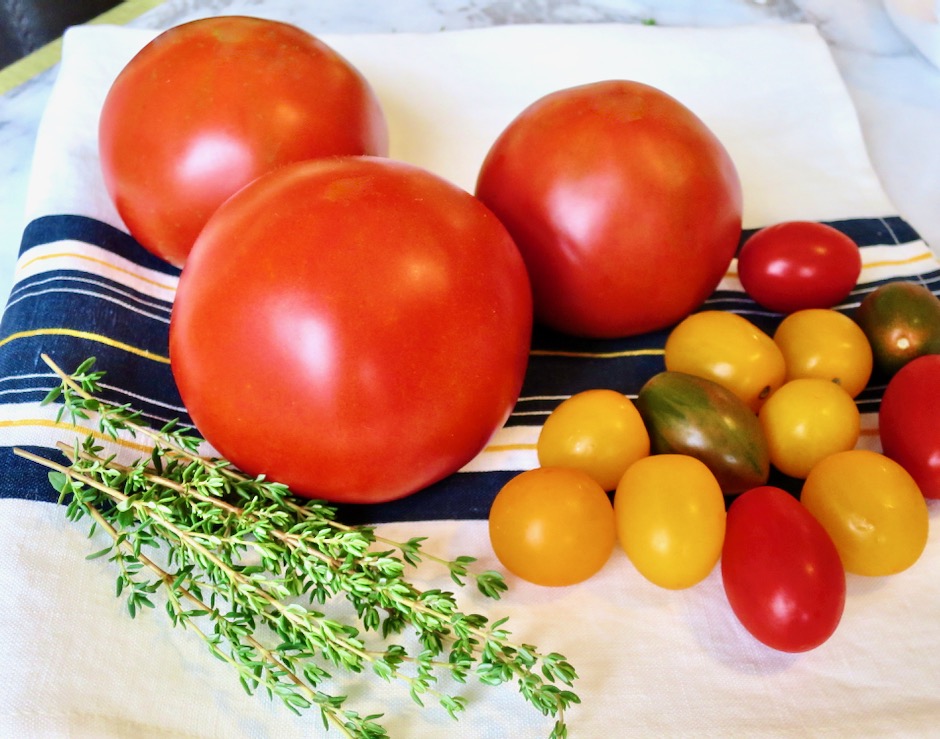
Tomatoes & Thyme

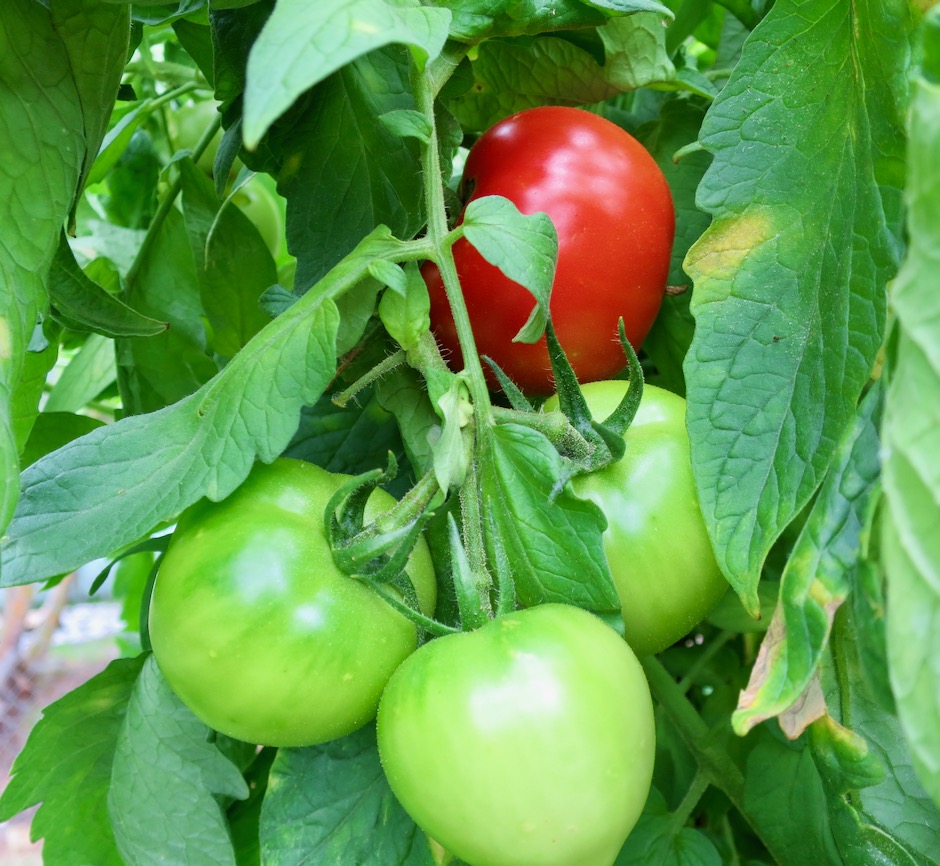
This year we grew Katana beefsteak tomatoes (Kitazawa Seed Co.) which turned out to be our new favorite.  They are meaty, juicy, and so flavorful with a gorgeous deep red color.  They are the perfect tomato for this galette and on a side note, they make for an exceptional BLT sandwich.

Katana Beefsteak Tomatoes in the Garden

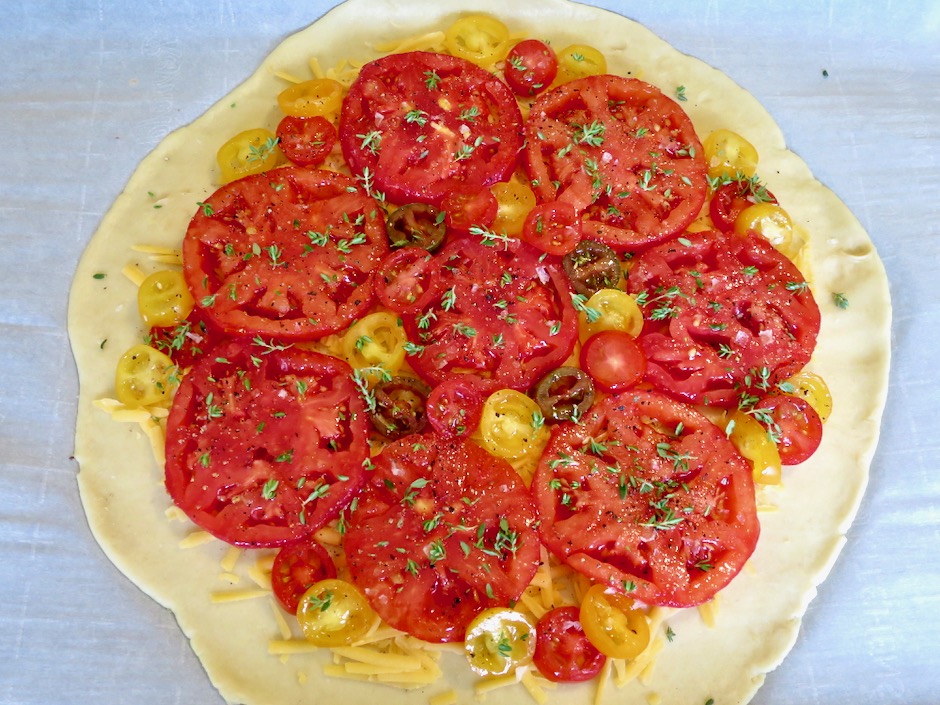
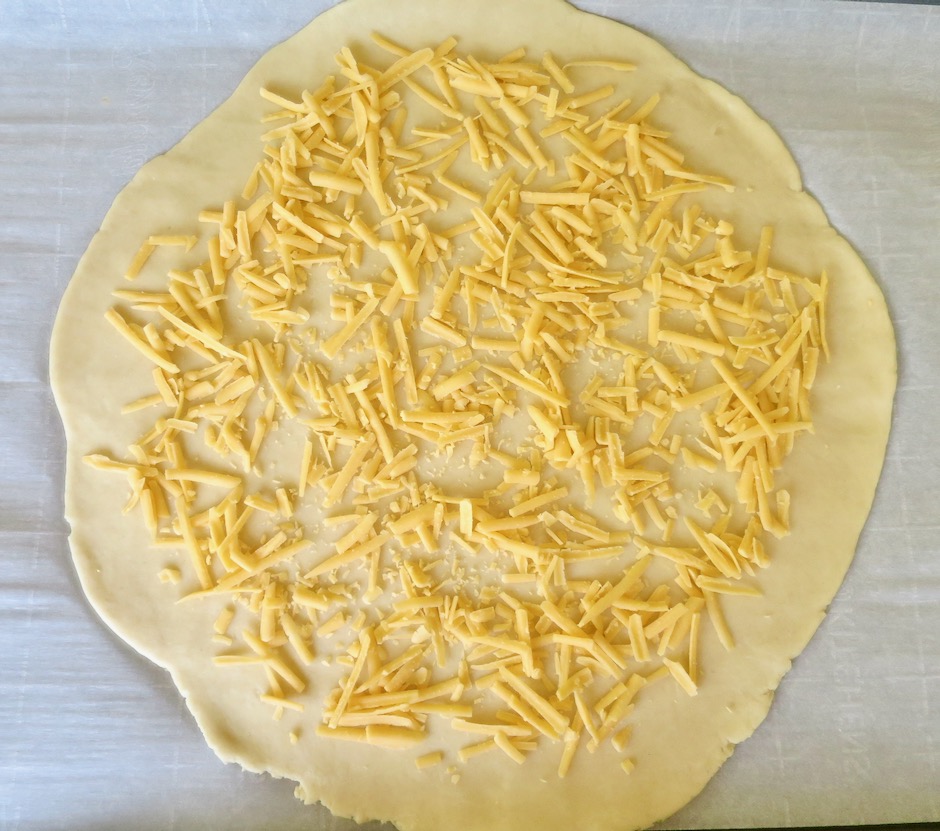
Sharp Cheddar Sprinkled Over Galette Dough

A sprinkling of sharp cheddar cheese is all you’ll need.  The small amount of cheese is just enough to add a bit of richness allowing the tomatoes to really shine.

Preparing Tomato Galette with Thyme

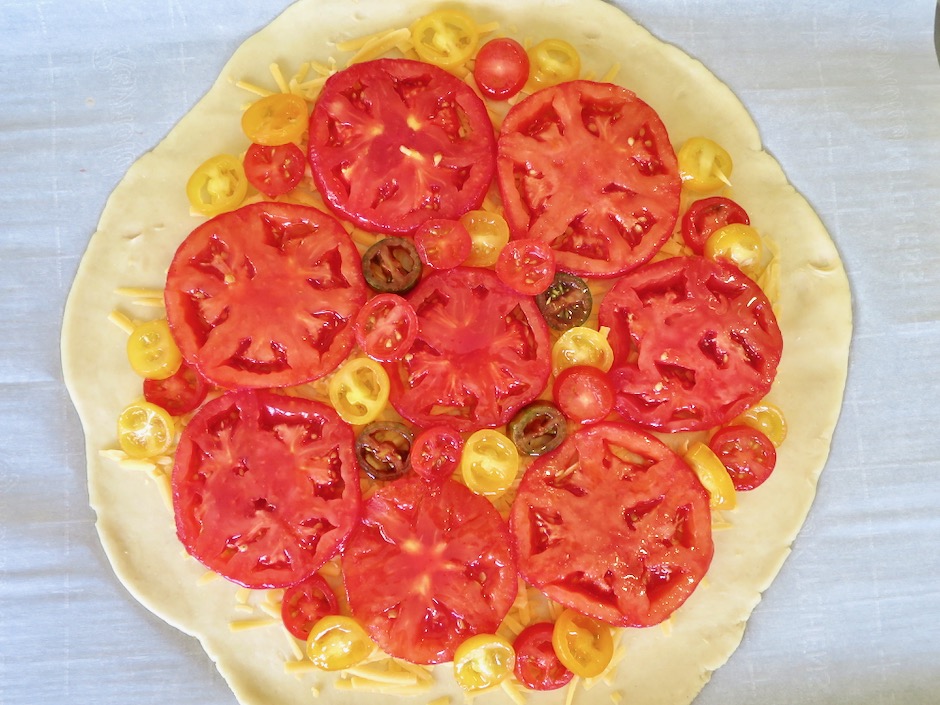
Choose tomatoes that are meaty and hold up well to slicing.  I prefer to peel the tomatoes (except for the mini ones) because the skin has a different texture than the tomato flesh and it is especially noticeable once tomatoes have been cooked.

Preparing Tomato Galette with Thyme

Fresh thyme and tomatoes are a perfect match.  I included a handful of colorful sweet cherry tomatoes that added a nice contrast with the red beefsteaks.

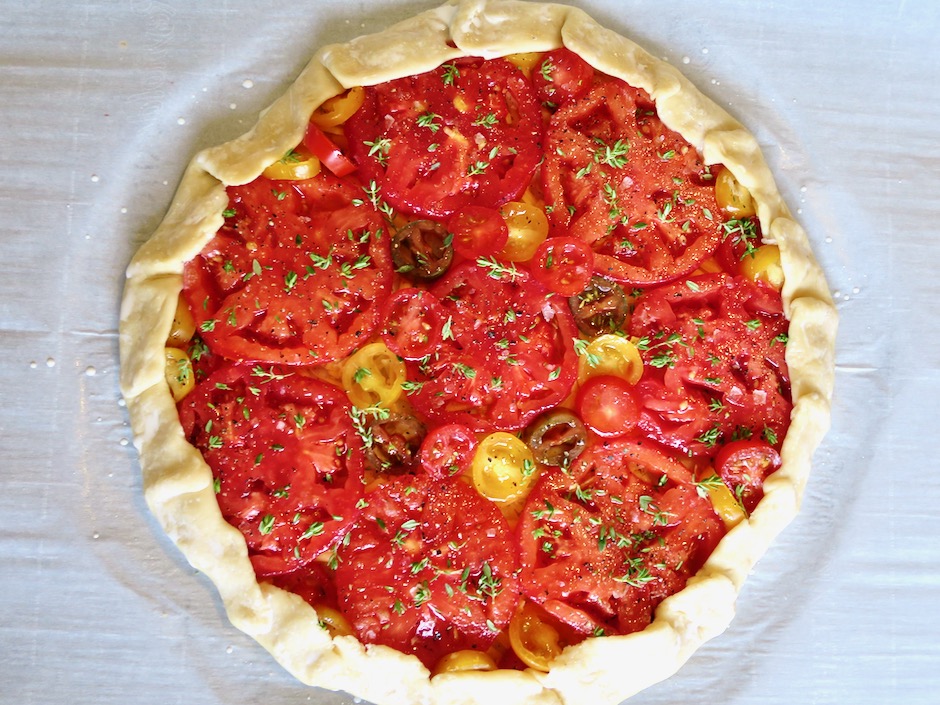
Tomato Galette with Thyme Ready to Bake

The edges of the dough are folded over the tomatoes to make a rustic crust that will bake up beautifully.

Tomato Galette with Thyme

Tomato Tart
 
Galette dough adapted from Dorie Greenspan's recipe
Author:
Serves: 4
Ingredients
  • For the dough:
  • 1½ cups (204g) all-purpose flour
  • ½ teaspoon sugar
  • ½ teaspoon kosher salt (1/2 teaspoon fine sea salt if using unsalted butter)
  • 1 Earth Balance Buttery Stick (8 tablespoons, 4 ounces, 113g), frozen for 30 minutes, then cut into small cubes
  • ¼ cup ice water
  • 1 tablespoon milk or cream for brushing the crust (optional)
  • For the tomato galette:
  • 1 cup coarsely grated sharp cheddar cheese, not packed
  • 1 pound meaty ripe tomatoes, peeled and sliced into ⅓-inch rounds
  • handful of assorted cherry tomatoes sliced (optional)
  • olive oil for brushing
  • Maldon sea salt or other flaky salt
  • freshly ground black pepper
  • a few fresh thyme sprigs
  • julienned basil (optional)
Preparation
  1. Place flour, sugar and salt in a food processor. Pulse a few times to blend. Add cubes of cold Buttery Sticks and pulse until mixture resembles coarse meal. Add some of the ice water and pulse. Continue to add more water, pulsing each time (about 3 additions). Use longer pulses until dough holds together when you pinch it (dough will not be formed into a ball). Transfer dough to a clean work surface and use the heel of your hand to smear small pieces of dough, which will help to incorporate the Buttery Sticks. Gather the dough and form into a flat disk. Place between 2 sheets of parchment paper. Roll out dough into a 12-inch circle. Place dough with parchment papers onto a sheet pan. Refrigerate for at least 2 hours. Keep refrigerated until you have all other ingredients ready to go.
  2. Preheat oven to 400 degrees ½ hour before you bake the galette. Meanwhile, place sliced tomatoes on paper towels if very juicy. This will help to avoid a soggy crust. Strip thyme leaves from stems and set aside.
  3. Remove galette dough from the refrigerator. Discard top layer of parchment paper. Sprinkle cheese over the dough leaving a 1½-inch border. Place tomatoes over the cheese in a single layer. Brush tomatoes with olive oil. Sprinkle Maldon or other flaky salt over the tomatoes along with a few grinds of black pepper. Sprinkle fresh thyme leaves over the top. Gently fold the pastry over the tomatoes, making pleats as you go. Brush edges with cream or milk (optional). Bake galette for about 35 minutes or until the crust is golden brown. Let galette cool for a few minutes before cutting into wedges. It is best served just warm or at room temperature. Sprinkle with julienned basil if using. The galette makes for a terrific meal served with a crispy green salad.


Cookies, Dessert, French, Lactose Free, Recipes

Financiers ~ French Almond-Browned Butter Cakes

July 16, 2020

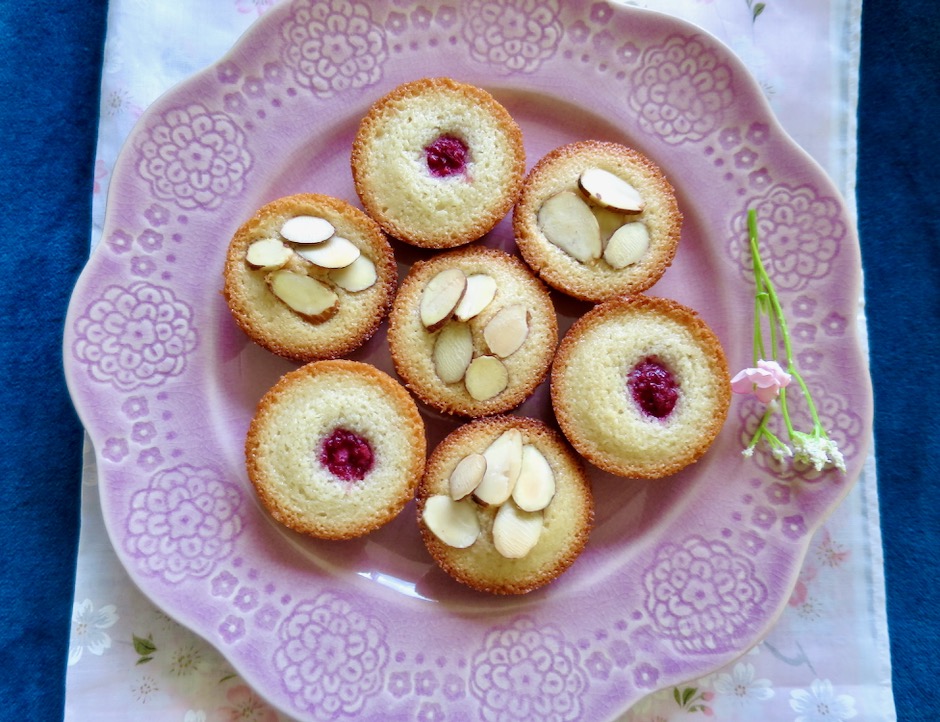
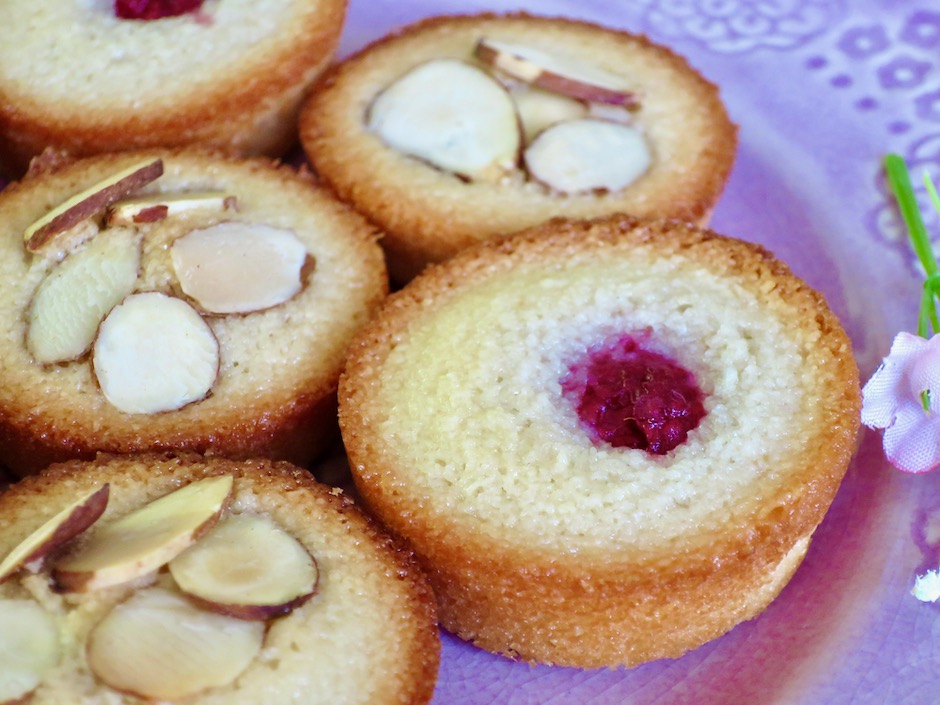
Raspberry & Almond Financiers

Cook’s Illustrated recently published this wonderful recipe in their bimonthly magazine.  I was not familiar with these petite cakes known in France by the curious name, financiers.  John knew exactly what they were and recommended that I make some.  I may not have made them if I didn’t already have a mini muffin pan which is required for this recipe.  Now that I have made them numerous times, I can say that it is worth buying the pan even if you only use it make these little treats.  Fianciers (almond-browned butter cakes) are typically offered to restaurant guests at the end of a meal.  These little cakes can be popped in your mouth or daintily eaten in one or two bites.

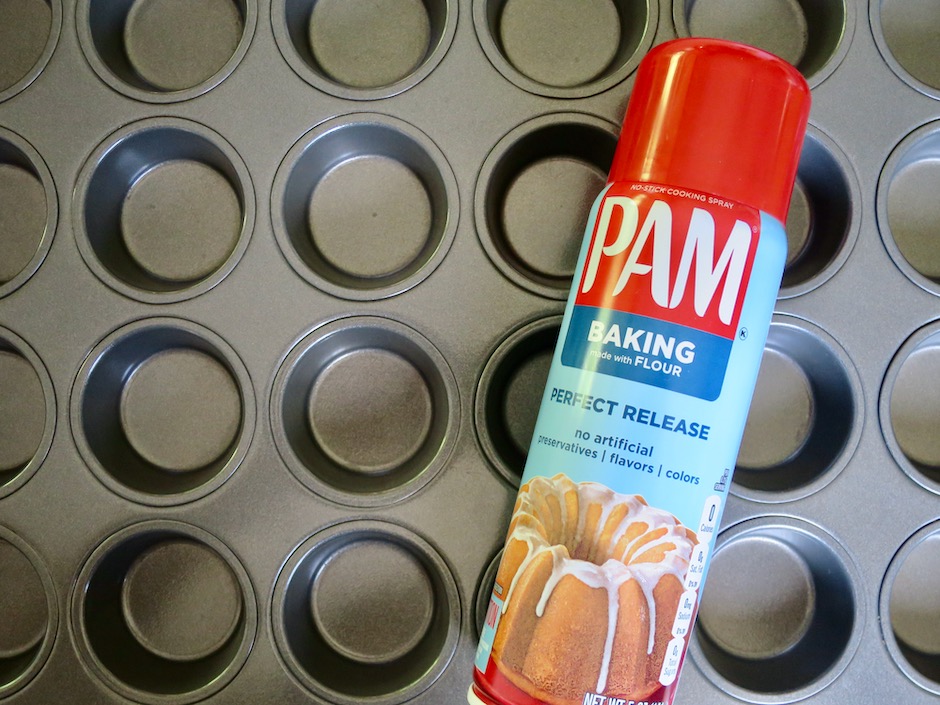
24- Cup Mini Muffin Tin, Baking Spray with Flour

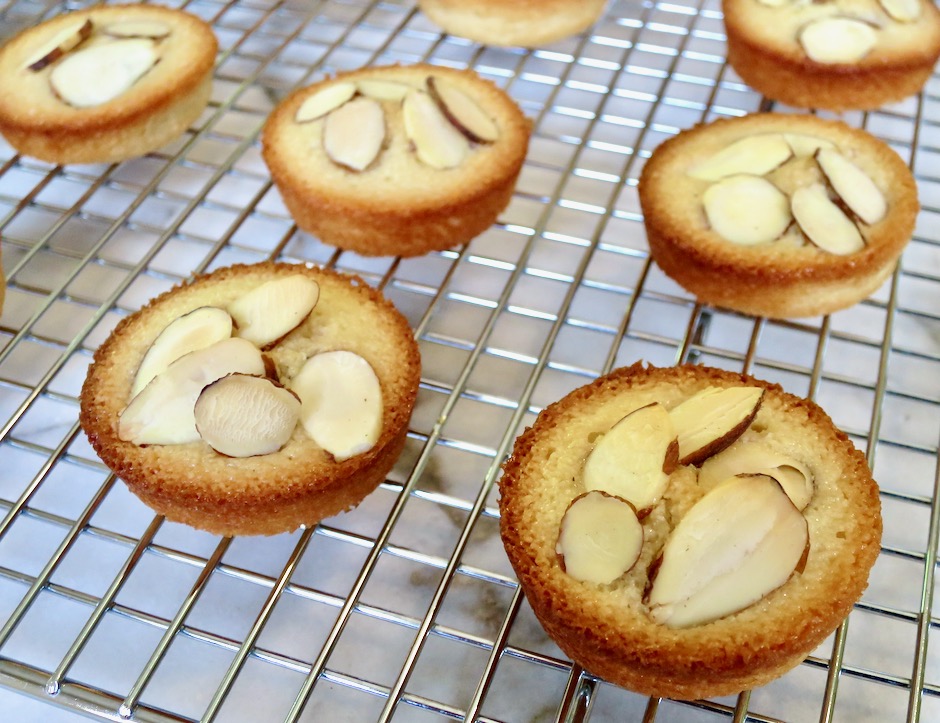
Cook’s Illustrated goes into detail on why using baking spray with flour is so important for this recipe.  As they tested different batches of financiers, the ones made with regular vegetable spray produced domed cakes.  For most other pastries made in muffin tins, that is what you would want and expect. However, I learned that authentic financiers should have relatively flat tops and the flour in baking spray provided a bit of insulation so the sides of the cakes could rise more before setting, resulting in sides that were mostly even with the tops of the cakes.

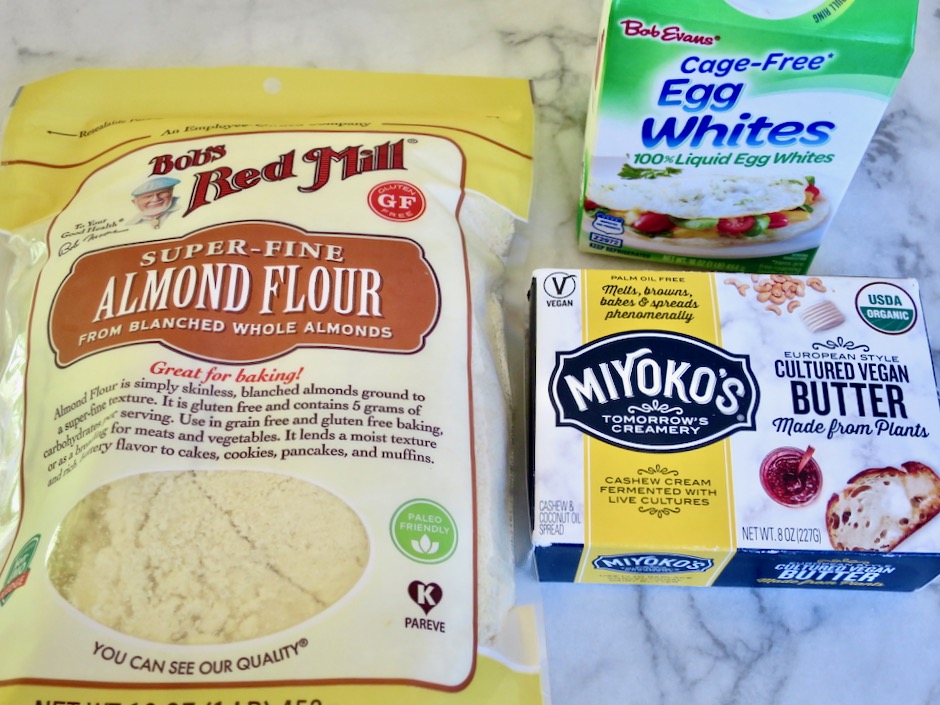
Almond Flour, Egg Whites, Miyoko's Vegan Butter

With just 6 ingredients, finaciers are a breeze to make.    Almond flour and browned butter are what gives these cakes their distinctive flavor.  I was pleased to know that Miyoko’s vegan butter can be browned just like the real thing.

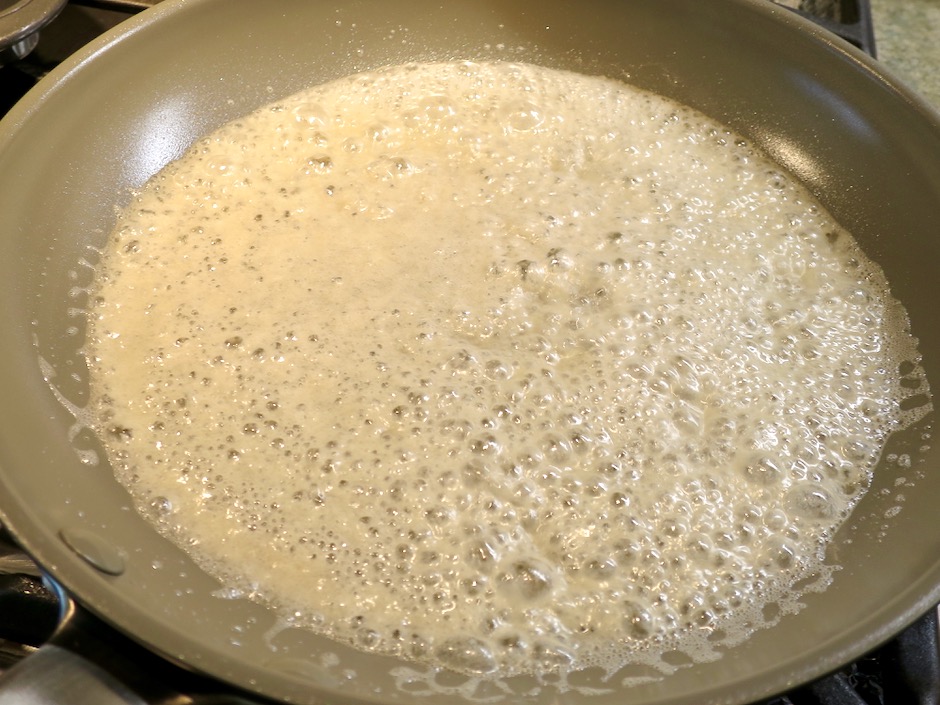
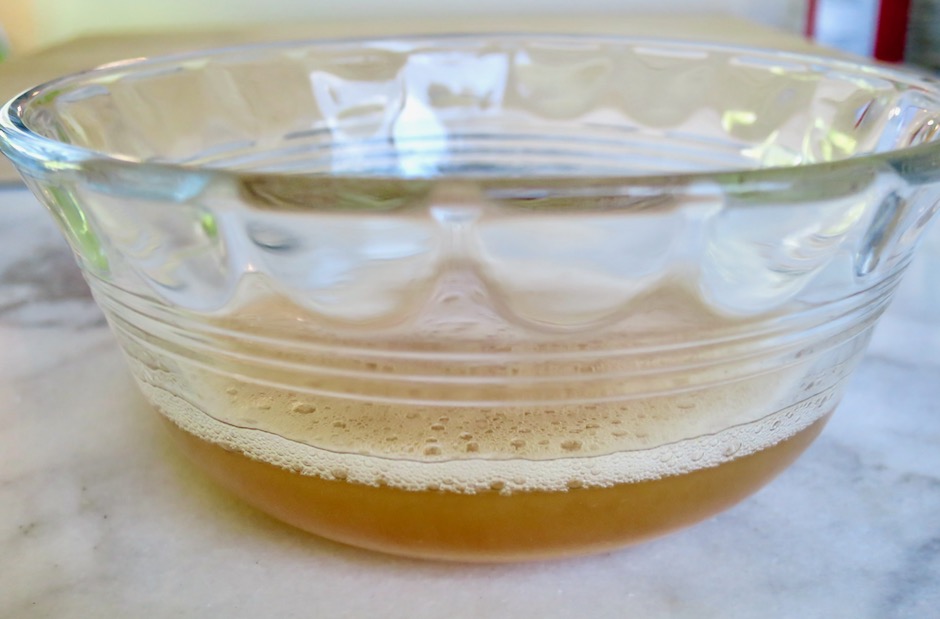
Miyoko's Browned Butter

Miyoko's Browned Butter

Browning the butter takes just a couple of minutes.  Once the butter has browned quickly transfer it to a small bowl so that it doesn’t burn.
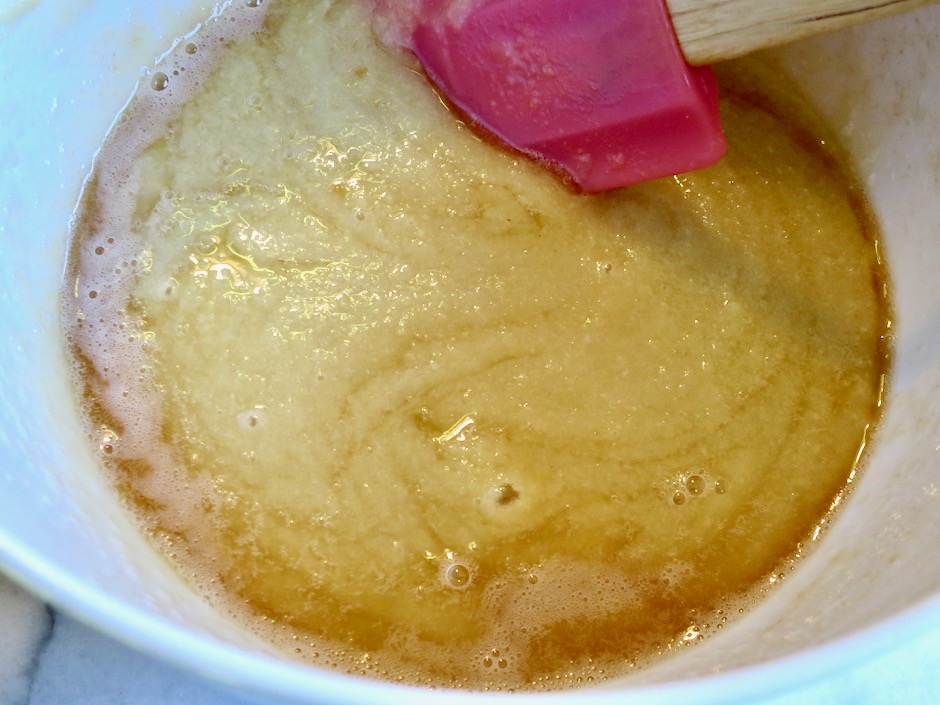
Financiers Batter

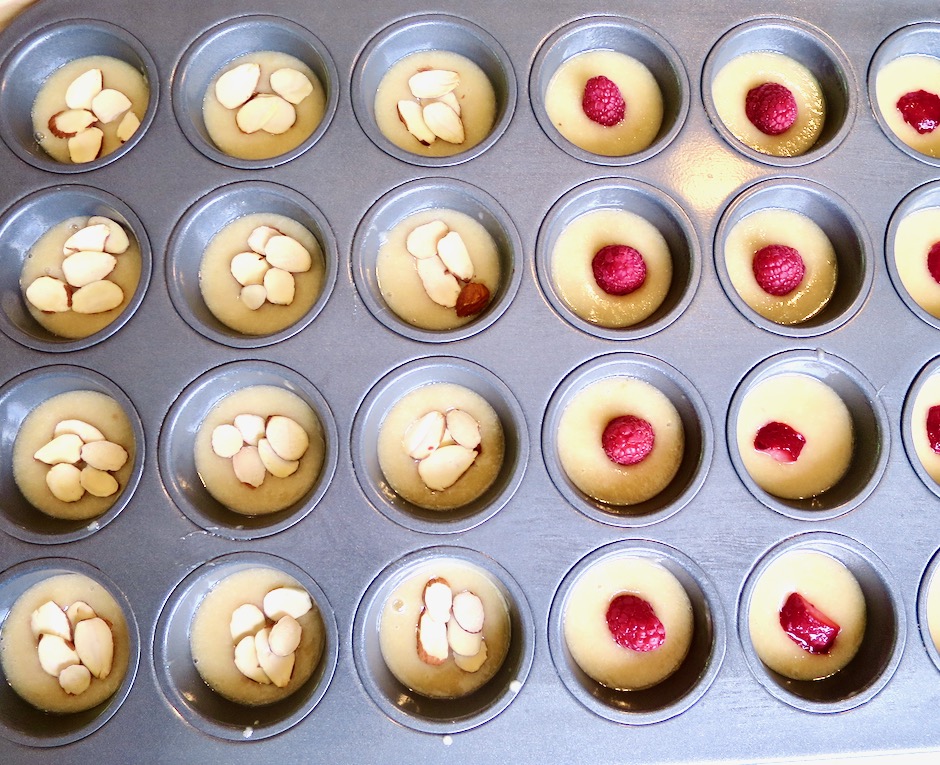
The browned butter is mixed in with the other ingredients then divided into the mini muffin tin.

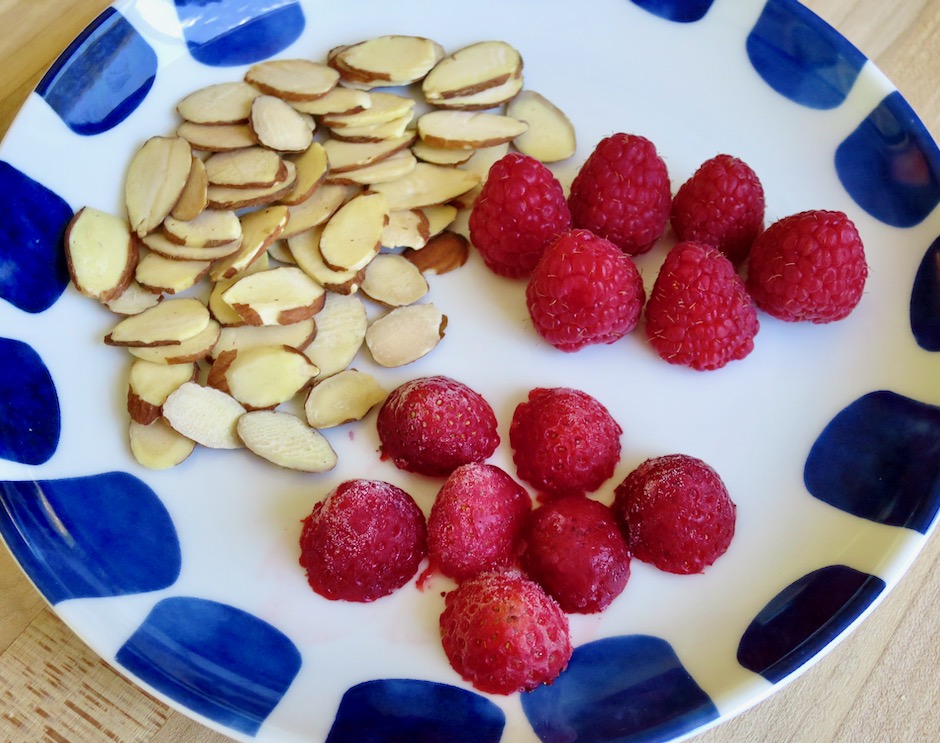
Almonds, Fresh Raspberries, Frozen Strawberries

I have tried a few different toppings such as raspberries, strawberries, chocolate and sliced almonds.  I like the financiers with strawberries or raspberries, however, my favorite is the financiers with sliced almonds. La présentation est magnifique!

Financiers Ready to be Baked

Financiers

If you use strawberries or raspberries, cut them into small pieces so there is less of a chance they will sink to the bottom of the batter.

Financiers

Financiers

Financiers
 
Adapted from Cook's Illustrated magazine
Author:
Serves: 24
Ingredients
  • 5 tablespoons (2.5 ounces) Miyoko's vegan butter (or unsalted butter)
  • ¾ cup (3 ounces) finely ground almond flour
  • ½ cup + 1 tablespoon (4 ounces) granulated sugar
  • 2 tablespoons all-purpose flour
  • pinch of table salt or ⅛ teaspoon if using unsalted butter
  • ⅓ cup (3 ounces) egg whites (liquid or fresh)
  • Sliced almonds (lightly toasted), fresh or frozen raspberries and strawberries (small pieces cut from the top of fruit). If using frozen fruit keep pieces frozen until you are ready to use them.
Preparation
  1. Special equipment: 24-cup mini muffin tin, large wire rack for cooling, baking spray with flour.
  2. Adjust oven rack to middle position and heat oven to 375 degrees. Generously spray 24-cup mini muffin tin with baking spray with flour. Melt butter in a 10-inch skillet over medium-high heat. Cook, stirring and scraping skillet constantly with a rubber spatula, until milk solids are dark golden brown and butter has a nutty aroma, about 1-3 minutes. Immediately transfer butter to a heatproof bowl.
  3. Whisk almond flour, sugar, all-purpose flour, and salt together in a medium bowl. Add egg whites. Using a rubber spatula stir until combined. Stir in butter until incorporated. Distribute the batter evenly among muffin cups. Note that the muffin cups should be filled less than halfway otherwise you will run out of batter. Place slivered almonds or small pieces of raspberries or strawberries on top of the batter (don't press into the batter).
  4. Bake until the edges are well browned and the tops are golden, about 14 minutes, rotating muffin tin halfway through baking. Remove tin from oven and immediately invert wire rack on top of the tin. Invert rack and tin; carefully remove pan. Turn cakes right side up and let cool for about 20 minutes before serving. They are best eaten the same day they are baked, but can be stored in an airtight container at room temperature for a few days or frozen for a few months. Bring to room temperature before serving.


Follow

Get every new post delivered to your Inbox

Join other followers: