Browsing Category

Eggs

Bread, Eggs, Lactose Free, Recipes, Sandwiches, Sauces, Vegetarian

Chili Crisp Mayo

April 6, 2025

This quick to prepare condiment can be made in less than 5 minutes. It will instantly upgrade your sandwiches (crispy chicken), coleslaw, burgers, or anything else you might want to add a zippy flavor to. It also makes an excellent marinade for grilled chicken.

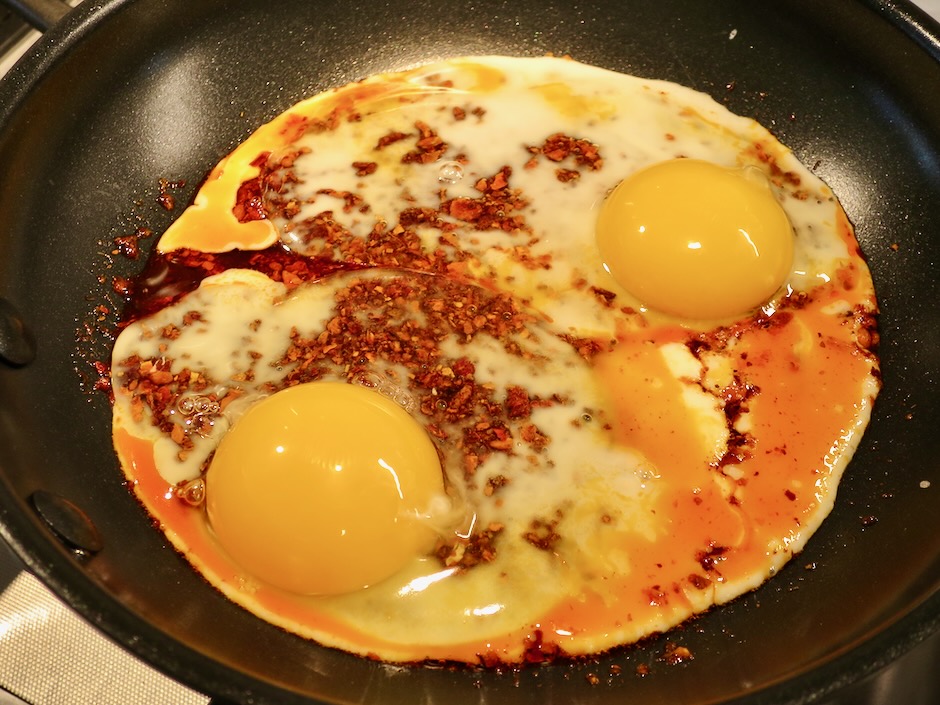
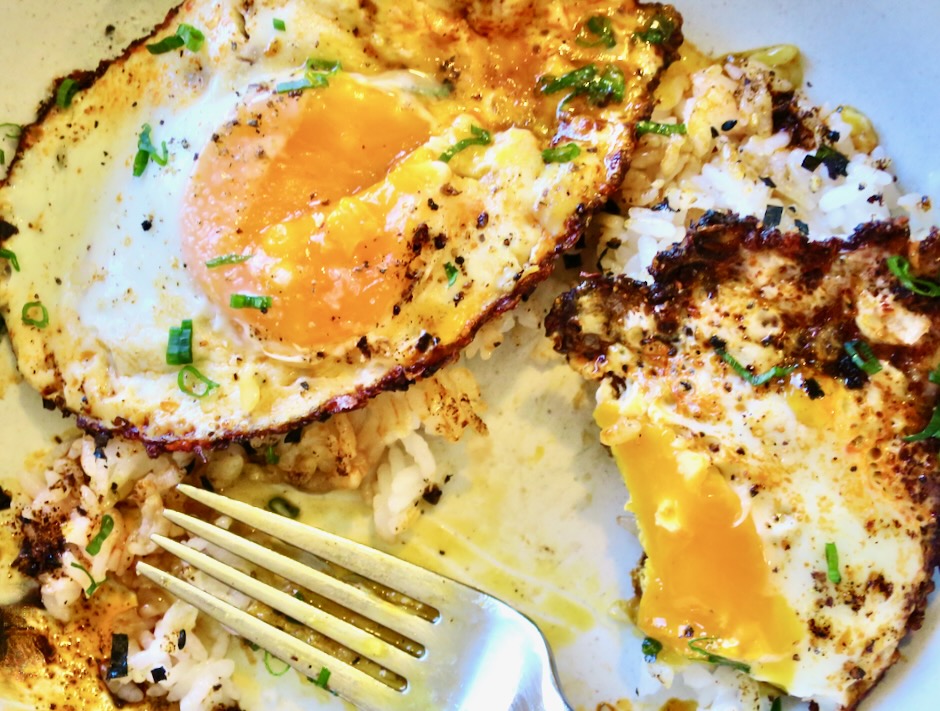
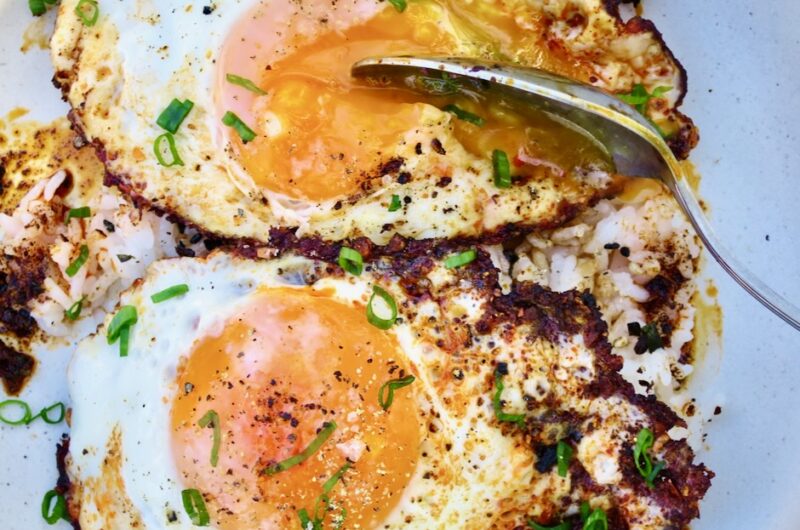
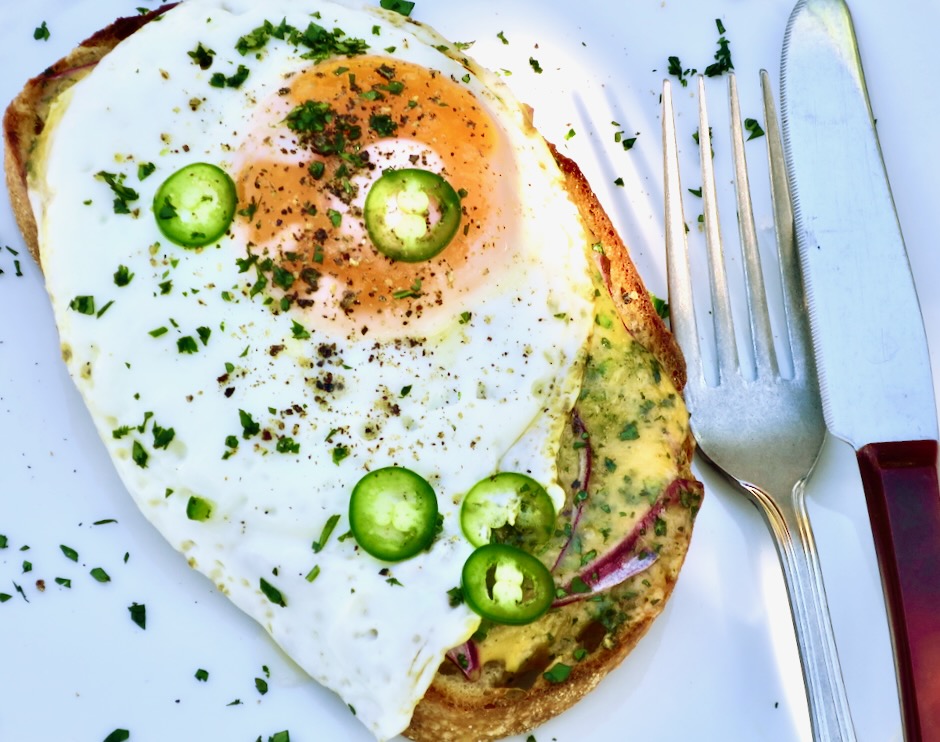
For a fast, tasty meal, a sunny side up egg on toast comes to mind immediately!

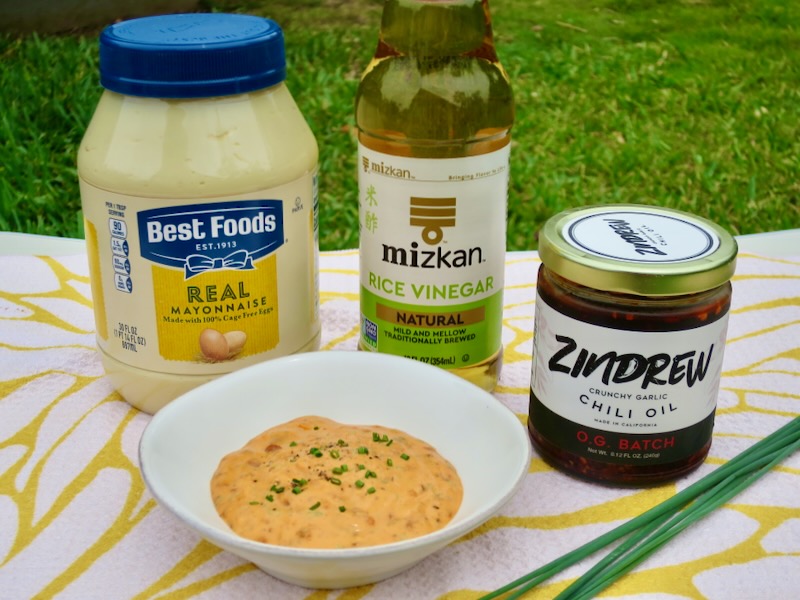
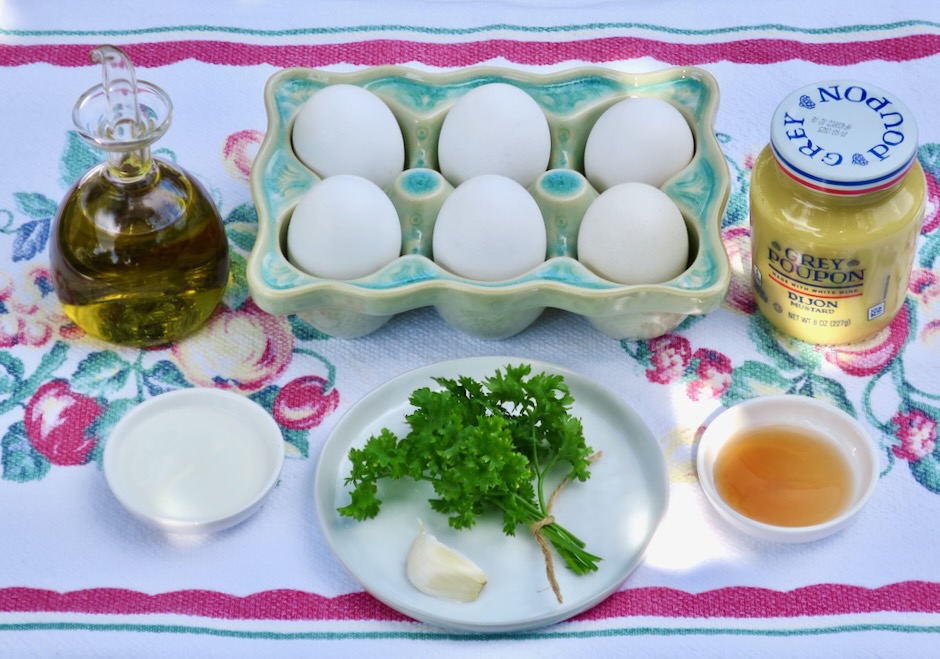
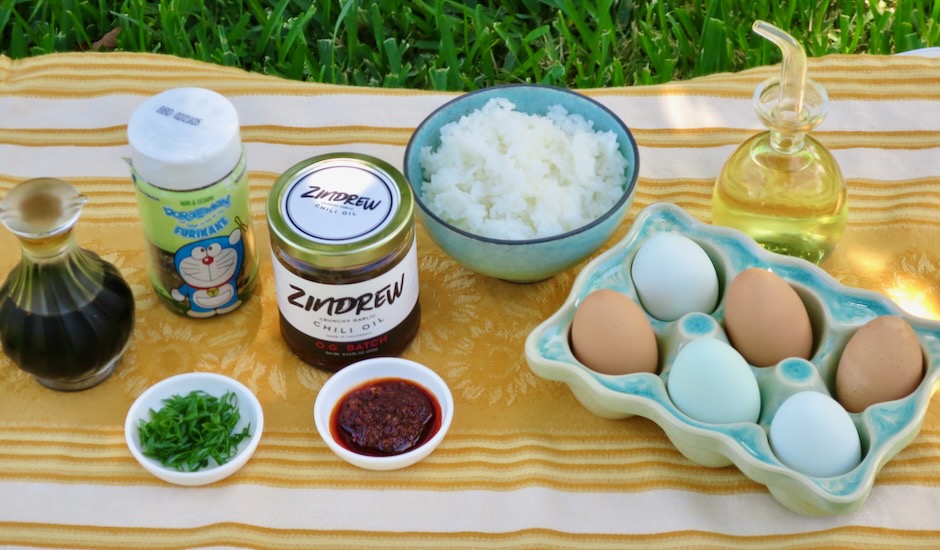
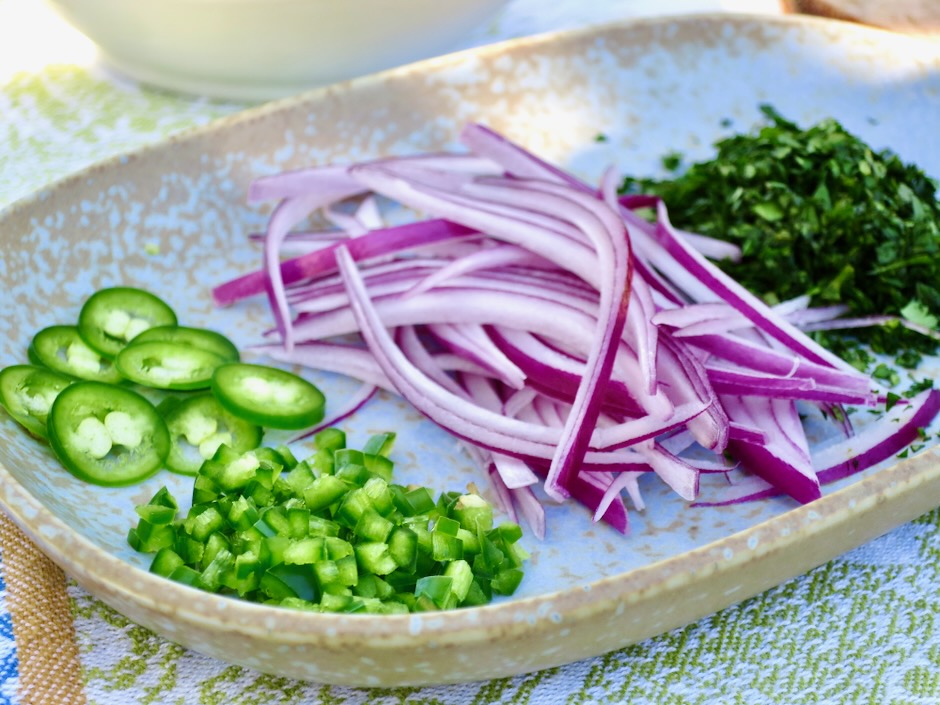
You will need just 3 ingredients to make this savory and slightly spicy mayo. Chives are optional. If you don’t have chives you can add green onions. They add a welcoming fresh flavor.

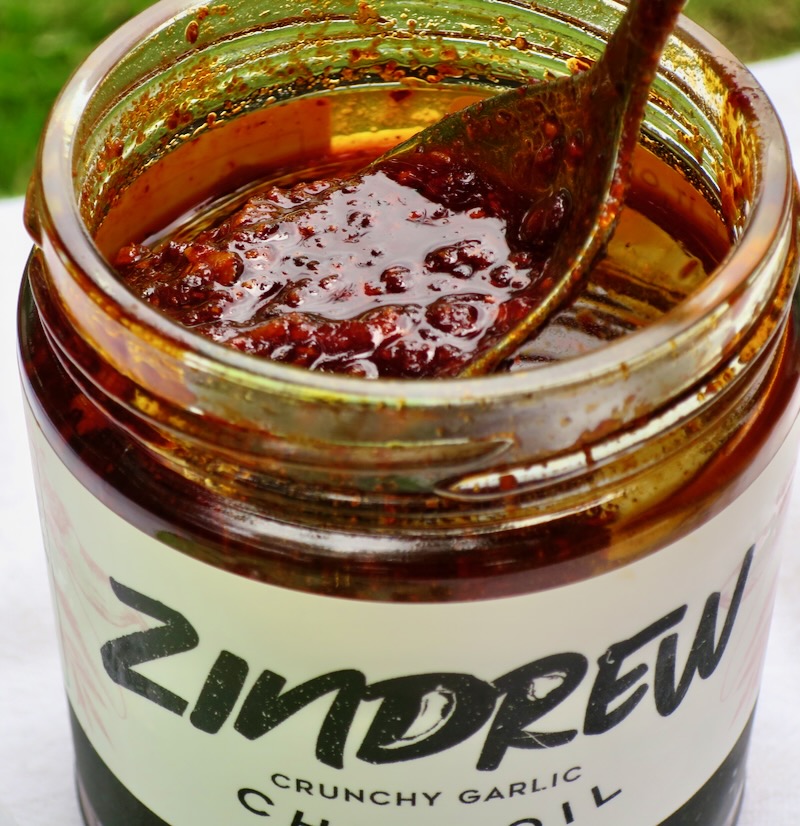
I’ve tried quite a few different brands of chili crisp/crunch/oil. They vary in flavor with some being more garlic prominent while others are more peppery and herbal. Use your favorite brand and add more or less depending on your heat tolerance.

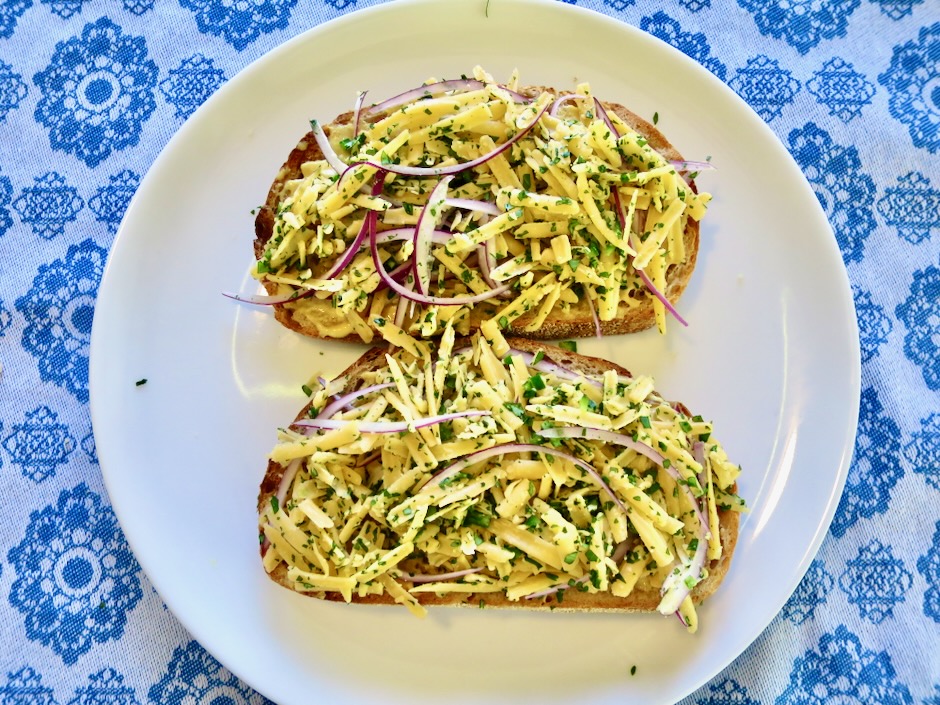
My favorite way to use this spicy mayo is to slather a generous amount on toasted bread, add baby watercress or arugula followed by a sunny side up fried egg. It’s quick and delicious served with a crispy salad on the side.

Chili Crisp Mayonnaise

Recipe by Kiyo
Servings

4

servings

Ingredients

  • 1/2 cup mayonnaise

  • 2 teaspoons unseasoned rice vinegar

  • 1 tablespoon (or more) chili crisp

  • 1 tablespoon finely minced chives or tender green onions (optional)

  • Serving Ideas: Toasted bread with sunny side up or fried egg, as a condiment for fried chicken sandwiches or grilled tuna burgers, coleslaw dressing, grilled chicken.

Directions

  • Whisk mayonnaise, rice vinegar and chili crisp together in a small bowl. Stir in chives. Refrigerate until ready to use.
Appetizers, Breakfast, Eggs, French, Lactose Free, Recipes

Oeufs Jeannette

December 8, 2024

I was scrolling through some short videos and landed upon Jacques Pepin making what he called Ouefs Jeannette. As an egg lover, I was immediately drawn to the recipe.

Named after his mother, this is one of Jacques’s favorite dishes. Reminiscent of deviled or stuffed eggs, a quick sauté takes this dish to another level. The tops of the eggs take on a beautiful brown crust, making this egg dish uniquely interesting and flavorful. The sauce served along with the eggs is like icing on the cake.

Perfectly browned eggs atop a mustard sauce makes a splendid meal anytime of the day.

A few common ingredients are all you need for this recipe. You can make 4 eggs, 6 eggs, or more for a larger group. A frisée salad or juicy sliced tomatoes and good crusty bread make the perfect accompaniments for these scrumptious eggs.

The cooked egg yolks are mixed with parsley, garlic, a little milk to bind it together, salt and pepper.

A bit of the egg yolk mixture is reserved for the sauce. The remainder is spooned back into the egg whites.

The reserved egg yolk mixture is combined with Dijon mustard, a bit of water, a dash of vinegar, extra virgin olive oil, salt and pepper. The sauce makes this simple dish pure luxury.

Serve the eggs with pan-fried sourdough bread drizzled with olive oil to soak up all of the tasty mustard sauce.

Oeufs Jeannette

Recipe by Kiyo
Servings

2

servings

Adapted from Jacques Pepin’s recipe

Ingredients

  • 4 large eggs

  • 1 small garlic clove, finely minced

  • 1 1/2 tablespoons finely chopped parsley

  • 1-2 tablespoons milk

  • salt and pepper

  • canola or vegetable oil for frying

  • Dressing
  • 2 tablespoons reserved egg yolk mixture

  • 2 teaspoons Dijon mustard

  • 1 tablespoon water

  • 1-2 teaspoons red wine vinegar (substitute with white wine or champagne vinegar)

  • 2 1/2 – 3 tablespoons extra virgin olive oil

  • salt and pepper

Directions

  • Bring a small pot of water to a boil. Gently lower eggs into the water. Bring back to a gentle boil adjusting heat as needed. Gently boil for 10 minutes. Immediately remove eggs to an ice bath to cool for 7-8 minutes.
  • Peel cooled eggs and cut in half as you would for deviled eggs. Remove the yolks and place in a small bowl and mash with a fork. Mix the yolks with the garlic, parsley, milk, salt and pepper to taste. The mixture should be a bit moist, and hold together. Reserve 2 tablespoons of the egg mixture and set aside. Spoon the remaining mixture back into the hollow egg whites. The mixture should be relatively level with the egg whites.
  • Whisk the reserved 2 tablespoons egg yolk mixture with Dijon mustard, 1 tablespoon of water, and 1 teaspoon red wine vinegar (to start). Slowly add the olive oil whisking to emulsify the dressing. Taste and adjust seasoning by adding a dash more vinegar, salt and pepper. Pour the dressing onto a small serving plate. Set aside.
  • Heat 2 teaspoons of vegetable or canola oil in a medium skillet over medium heat. Place the eggs stuffed side down. Cook for 2 minutes or until the eggs are golden brown. Arrange the eggs on the dressing. Serve Oeufs Jeannette with crusty sourdough bread and a salad for brunch or lunch.
Breakfast, Dinner, Eggs, Lactose Free, Recipes, Rice Dishes

Chili Crisp Fried Eggs

September 30, 2024

Fried eggs with lacy chili crisp edges and soft yolks is my new favorite dish. Chili crisp adds plenty of flavor and a delightful spicy note. The eggs are perfect served over a scoop of fluffy Japanese rice. This is a meal I could eat for breakfast, lunch, or dinner.

This is a simple and delicious meal you can put together in a jiffy. I’ll sometimes make extra rice and freeze the leftovers in small containers to use later. A quick zap in the microwave and the rice is ready to eat. Furikake is optional but recommended. Its delicious toasted sesame and nori flavor are a welcome complement to the rice. Use your favorite brand of chili crisp for this dish. Zindrew’s O.G. Batch has the perfect level of heat for me. Spicy but not overly so. The crunchy bits of garlic are sublime with fried eggs.

Sunny side up eggs are the way to go here. The contrast of the bright yellow yolks and vibrant red chili crisp pop with color and flavor.

It’s up to you whether you use a spoon or fork. Just make sure to sop up all of the egg and chili crisp with the rice. It’s so good that nothing will be left behind.

Chili Crisp Fried Eggs

Recipe by Kiyo
Servings

1

serving

Ingredients

  • 1 scant tablespoon chili crisp

  • 1 teaspoon vegetable or canola oil

  • 2 large eggs

  • Kosher salt

  • Freshly ground black pepper

  • 1 green onion, thinly sliced

  • For serving: warm rice, soy sauce, furikake

Directions

  • Heat chili crisp and vegetable or canola oil in a medium nonstick frying pan over low to medium-low heat until shimmering.
  • Swirl the pan to spread the chili crunch and oil mixture throughout the pan. Gently crack 2 large eggs over the chili crisp. Cover the pan and cook for 1 minute and 30 seconds. Uncover the pan and continue to cook until the whites are completely set and the yolks are still runny, about 1 minute and 30 seconds (adjusting heat as needed so the chili crisp does not burn). The edges of the eggs should be crispy.
  • Place warm rice in a wide shallow bowl and sprinkle with furikake and soy sauce if using. Top with the sunny side up eggs. Drizzle any oil left in the pan over the eggs (optional). Season eggs with kosher salt, pepper and green onions.
Dinner, Eggs, Kimchi, Korean, Lactose Free, Pasta, Ramen, Recipes

Kimchi Udon with Scallions

May 22, 2024

I made another batch of kimchi last week so here goes….kimchi udon with scallions and a silky egg yolk to top things off. This is a dreamy kind of noodle dish. The butter and egg yolk transform plain udon into extraordinary udon and the kimchi and gochujang sauce provides the perfect amount of spiciness to the springy noodles.

The original recipe calls for room temperature egg yolks. But I prefer to take an extra step to ensure the yolks I’m using are safe to eat. By pasteurizing the egg via sous vide, it is completely acceptable to eat without worrying about harmful bacteria. If you do not own a sous vide device, you can check your local markets for pasteurized eggs (not to be confused with pasture raised). I haven’t seen pasteurized eggs at any Maui markets so in this case I would suggest using a soft poached egg.

You will want to purchase fresh udon (or frozen) for this dish. Dried udon won’t have the same texture. It is much thinner and lacks that bouncy texture you find with fresh noodles. Here on Maui you can find fresh Sun Noodle udon at Island Grocery.

The kimchi, gochujang and butter (umami bomb!) are fried for a bit before adding the cooked noodles. You can use your favorite store-bought kimchi for this recipe.

The egg yolk mixed in with the hot kimchi udon creates a velvety sauce that makes this dish extra fancy. Grab your chopsticks and dive in to what may become your new favorite bowl of udon.

Kimchi Udon with Scallions

Recipe by Kiyo
Servings

2

servings

Adapted from Bon Appetit magazine

Ingredients

  • 2 1/2 tablespoons Miyoko’s vegan butter or regular unsalted butter

  • 1/2 cup finely chopped kimchi, plus 2 tablespoons kimchi juice

  • 1 tablespoon gochujang

  • 1/4 cup low-sodium chicken broth, vegetable broth or water

  • 8 ounces fresh or frozen udon noodles

  • 2 pasteurized egg yolks at room temperature or substitute with soft poached eggs

  • 2 scallions, white and pale green parts only, thinly sliced on the diagonal

  • 1 teaspoon roasted sesame seeds

Directions

  • Bring a large pot of water to a boil and cook noodles according to package directions.
  • Meanwhile, heat 1 tablespoon Miyoko’s vegan butter (or regular butter) in a large skillet over medium-high heat. Add chopped kimchi and gochujang and cook, stirring occasionally , until kimchi is softened and lightly browned, about 3 minutes (adjust heat as needed). Add broth (or water) and kimchi juice and bring to a simmer. Cook until liquid is slightly reduced, about 2 minutes
  • Using tongs, transfer noodles to skillet with sauce and add remaining 1 1/2 tablespoons Miyoko’s vegan butter (or regular butter). Cook, tossing often, until sauce coats noodles, 1-2 minutes. Taste and season with salt if needed.
  • Divide noodles among two bowls and top each with an egg yolk. Scatter scallions and sesame seeds over the udon. Serve immediately.

Notes

  • Sous vide eggs at 135 degrees for 1 1/2 hours. Place in ice bath to cool, then transfer eggs to refrigerator if making in advance. Separate egg yolks from whites (save whites for another use) and let yolks come to room temperature before serving, about 30 minutes.

Dinner, Eggs, Japanese, Kimchi, Korean, Lactose Free, Pork, Recipes, Rice Dishes, Side Dishes

Kimchi Spam Musubi

March 17, 2024

I’ve been on a kimchi kick for a while now. It’s fun to incorporate this Korean staple into all sorts of dishes that not long ago I would have never considered. One of the best accompaniments for kimchi is rice. The soft and chewy grains of white rice show off the spicy and garlicky kimchi perfectly. Add some Spam and you’ve got yourself the best snack ever.

If you don’t make your own kimchi, pick up your favorite brand at the market. I always have a couple of cans of Spam tucked away in the cupboard. Sometimes I use it for Spam musubi, other times I fry pieces until super crispy and eat it with fried eggs and rice. Ono!

Spam straight out of the can is not exactly appetizing. A quick crisping up in a frying pan remedies that. For this recipe the Spam is fried then coated with a mixture of soy sauce and brown sugar. It’s the perfect seasoning for the salty Spam and works great for making kimchi musubi.

The kimchi is cooked with eggs and green onions then cut into pieces to fit the musubi mold.

The first layer is rice and a sprinkling of furikake.

The Spam goes on next, followed by the kimchi omelet.

One more shake of furikake over the kimchi omelet.

A little more rice on the kimchi omelet before pressing together and folding with the nori.

Sriracha mayo is the perfect dip for this snack.

This is one of the best snacks I know of. I made Spam musubi for my grandson to take on the plane when he traveled back to the mainland. He adores Spam musubi and said to his mom “I just want to hug it!”

Kimchi Spam Musubi

Recipe by Kiyo
Servings

8

servings

Special equipment: Spam musubi mold

Ingredients

  • 3 rice cooker cups short or medium grain white rice, cooked according to rice cooker directions

  • 1 can original Spam, sliced into 8 pieces

  • 3 tablespoons light brown sugar

  • 3 tablespoons low sodium soy sauce

  • 4 large eggs, whisked

  • 1/2 cup chopped kimchi, drained and roughly chopped

  • 2 green onions, thinly sliced

  • 4 sheets sushi nori cut in half (on the long side) to make 8 pieces

  • nori-sesame furikake

  • Sriracha mayo (optional)

Directions

  • Once rice is done cooking remove to a bowl, cover and cool to room temperature.
  • Mix together the brown sugar and soy sauce. Set aside.
  • Fry Spam slices over medium heat until lightly browned. Turn heat down to low, add brown sugar and soy sauce mixture. Turn Spam pieces over to coat well. Let sauce thicken a bit (turn heat up if needed) before transferring Spam to a plate to cool.
  • Combine whisked eggs, kimchi and green onions in a small bowl. Place tamagoyaki (Japanese omelet pan) or small fry pan over low heat. Coat the pan well with canola or vegetable oil. Pour egg mixture in the pan and cook on low heat, flipping once to cook both sides evenly, trying not to let the egg brown (adjust heat if needed). Transfer to a cutting board. Cut into 8 rectangular pieces.
  • To assemble musubi, place musubi mold over center of nori (shiny side face down). Spoon a little rice in the mold then press firmly with the musubi mold press. Sprinkle furikake over rice. Place 1 piece of Spam over the rice followed by a piece of kimchi egg. Sprinkle a little furikake over the egg. Add more rice then press firmly. Remove musubi mold and wrap nori around rice tightly (be careful not to tear nori). Trim excess nori. Continue making the rest of the musubi. Serve with sriracha mayo.

Notes

  • I use a small piece of plastic wrap to cover the top portion (the press) of the musubi mold so the rice doesn’t stick to it when pressing down.
  • Musubi is best eaten right away or within a few hours. If you have leftovers, wrap each one in plastic wrap and store them in a freezer ziplock bag in the refrigerator for up to a day. To refresh musubi, remove plastic wrap and place musubi on a microwavable plate. Microwave for 15 seconds, flip over and microwave for another 10 seconds or until just warm.
Breakfast, Cheese, Dinner, Eggs, Recipes, Sandwiches

Cheesy Eggs Kejriwal

February 29, 2024

Named after the late Devi Prasad Kejriwal, this iconic egg dish was created in the 1960s at the Royal Willingdon Sports Club in Mumbai. As the legend goes, Mr. Kejriwal’s family did not consume eggs (they were vegetarians but he loved eggs) so he got his egg fix at the club. He asked the waiters to make him eggs on toast with melted cheese and green chiles. Soon, others at the club were asking the waiters to bring them what Kejriwal was having and the rest is history. In 2016 the New York Times called Eggs Kejriwal one of the best dishes of the year. And little wonder: It is so delicious.

There’s nothing fancy about this dish even though it originated at a prestigious sports club. Sometimes just a few humble ingredients can be turned into something truly delightful.

You can switch out the red onion for white, and use jalapeños instead of serranos.

There are many versions of Eggs Kejriwal that exist today. Make it your own by using your favorite cheese (a good melting cheese) such as pepper jack. You can’t go wrong with sharp cheddar cheese which I used here.

Some versions of this dish spread Dijon mustard over the toasted bread before layering on the other ingredients. Now that I’ve made this a few times, I wouldn’t have it any other way. The mustard adds a pleasant zing to the dish that’s most welcome with the rich melted cheese and fried egg.

Ooooh! Melted cheddar with cilantro, serrano peppers and onions on toasted sourdough bread waiting for a perfectly fried egg.

I can’t think of a better breakfast or lunch than Eggs Kejriwal. It is spicy, cheesy and very comforting.

Cheesy Eggs Kejriwal

Recipe by Kiyo
Servings

2

servings

Adapted from Food & Wine magazine

Ingredients

  • 2 slices sourdough bread or bread of your choice

  • 2 tablespoons butter, divided

  • 1 tablespoon Dijon mustard

  • 1 cup (2 ounces or 57g) grated sharp cheddar or substitute with your favorite melty cheese

  • 1 serrano chile, finely chopped, plus a few slices for garnish (or jalapeño)

  • 2 tablespoons chopped cilantro, plus more for garnish

  • 1/4 cup (.05 ounces or 15g) red onion, thinly sliced

  • 2 large eggs

  • Kosher salt

  • Freshly ground black pepper

Directions

  • Toast the bread slices to a light golden brown and spread with 1 tablespoon of butter, or butter bread and brown in a skillet. Add mustard to one side of each bread. Combine cheese, chile, cilantro, and onion in a bowl and toss to blend. Divide cheese mixture between the bread slices and pile on top. Place bread on a baking sheet.
  • Turn toaster oven broiler to high (or heat oven broiler on high) with oven rack 6 inches from heat. Broil the cheese-topped bread until the cheese has melted, about 3 minutes, checking occasionally to avoid burning the toast.
  • Meanwhile, melt the remaining 1 tablespoon of butter in a medium nonstick skillet over medium heat. Crack eggs into skillet and sprinkle with kosher salt and black pepper. Cook eggs until the whites are firm and the yolks are runny, about 4 minutes, adjusting heat as needed. Top each piece of bread with the fried egg, reserved chiles and cilantro. Serve immediately.

Notes

  • Taste the chile to see how spicy it is before adding all of it to the cheese mixture. Chiles from markets can vary in heat. Use the amount that suits your taste.
Follow

Get every new post delivered to your Inbox

Join other followers: